Simple Valentine’s Day Home Decor with Cricut
I had a spare day to spend doing one of my favorite things this week, creating holiday decor…I swear my Cricut Maker was cutting non-stop for 11 hours the other day.The day started with me making some fun shirts for a friend’s upcoming cruise, and then I got started on Valentine’s Day decorations for the house.
We don’t have a lot of extra money in the budget right now, but I really wanted to decorate the mantel for Valentine’s Day. Our great room is our family’s gathering space, and where we host most of our guests. Typically, I just decorate around our fireplace and hearth for smaller holidays. Also, I don’t have a lot of spare time right now, so I needed to be able to get it all done in a day!
The first thing I did was clear the winter decor from the hearth and mantel. I love simple Winter decor, but I was ready for a little change too.
I knew I wanted a wreath, a banner or bunting, and some Valentine’s Day pillows. But, I also really wanted to make a tall sign for next to the blanket ladder, depending on my time.
The wreath:
Valentine’s Day decor and wreaths can be hard to find. I really didn’t want to have something totally overdone or gaudy, so I knew I would have to make one myself.
Supplies:
Cricut Maker and Rotary Blade
Design Space Access
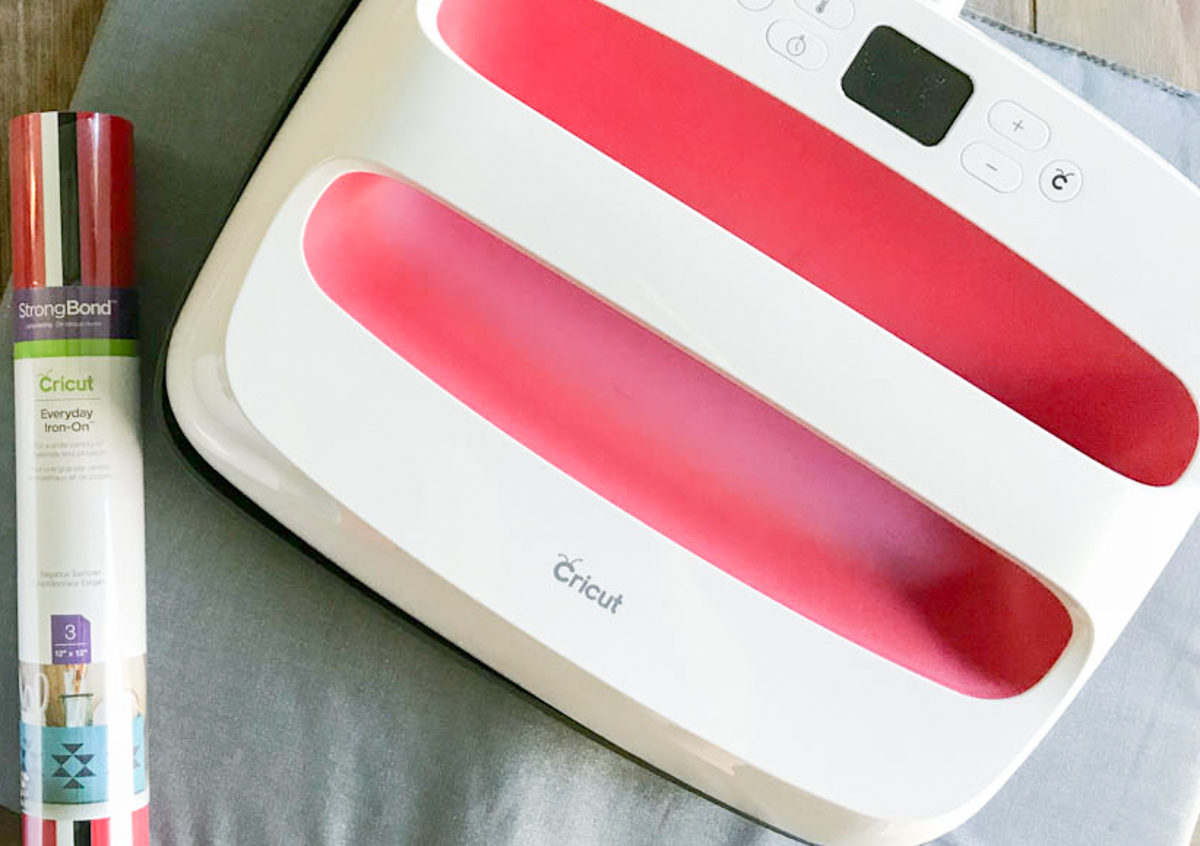
EasyPress 2
Cricut Felt
Cricut Cardstock
Iron On
Hot Glue Gun and Glue
Ribbon
Grapevine Wreath
Step 1:
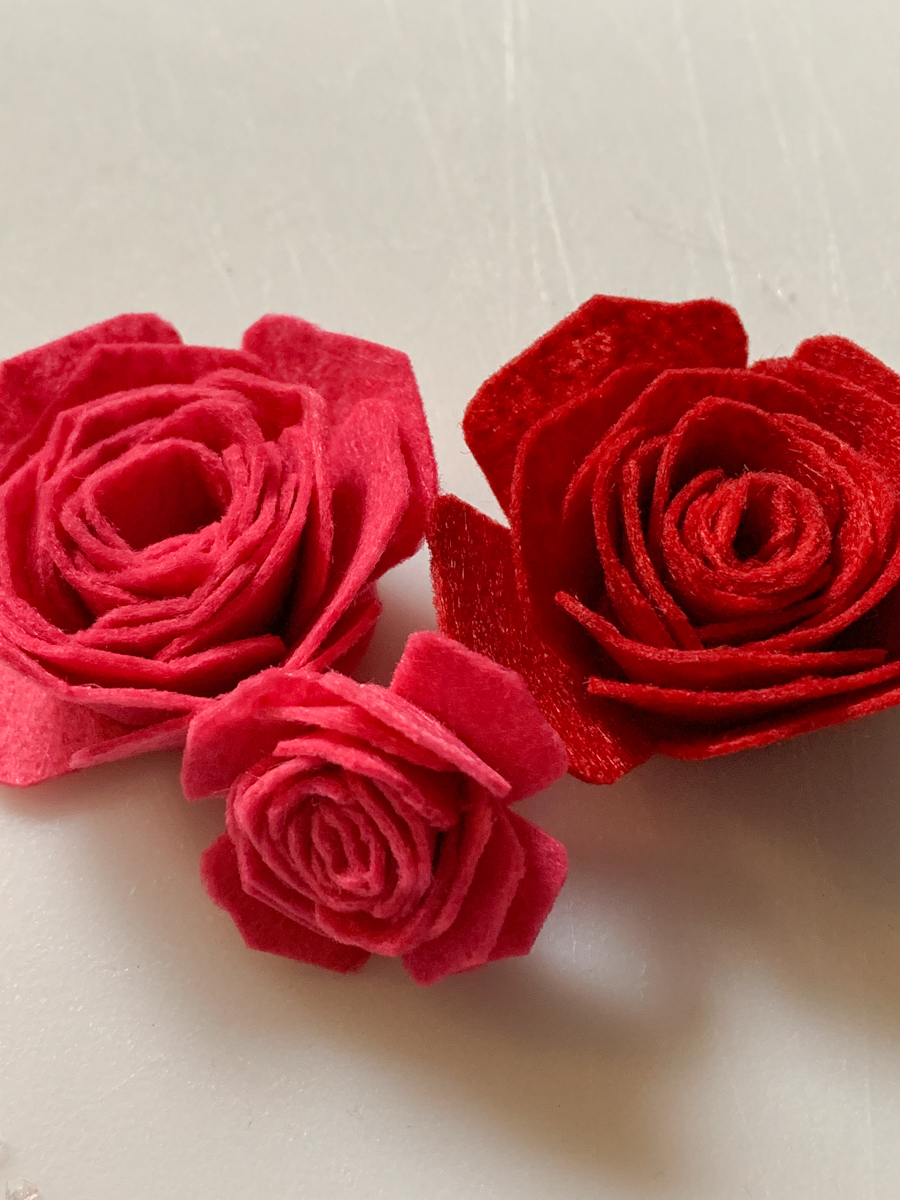
Open this cut file and cut 20-30 felt flowers.
Step 2:
Roll the flowers and hot glue the the bottoms to hold them together. Set aside.
Step 3:
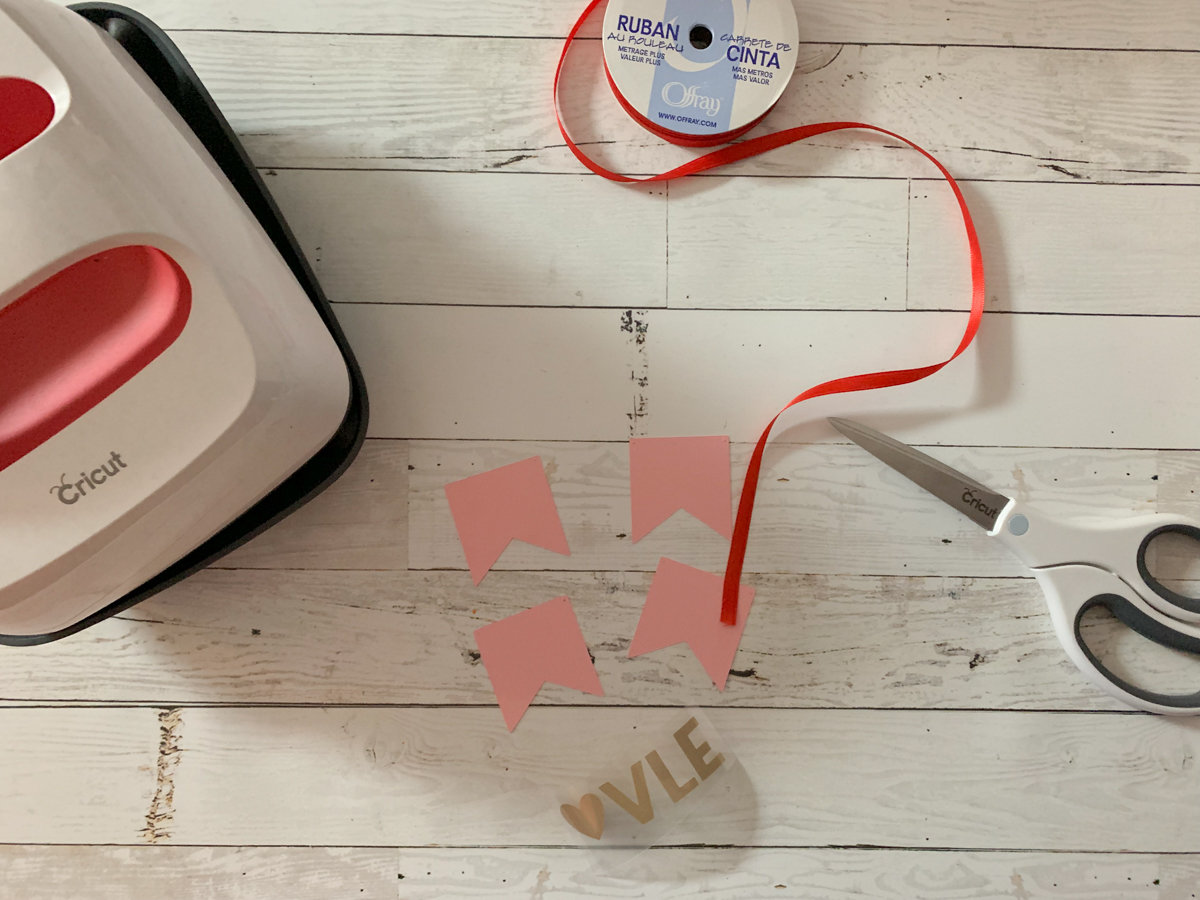
Open this cut file and cut the card stock and Iron On. {Don’t forget to place the Iron On on the cutting mat shiny side down and mirror the cut.
Step 4:
Use Cricut’s recommended heat settings, and press the Iron On onto the card stock.
Step 5:
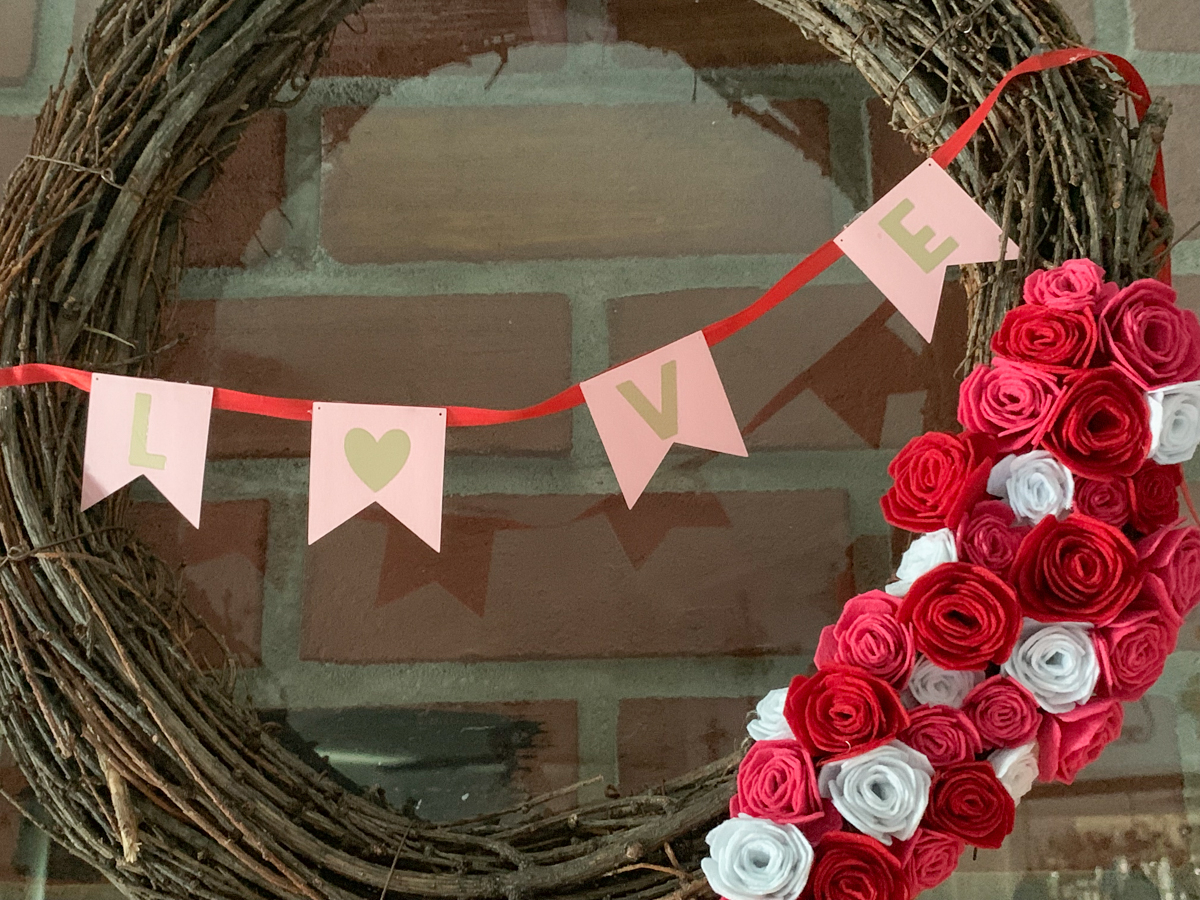
Hot Glue the card stock mini banner pieces to a piece of ribbon.
Step 6:
Hot Glue the flowers and the banner to the wreath.
Step 7:
Add a bow and ribbon to hang the wreath. I hung mine on a vintage window frame above the mantel.
The Pillows:
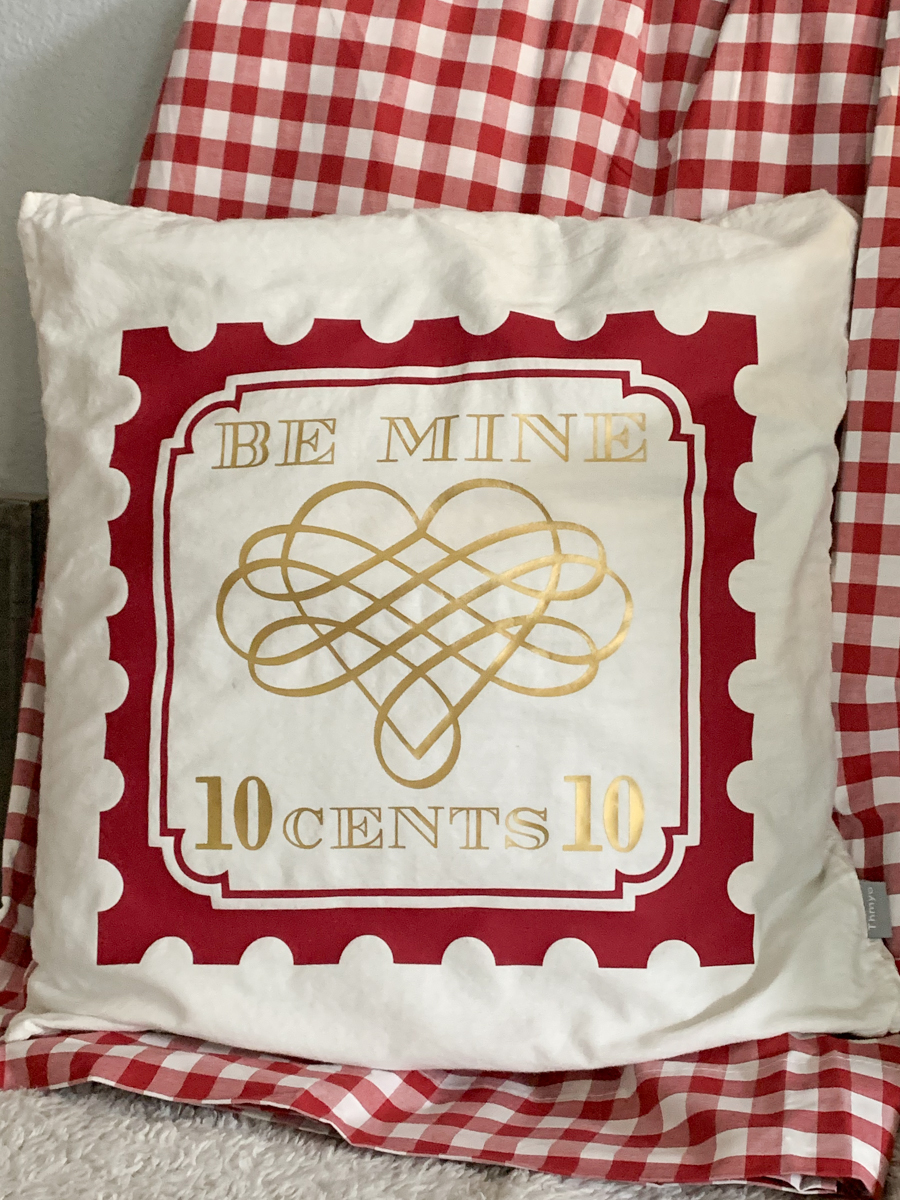
Last summer I ordered a half a dozen plain white throw pillow covers with the intention of adding Iron On to them for holidays. I finally got around to decorating two of them…for Valentine’s Day. I chose pre-made designs in Design Space and cut them to fit the pillow covers. One can be used after Valentine’s Day in our bedroom, so I used a neutral grey Iron On for it. The others is very Valentine’s Day themed, so I used traditional red and gold Iron On for it. I placed one pillow on a chair we have next to the fireplace and the other was placed next to to blanket ladder.
Supplies:
Cricut Maker
Design Space Access
EasyPress 2
Iron On
Pillow Cover
Step 1:
Open this cut file and this cut file and size each one to fit your pillow cover.
Step 2:
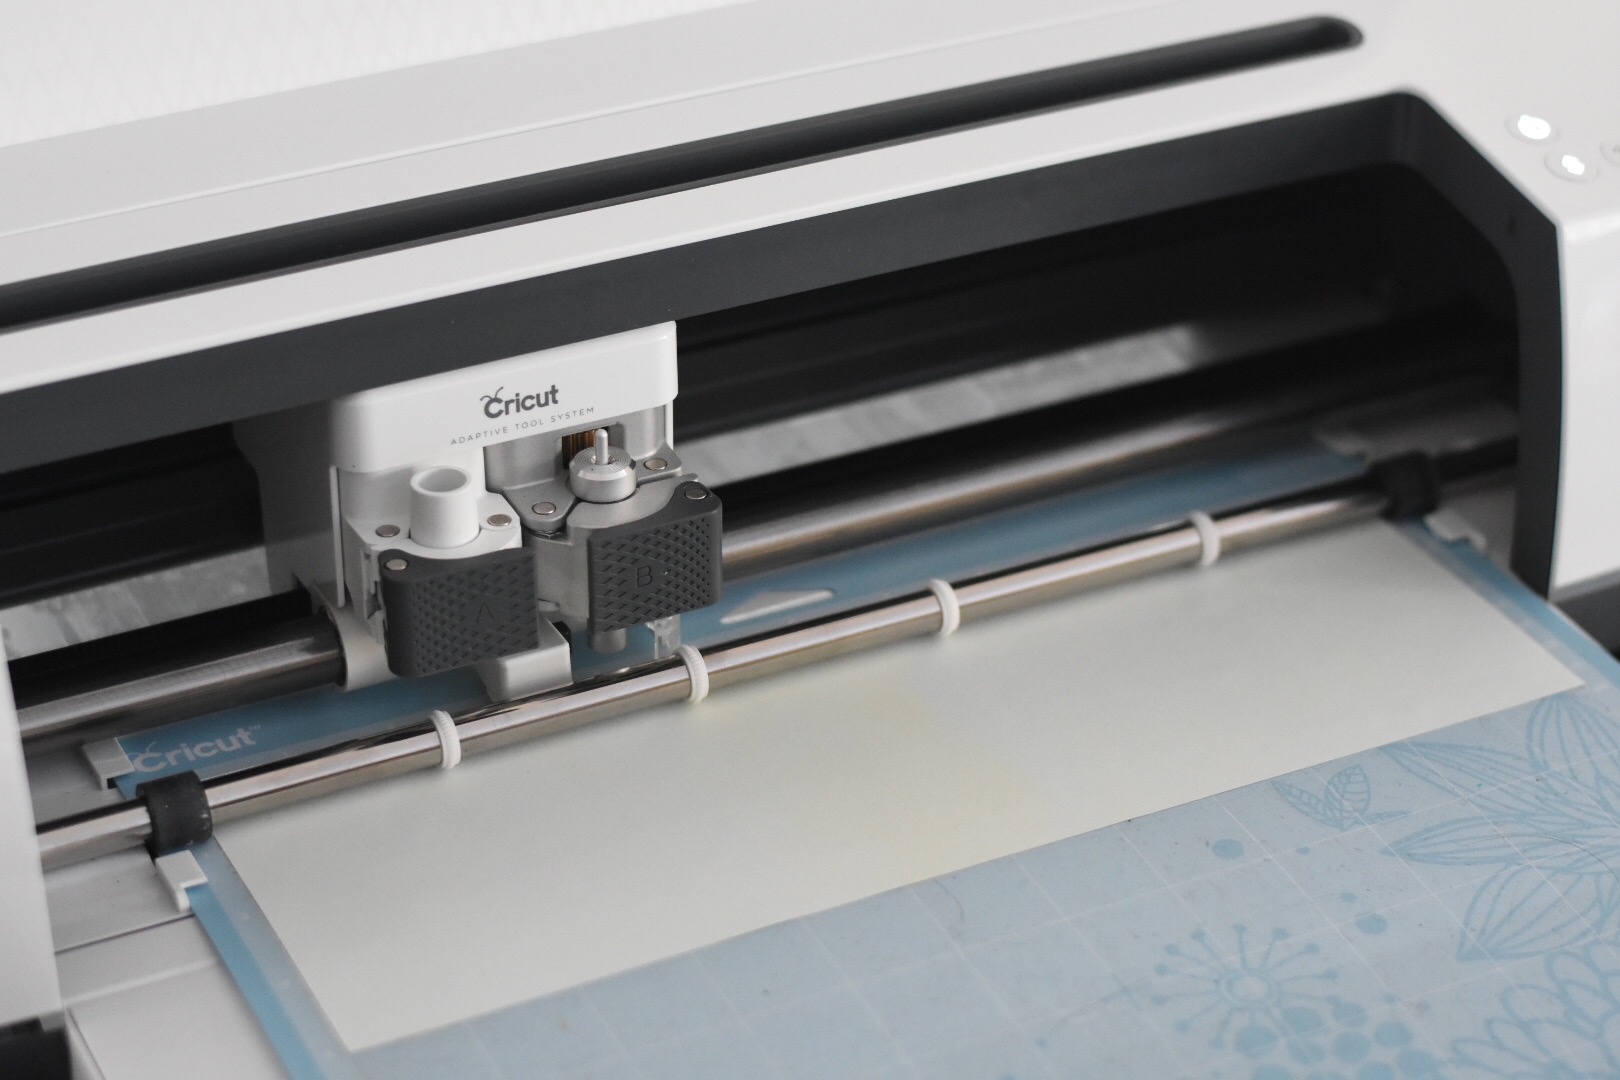
Prepare the cutting mat and send the project to cut. Place the Iron On on the mat shiny side down and mirror the cut.
Step 3:
Weed the excess vinyl and apply the Iron On onto the pillow cover with the EasyPress 2 following Cricut’s recommended heat settings.
The sign:
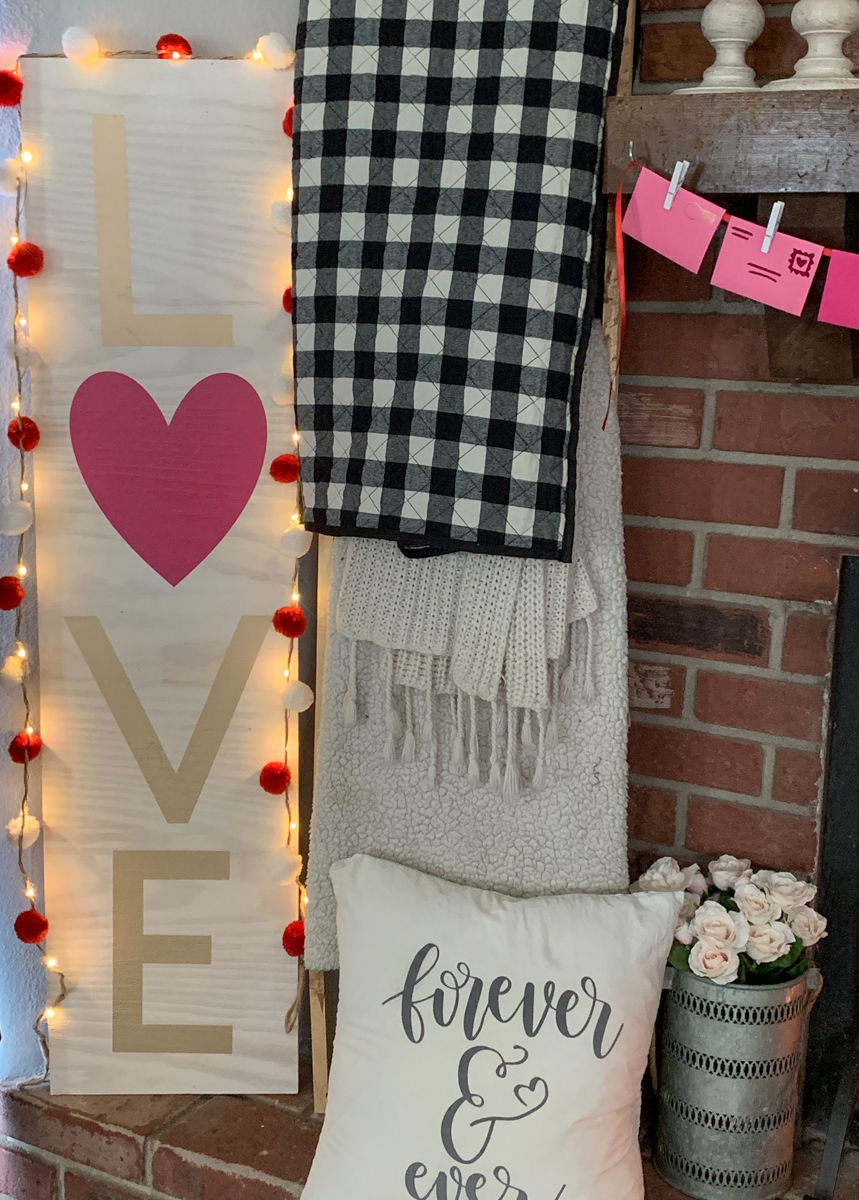
This was a last minute addition to the hearth and I’m so glad I made it. I’ve wanted a tall sign for a while; and I’m excited to add something to the reverse side after Valentine’s Day.
Supplies:
Cricut Maker
Design Space Access
EasyPress 2
Iron On
Wood {I used a scrap that is 1×4’}
Paint
Optional: Pom Pom Garland
Step 1:
Paint the wood with a light coat of paint. {I used DecoArt Chalky Finish}
Step 2:
Open the cut file and size it to fit. To use less Iron On, I attached the L and E together as a puzzle.
Step 3:
Prepare the cutting mat. Place the Iron On on the mat shiny side down and mirror the cut.
Step 4:
Weed the excess Iron On and cut out each letter.
Step 5:
Decide on the letter spacing and use the Easy Press to apply the letters to the board.
Optional Step 6:
Trim with red and white Pom Pom Garland.
Valentine’s Day Decor
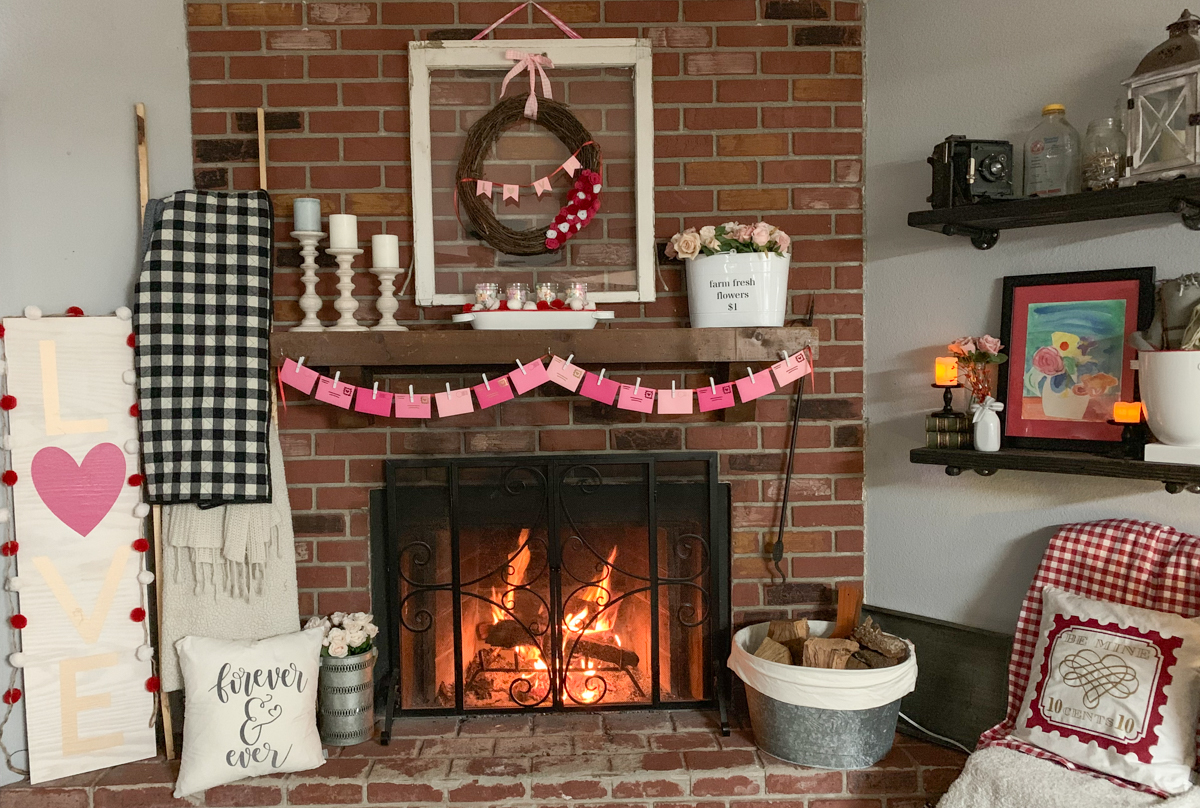
These three projects took almost the entire afternoon to cut out and make, but they cost very little out of pocket since I had most of the supplies on hand. Decorating for Valentine’s Day with Cricut is easy and affordable!
I am SO happy with my DIY Valentine’s Decor for the mantel and hearth and I cannot wait to invite a few guests over for an afternoon get together. 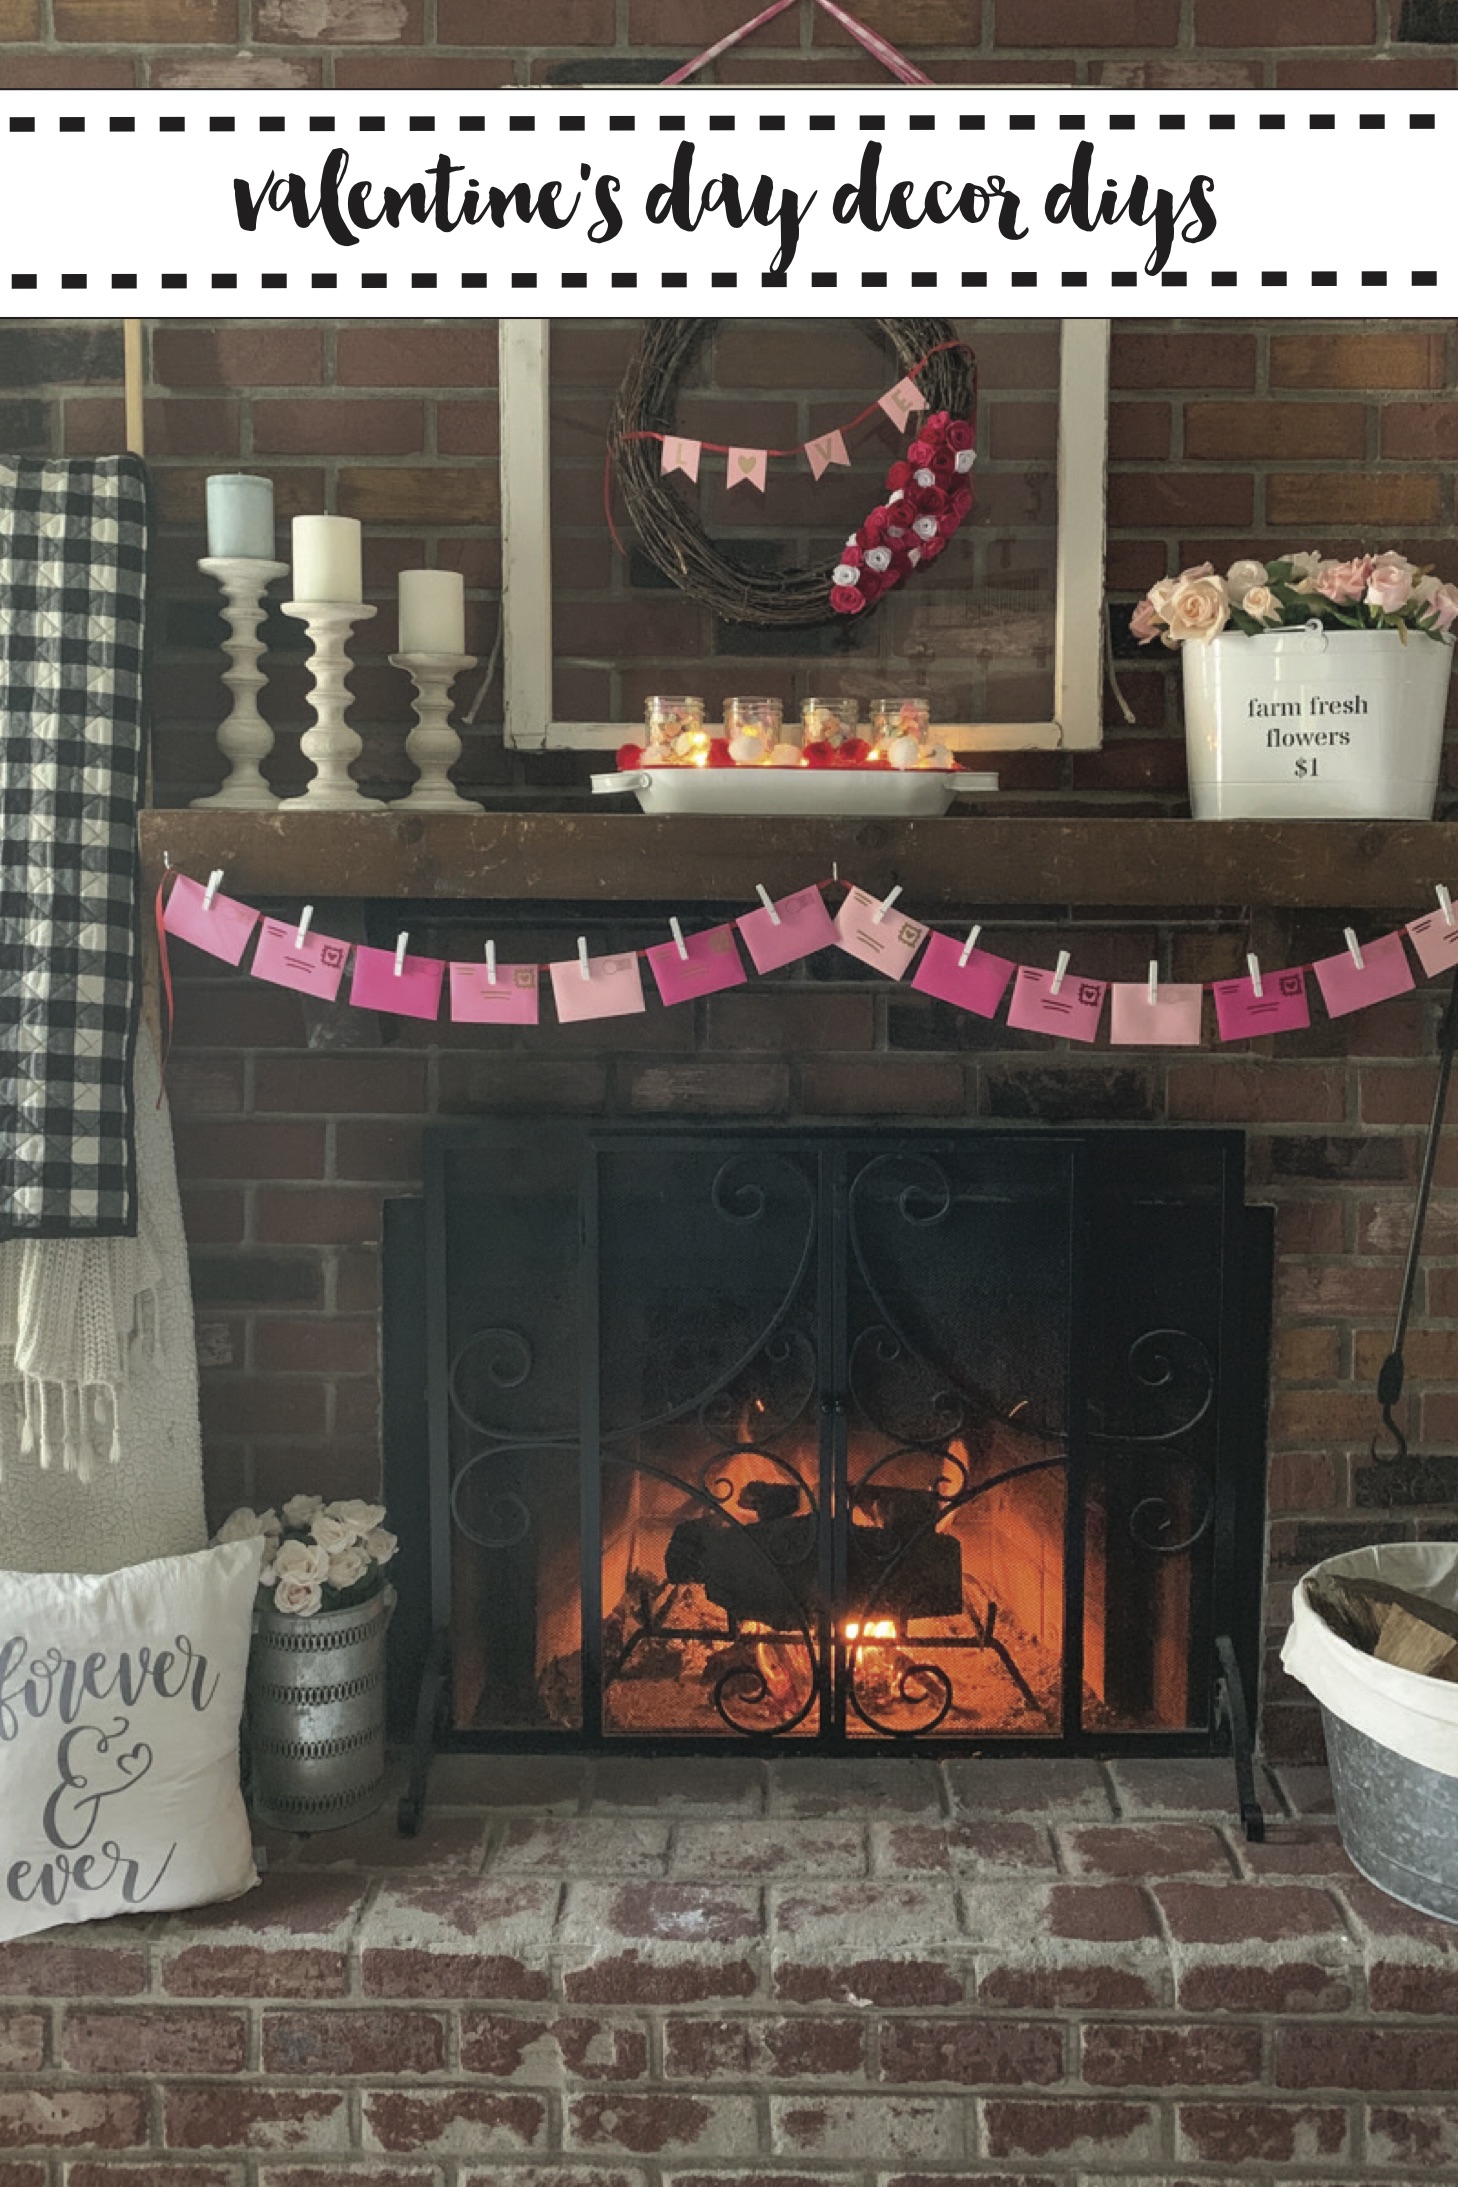 If you enjoyed this post, be sure to check out these posts too!
This is a sponsored conversation written by me on behalf of Cricut. The opinions and text are all mine.
Tags : Cricut, Cricut EasyPress 2, Cricut Maker, DIY, Valentine, Valentine's Day, Valentine's Day Decor


[…] Valentine’s Day Mantel Decor DIY Valentine’s Day Shirt Circus Themed Valentine’s Day Cards […]