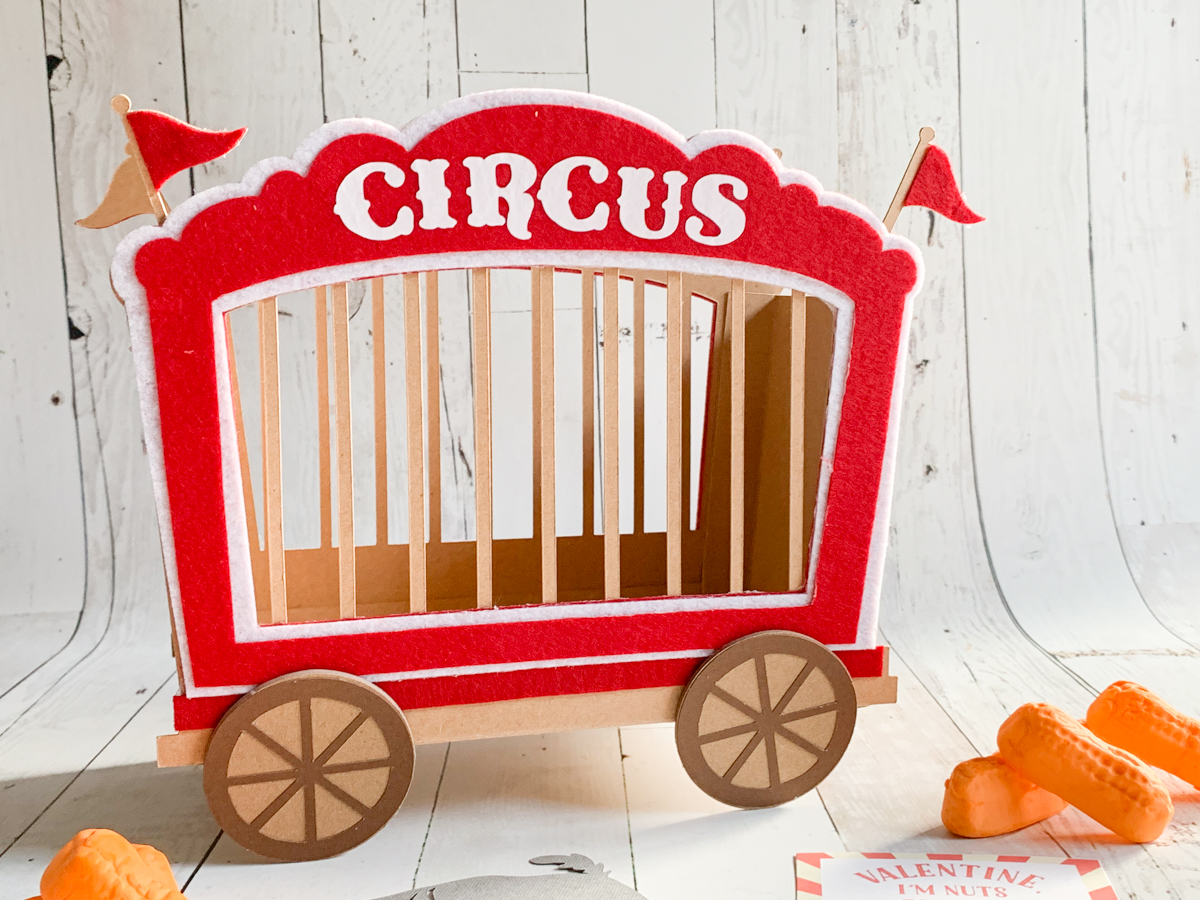
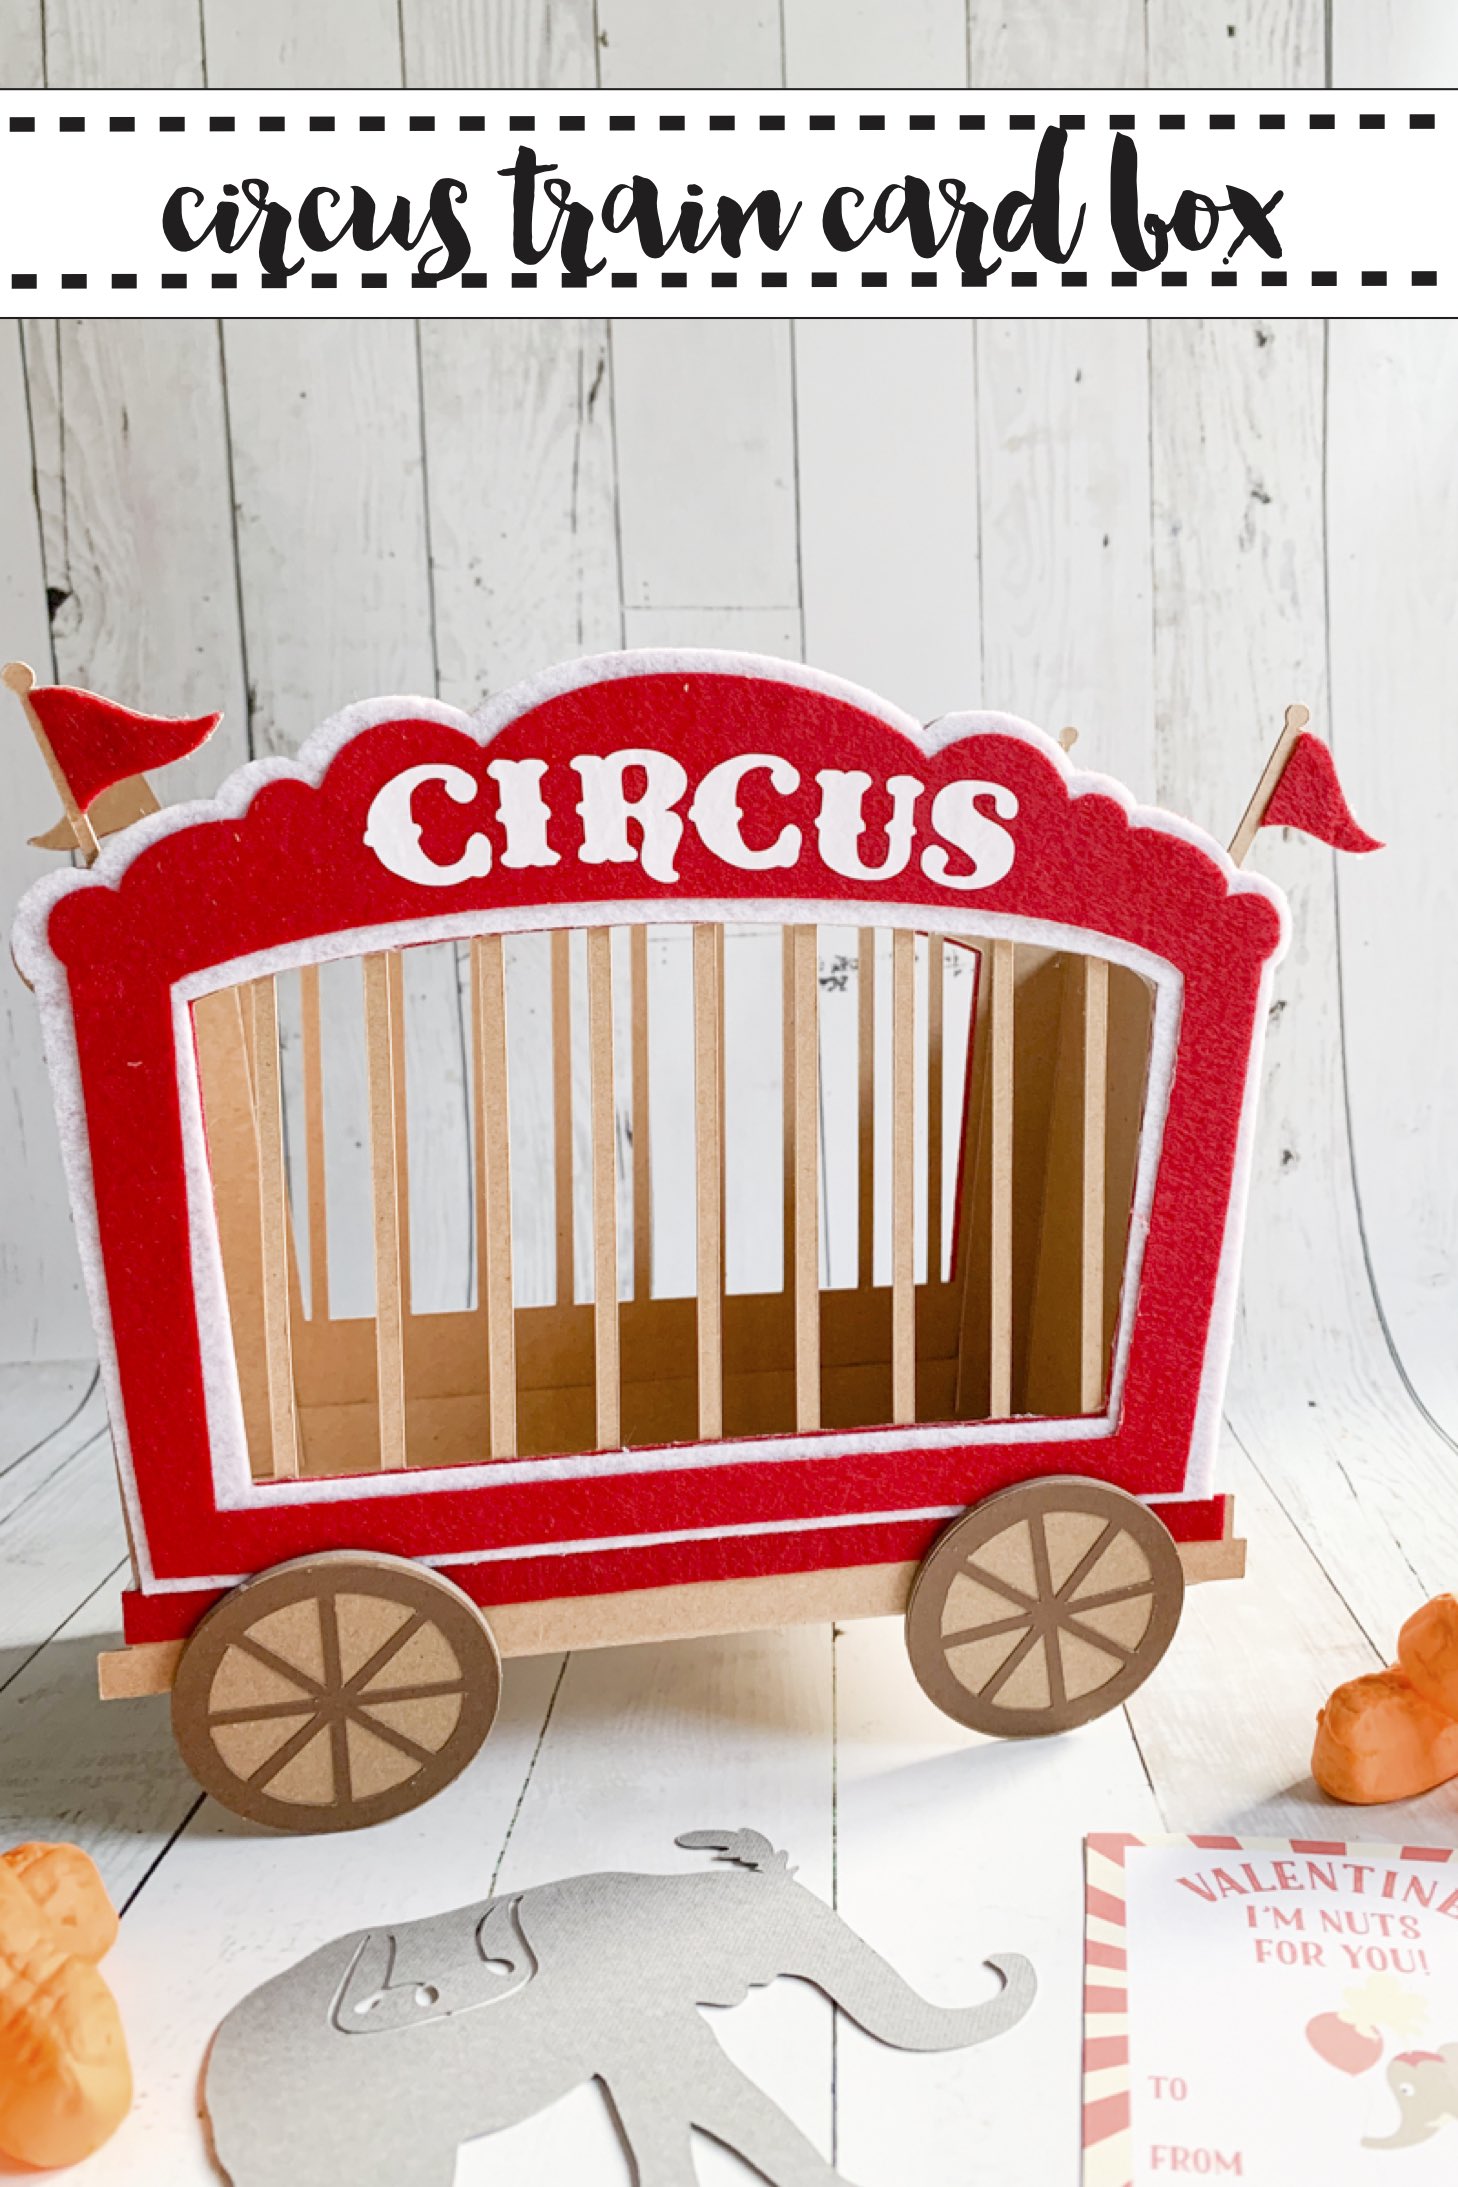
Circus Car Valentine’s Day Card Box
Step right up! STEP RIGHT UP!!! I am going to show you how to make the most fun Valentine’s Day Card Box ever! I have always loved the circus, so, I was very excited to make this circus train car card box with my Cricut.
This project is a mash up of shapes, Cricut Design Space Cut Files, and scoring lines. I quickly found a circus themed train car I loved in Design Space, but it was 2D, so I needed to add some rectangles, extra circles, scoring lines, and more. It took me about an hour to get it all figured out correctly, but, luckily for you, the cut file is sharable, so you will only have to work to assemble it. This project utilized the Double Scoring Wheel, but lighter weight paper would need the Single Scoring Wheel.
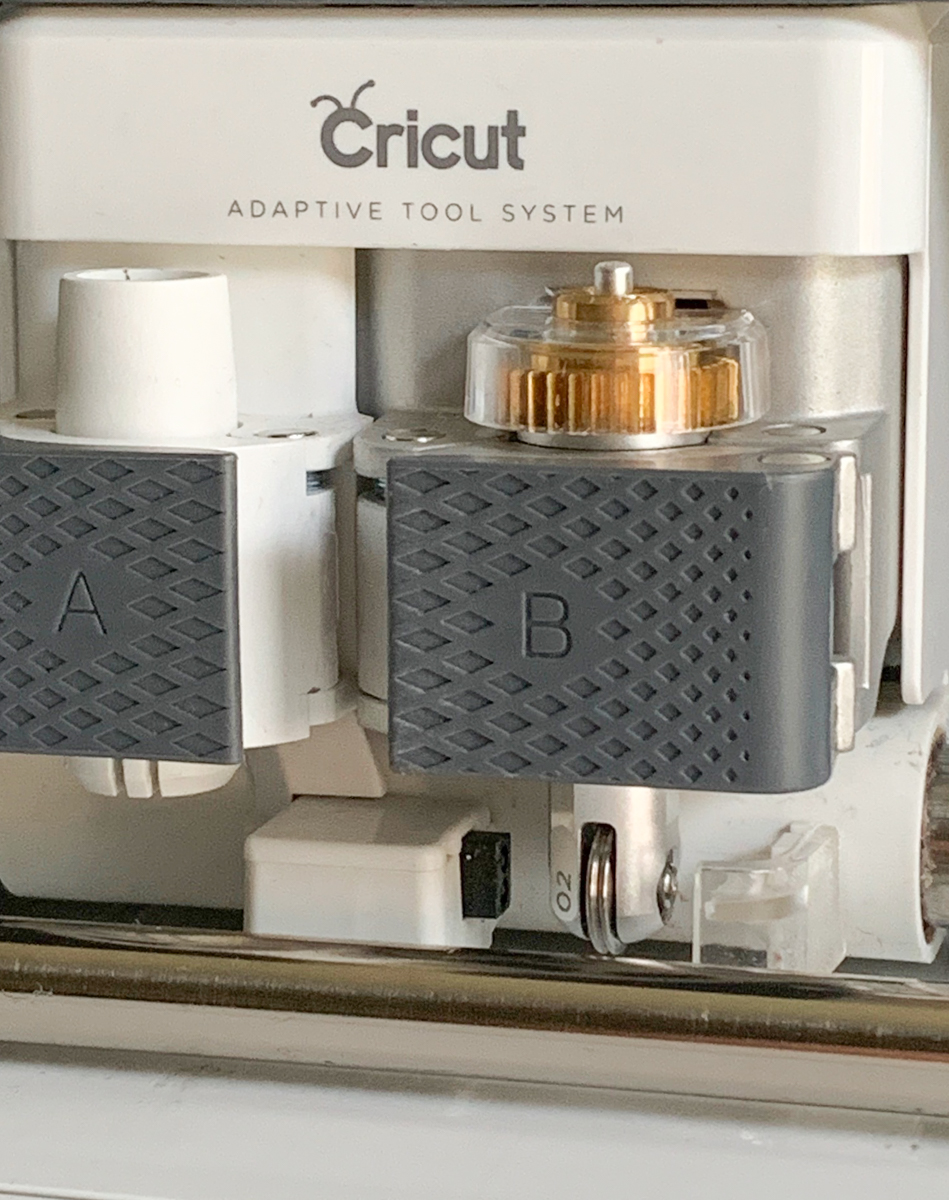
The Cricut Scoring Wheel made this project a cinch to assemble! Previously, the stylus tool was used for scoring, and while it was effective, it is not nearly as effective as the Scoring Wheel on heavier materials. Make more than ever before with the Cricut Scoring Wheel; from flawlessly finished tags, cards, and gift boxes to wearable art, 3D projects, and more. You’ll bring pro-level precision to every possible crease-and-fold project. Get crisp creases in one pass. Make perfect, effortless folds. Rejoice in that flawless finish. With up to 10X more pressure than the Scoring Stylus, the patented wheel design takes on basic materials with ease. Use the Cricut Machine Tools with Cricut Maker™ machines only.
Circus Car Card Box:
To make this train car, you will need about an hour of cut and assembly time, and several other supplies.
Supplies:
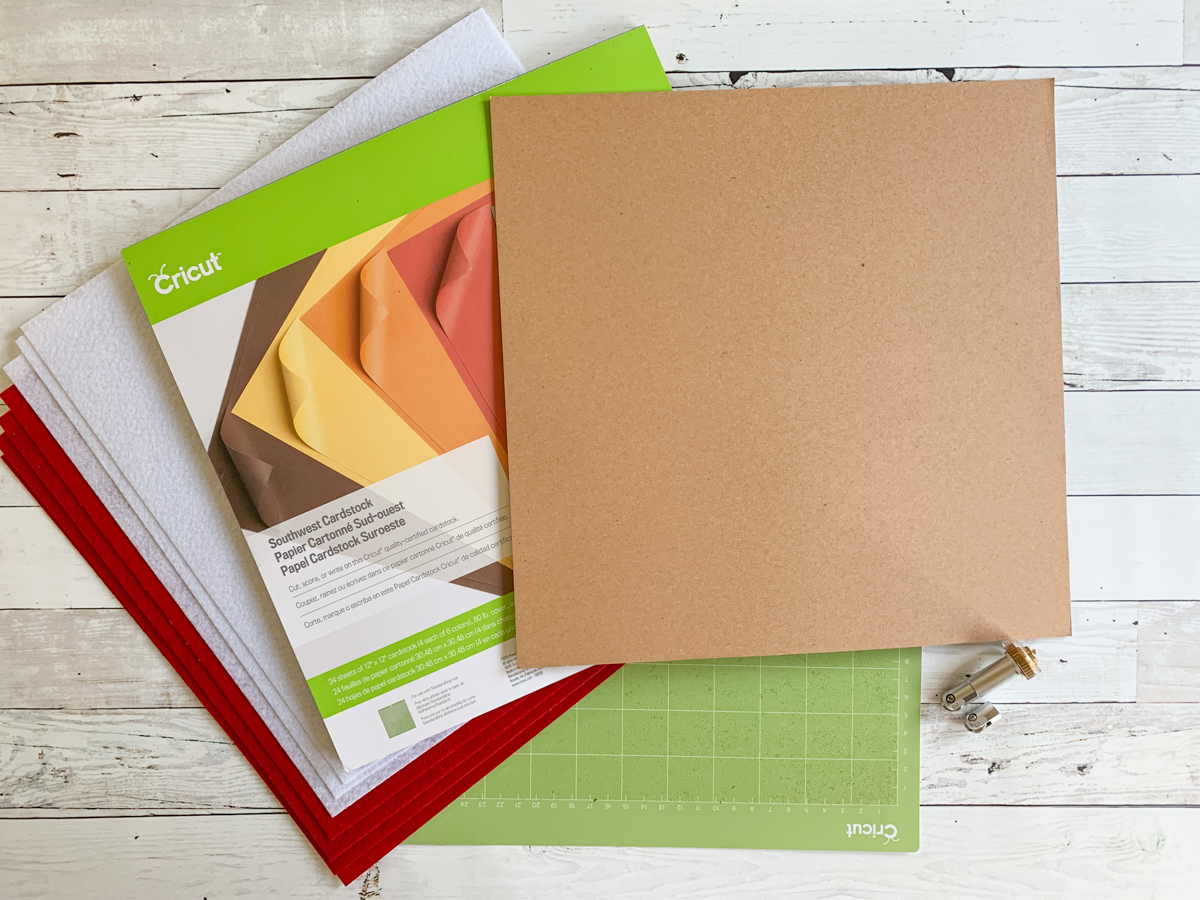
Cricut Maker with Cricut Scoring Wheel, Knife Blade, Rotary Blade, and Fine Point Blade
4 Sheets of Red, and 2 Sheets of White
3 Pieces of Cricut Kraft Board
1/2 Sheet of Cricut Chip Board
1 Sheet of Grey, and 1 Sheet of Brown
Step 1:
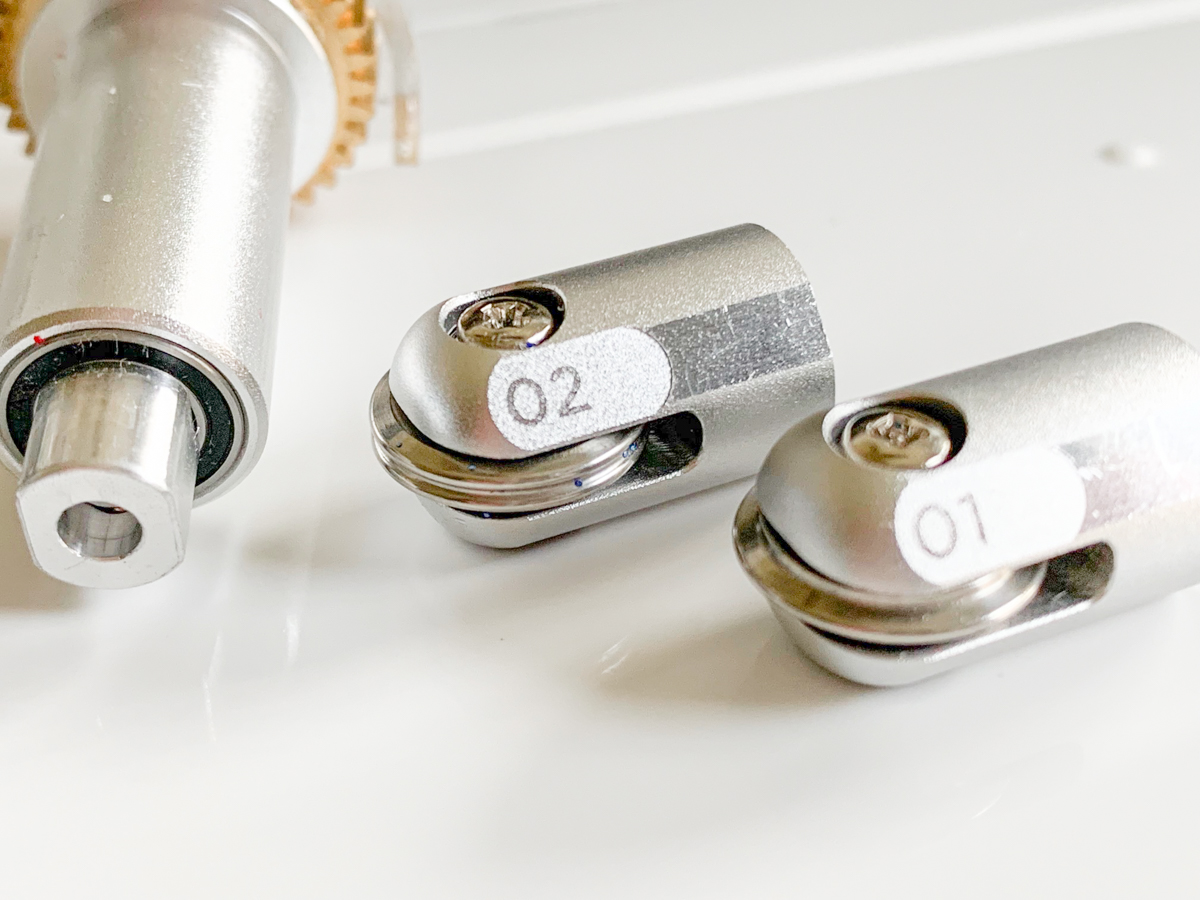
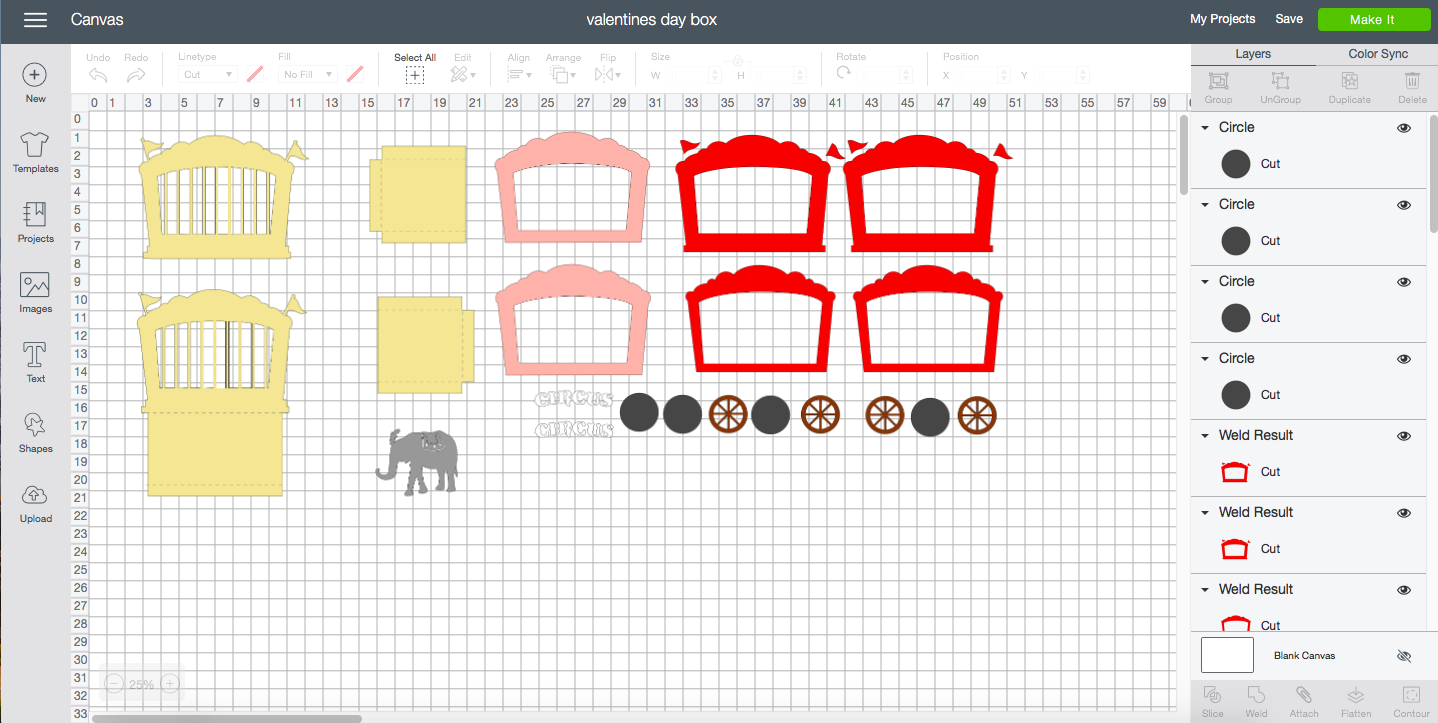
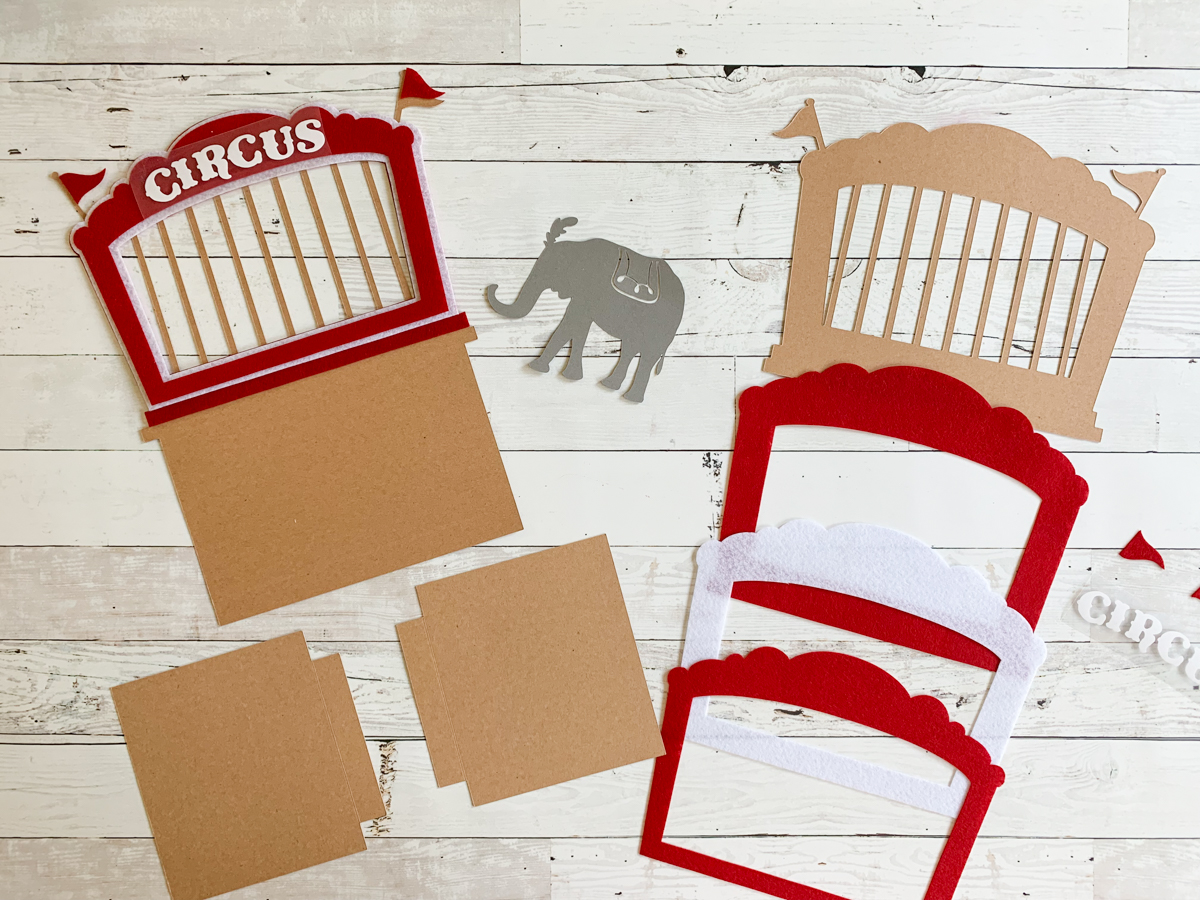
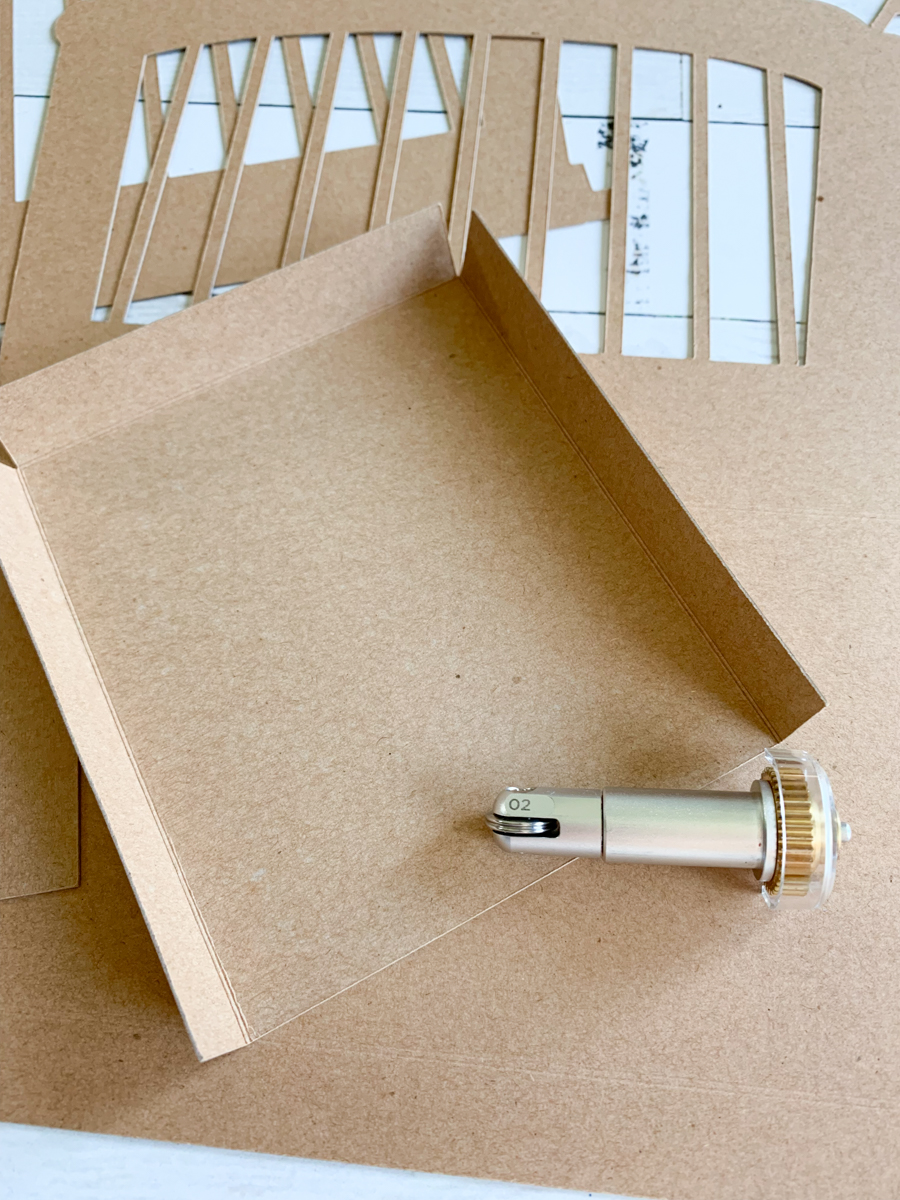
Begin by opening this cut file. Each material and color is on a separate cutting mat, the pink color is actually white felt, and the grey circles are chipboard. Cut each piece out and set it aside. The Kraft Board pieces will need to be scored with the #2 Scoring Wheel.
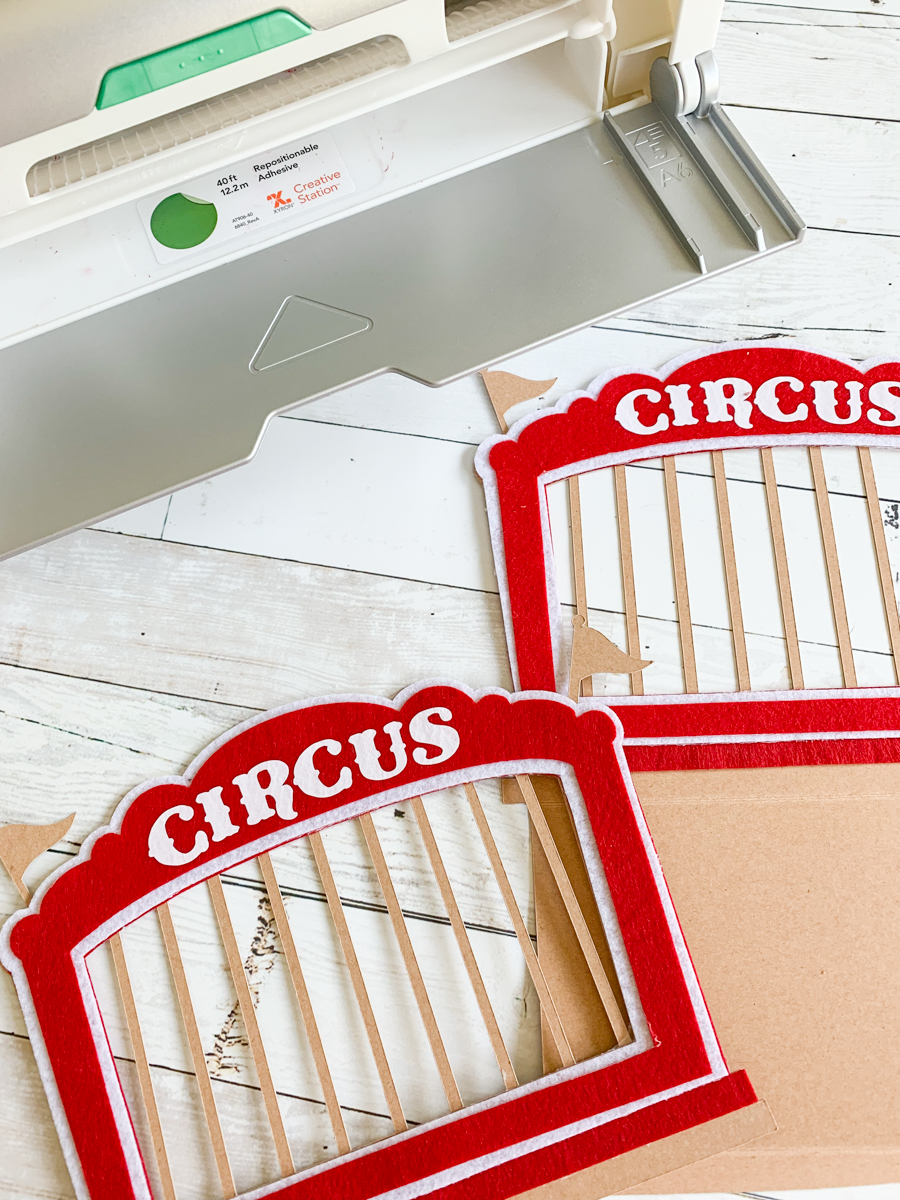
Once each piece is cut out, lay them out, and layer the pieces to see how they should all go together.
Step 2:
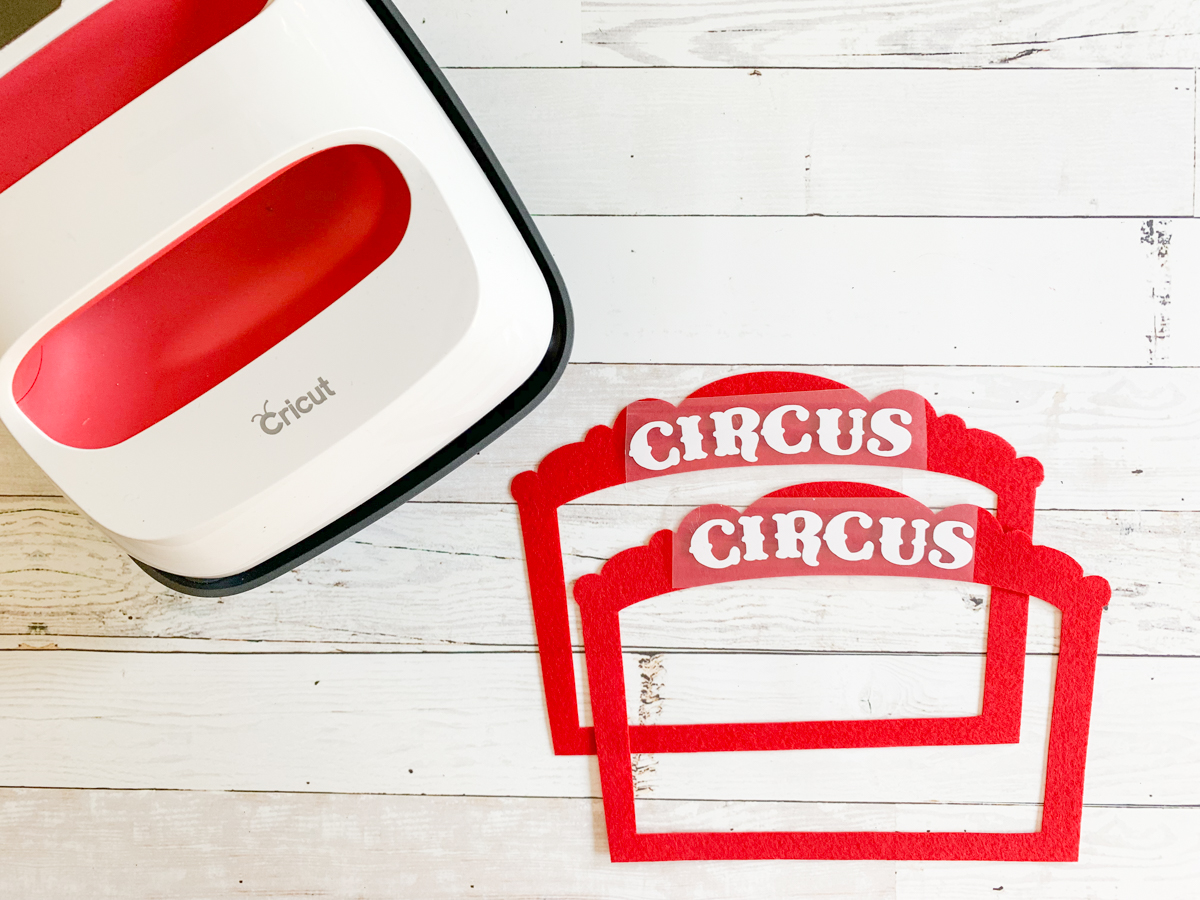
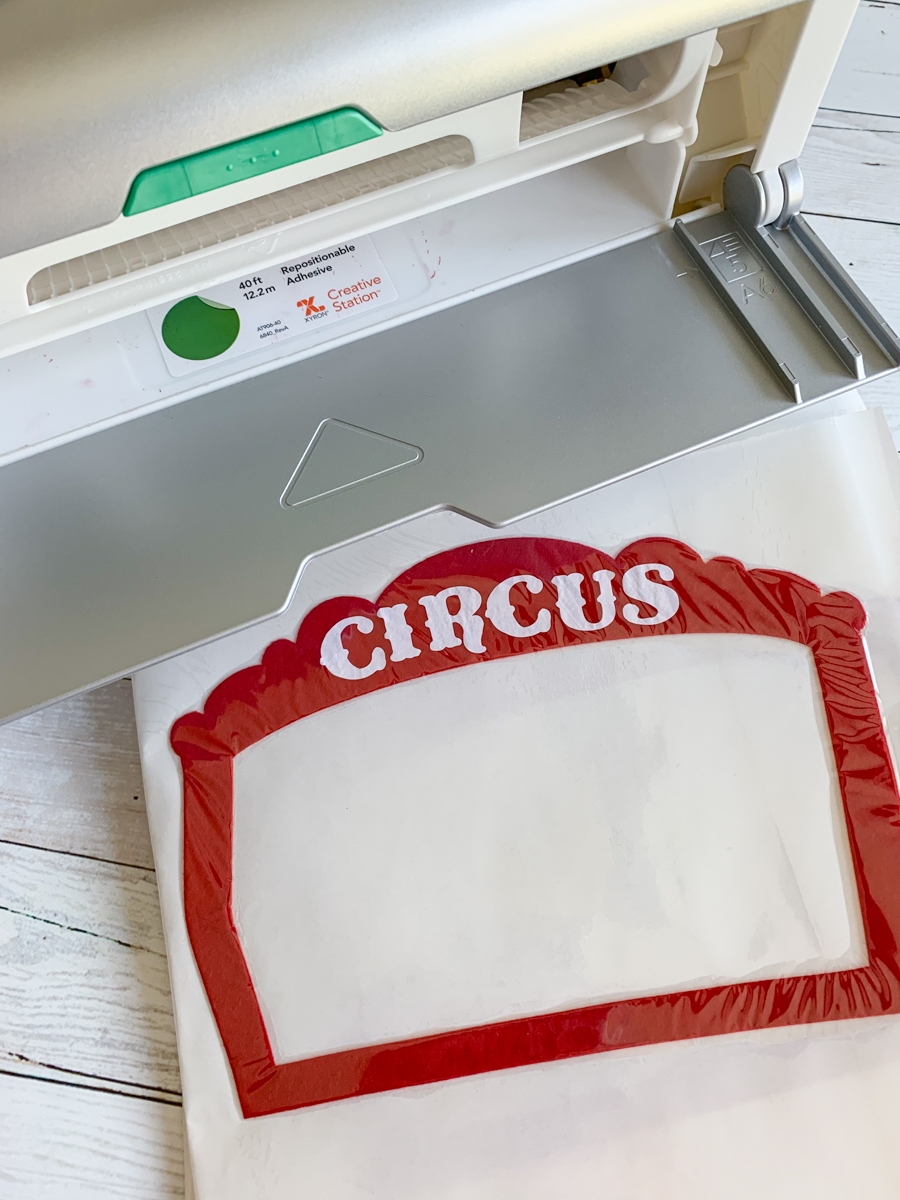
Weed the excess Iron On, and press CIRCUS onto the smaller pieces of red felt. {Use the recommended guidelines for temperature settings}
Step 3:
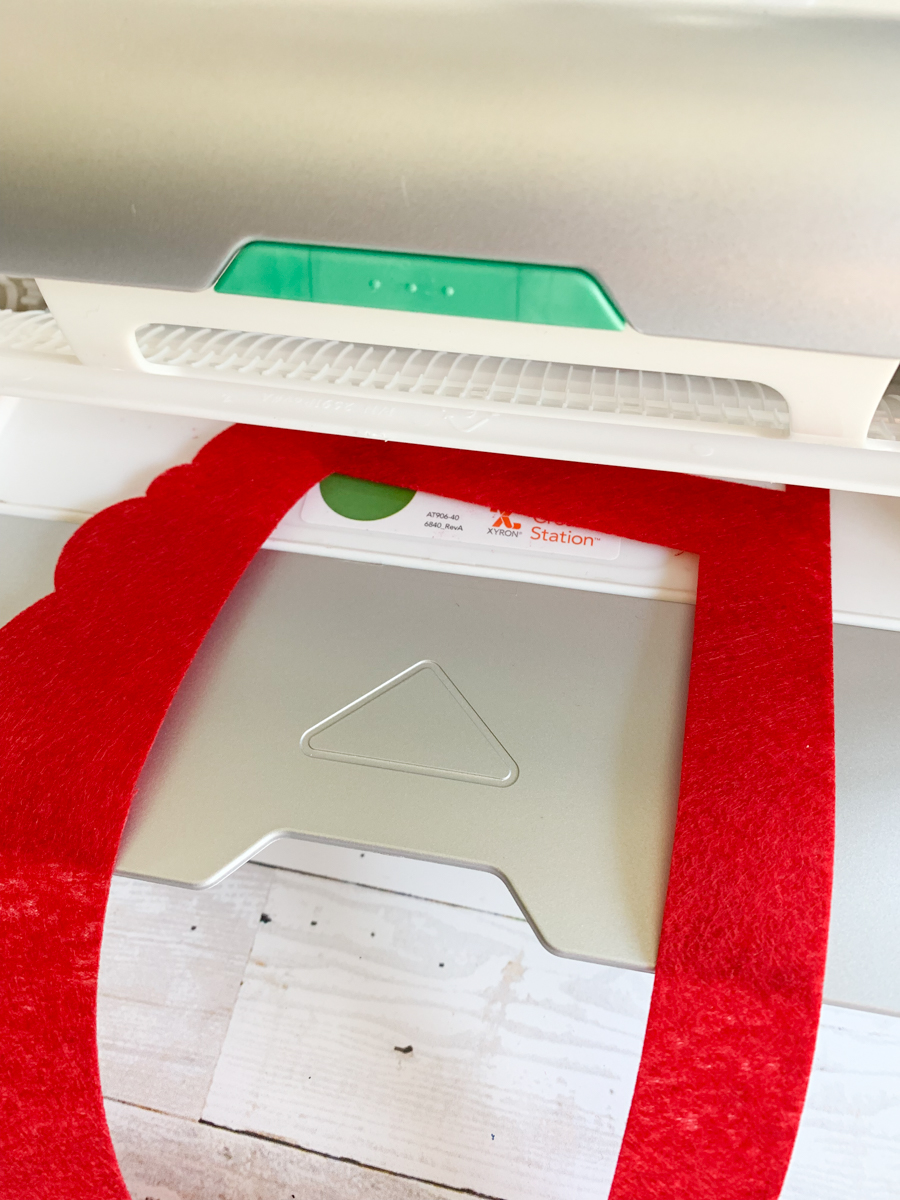
Run each piece of felt through the Xyron Creative Station. Then place the smaller red pieces on each of the white pieces, and the white + red pieces onto the largest red pieces. Finally, place the layered felt onto the sides of the train car. Add the red felt pennant flags to tops of the train car where they belong.
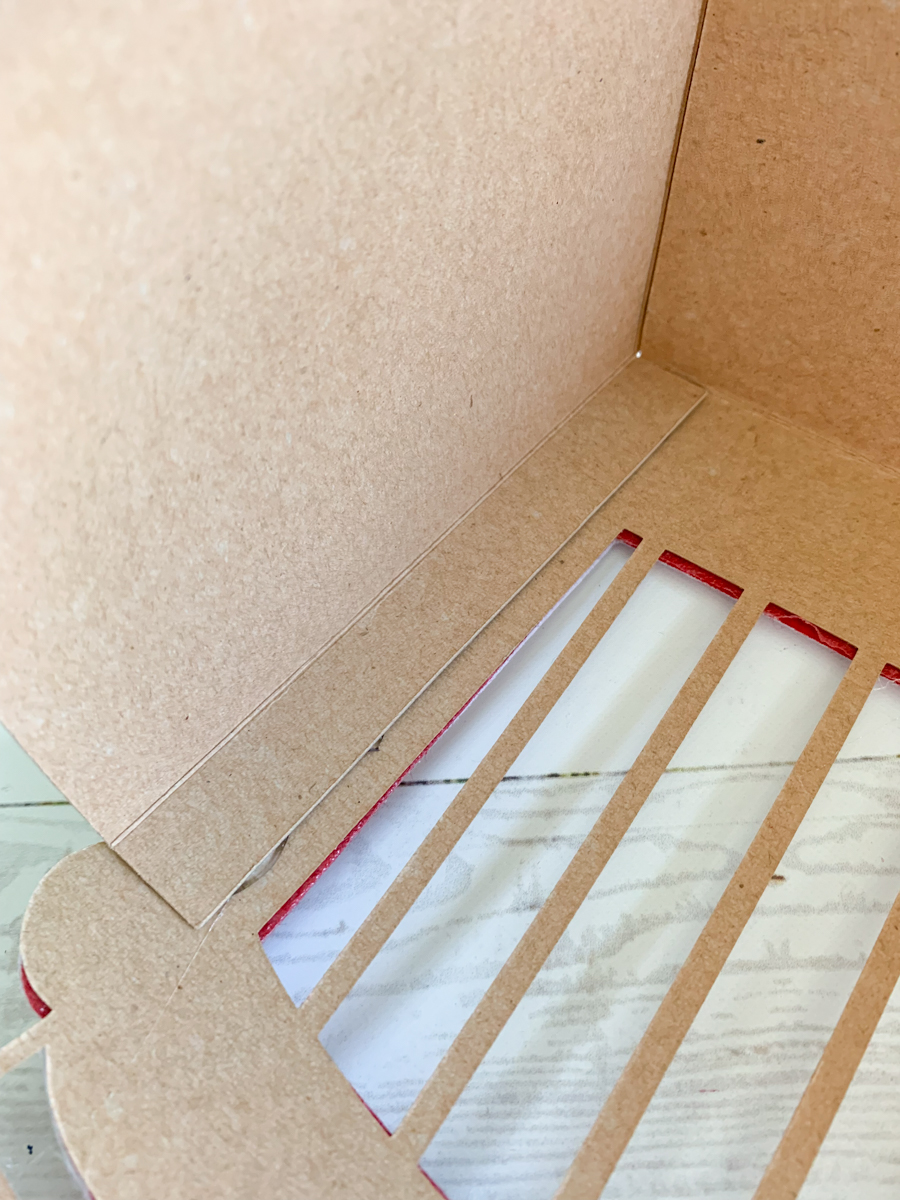
Step 4:
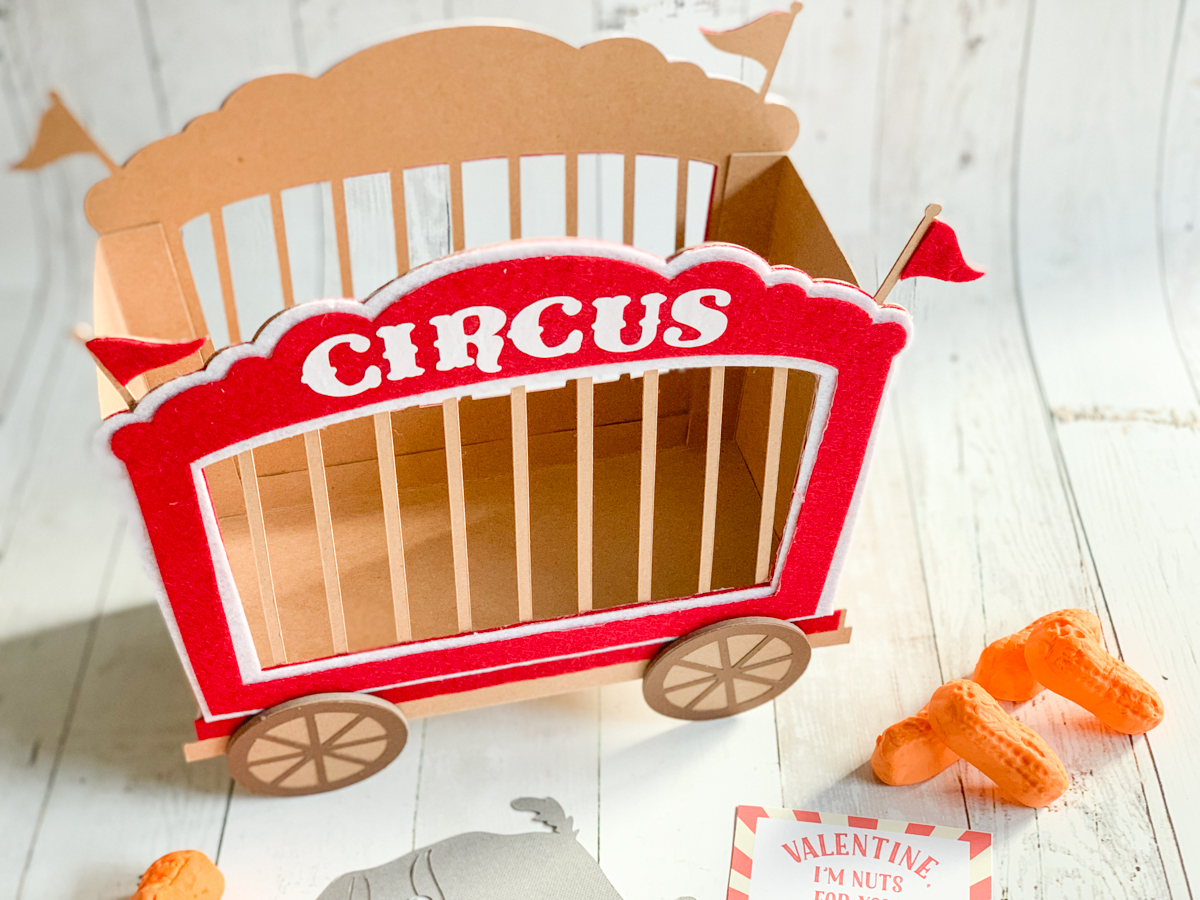
Now, it’s time to assemble the train car! Fold along the scored lines. Apply a line of hot glue to the tab on the bottom of the train car, and attach to the second train car side. This will create a “U” shape. Next, fold the tabs on the smaller rectangles. These are the sides of the train car. Hot glue the bottom tab under the bottom of the train car, then glue the side tabs in place.
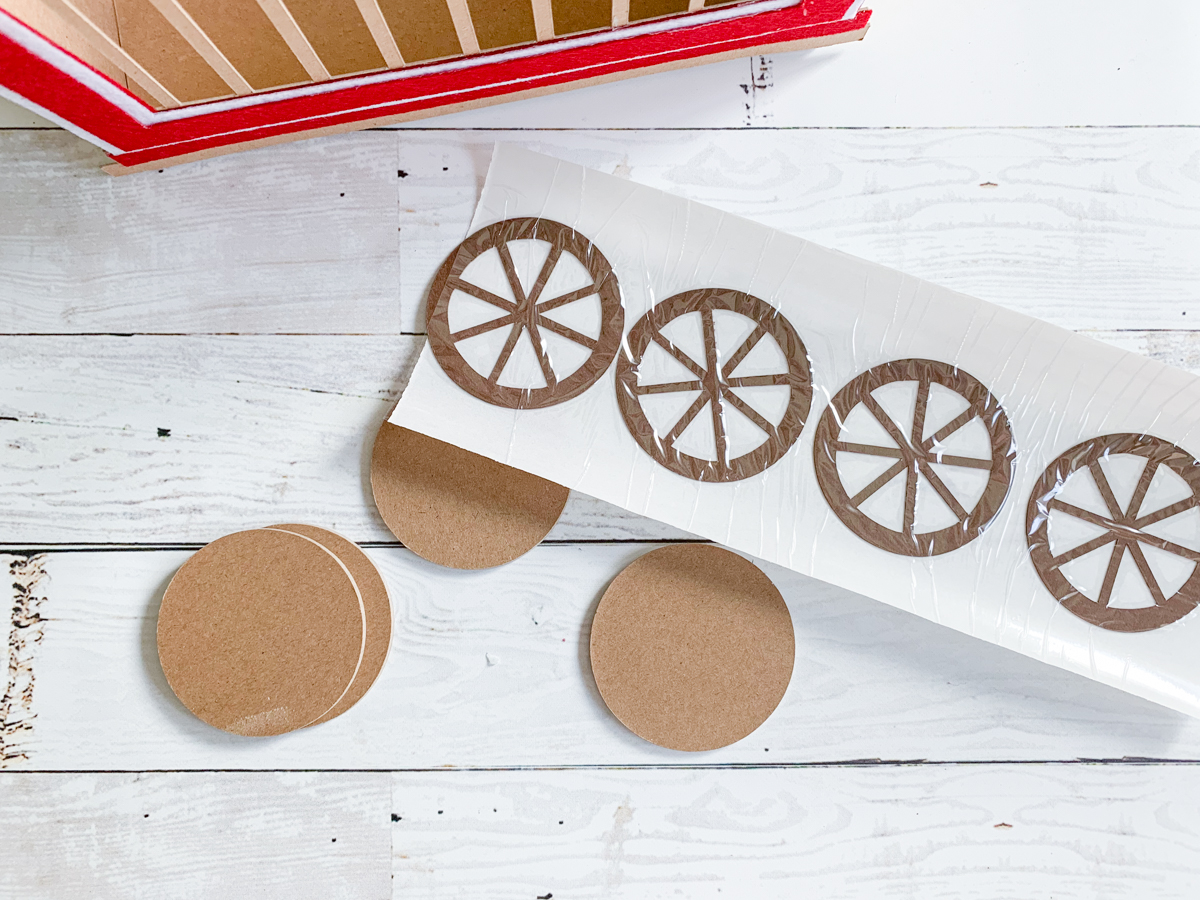
Step 5:
Run the brown card stock wheels through the Xyron Creative Station and stick them to the Chip Board Circles. Then, hot glue the wheels onto the train car. I placed the edge of each wheel about 1/2″ from the end of the train car.
Step 6:
Find a place for your elephant in or on the train car, and you’re ready for sweet Valentine’s treats!

 If you liked this post, be sure to check out these posts too!
Find the Valentine’s Day Card in the shop, here.
This is a sponsored conversation written by me on behalf of Cricut. The opinions and text are all mine.
Tags : 3D, Circus, Cricut, Cricut Blogger, Cricut EasyPress 2, Cricut Hack, Cricut Maker, Cricut Scoring Wheel, DIY, EasyPress 2, Kids Valentine, Train, Valentine, Valentine's Day
[…] glue to stick two things together. I got a little circus craft happy this week and created this adorable circus train Valentine’s Day card box (and I used my Creative Station to make it too!) and then I went on to make cute little circus […]