Valentine’s Day Countdown Calendar
We are, like many families, so busy, it’s hard to carve out time for ourselves, let alone special one on one time with each of our children.
This review is based strictly on my opinion. Others may have a different opinion or experience with the product listed above. I was provided the sample free of charge by the company or PR agency and I provided my honest opinion. No other type of compensation was received for this review.
If you decide to make a purchase through my links, I will be paid a small commission for it. This doesn’t cost you anything additional. These commissions help to keep the rest of my content free, so thank you!
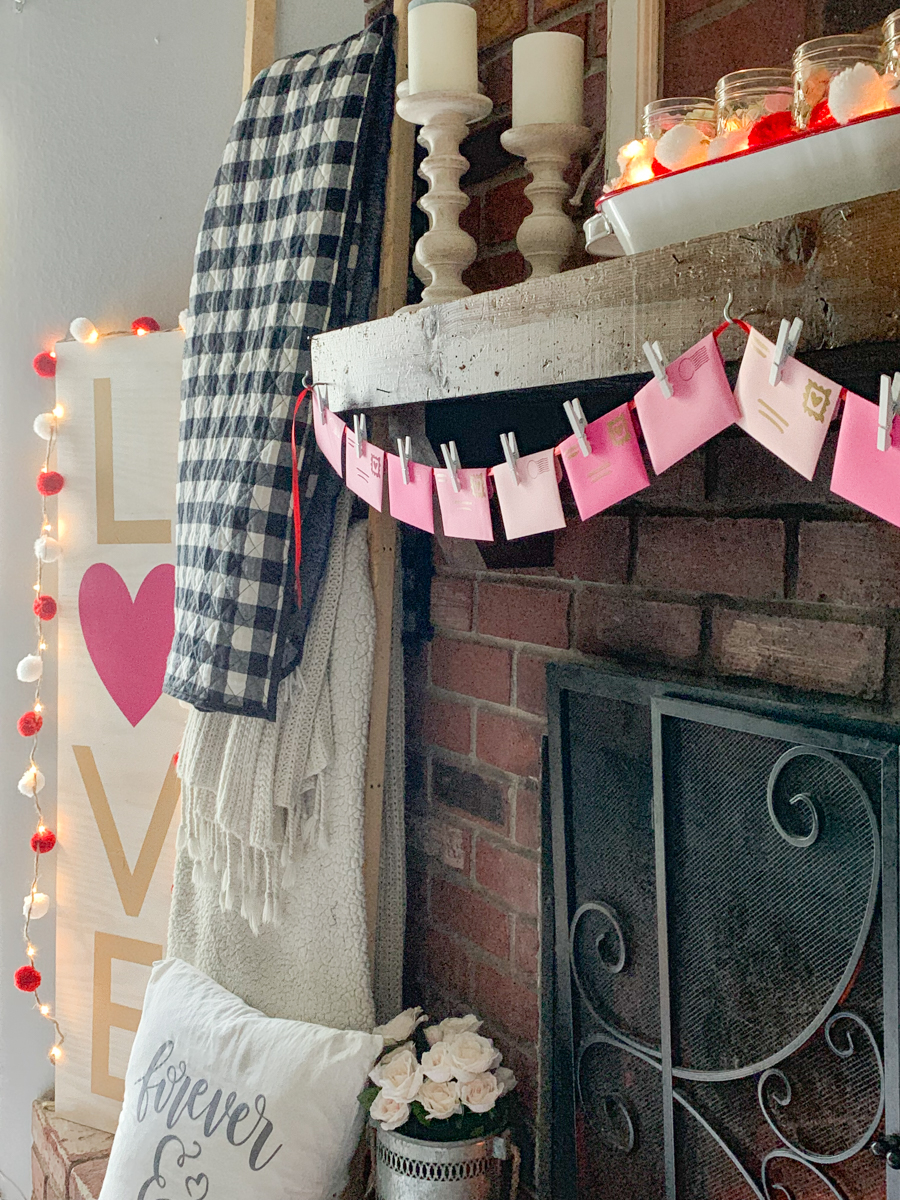
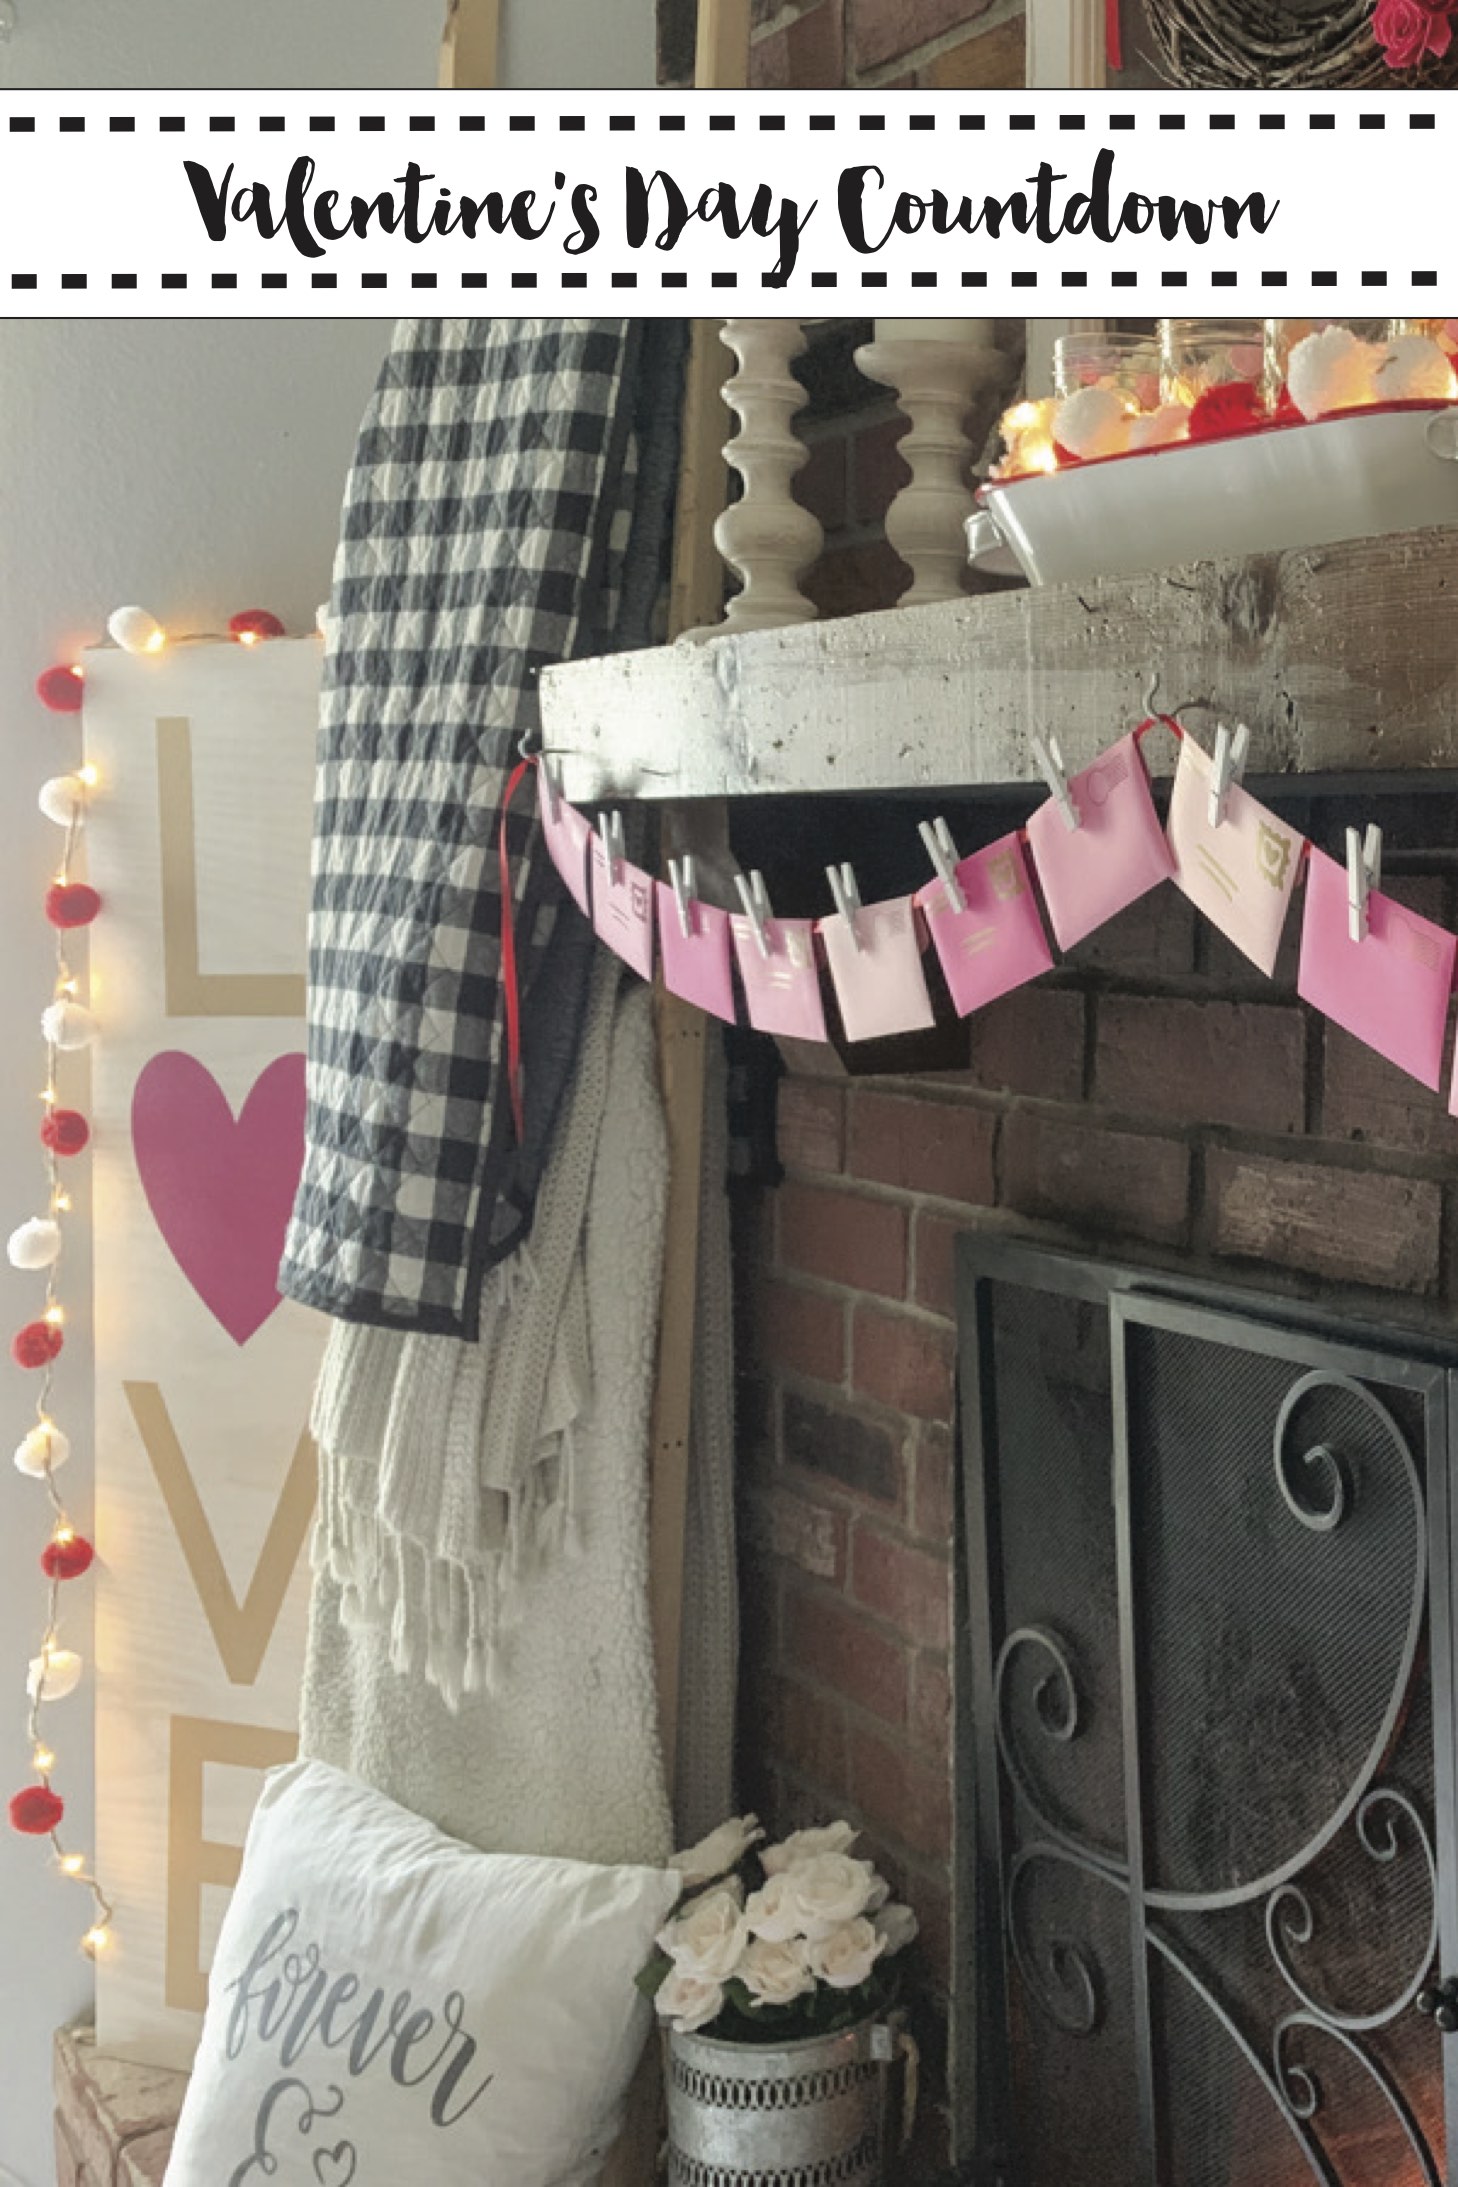
When I saw The Happy Scraps’ envelope bunting, I had an idea! I would do something similar, but with a twist. I decided that since there are 14 days leading up to Valentine’s Day, I would make an envelope bunting with 14 envelopes. Each child will be able to open three envelopes. The extra two envelopes will be opened by the whole family. Each envelope will have a special one on one activity for the boy that opens it. Since there are three, there will be one activity for the boy and me, the boy and dad, and then something small just for the boy.
Make the bunting:
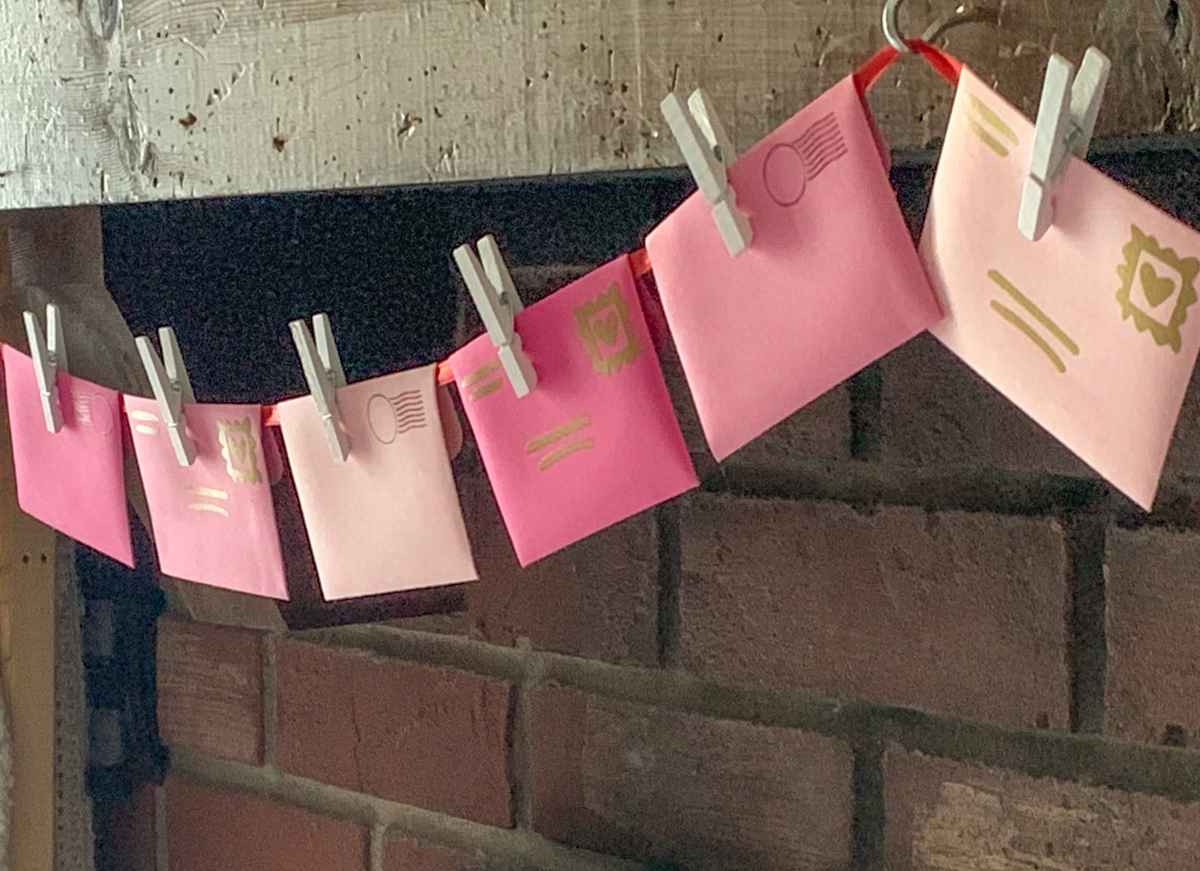
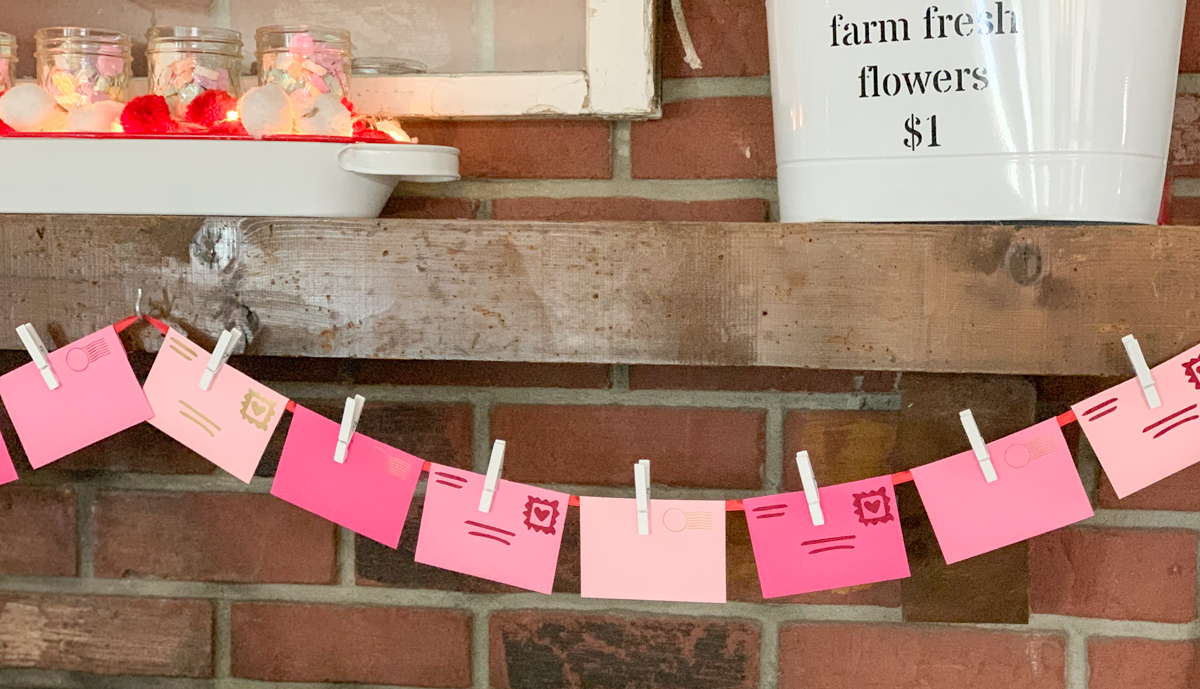
This bunting was super easy to make. My Cricut cut and scored the envelopes. It also cut out Iron On Vinyl to embellish the envelopes. {you could totally add stickers or hand write on each envelope too}. Finally, I clipped the envelopes on a piece of ribbon across the mantel.
Supplies:
Cricut Maker and Scoring Wheel
Design Space Access
EasyPress 2
Cricut Cardstock
Iron On
Hot Glue Gun and Glue
Ribbon
Mini Clothes Pins
Step 1:
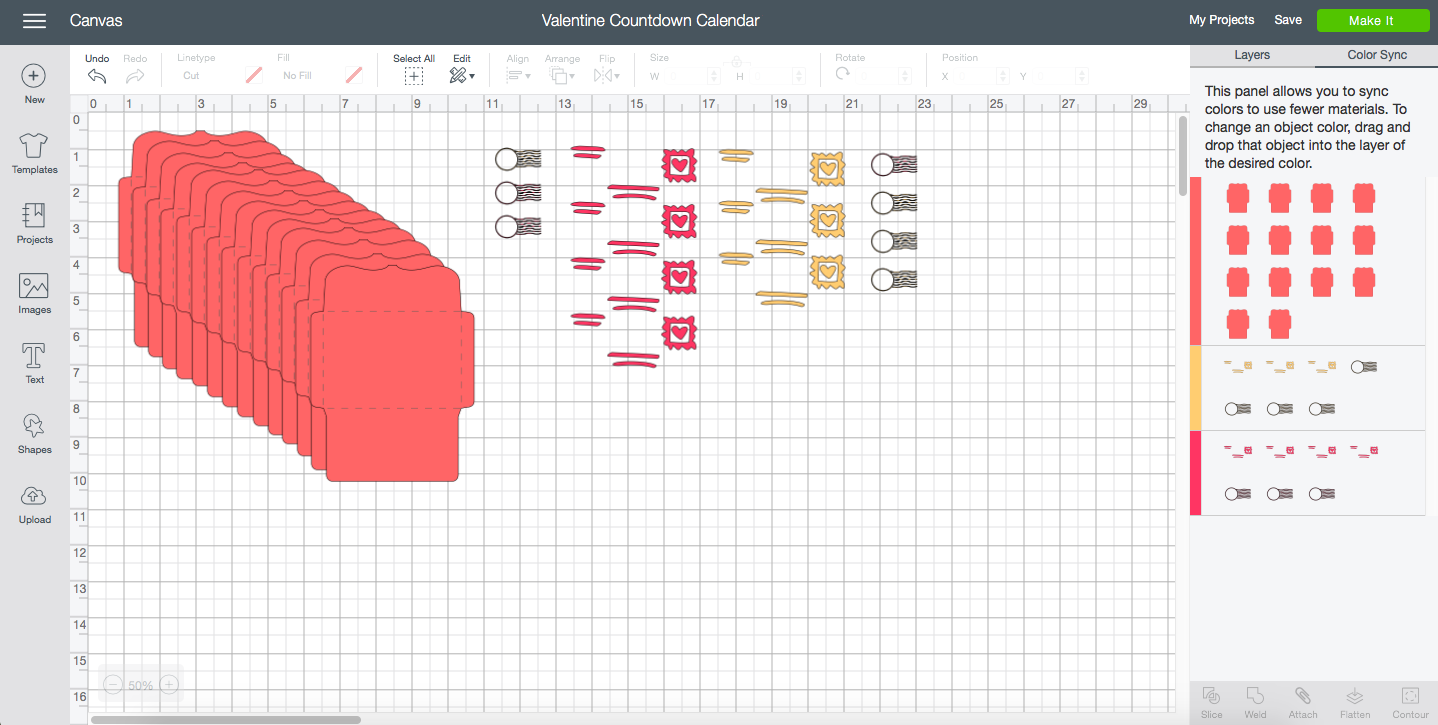
Open this cut file and size to fit your needs. Mine are just about the size of a gift card.
Step 2:
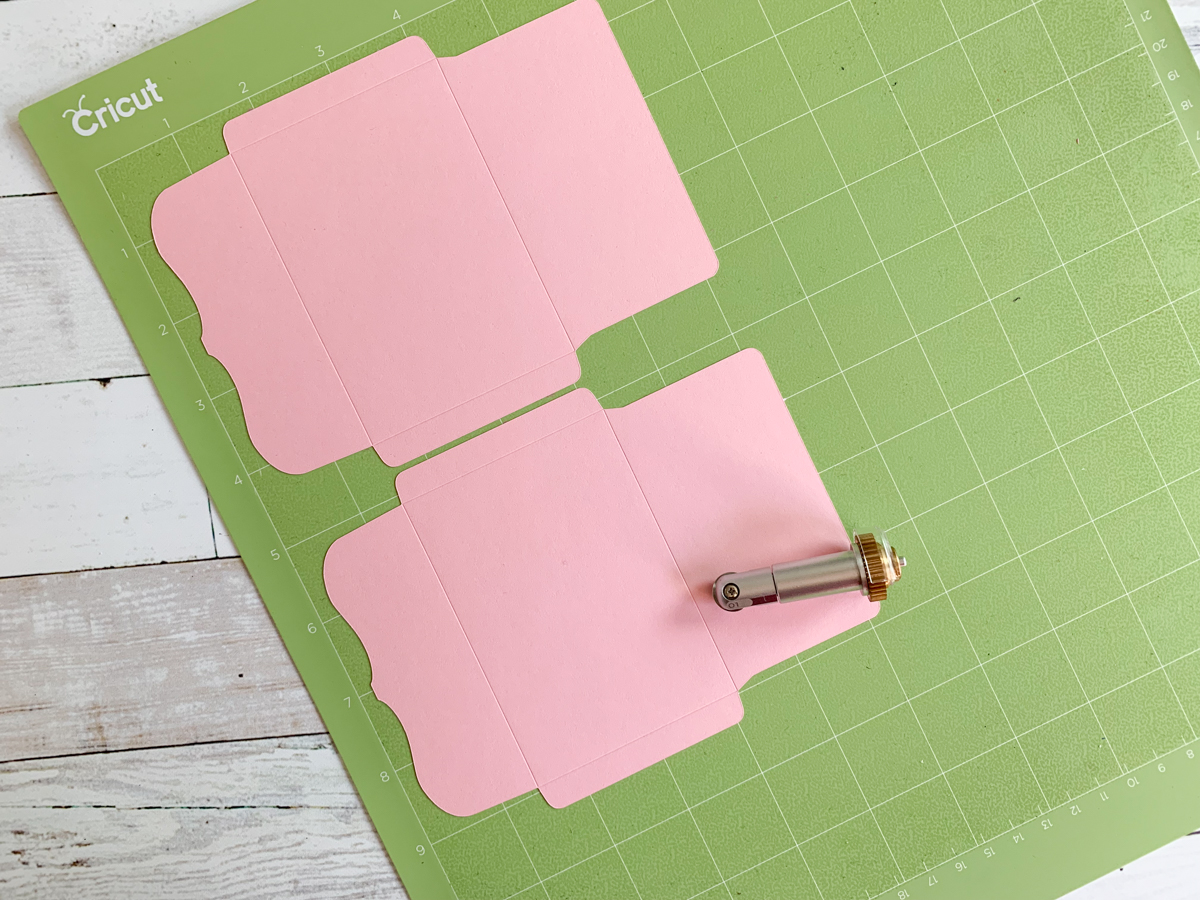
Prepare the cutting mats and cut as many envelopes as you will need. Be sure to follow the scoring and cutting prompts from Cricut.
Step 3:
Cut the Iron On. Don’t forget to place the iron on on the mat shiny side down and mirror the cuts.
Step 4:
Weed the excess Iron On and Cardstock.
Step 5:
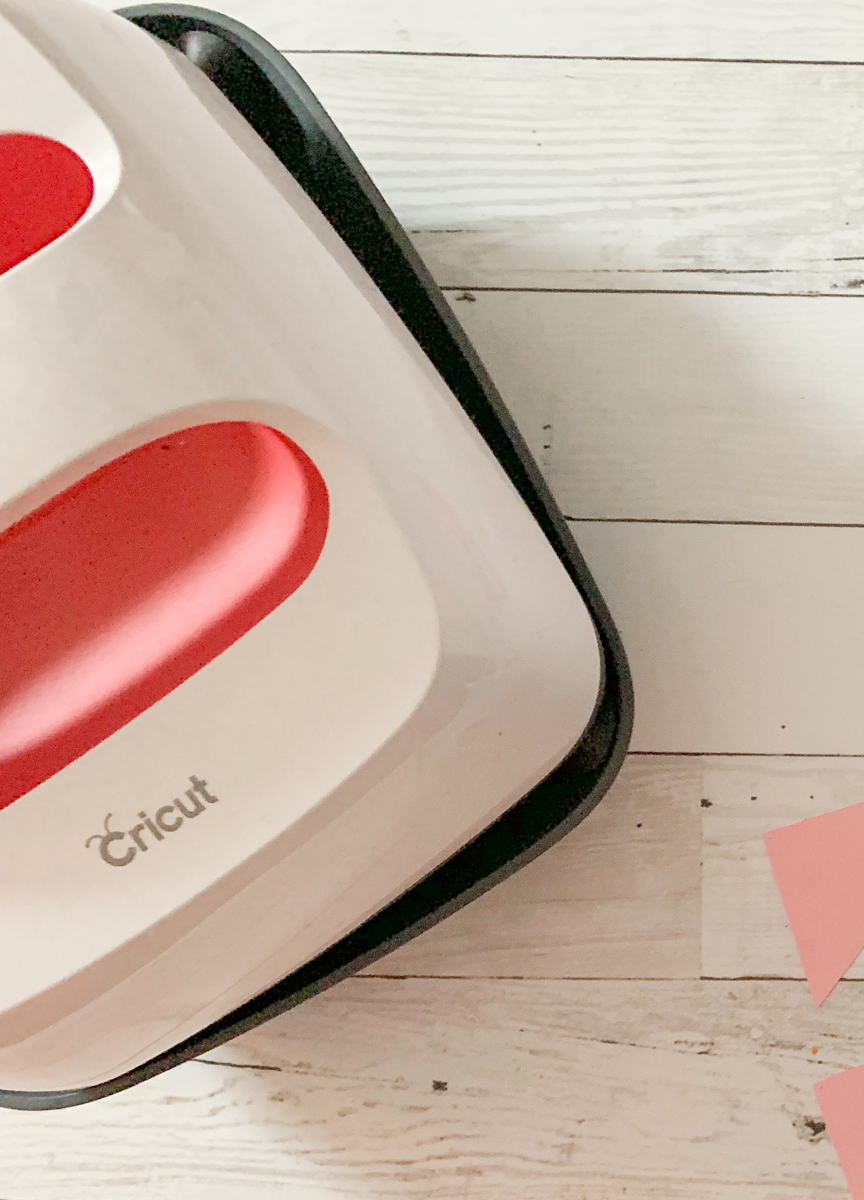
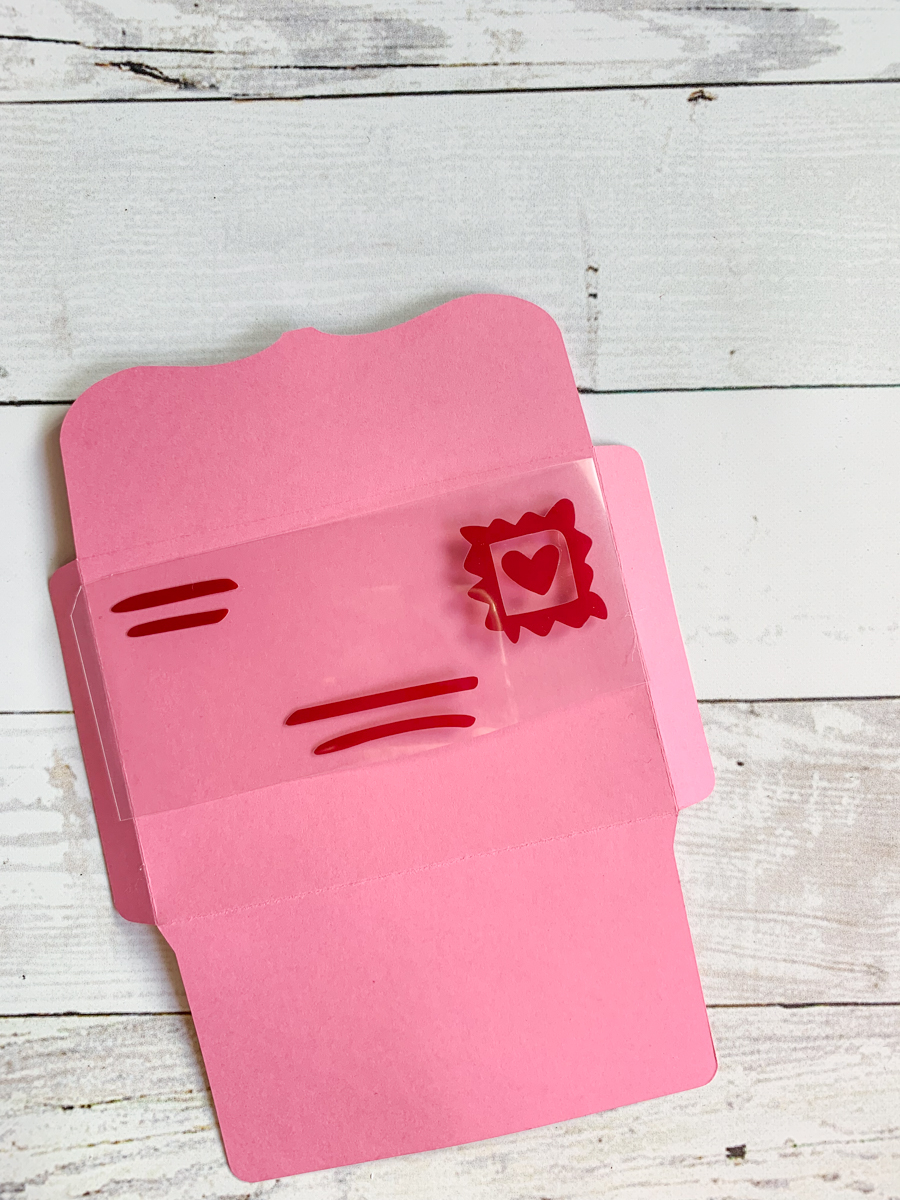
Use the Easy Press 2 to press the Iron On on to the unfolded envelope.
Follow Cricut’s recommended guidelines, found here.
Step 5:
Fold the envelopes on the scored lines and apply a thin line of hot glue on the tabs to secure.
Step 6:
Add a small note, gift card, or treat in each envelope. Some of mine will have Starbucks gift cards so we can grab a warm cup of cocoa before or after school. Others may have a Chick Fil A gift card, ice skating gift card, or Barnes And Noble Gift card…I haven’t decided on all of the activities just yet.
Step 7:
Hang a length of ribbon, and use small clothes pins to attach the envelopes to the ribbon.
If you liked this post, be sure to check out these posts too!
Tags : Countdown Calendar, Cricut, Cricut EasyPress 2, Cricut Maker, Cricut Scoring Wheel, DIY, Kids Valentine, Valentine, Valentine's Day
In DIY


[…] Valentine’s Day Countdown Calendar […]