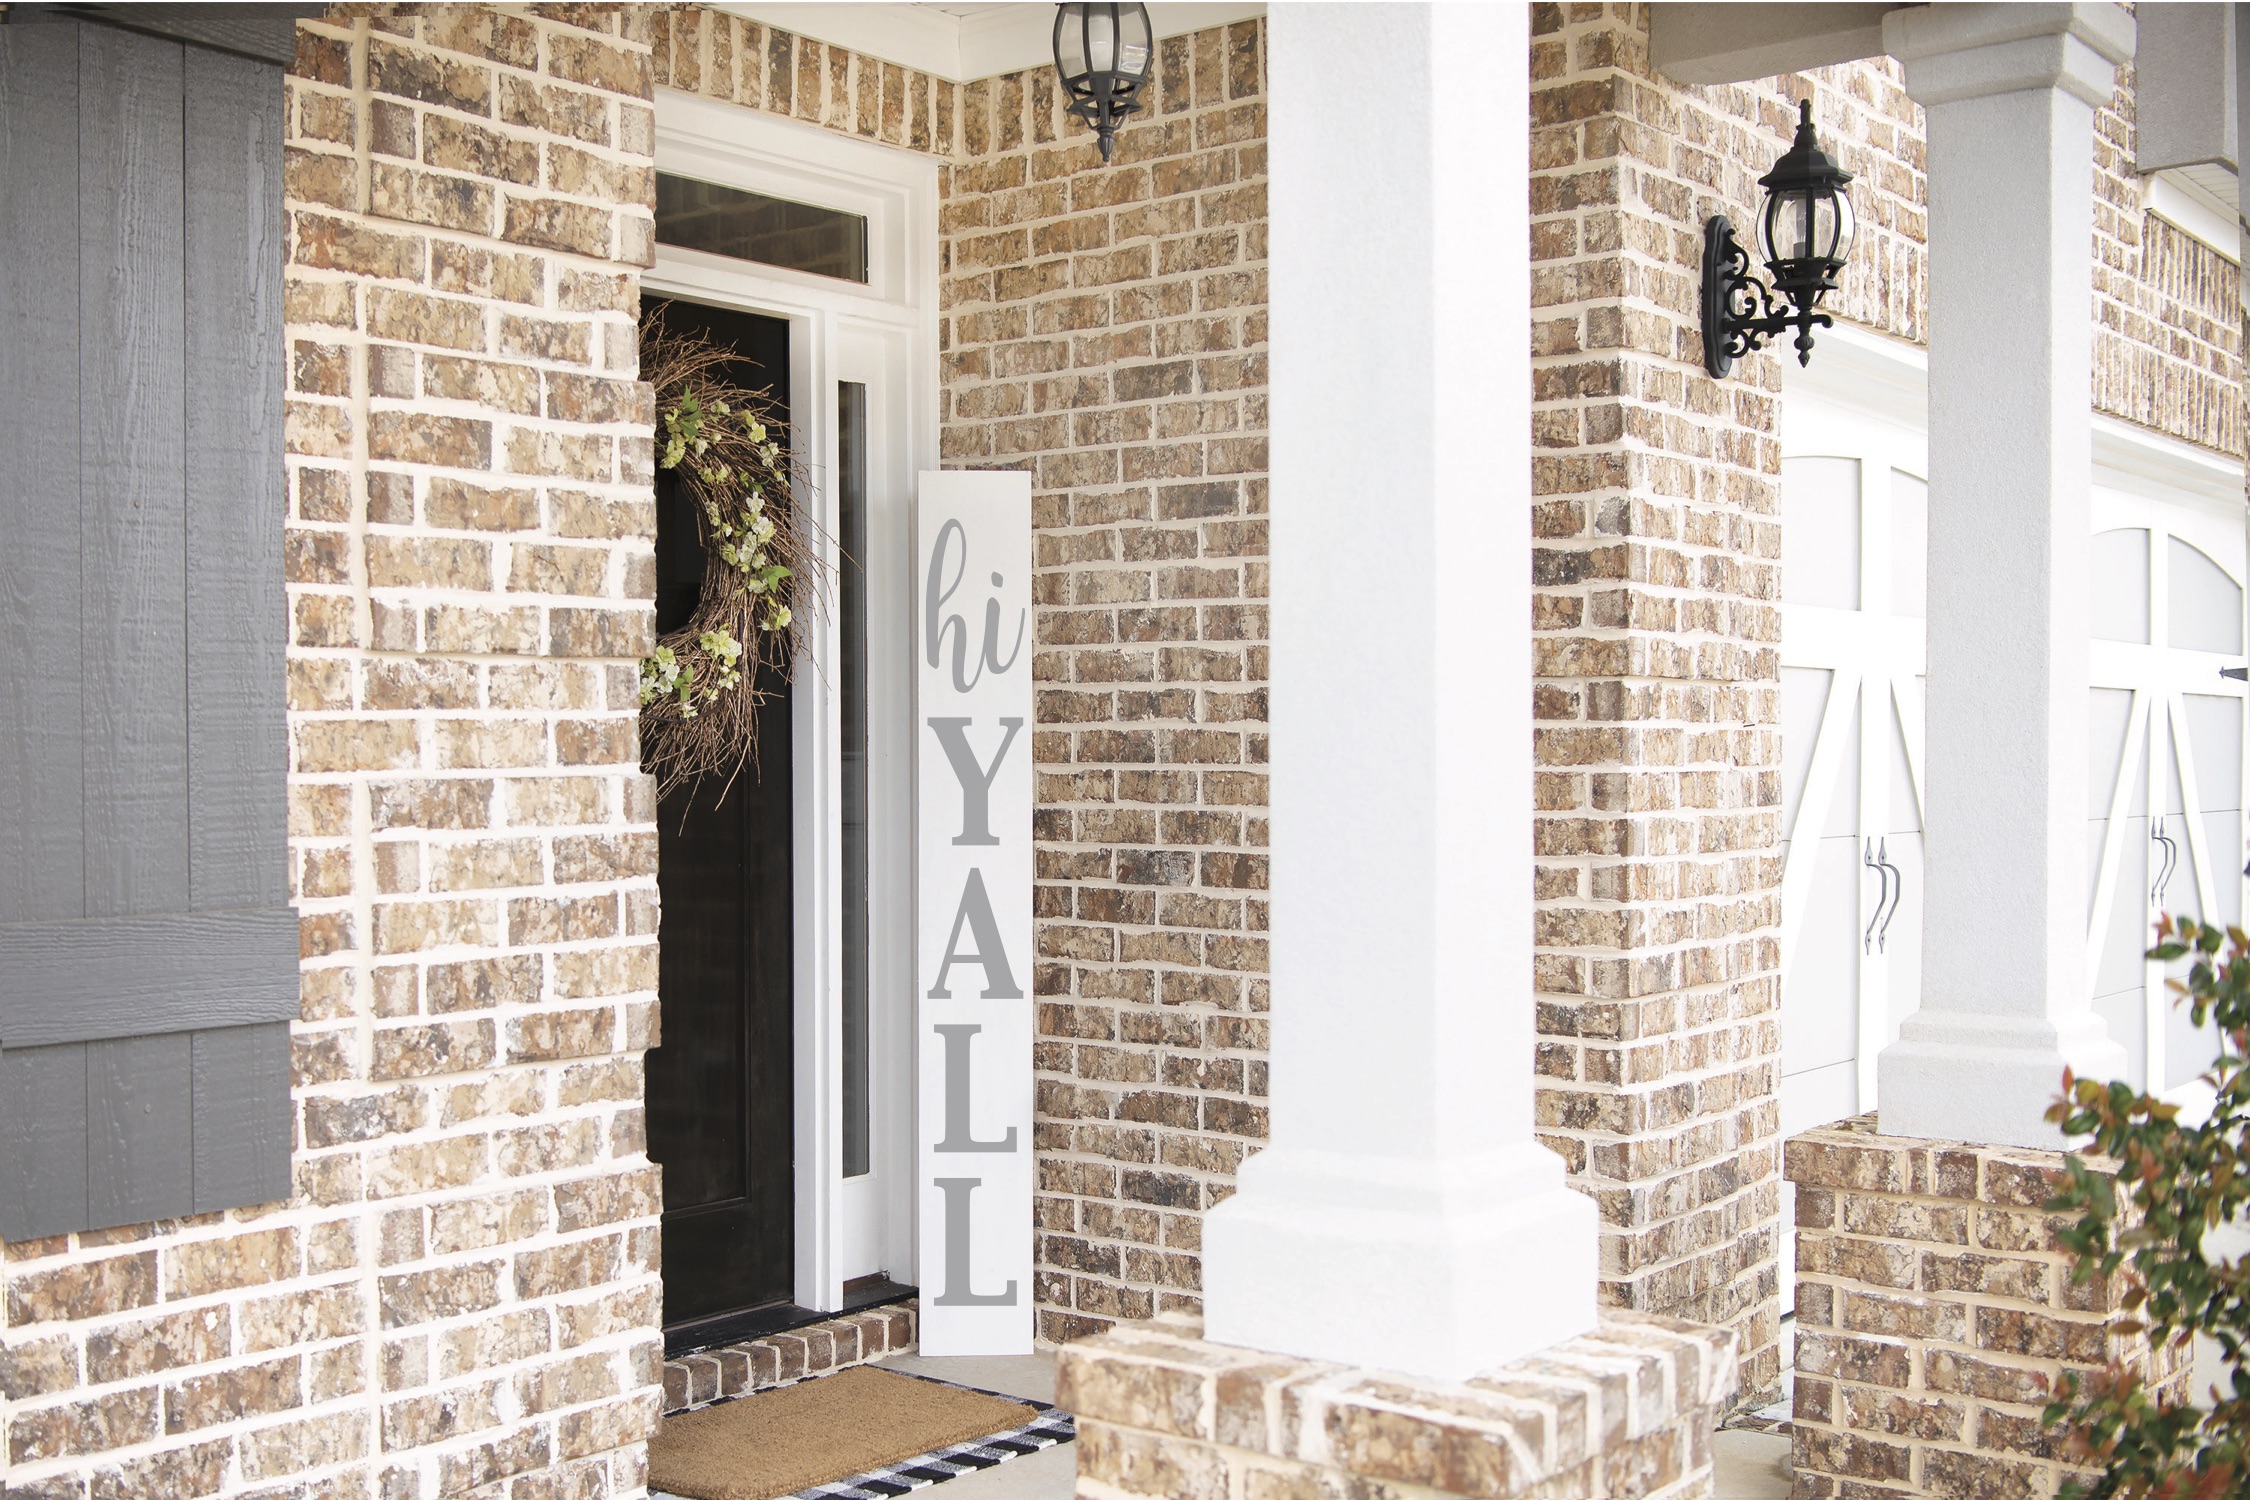
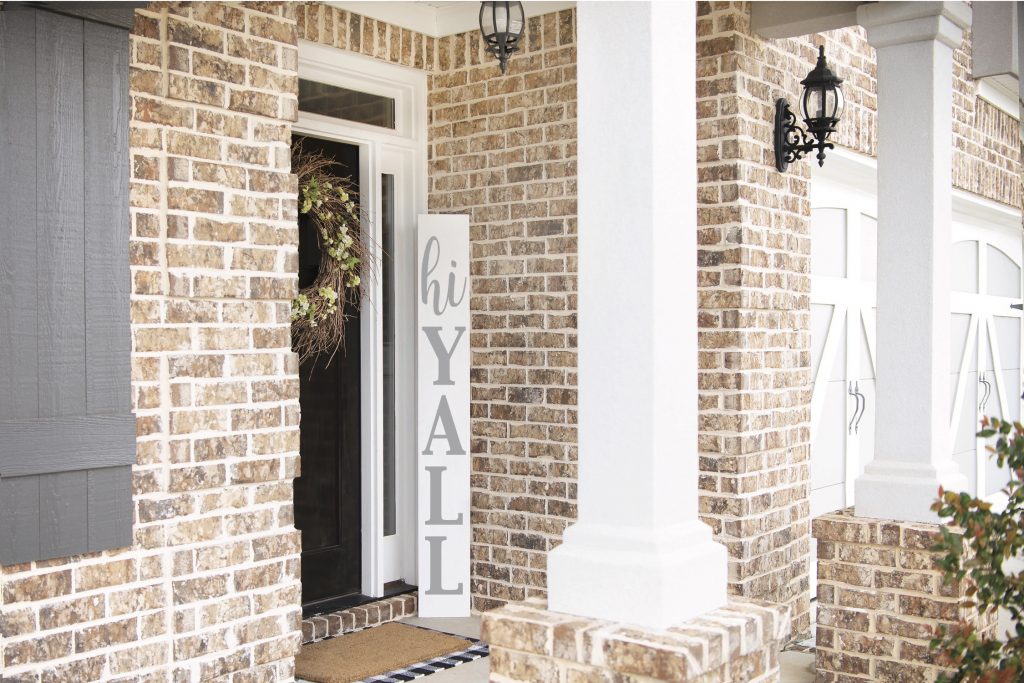
I love to make a lot of our home decor. Sometimes I make it because I can’t find what I want commercially, other times I make it because I don’t want to spend the money on commercially made decor. One of my favorite ways to decorate outside is with porch signs. I typically make them two sided so I can use them for multiple seasons. I just made a Simple DIY Porch Sign for the Fourth of July, and I really love it!
If you decide to make a purchase through my links, I will be paid a small commission for it. This doesn’t cost you anything additional.
DIY Welcome Signs
The first time I made a welcome sign for my home was with I made Simple Valentine’s Day Home Decor with Cricut. I love making oversized signs and decor for my home, so I’m not sure why it took me so long to actually make these!
Make a Simple DIY Porch Sign
I usually use what I have on hand to make my signs, but if you need to buy supplies, a quick shopping trip will take care of everything you need!

- SVG File, use the code HIYALL to download it F*R*E*E
- Cricut
- EasyPress 2
- Iron On
- Lumber
- Paint or Stain and Paint Brush
- Amazon Links – Saw, Drill or Nail Gun
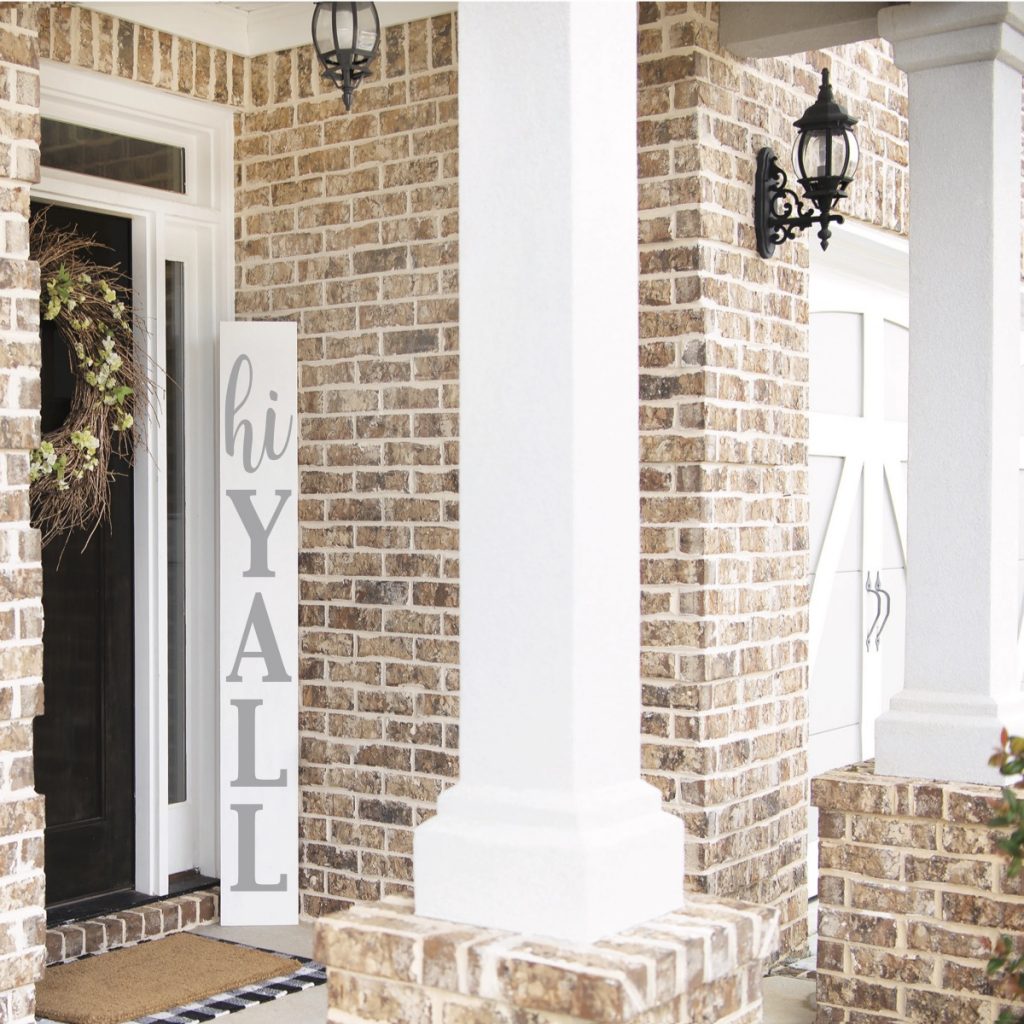
When I make any sign for my home, my first stop is the hardware store for scrap or inexpensive lumber. Sometimes I use 1×4’s, 1×6’s, or even scrap pieces of plywood.
After I find the wood I want to use, I bring it home and cut it to length. If I am using 1x lumber, I also cut two pieces that are the width of the boards I am using to act as a brace on the top and bottom of the sign.
Next, I paint or stain the wood.
Then, I upload my SVG file to Cricut Design Space and cut the file using Iron On.
Once the image is cut, I weed the excess Iron On, and place it onto the wood sign.
After I am happy with the placement, I use an EasyPress to press it onto the wood.
Check out this Farmhouse Sign DIY for more step by step instructions and photos.
If you liked this Simple DIY Porch Sign post, then you will love these!
Oversized Wooden Halloween Sign DIY


