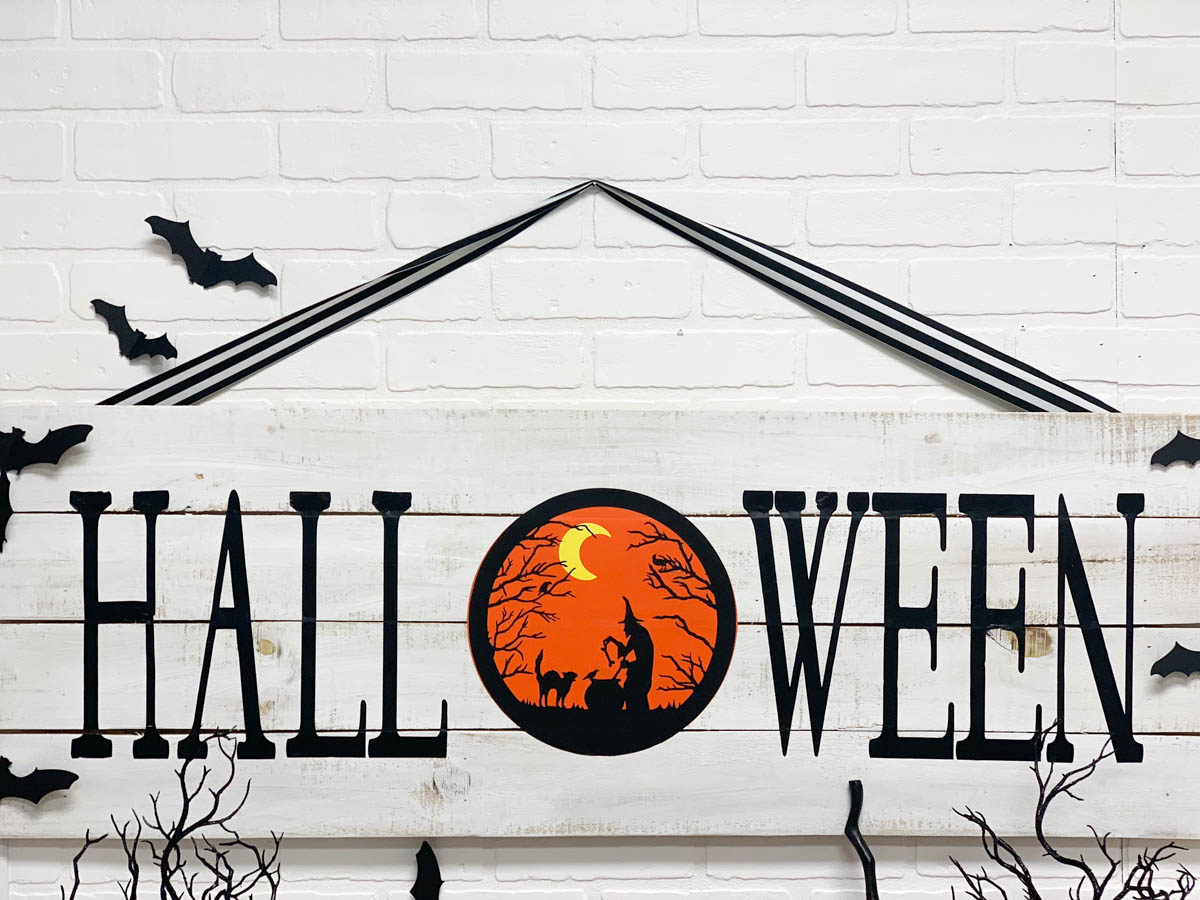
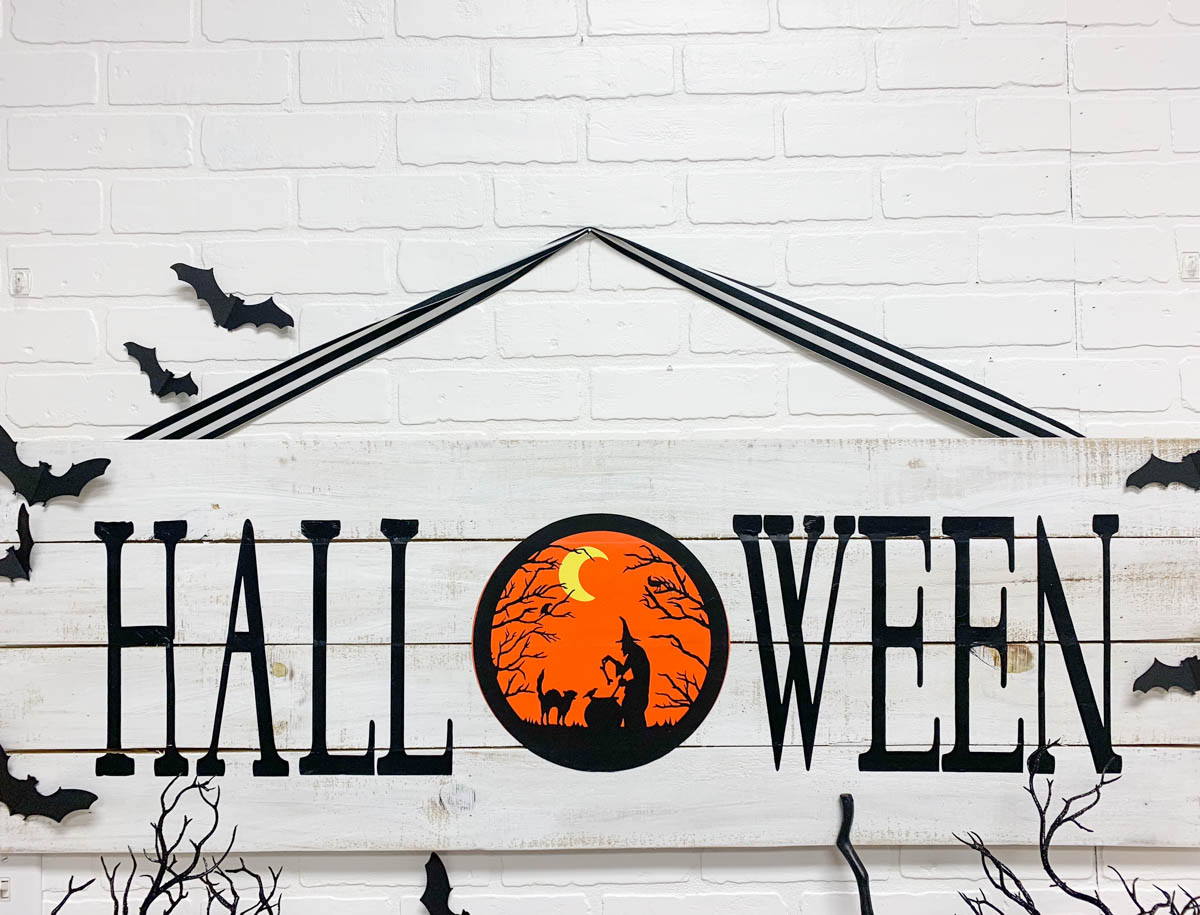
Oversized Wooden Halloween Sign DIY
Oversized Wooden Halloween Sign DIY. Y’all know I LOVE making wooden signs, and if I can make them for less than $15 I call it a HUGE WIN! This awesome oversized Halloween Sign is four feet long, and about a foot and a half tall, so it is BIG! But, big does not always mean a lot of money. This one was just about $15 not including what I had at home already.
The sign took a few hours to make, but I super love the way it looks, and I think it was well worth the couple hours of work to make. This was a slat style sign, so there are a few more steps than one of my solid wood signs.
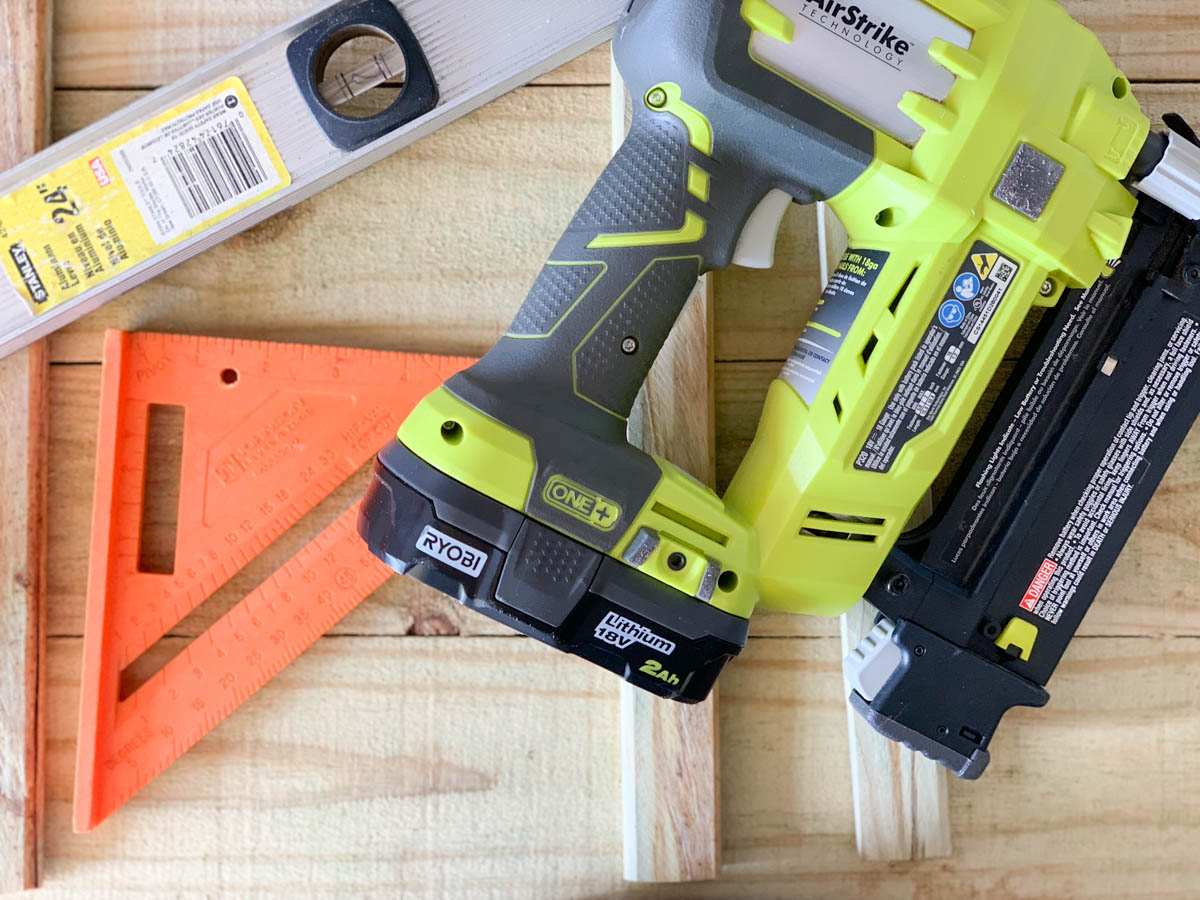
To make your own Halloween sign, you will need:
{4} Fence Slats
{1} Furring Strip
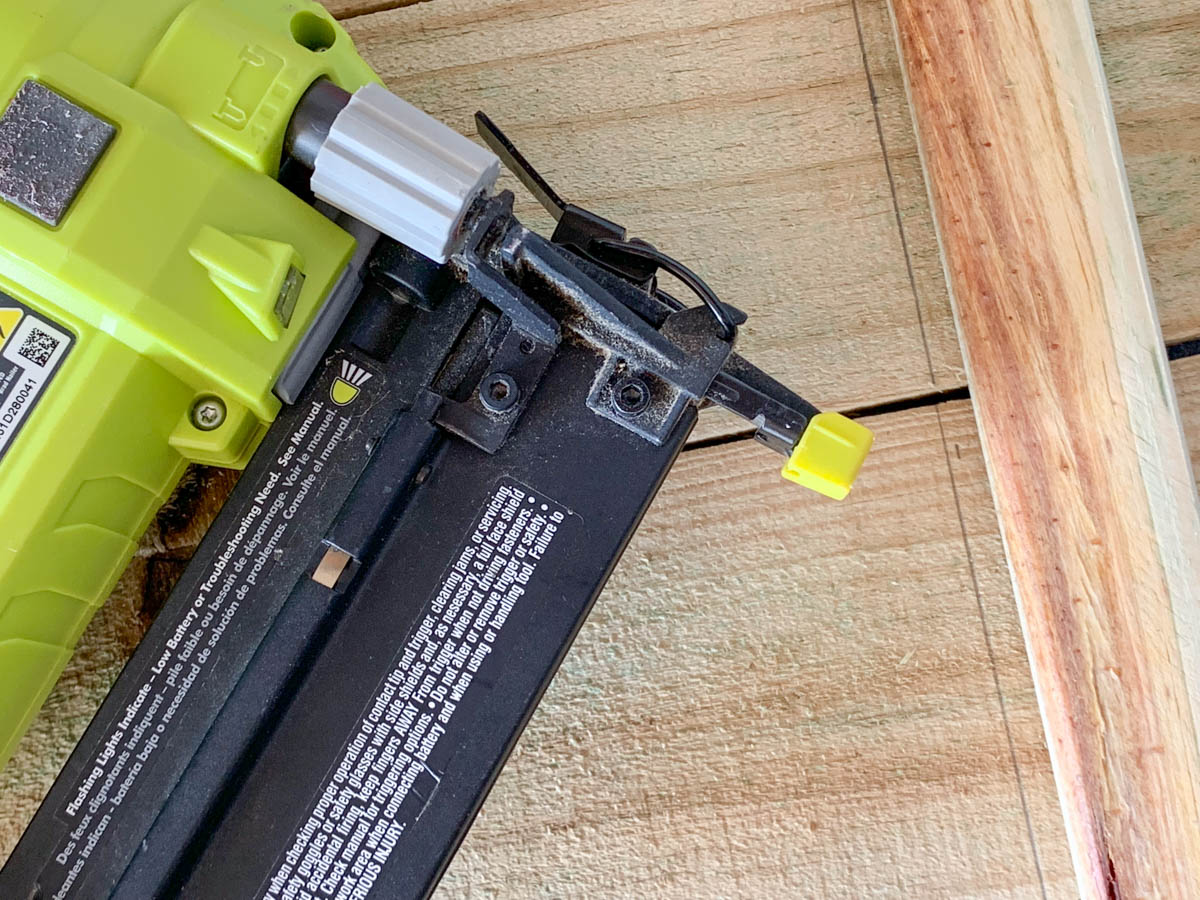
Nail Gun {Optional}
Drill, Drill Bit, and {16} 1″ Screws
Paint and Paint Brush
Ribbon
Upholstery Tacks
Cut the fence pieces to 4 feet long each, and cut {4} 14″ sections from the furring strip. Line up the fence slats, to make a 48″x16″ sign. Run a bead four beads of glue evenly spaced on the fence pieces and attach a furring strip to the fence pieces over the glue. {We used the nail gun to hold the strips down while we pre-drilled and screwed each board in place} Pre-drill one hole per fence slat in EACH furring strip, 16 total, and screw the 1″ screw into each hole. They will not come through the fence slats.
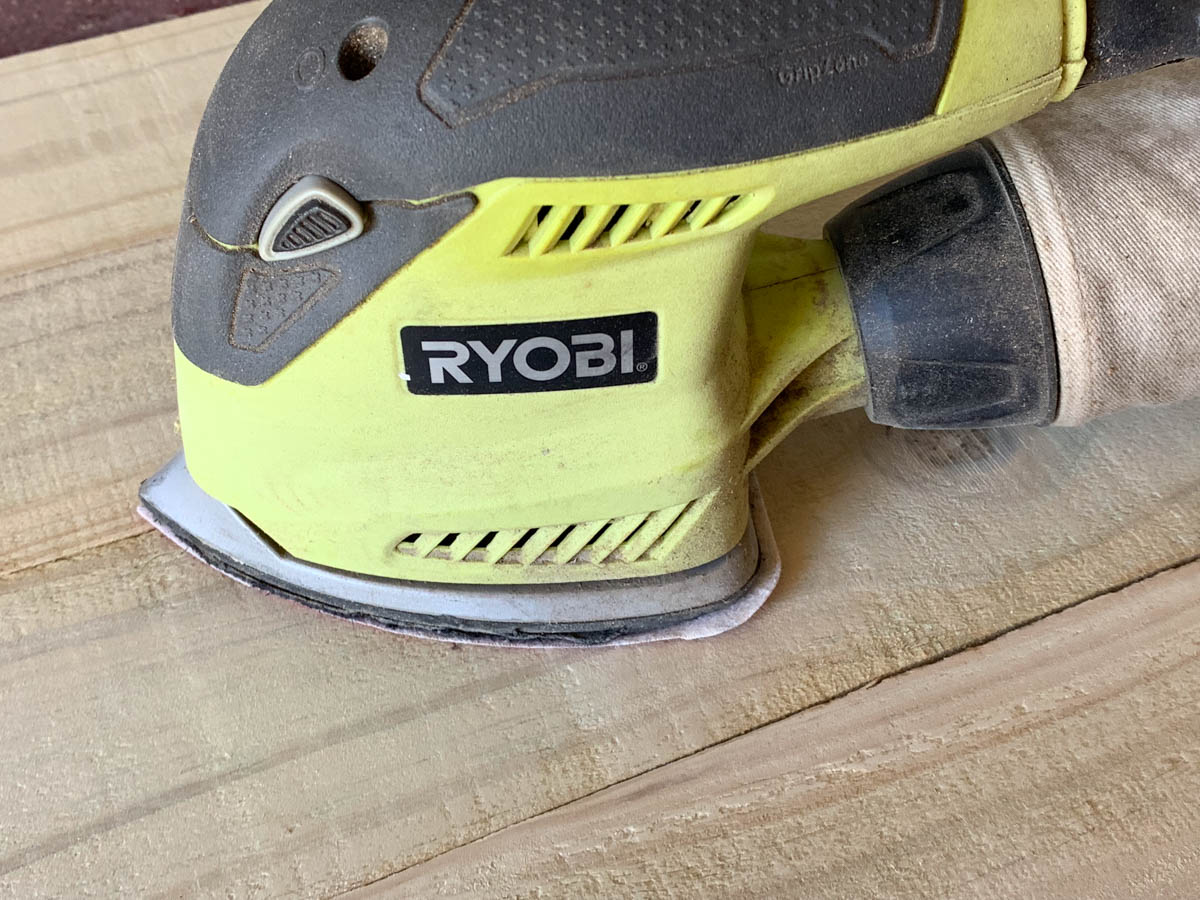
Flip the sign over and sand it, then dry brush it with paint. Once the paint’s dry, sand the edges again lightly.
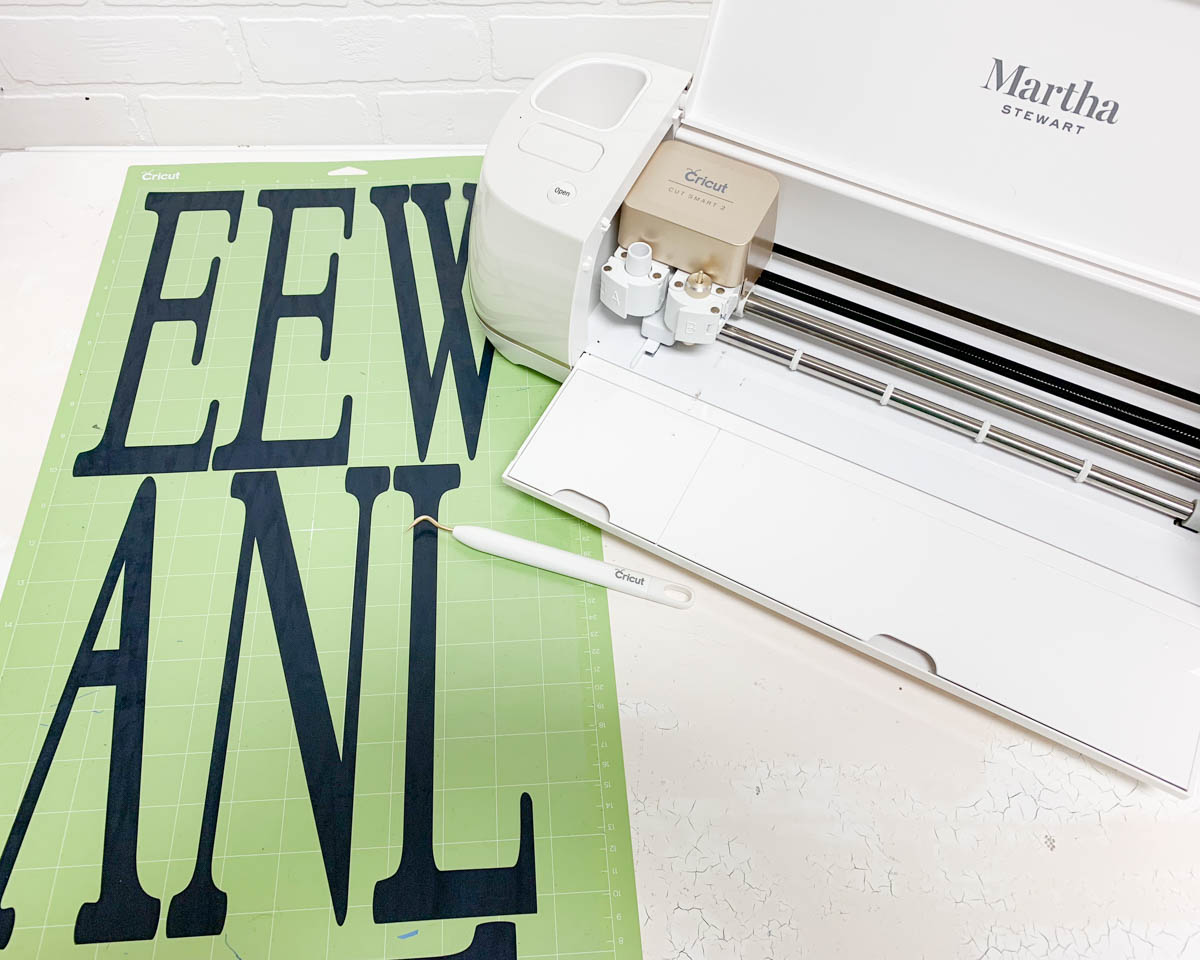
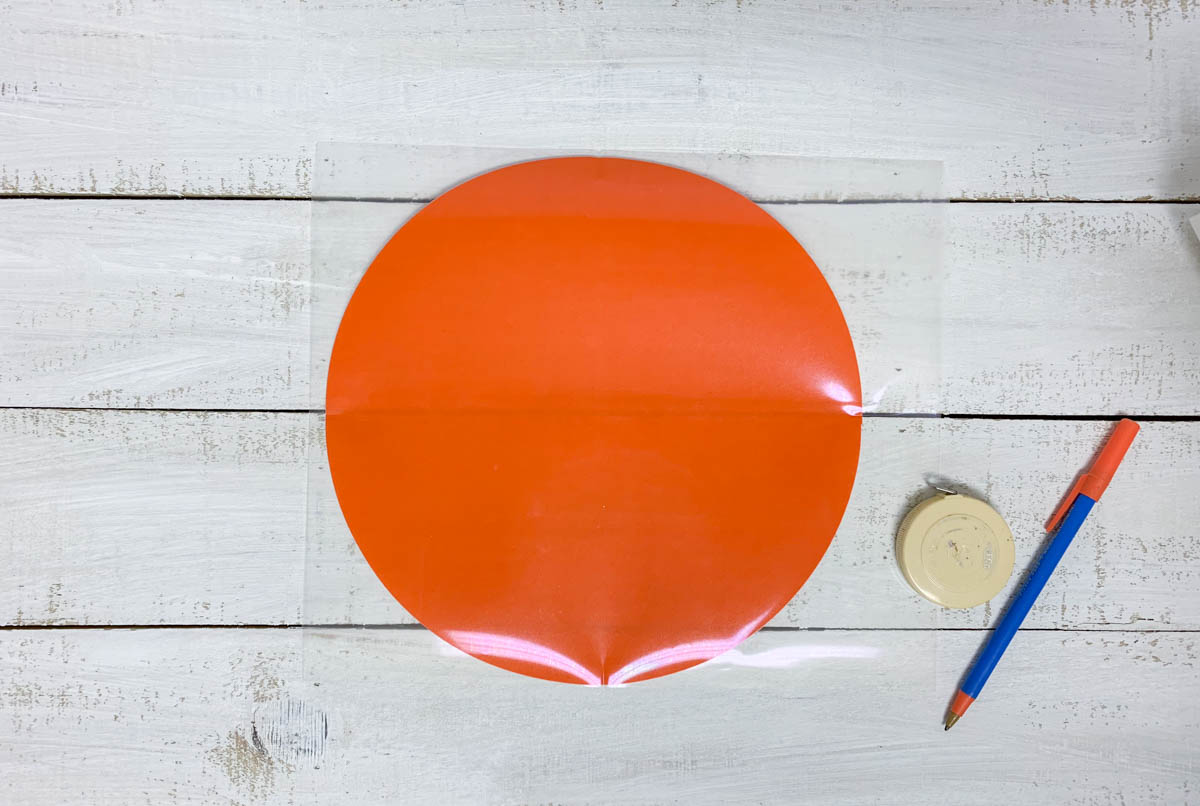
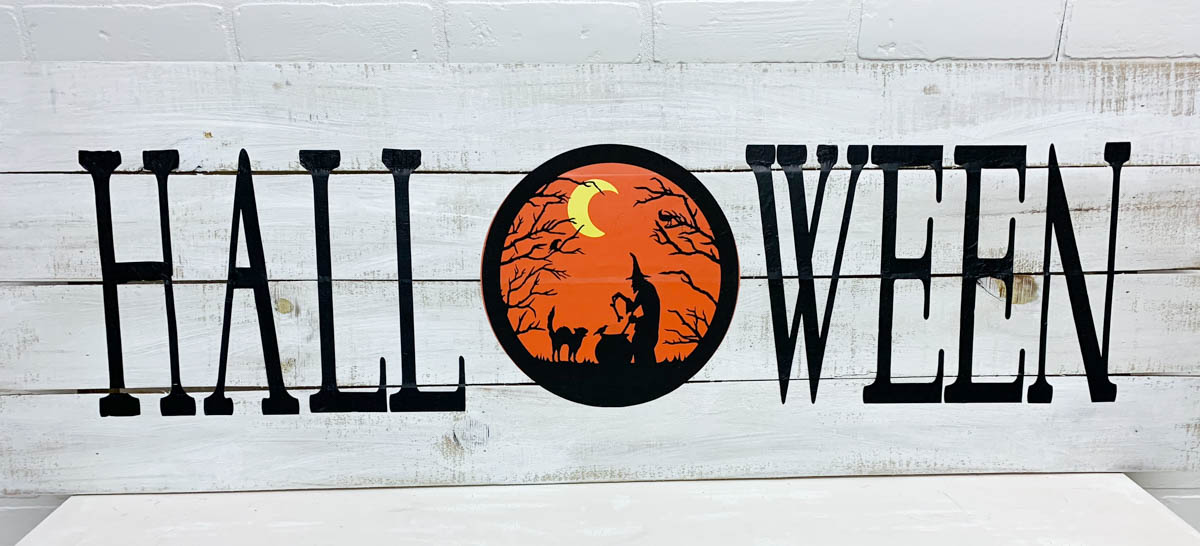
Open the Halloween cut file, and send it to cut. {Don’t forget to mirror the cut, and place the iron on on the cutting mat shiny side down}
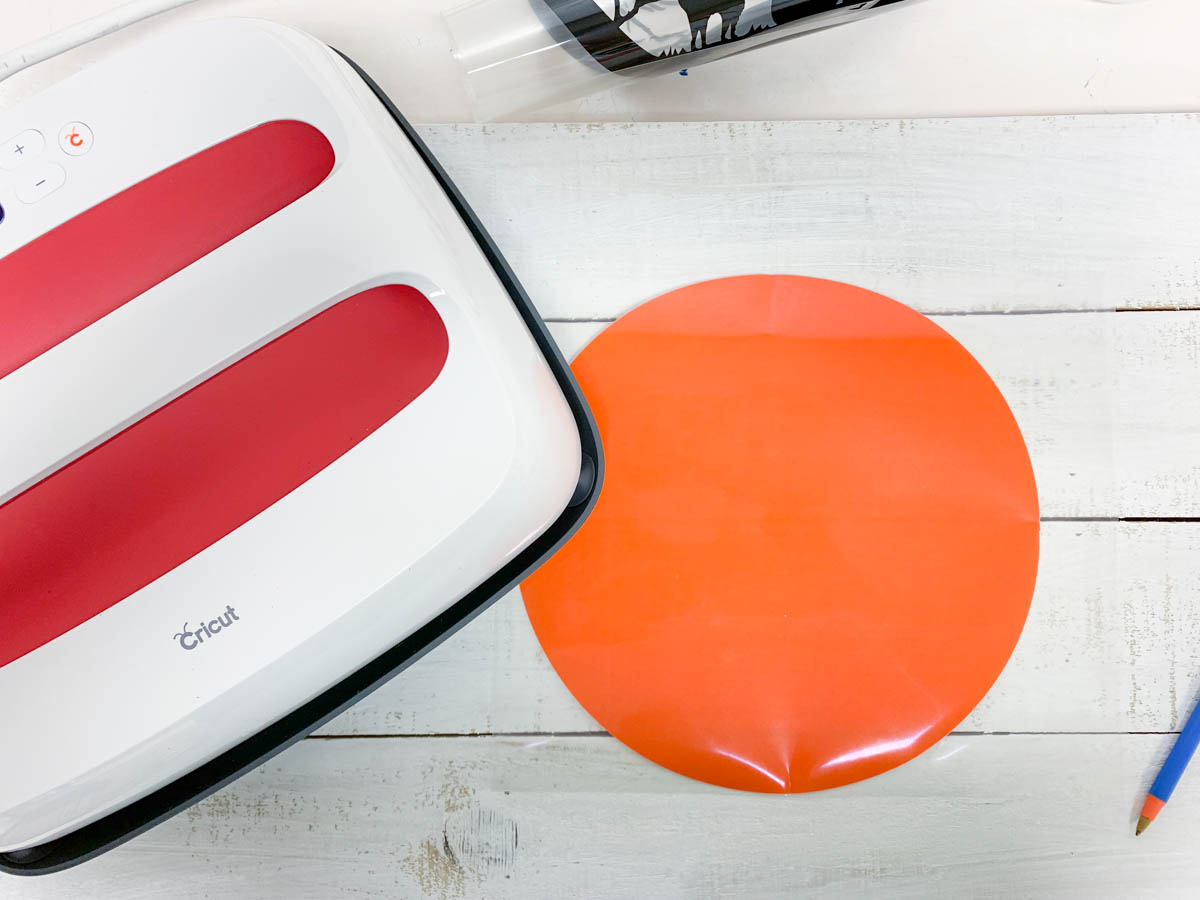
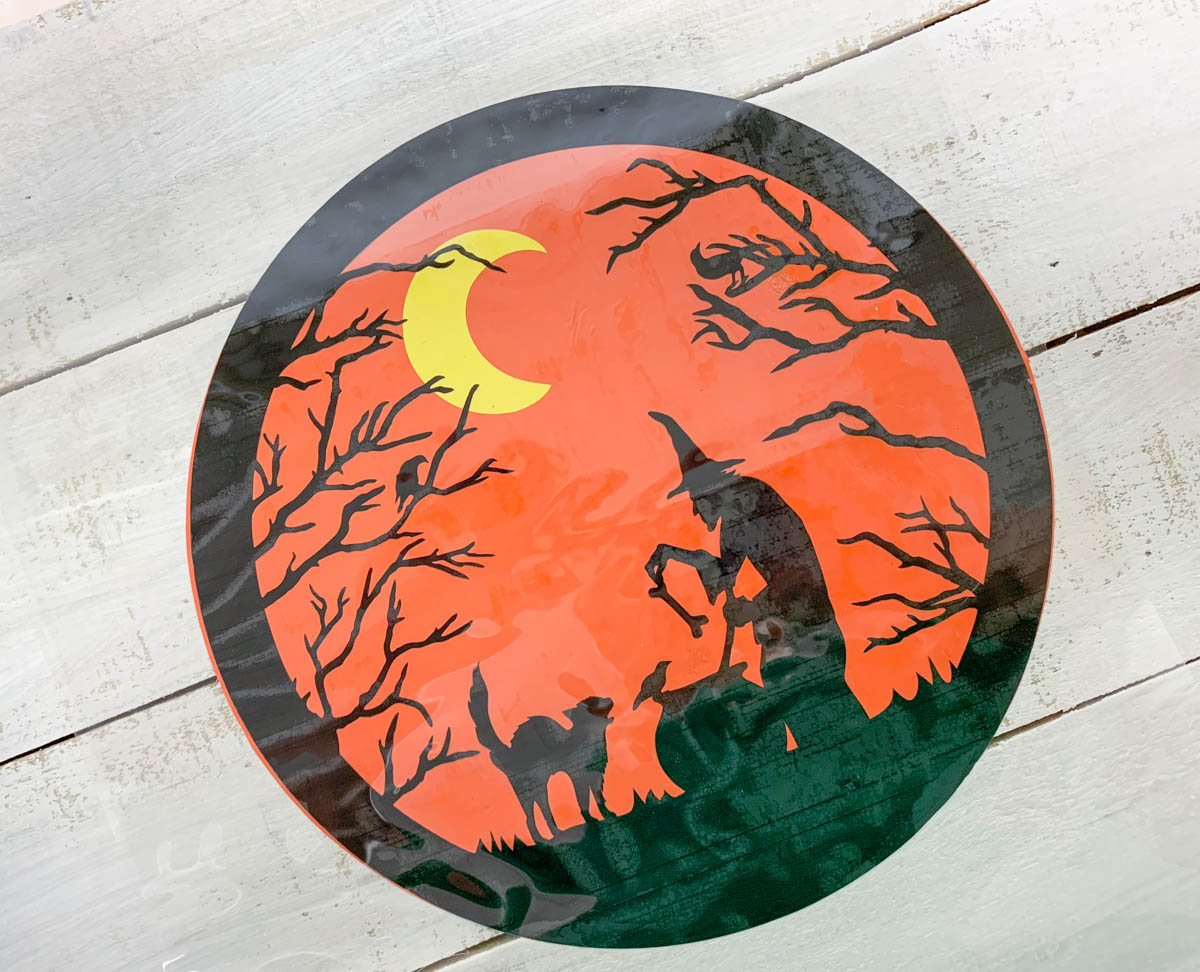
Mark the middle of your sign, and place the orange circle. Heat the EasyPress to 350* and press for 45 seconds. Place the moon where you want it {I used the top black layer to help me place it properly}, cover with the protective sheet, and repeat the EasyPress step. Next, place the top layer of black iron on on top, cover with the protective sheet, and EasyPress.
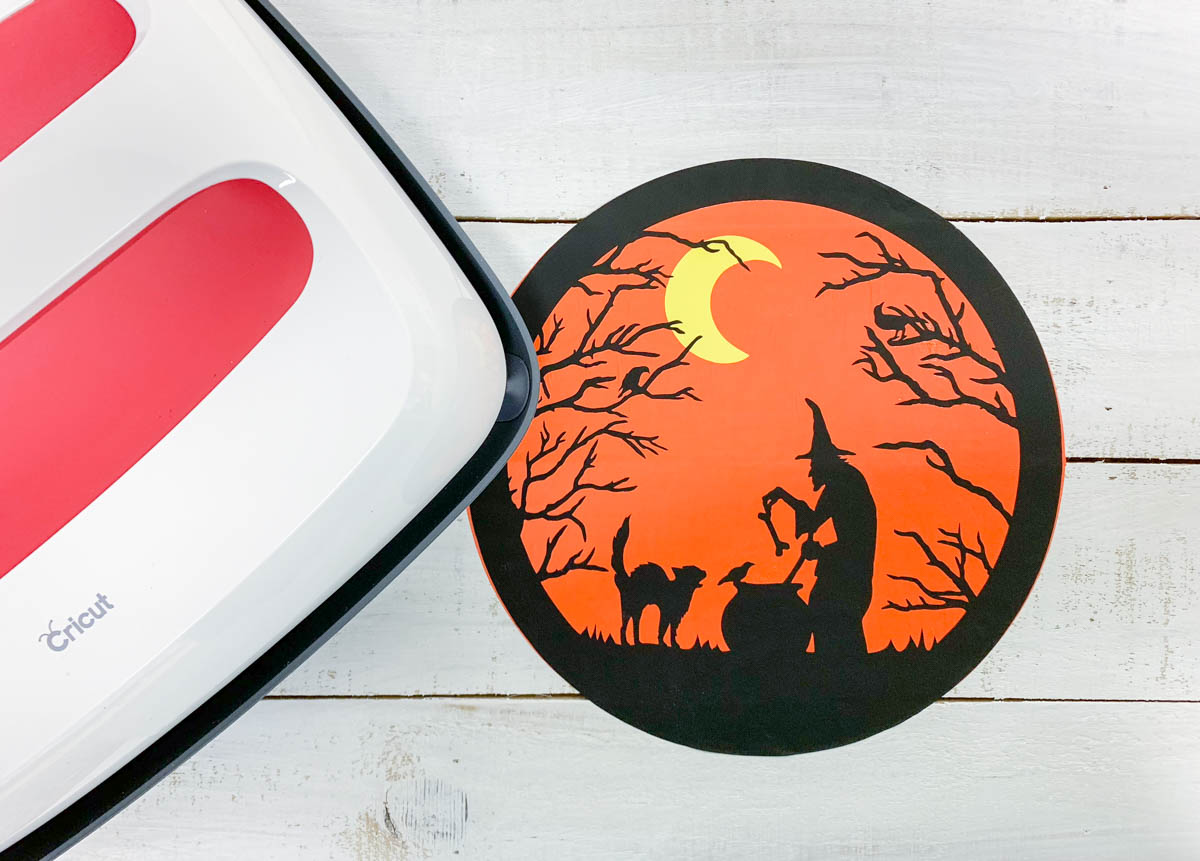
Line up the HALL WEEN so that it is evenly spaced and centered around the image you just pressed onto the board. Press each letter on to the sign. Some letters may need a little more pressing due to the type of sign.
Finally, flip the sign over, and tach the a 1″ section of folded ribbon into the furring strips on each side.

Tags : Builder, Cricut, Cricut EasyPress, Cricut EasyPress 2, Cricut Made, DIY, DIY Halloween, EasyPress 2, Farmhouse, Farmhouse Style, Halloween, Halloween Sign, Iron On, Ridgid, Rustic Farmhouse, Rustic Holiday, Ryobi, Tool, Wood Sign