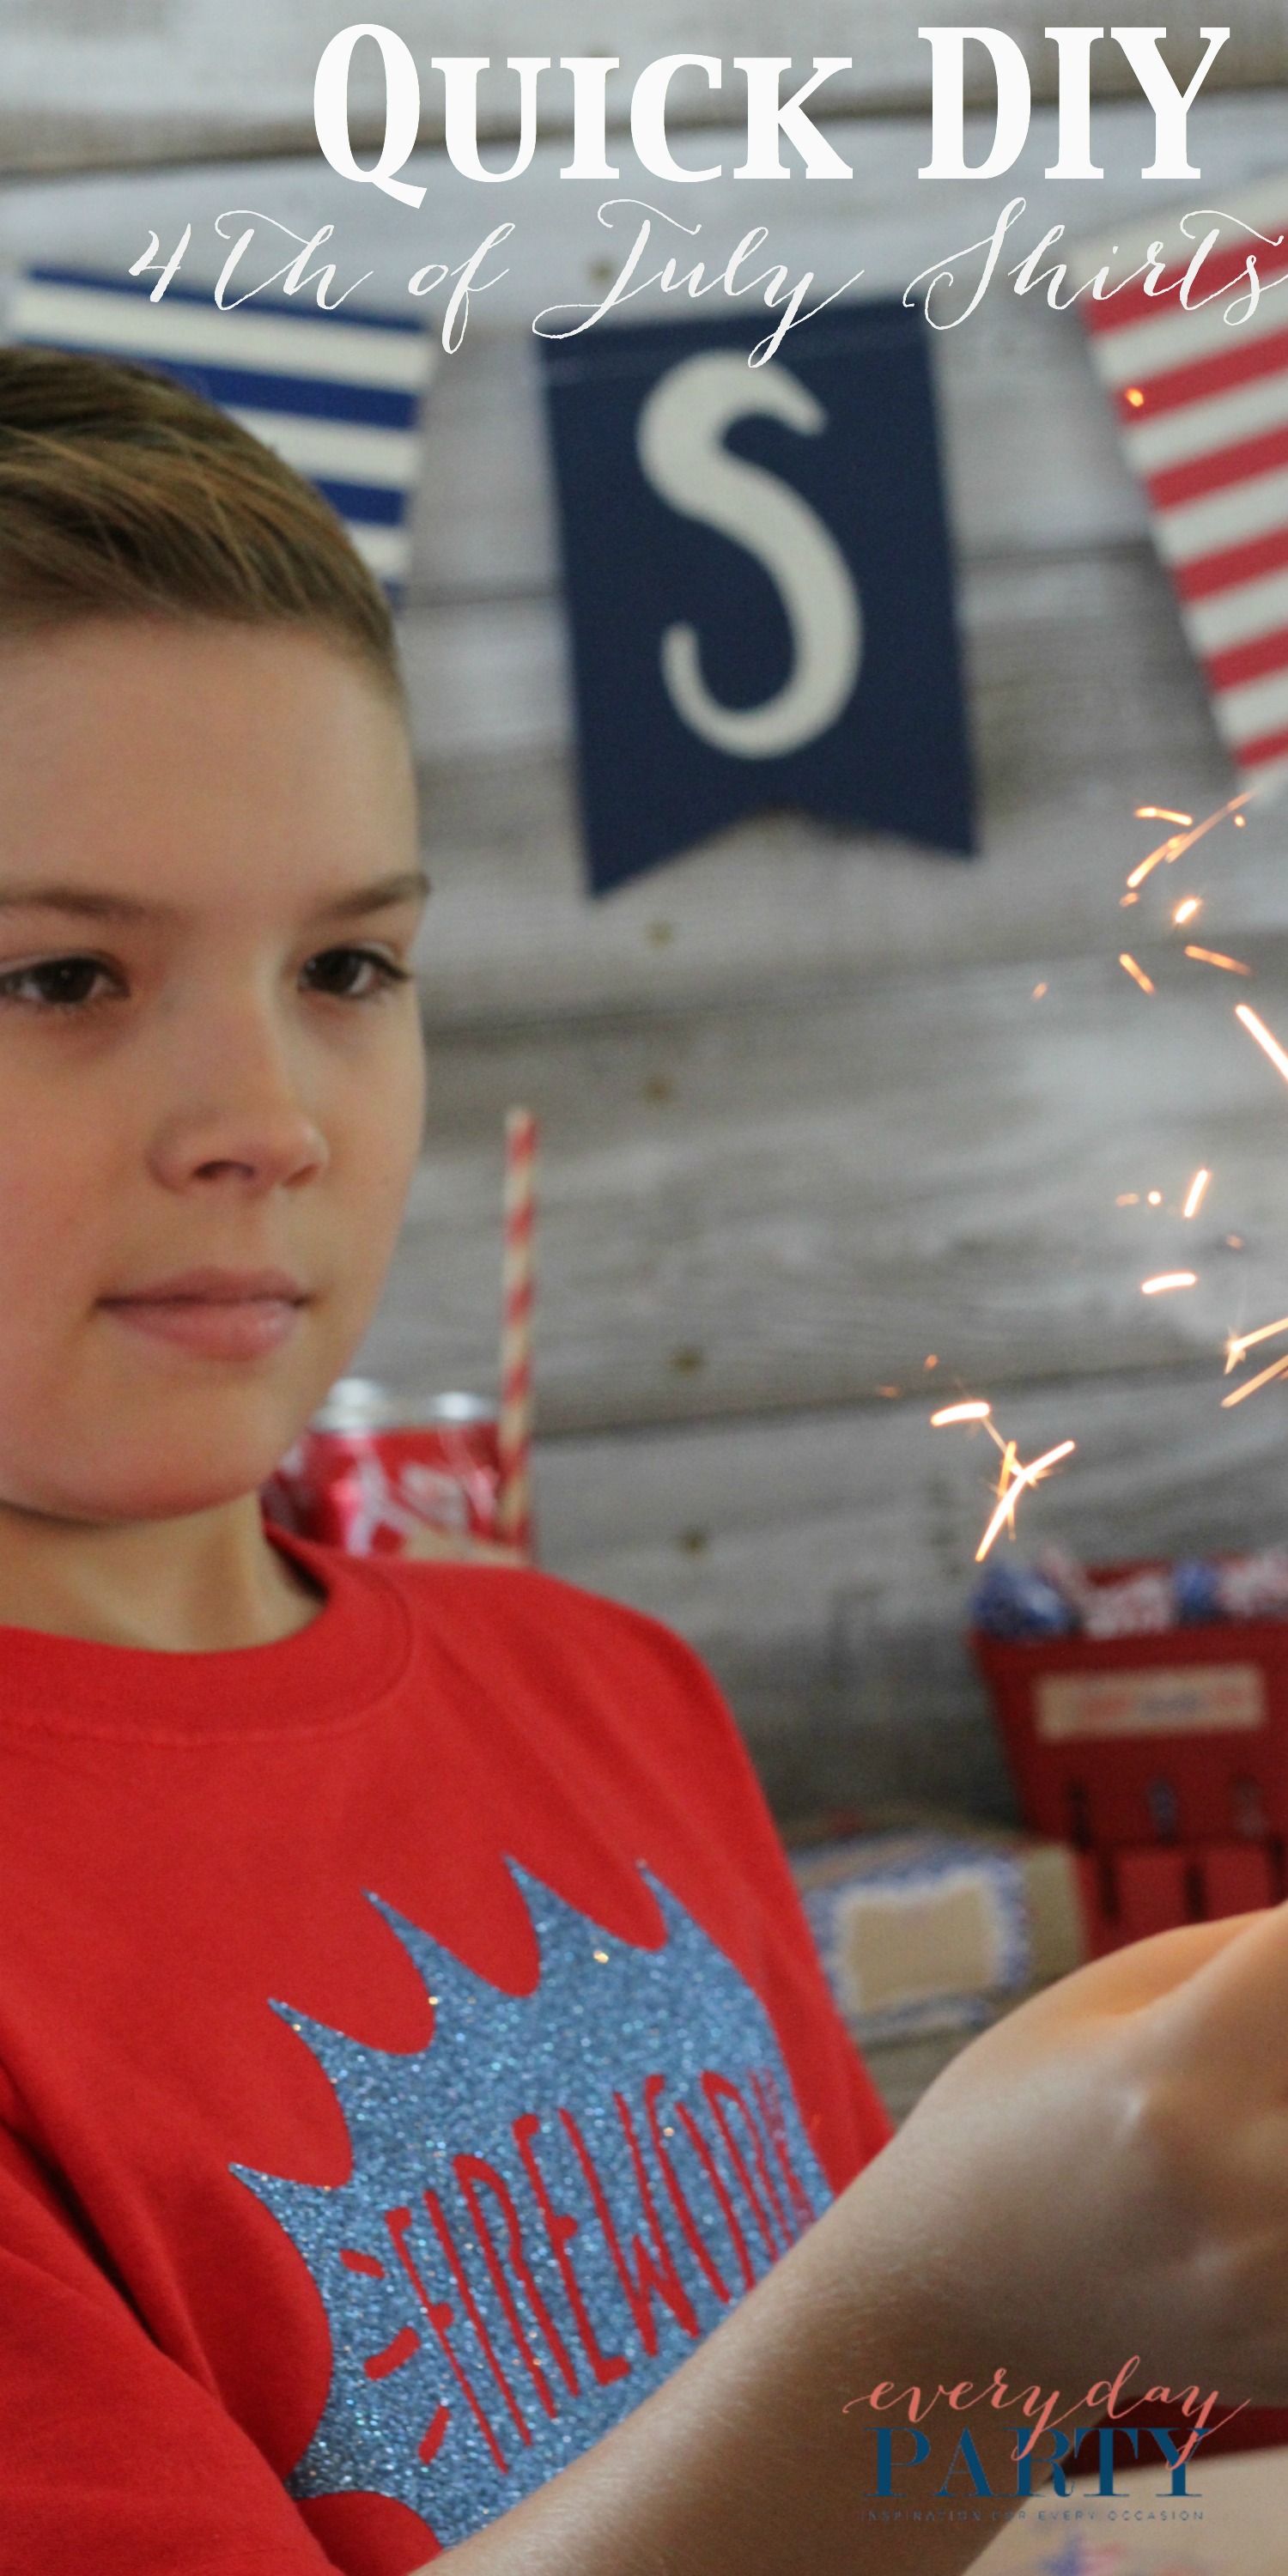
Quick DIY 4th of July Shirts
This review is based strictly on my opinion. Others may have a different opinion or experience with the product listed above. I was provided the sample free of charge by the company or PR agency and I have given my honest opinion. No other type of compensation was received for this review.
If you decide to make a purchase through my links, I will be paid a small commission for it. This doesn’t cost you anything additional. These commissions help to keep the rest of my content free, so thank you!
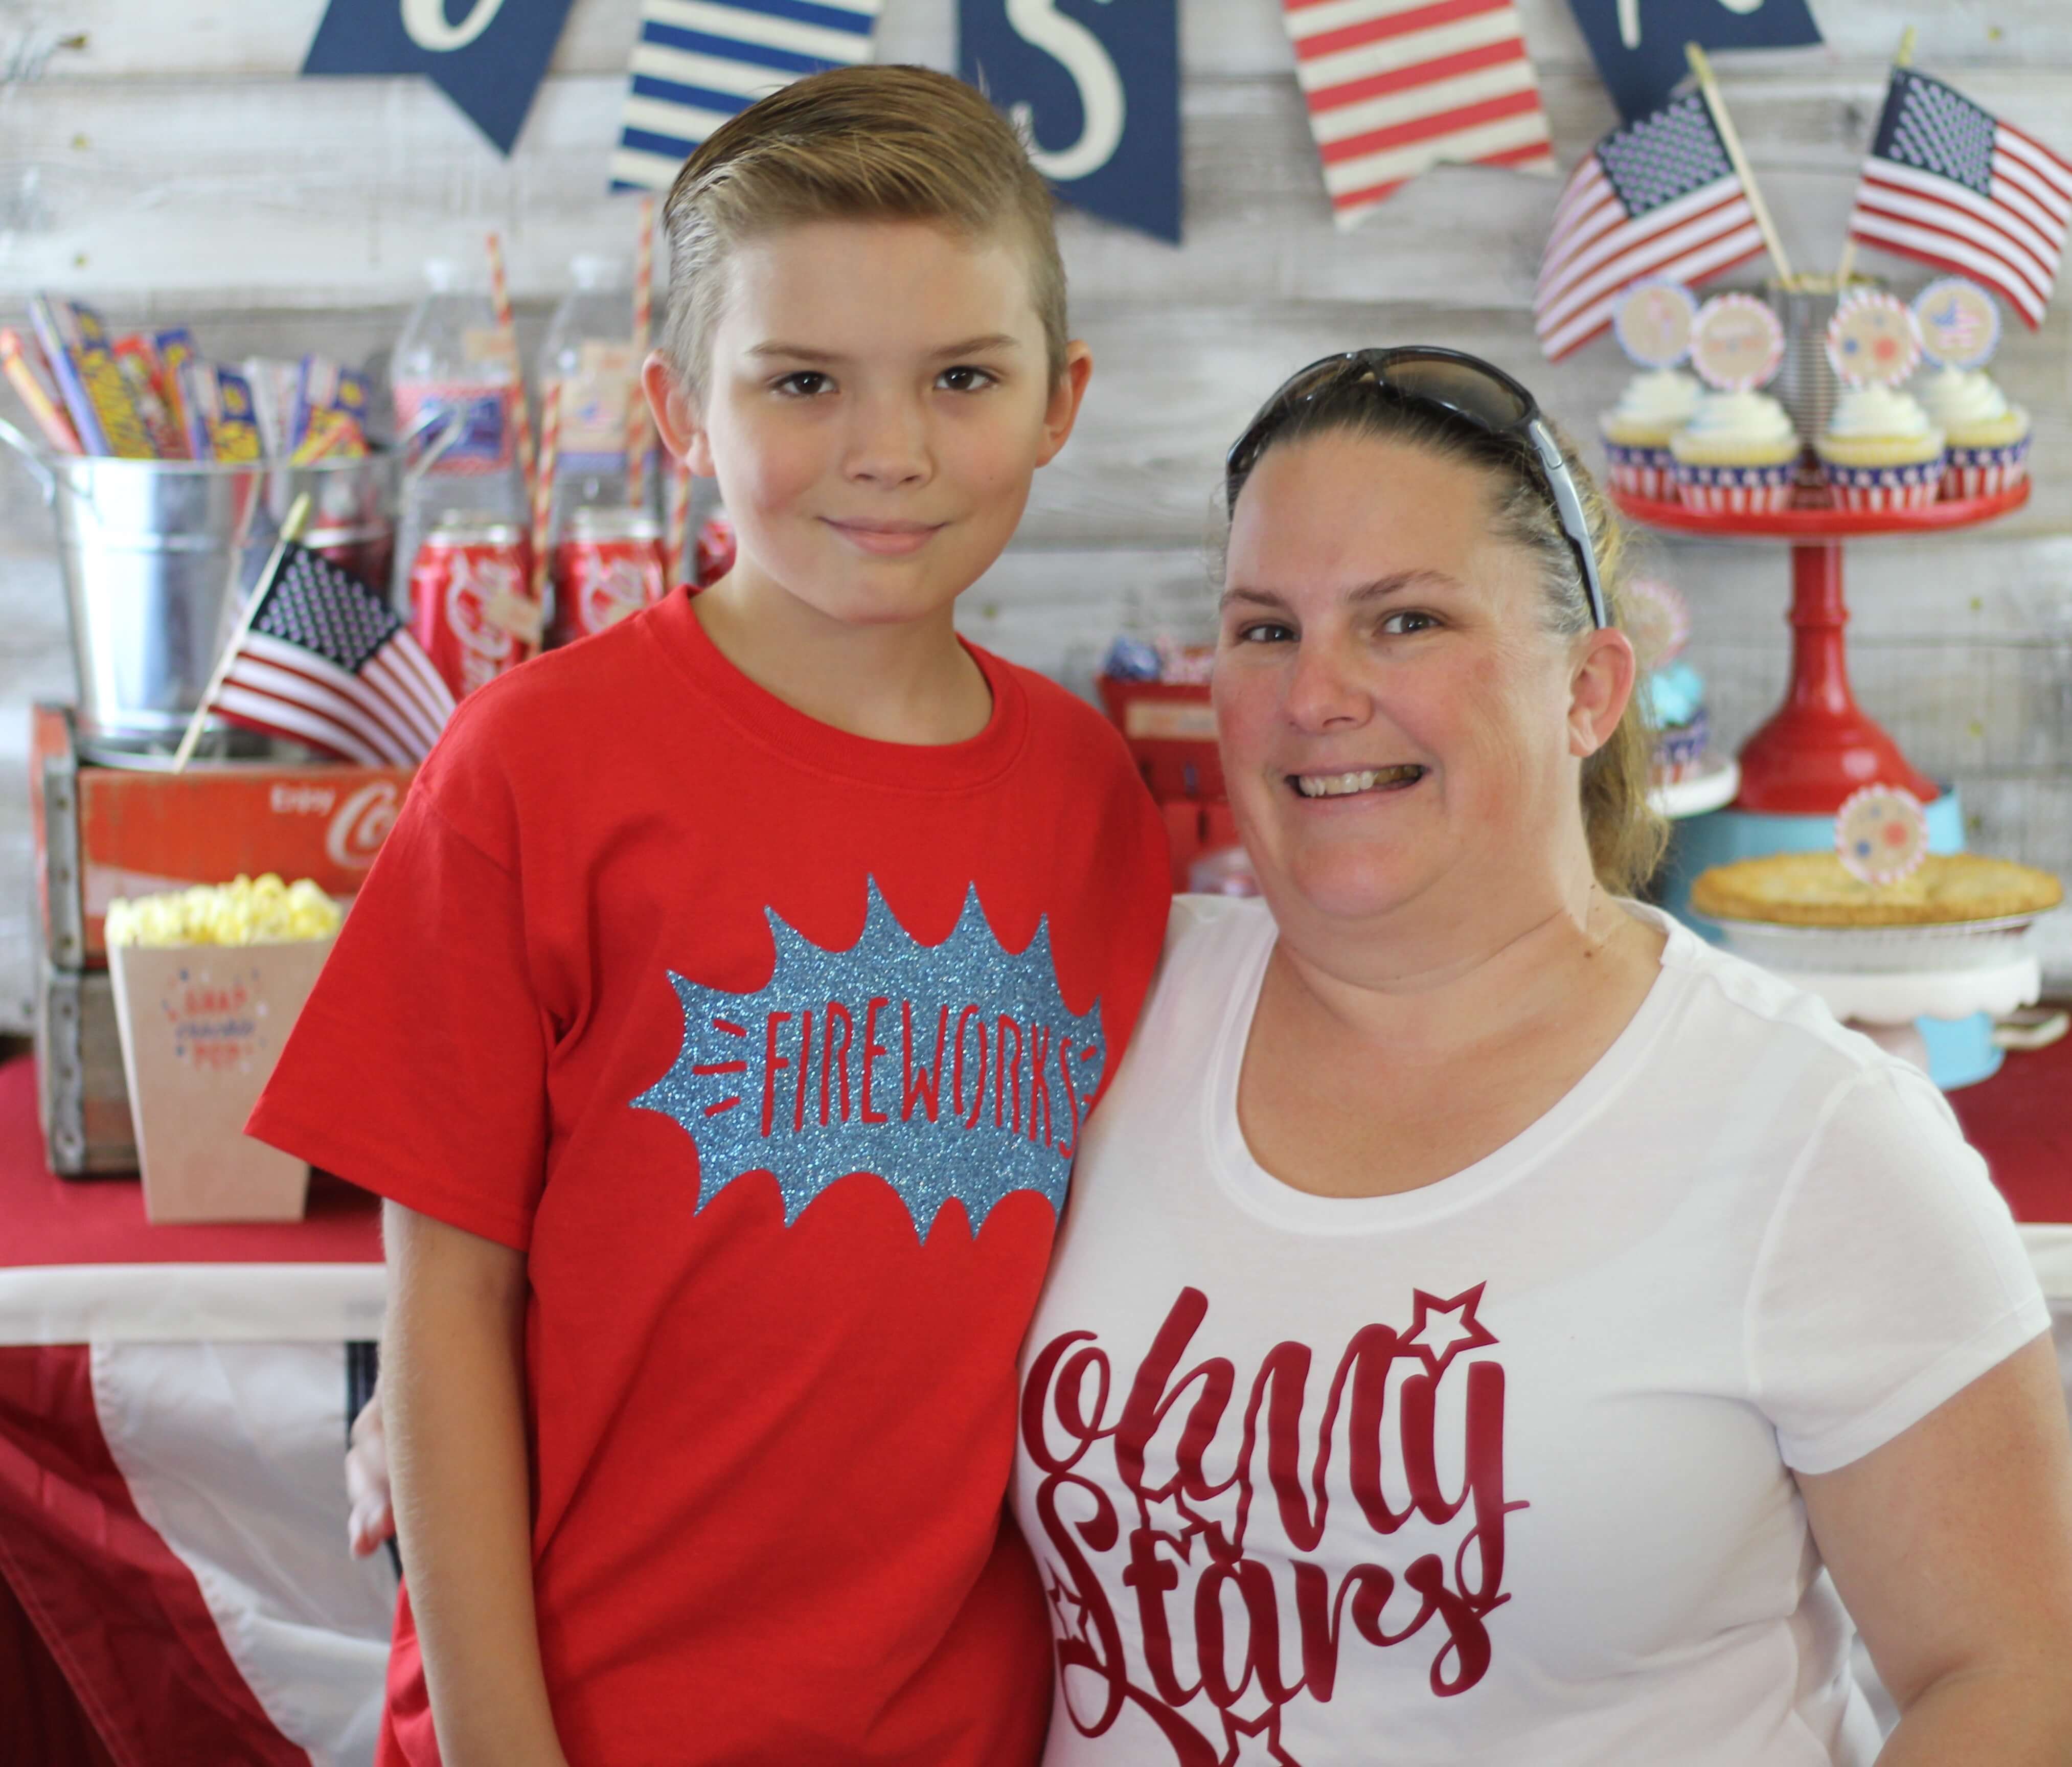
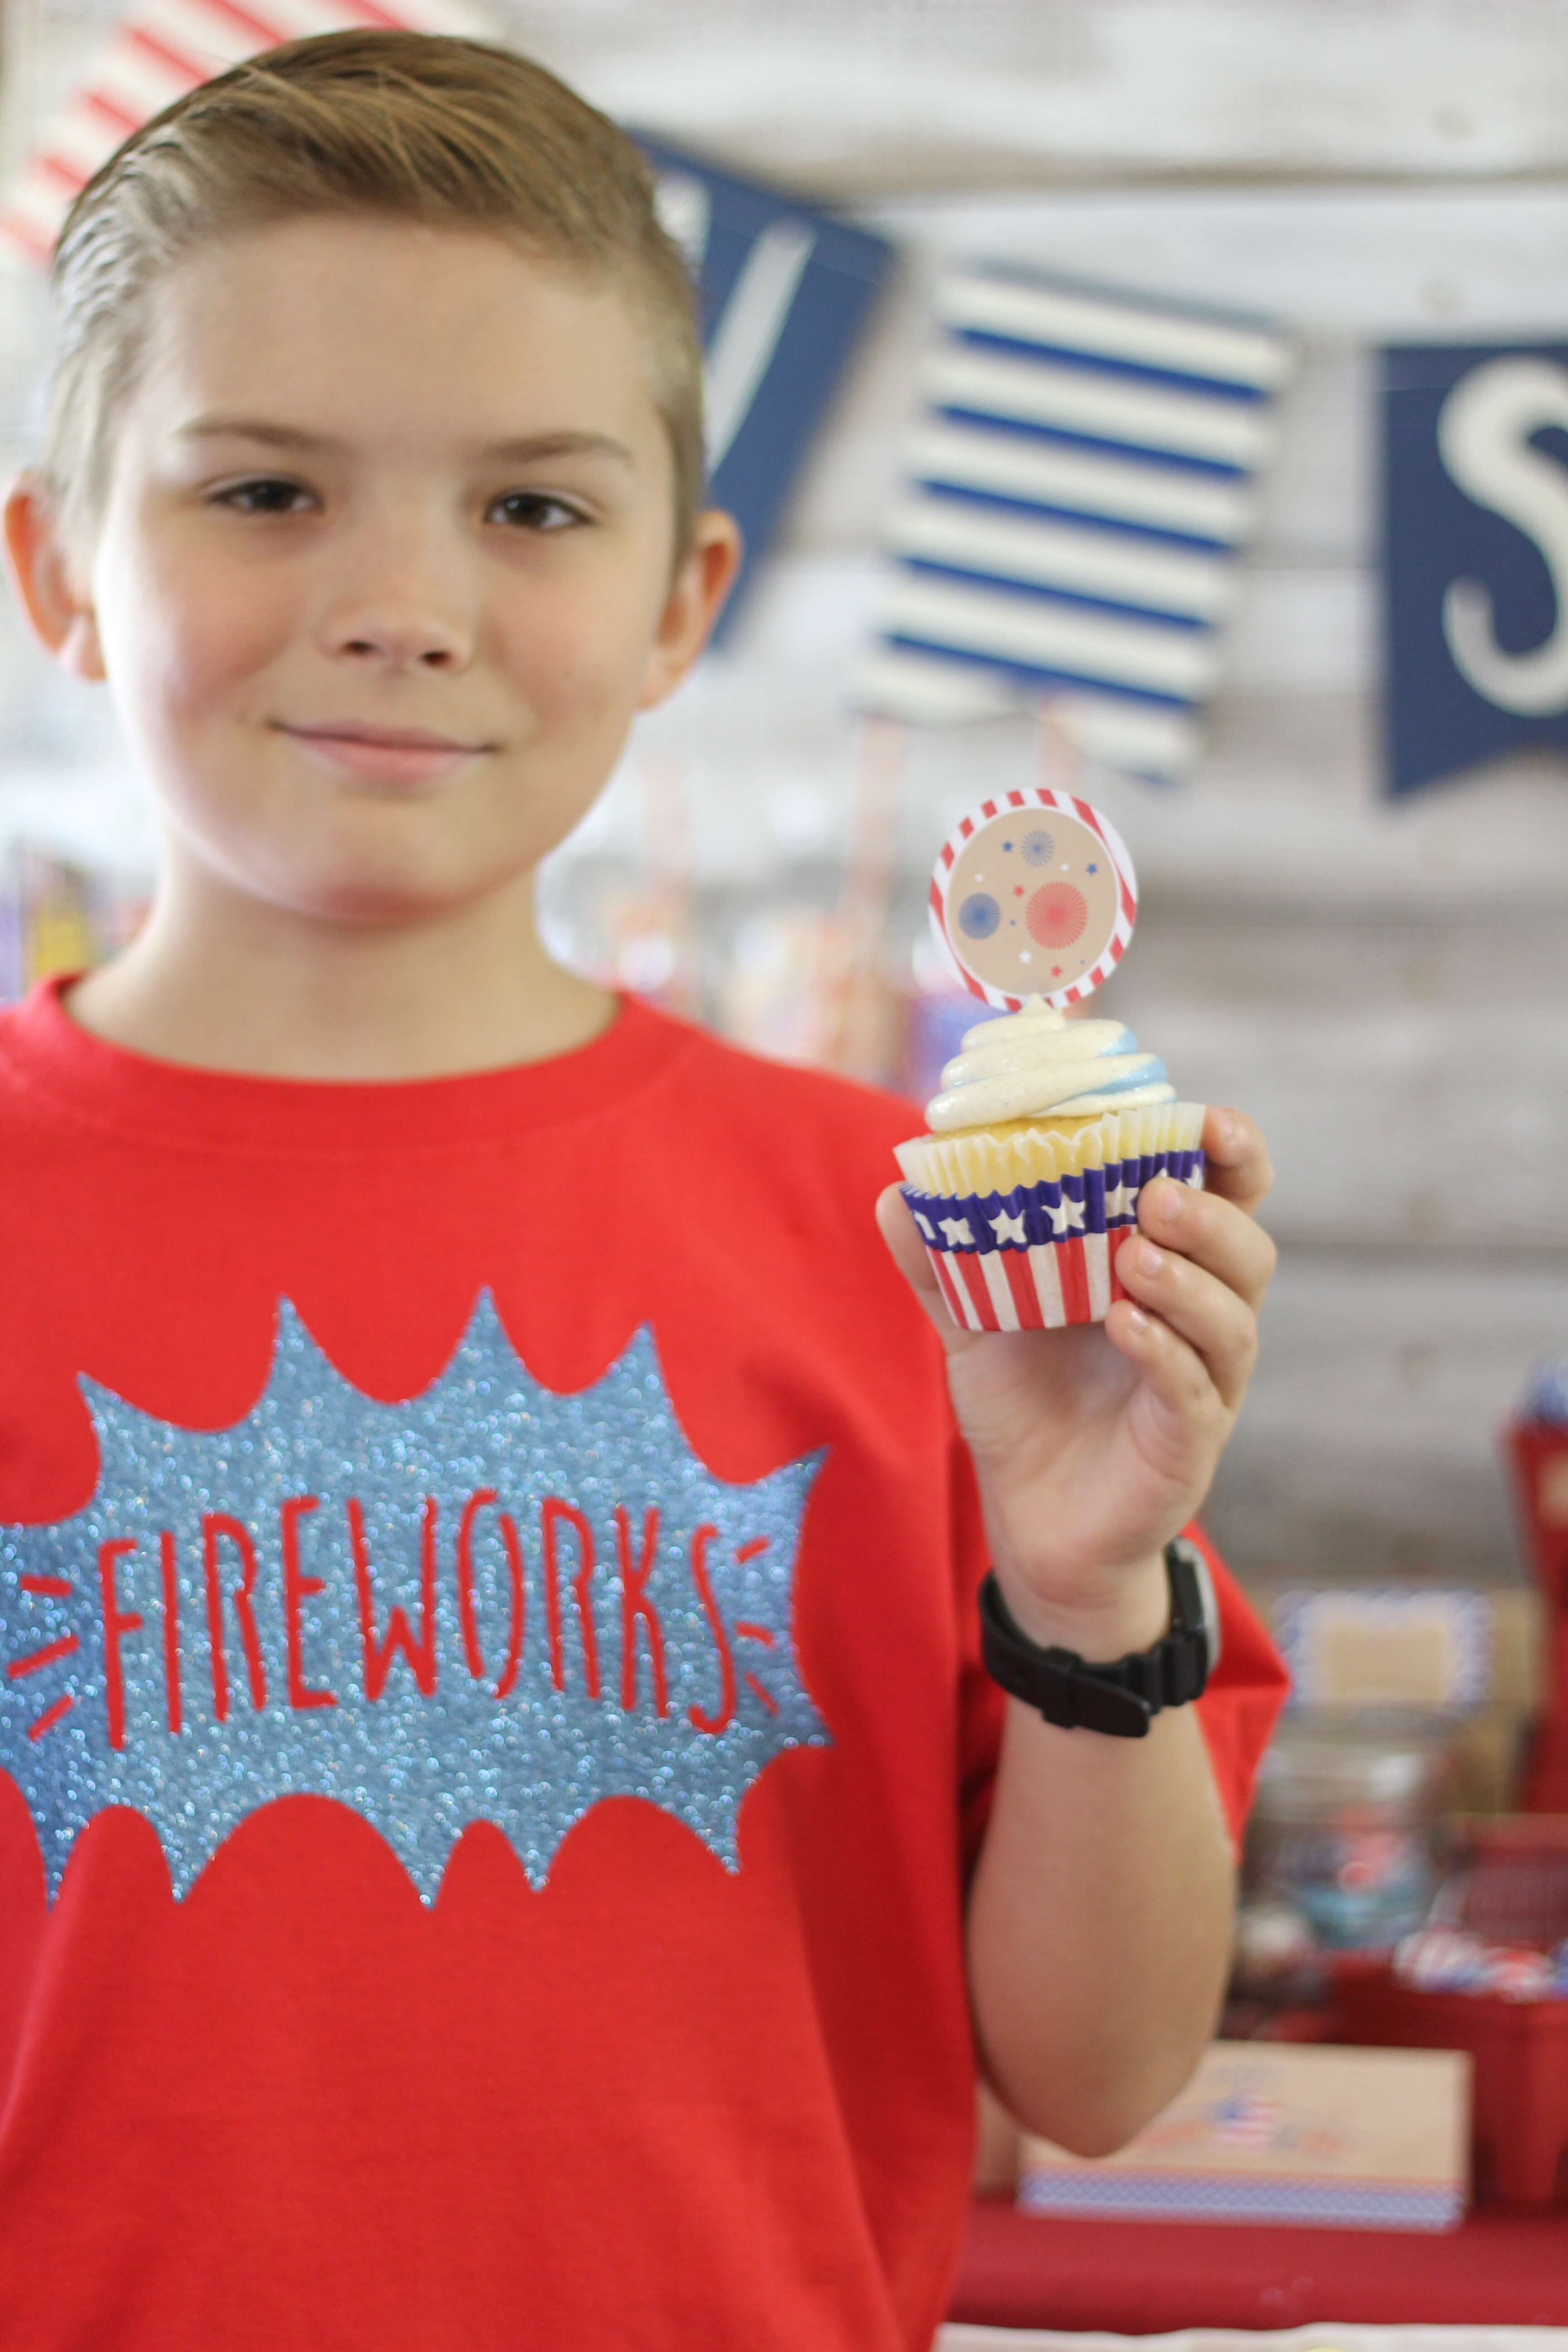
Quick DIY 4th of July Shirts. Every year we get my boys a 4th of July shirt…unfortunately this year we were too late, and they didn’t have any in the right sizes for the boys. Fortunately, I have a Cricut, and a filing cabinet full of Iron on Vinyl. So, we made some!
These shirts are so fun, and just take a few minutes to make! And they are totally custom!
Supplies:
Cricut and Cutting Mat
T-Shirt
Parchment Paper or Thin Fabric
Iron
Begin by choosing your image/text in Cricut Design Space. Cricut Access has so many great options. We chose “Oh My Stars” for me, and the Fireworks design for the boys.
Next, choose your canvas and size it appropriately. Add the design to the canvas, and size it to fit. Send it to the Cricut to cut.
Remember when you cut Iron On Vinyl, mirror the image/text and cut it shiny side down.
Weed the vinyl.
Place on the shirt, and cover with parchment paper or a pillow case. (Any thin piece of fabric will work perfectly). Next, put the hot iron on the image and apply firm pressure for 15-30 seconds. Check to see if the vinyl has stuck to the shirt, if not, re-iron the image for a few more seconds. Iron the inside of the shirt on the back of the vinyl for about 30 seconds too.
Finally, wear your shirt, and get as many “ooohhs!” and “ahhs!” as the fireworks!
Tags : 4th of July, Cricut, DIY, Everyday Party Magazine, Iron On
In DIY