DIY Mother’s Day Gift with Xyron
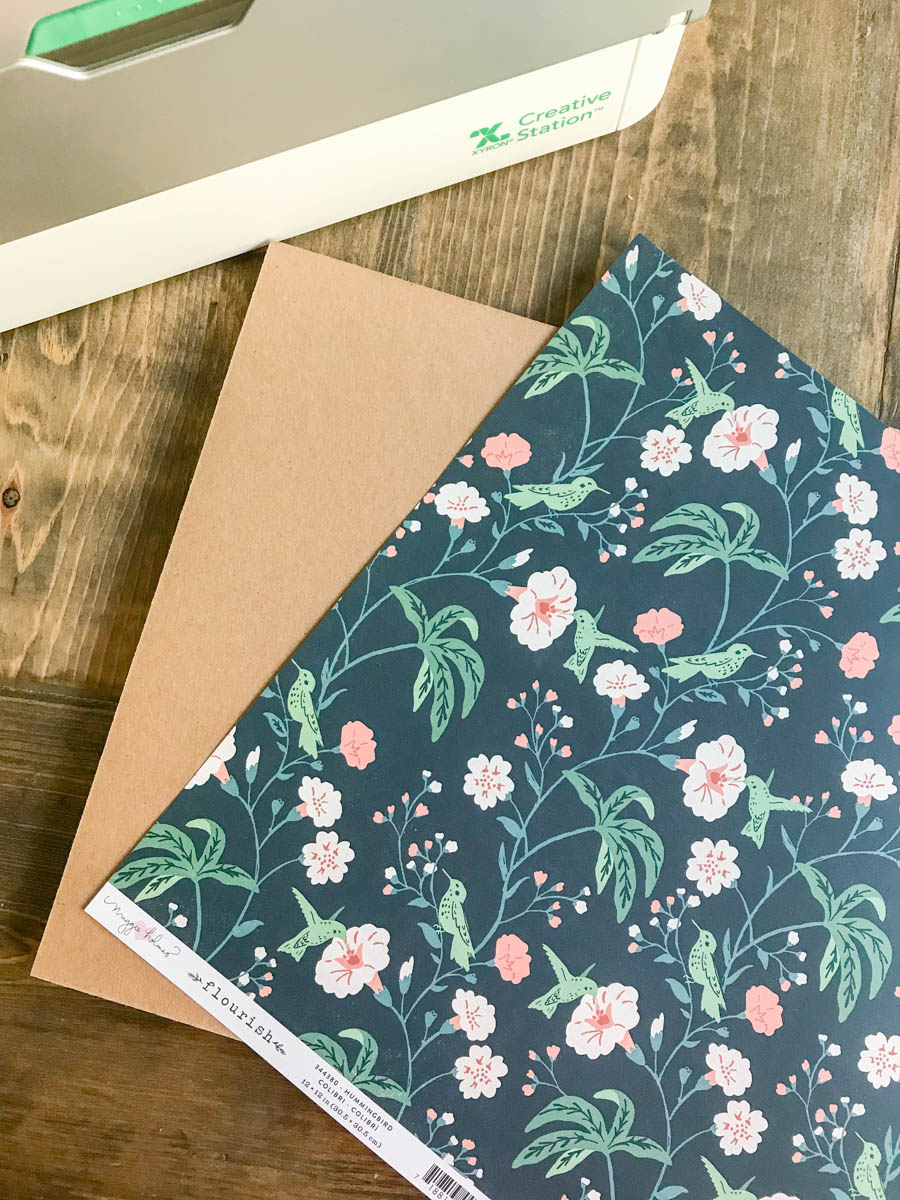
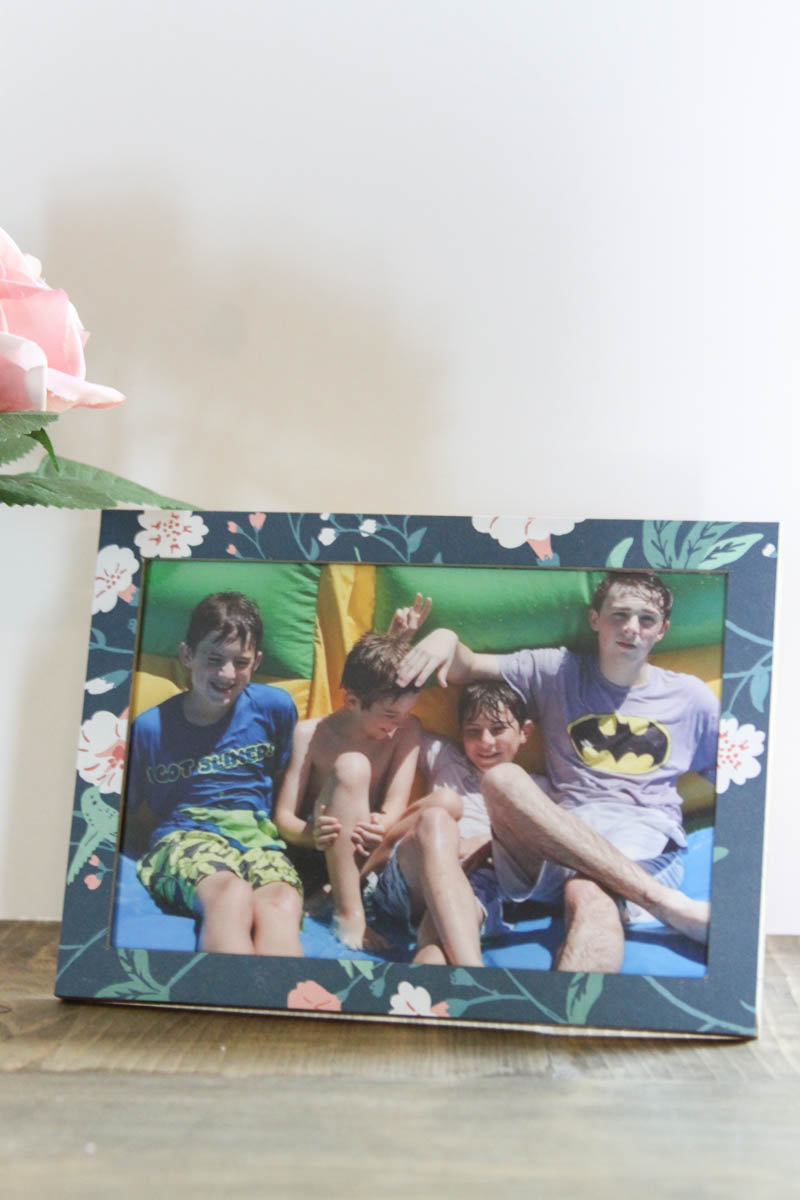
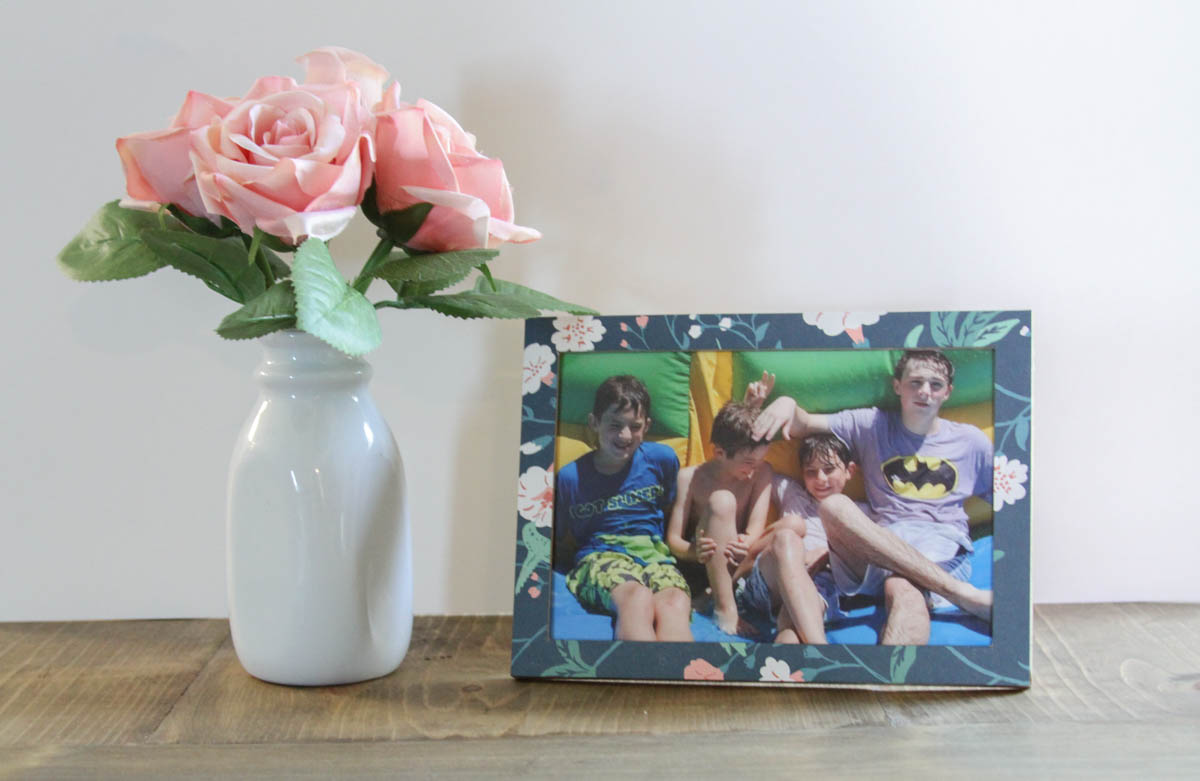
DIY Mother’s Day Gift with Xyron. Each year for Mother’s Day, my mother in law asks for recent pictures of the boys, and for us to take her to lunch. It’s a simple request that we are happy to indulge. She was recently at our house and saw some of the scrap book paper I was sent for my Xyron project this month and fell in love. I knew I wanted to find a way to give her a gift that included that paper.
I found one of my favorite pictures of my boys, and started working on the simple DIY Mother’s Day Gift. I decided I would try to make a frame for the photo myself, using the paper my mother in law loved so much. It took a little brain work to figure it out, but, I am so glad I was able to make it work!
To make some DIY mothers day gifts, you will need:
American Crafts Scrapbook Paper – Maggie Holmes
Photo {Photo printer and paper, I use this one, and I love it}
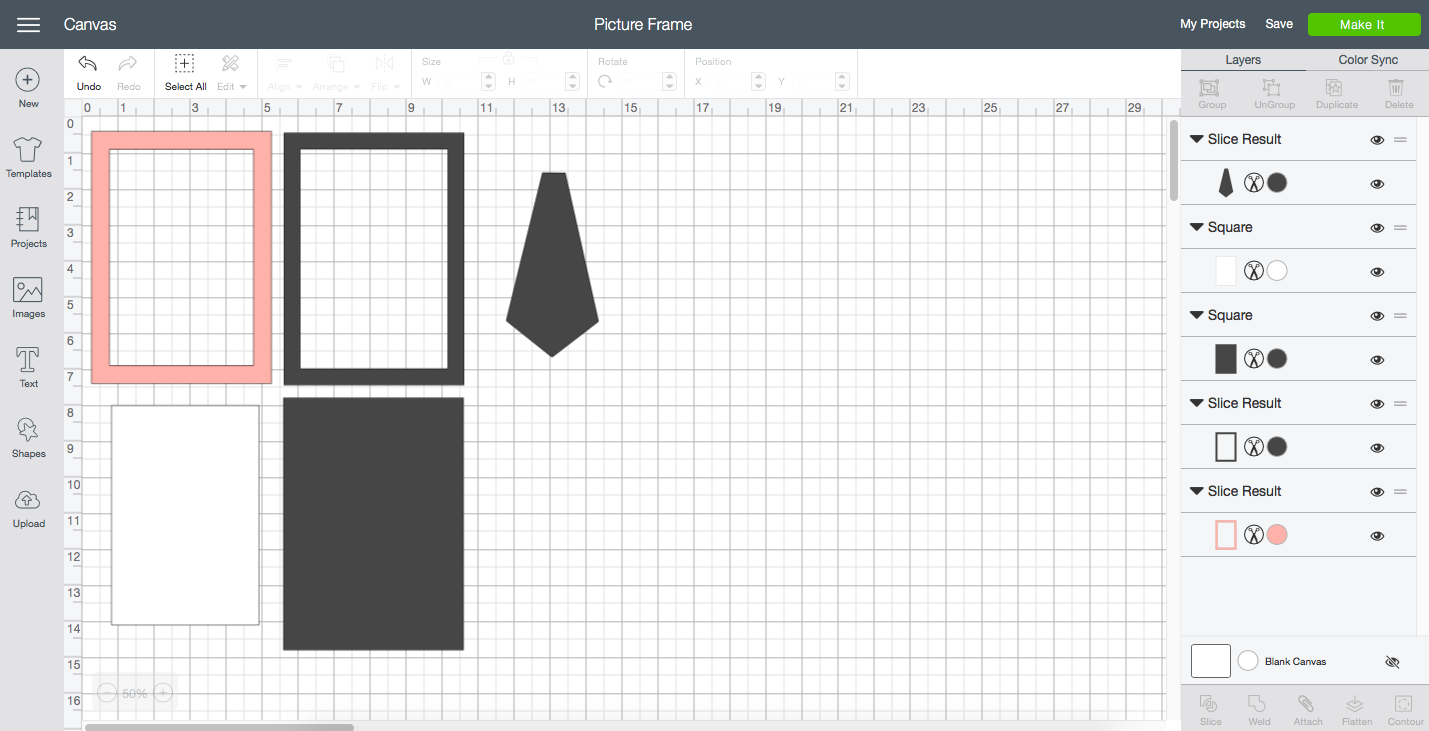
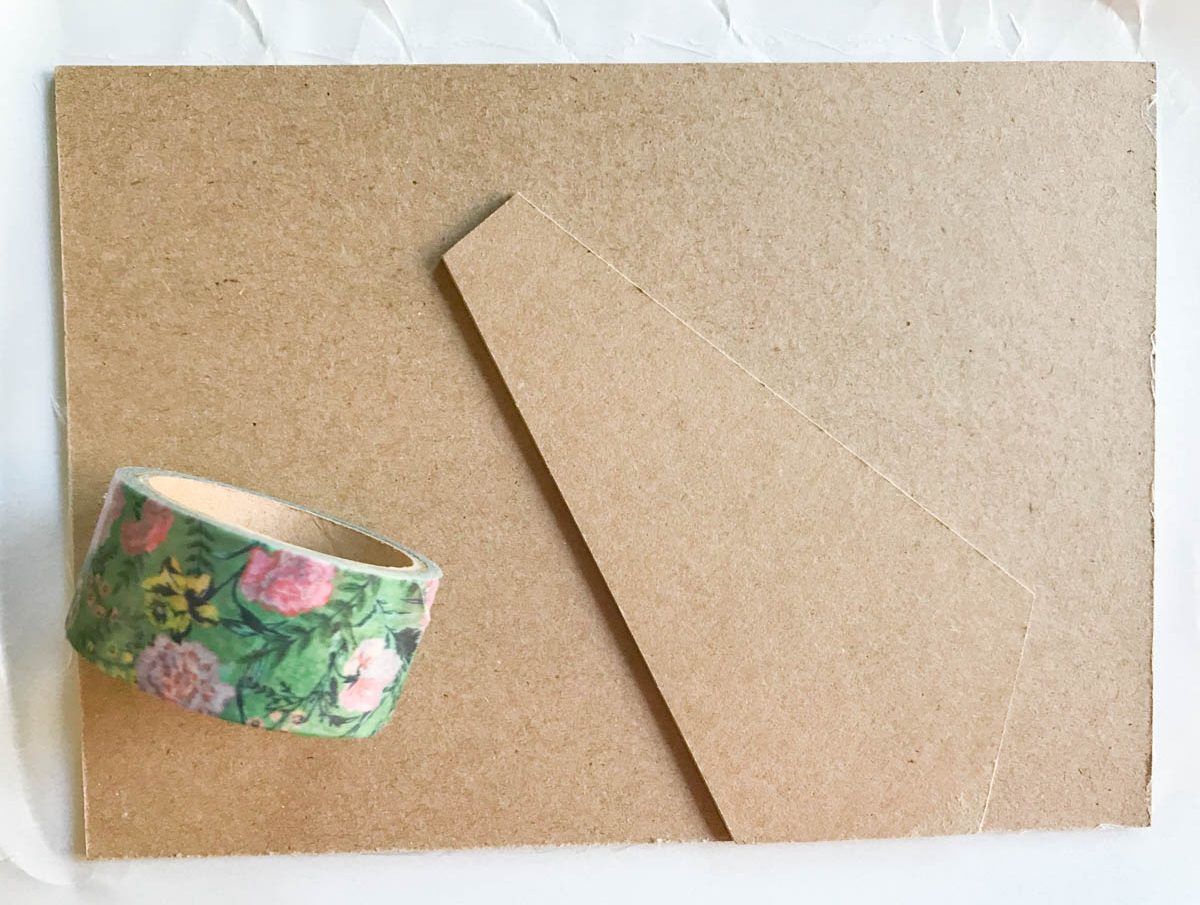
I sized the frame to fit a standard 4×6″ photo. I sized the frame of the frame to be 5×7″ with a 4×6″ opening. I also made a 5×7″ rectangle, and a 5×7″ rectangle with a 4.1×6.1″ opening. I sliced a tie image from Design Space to make a stand for the frame. Finally, I created a 4.05×6.05″ rectangle to cut from the plastic acetate.
Before I cut the front of the frame, I used my Xyron Creative Station to turn a 6×8″ piece of American Crafts Scrapbook Paper into a sticker, and I applied it to the middle of the chipboard. Before I cut the front of the frame, I edited the cutting mat so the frame would be cut with from the section of chipboard with the pretty paper on it. {Don’t forget to slide the white star wheels to the side closest to the power button on your Maker, and use making tape around the edges of the chipboard to secure it} I used the 2mm Chipboard setting and cut one more time to allow for the scrapbook paper.
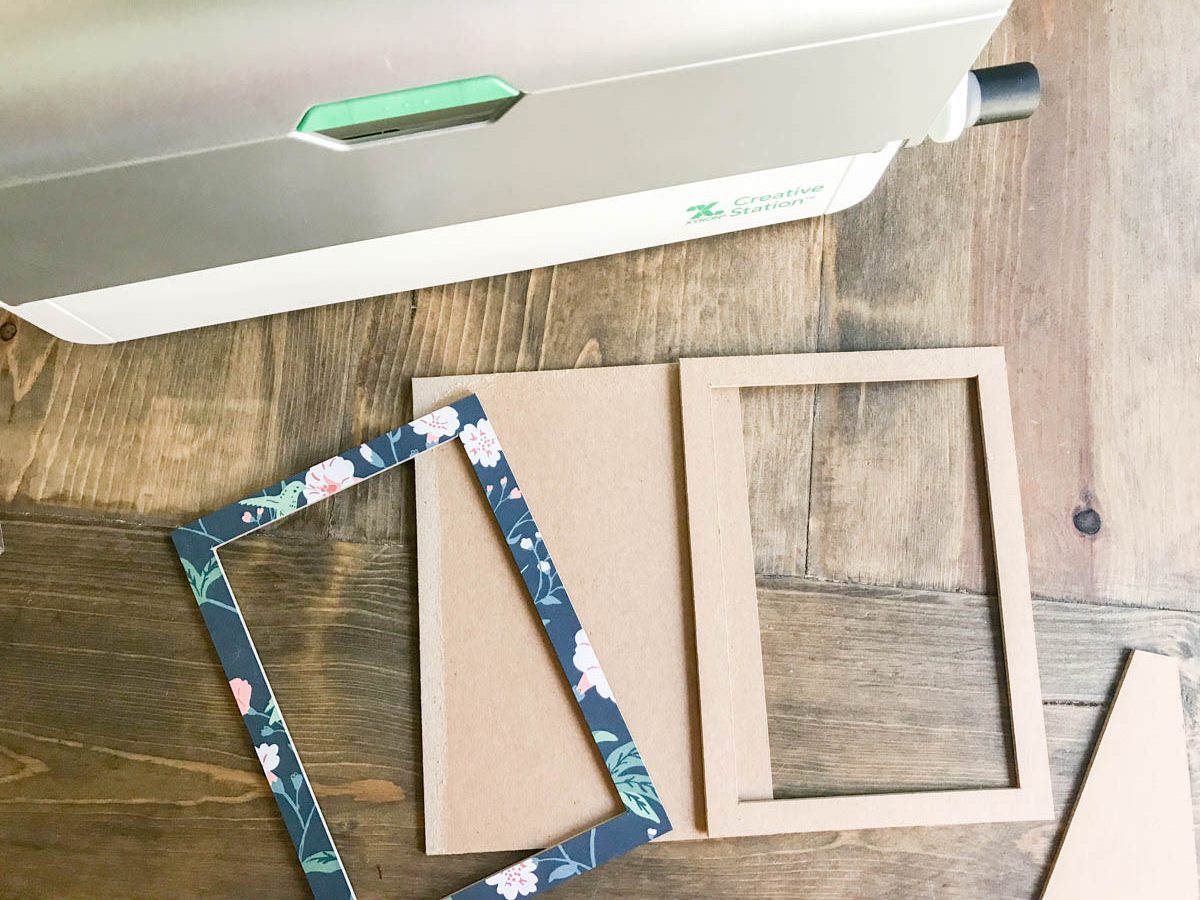
The middle, back, and frame stand will all fit on one sheet of 11×11″ chipboard, and I cut it the same way I cut the front of the frame.
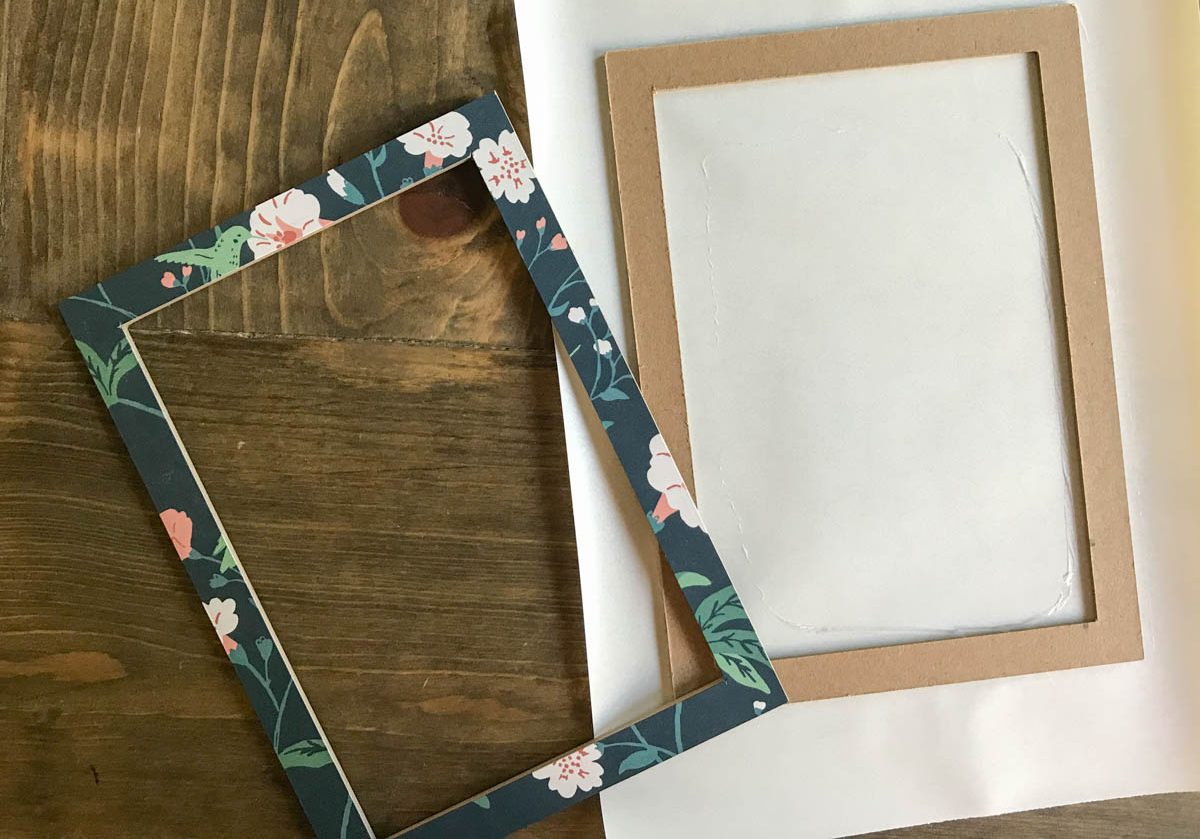
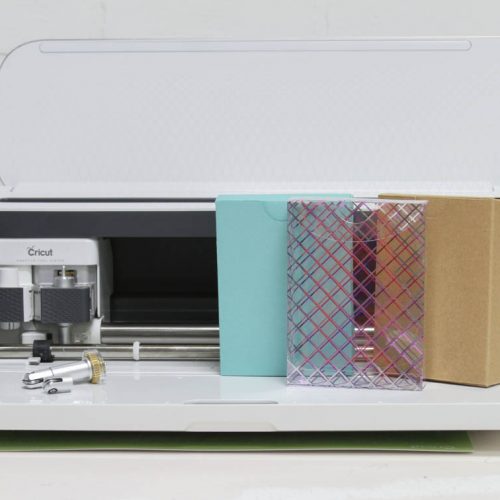
Finally, I cut the acetate, this acetate had a protective sheet on the front and back of it. I left the protective covering on the acetate, and taped it like chipboard. I used the chipboard setting to cut it, and it cut it like a champ!
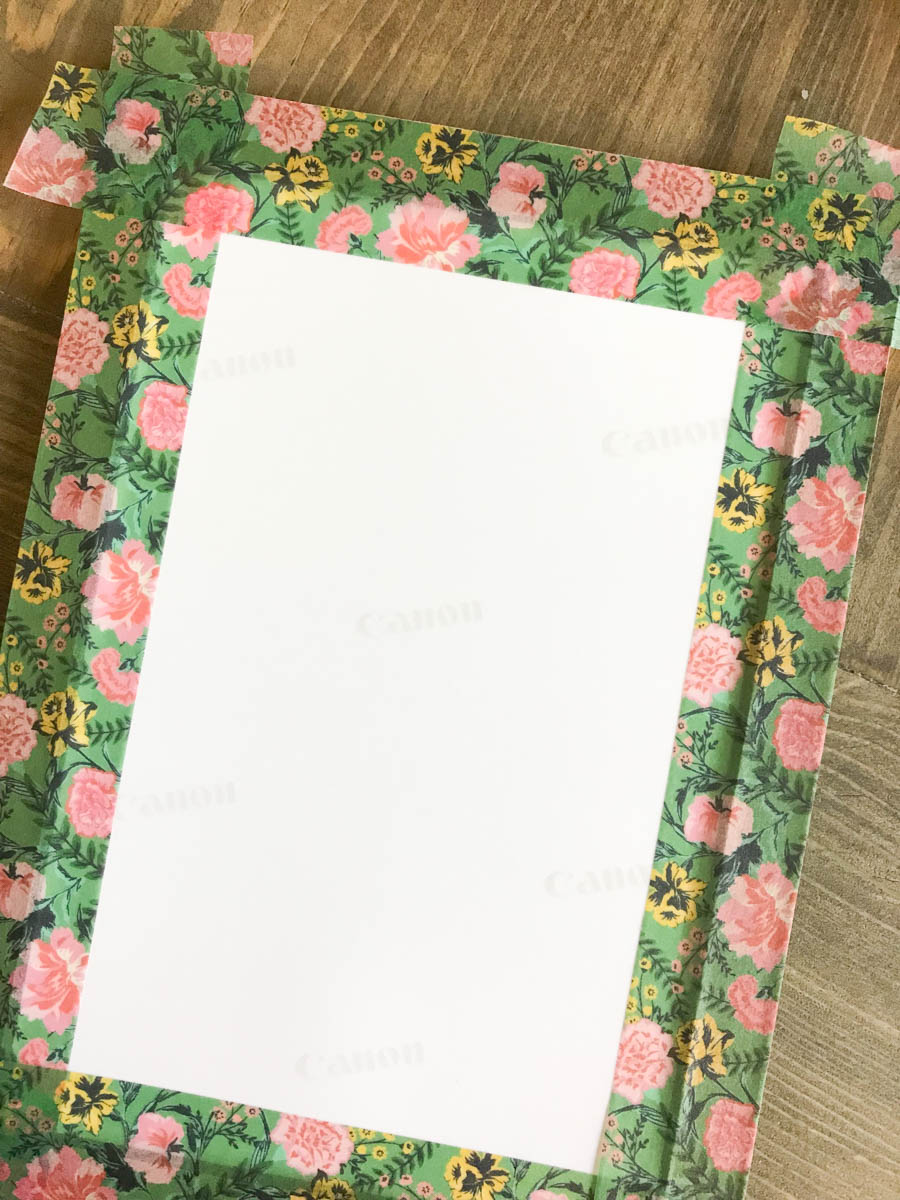
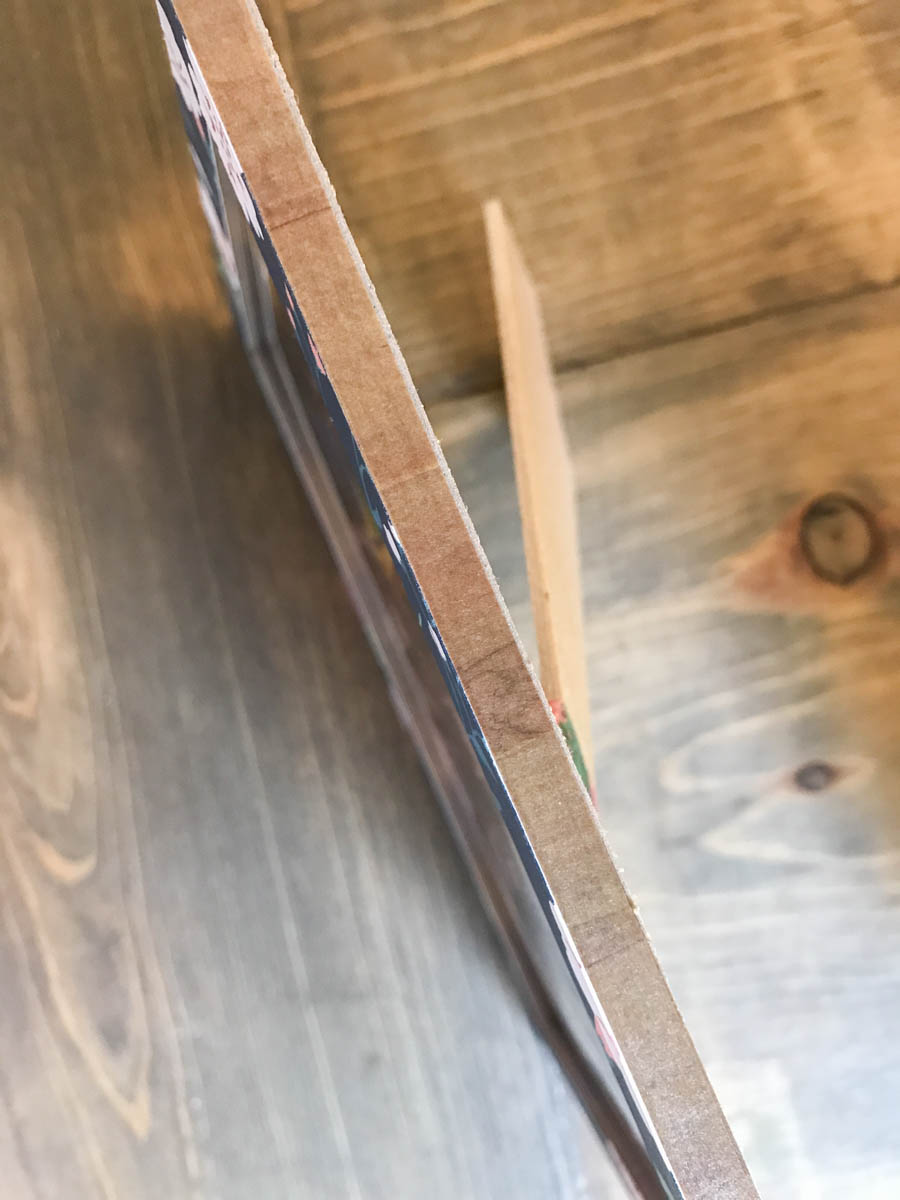
Now it was time to assemble the frame! I ran the middle and back of the frame through my Xyron Creative Station. Once they both had an adhesive backing, I stuck the middle part of the frame to the front of the frame. Since the opening is slightly larger, it created a lip for the acetate to sit on. Next, I added the photo, I used washi tape around the edge to secure it in place. Then, I added the back, making sure to line up the edges and corners just right. Once all the pieces of the frame were stuck together, I trimmed the edge with coordinating washi tape to cover the raw edges of the chipboard. Finally, I added washi tape to the top and bottom of the frame stand, making sure I lined the bottom of the stand with the bottom of the frame.
This project took about 35 minutes to cut, and about 5-10 more minutes to assemble. And, it is absolutely something the little ones could help with!
Tags : American Crafts, Canon, Cricut Knife Blade, DIY, Gift Idea, Mother's Day, Xyron, Xyron Blogger, Xyron Design Team


