Simple Last Minute Halloween Treat Bag
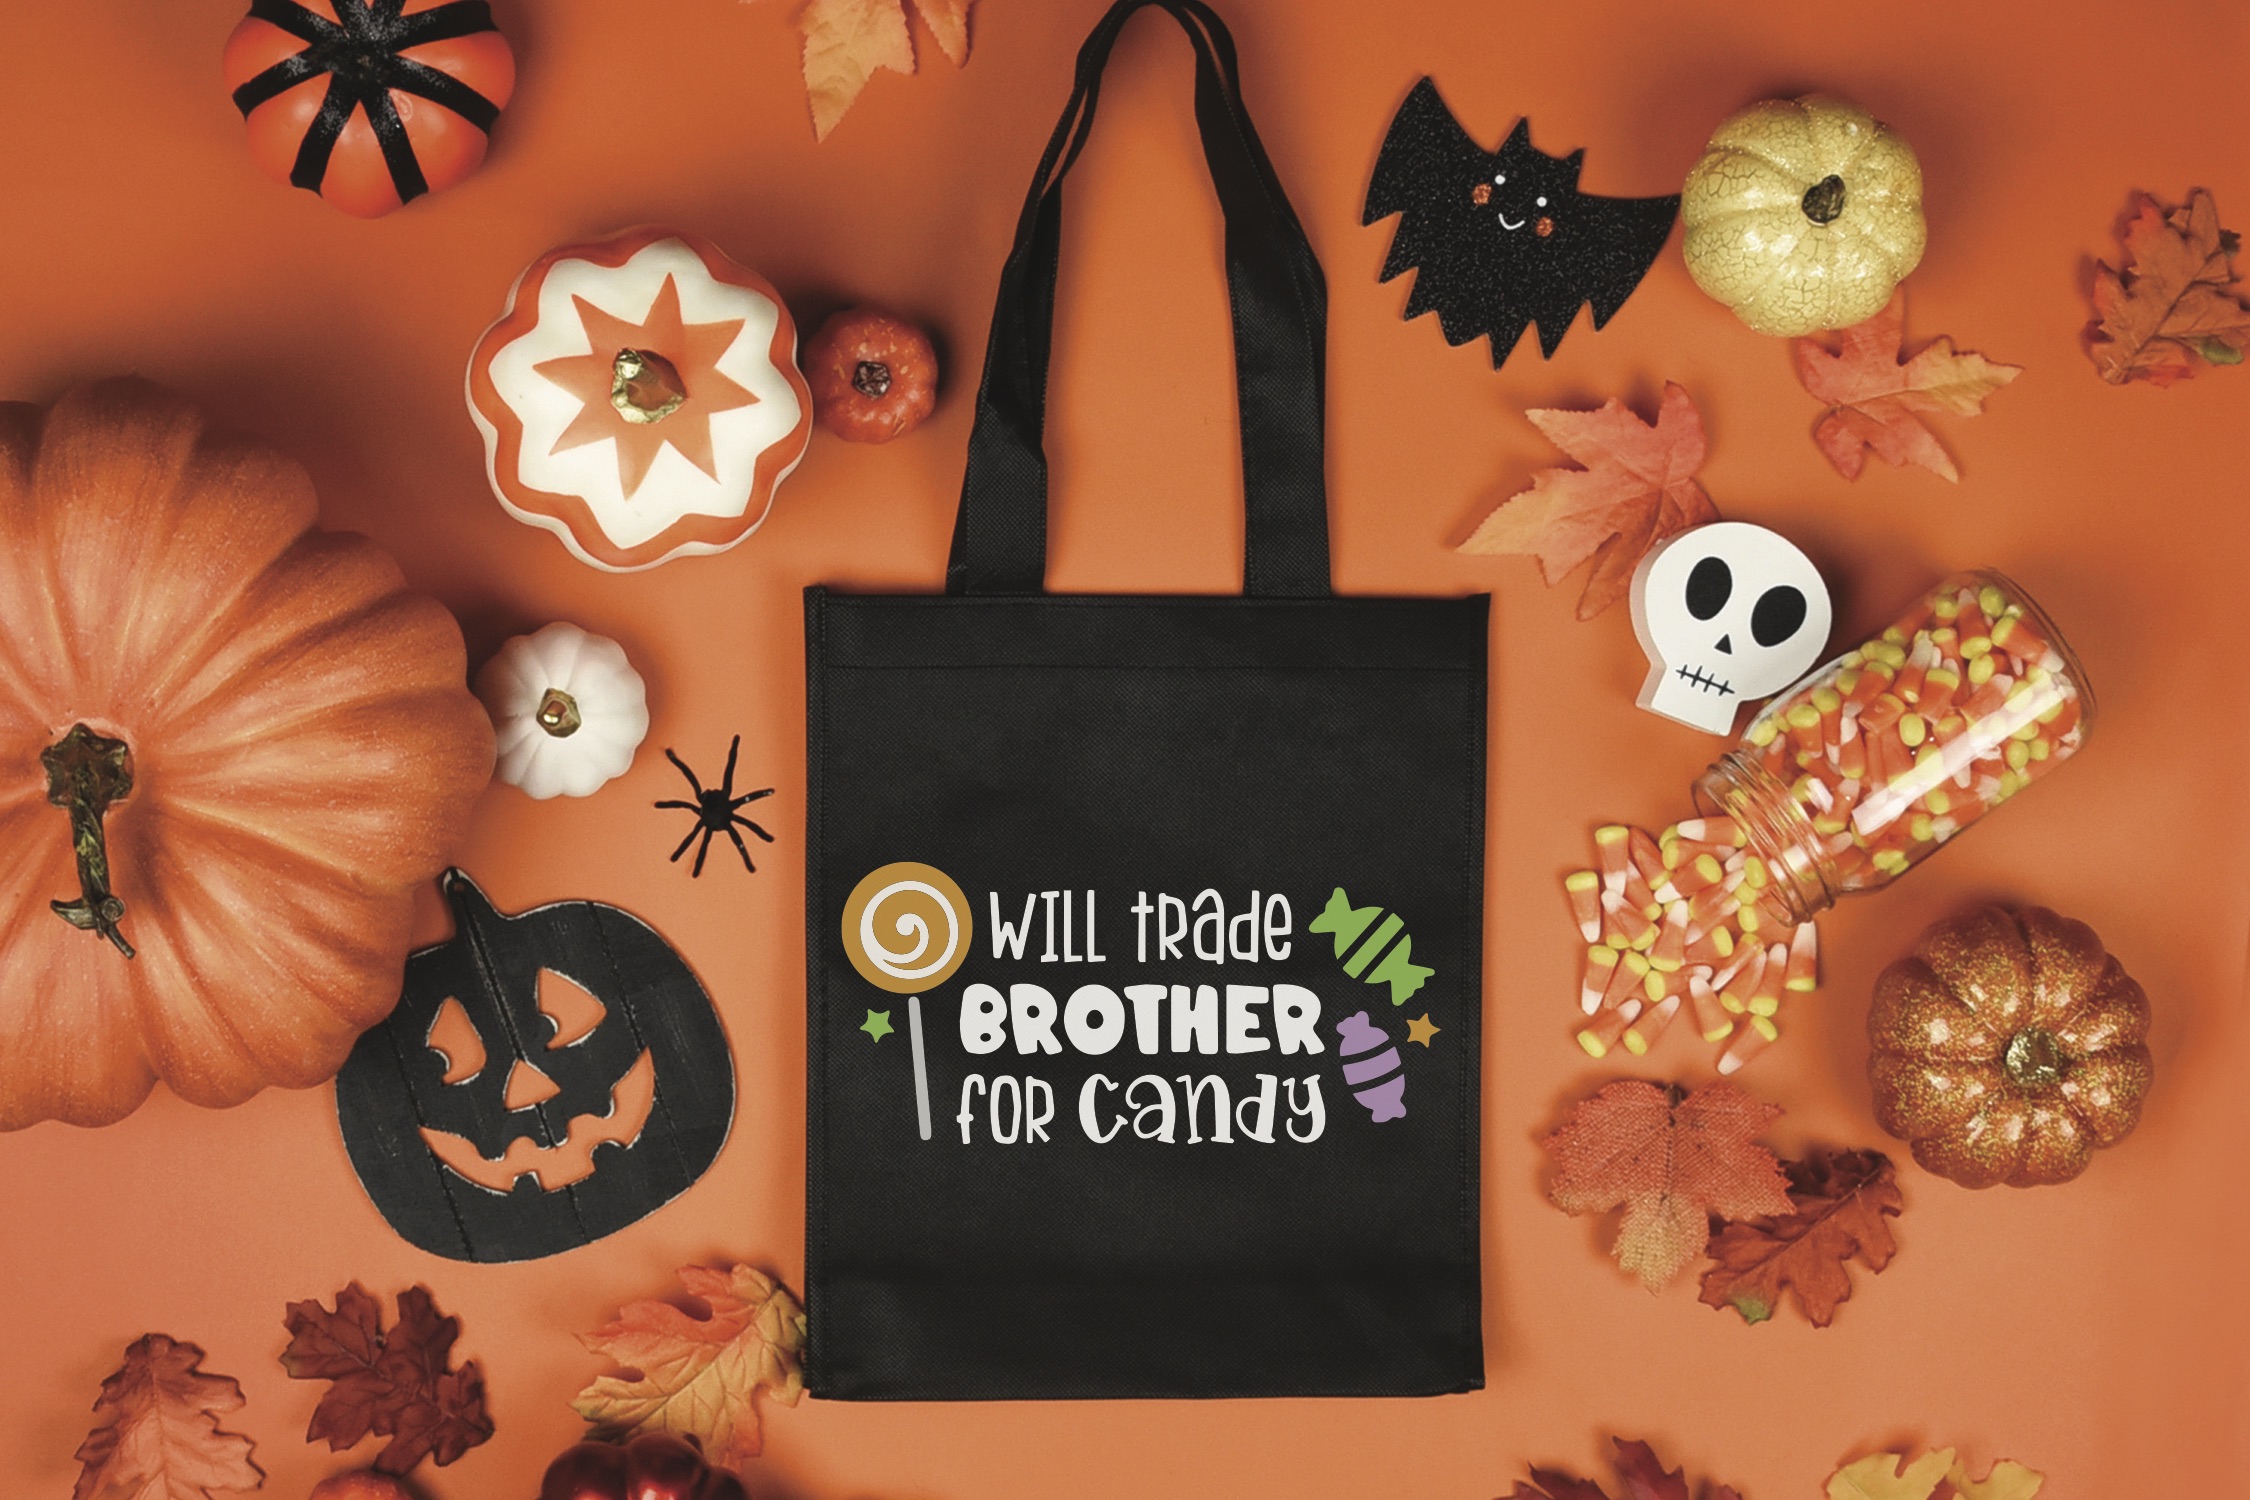
I’d be lying if I said my boys didn’t still trick or treat. And, I’d be a bigger liar if I said they don’t still want me to make them their own trick or treat bags each year. What I wish I wasn’t lying about is their uncanny ability to not want a Halloween treat bag until the day or two before Halloween. This year, they actually asked for their bags this weekend. So, I got a little extra time to work on them. But, they are still Simple Last Minute Halloween Treat Bags!
Halloween Treat Bags
Do you remember trick or treating as a kid? Your Halloween treat bag was either a grocery bag, pillow case, or plastic pumpkin bucket. My boys are a little spoiled and they have always had a treat bucket to match their costumes. This Handmade Halloween Trick or Treat bag is my favorite, and I actually use it throughout the month as a reusable bag. My niece still wears her Halloween Costume and Treat Bag. And, my boys still love the It’s Alive DIY Knockout Halloween Bag I made a few years ago!
Simple Last Minute Halloween Treat Bag
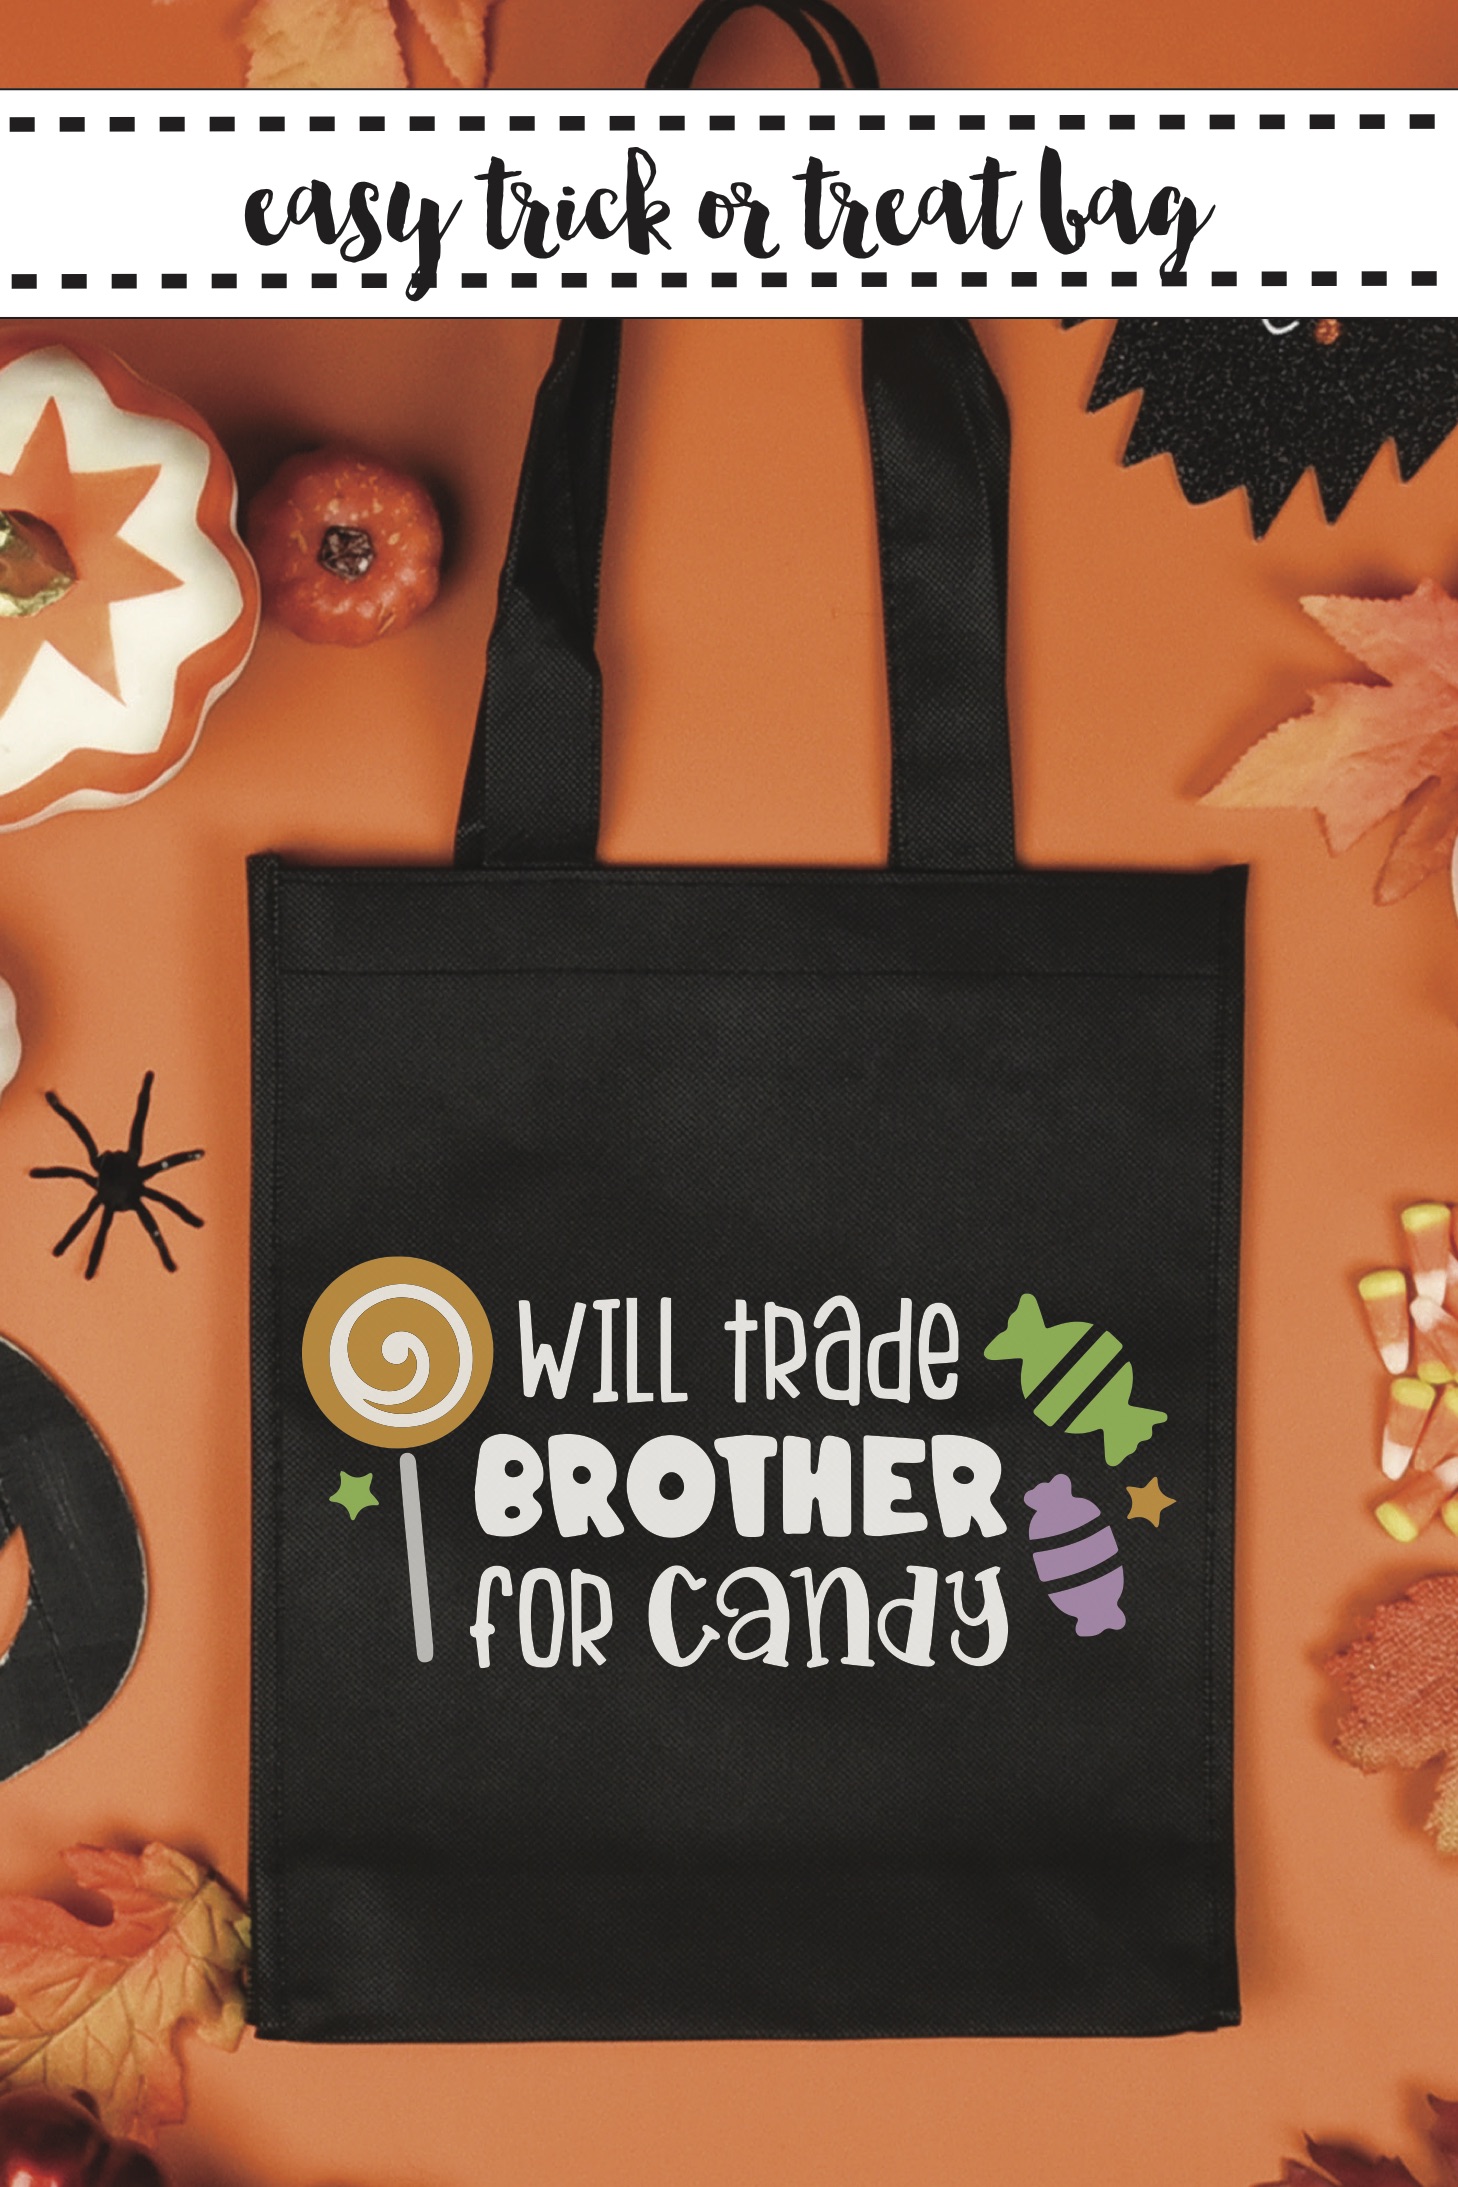
This fun treat bag is so easy to make! And, it’s ready for your little trick or treater in less than 20 minutes!
Supplies
Step 1:
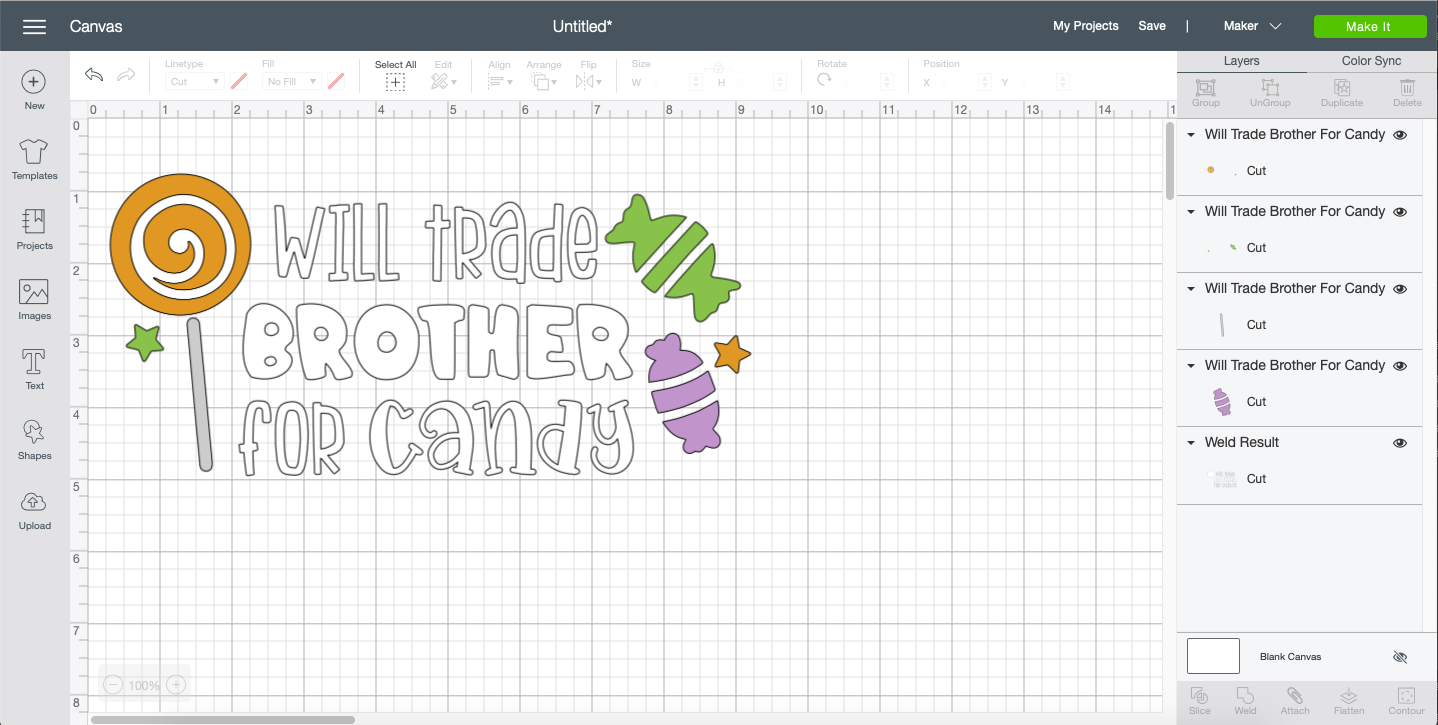
Open this cut file. Then, size it to fit your tote bag.
Step 2:
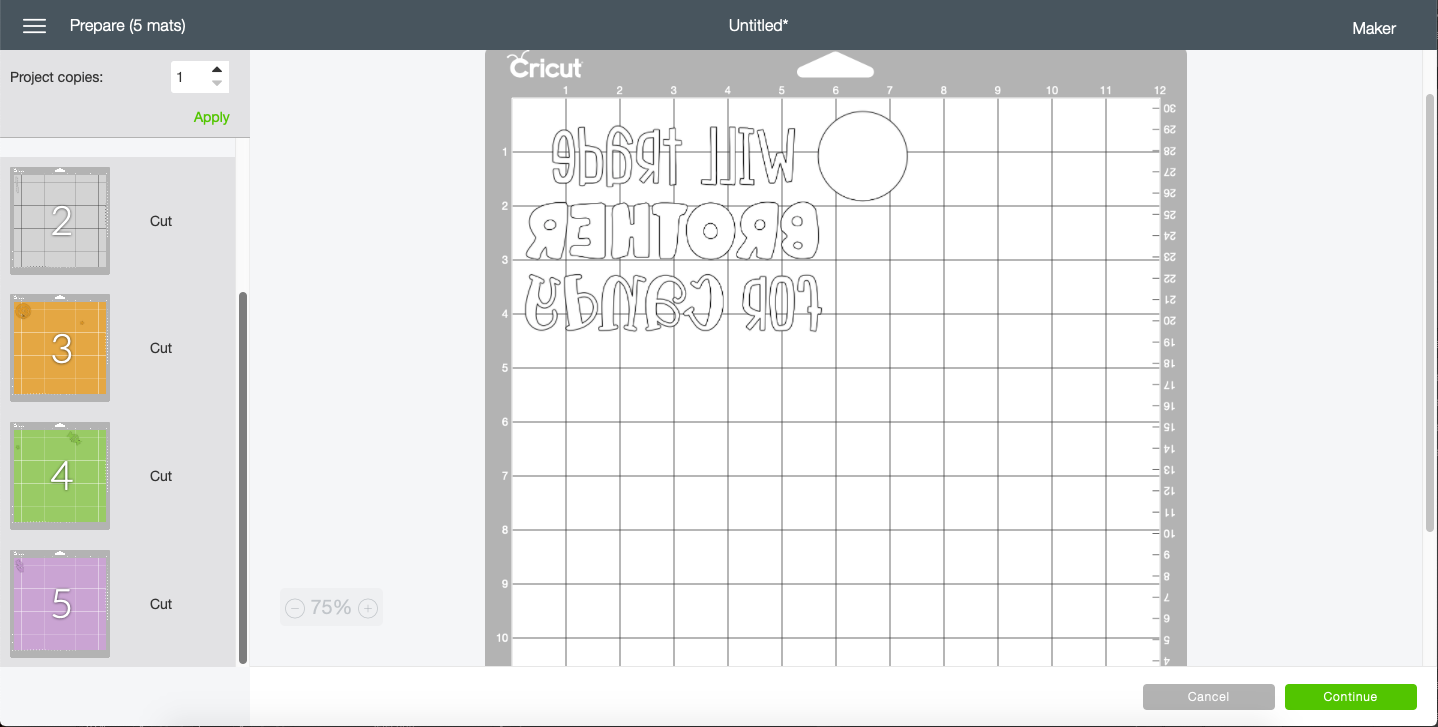
Send the file to cut. There are several colors of Iron On, so you will have several cutting mats. Don’t forget to mirror the cut, and place the Iron On on the cutting mat shiny side down.
Step 3:
Weed the excess Iron On.
Step 4:
Pre-heat the EasyPress, and press a fold in the center of the tote bag. Then, fold the Iron On transfer paper in half. This way you will have a perfectly centered image on your bag.
Step 5:
Press each color onto the tote bag.
Step 6:
Have the cutest trick or treaters on the block!
If you liked this post, be sure to check out some of these Halloween posts too!
Halloween Trick or Treat Bag DIY
Tags : Cricut, DIY, EasyPress 2, Halloween


