
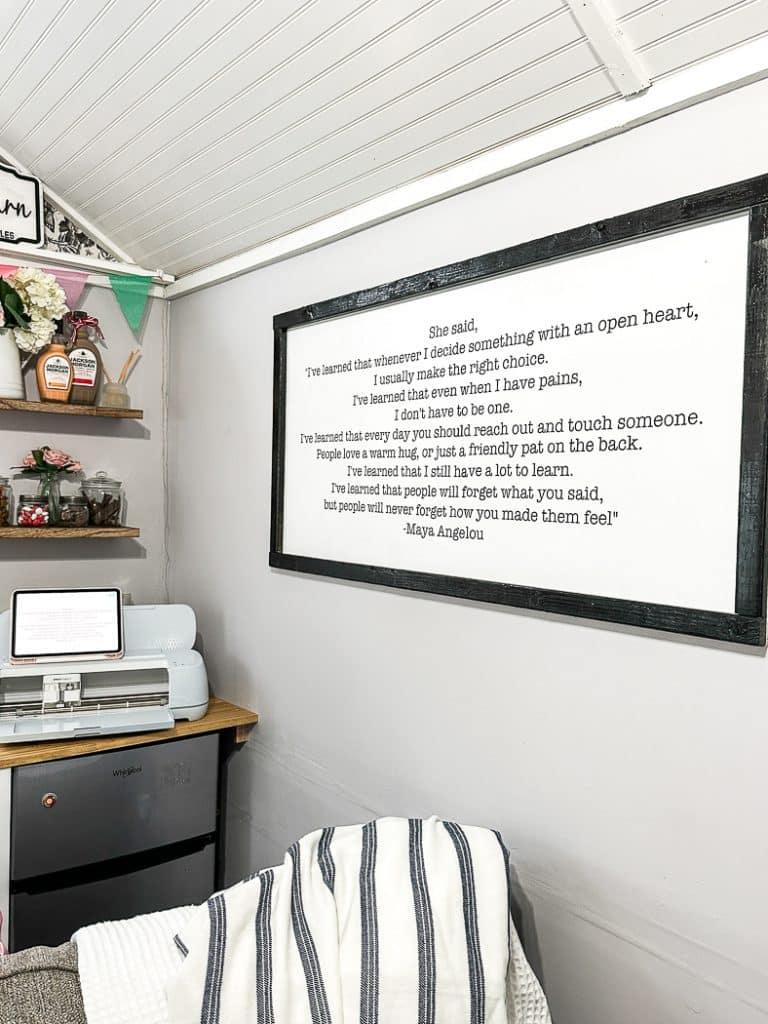
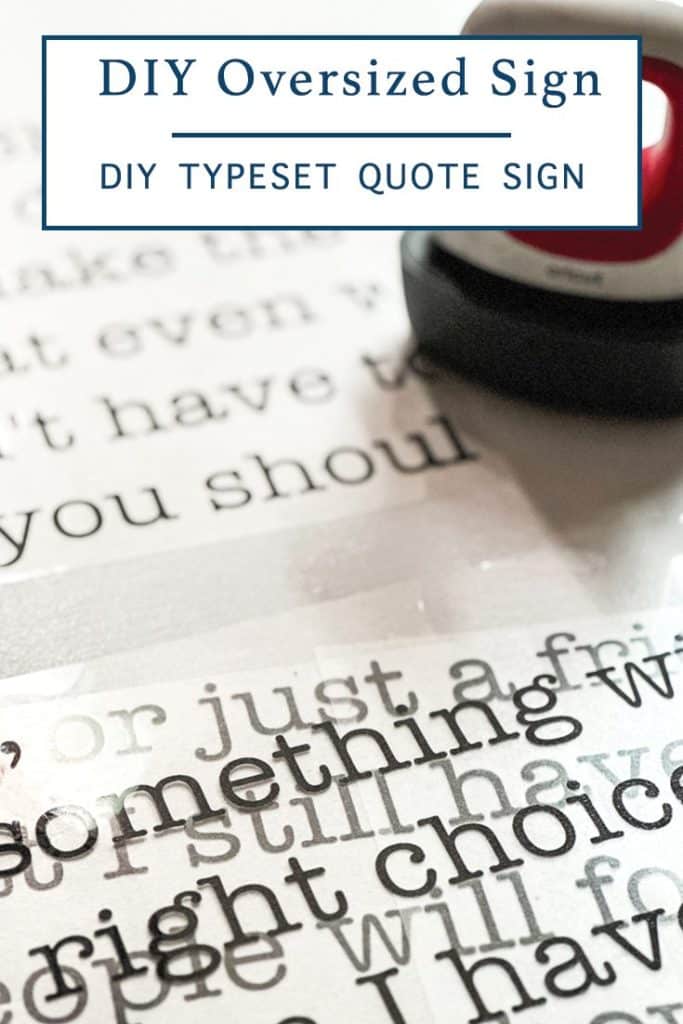
My husband and I just finished an epic build. He knew how much I needed (and craved) my own private space for work and school, so he ordered a DIY shed kit for me for Christmas. We built an amazing space for me, and once it was finally built, it was time to decorate it…on a tiny budget because we grossly overspent on the build. And, this DIY Oversized Sign is one of my favorite decor pieces ever!
This review is based strictly on my opinion. Others may have a different opinion or experience with the product listed. I was provided the sample free of charge and paid a small fee by the company or PR agency and I provided my honest opinion.
If you decide to make a purchase through my links, I will be paid a small commission for it. This doesn’t cost you anything additional.
DIY Signs
I have shared many DIY signs, free cut files to make signs, and free printable signs. Obviously, the free printable signs are the easiest. But, don’t be too scared to make a large (or small) sign!
When I got my Cricut Maker 3, I shared how this DIY Oversized Sign Project post.
And, this Farmhouse Sign DIY post shares step-by-step instructions to make a large sign.
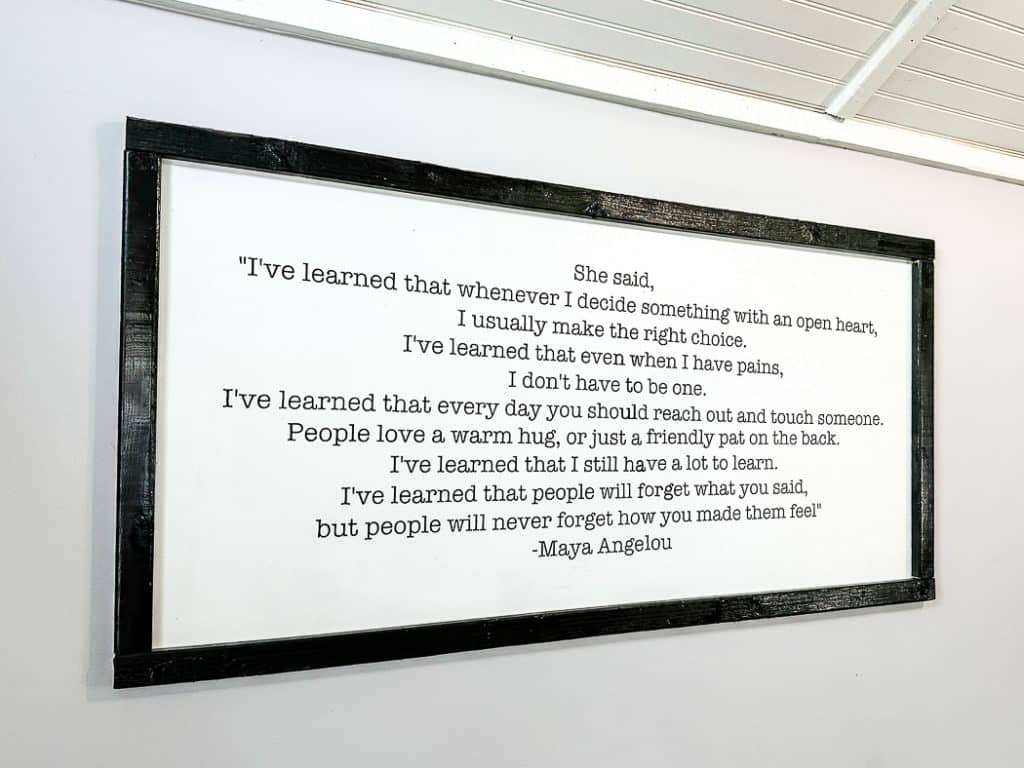
Maya Angelou Sign
I love Maya Angelou and nearly all of her work. She exuded poise, grace, and kindness. And, when I saw a canvas wall hanging with this quote at Sugarboo & Co, I wanted it. I wanted it so bad, I was almost willing to pay several hundred dollars for it. Fortunately, or unfortunately, the canvas sign was too large for any space in my home or shed. So, I was forced to DIY, and it was a LOT cheaper.
First, don’t be intimidated by the sign’s size. I made this one 4×2′, so it’s fairly large.
DIY Oversized Sign Supplies
Begin by gathering all of your supplies. You will probably need to visit a hardware store. And, if you need some craft supplies, check out my Amazon shop, or click the links below to buy what you need.
- Lauan Plywood – mine is 1/4″
- 1×2″ Furring Strips
- Paint – I used white and black
- Saw
- Sander or sand paper
- Nail gun and adhesive
- Cricut
- HTV
- EasyPress Mini
- Design Space Access
Make an Oversized Sign
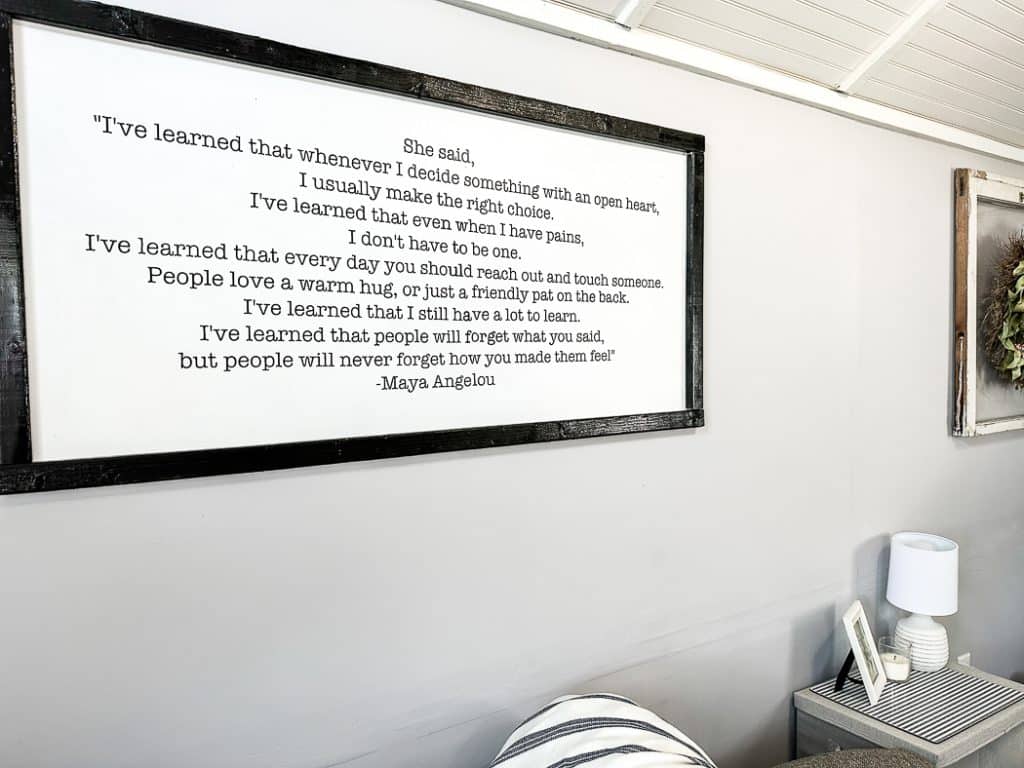
I knew I wanted this to be a focal piece on the long wall of my she-shed, and that wall is about 12′ long, but it’s not even 8′ tall. So, a 4×2′ sign was perfect.
Once you have your supplies, you can get started. This whole project took a day to do, with a lot of downtime. I began by painting the lauan with a light coat of paint. You don’t want the paint to be too thick or it will bubble up when you press the text on. I also cut the 1×2″ furring strips to rame the lauan. I wanted a shaker style cut, so I cut two 4′ pieces and then two 21″ pieces. Then, I painted them black. I lightly sanded any areas that needed to be sanded and added a little more paint.
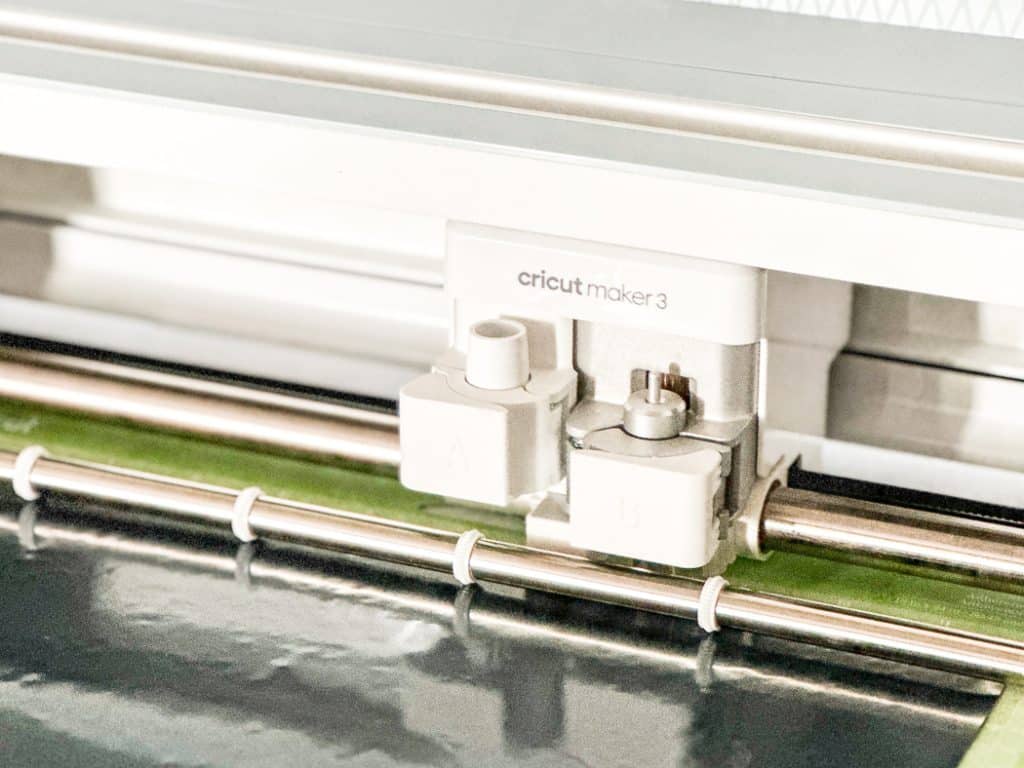
While you wait for the paint to dry, you can begin creating your text. I used a typeset style font and just copied the text into Design Space. Then, I moved the text around until it looked right to me. Once I was happy with the layout, I resized it to fit my sign. Next, I used Cricut’s slice feature to cut the quote into the correct sizes for my machine and HTV. If you use a machine that can accept SmartVinyl, you could leave the length as long as necessary. I didn’t have enough SmartVinyl, so I sliced it into 4 sections of 12×24″. I chose to overlap the text some to help line it up properly.
Assemble a Farmhouse Sign
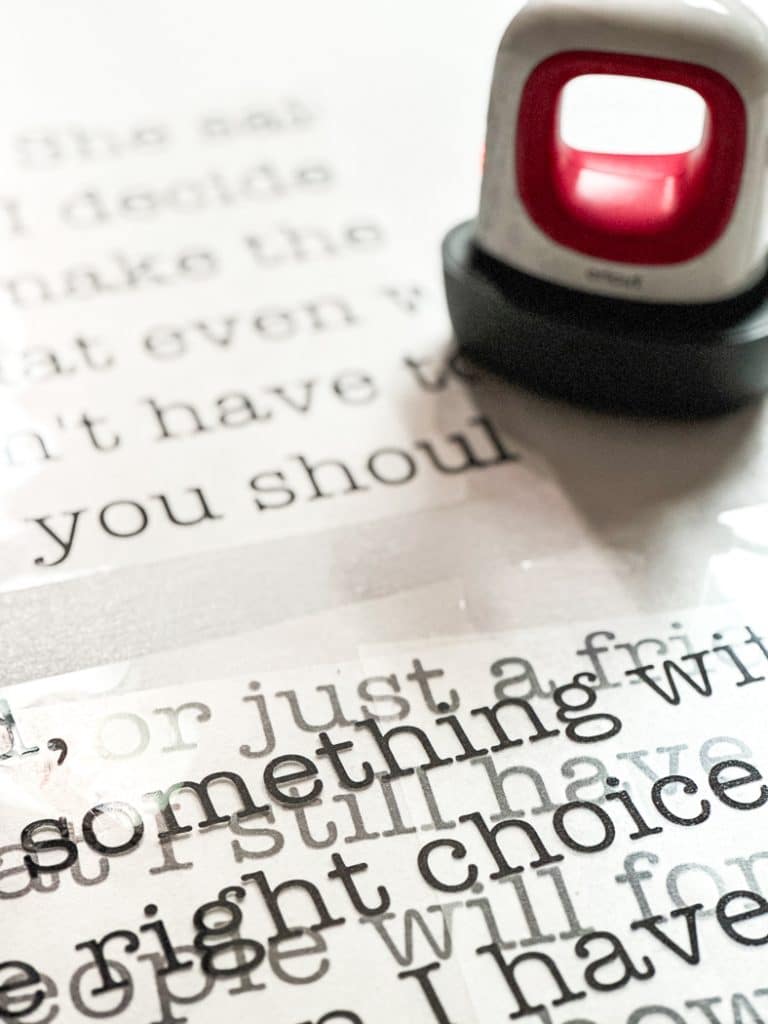
After the text is cut and weeded, you can begin pressing the text onto the lauan. I placed the HTV on the lauan and centered it. I used a marker to mark the center of the HTV and a light pencil mark to mark the center of the lauan. Then, I placed my first piece of HTV on the lauan and started pressing it in place. I don’t use a cover when I make signs so I can see when the text is stuck to the wood. And I use the EasyPress Mini to make sure each part of the letter is fully pressed in place. Once the first piece was on, I lined up the second section of HTV and overlapped the letters. Then, I pressed that section in place, without pressing the overlapped letters. I repeated these steps for the third and fourth sections of the sign.
Finally, I used a nail gun and adhesive to secure the trim to the lauan. I nailed from the back into the furring strips to hide the nail holes.
Since it is so light, I was able to use the nail gun to secure it to the wall as well. But, 3M Command Strips would work too.
If you enjoyed this DIY, you will love these too!
Free Farmhouse Kitchen Sign SVG
Tags : Cricut, DIY, Farmhouse, She Shed, Sign

[…] with all of my signs, I made this one with HTV and my EasyPress Mini. Check out this DIY Oversized Sign post for step-by-step instructions for […]