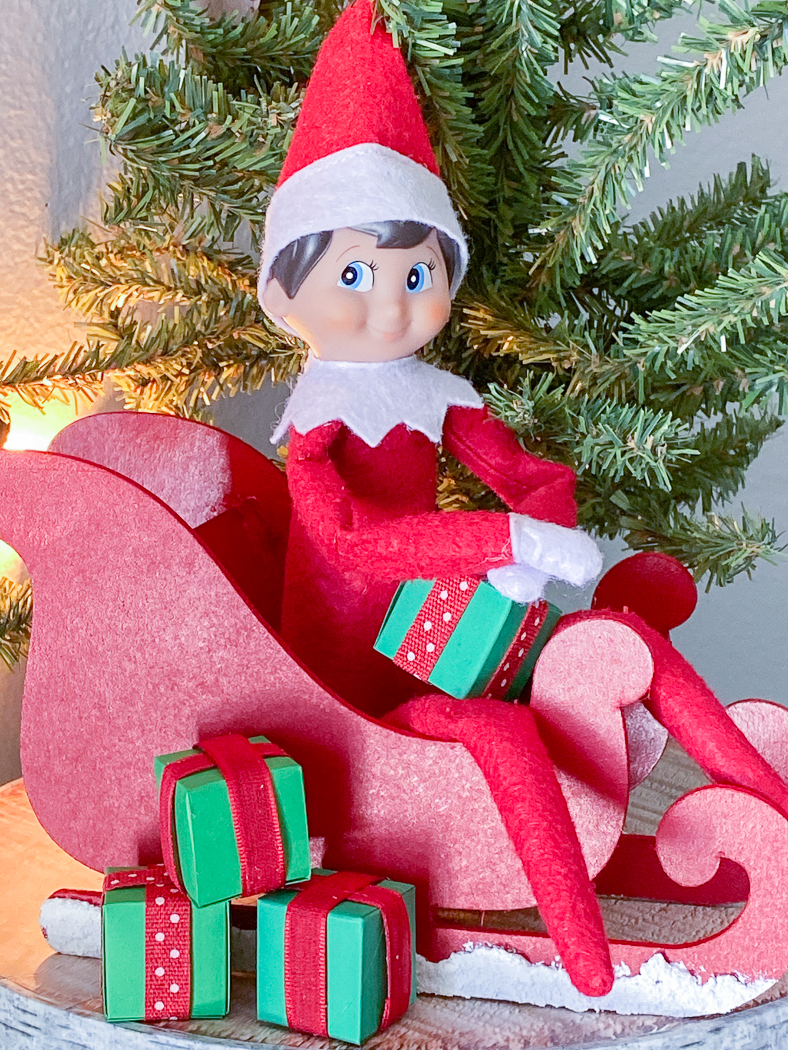
I m having so much fun creating new ideas for the Elf on the Shelf this week! And I am so excited about how my niece and nephew’s Elves will return! Of course they can’t come back empty handed, so I used my Cricut to make an adorable Elf sleigh and gift boxes!

This review is based strictly on my opinion. Others may have a different opinion or experience with the product listed above. I was provided the sample free of charge by the company or PR agency and I provided my honest opinion. No other type of compensation was received for this review.
If you decide to make a purchase through my links, I will be paid a small commission for it. This doesn’t cost you anything additional.
Elf on the Shelf Ideas
Even though my own kids never had an Elf on the Shelf doll, I love coming up with fun activities for my niece and nephew’s elves.
Last year, one of my most popular posts was the DIY Bed for Dolls and Elves I made for the Elves. Although, my niece and nephew really enjoyed the Simple Elf Activity and tiny snow balls.
I shared 10 Awesome Elf on the Shelf Ideas this week too, if you are still looking for more.

Make An Elf Sized Sleigh and Gift Boxes
I love to use my Cricut to create custom Elf accessories! And this tiny sleigh is no different! And, as cute as the sleigh is on it’s own, I really thought it needed some tiny gift boxes with little candies in them for the kids.
Thankfully, I found the perfect box {and gift tags} in Cricut’s November Mystery Box from Jen Goode! This month’s Mystery Box is available today for just $29.99, but is valued at over $75! This month’s theme is gifting accessories – tags, mini boxes, bags, accents and more! Little Winter Gifts by Jen Goode is a collection of 3D packaging, gift tags and extra doodly accents to layer and decorate with. With a variety of printable background papers, which you can locate in the “pattern” choices of the print and cut settings of Cricut Design Space, you’ll be creating for DAYS!

Elf on the Shelf Accessory Supplies
Amazon Links
Step 1

Open this cut file. It is already sized to fit a standard Elf.
Step 2
Send the file to cut. Use Chipboard for the sleigh, but don’t forget to use a strong grip cutting mat and masking tape to secure the Chipboard. You will need two pieces of Chipboard for each sleigh.
Step 3
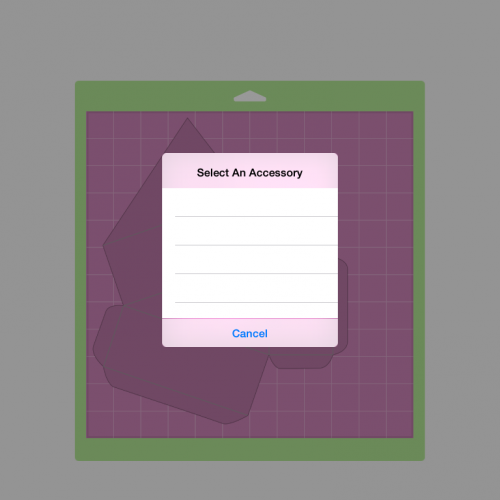
Cut the small boxes and gift tag. I used two different colors of card stock to make 4 boxes. You will need to use the scoring wheel and a pen for the boxes and tags. Be sure to follow the prompts.
Step 4


Mark the Sleigh with a ruler so you can line up the seat back and bottom, and the front of the sleigh. I glued the bottom 1.5″ from the bottom of the sleigh, and the front 2″ from the front of the sleigh. Then, I glued the back at an angle, following the ling of the sleigh.
Step 5
Paint the sleigh.
Step 6
While the sleigh dries, assemble the boxes. I used a little glue to hold the tabs together, and filled each with tiny candies. Then, I hot glued the ribbon on each box.
Step 7

Once the paint dried on the sleigh, I used a paint brush to add Snow Tex to the bottom.
That’s it! Your little elves will have the coolest Elf Sleigh ride back from the North Pole!

If you liked this post, be sure to check these out too!
Tags : Christmas, DIY, Elf, Elf on a Shelf, Elf on the Shelf


