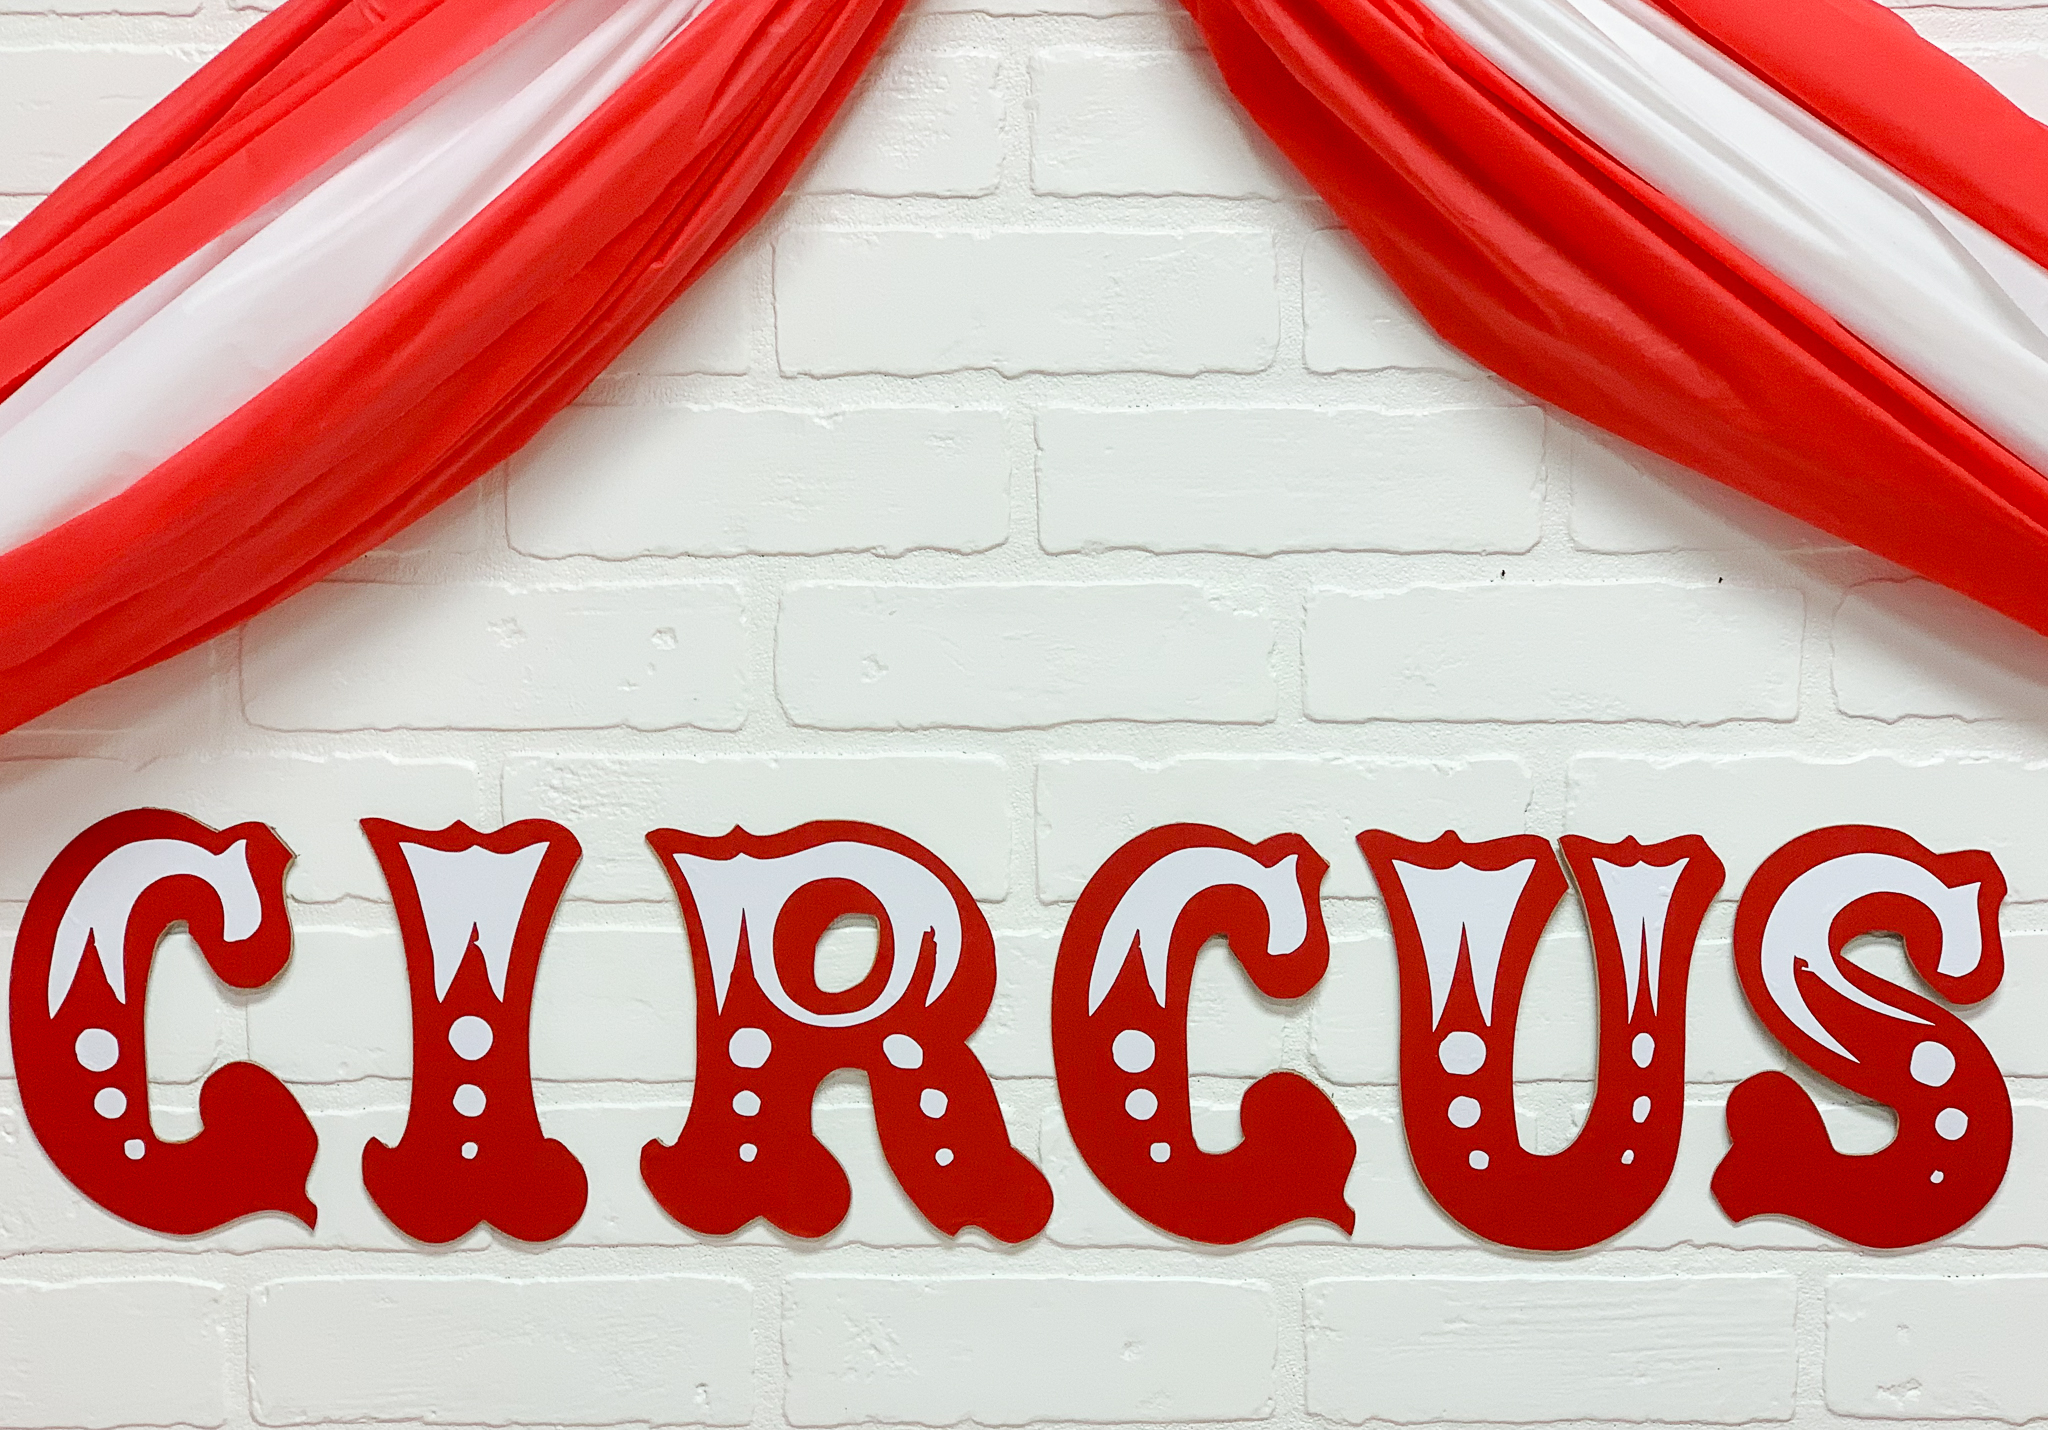
Easy Circus Party Backdrop
For as long as I can remember I have loved the circus. My parents would take me to the local circus, and when they were able to I got to go to the Barnum and Bailey Circus. I even got to celebrate my birthday at Circus World {it was an awesome central Florida theme park when I was a kid} I truly love the circus; the sounds, the lights, the excitement, the foods, all of it! And, I am so excited to see the new Dumbo movie when it comes out. To celebrate my love of all things circus, I styled a little circus themed party, and created the easiest DIY Circus Party Backdrop for the party.
Make the Backdrop:
I wanted to mimic the style of a circus tent for the party table backdrop, and I also wanted to include a vintage looking circus sign or poster. Ultimately, I chose to make a sign because of the cost of buying a sign or poster was more than I wanted to spend.
Supplies:
SVG {Use Code CIRCUS to get it FREE}
Plastic Table Cloths – 2 Red and 1 White
String
Step 1:
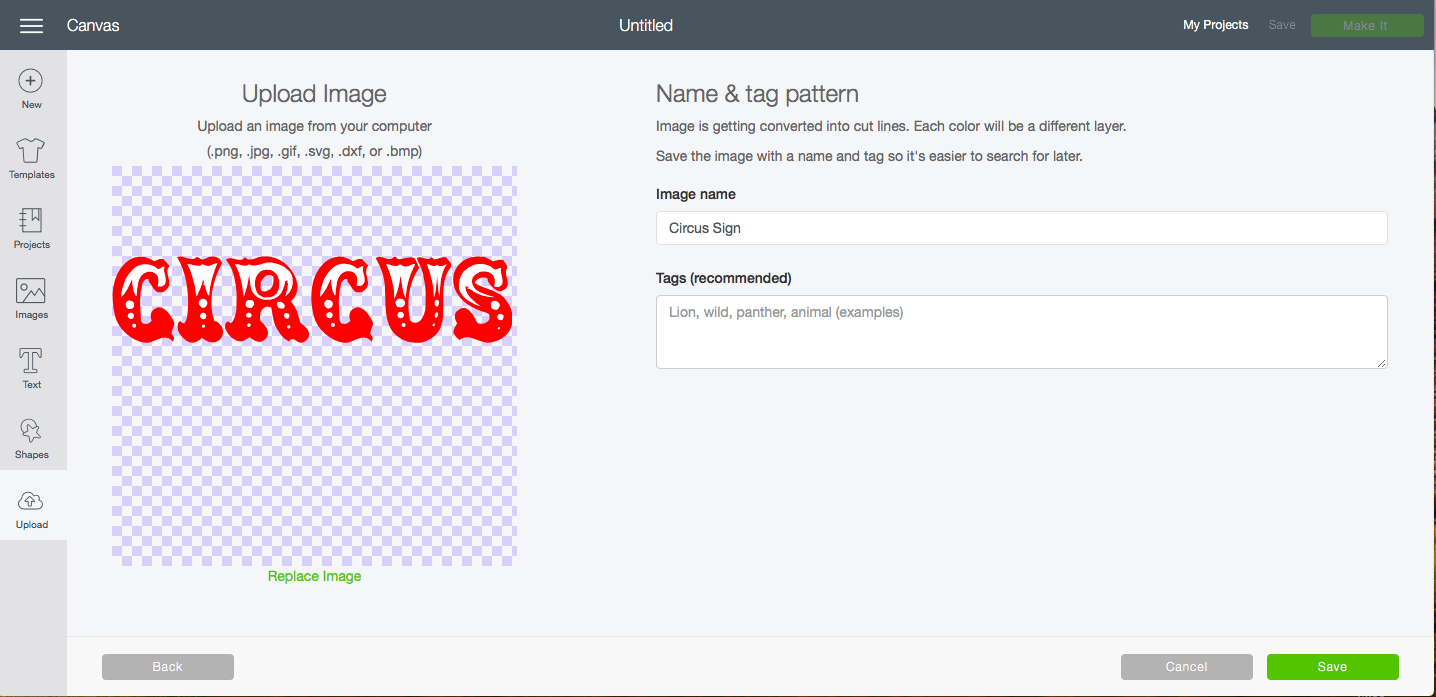
Download the SVG File and open Cricut Design Space. Upload the SVG into Design Space.
Step 2:
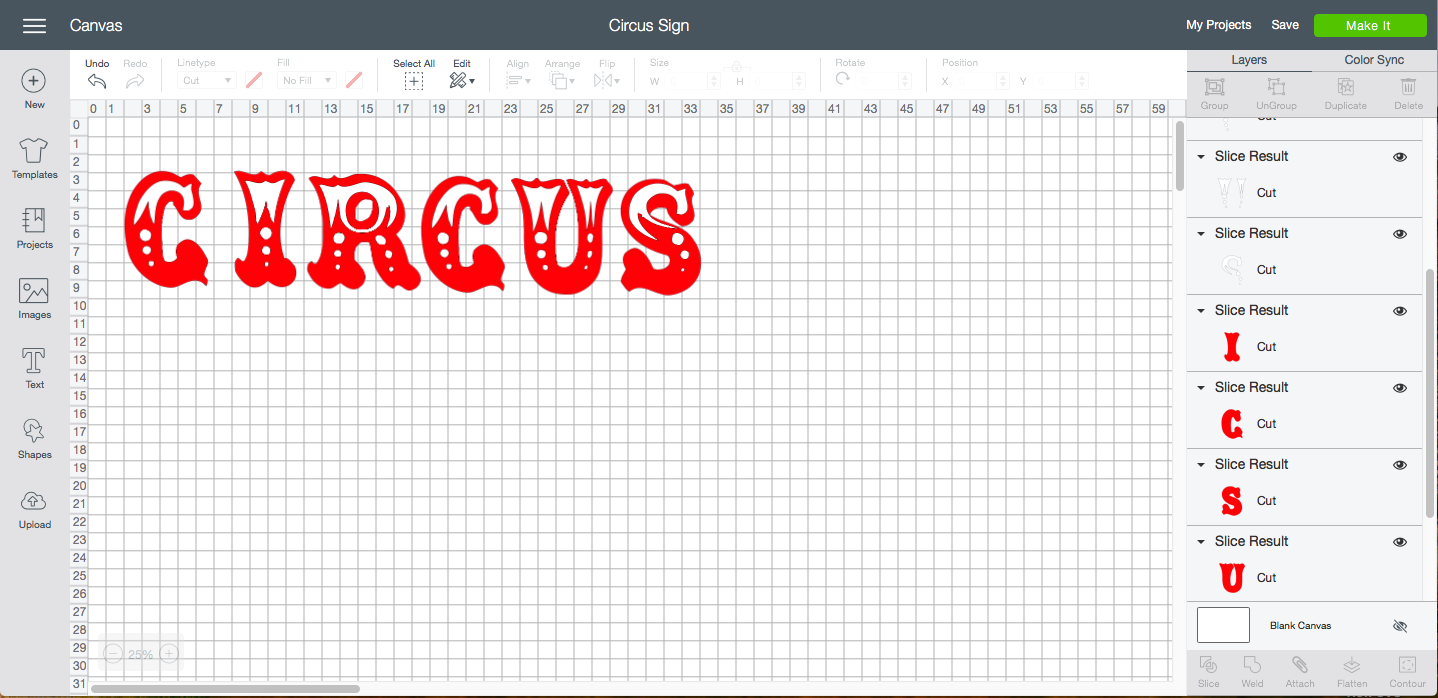
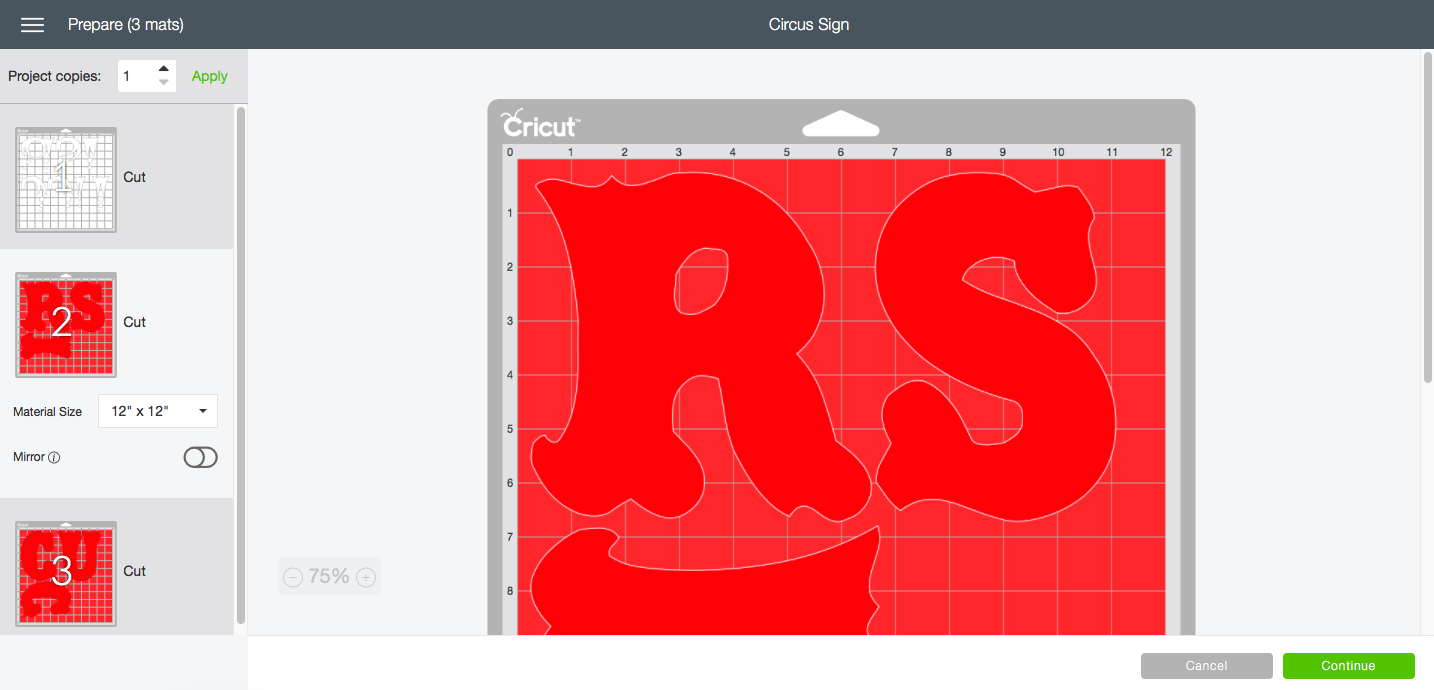
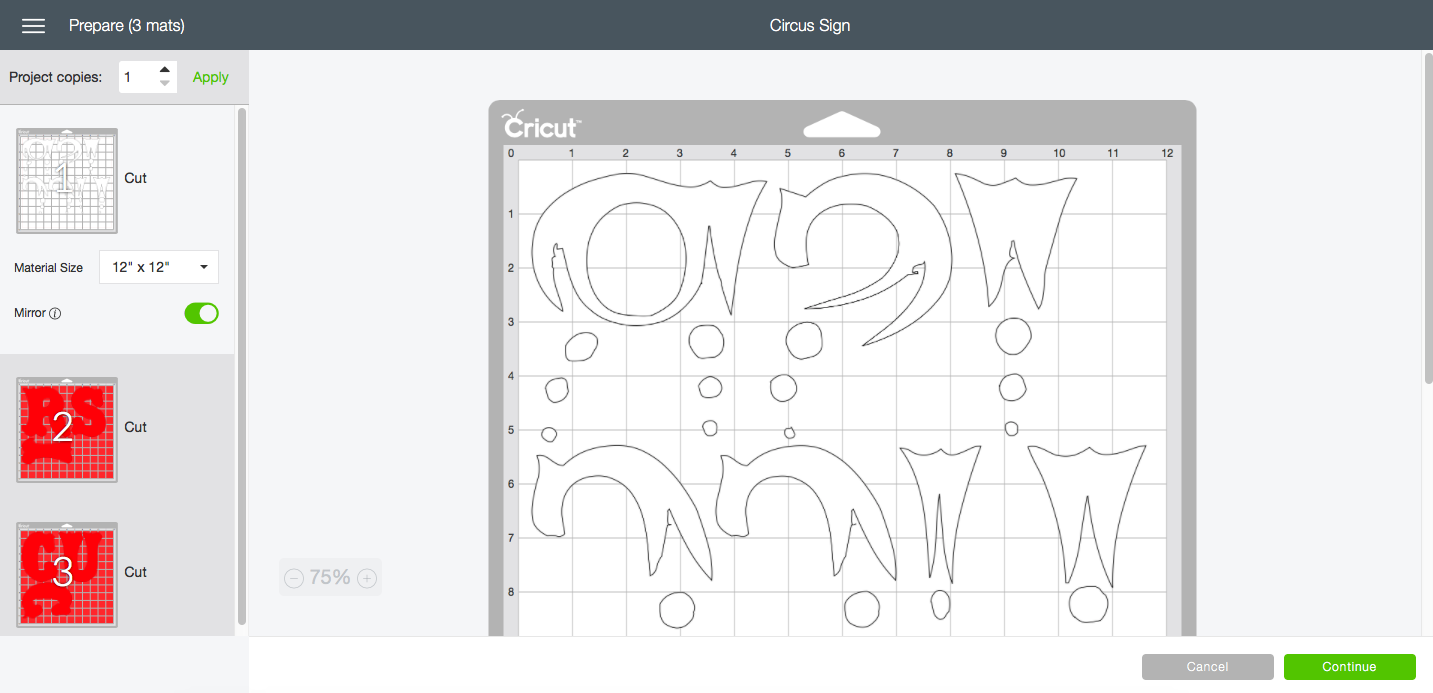
Size the SVG to fit your needs. I left each letter and embellishment separate to allow you to fit as many letters on one sheet as possible. {The image above shows the text sliced, but I fixed the SVG so you won’t have to slice text}
Step 3:
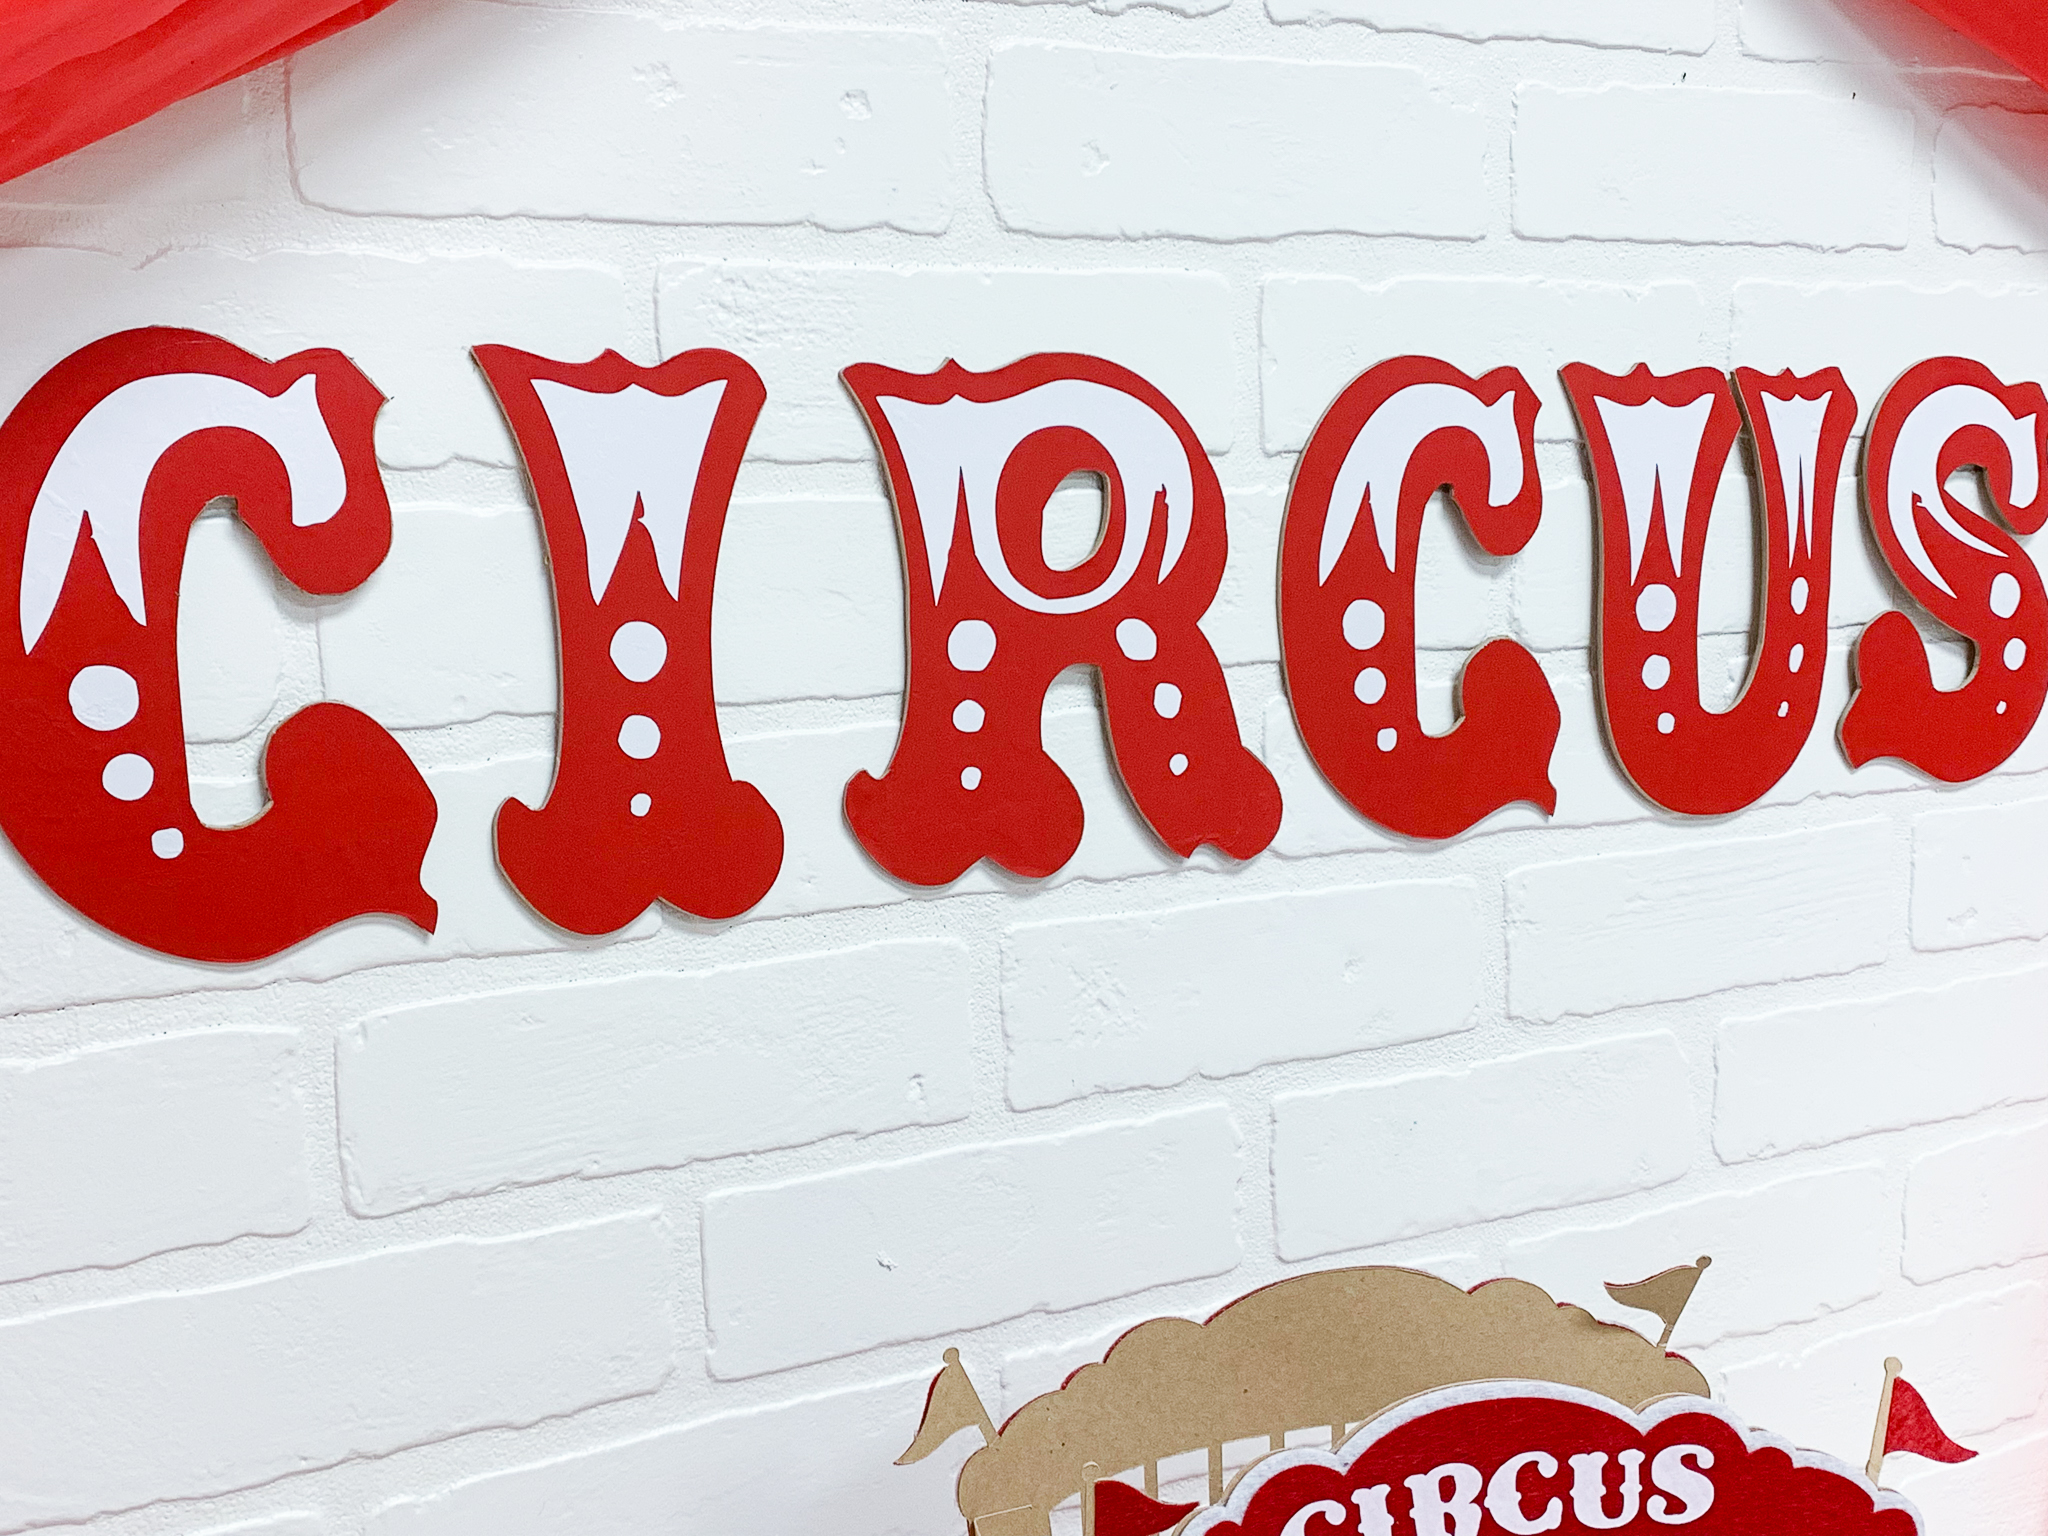
If you are using chipboard you can cover the whole board in Iron On or you can cover each letter individually with Iron On. If you choose to cover each letter, you will save Iron On, but you will need to cut the CIRCUS letters twice. Cut the chipboard first, and then the Iron On. {Don’t forget to tape the chipboard onto the cutting mat. And, remember that Iron On needs to be mirror cut, and placed on the mat shiny side down.}
If you are using cardstock, size and cut the CIRCUS letters as you normally would.
Next, cut out the top layer of the text. I used Iron On for that as well and used my EasyPress to apply it to the chipboard.
Step 4:
Apply the Iron On to the cardstock or chipboard using the EasyPress 2 and Cricut’s recommended heat settings. You may have to flatten out the chipboard after you press it, as it sometimes curls a little.
Step 5:
Hang your CIRCUS letters on the wall.
Step 6:
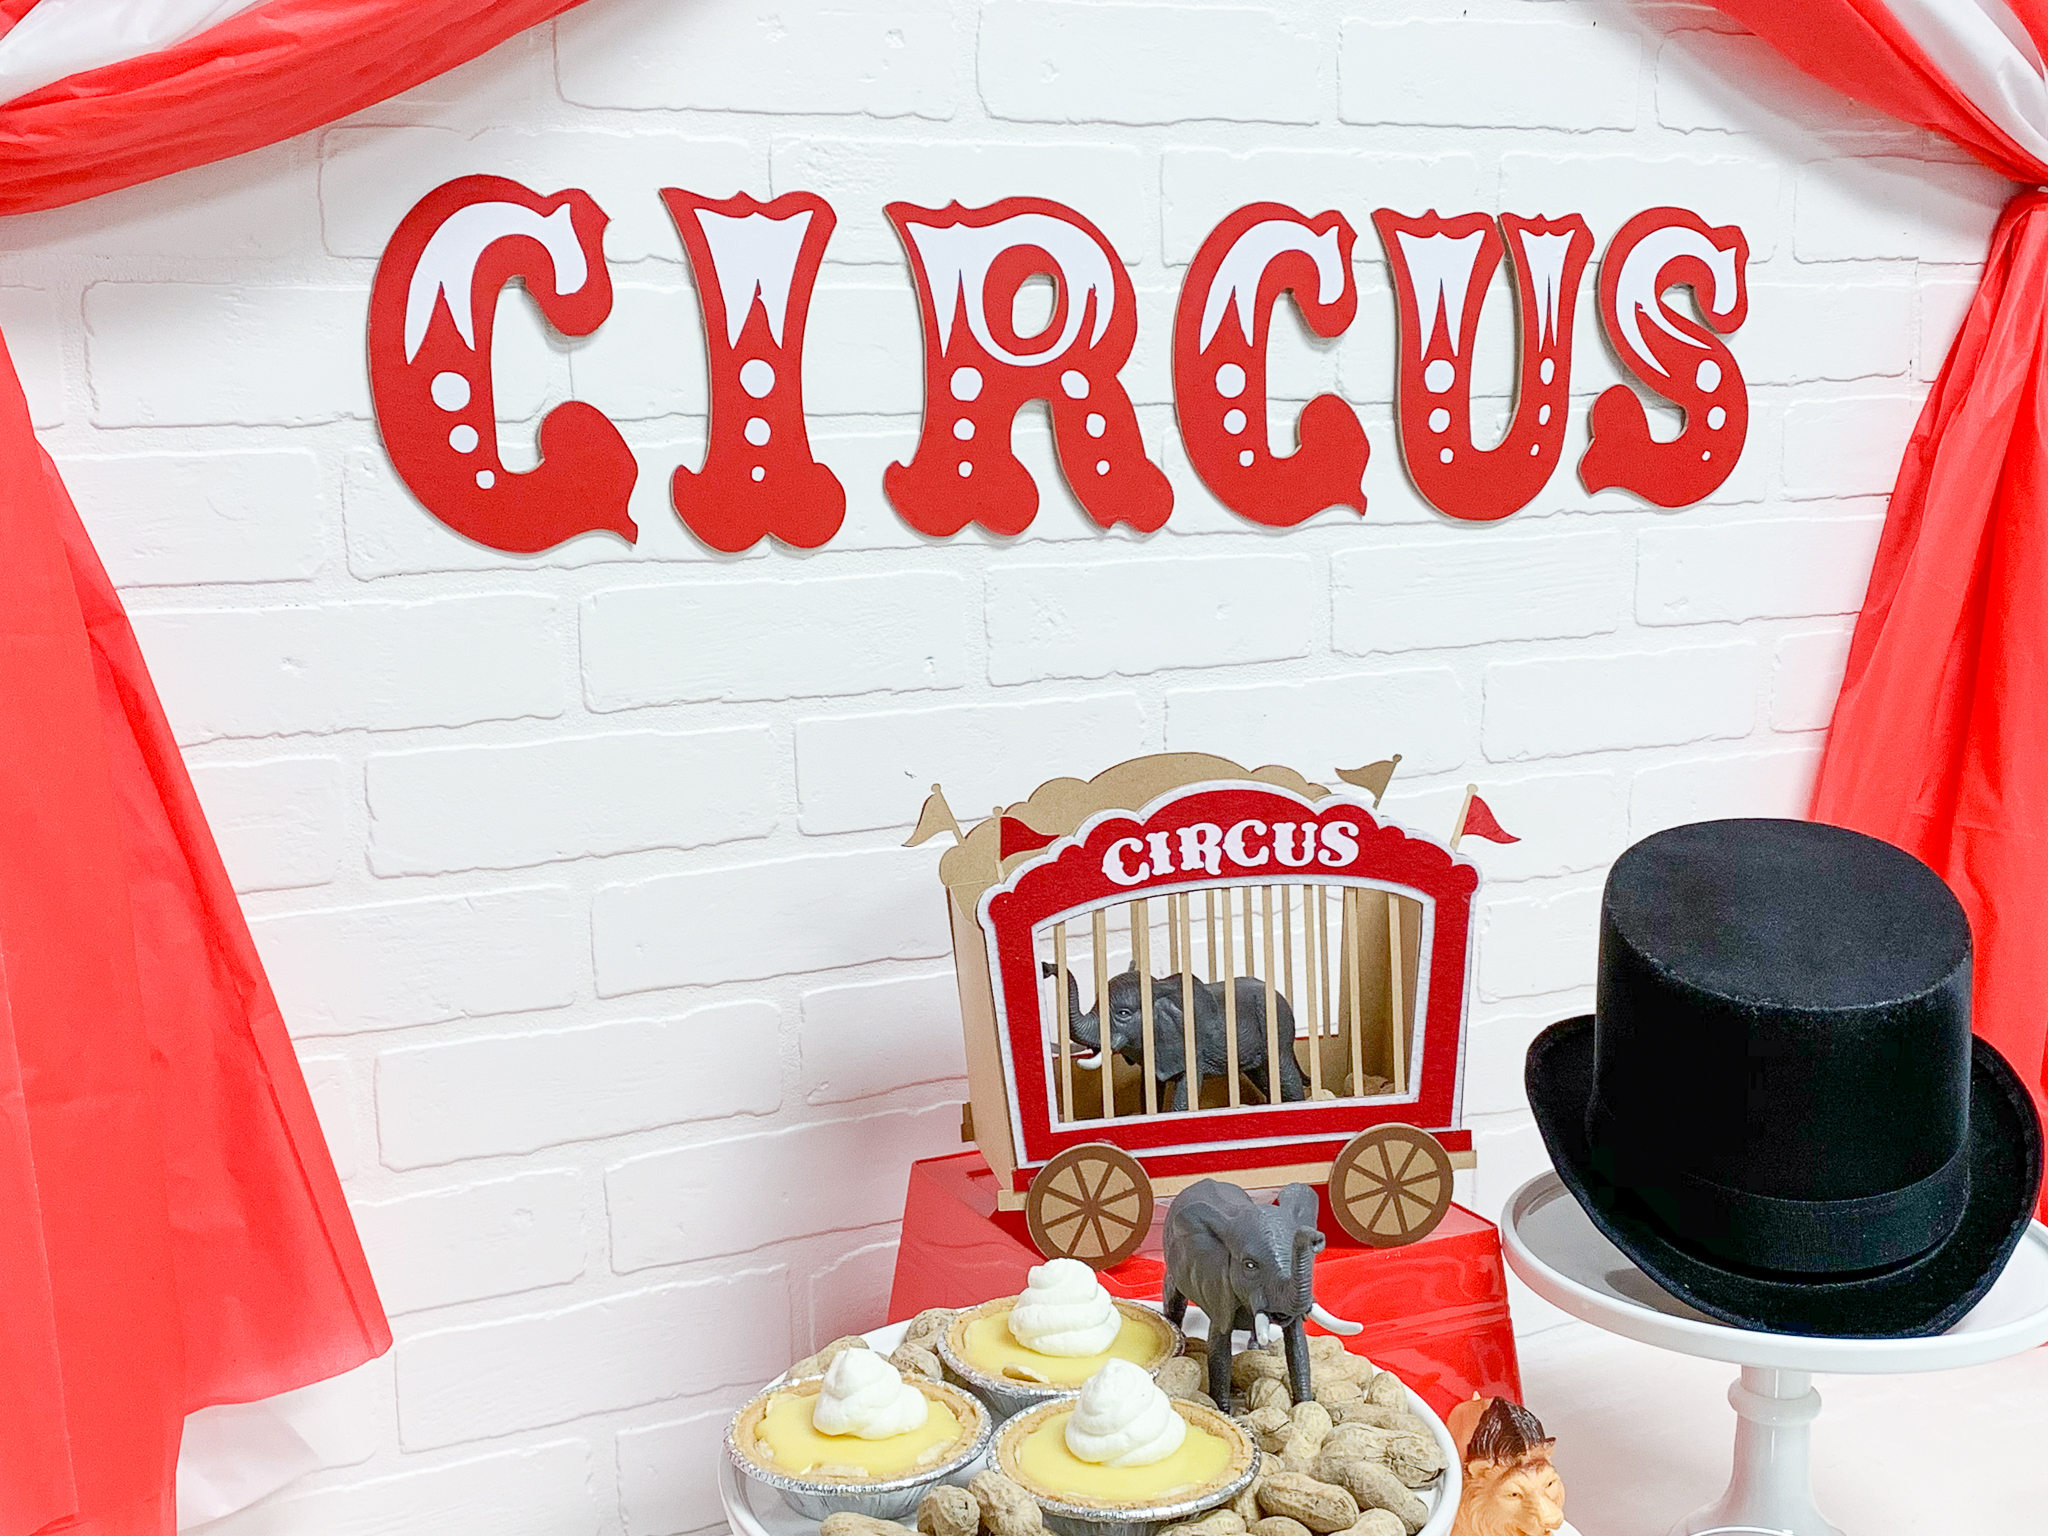
Gather the tablecloths in a red, white, red pattern, and use the string to tie in the center. Hang them from the center over the CIRCUS letters, trying to center it above the text. Then, arch one side down to mimic a tent, secure with more string. Repeat on the other side.
Your circus party will be perfect thanks to these easy DIY decorations!
If you enjoyed this post, be sure to check out these posts too!
DIY Dream Catcher Party Backdrop
Tags : Circus, Cricut, Cricut EasyPress 2, DIY, Everyday Party Magazine Shop, Kids Party, Shop EPM, SVG



[…] really wanted the backdrop to feel like a circus tent, so I used three plastic table cloths to create a tent on the wall. Then, I used my Cricut Maker to […]