Easter Table Decorations using Cricut’s Print then Cut Feature
I am so thrilled to be able to decorate our home for Easter this year! We have lived in the house for nearly 15 years, and I have absolutely hated the floors since the day we moved in. However, after my hubby and I removed the tile in the guest bathroom, we decided we would have to hire out the flooring for the rest of the house. So, when we sprung a water leak under the foundation, I might have done a happy dance in my head. I was {finally} getting new flooring and we wouldn’t have to tear out the old stuff or install the beautiful new flooring! So, now I have this stunning new scraped oak flooring, and I am so excited to decorate for all the holidays. Of course, I have spent a small fortune on the house, so I really don’t want to spend a ton on a lot of decorations. So, I did what other crafty people did, and I pulled out my Cricut Maker and made some adorable Easter Table decorations with Cricut’s Print then Cut feature.
What is Cricut Print then Cut?
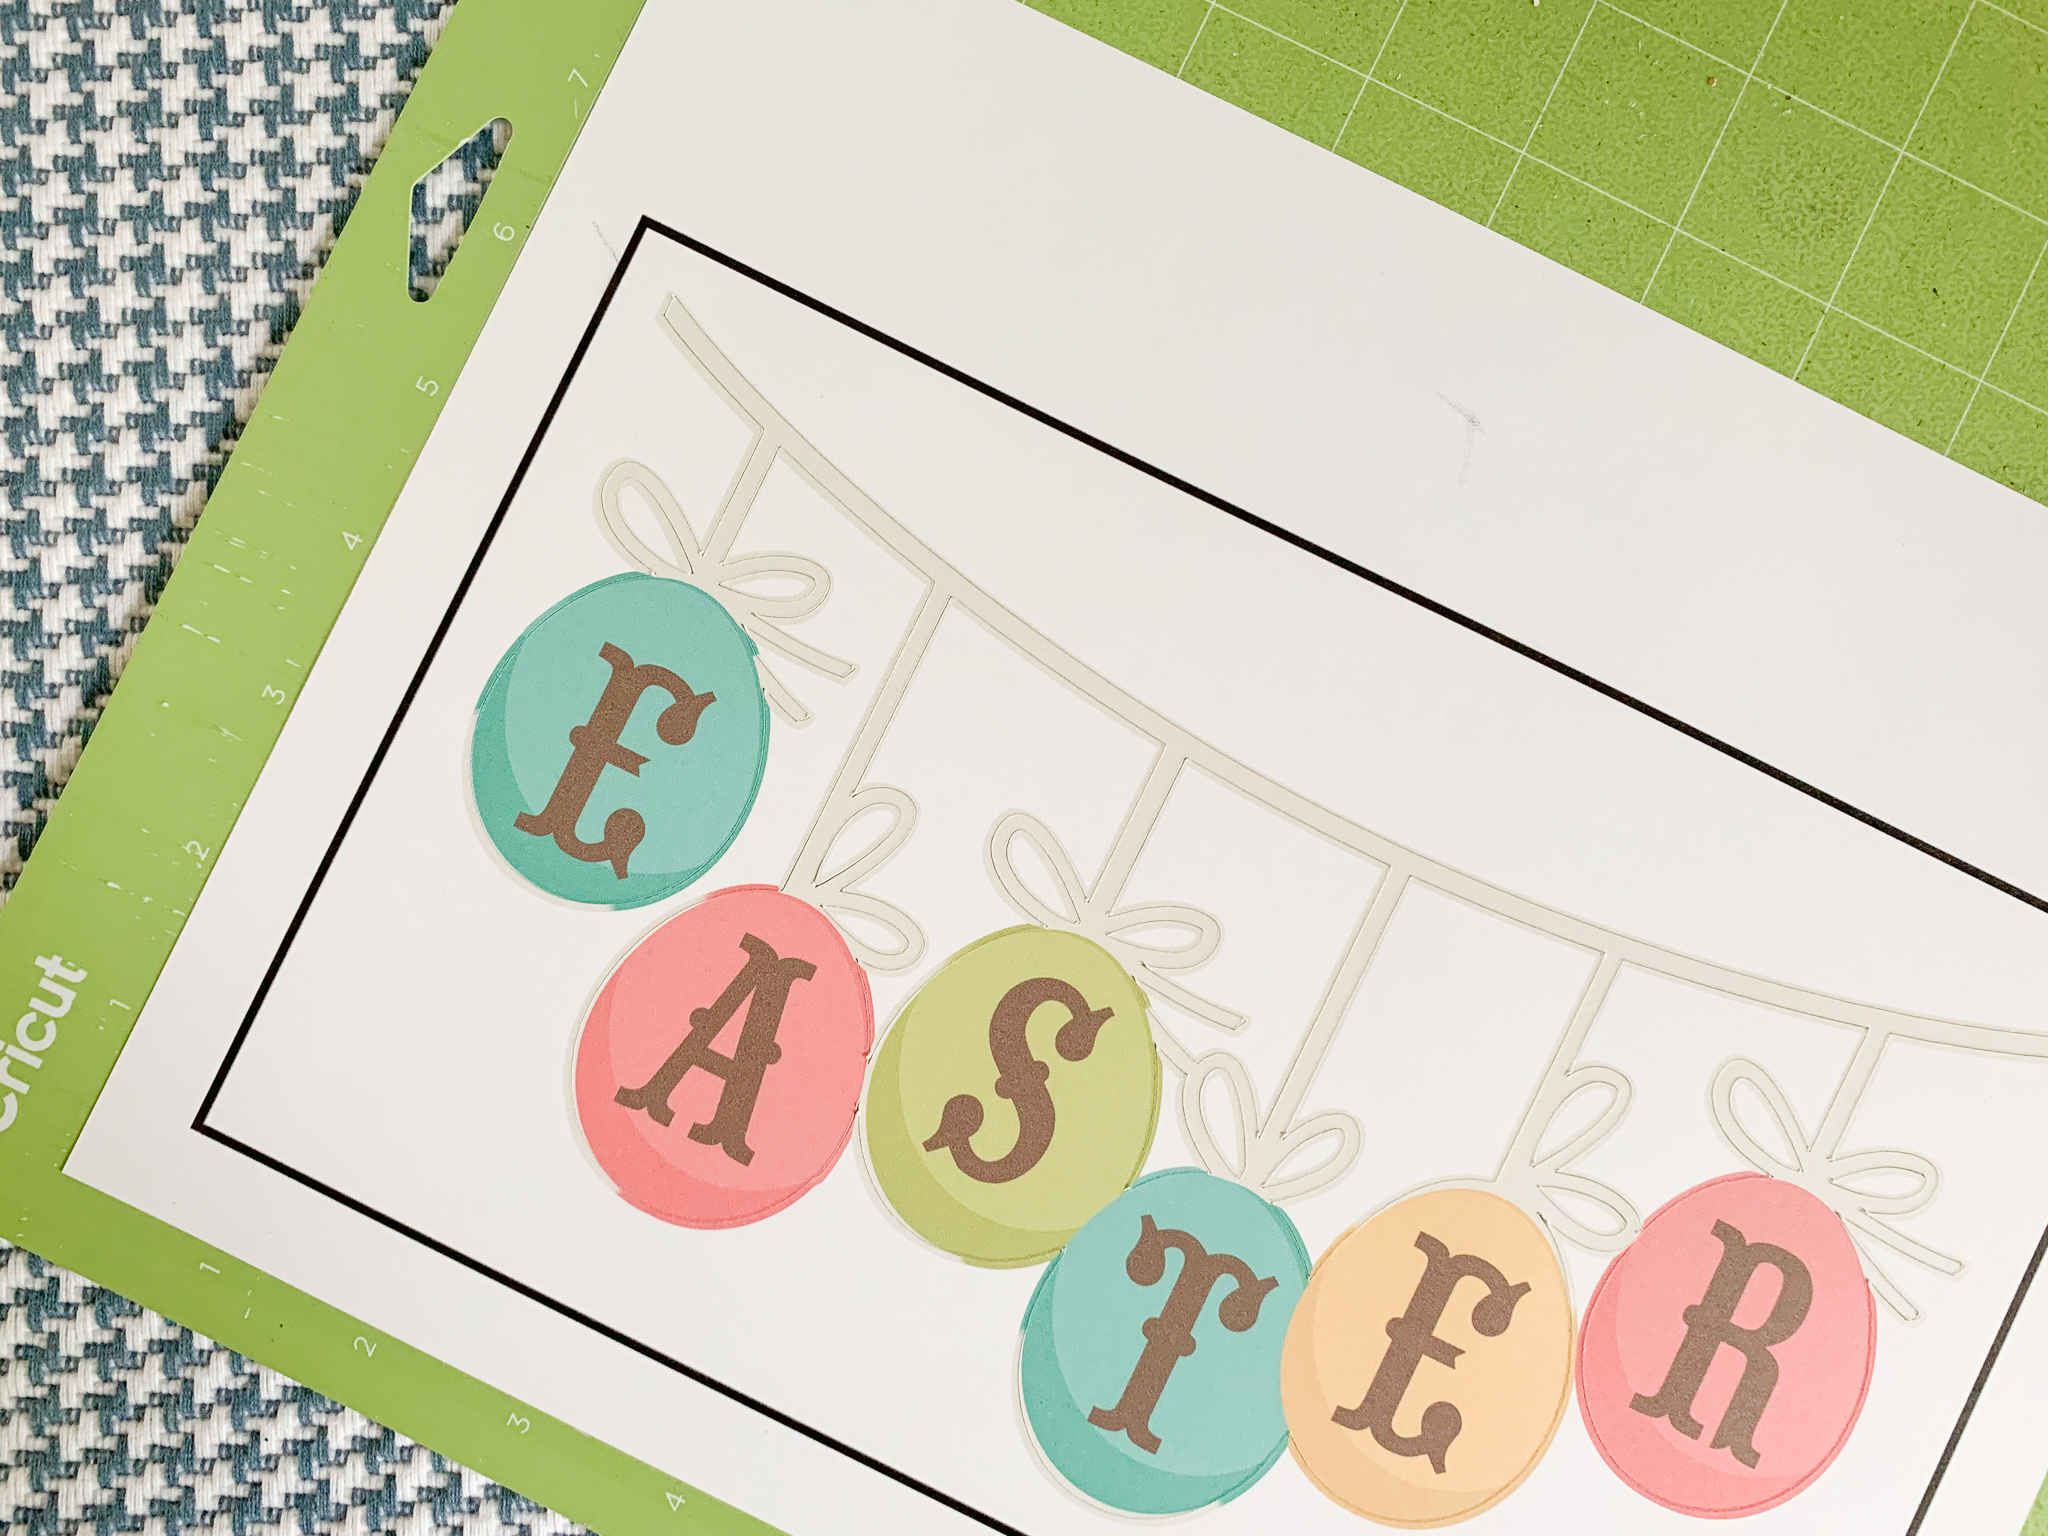
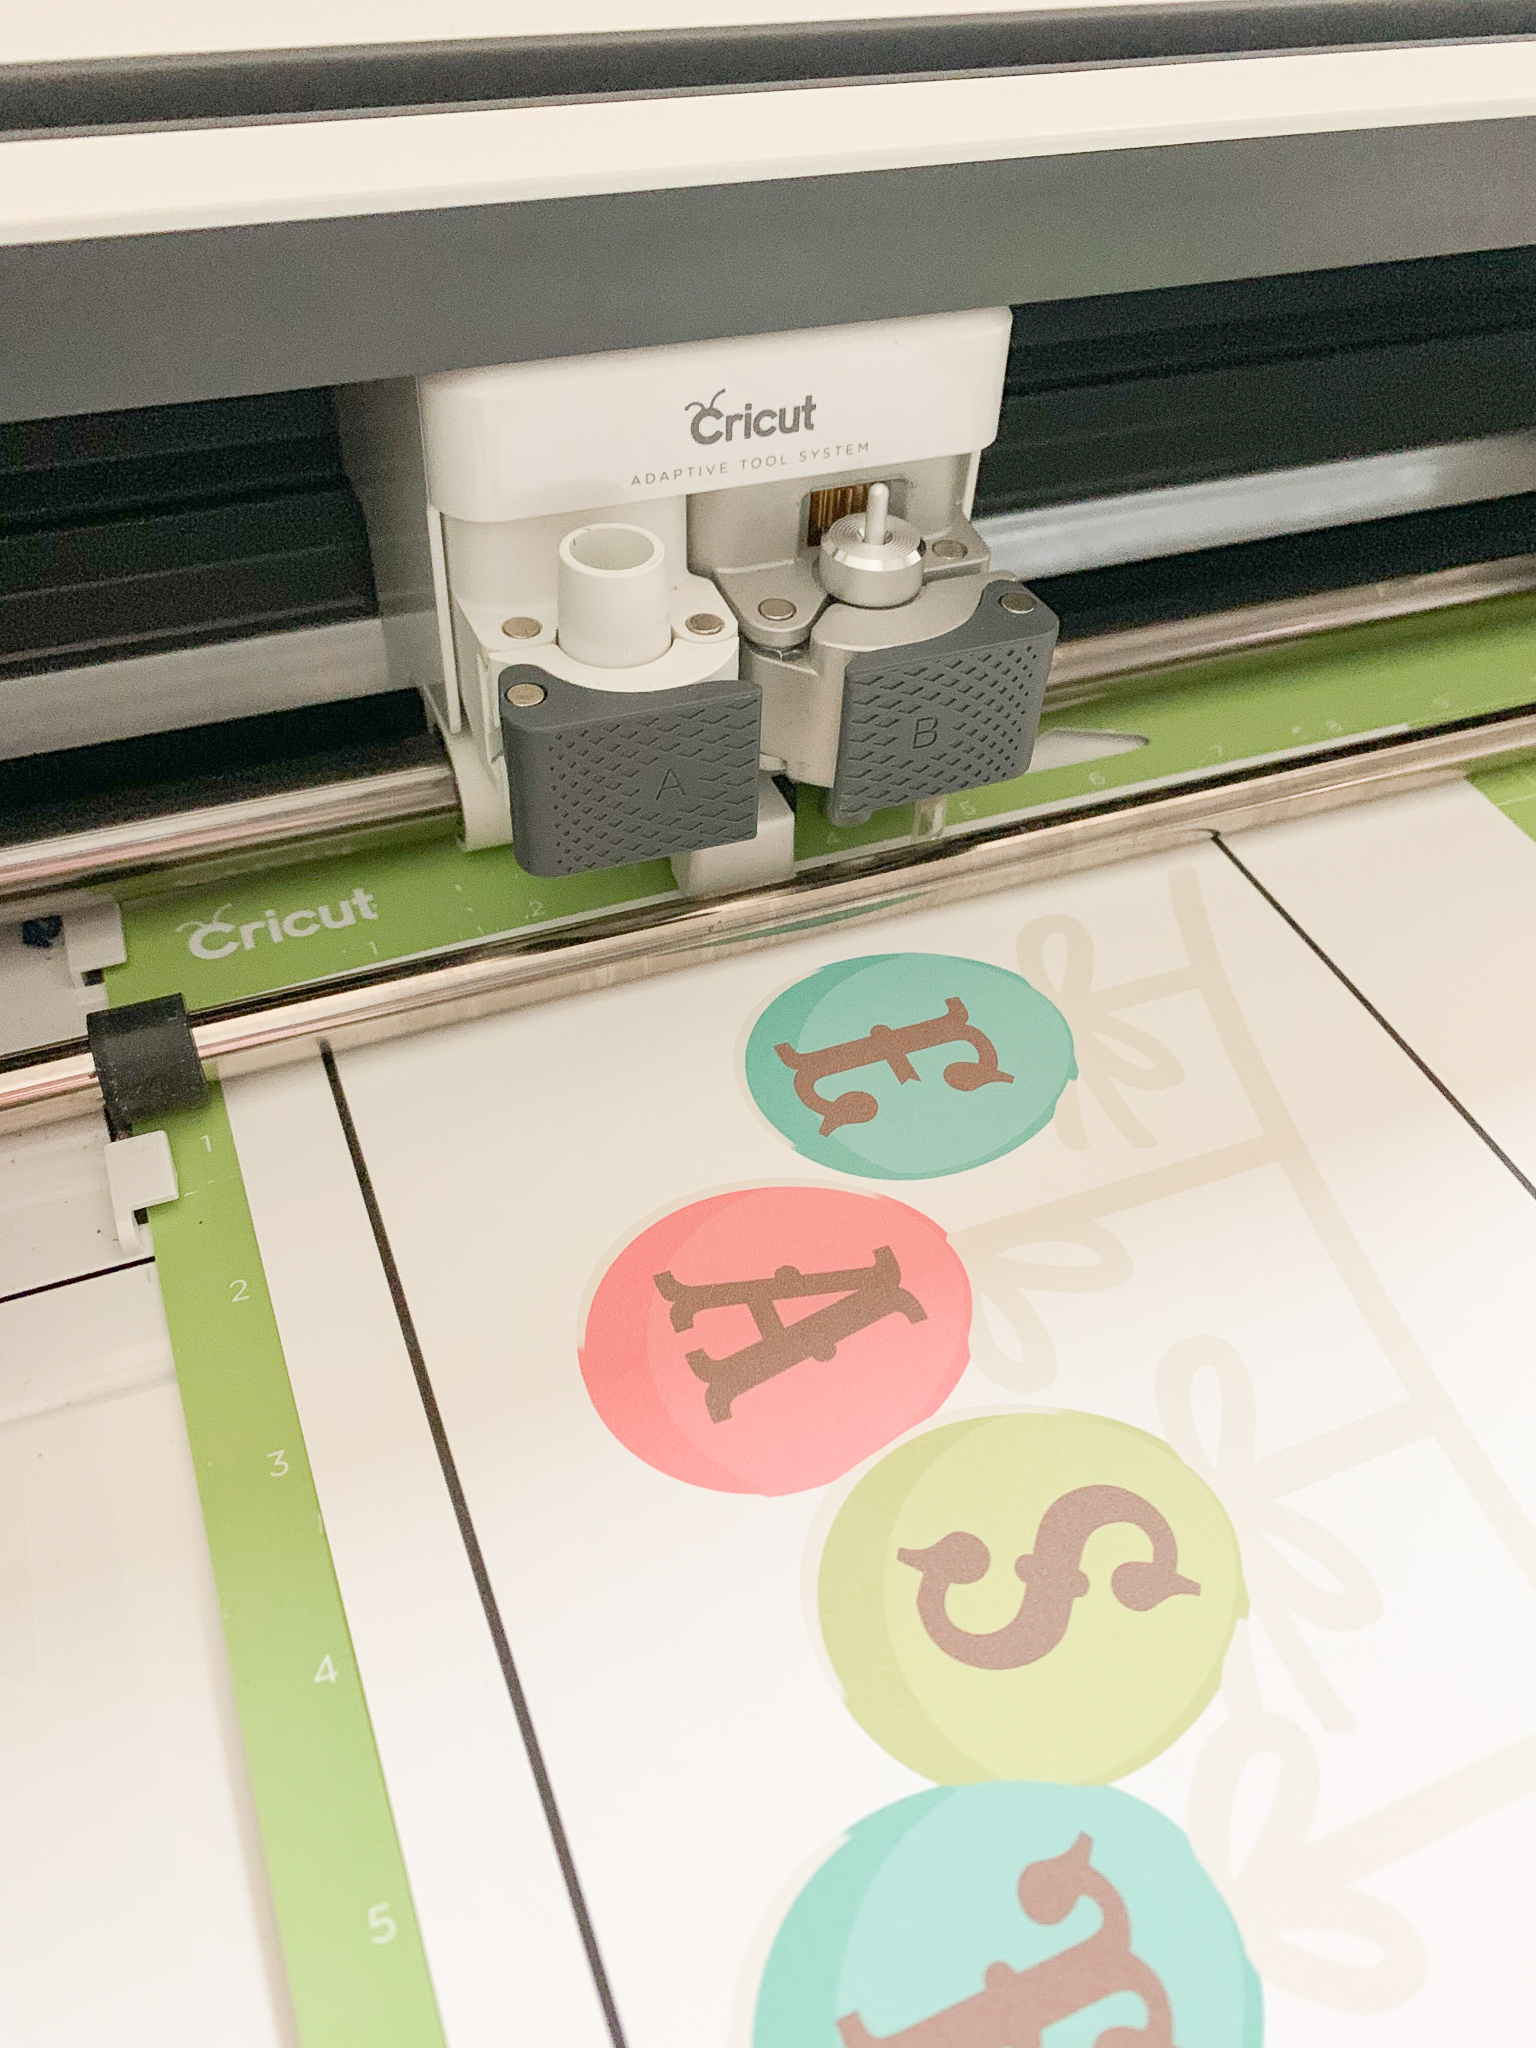
Print then cut allows you to turn virtually any of the designs in Cricut Access into a printable image. That image can be cut in the shape that it is, creating a totally custom design. This is perfect for stickers, tags, and more. Alternatively, you can create a box or trim around the image and create a tag with custom printed text and imagery.
How does Print then Cut Work?
I shared a detailed step by step tutorial on how to create a Print then Cut project, find it here. To use the Cricut Print then Cut feature, you will need a home printer and printer paper {I use cardstock}, a Cricut Maker and Design Space Access. Once you find an image you like, flatten it. Then send it to the cutting screen and to print. {Images cannot be more than 9.5″} After the image is printed, send it through the Maker as you would any other project.
Print Then Cut Easter Table Decorations:
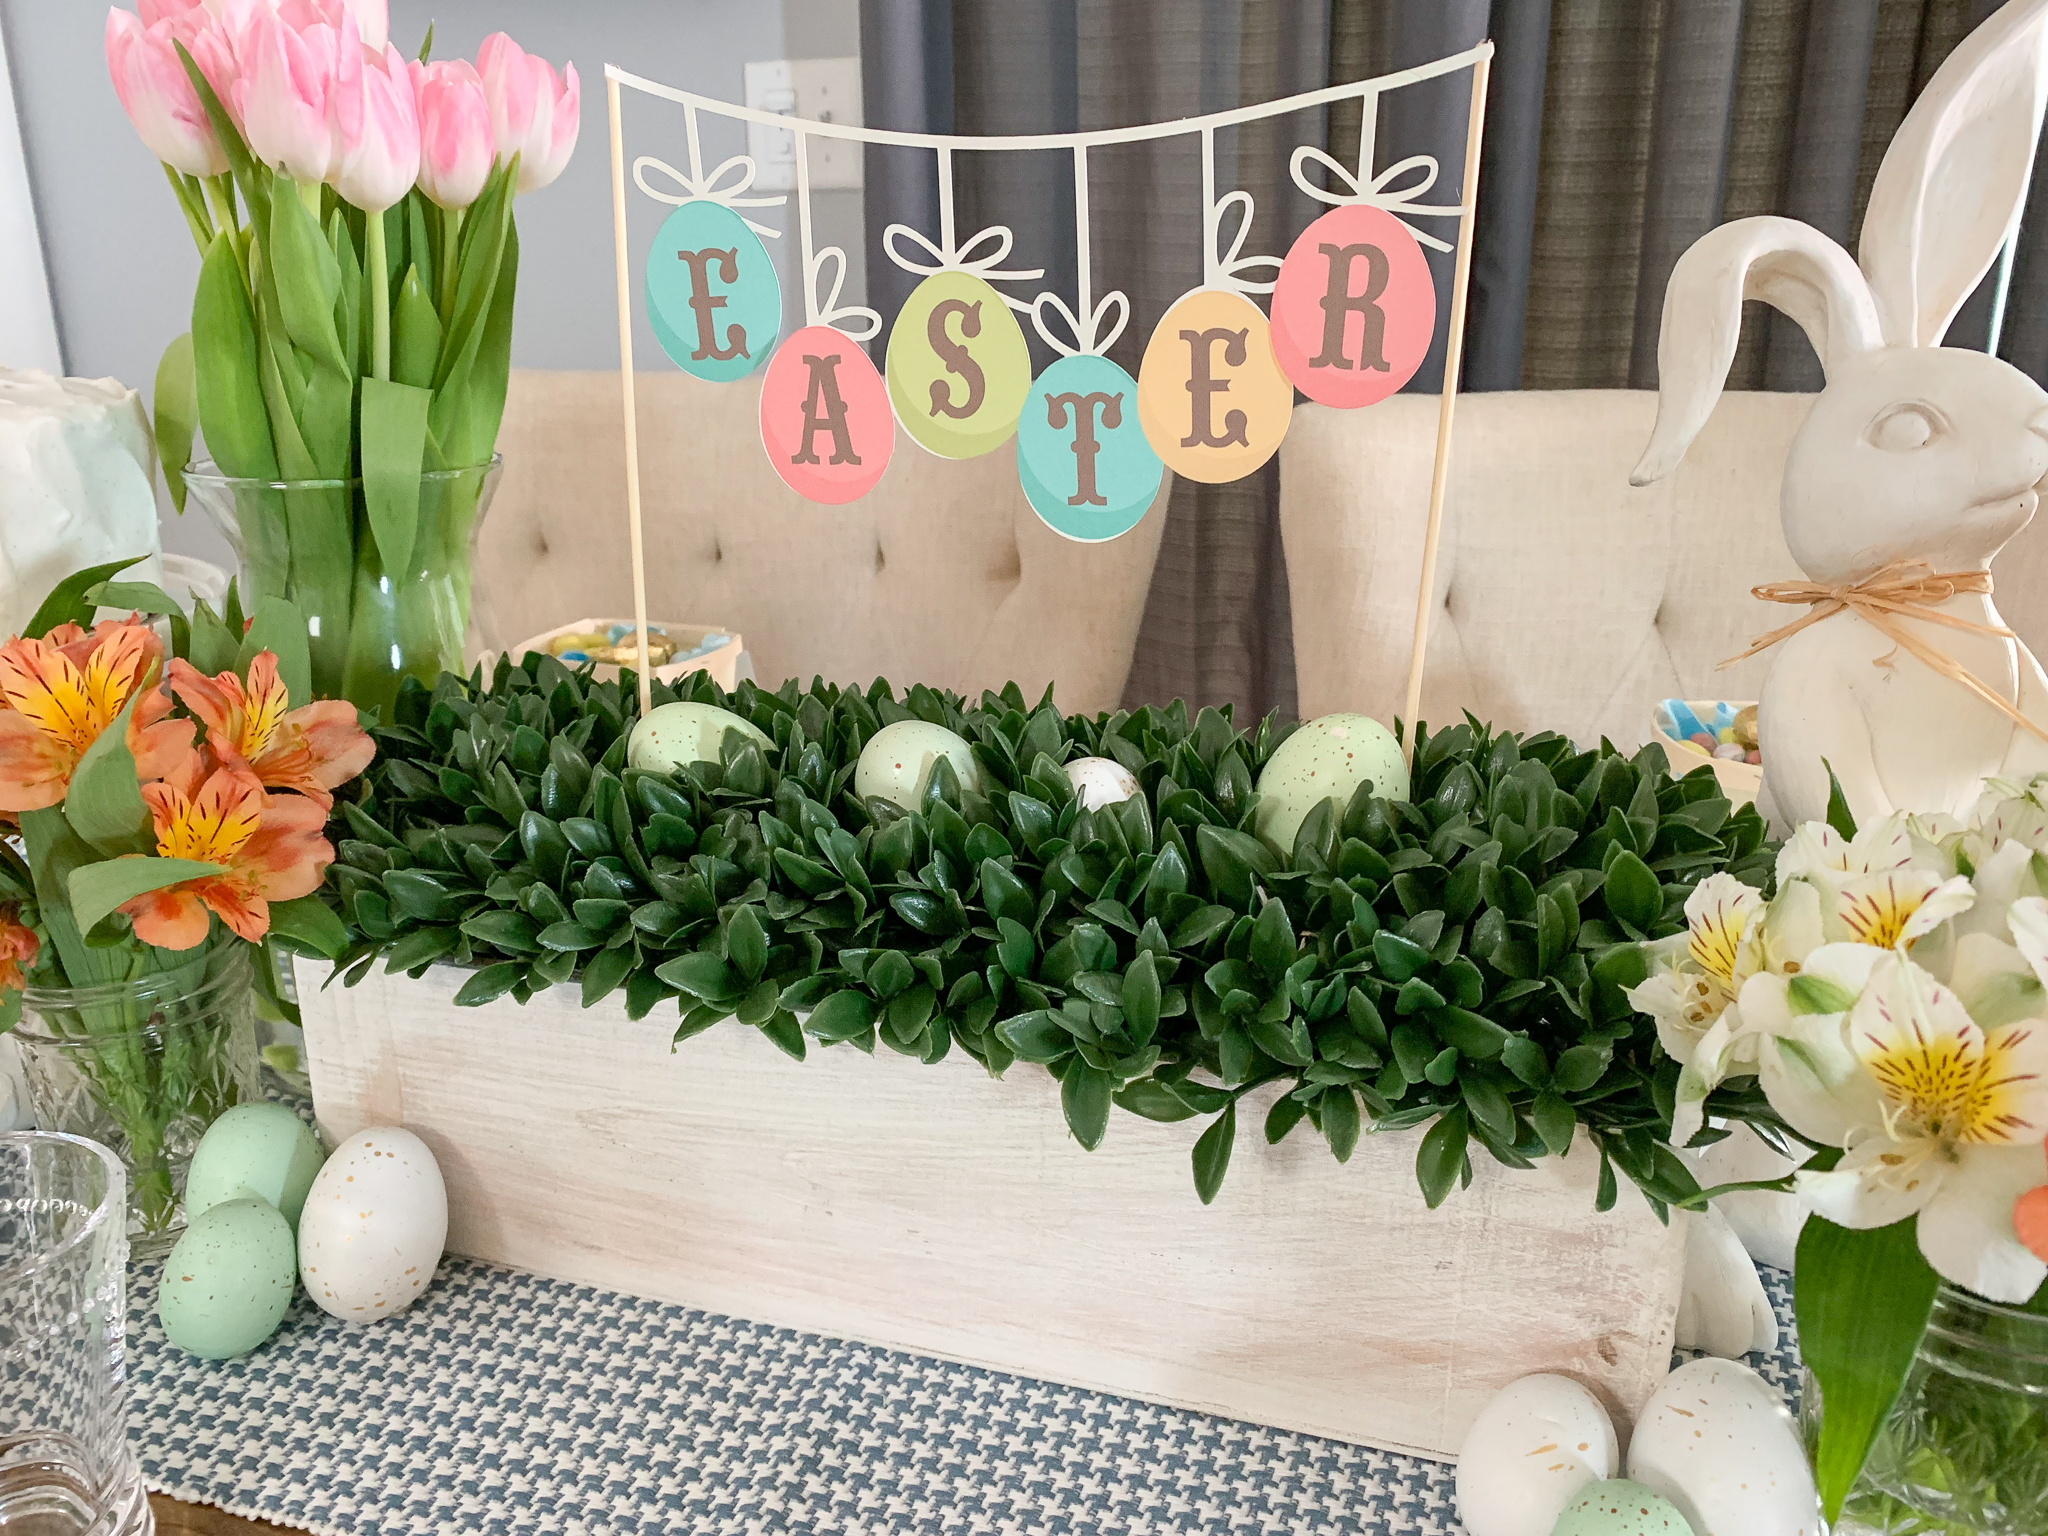
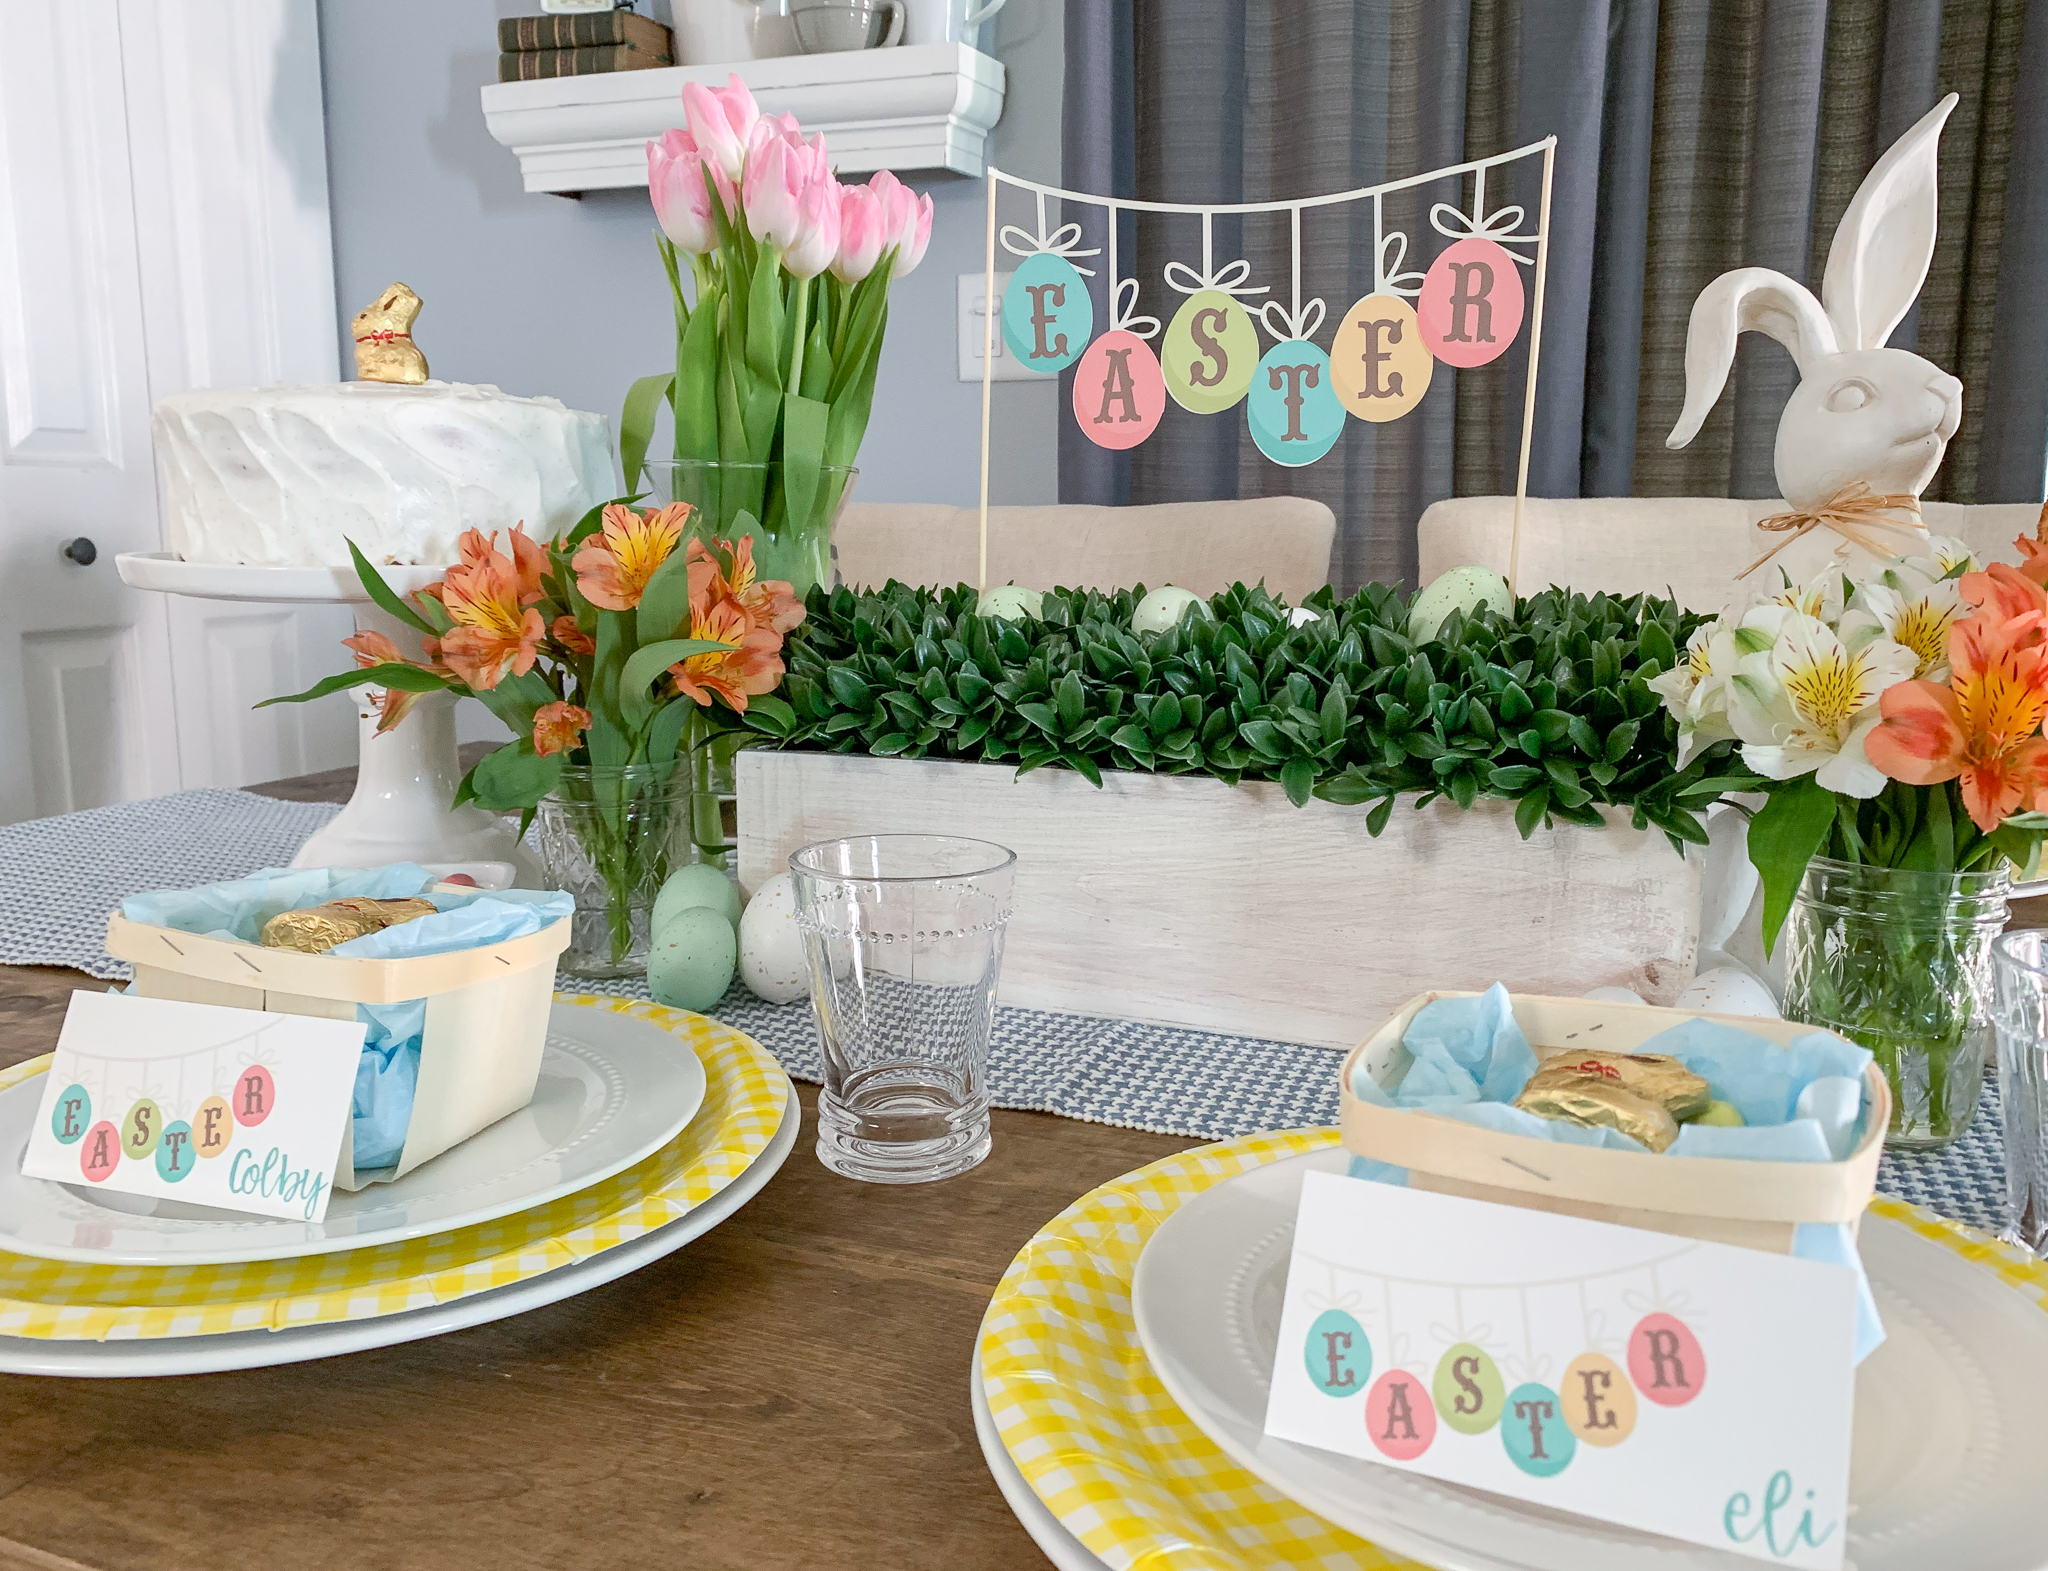
I found a simple boxwood plant box at HomeGoods recently, and I fell in love with it. It is the perfect centerpiece and shelf decor piece. The little box easily found it’s way into my cart and onto my dining table. It is adorable as it is, but for Easter, I thought it may need a little more. In less than 10 minutes, I had a sweet little Easter addition to my table. But, I didn’t stop there, I also made some matching place cards for the boys for Easter dinner.
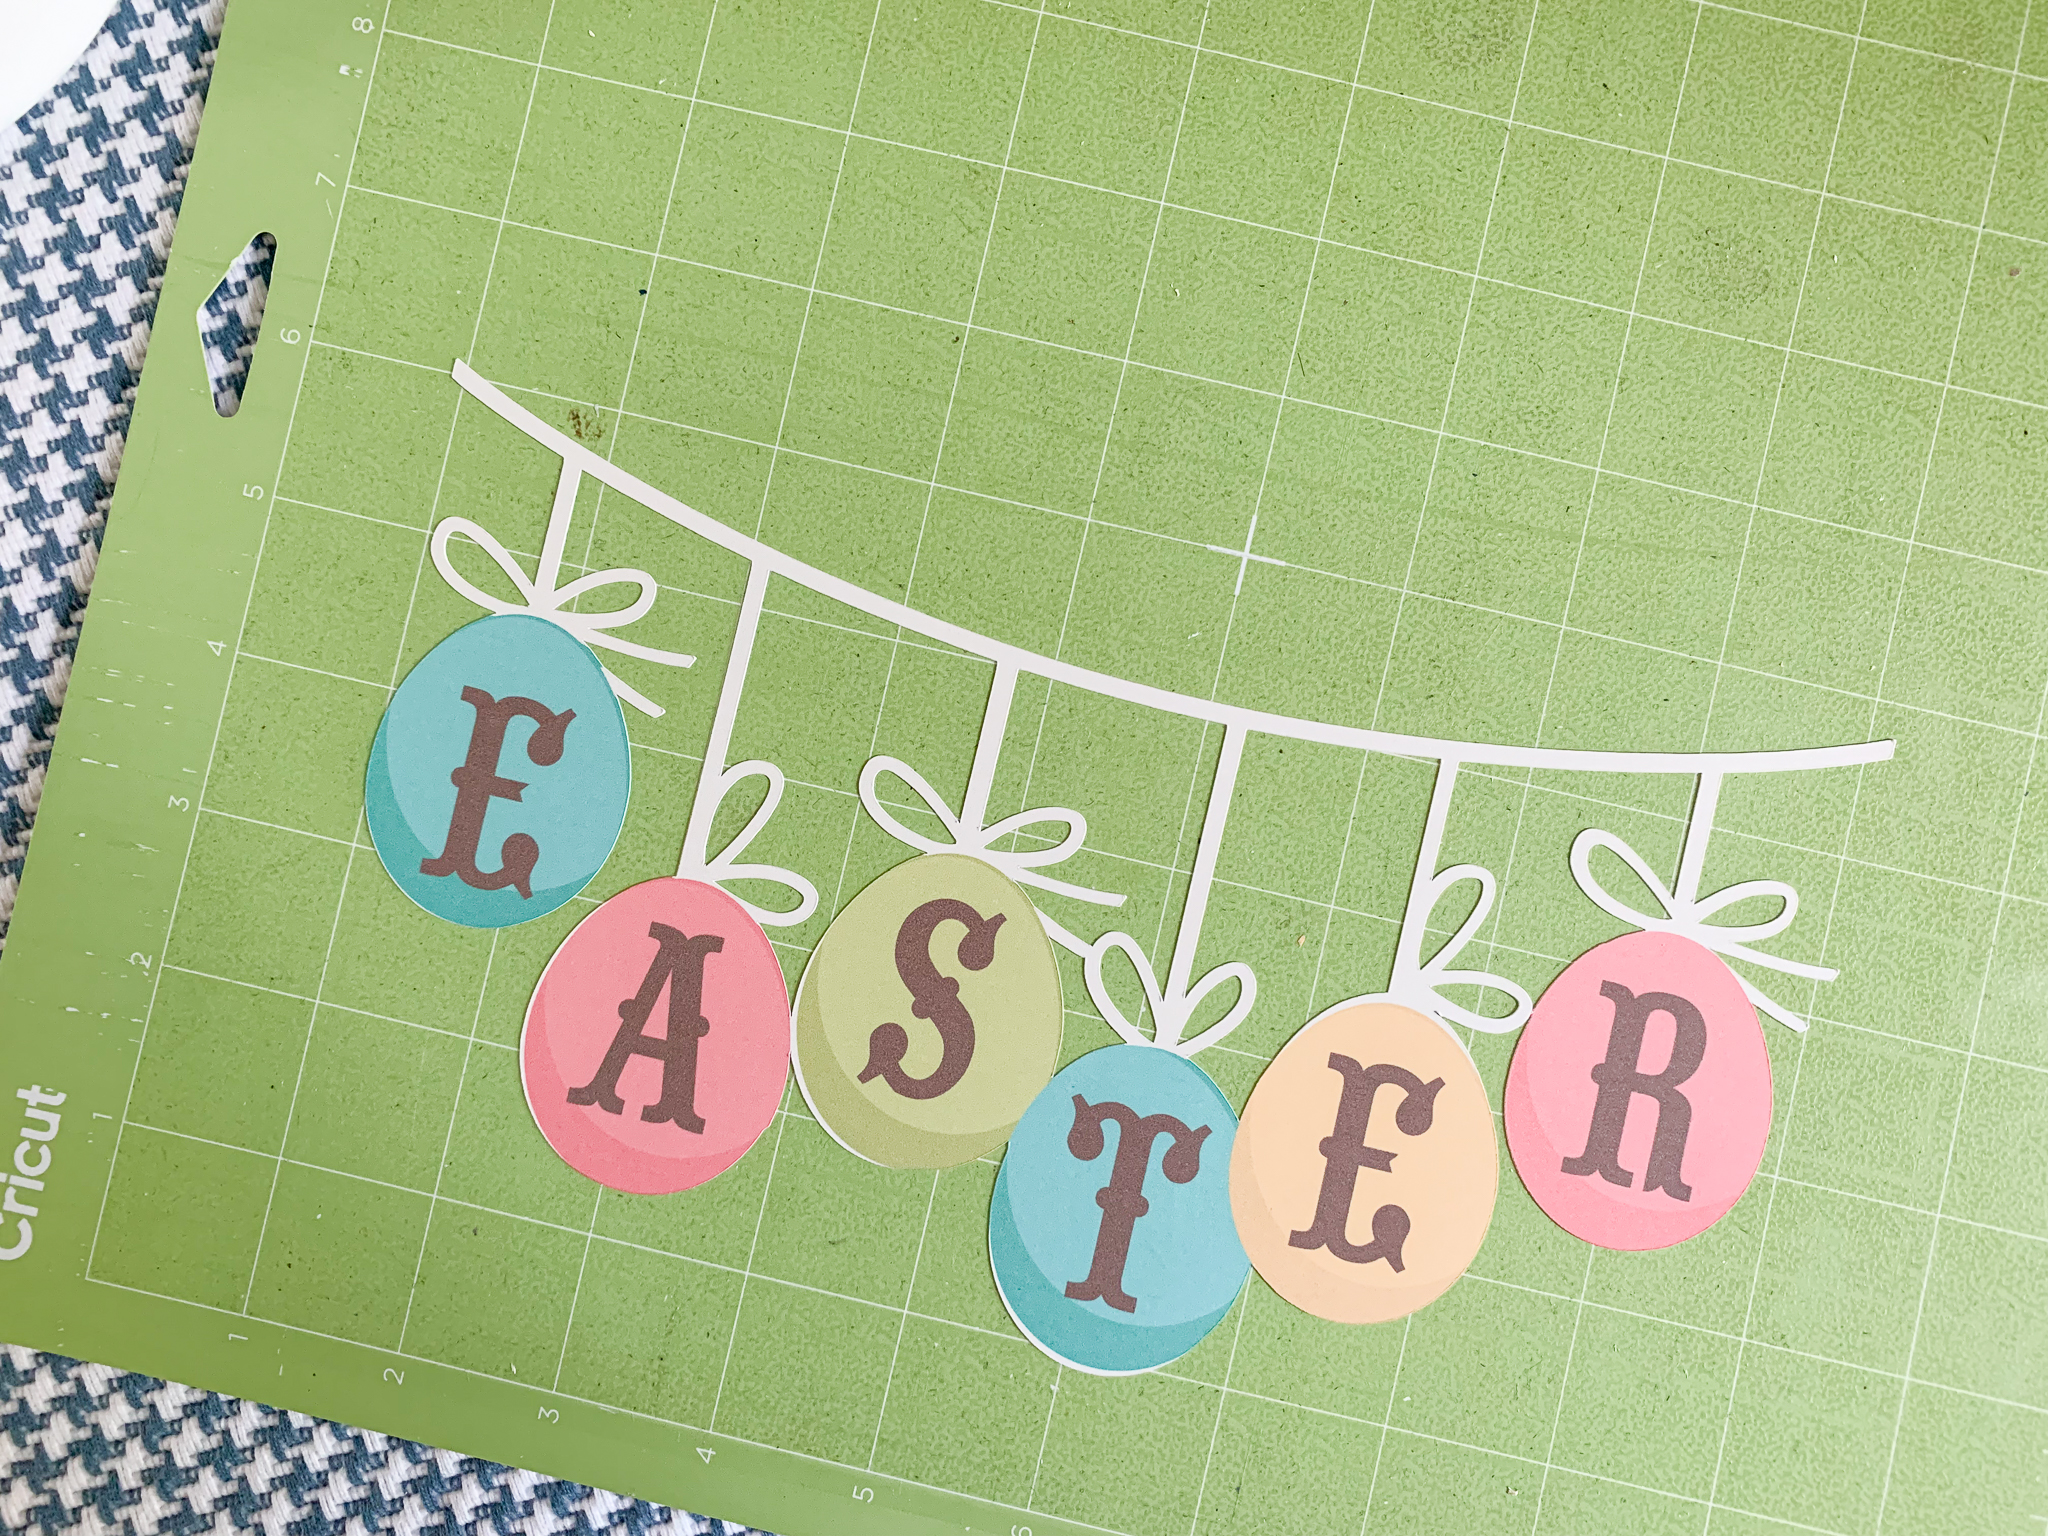
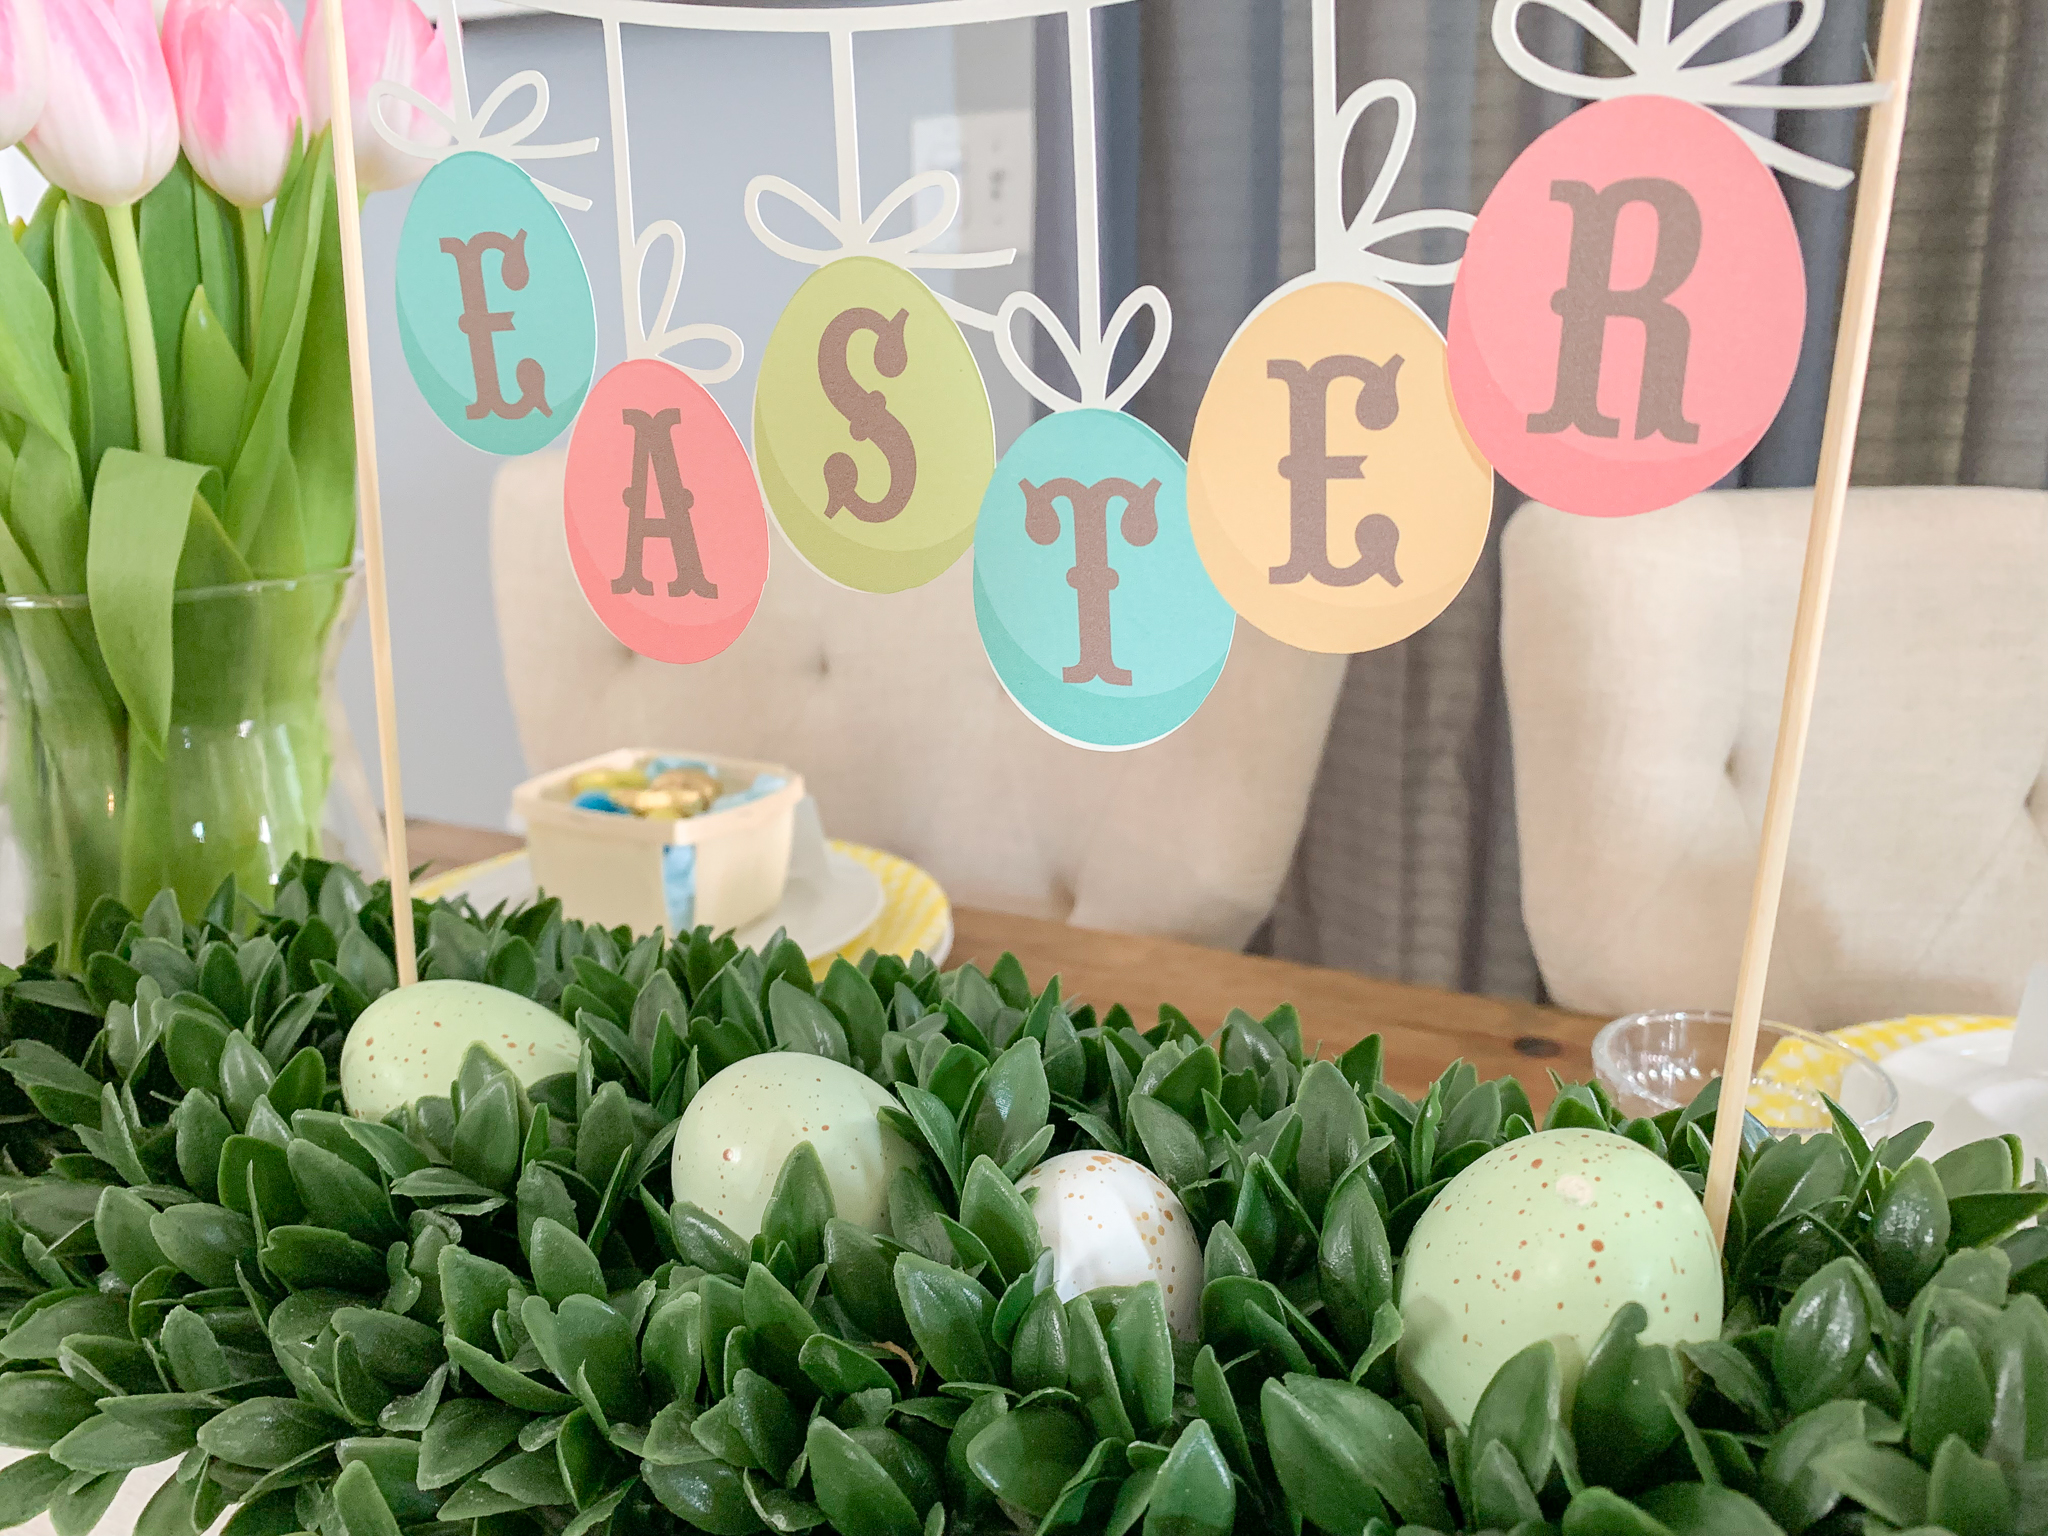
I used this cut file to make an Easter banner for the boxwood, and it was so easy! I just printed, cut, and hot glued the banner to bamboo skewers. Next, I poked the skewers into the boxwood, and added a few decorative eggs to the boxwood. It was SO simple, but it added so much Easter cuteness to the table!
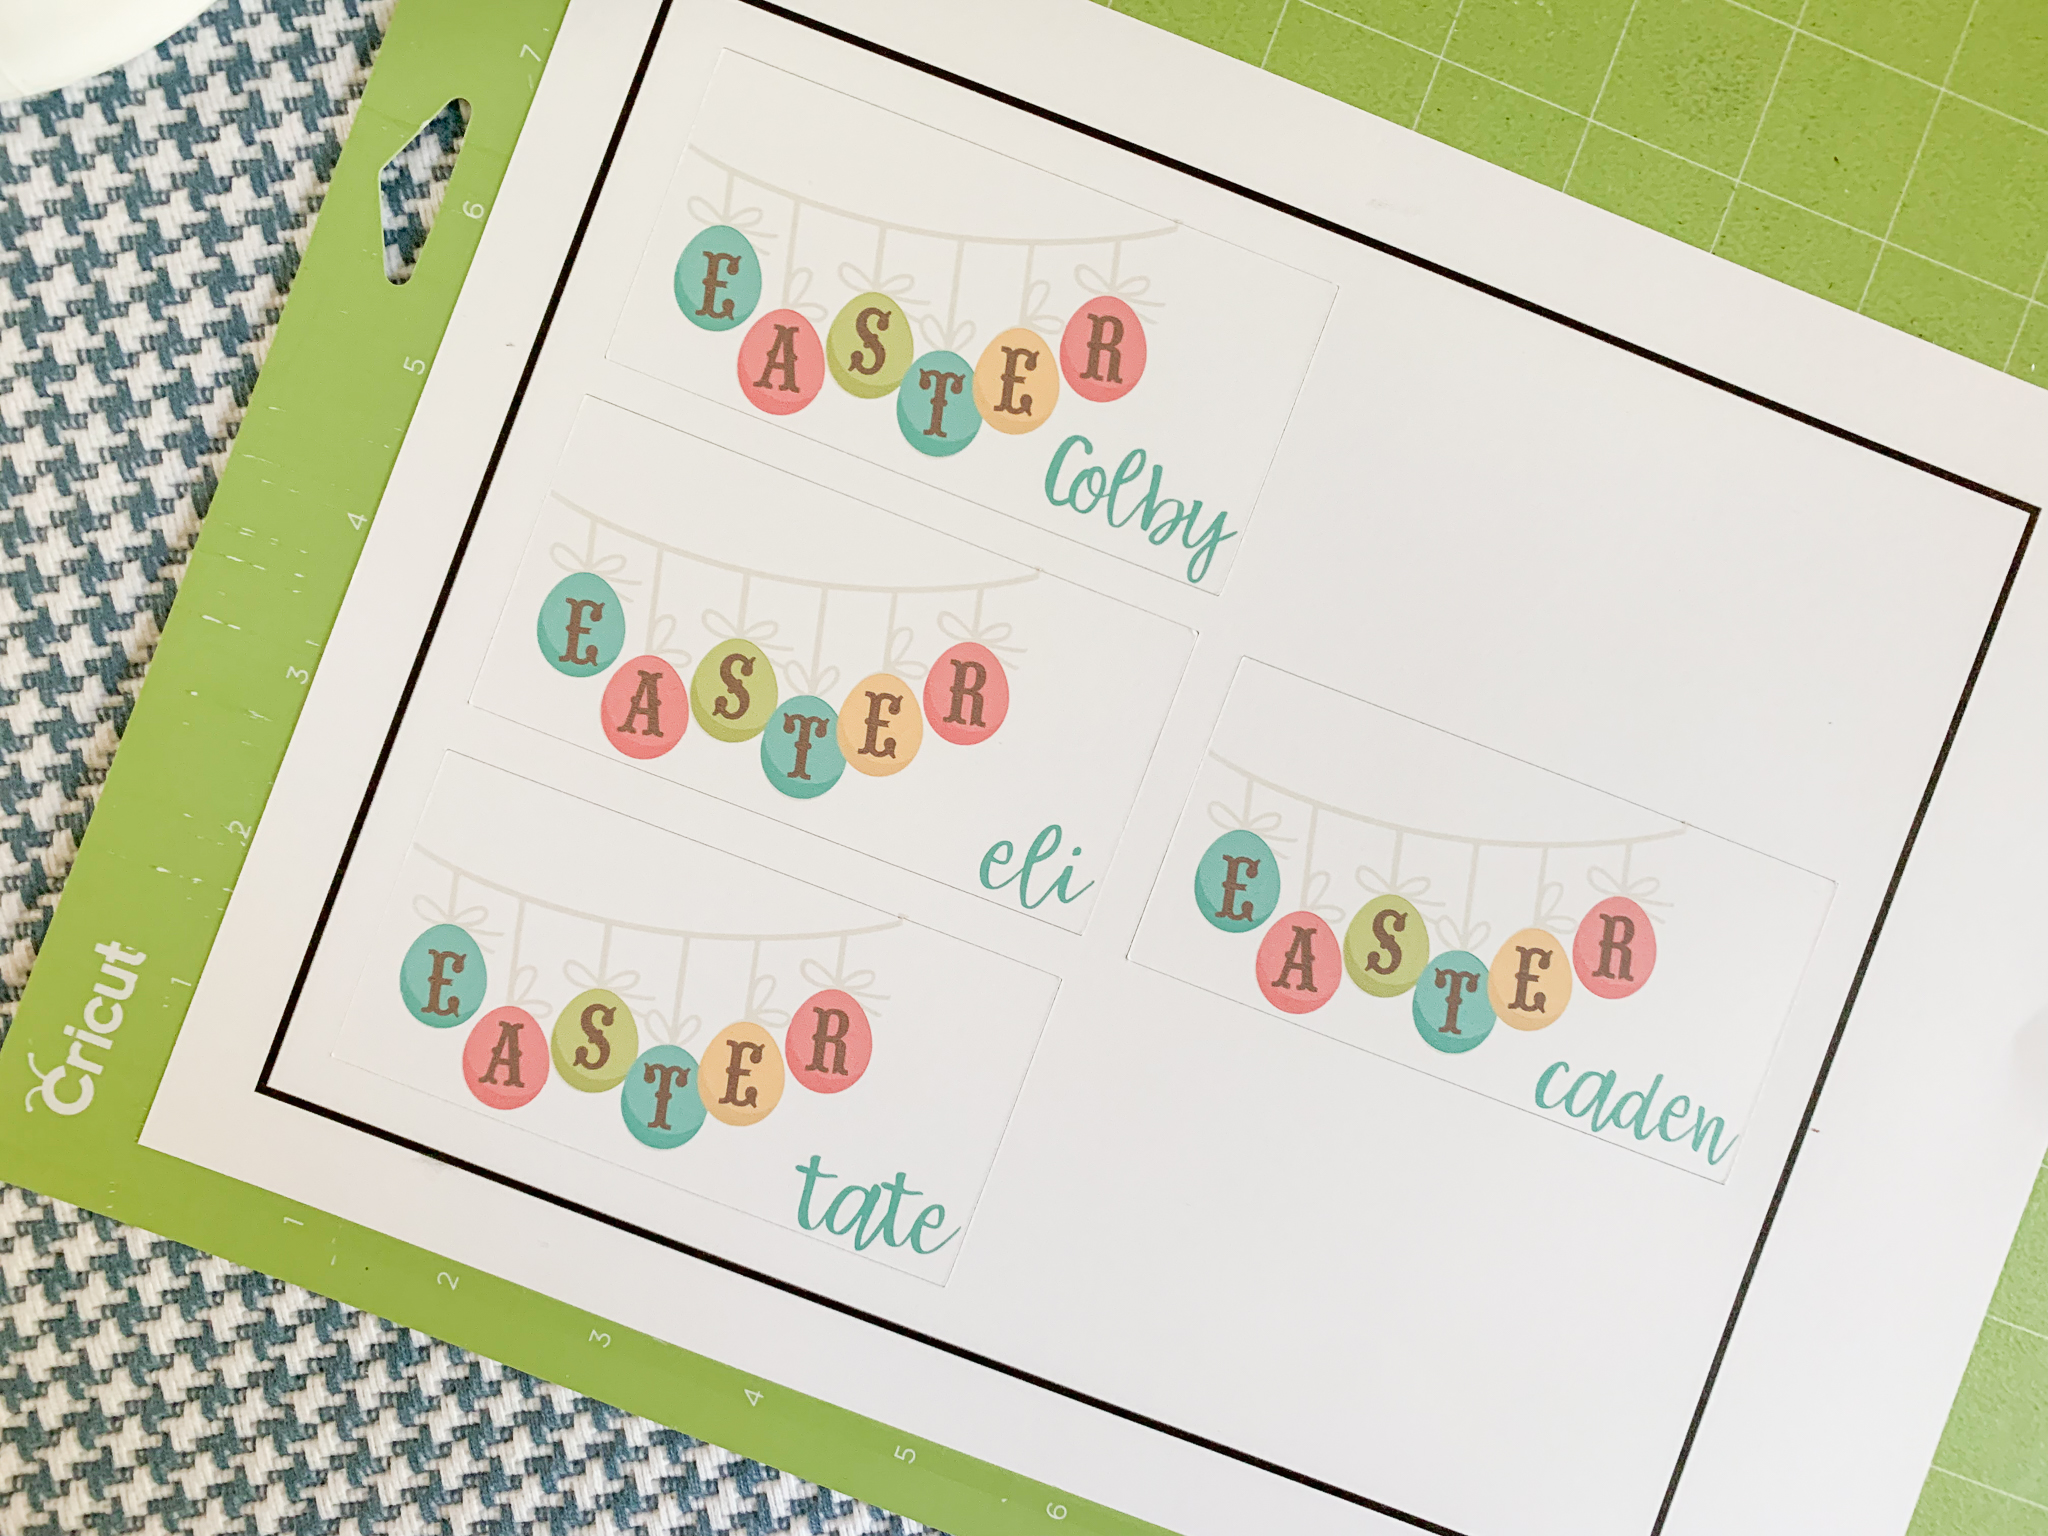
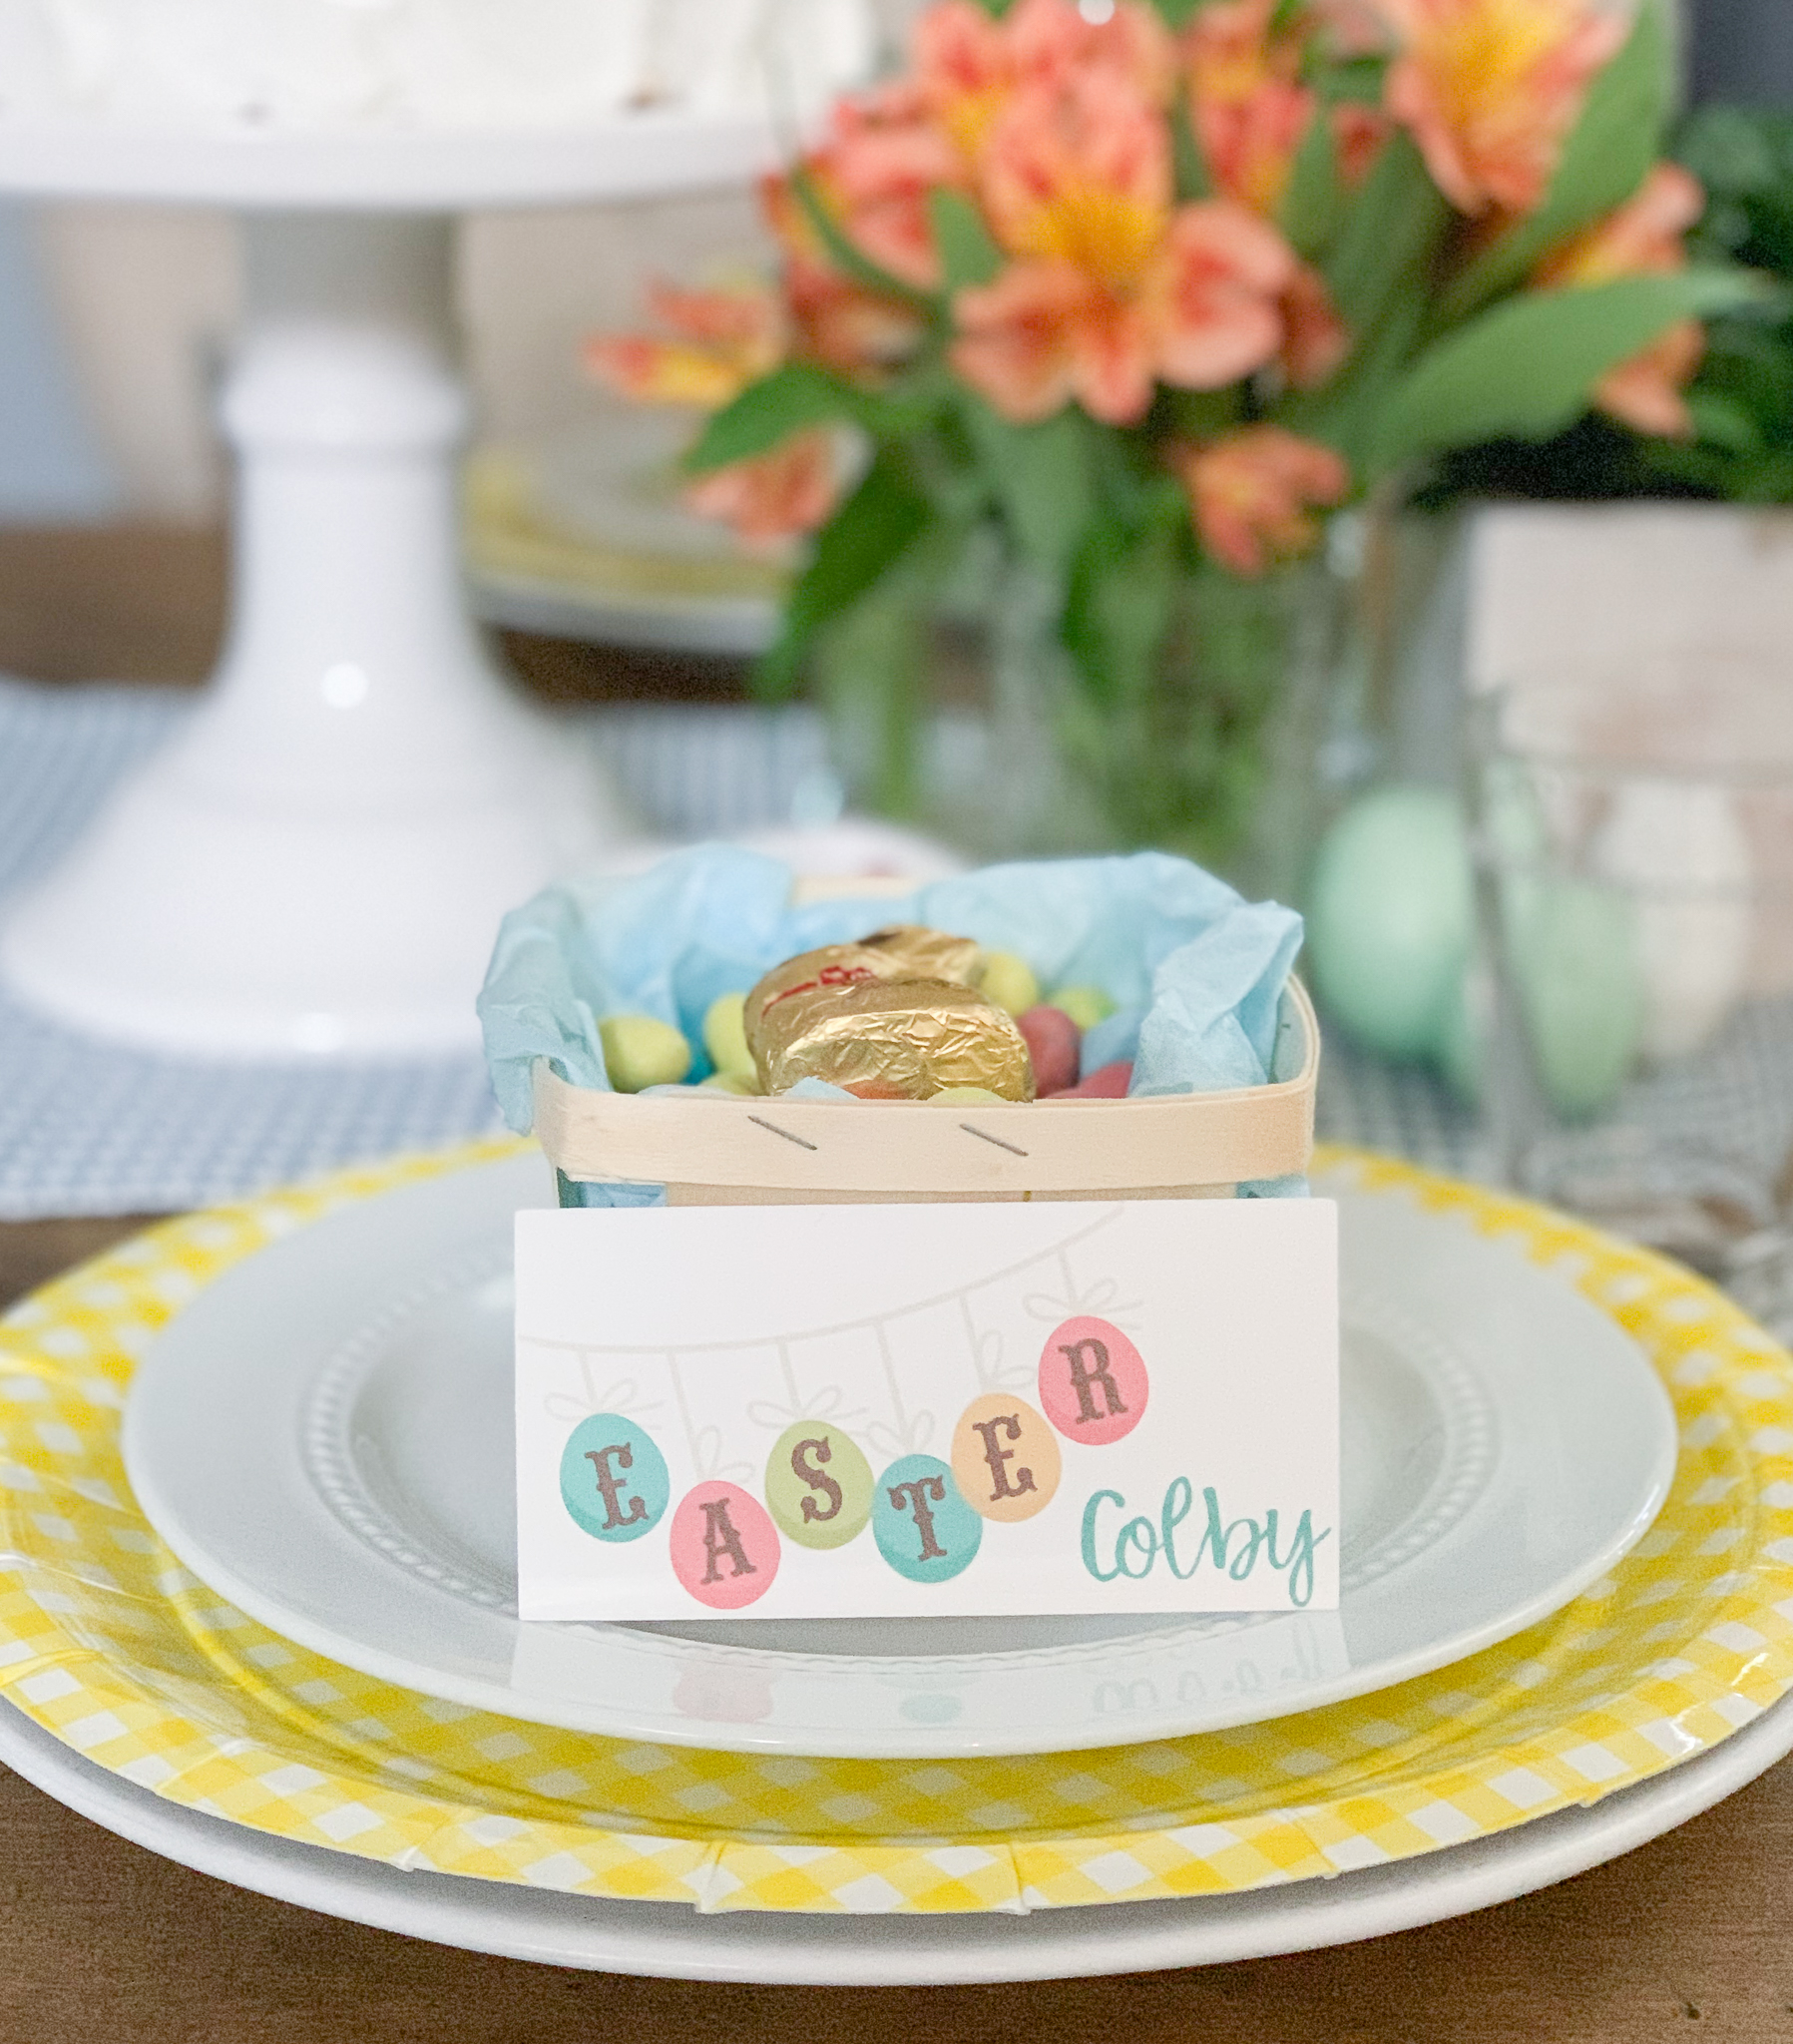
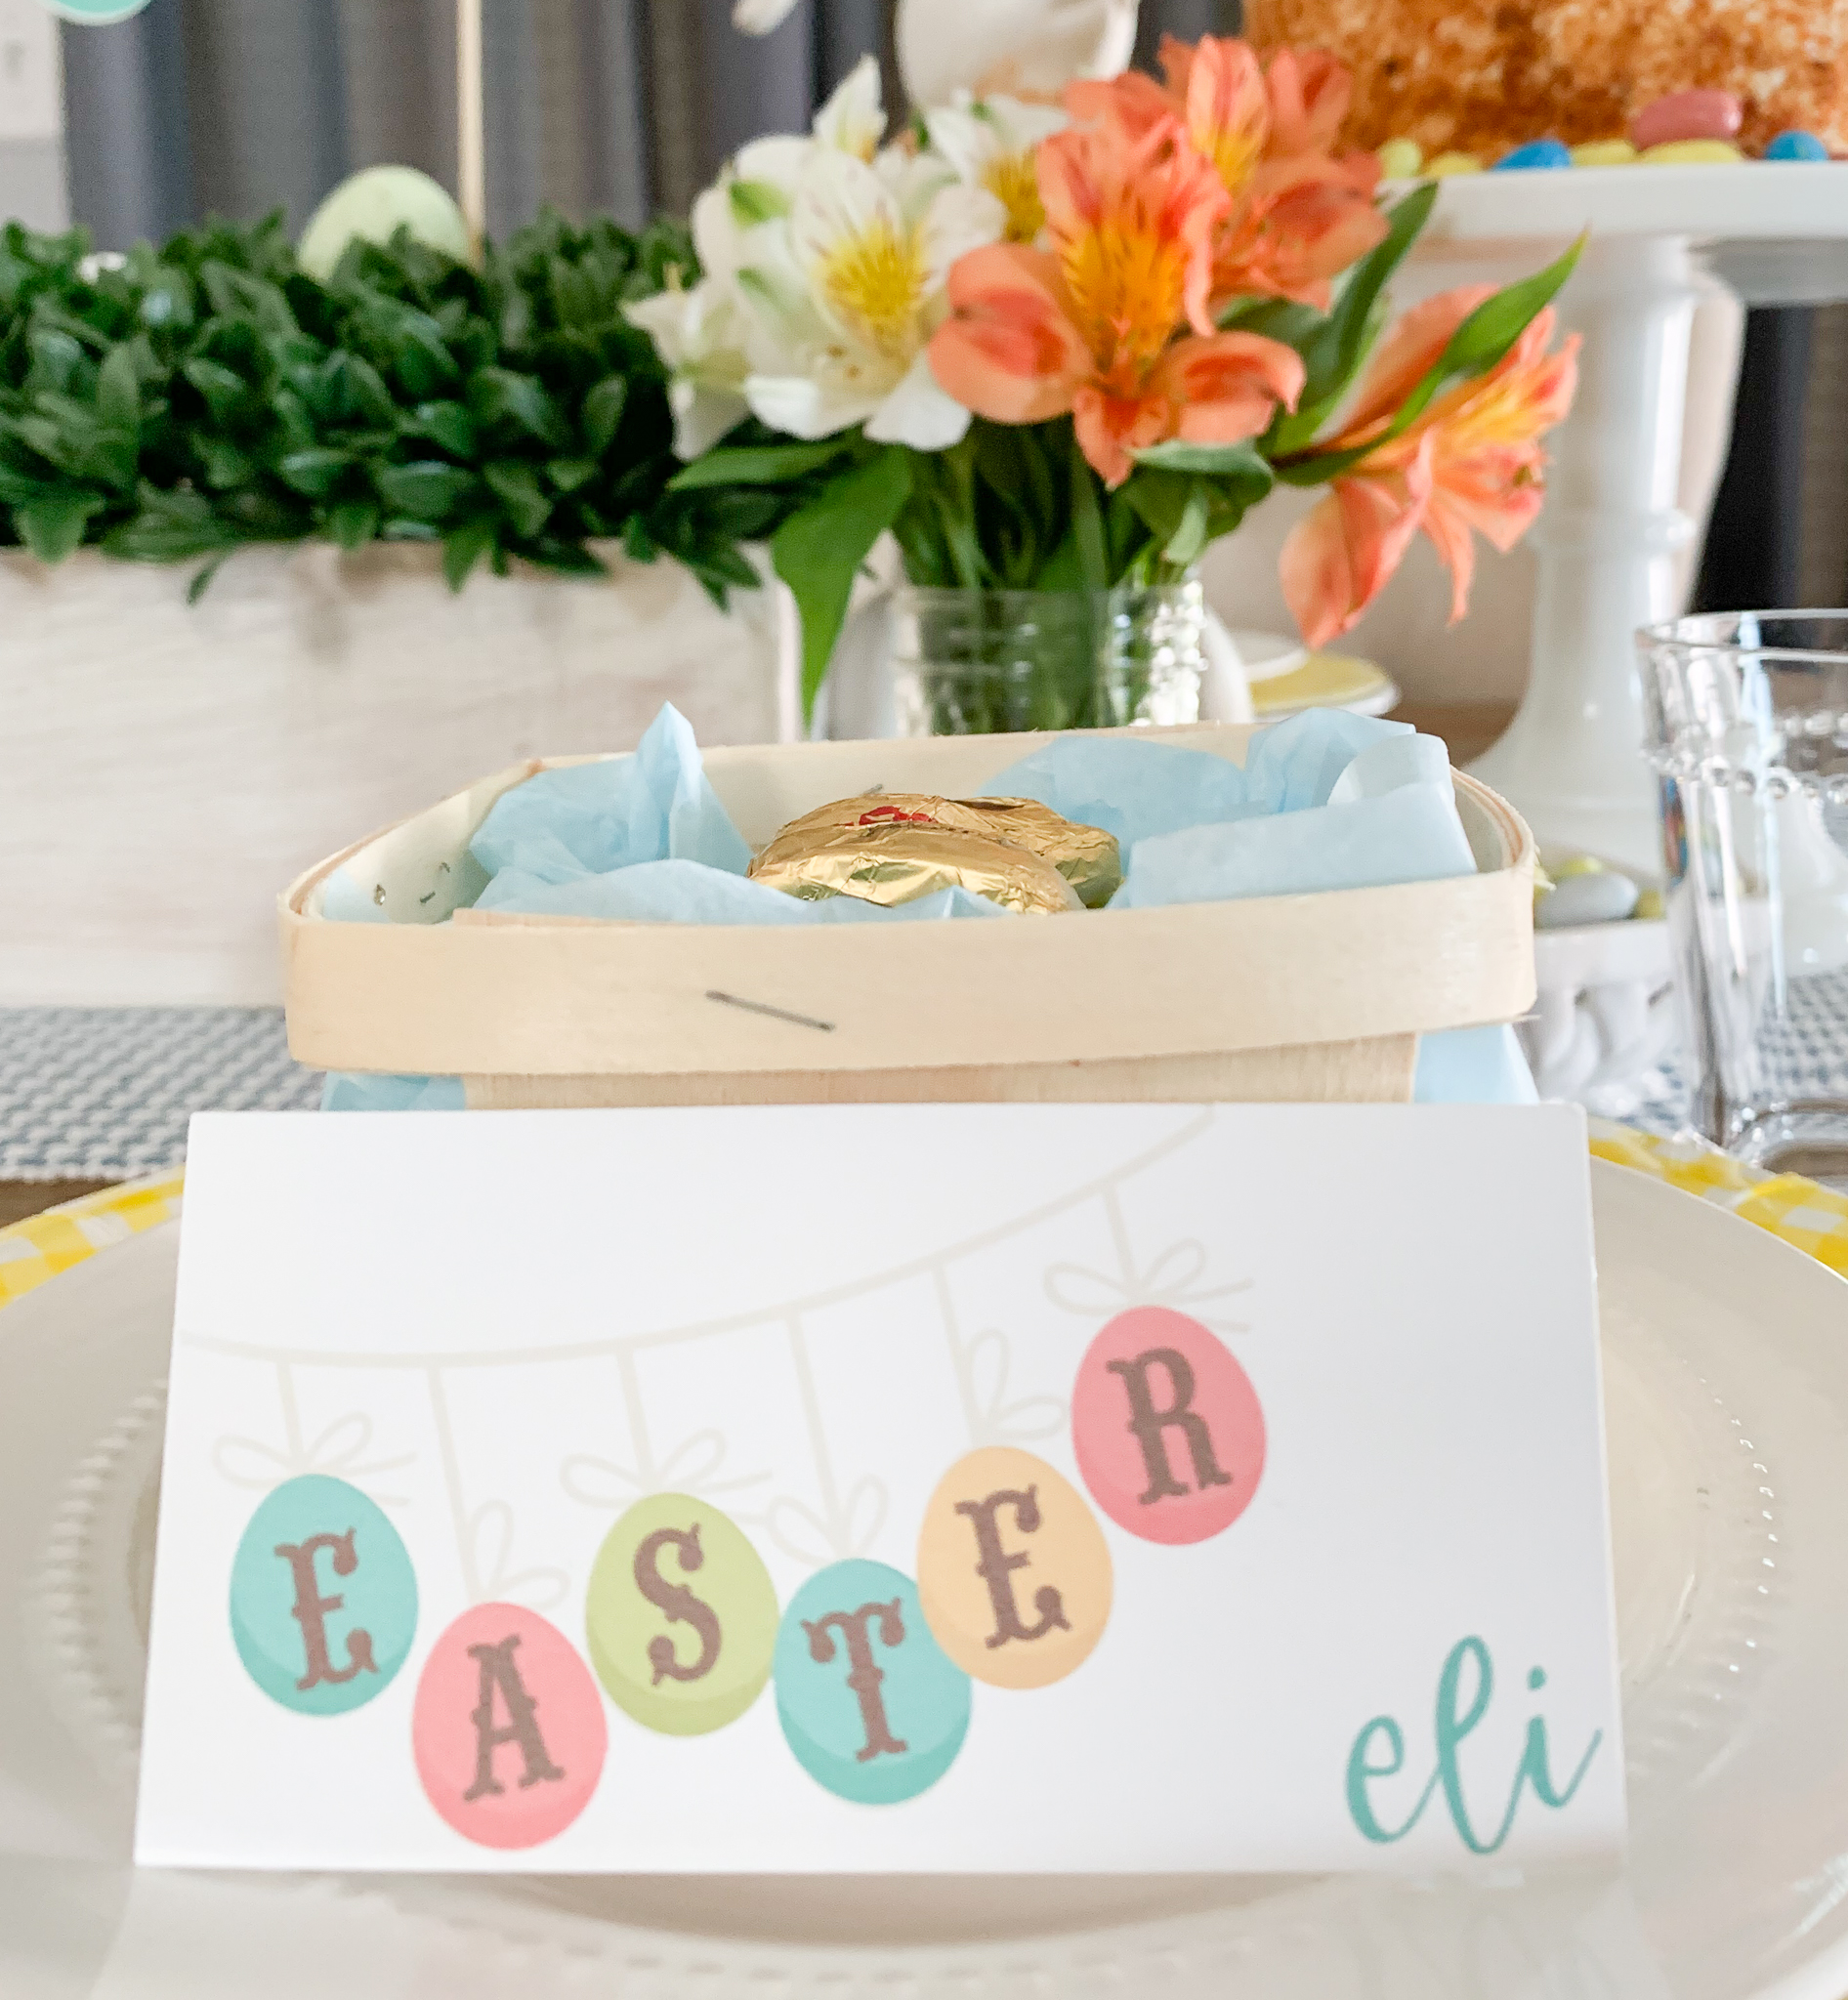
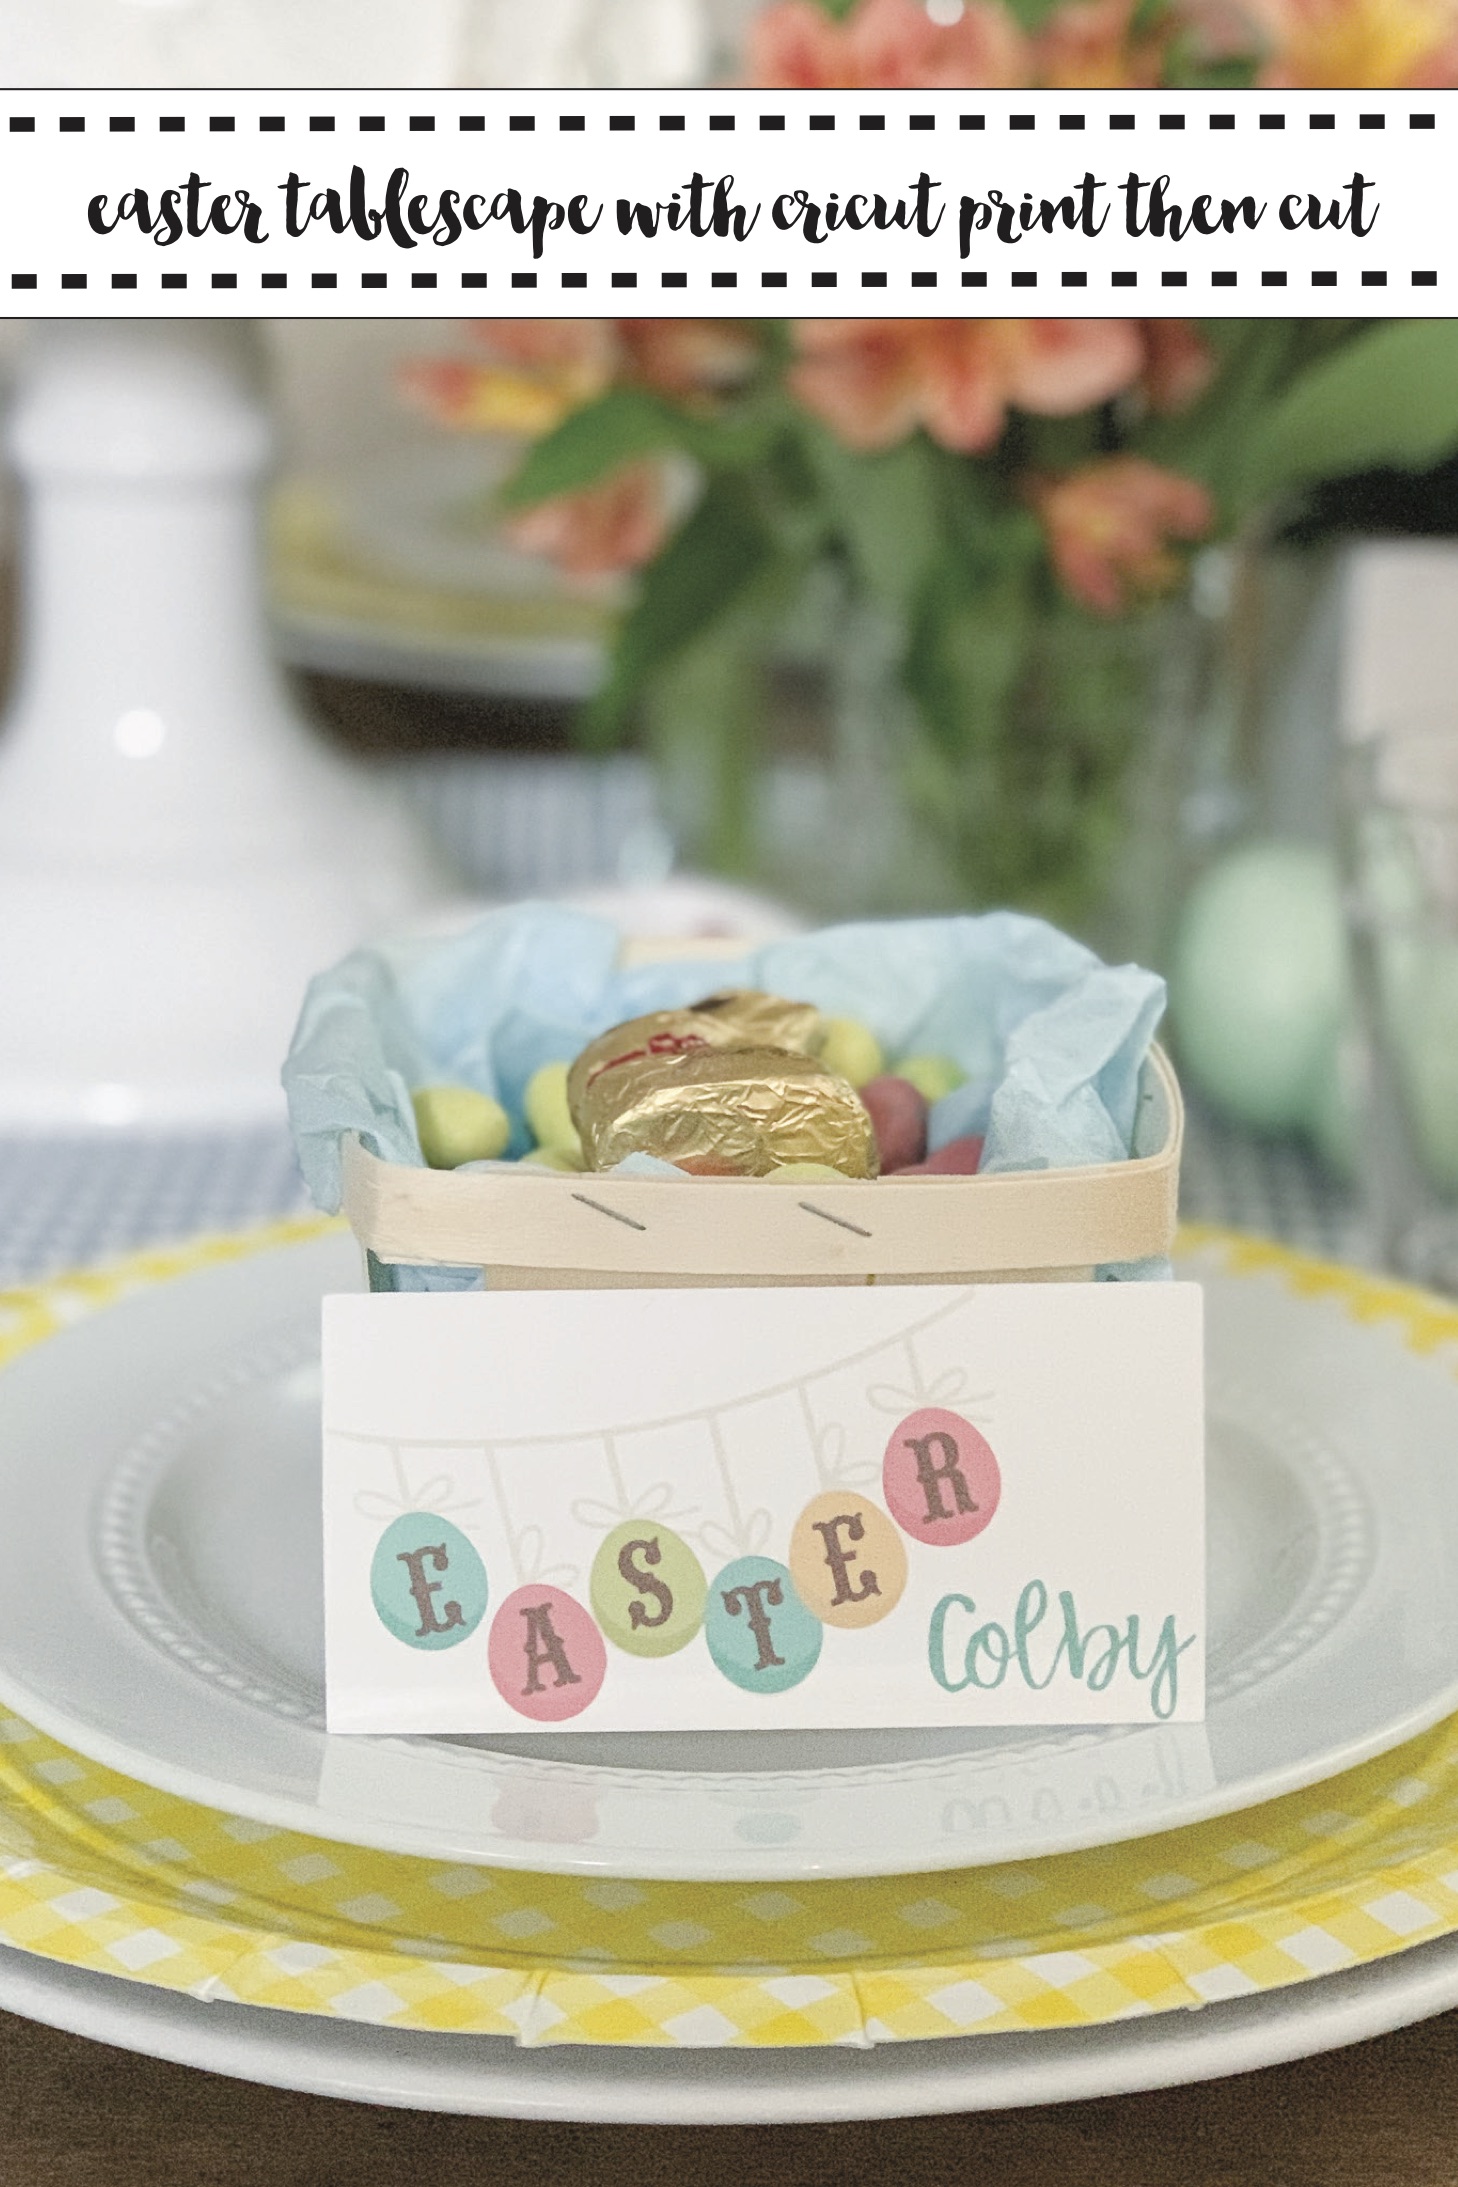
The place cards were done in even less time, and I was able to choose from any of Cricut’s {or even my own} fonts to add everyone’s name to each card. I placed the cards on the boys’ plates and propped them against a berry basket full of Easter candies.
Cricut Resources for Print then Cut:
How do I Print Then Cut in Design Space
Print Then Cut on Colored Paper
If you still have questions, be sure to check out That’s What Che Said’s post here.
If you liked this project, be sure to check out some of these posts too!
This is a sponsored conversation written by me on behalf of Cricut. The opinions and text are all mine.
Tags : Canon, Cricut, Cricut Maker, DIY, Easter, Print then Cut

