Earth Day Shirt DIY
*This review is based strictly on my opinion. Others may have a different opinion or experience with the product listed above. I was provided the sample free of charge by the company or PR agency and I have given my honest opinion. No other type of compensation was received for this review.*
*If you decide to make a purchase through my links, I will be paid a small commission for it. This doesn’t cost you anything additional. These commissions help to keep the rest of my content free, so thank you!*
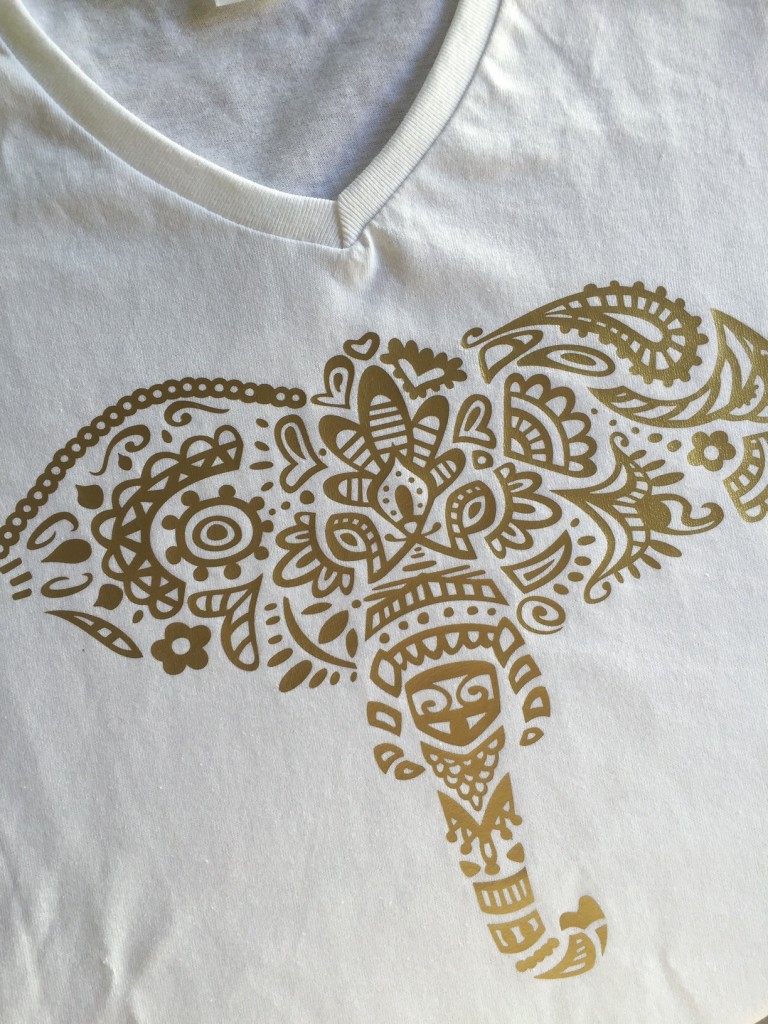
I recently had the opportunity to use Cricut’s new Trendy T-Shirt Cartridge to make a several new shirts. I love having the ability to make a custom shirt for anyone in just a few minutes! I did most of this particular project on my phone app. waiting for my kiddos’ bus. So simple!
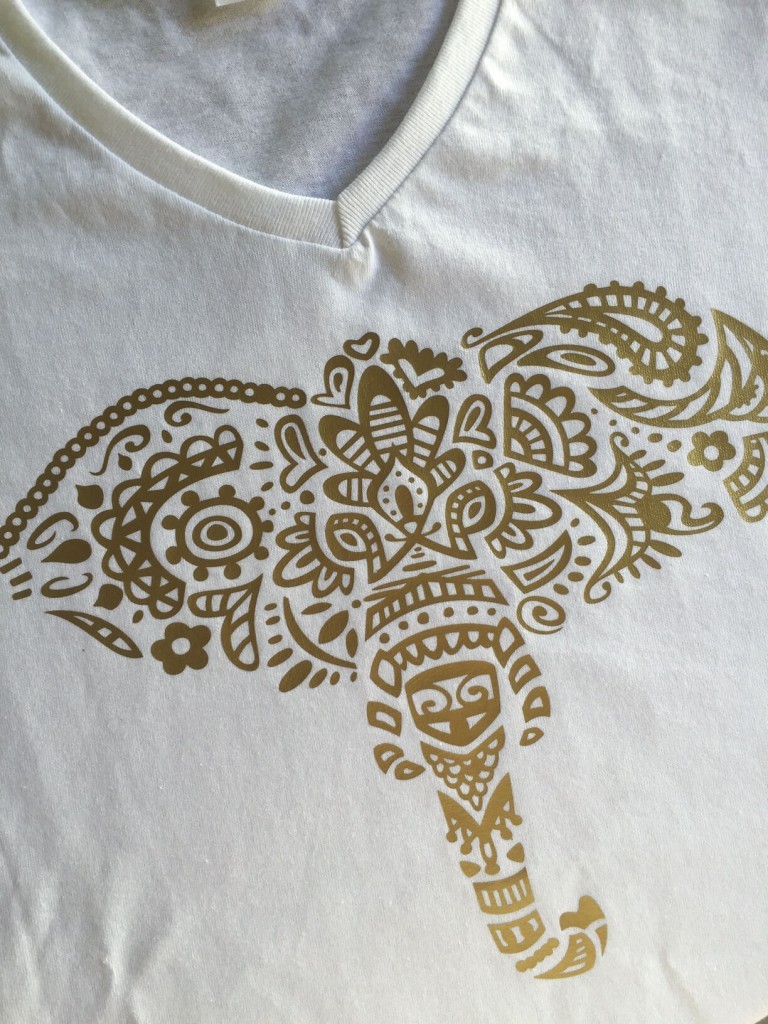
My sister and I usually spend the day together on Earth Day…it started a few years ago when Origins was giving away free facials and products, the following year Origins and The Disney Store had freebies…so, a tradition was started. We rarely have kid and hubby free time together, so we tend to hold on to the times we do get. As soon as I saw the designs in the Trendy T-Shirt Cartridge {coming soon}, I knew I needed to make her the elephant for our Earth Day Day. I love the look of this elephant! I will say, weeding it was a little time consuming, but, it was relatively mindless, and stress free, so it wasn’t terrible.
Supplies:
Trendy T-Shirt Cartridge – Elephant {available soon}
HTV in your choice of color {I used gold}
Iron or heat press
Parchment or Freezer Paper
Optional:
Card Stock
Ribbon or twine
Elephant bracelet {From JoAnn’s}
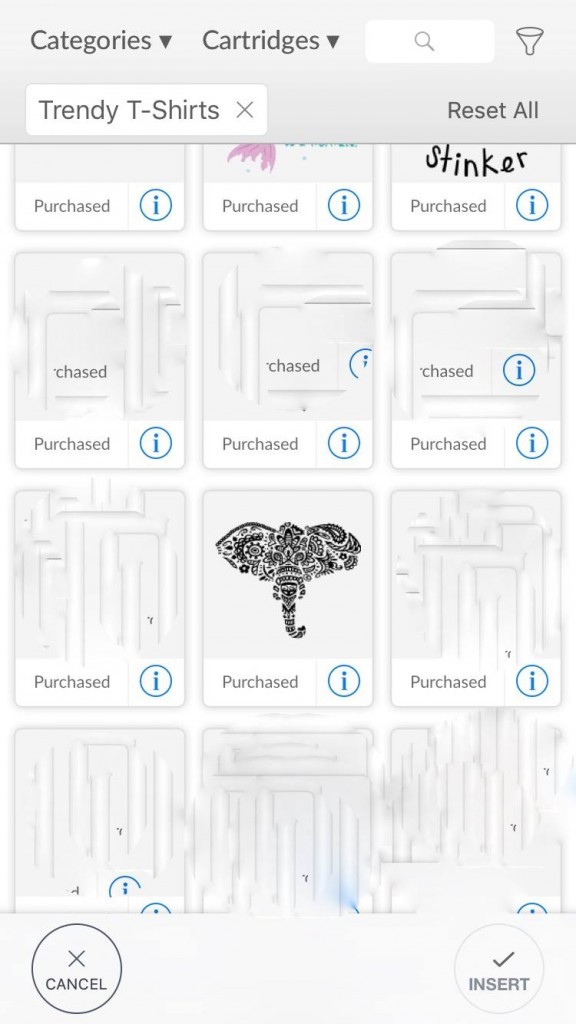
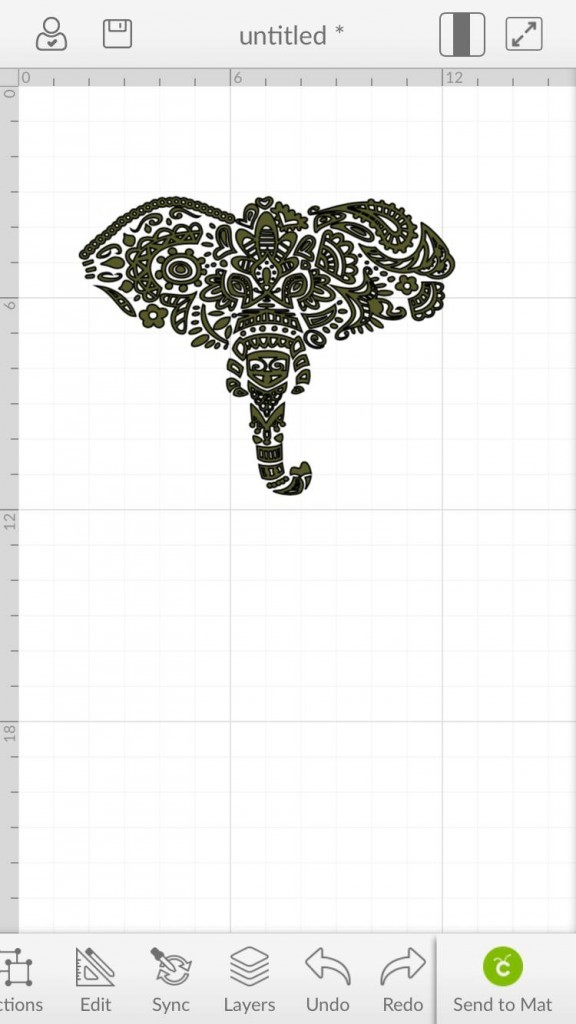
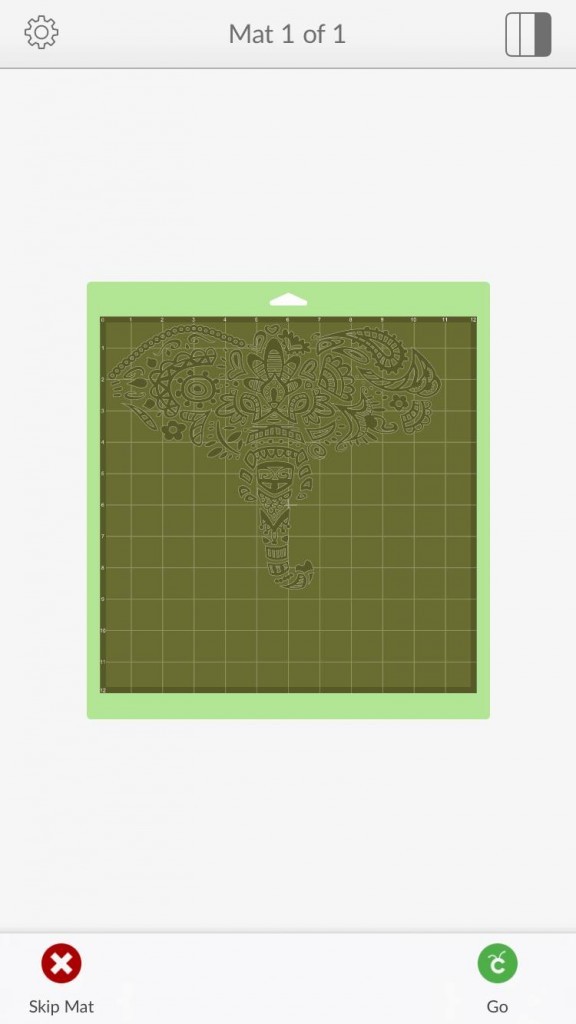
Begin by opening Design Space and searching for Trendy T-Shirt Cartridge. Select the elephant and size it accordingly for the canvas (shirt, bag, whatever)
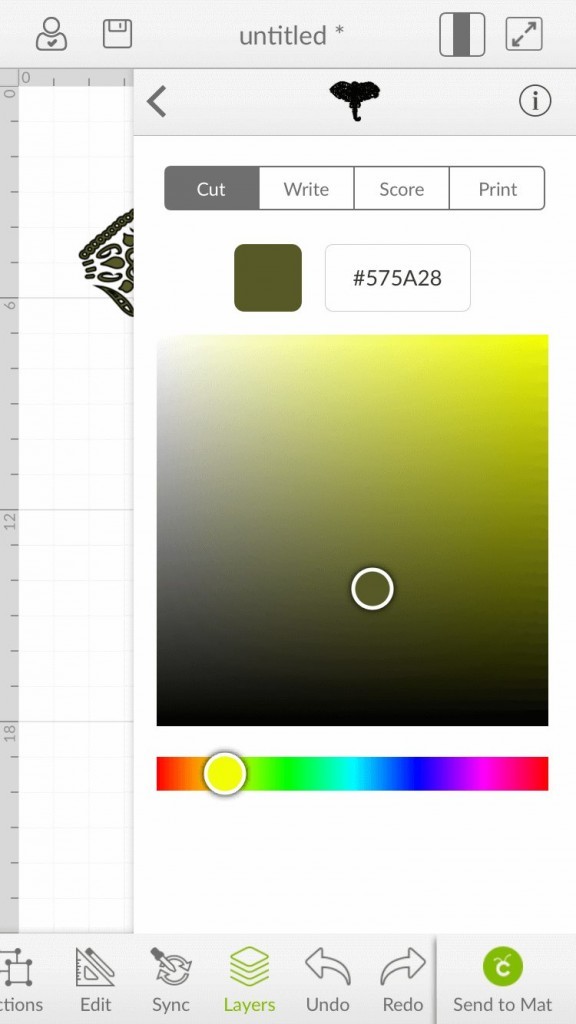
To get an idea for what your shirt will look like, you can change the color on the screen.
Send it to the Cricut to cut.
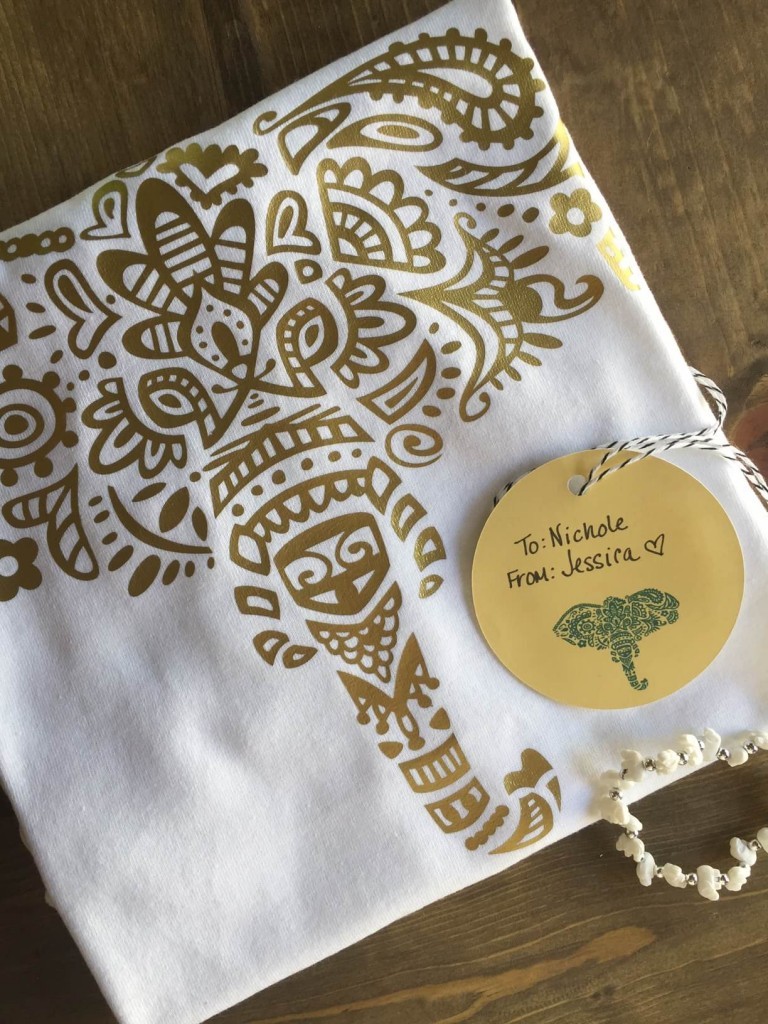
Then, weed it…take your time, know it will take about 20 solid minutes to weed. Place it on your canvas, and cover with parchment paper. {Be sure to fold the parchment on itself so the waxy sides are facing. You don’t want wax on your iron or shirt} Firmly iron for 10-15 seconds. Turn the shirt inside out, and iron the back side of the HTV {inside the shirt} for a few seconds. Voila! You have a cute new shirt!
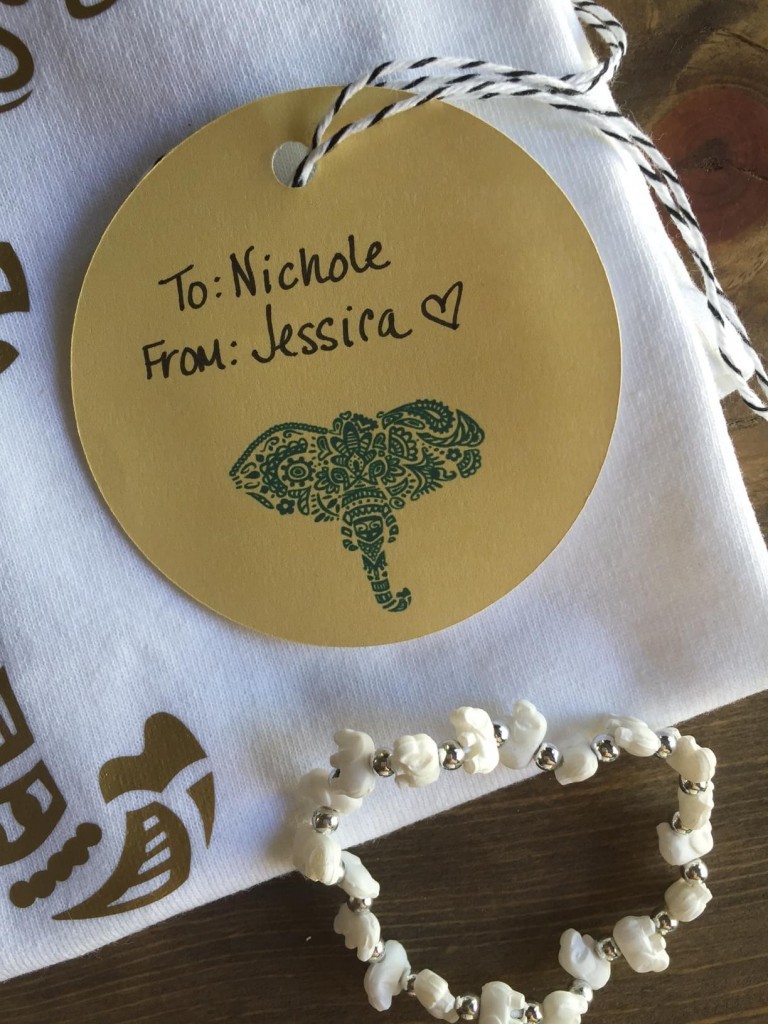
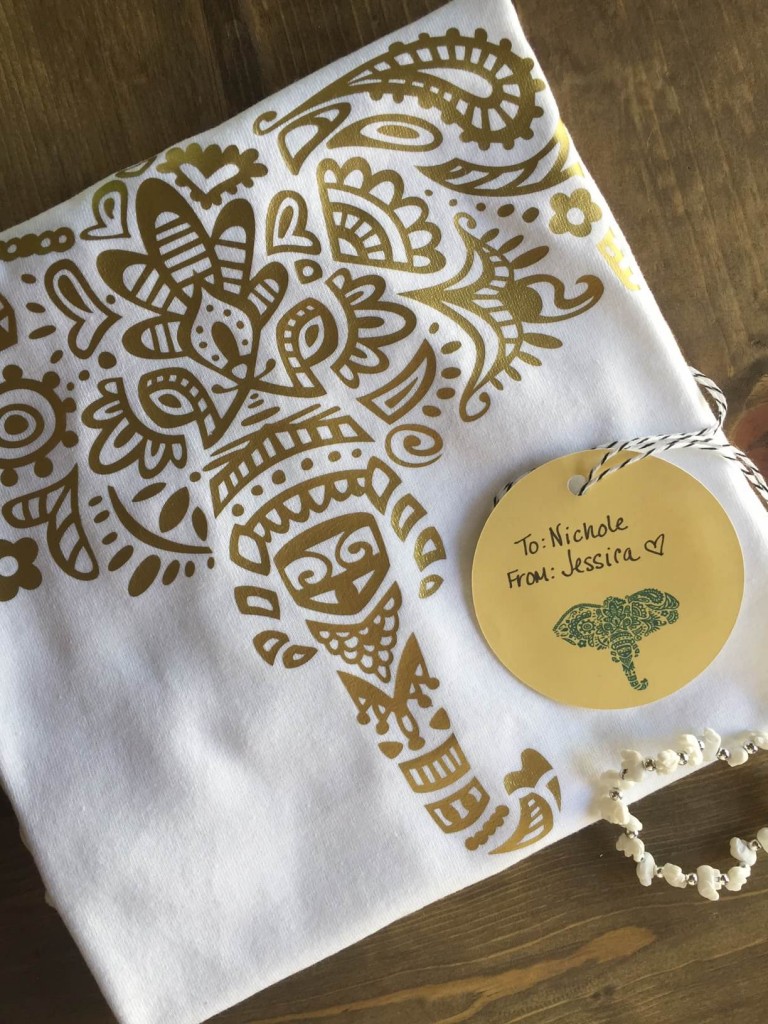
 This is totally optional, but I made a tag using the same elephant design. Open a new project, and insert a circle. Add the elephant, and attach it to the circle. Send to the printer, then to the Cricut. I could have had the Cricut write the text, but I was in a rush and didn’t want to grab the pens out of the pencil box in my office. I found a cute little elephant bracelet at JoAnn’s for just $1 and grabbed it to add to my sister’s gift bag. I rolled up the shirt and tied it with baker’s twine and added the tag and bracelet. Super easy and adorable! I cannot wait to give it to my sister.
I love the entire Trendy T-Shirt line and have made a few more shirts for my niece, nephew, and my guys!
Tags : Cricut, DIY, Earth Day, Trendy T-Shirts
In DIY

