
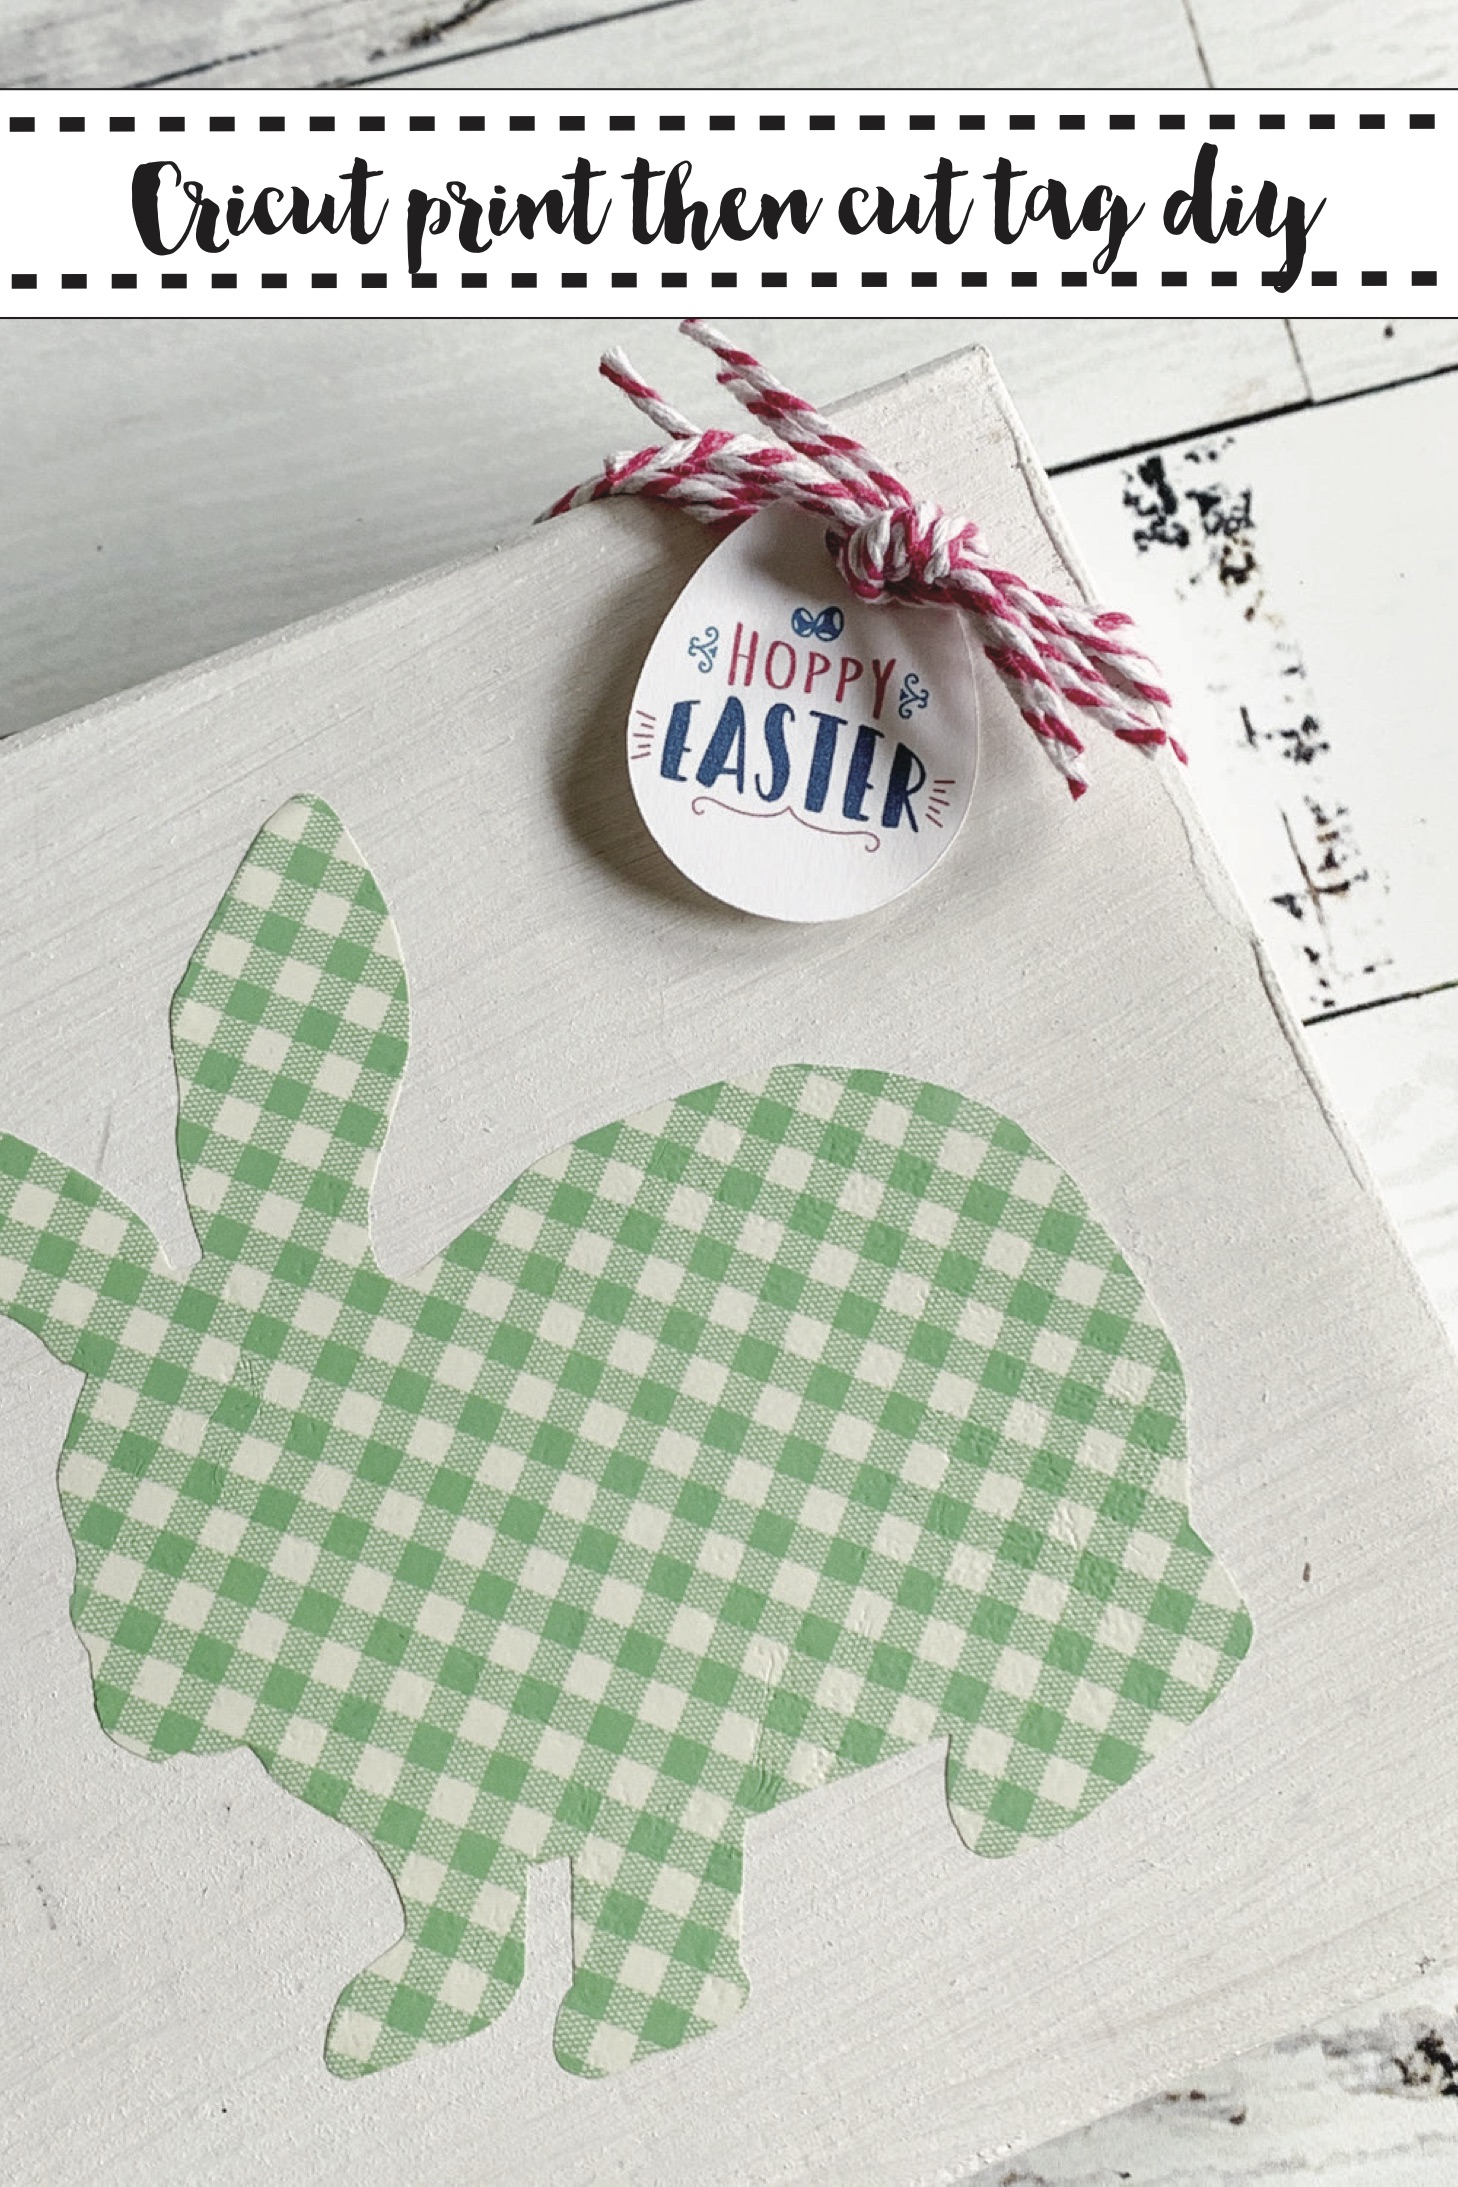
How to Use Cricut Print-Then-Cut Feature
Cricut Print then Cut feature is one of my favorite features. You can literally change nearly every cut file into a print then cut image. I like to use the Print then Cut feature when I make gift tags, or when I want to cut super tiny images to make stickers or even paper confetti.
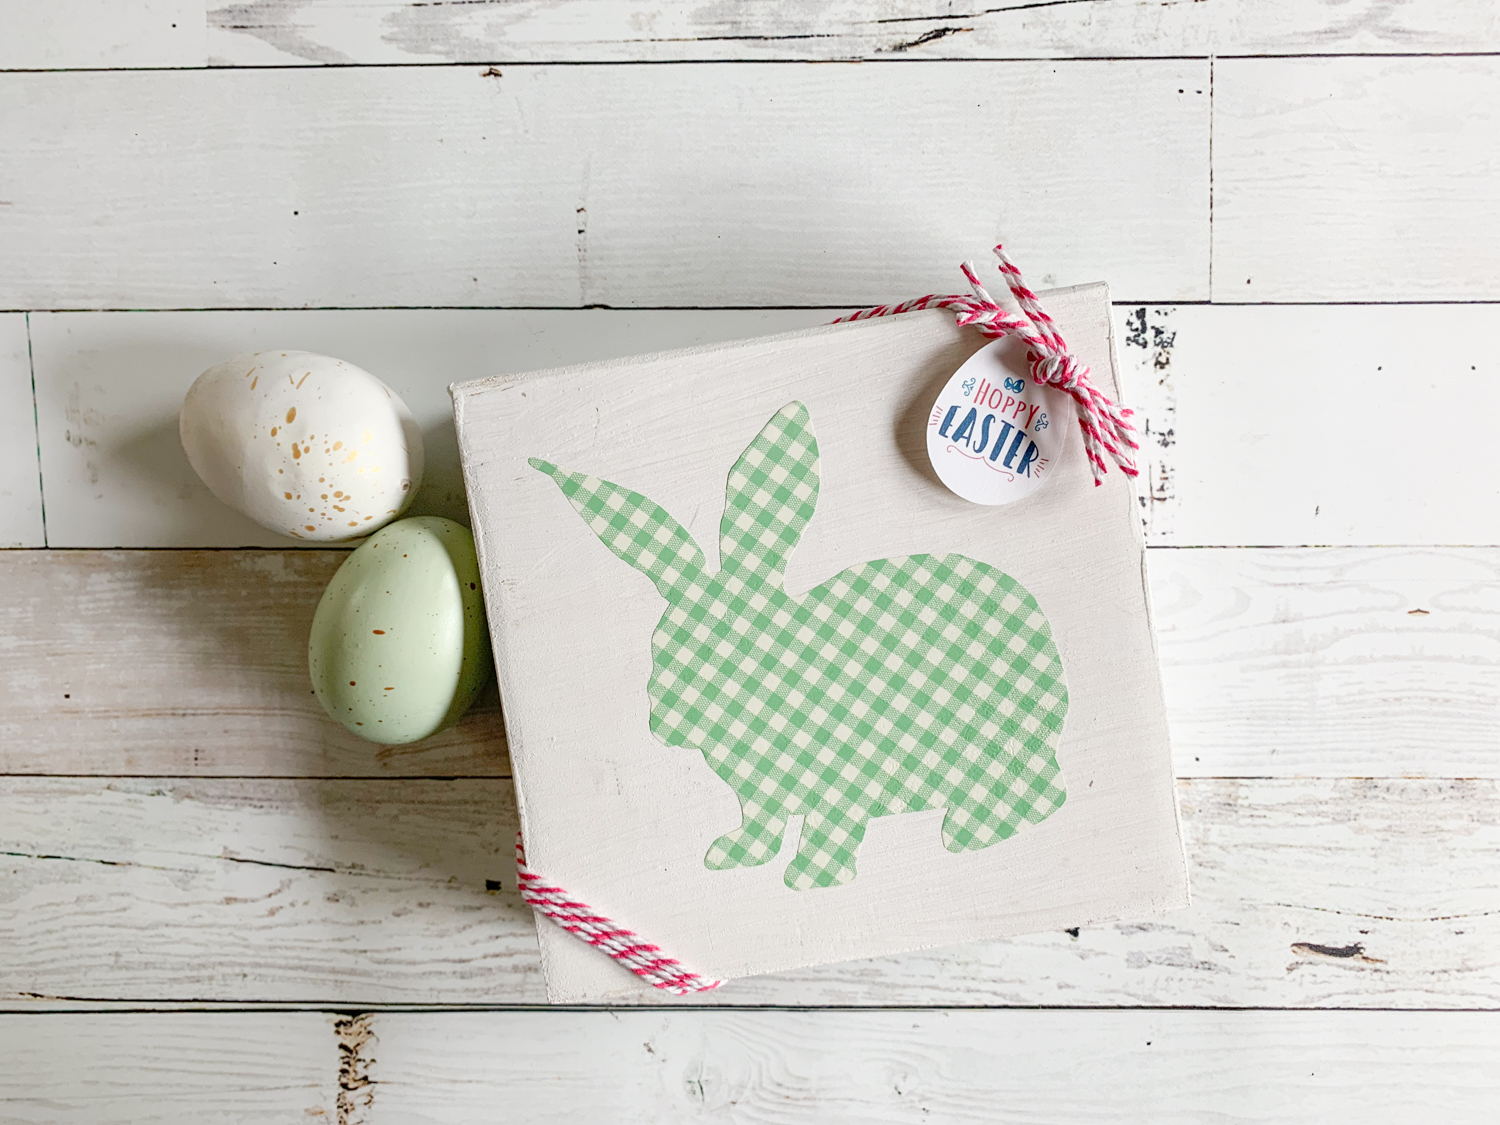
For this project, I made simple Print then Cut Easter tag. For this project, I used two separate images in Cricut Design Space to make one tag.
Supplies:
Paper
Step 1:
Calibrate your machine for Print then Cut. It’s really simple to do, but if you get stuck, Cricut has a step by step tutorial. And if you haven’t already set up a Design Space account, do that too. {It’s free and easy to do}
Step 2:
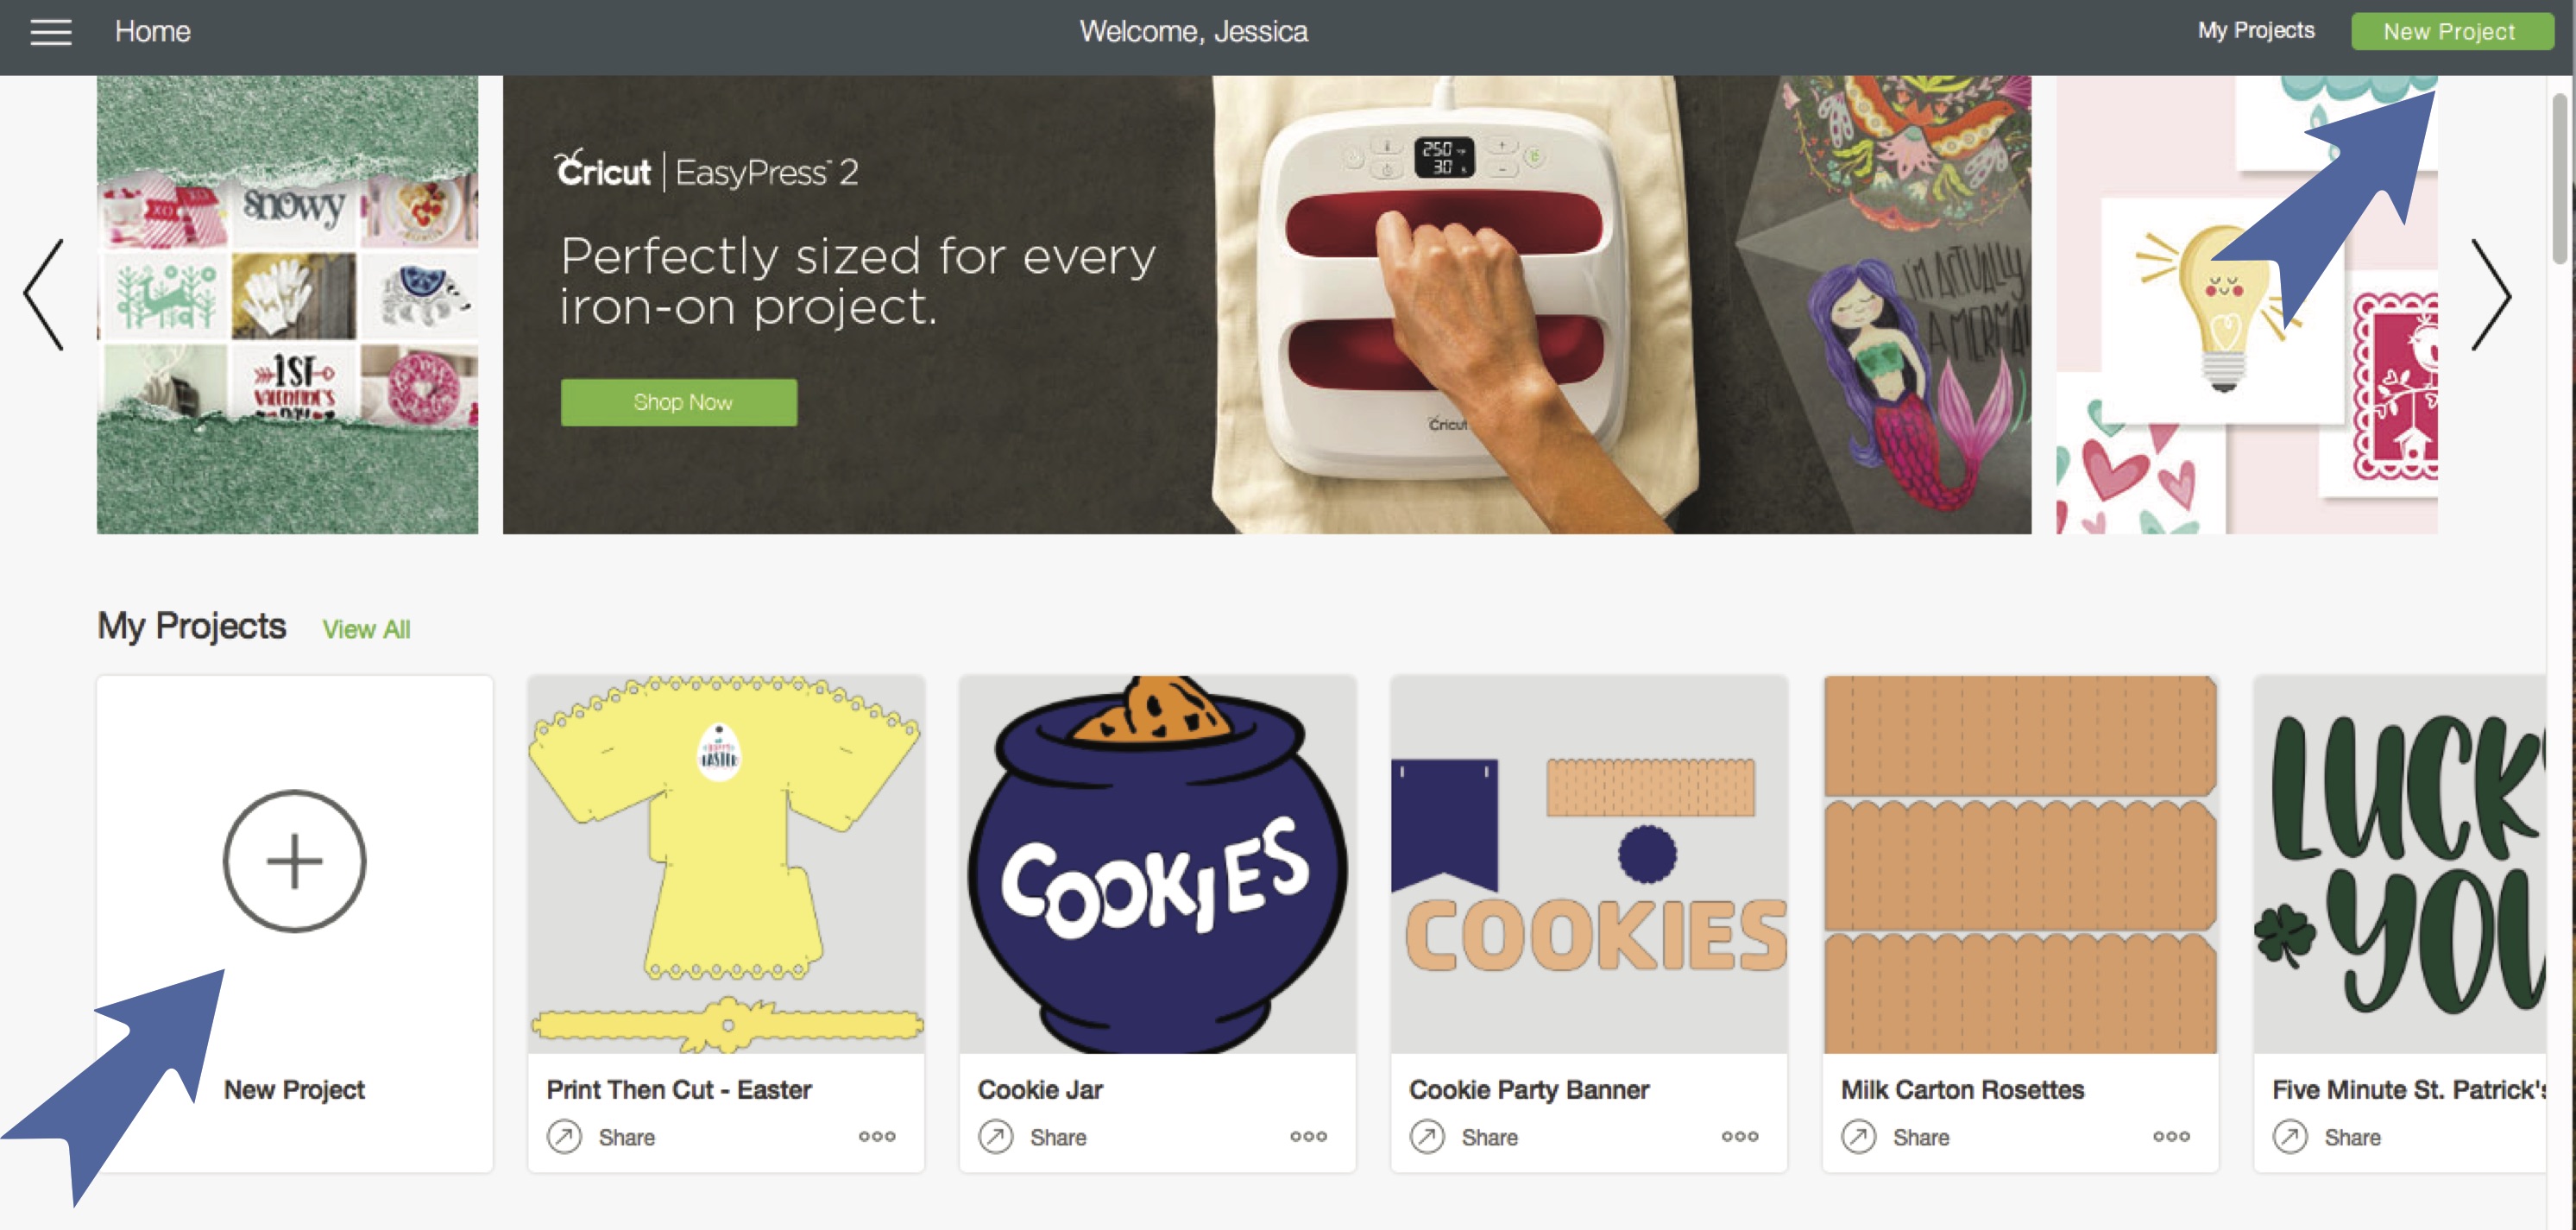
Open a new project. You can click on the box on the top right or the larger box with the plus sign in the middle. This will open a new canvas.
Step 3:
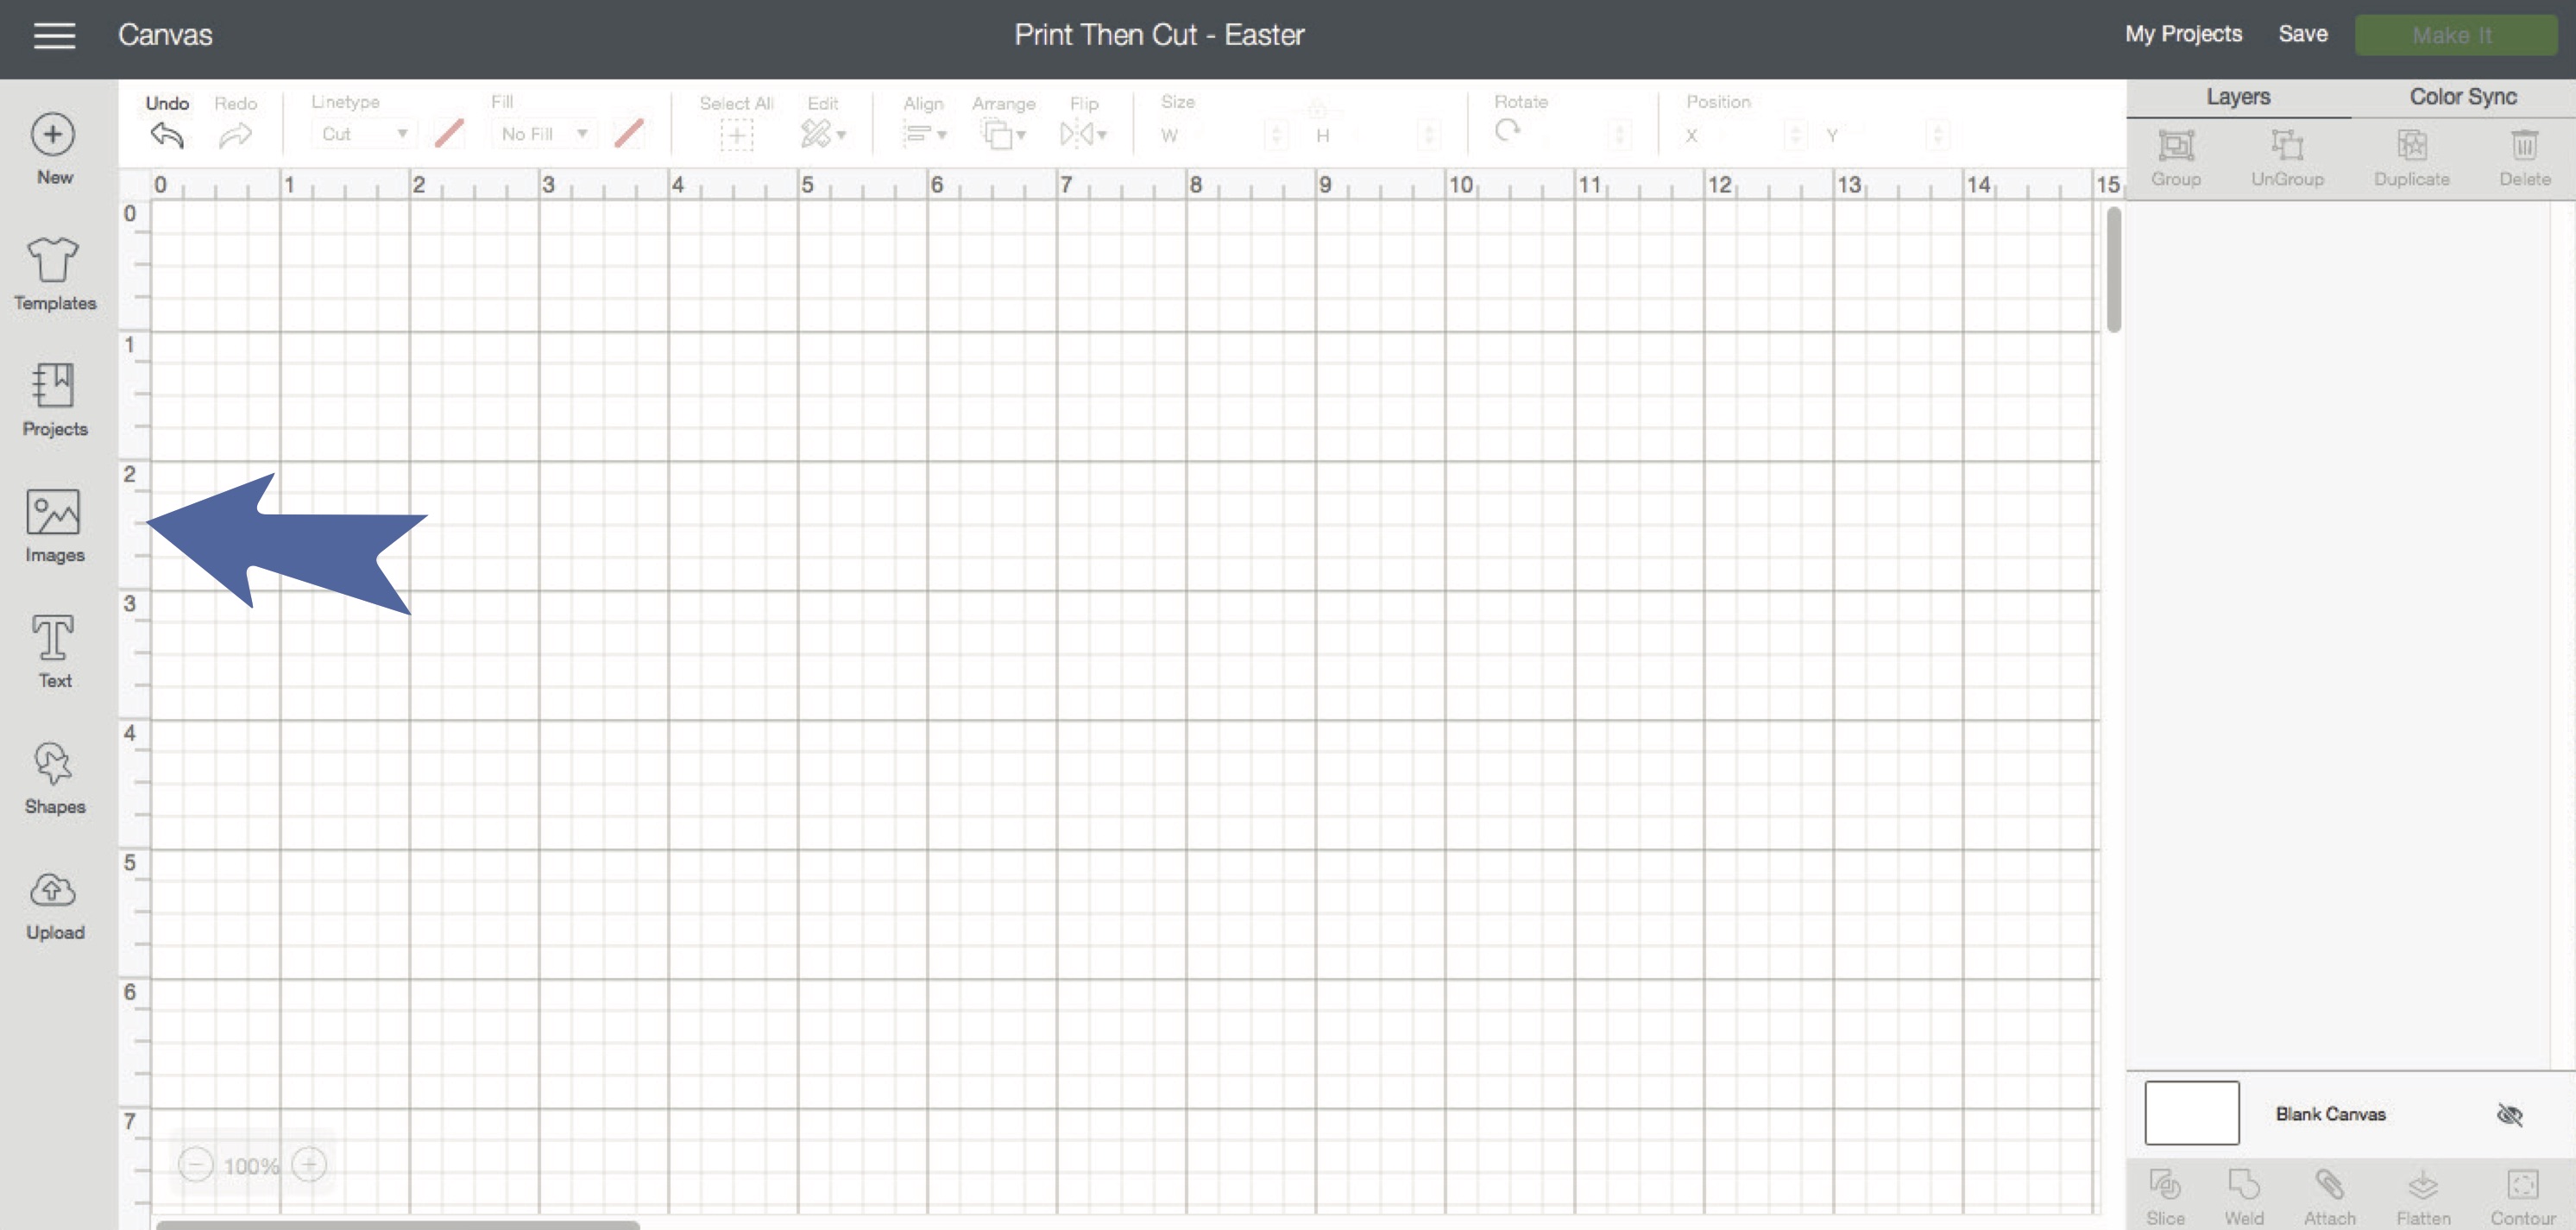
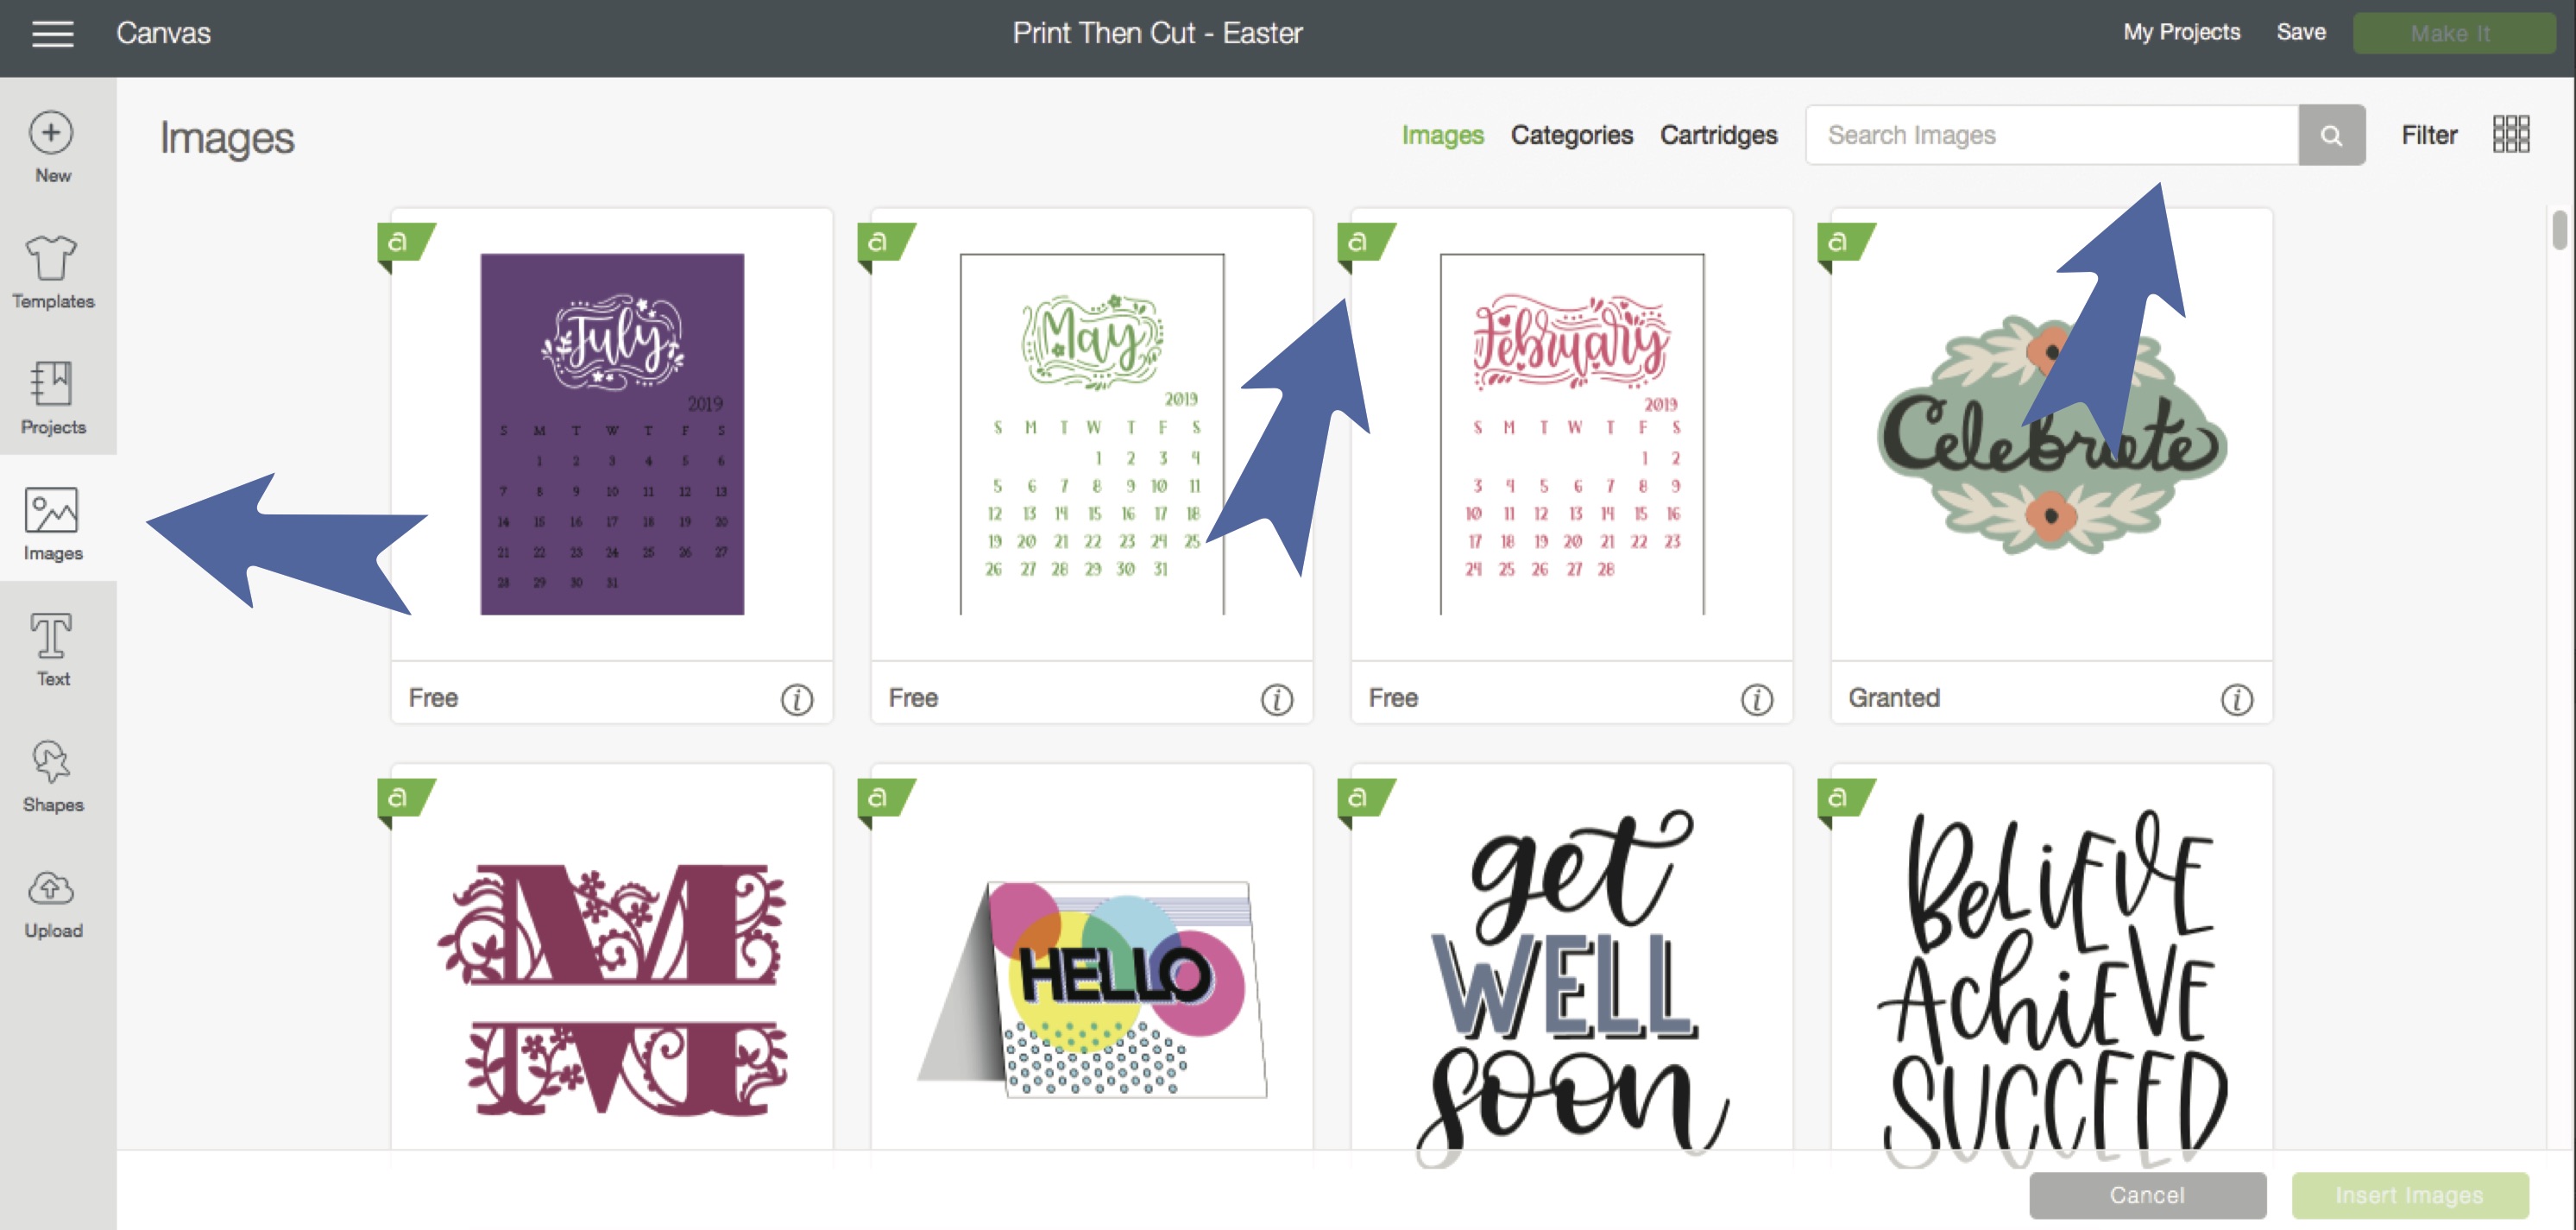
Click on images on the left side. This will take you to the Cricut Access Library. If the image has a green a in the top corner, it is part of the Cricut Access Subscription. {If it doesn’t, you will have to pay for that image, but you will own the image forever} Use the search bar to narrow down your options.
Step 4:
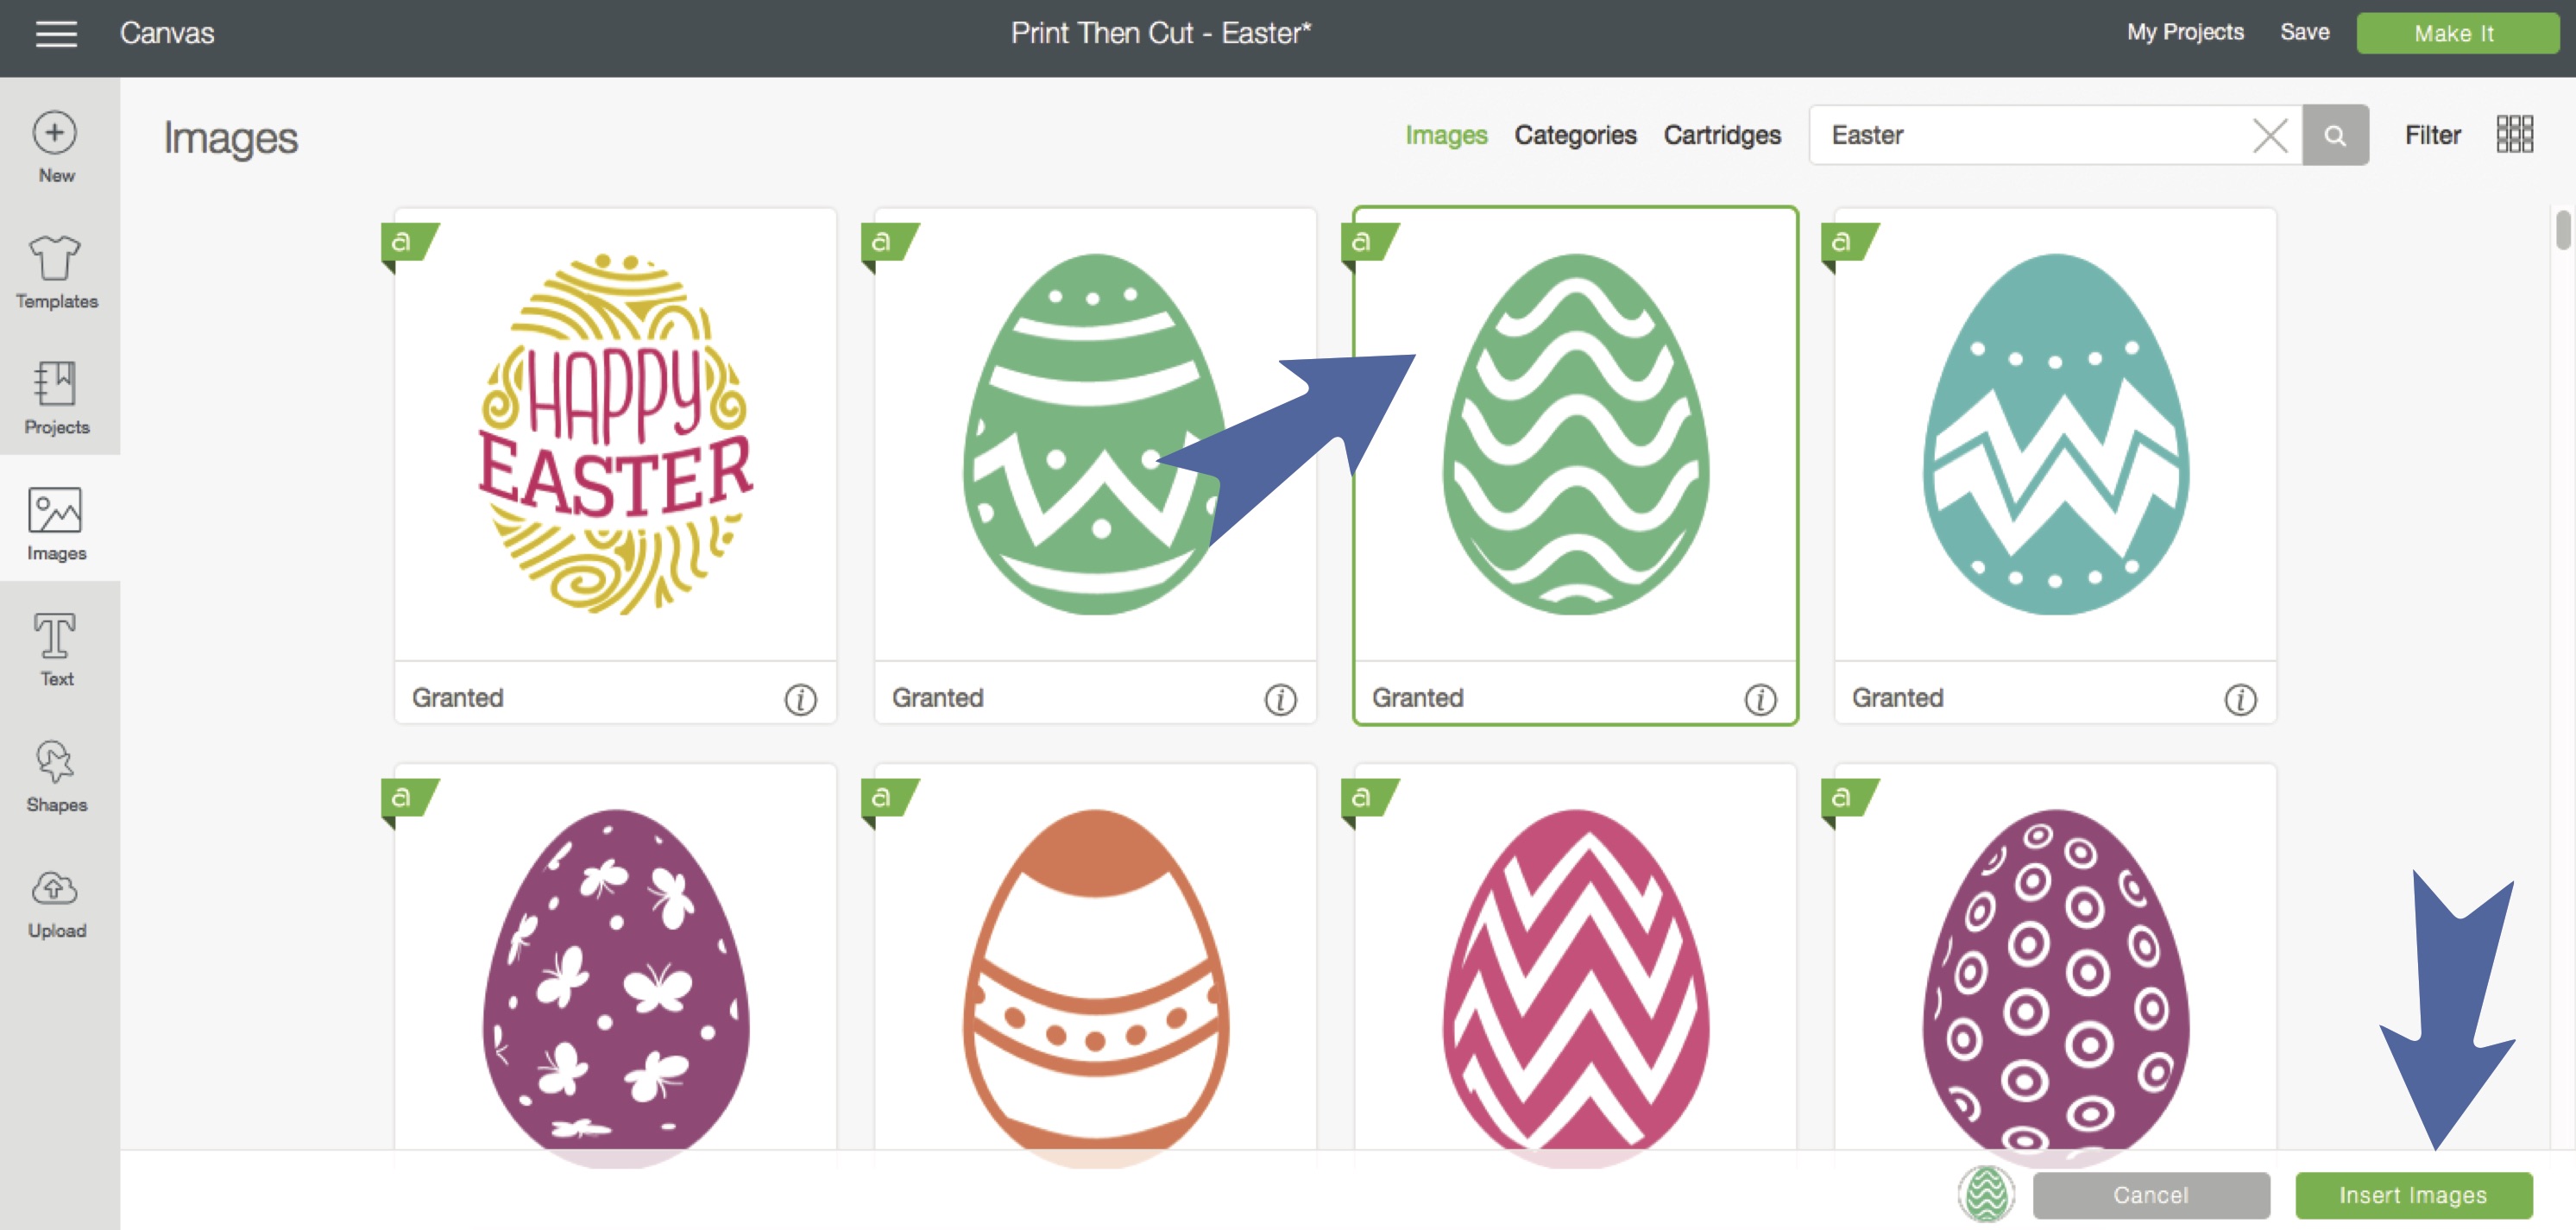
Choose your image; click on the image you like and select insert on the bottom right. This will place that image on your canvas. It will have multiple layers when you insert it. {I used that egg, but hid the contours to make it a solid shape.}
Step 5:
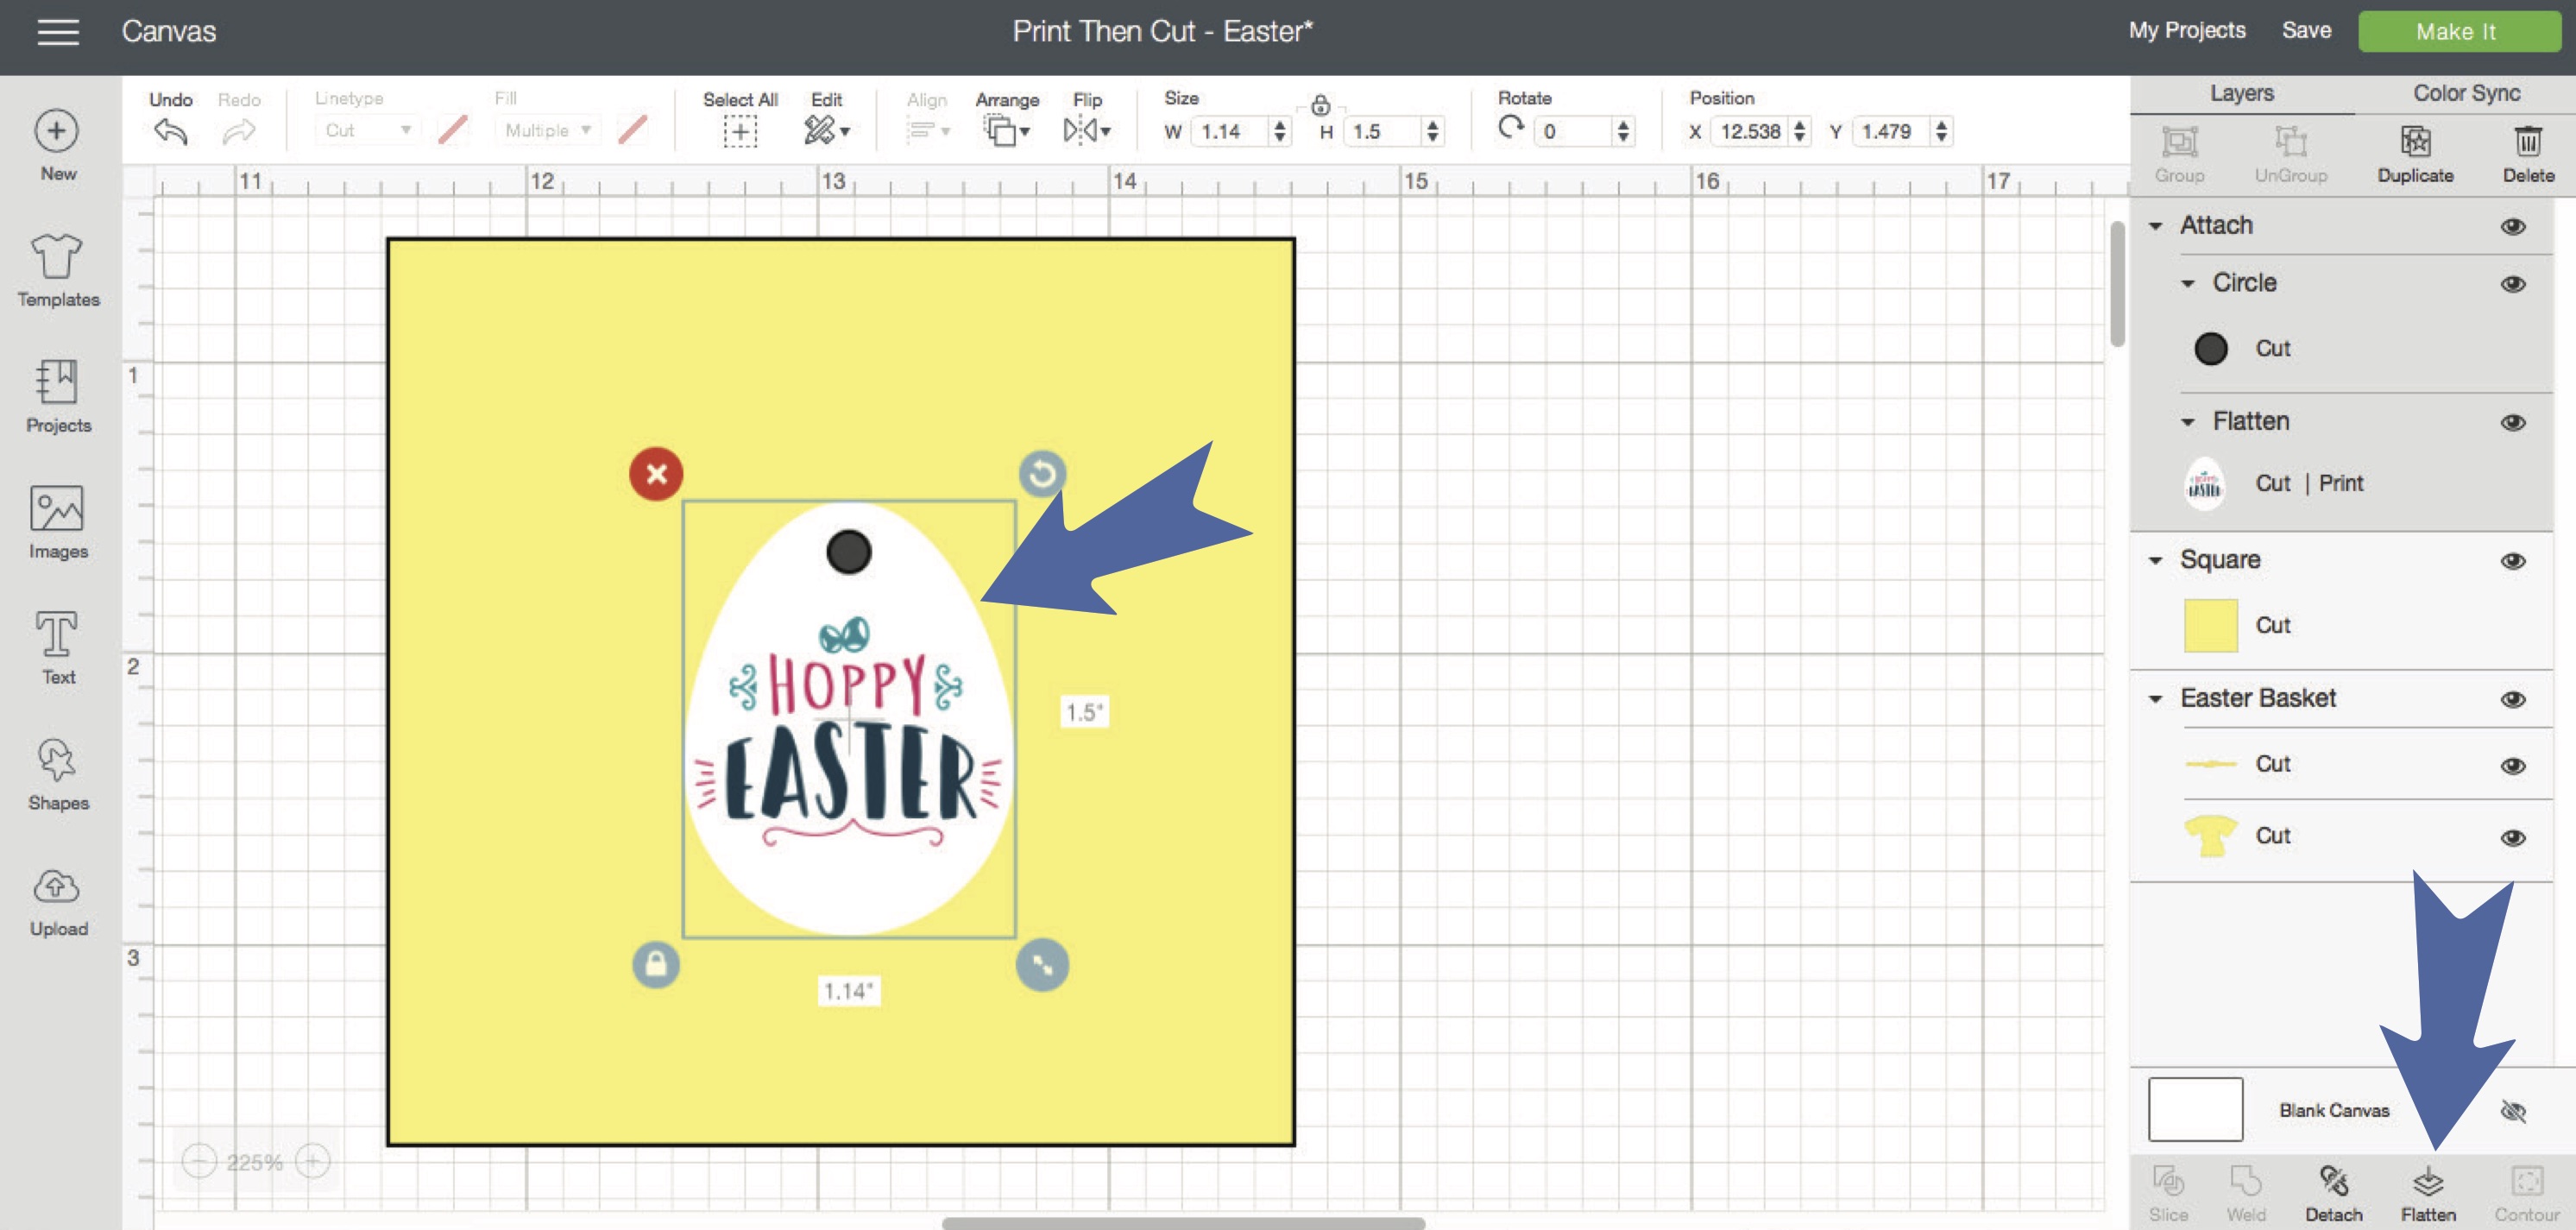
Select the whole image, with all of the layers, and click flatten on the bottom right side. Resize the image to fit your needs, mine is fairly small because it is a gift tag.
Step 6:

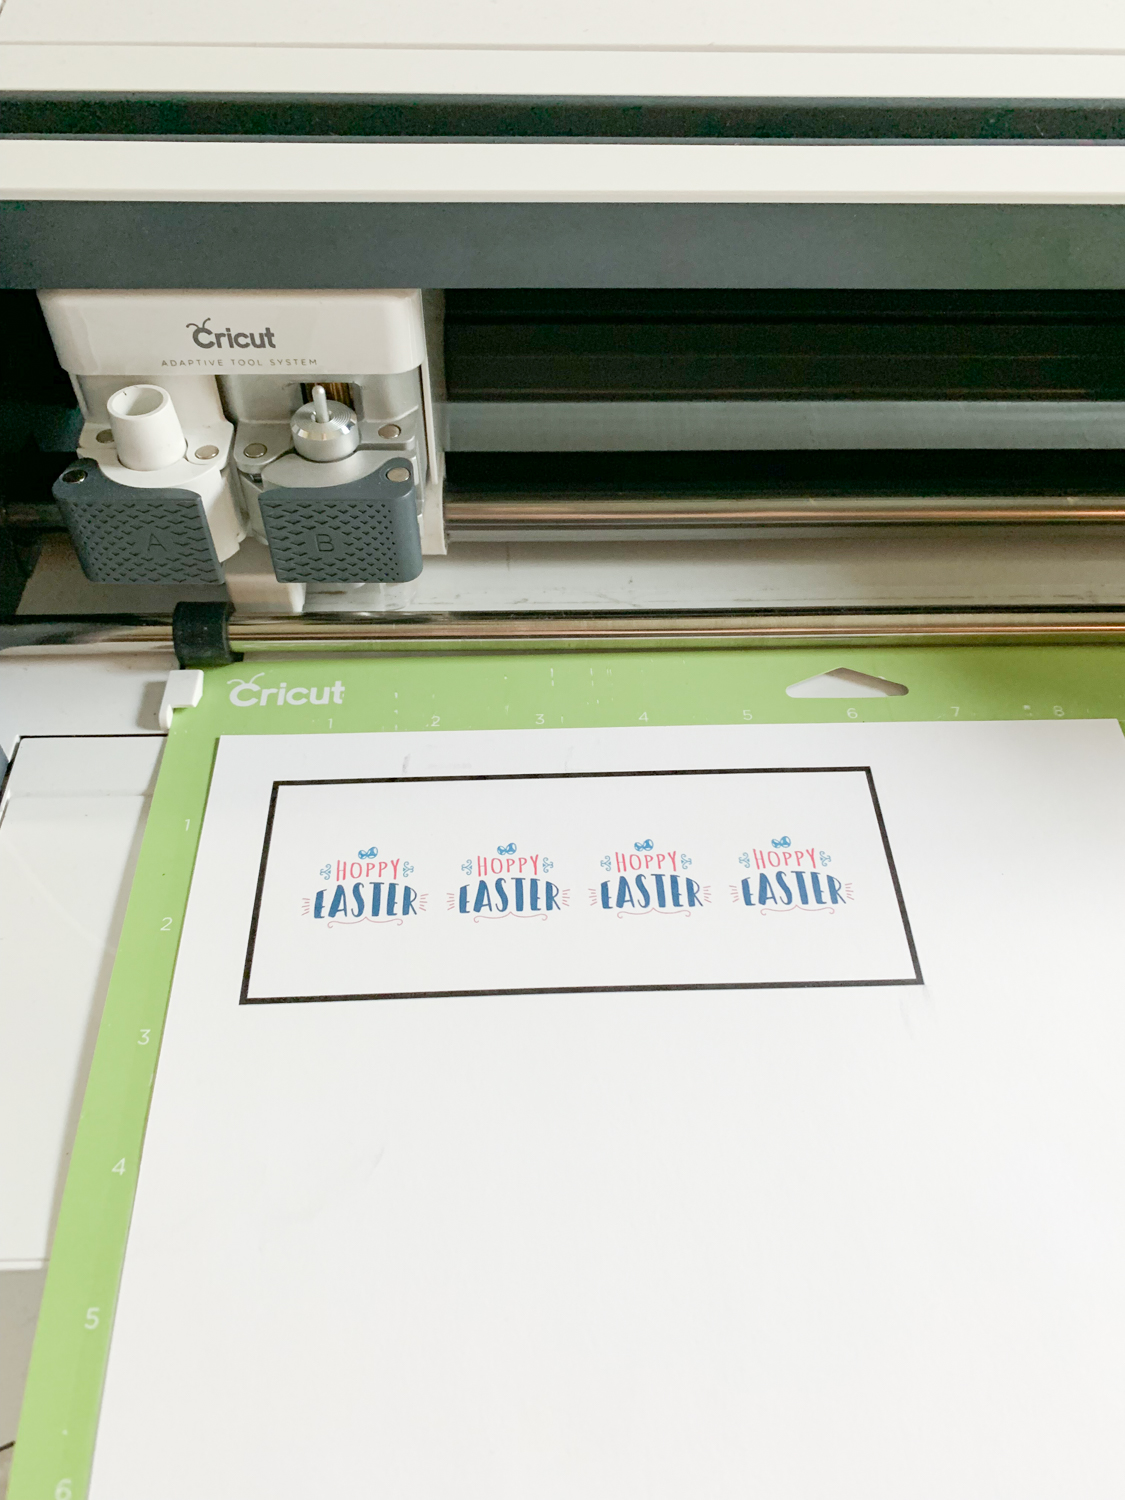
Click on Make It on the top Right side of you screen. That will take you to the Cutting Mat editing screen. Click Continue on the bottom right side of your screen.
Step 7:
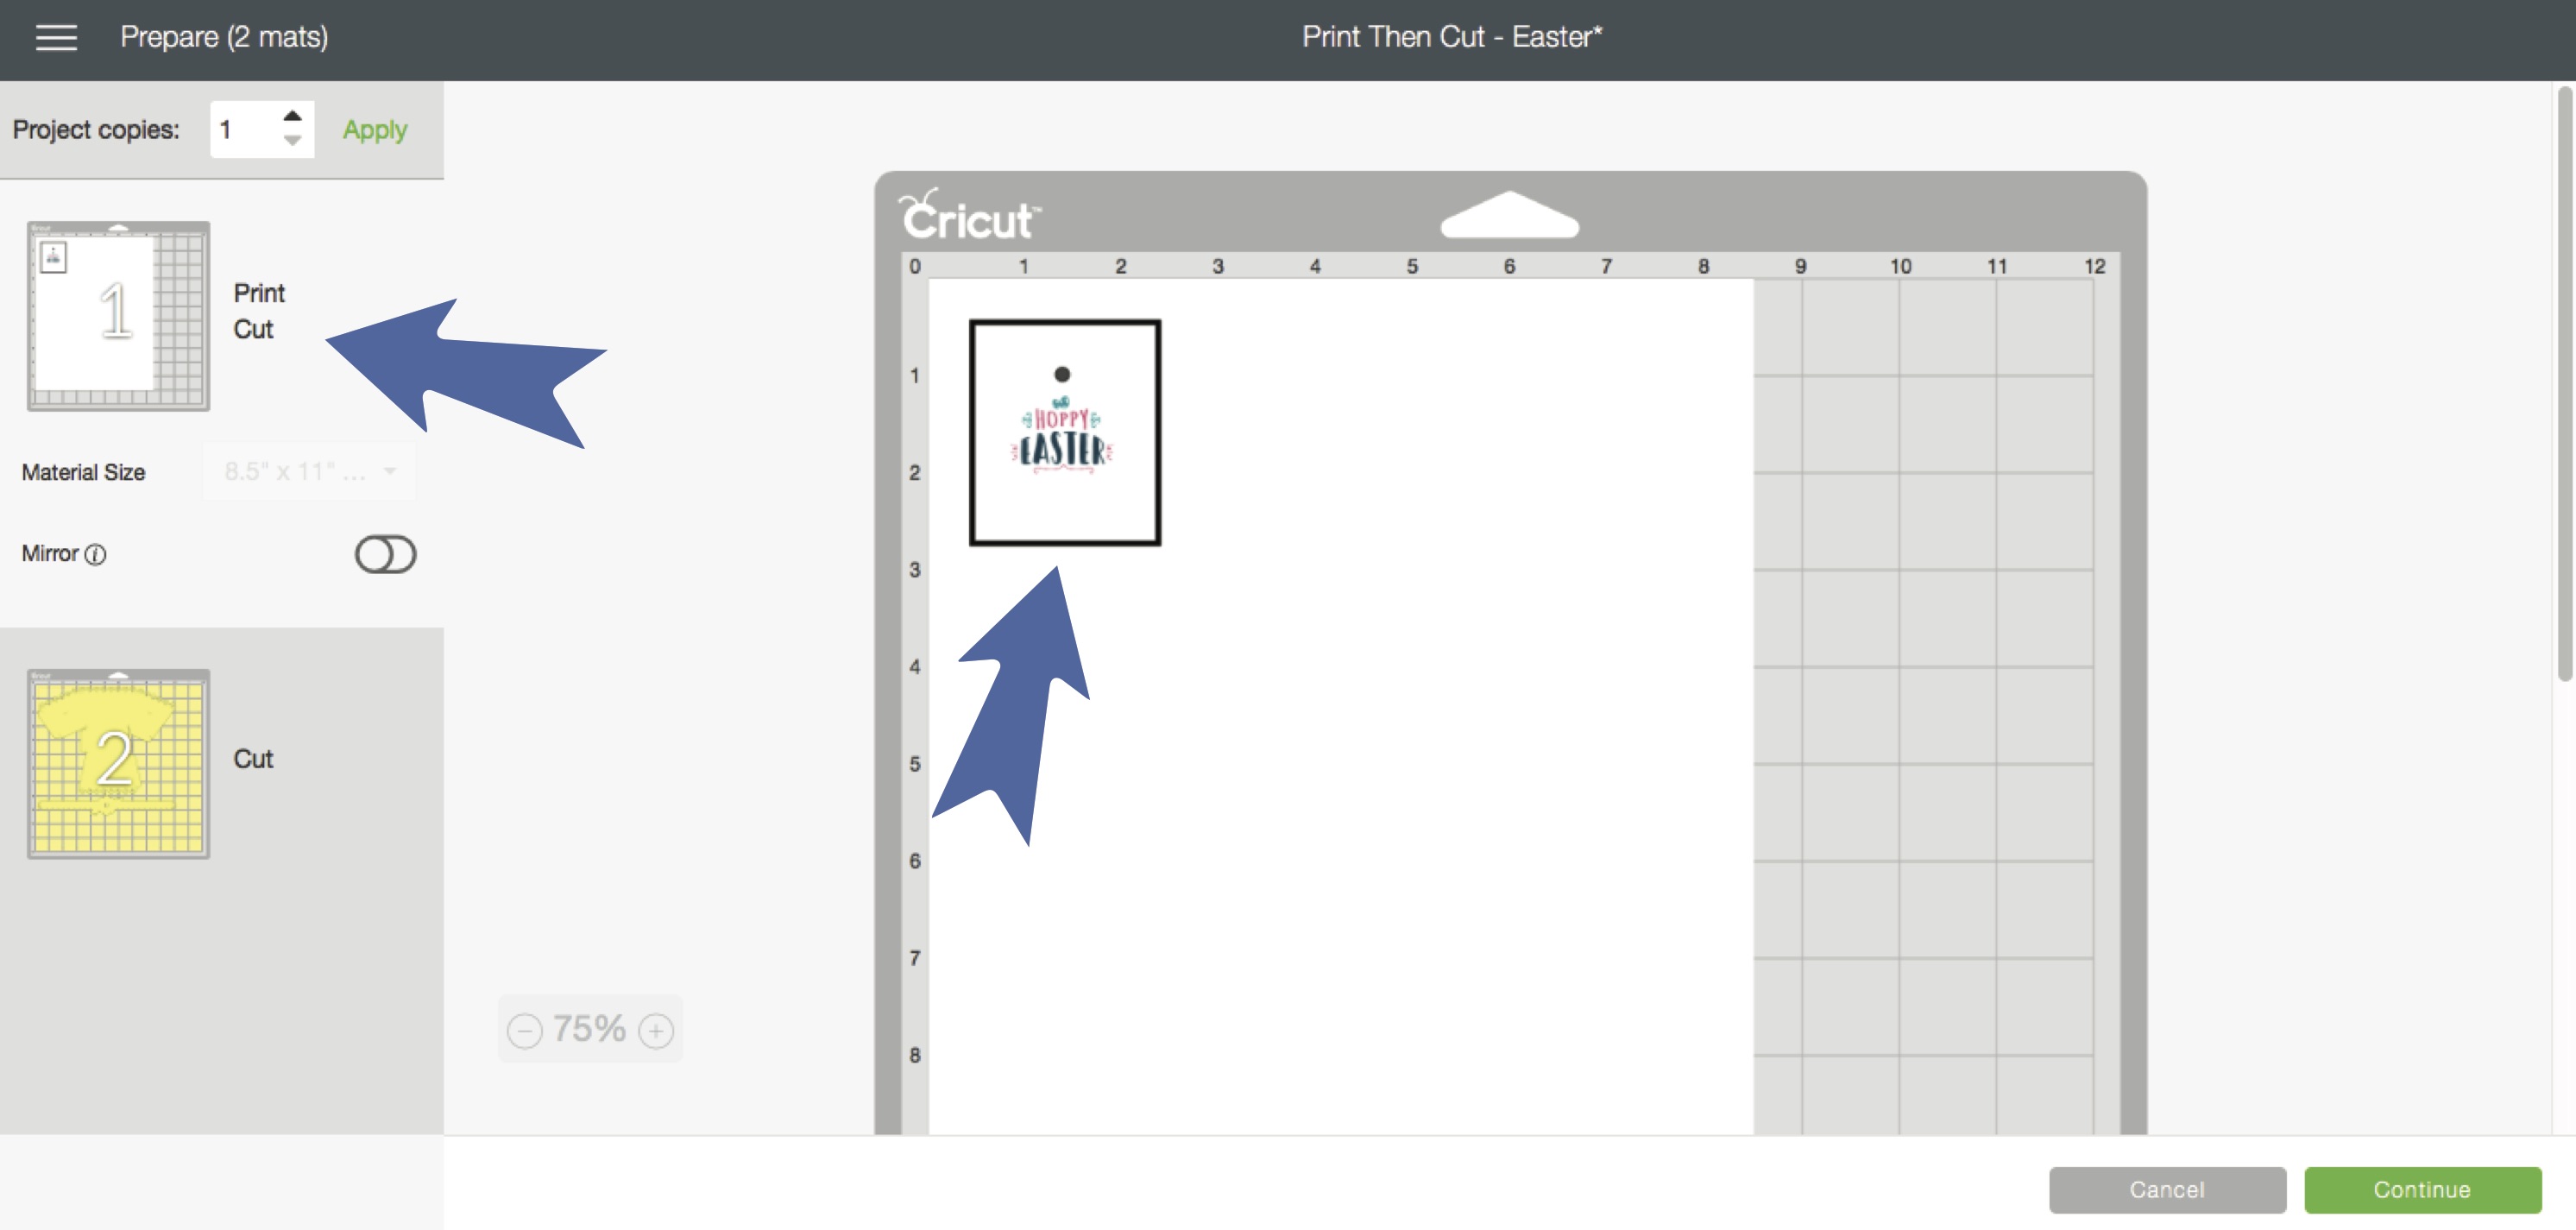
Send the project to your printer. It will print with a black box around your image(s), that is for the Cricut to detect the image.
Step 8:
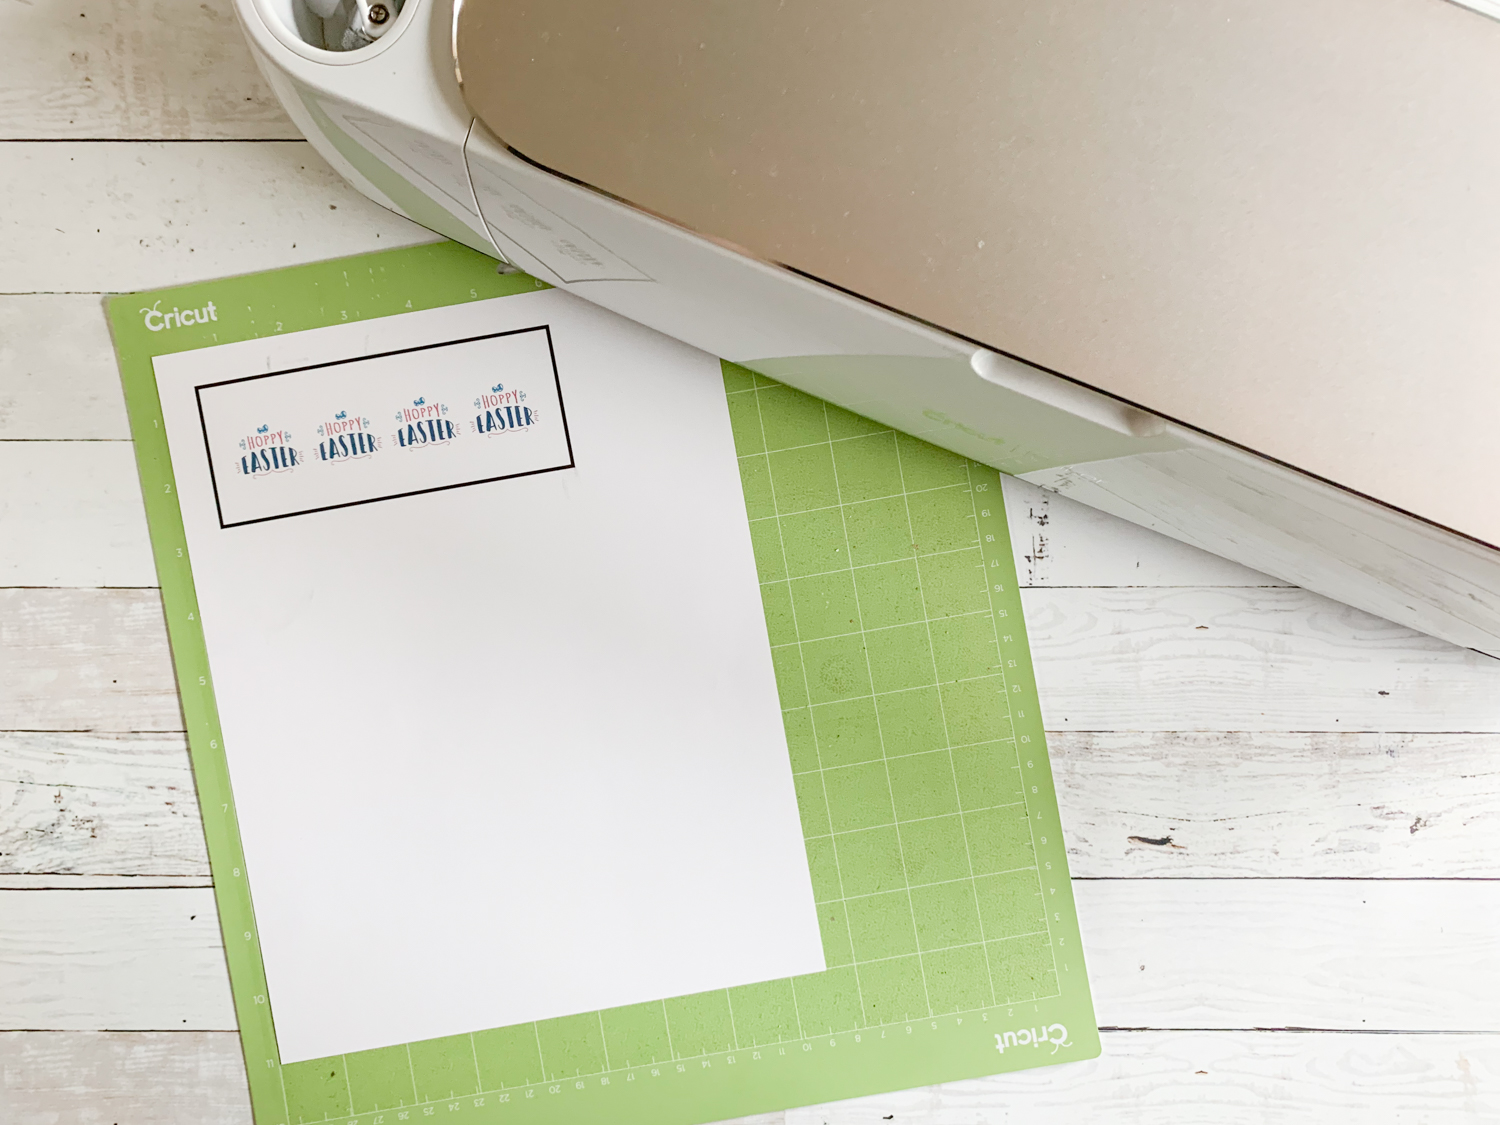
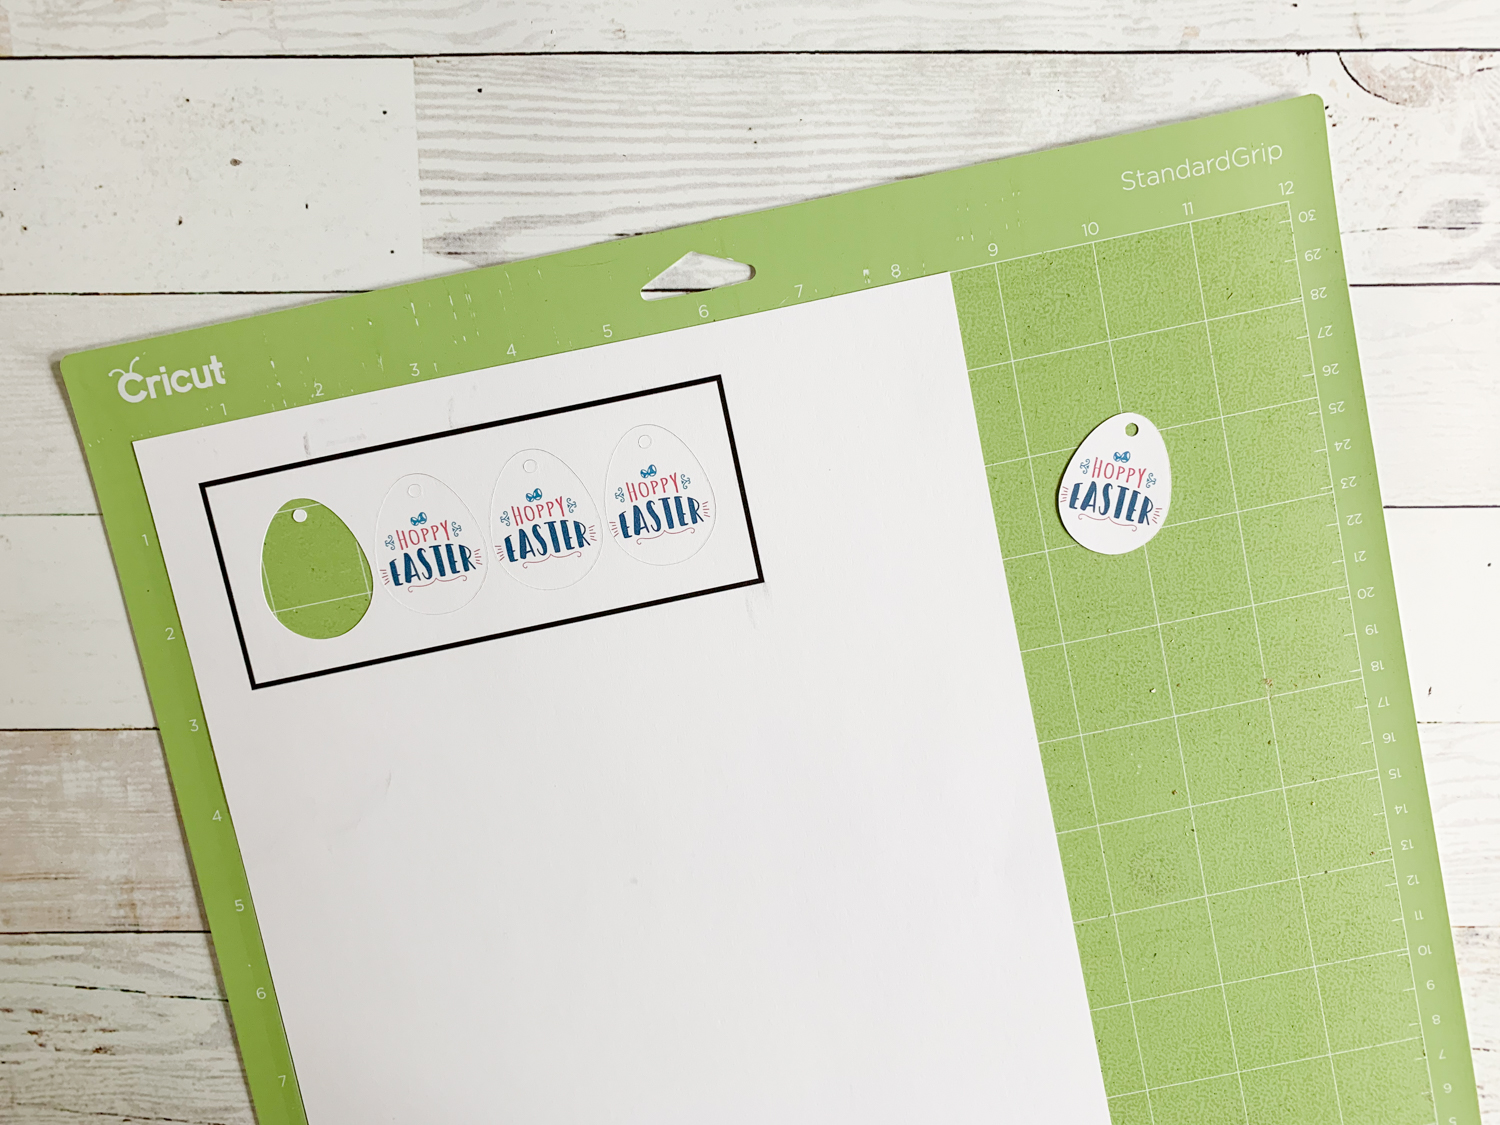
After the project has printed, place the paper on the cutting mat, and select the type of material you are cutting. {Typically, I use cardstock or printable vinyl for my Print then Cut projects.}
Step 9:
Load the mat into your Cricut and cut the image.
If you want to recreate these tags, open the cut file here and send to print then cut.
Be sure to check out That’s What Che Said’s post for a much more detailed tutorial too.
For more info, check out some of these posts from Cricut:
How do I Print then Cut in Design Space?
Print then Cut on Colored Paper
Now you can Print then Cut on Colored Paper
 If you liked this Cricut Project, be sure to check out more here!
This is a sponsored conversation written by me on behalf of Cricut. The opinions and text are all mine.
Tags : Cricut, DIY, Easter, Gift Tags, Print then Cut, Tutorial

[…] shared a detailed step by step tutorial on how to create a Print then Cut project, find it here. To use the Cricut Print then Cut feature, you will need a home printer and printer paper {I […]