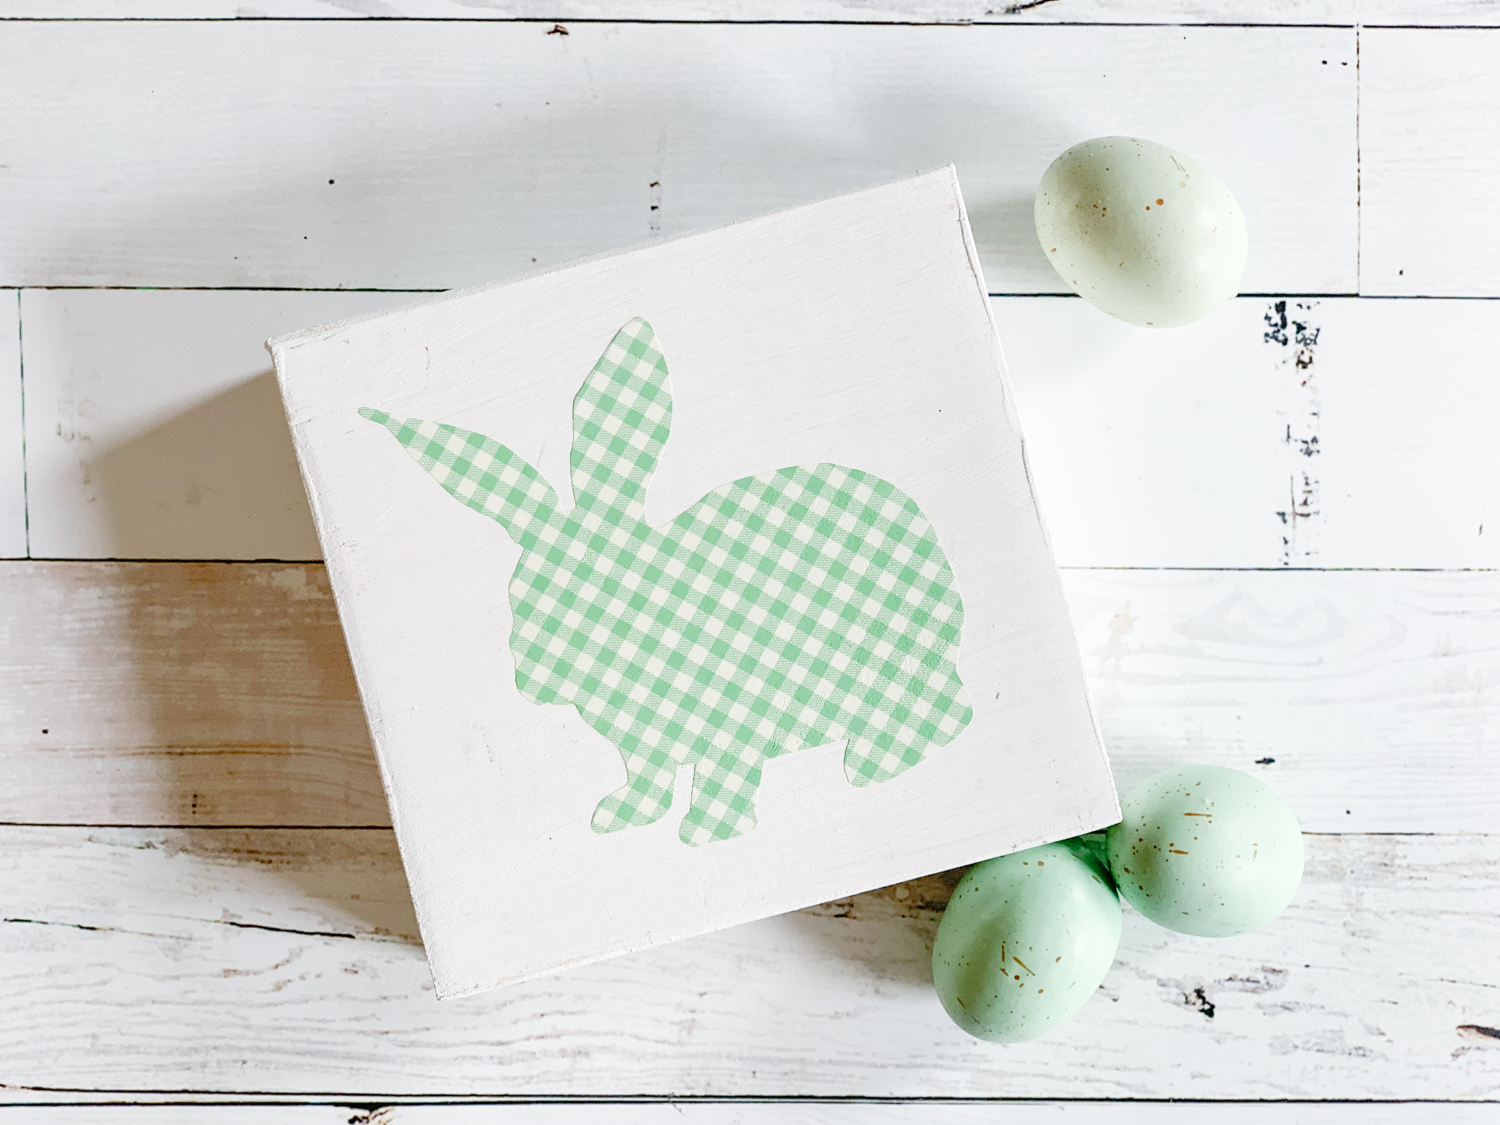
Simple Easter Decor DIY
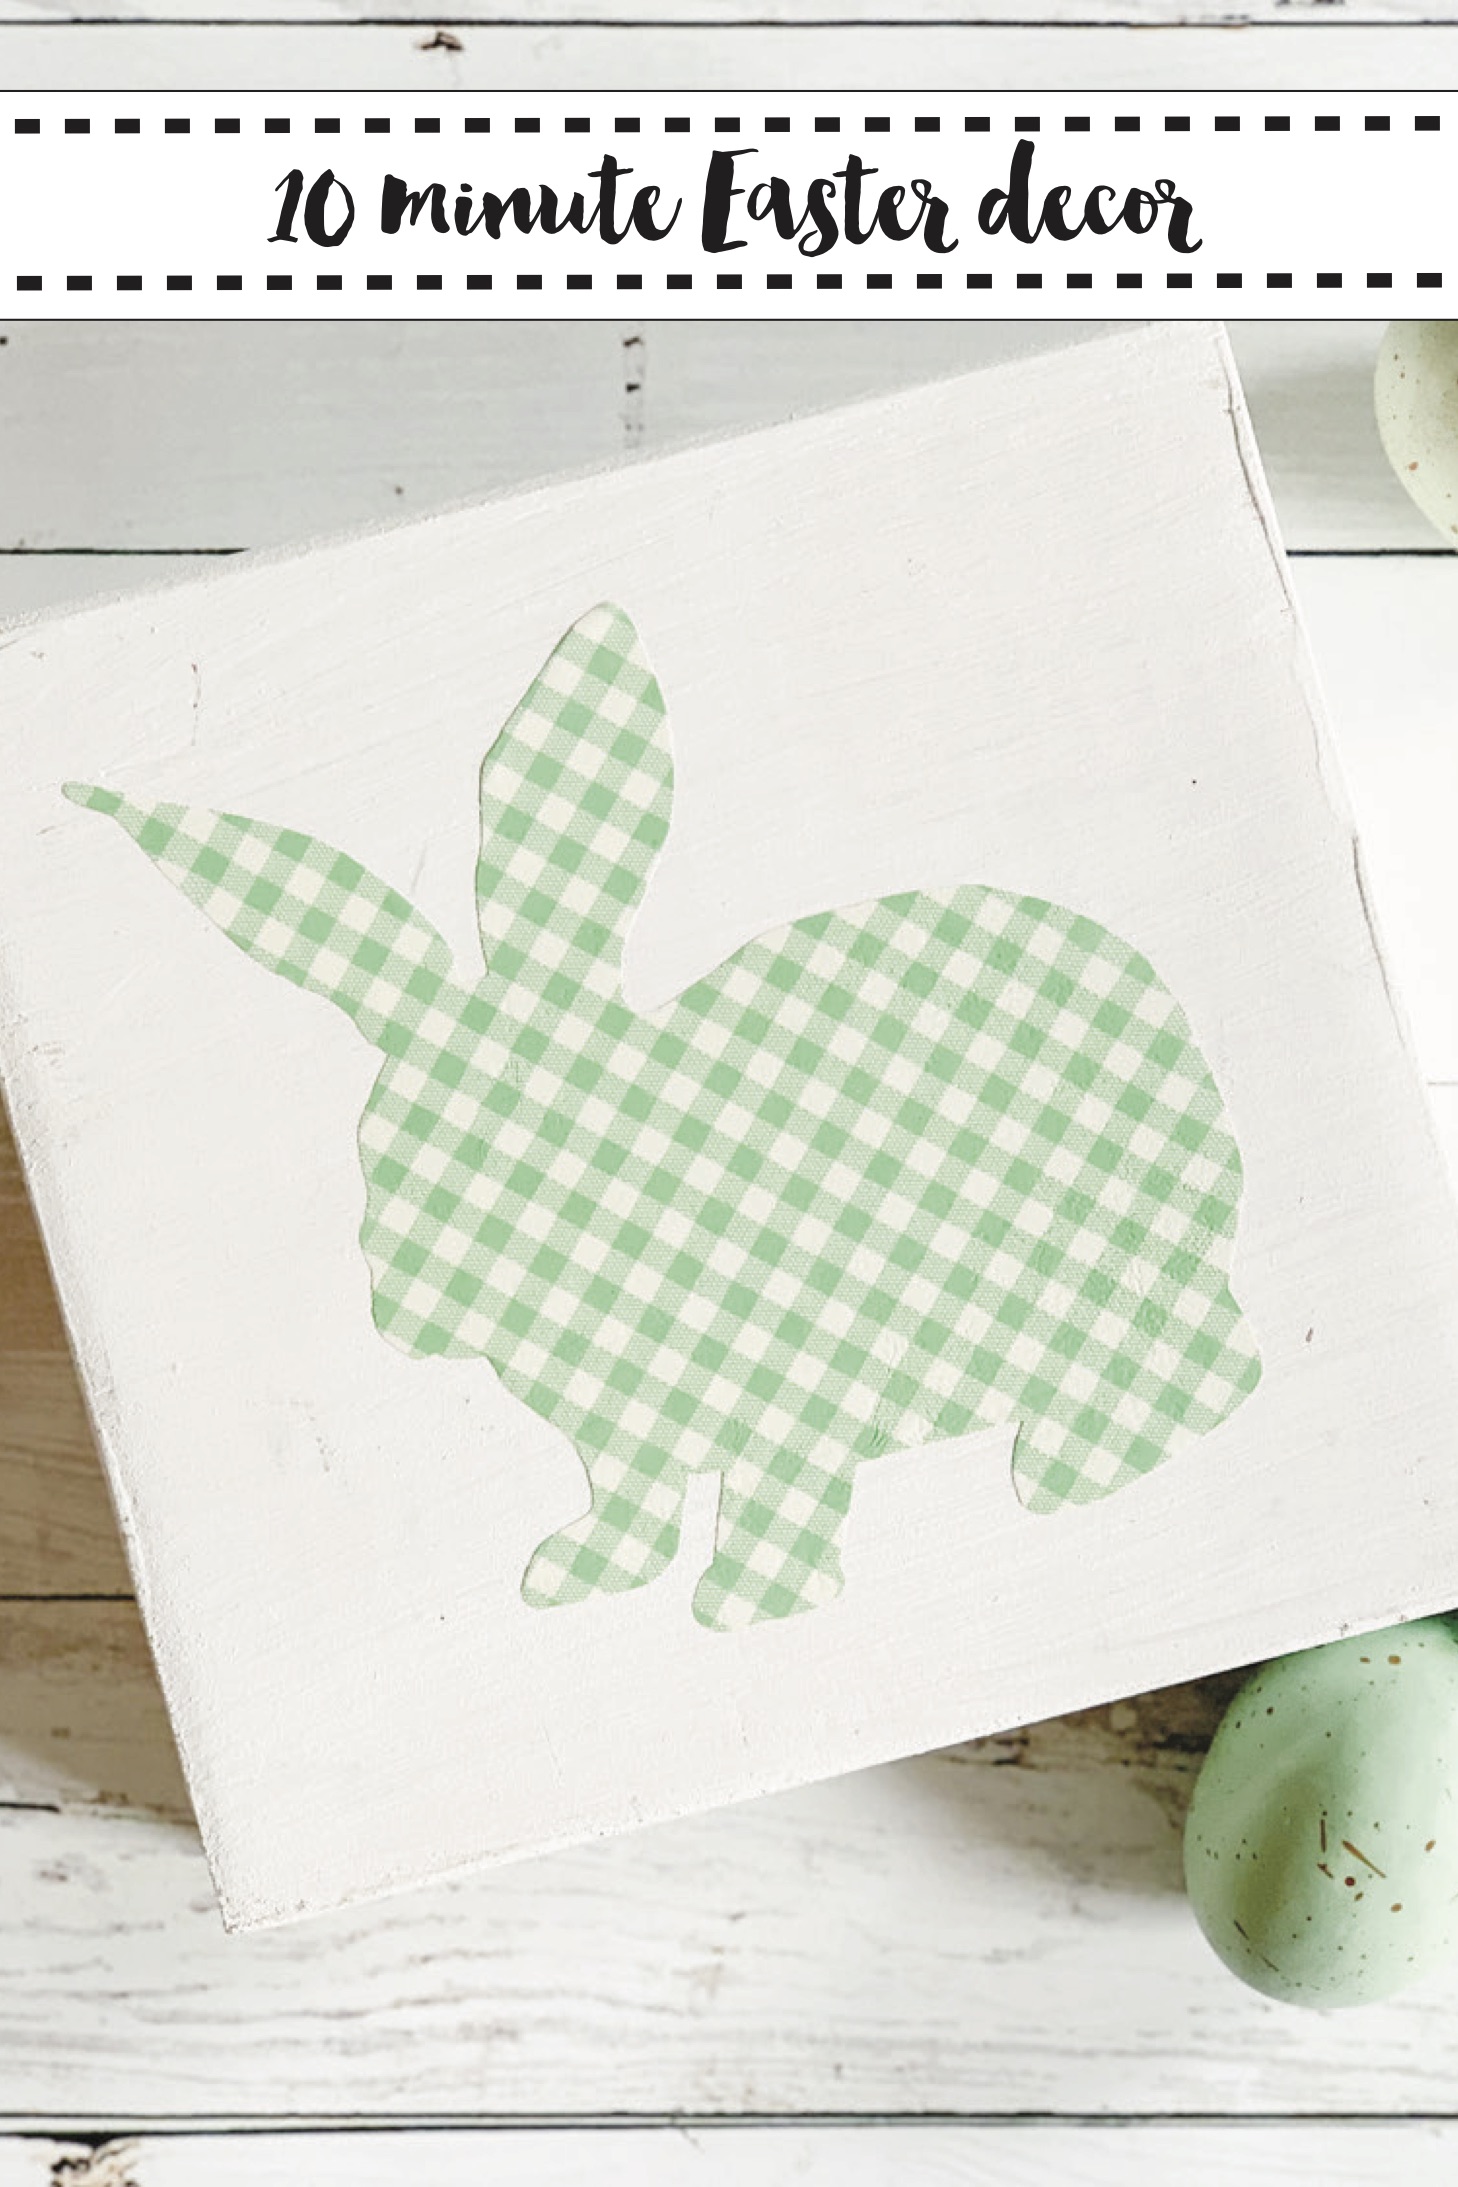
My house is finally back together, which means I can actually take down my Valentine’s Day decor and start putting out Easter decorations this week. When our kitchen sprung a leak under the foundation, we had to have all of our flooring removed and our kitchen island had to be replaced. The flooring was definitely on my wish list for forever, but an insurance claim was not…But, I have to say, I am SO VERY MUCH in love with my new flooring and kitchen! With new flooring came a renewed desire to change my in home work space to make it look less like a work table and more like my home. And, because I have a totally new looking home, I wanted some new Spring decor. With the help of my Cricut, I was able to make the cutest little Spring bunny decoration in less than 10 minutes!
Supplies:
Wooden Block {Mine is the back side of Christmas decoration}
Paint & Paint Brushes
Step 1:
Cut your wood down to the size you would like your Easter Decoration to be. Mine are 2×6″ boards cut to 5.5″. I bought one long board a few months ago and cut them down to 5.5″ and 11″.
Step 2:
Paint your board. I painted all of the sides so I could use both the front and back for decorations.
Step 3:
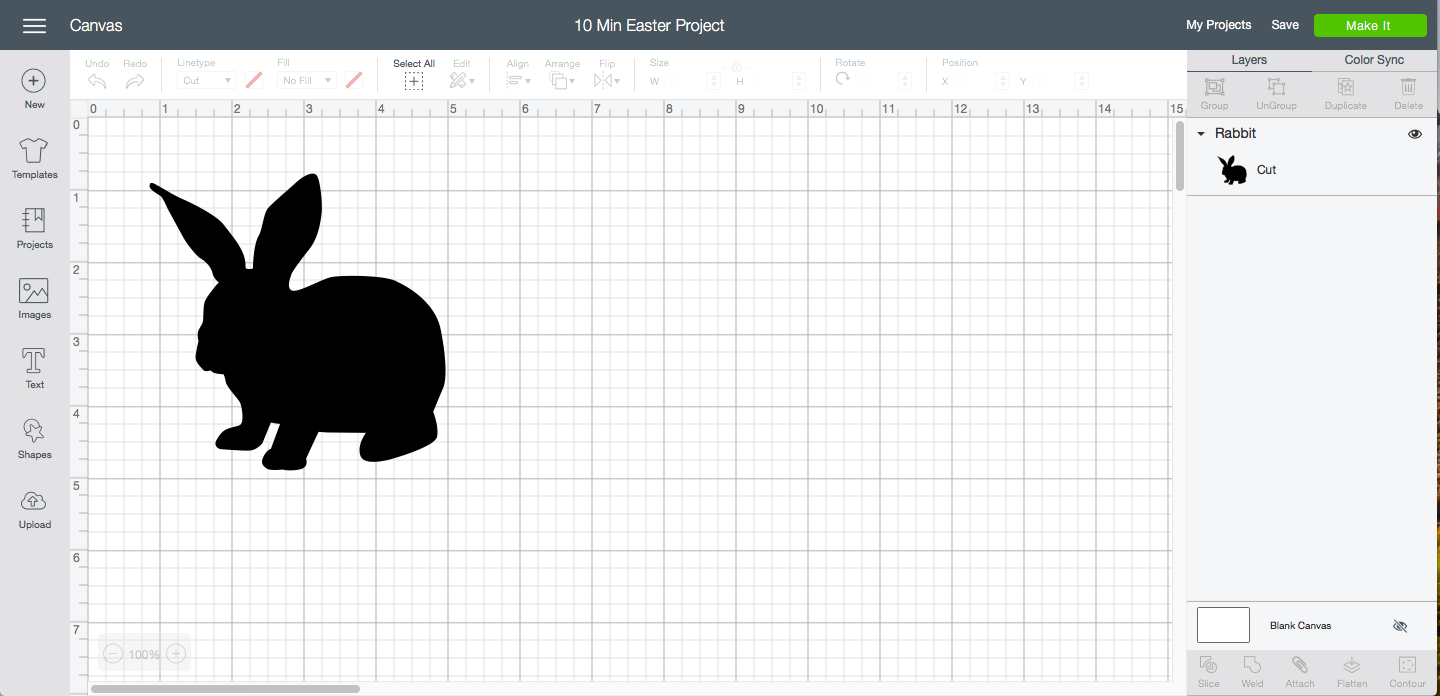
Open this cut file and size it to fit your block.
Step 4:
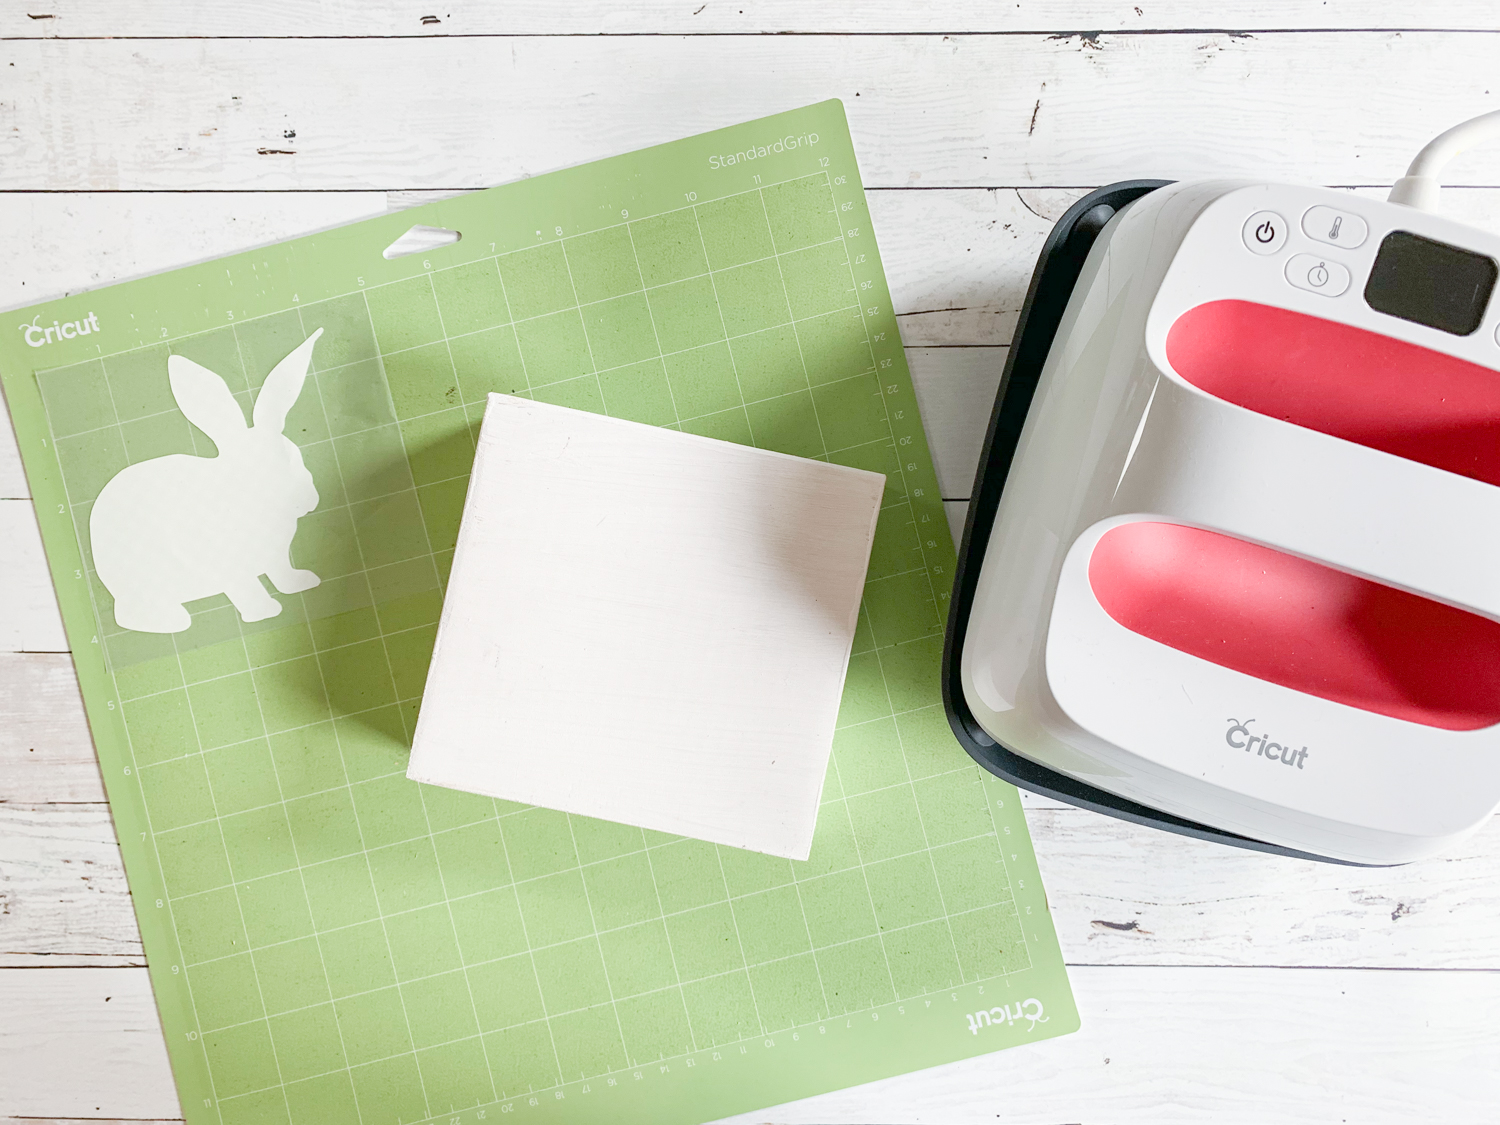
Prepare your cutting mat and send your project to cut. I used Cricut’s gingham patterned Iron On for my project. Place it pattern {or shiny} side down on the mat, and mirror the cut.
Step 5:
Send the file to cut, and weed the excess vinyl.
Step 6:
After the wood block is fully dry, press the bunny onto the block.
Step 7:
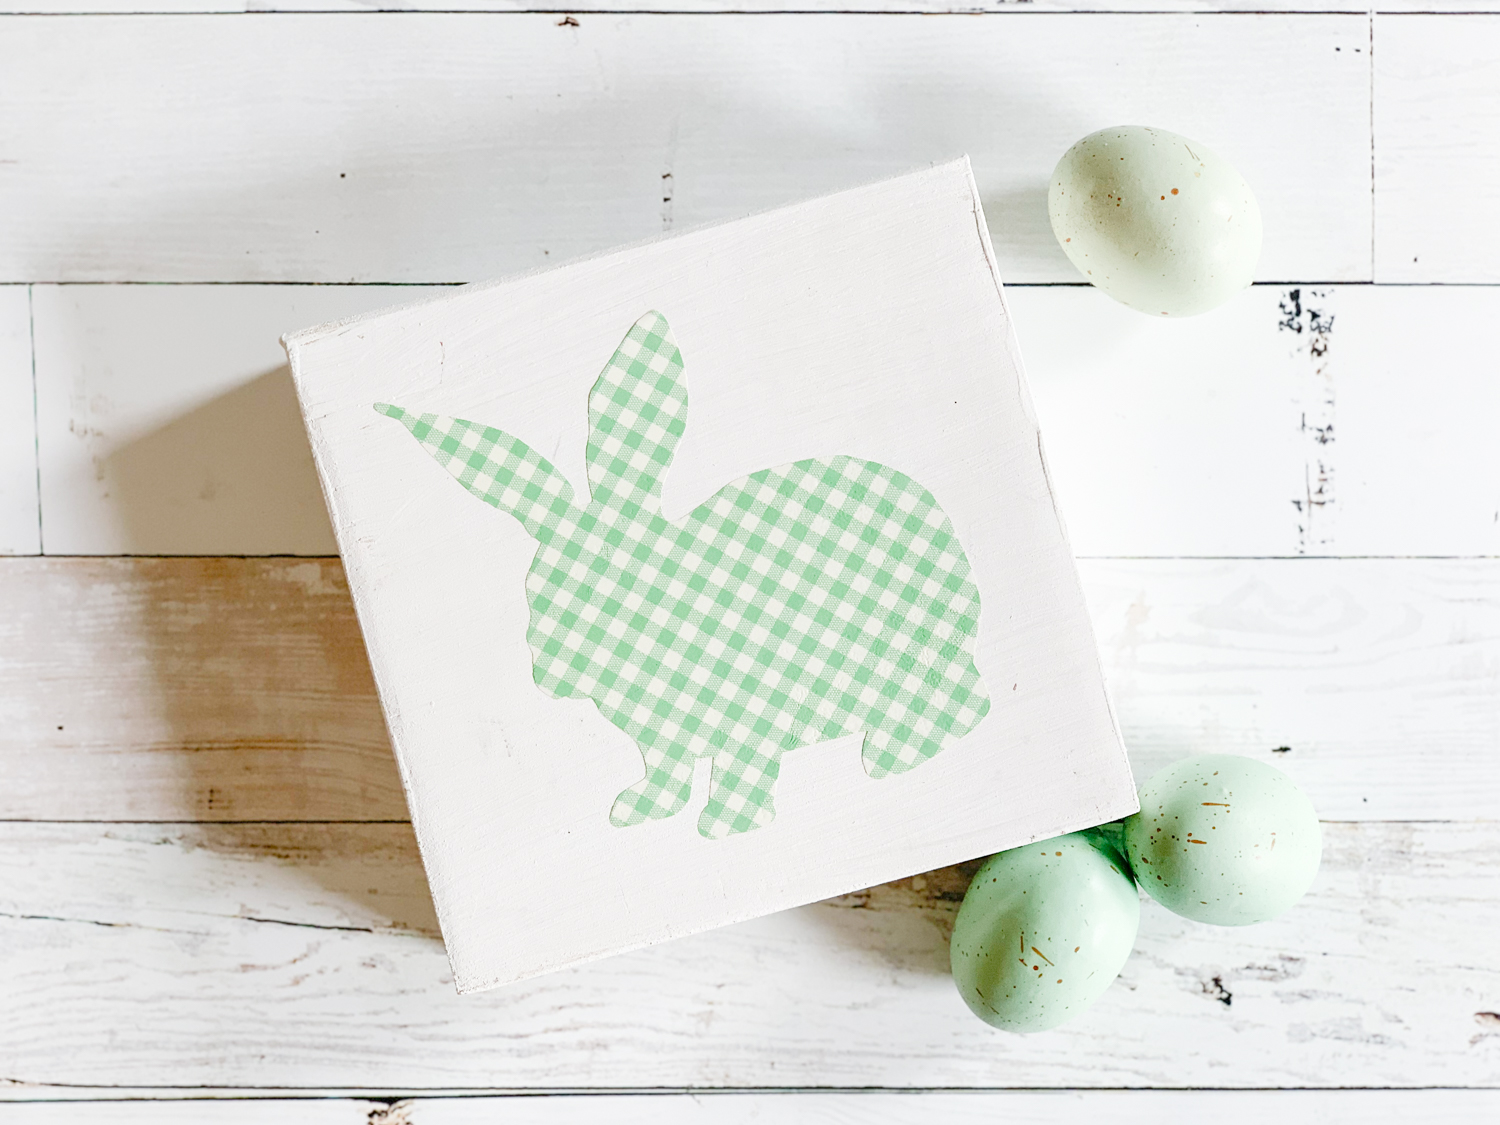
Admire your adorable new Easter Craft!
If you liked this DIY, be sure to check out some more here!
Tags : Cricut, Decor, DIY, Easter, EasyPress 2, Simple Craft


[…] Easter Decor […]