Easter Bunny Face SVG
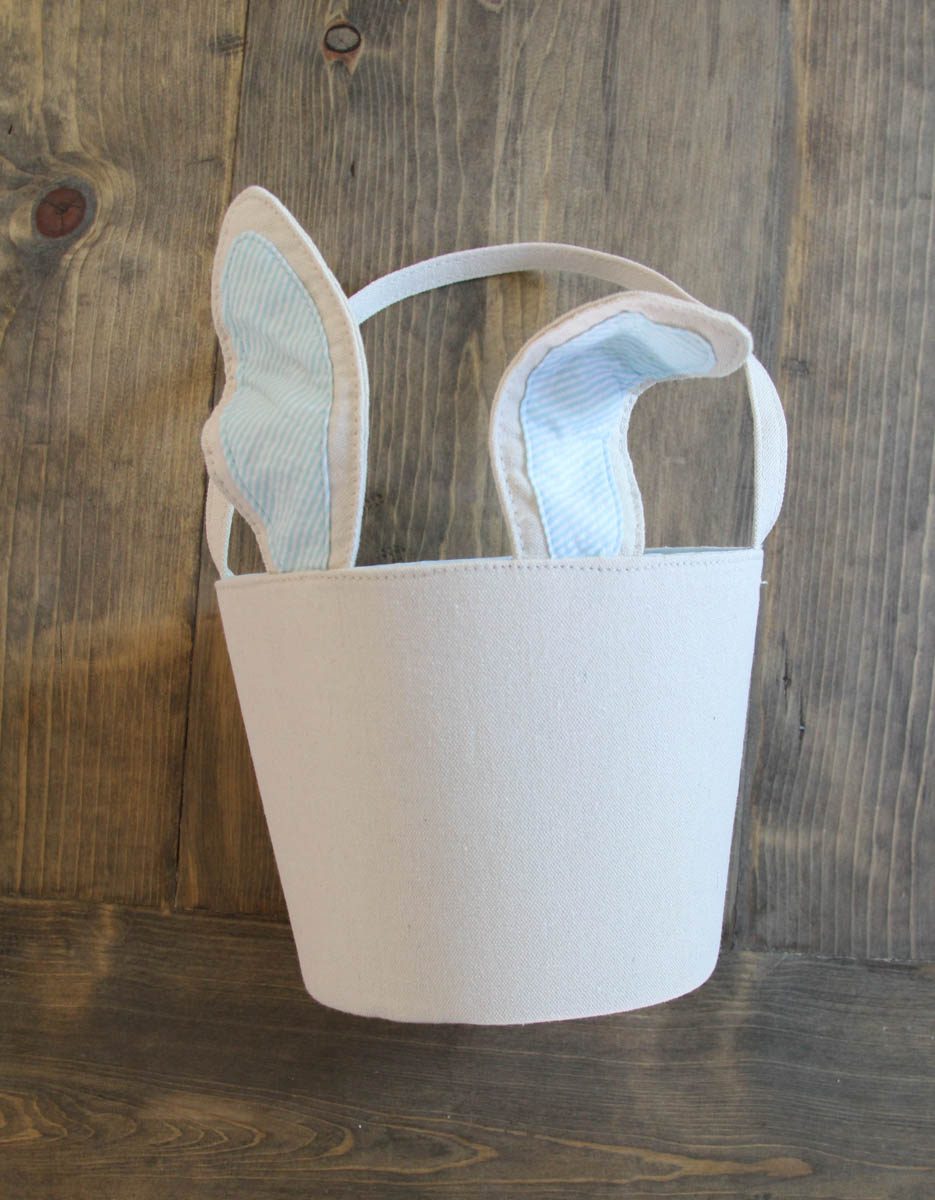
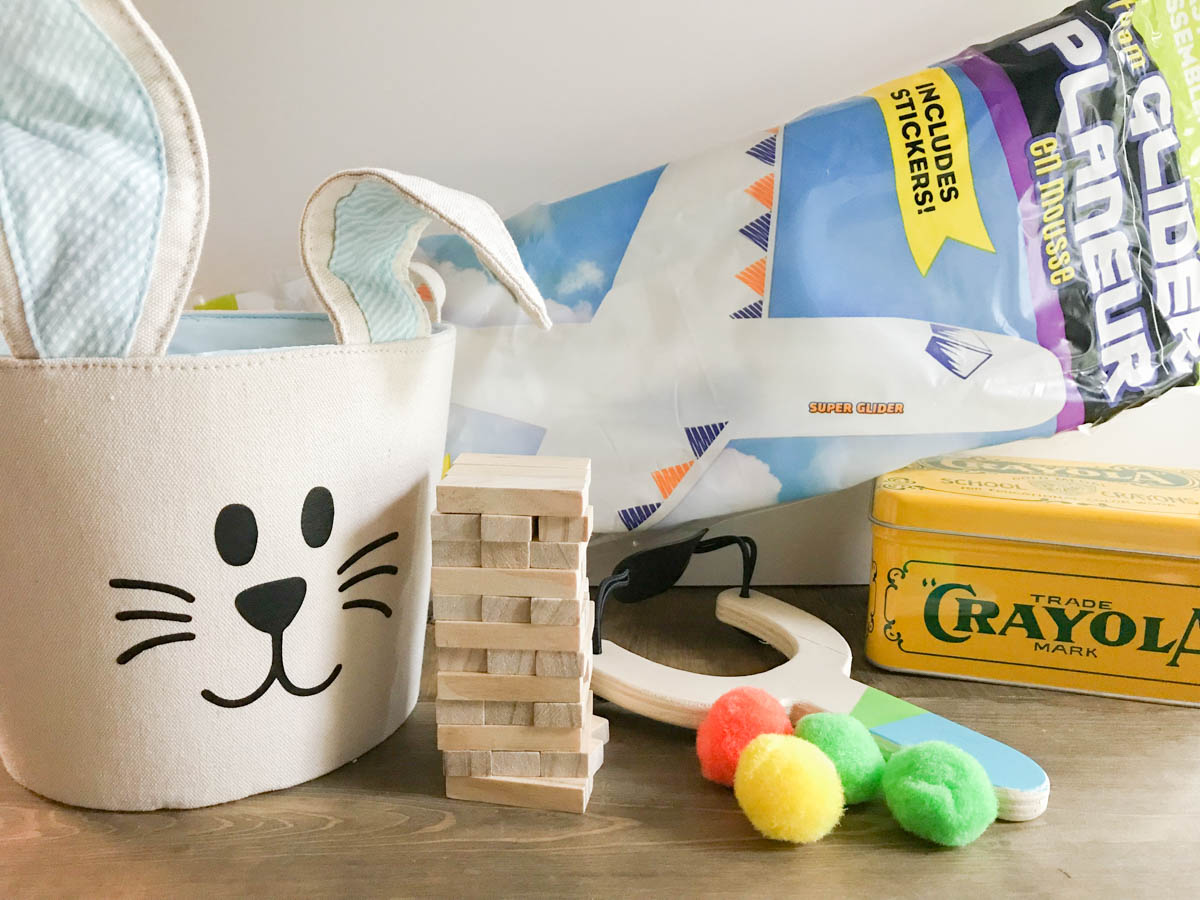
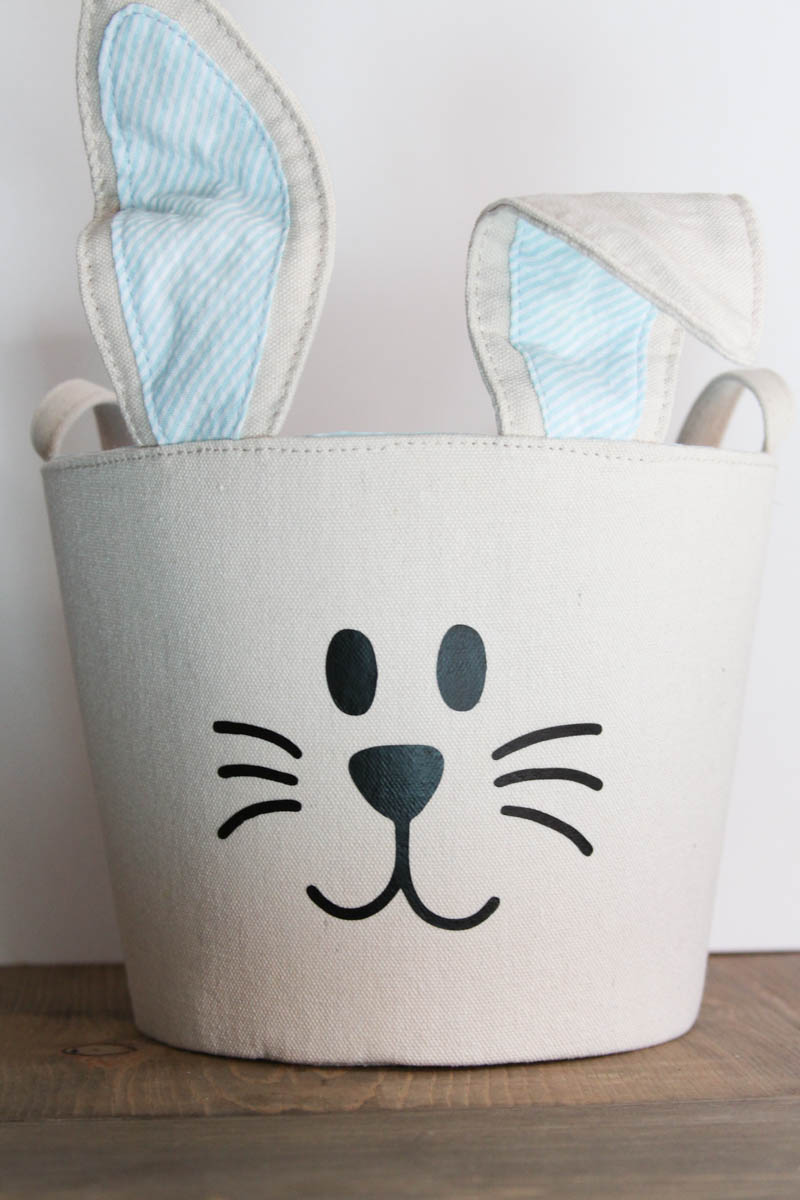
Easter Bunny Face SVG. You guys I am.in.love with this sweet bunny face SVG file!! I found a cute little canvas Easter basket with seersucker bunny ears at Target in the Dollar Spot. I loved it, but I thought it know of needed a face. Pineapple Paper Co. drew the perfect little bunny face for me to cut out and add to the basket. 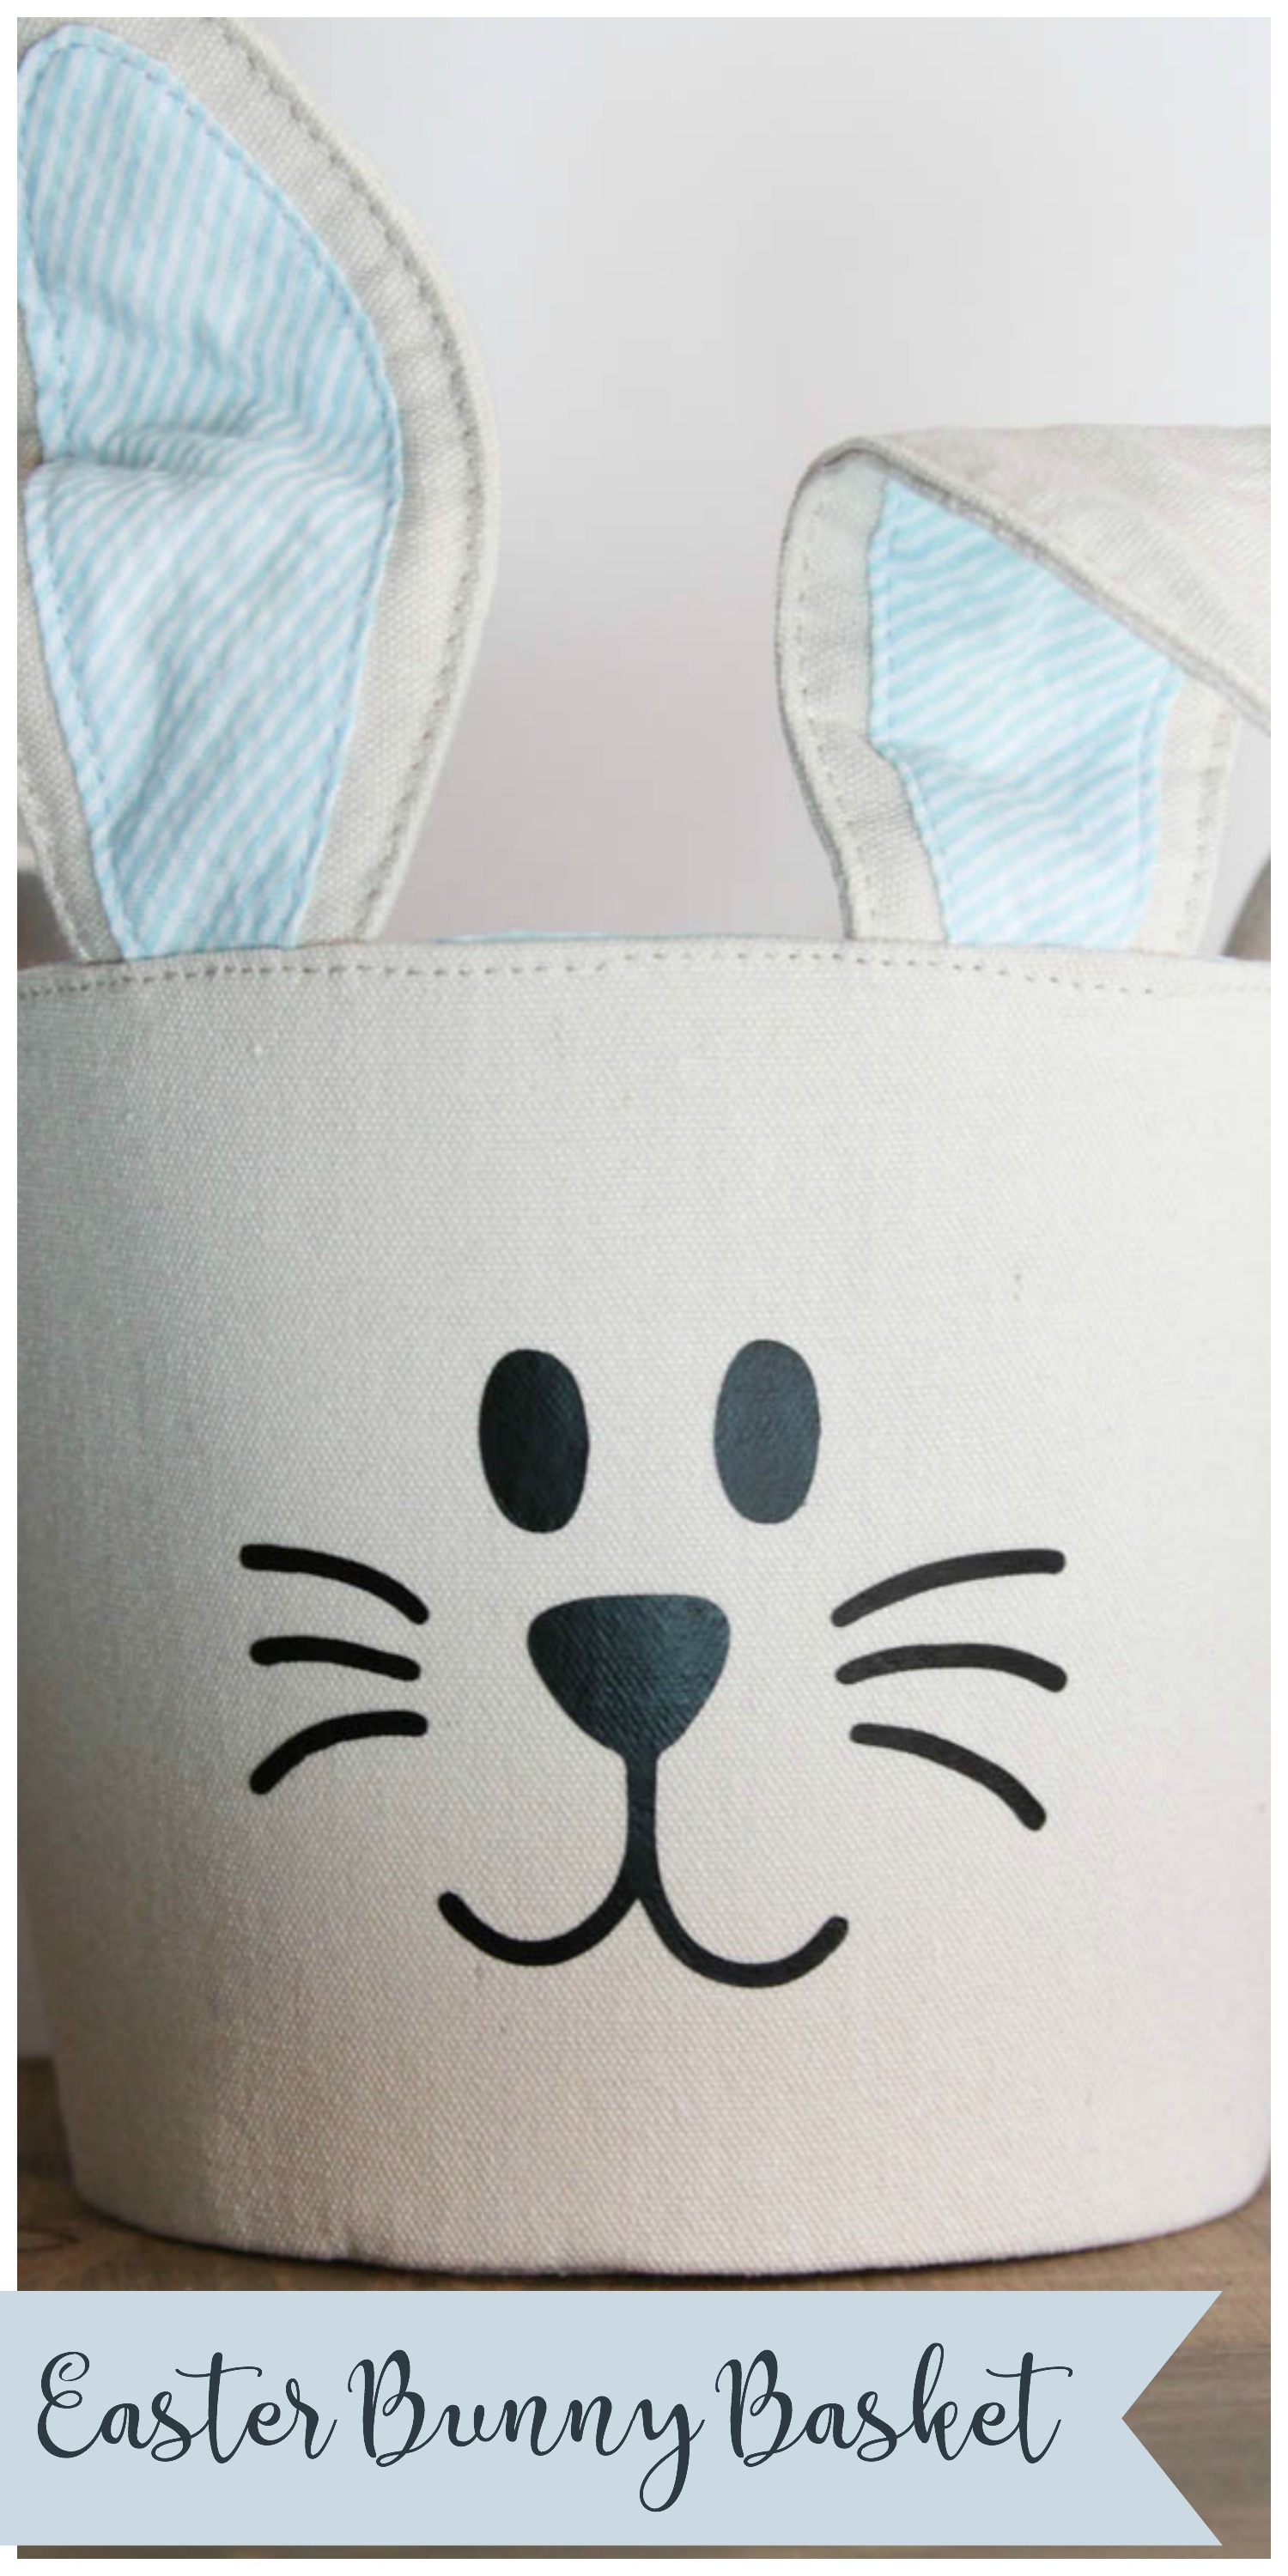
If you decide to make a purchase through my links, I will be paid a small commission for it. This doesn’t cost you anything additional. These commissions help to keep the rest of my content free, so thank you!
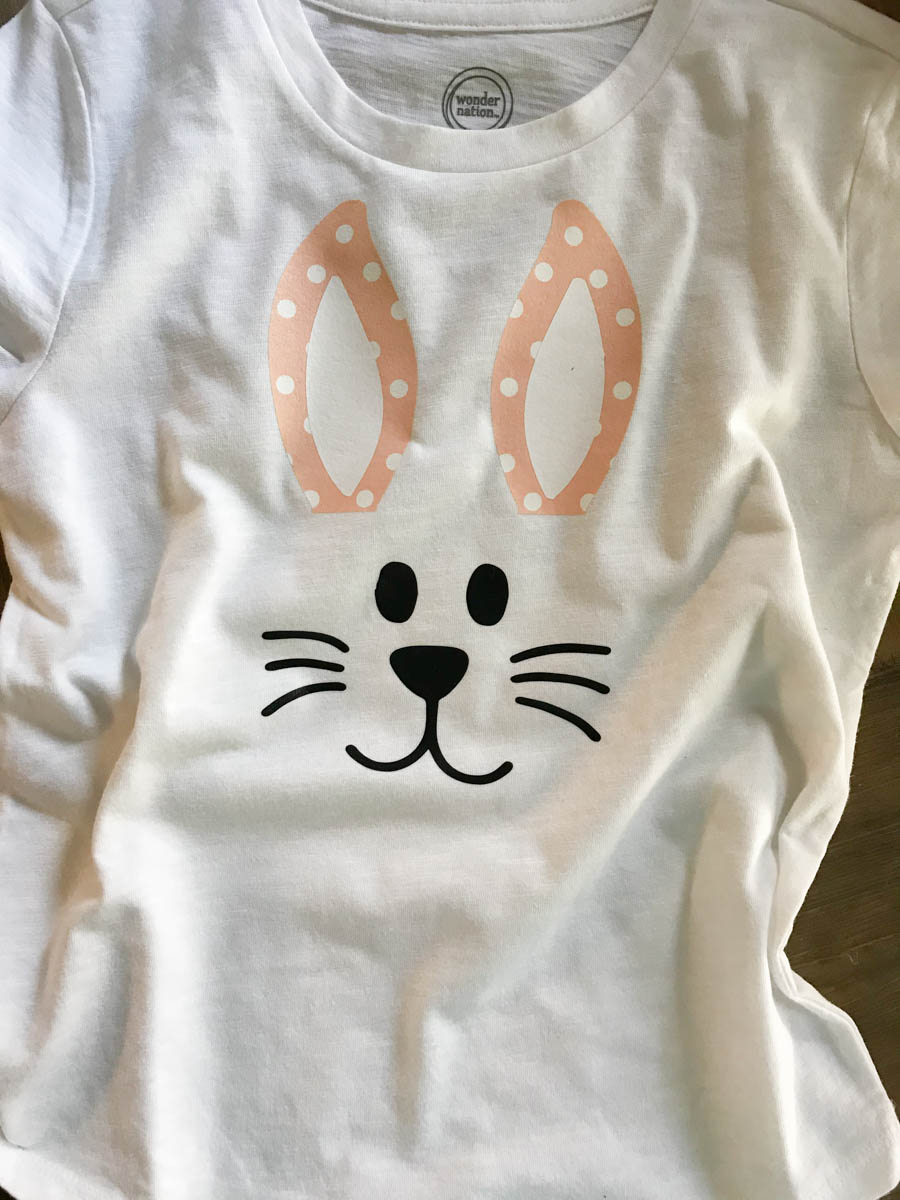
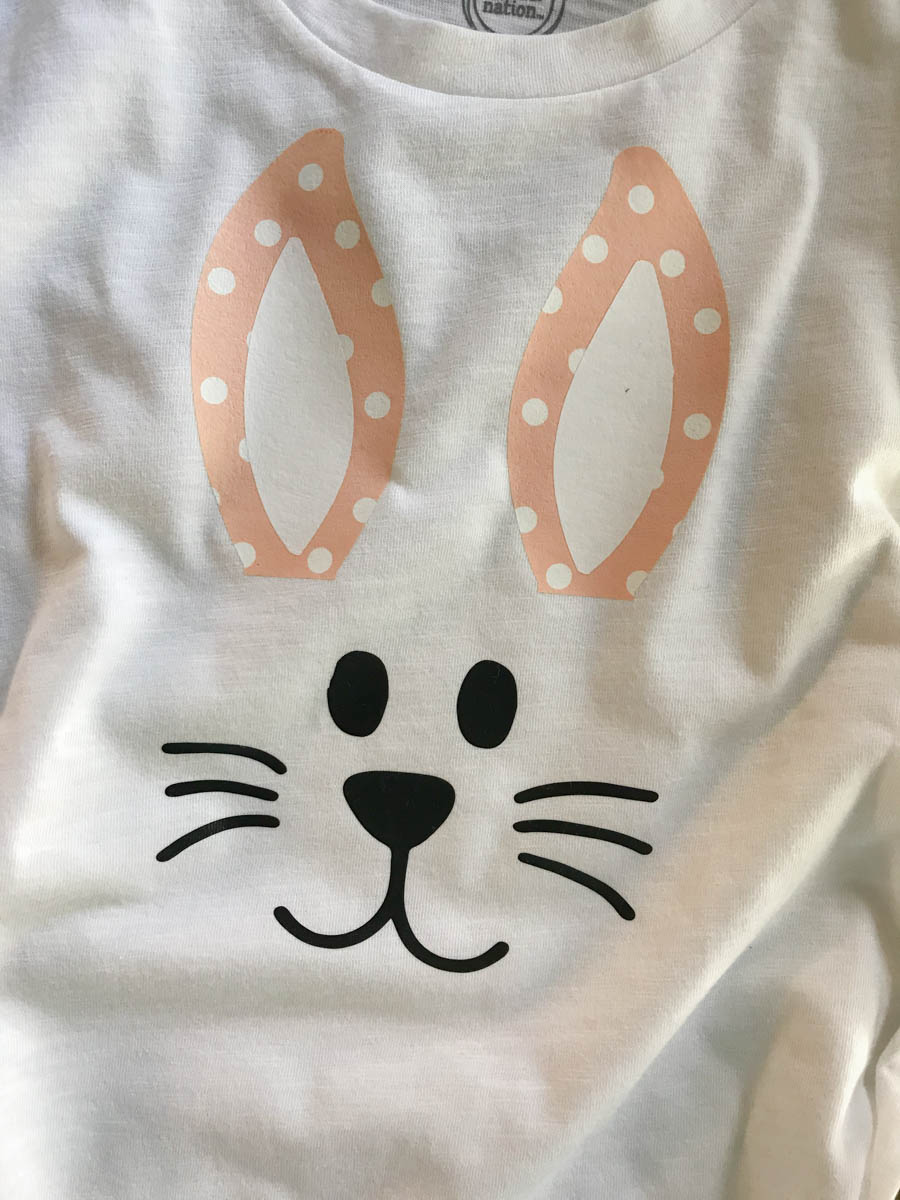
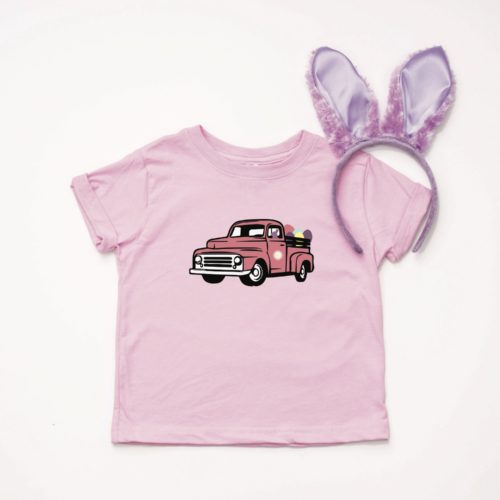
Once I saw the bunny face, I decided I needed to use it to make a shirt for my niece too!
Supplies:
Bunny Ear Basket or T-Shirt
Once I had the SVG file, I uploaded it to Cricut DesignSpace. Next, I sized the file to fit the shirt and bunny basket. I wanted to add some cute little ears to the shirt too. I sliced a bunny image from Cricut Access to get the ears, and sized them to fit the shirt with the bunny face.
Next, I sent the images to cut. {Remember to mirror the cut, and put the iron on shiny side down} When I made this shirt, I wasn’t aware that you should not layer Cricut’s new patterned iron on. Instead of layering white Iron On on top of the polka dot patterned Iron On, you could simply slice that out of the ear, and have the t-shirt fabric show. My project turned out great, but, it is not recommended.
Heat your EasyPress while you weed the Iron On. Pre-heat the shirt and bucket, and apply the vinyl. Use the protective sheet between the Iron On and the EasyPress and press the Iron On onto the bucket and shirt at 350* for 30 seconds. Repeat for the ears {if you are adding them} and then press the inside of the shirt as well.
Fill your darling Easter Basket with goodies…maybe even the matching shirt, and have a custom Easter gift in no time!
Tags : Cricut, DIY, Easter, EasyPress, Pineapple Paper Co. for Everyday Party Magazine, Preppy, SVG

