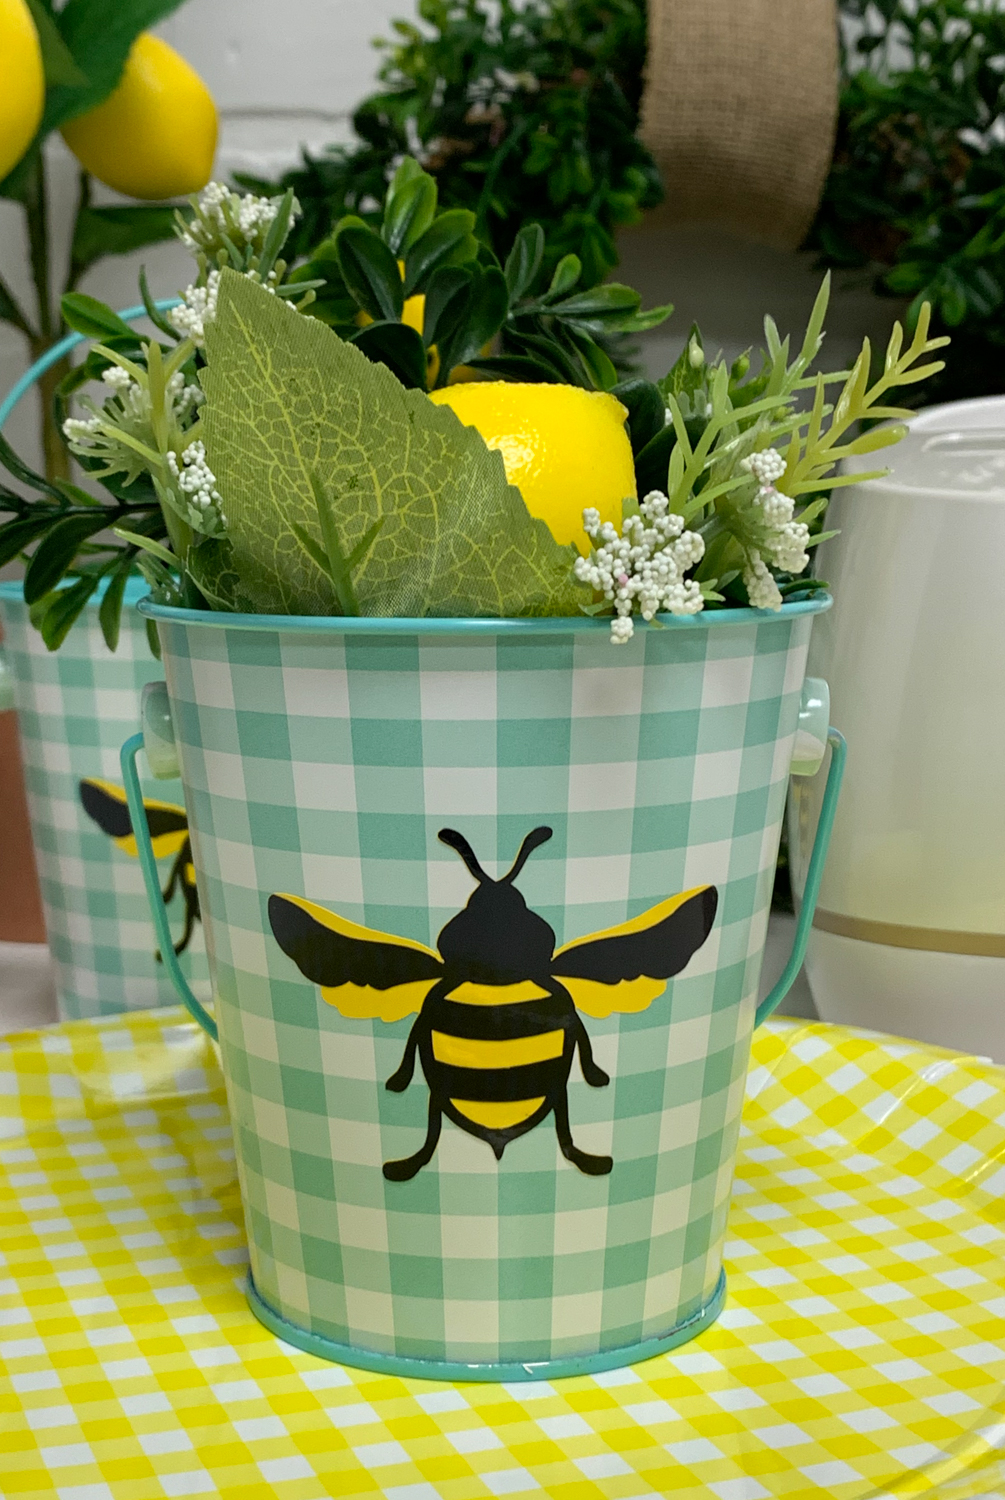
Easy Personalized Party Favors
with Cricut and Martha Stewart
One of my favorite things about owning my Cricut machines is the ability to customize any or all facets of a party, shower, or event. Having a Cricut makes personalization affordable and easy! These personalized party favors were less than $3 each and took just a few minutes to make, and that’s a HUGE win in my book.
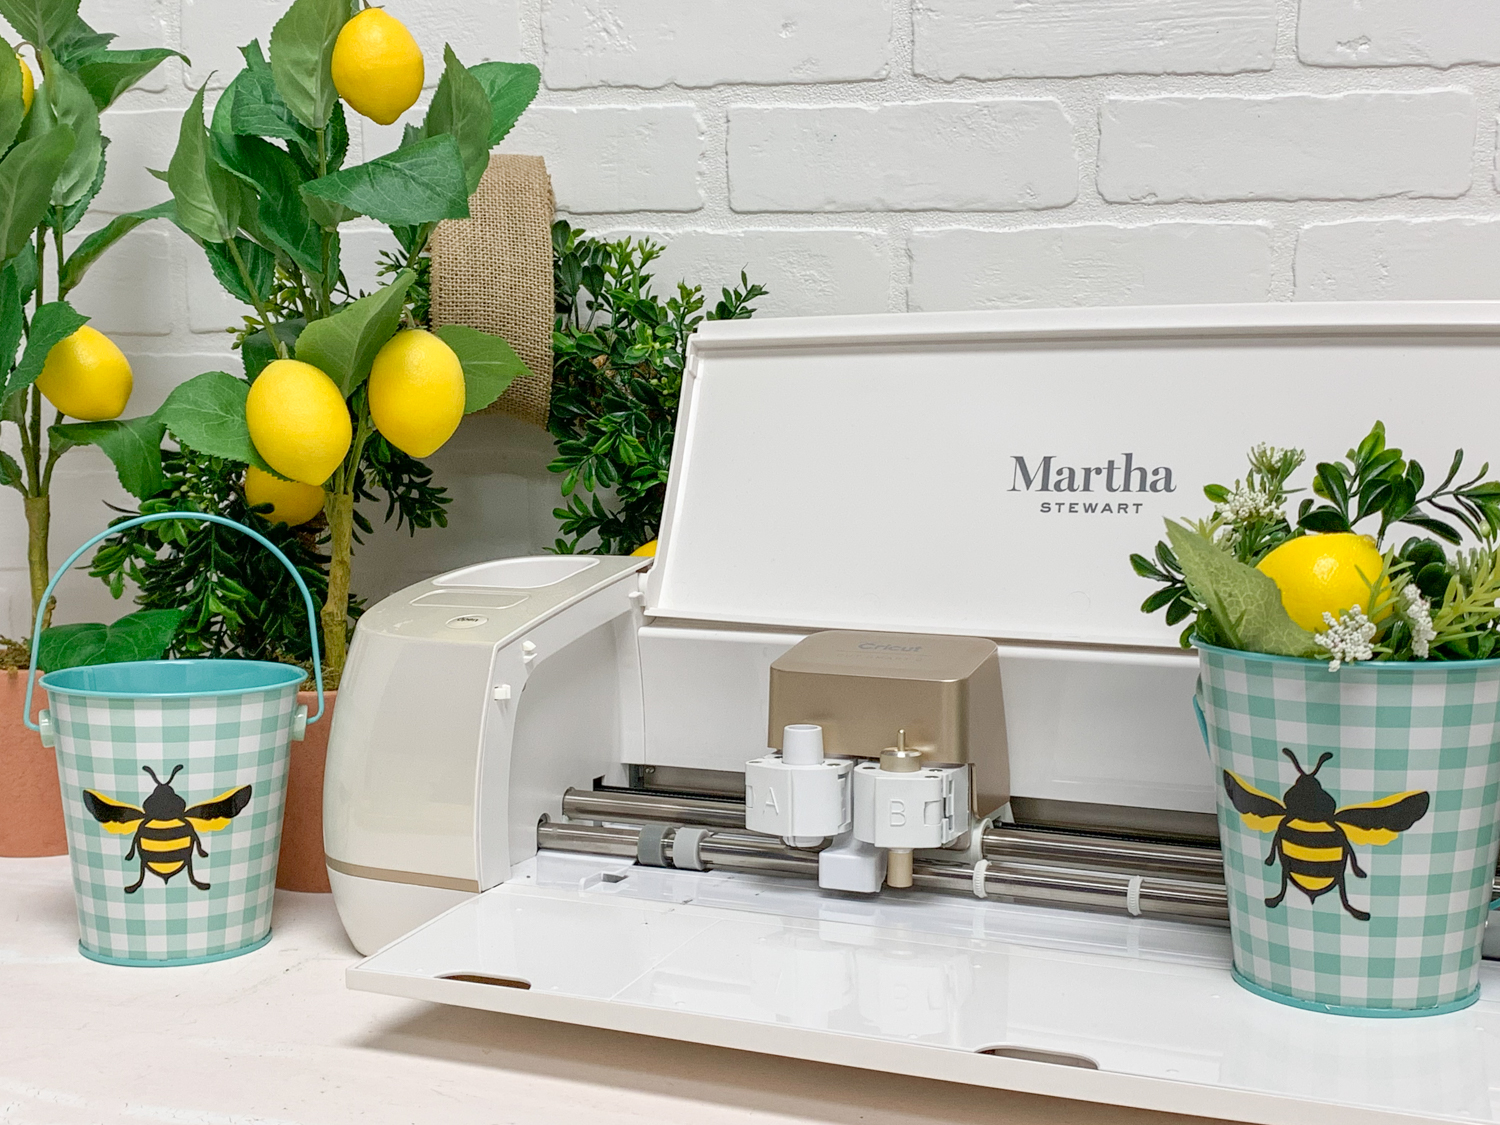
WHY DO I LOVE MY CRICUT MARTHA MACHINE?
My Cricut Martha Machine is perfect for making personalized, pro quality projects! This sleek gold machine can cut and write over 100 materials, from cardstock to bonded fabric and more! You can use your Cricut Martha Machine to create home decor, party favors and decor, and even t-shirts! Design on the go with the Design Space app and choose from thousands of ready made images, or even design and upload your own! The Cricut Martha Machine comes with 25 exclusive Martha Stewart projects, and a gorgeous gold basic tool set. When you pair the stunning pearl and gold Cricut Martha Machine with Martha Stewart’s Celebrations line, available exclusively at Michaels.
Personalize Your Party
I find a lot of my party and decorating inspiration on Martha Stewart’s website and magazine, and wandering through my favorite stores. Unfortunately, custom and personalized party supplies can be cost prohibitive. However, customizing party favors with your Cricut is very cost effective and you can truly make it as custom and personal as you want!
What Will it Bee or Bride to Bee?
I am dreaming of Spring and beautiful parties…if only the weather would cooperate. Spring is such a beautiful season, fresh flowers, new babies, bridal showers, crisp air, and all the things that make your heart pitter patter.
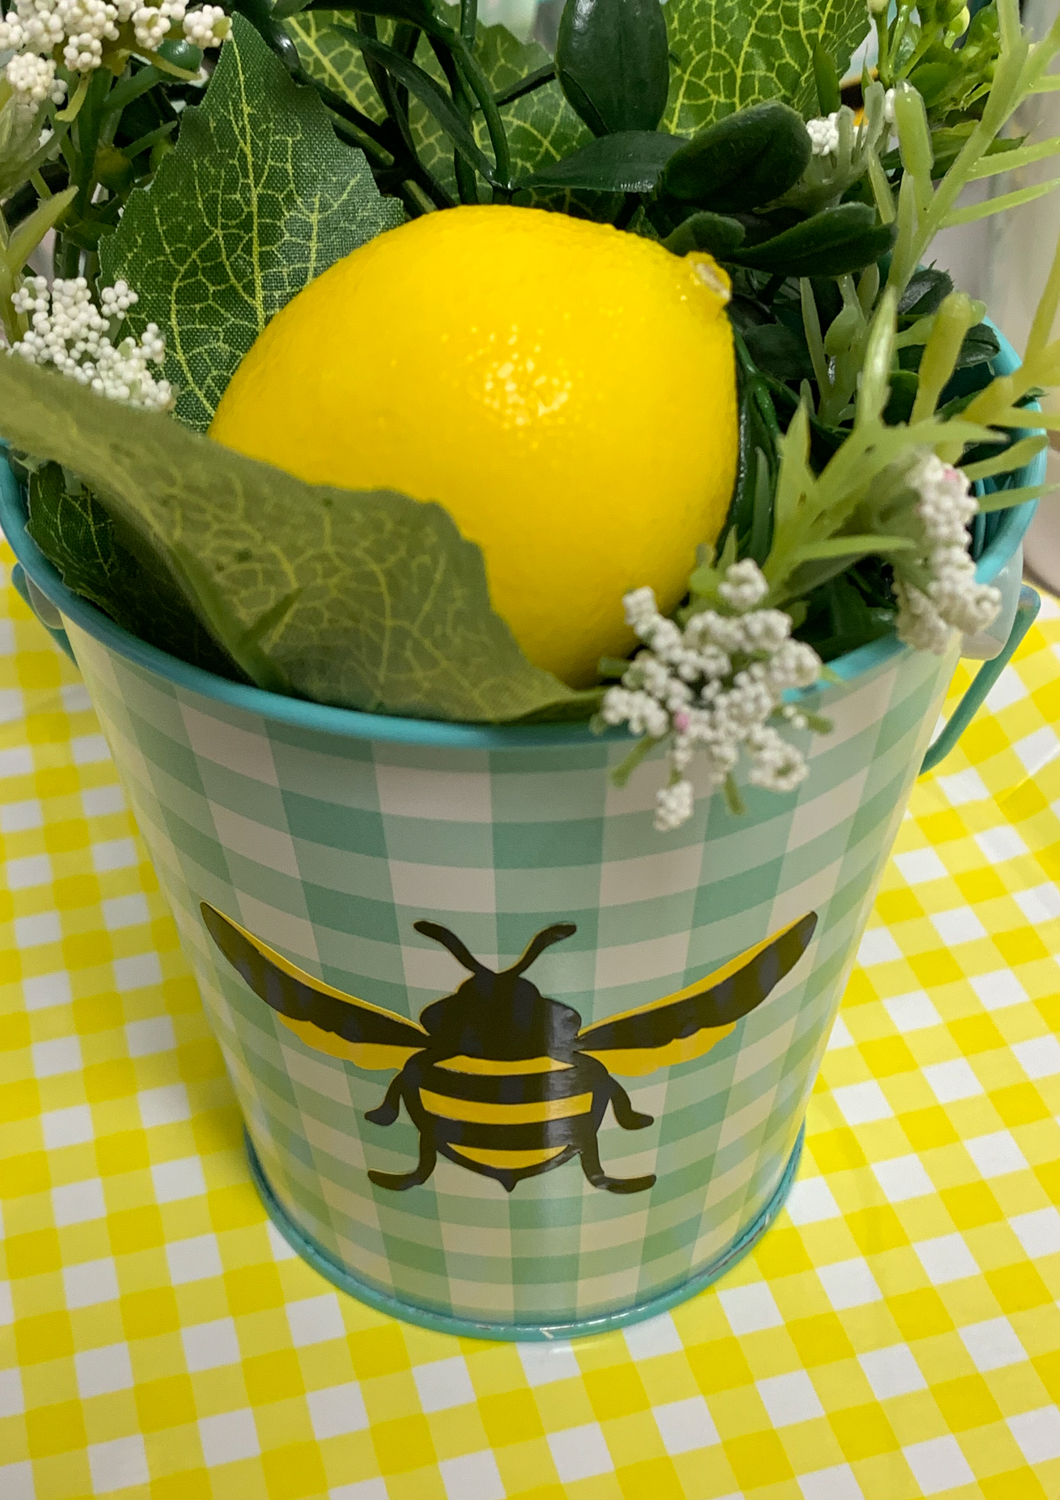
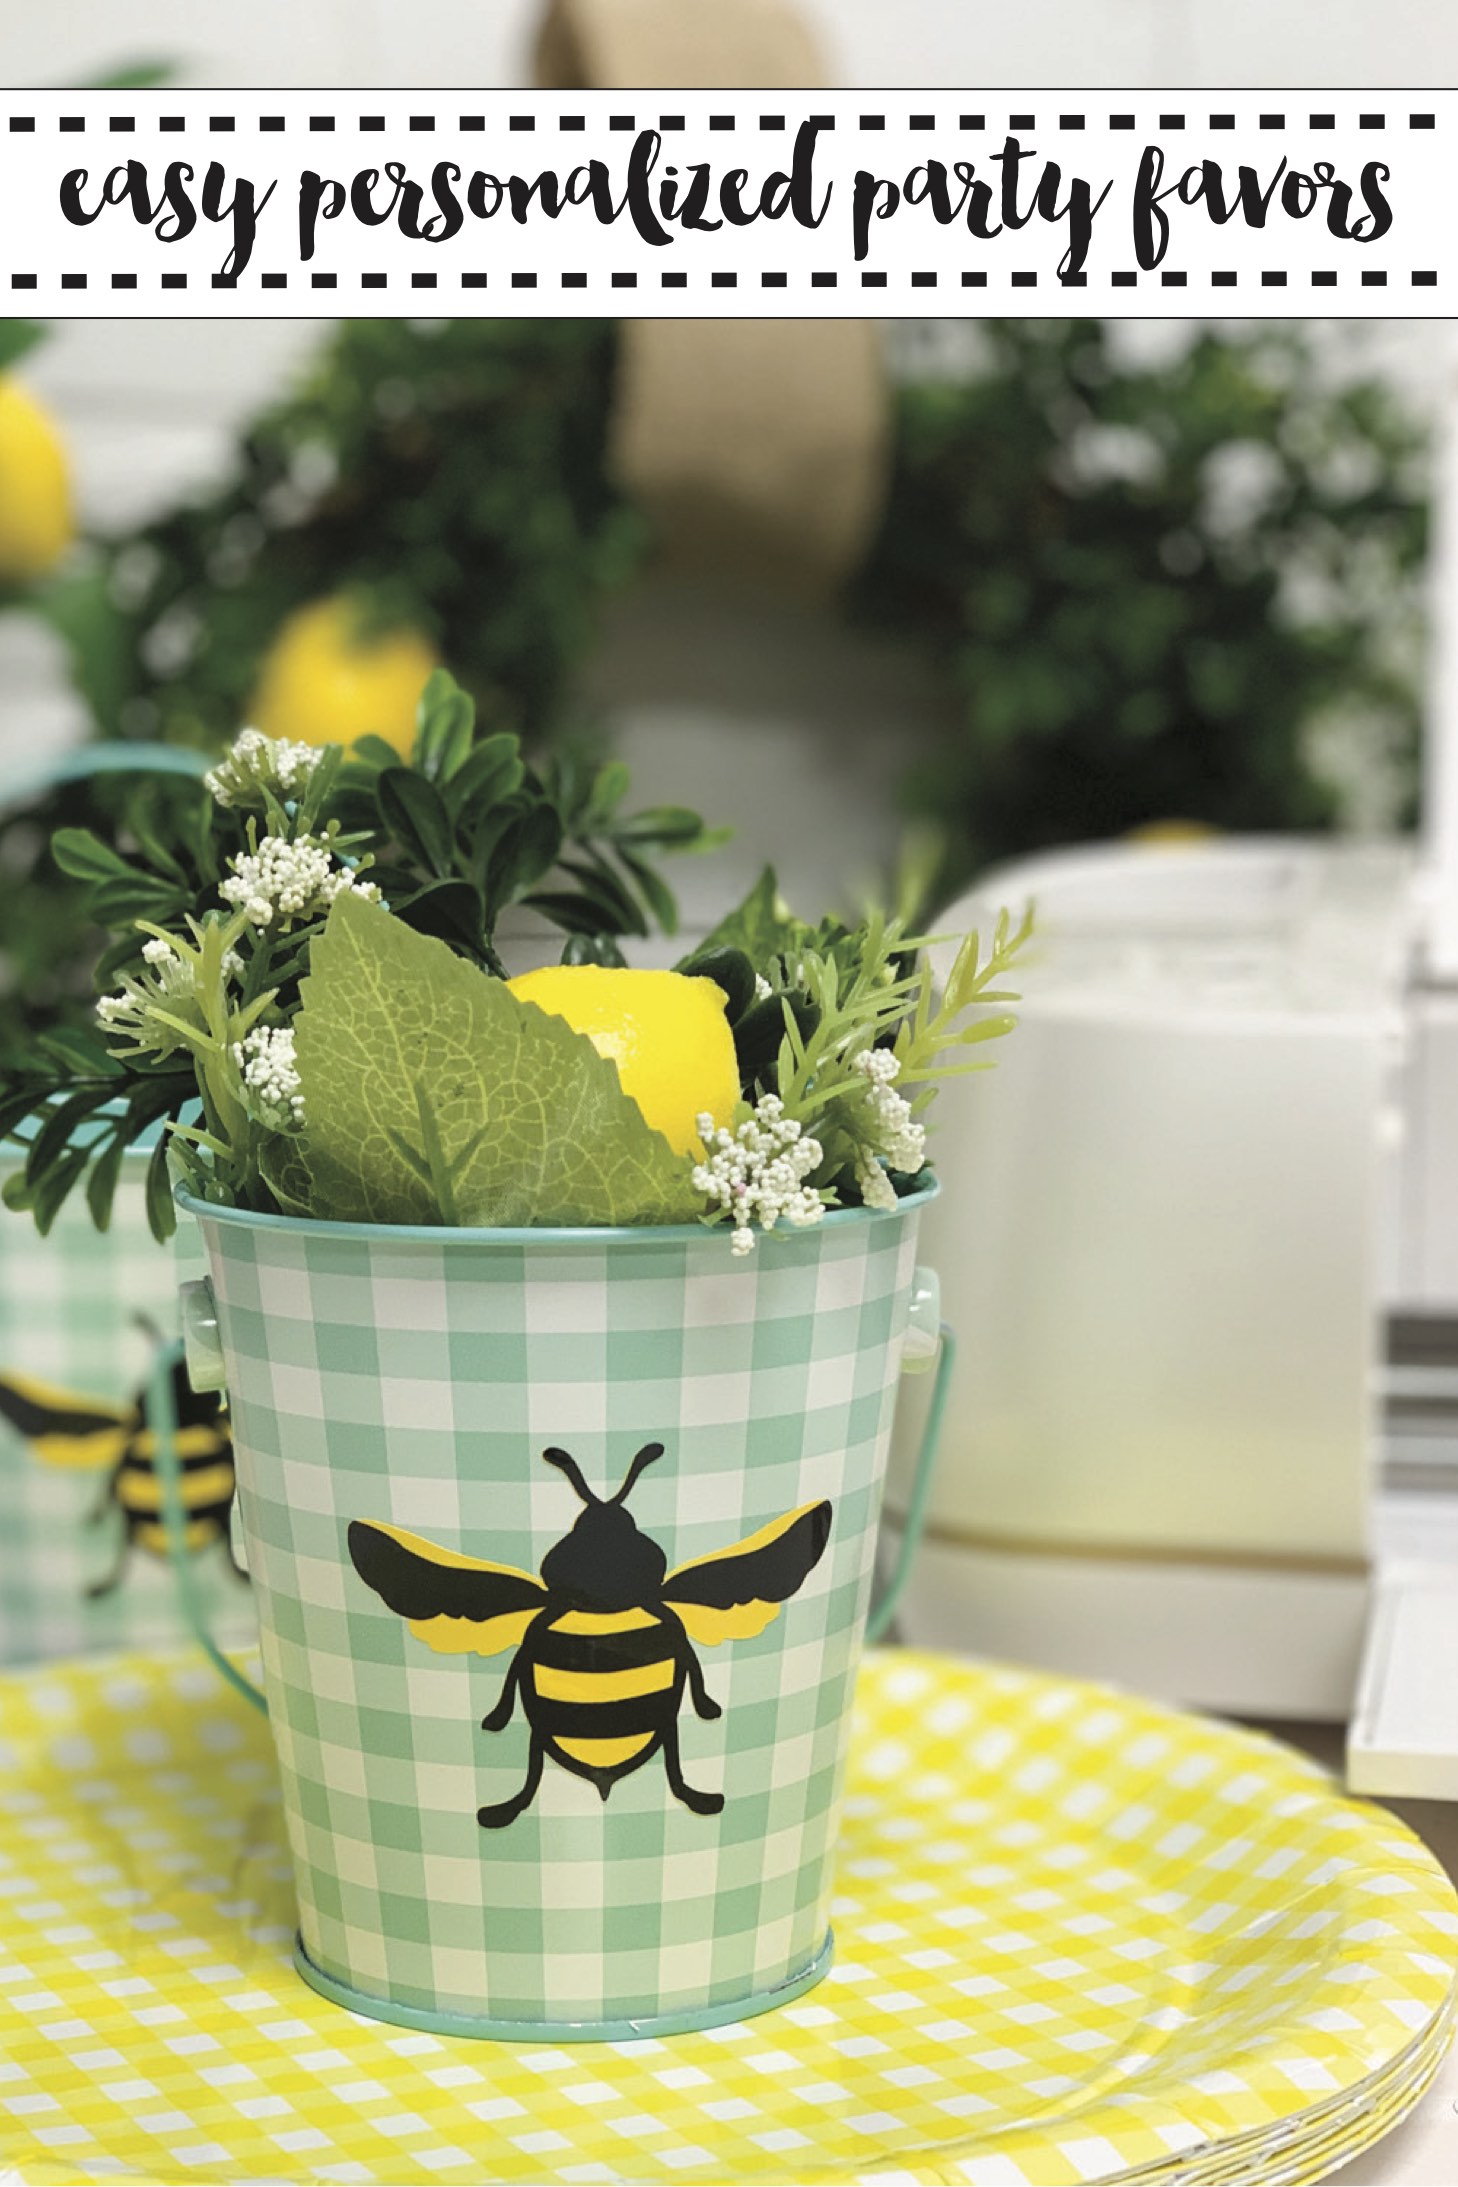
These sweet Martha Stewart party buckets are perfect for party favors, wedding favors, baby shower favors, place settings, or even as part of the party or shower decor.
Make the Party Favors
These party buckets were so simple to make. I just needed a few supplies and a few minutes to make a handful of them!
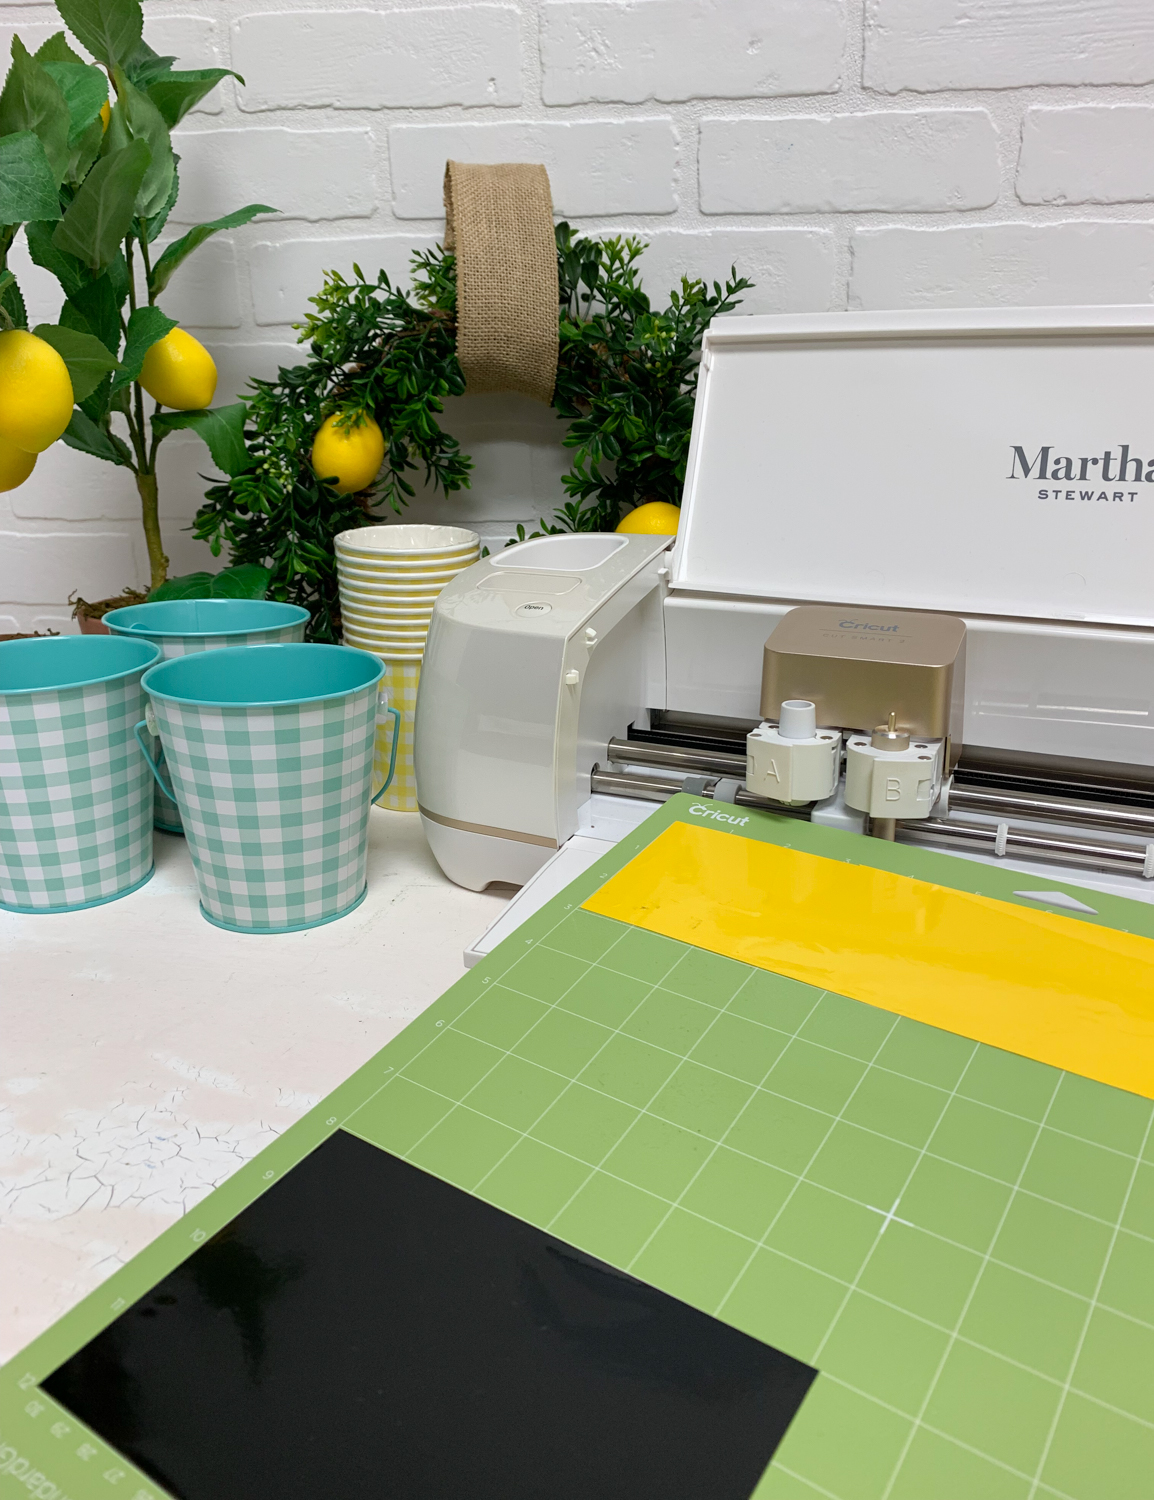
Supplies
Party Planner Checklist Supplies:
Step 1
Step 2
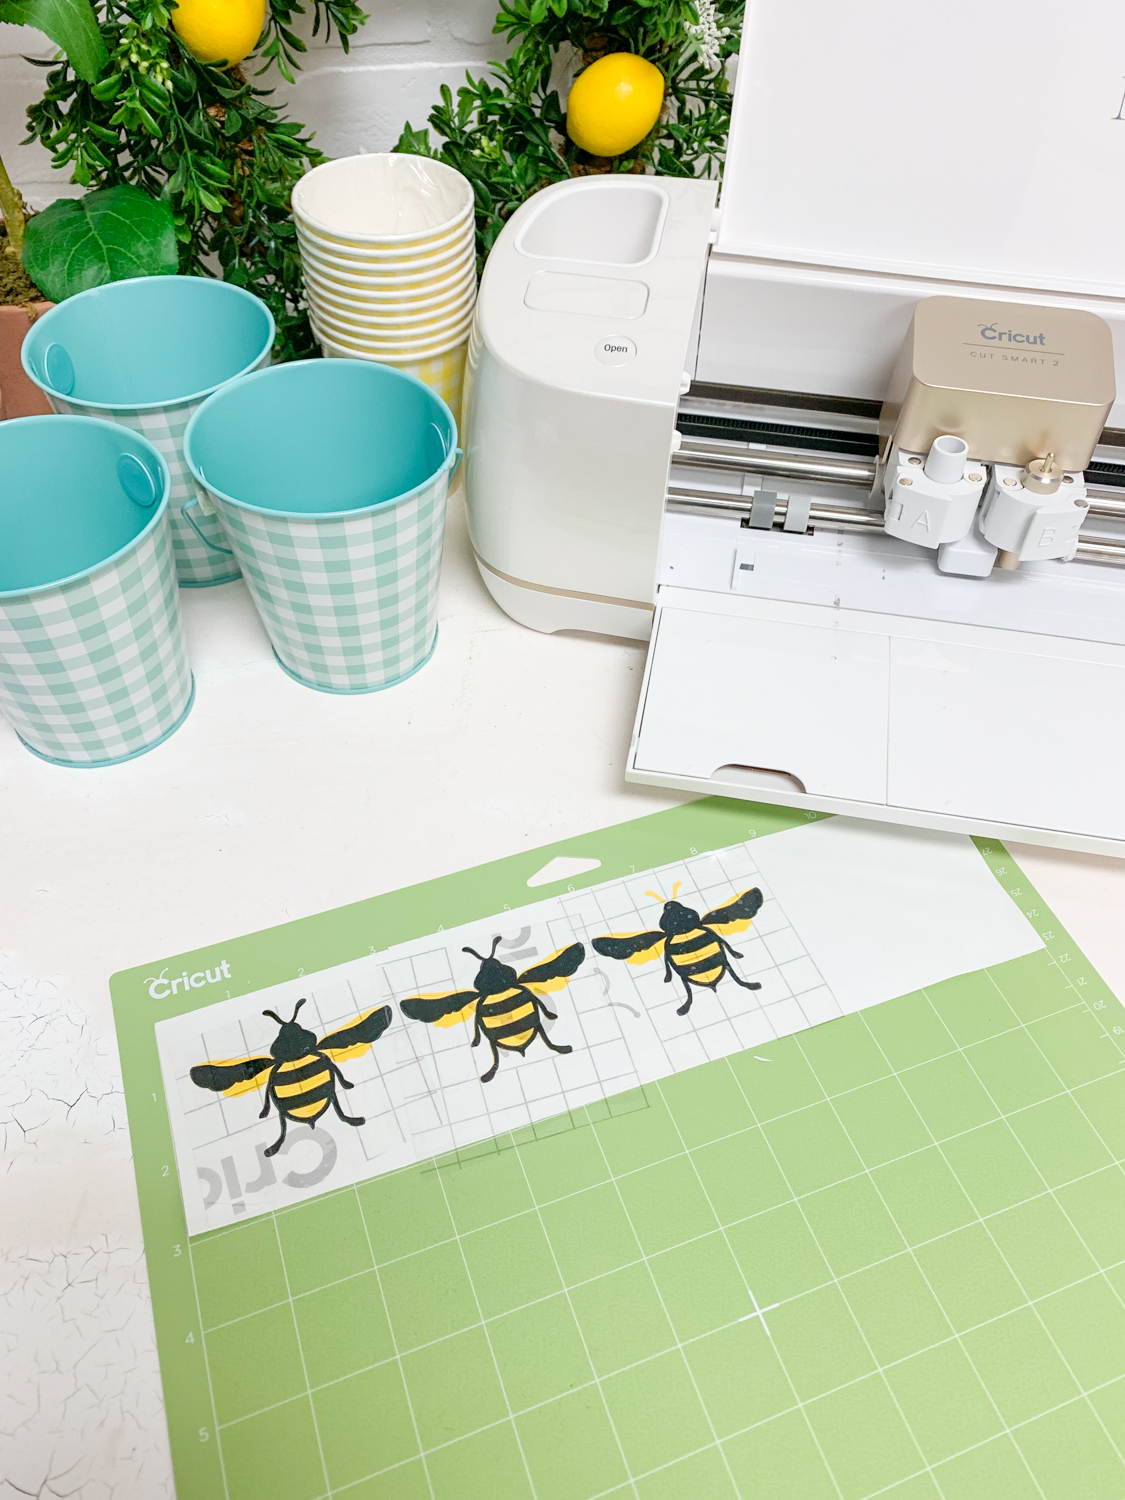
Adjust the cut quantity, and send to cut. I only made three, so I cut the vinyl at the same time. {You can do this by syncing the colors of each layer, and placing the vinyl or iron on in different places on the cutting mat. Simply edit the mat and move the cut images to where the vinyl or iron on is placed.}
Step 3
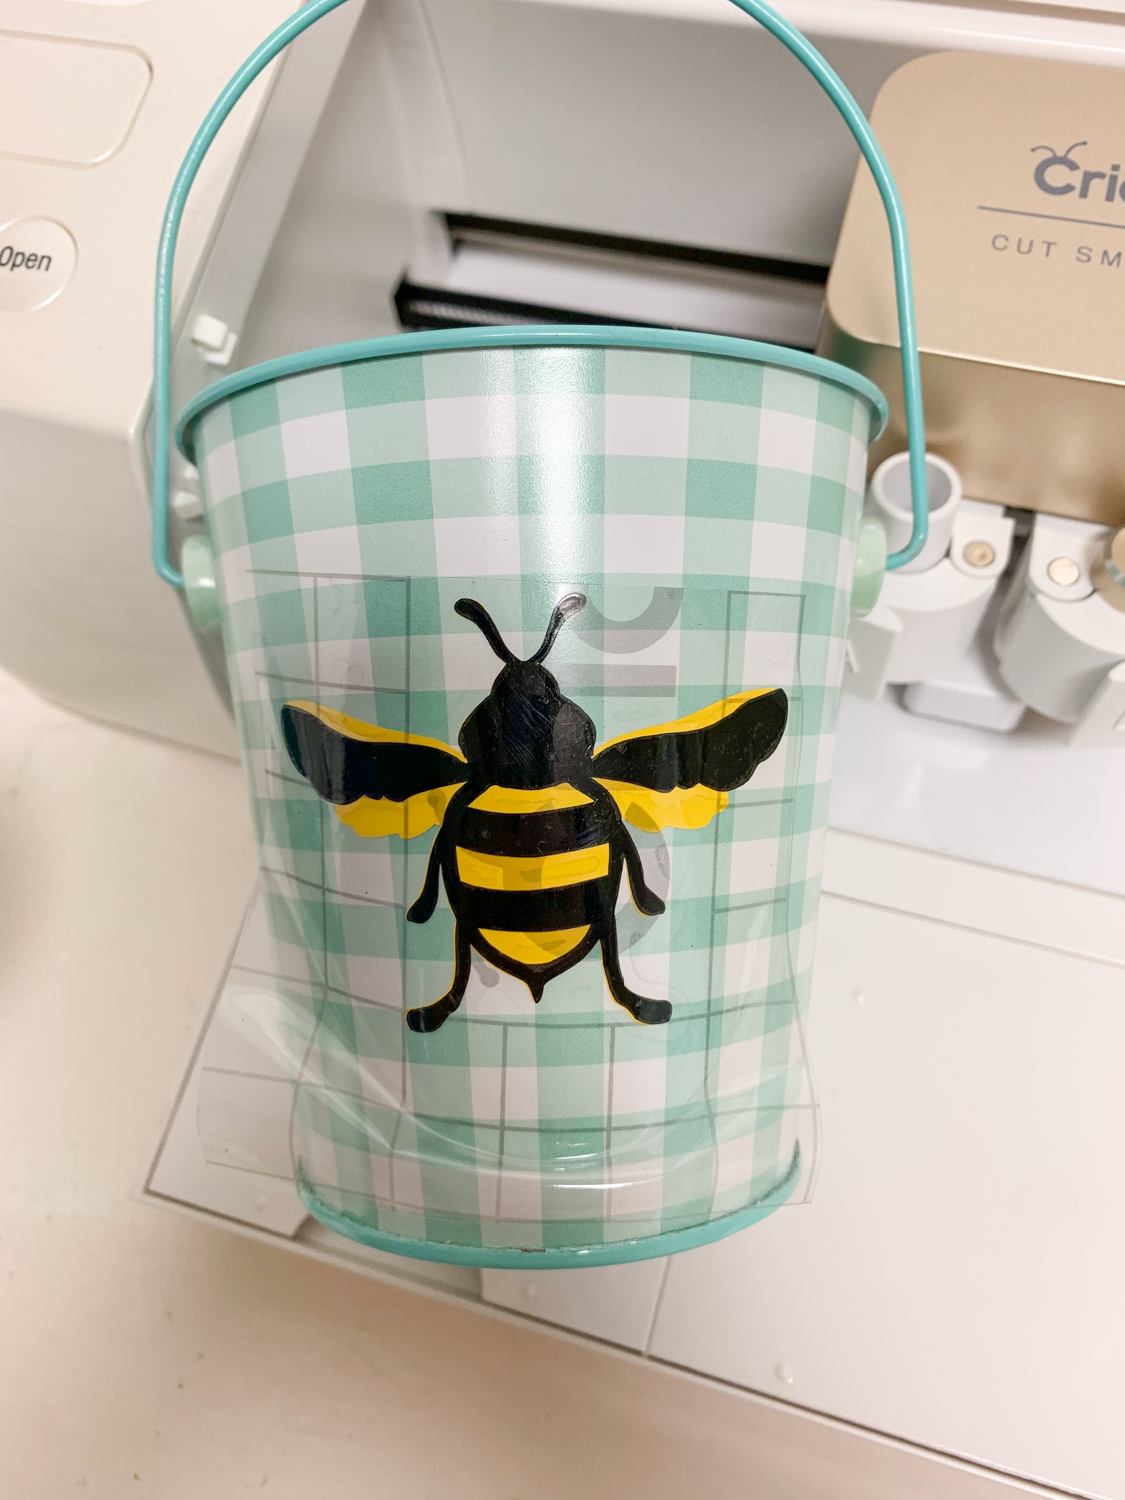
Use transfer tape to layer the vinyl, and then place on the buckets.
Step 4
Fill the bucket with inexpensive favors; candy, honey jars, or even greenery.
If you liked this post, be sure to check out these posts too!
This is a sponsored conversation written by me on behalf of Cricut. The opinions and text are all mine.
Tags : Baby Shower, Bees, Bridal Shower, Cricut, Gender Reveal, Gingham, Lemon, Martha Stewart, Martha Stewart Celebrations


[…] Bumble Bee Party Favors […]