Simple Thanksgiving Treats
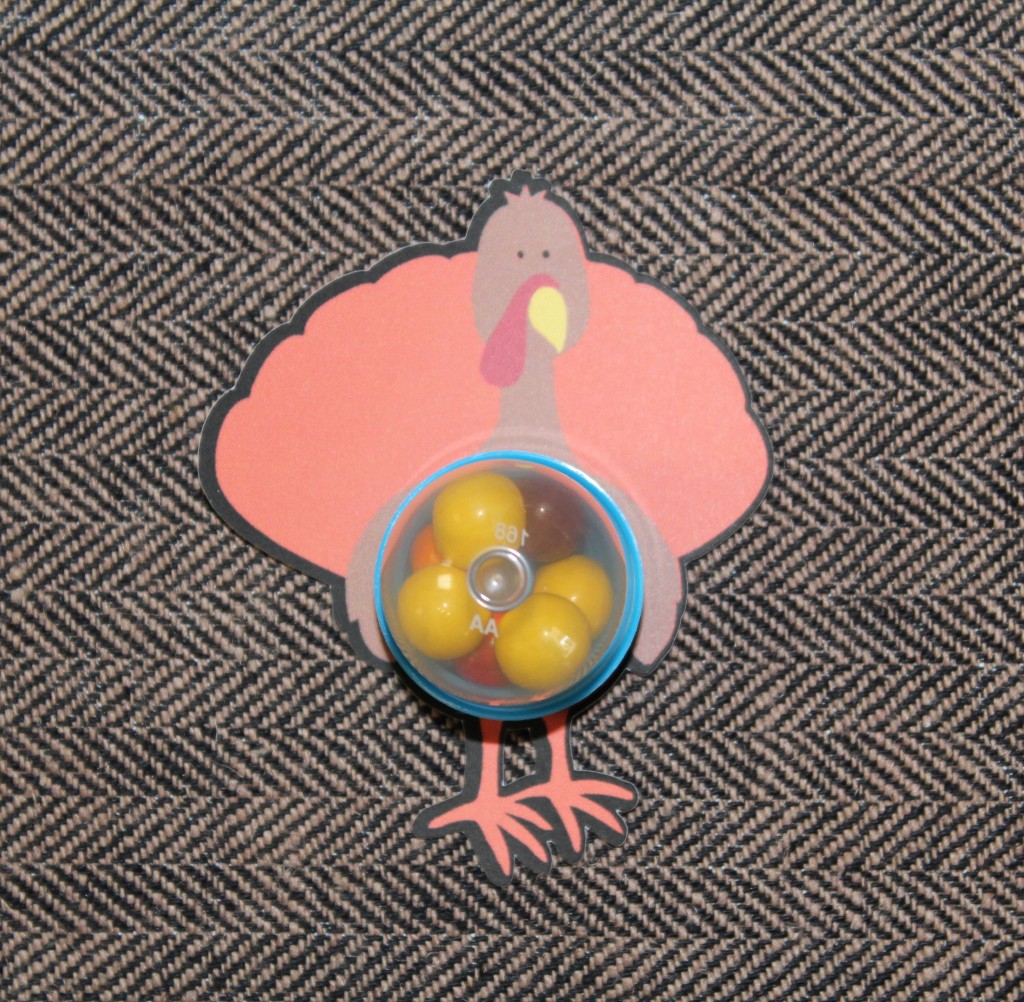
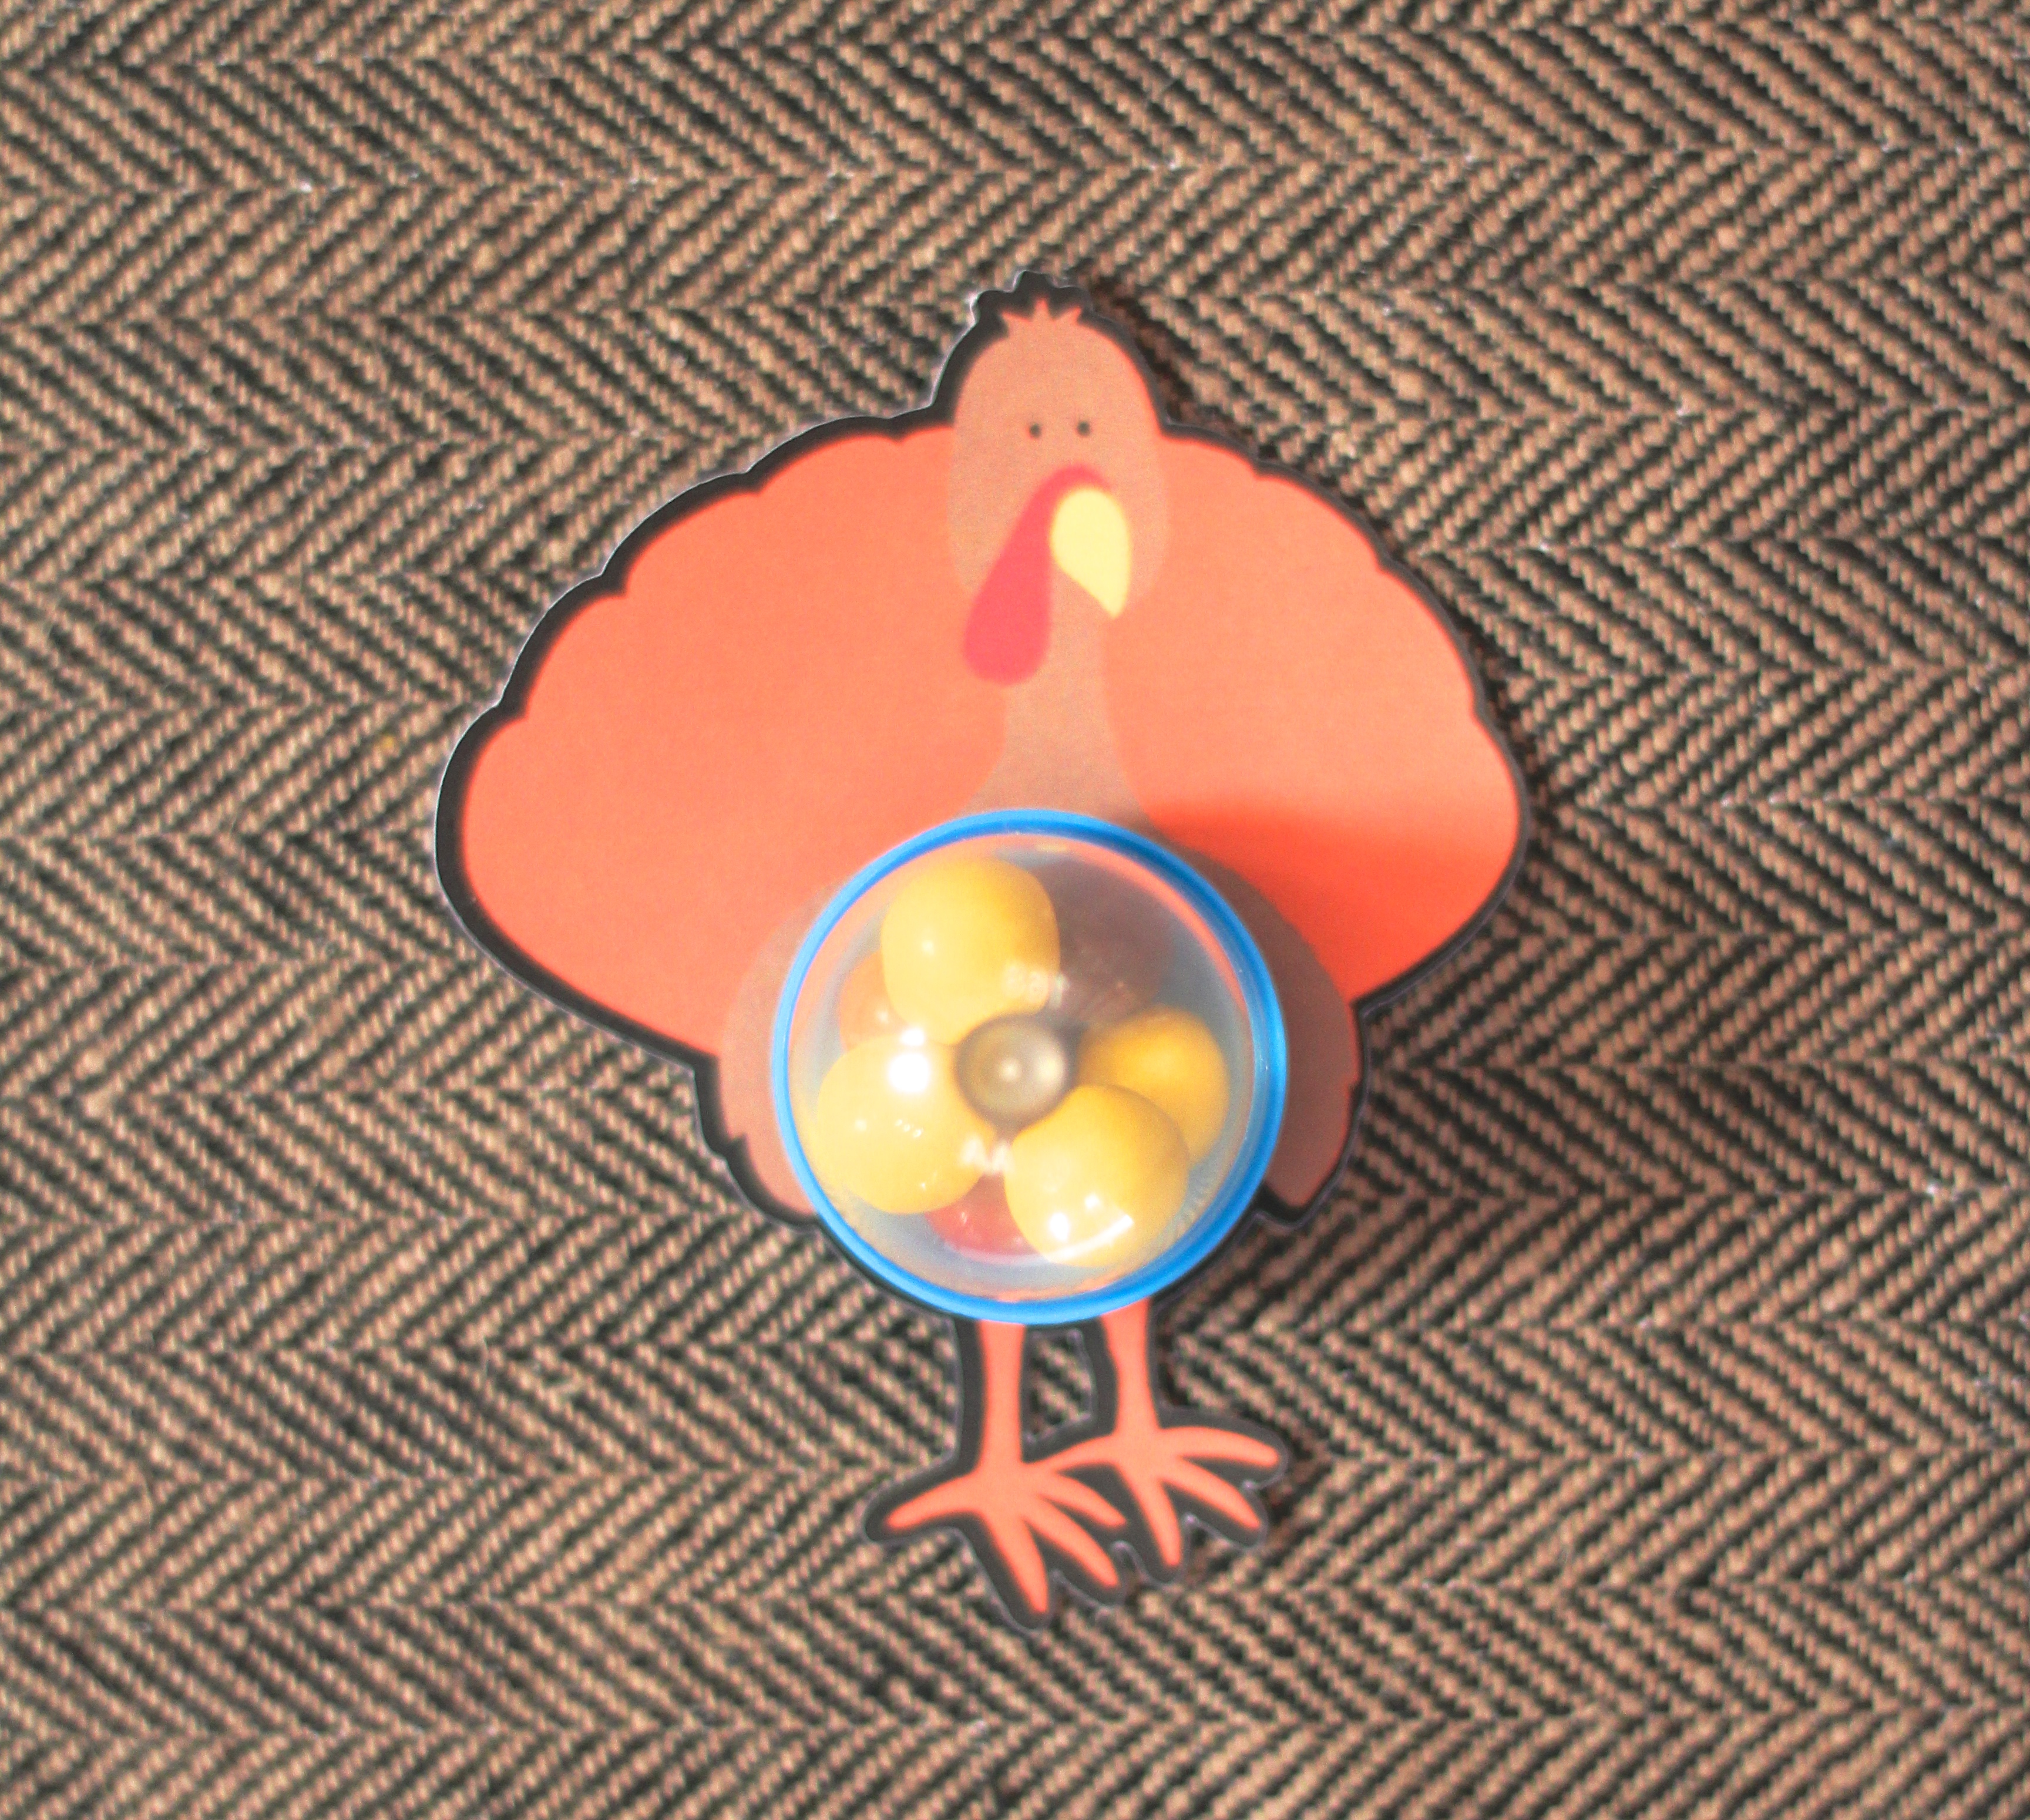
My third son loves to take treats and favors to his classmates for all of the holidays still, which I love because he’s a fifth grader, and I know it won’t last too much longer. I made these simple Thanksgiving treats for his class in just a few minutes for just a few dollars!
These guys were so crazy easy to make!
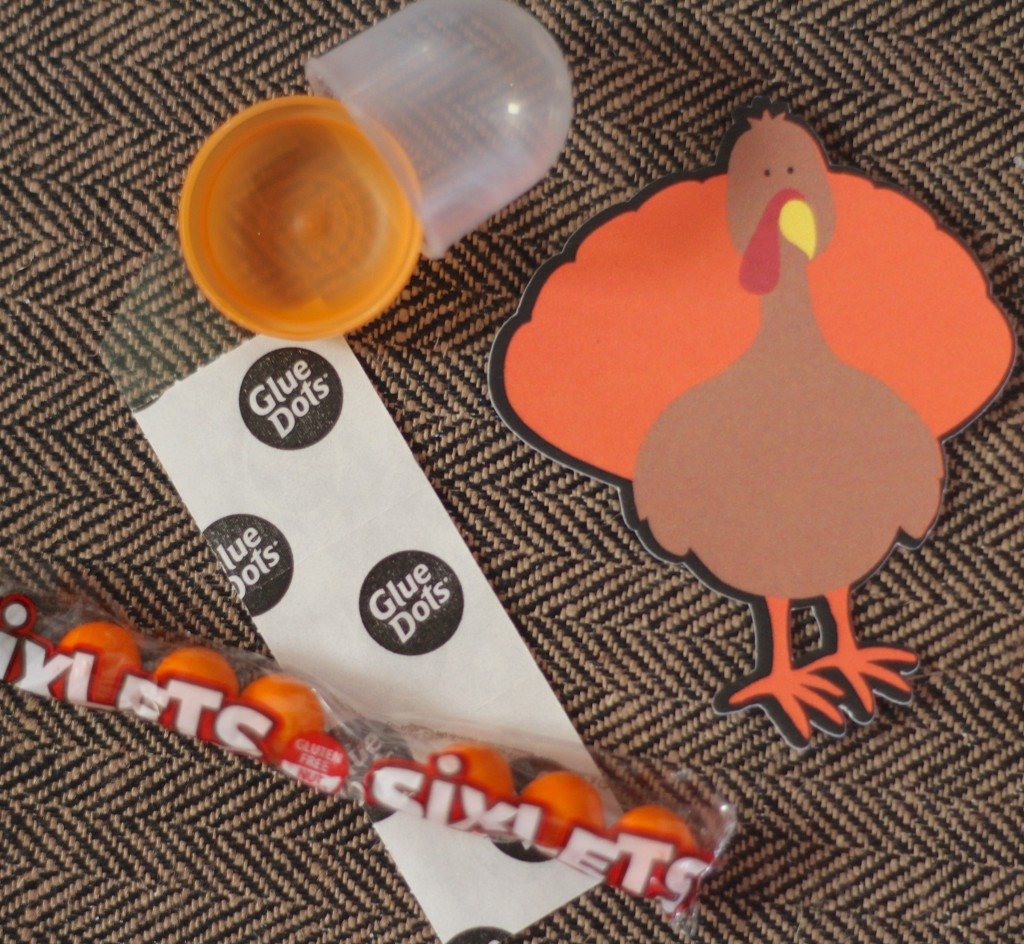
Supplies:
Turkey Image from the Cricut Design Space Store
Card Stock and Printer
Glue Dots
Gum Ball Machine Capsules
Glue Dots
Sixlets or Other Small Candies/Treats
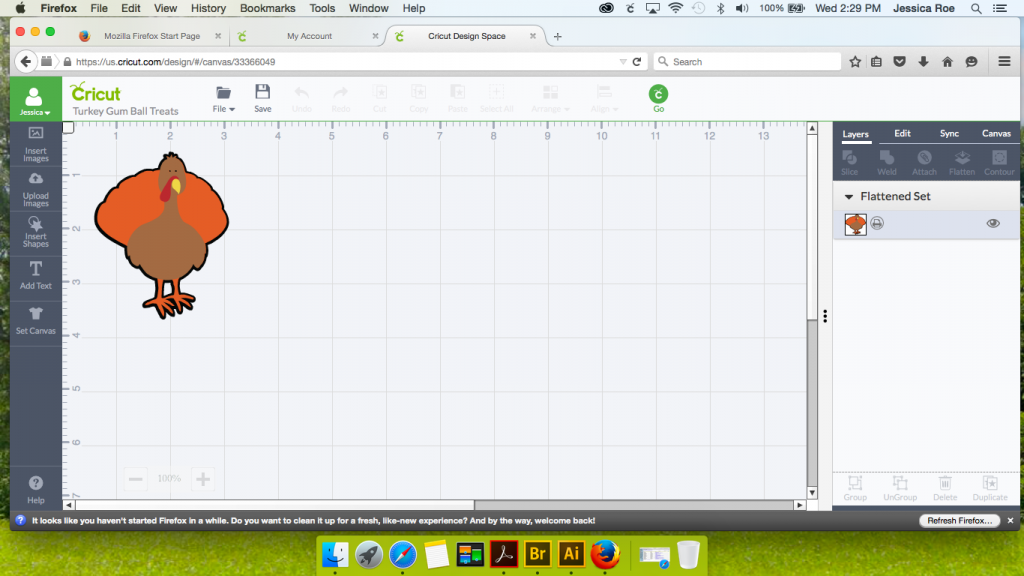
Begin by searching “Turkey” in the Cricut Design Space. Insert the image, and make each layer a print layer. Then, select all the layers on the page, and flatten it. This will turn a cut file into a print then cut file. Send it to the Cricut. I used the smaller size gum ball machine capsules, so the turkey’s belly is 1.125″ (I literally added a circle that was 1.125″ over the belly, then I enlarged the turkey until the belly was slightly larger than the circle. Then, I deleted the circle)
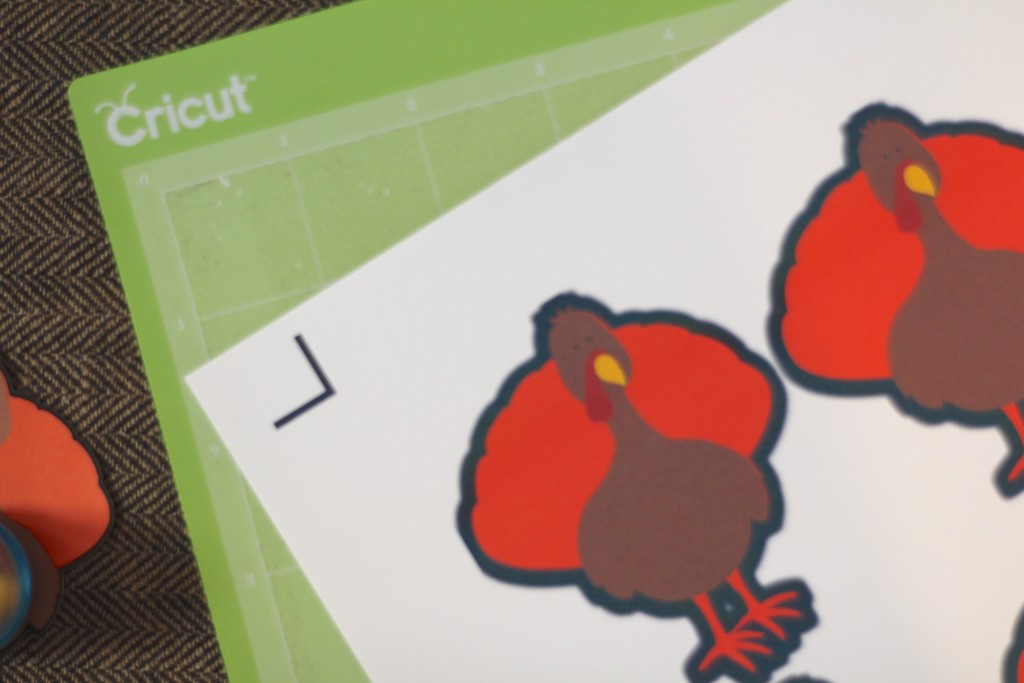
Send the file to the printer, I was able to get 4 turkeys on each page. *I have to use Firefox instead of Safari, as the print quality is lighter in Safari, and it will not register with the Cricut* Once the turkeys were all printed, I put them in the Cricut to cut. The turkeys look a little “blurry” when they are printed, this is a bleed so there is color to the edges once it’s cut.
While the Cricut cut the turkeys, my son and I filled the gum ball machine capsules with Sixlets. The Dollar Tree sells packages of Sixlets.
Once the turkeys were all cut, I put a glue dot on the bottom of the capsules, and stuck it to the turkey’s belly! So simple!! And they are affordable!
We are going to make a slightly larger turkey for my son’s teacher and add an EOS lip balm to it too.
Tags : Cricut, DIY, Everyday Party Magazine, Thanksgiving, Turkey

