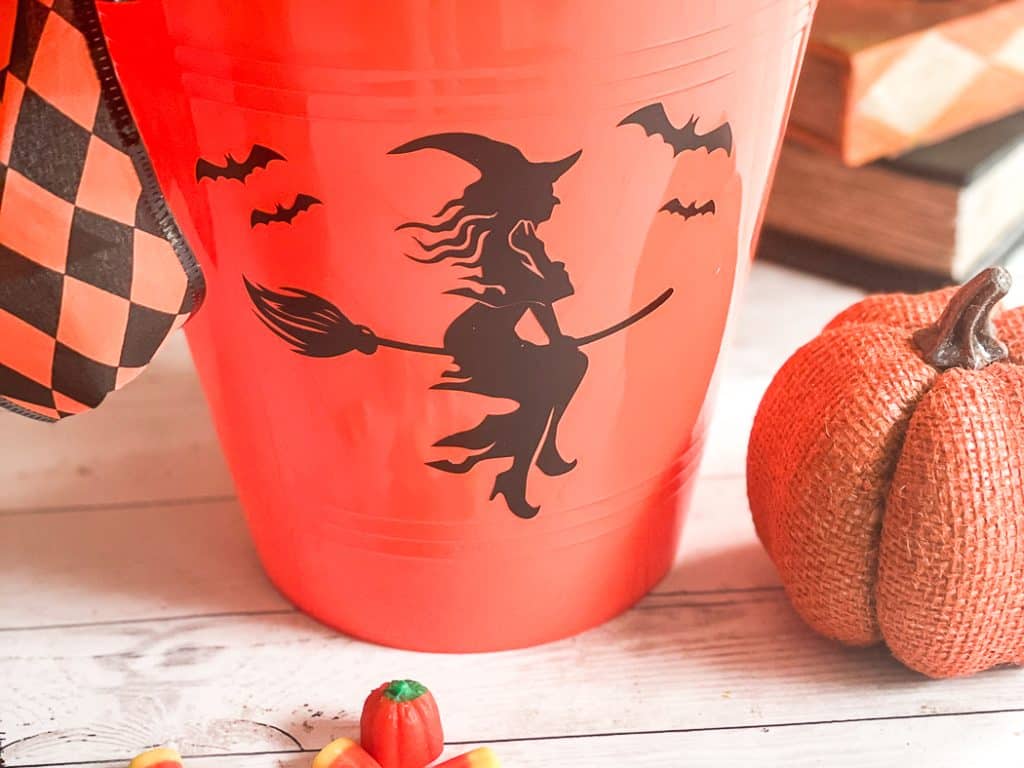
It is just about time to start working on all of the Halloween DIY’s. And, I like to knock out the easiest and most affordable projects first. So, this simple and affordable Halloween bucket project should definitely be on the top of your DIY to do list!
If you decide to make a purchase through my links, I will be paid a small commission for it. This doesn’t cost you anything additional.
Halloween Treat Bags
I have LOADS of fun and easy Halloween treat bags. We used to make the kids new treat bags every year. And with four kids, a niece, and a nephew, I made a LOT of designs.
This Simple Last Minute Halloween Treat Bag was done with what felt like minutes to spare one Halloween and was my youngest son’s favorite bag ever.
I have had this Hand Made Halloween Trick or Treat Bag for five years and I STILL use it every September and October for groceries and quick trips to the store.
Simple and Affordable Halloween Bucket DIY
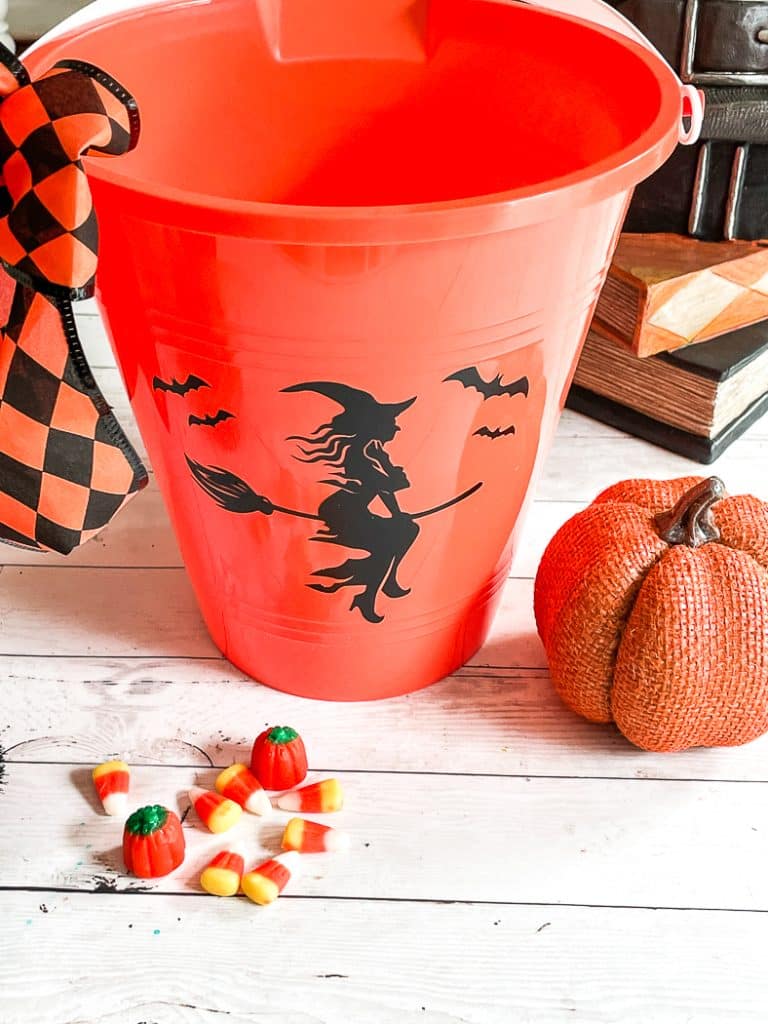
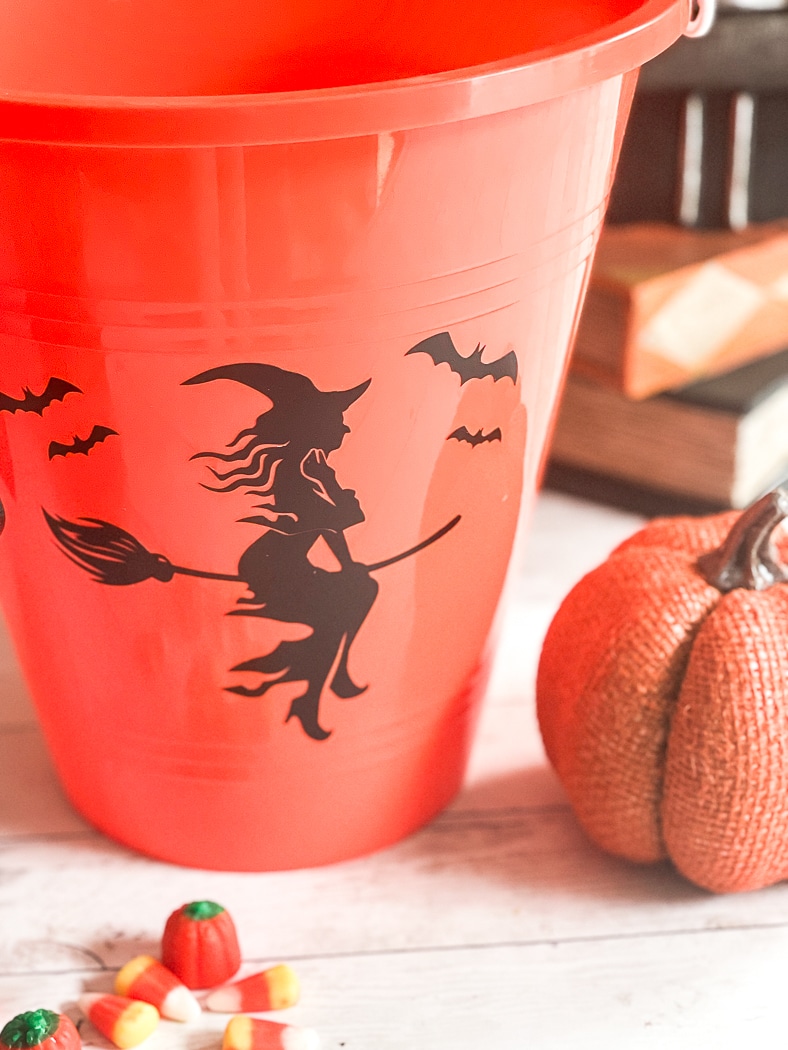
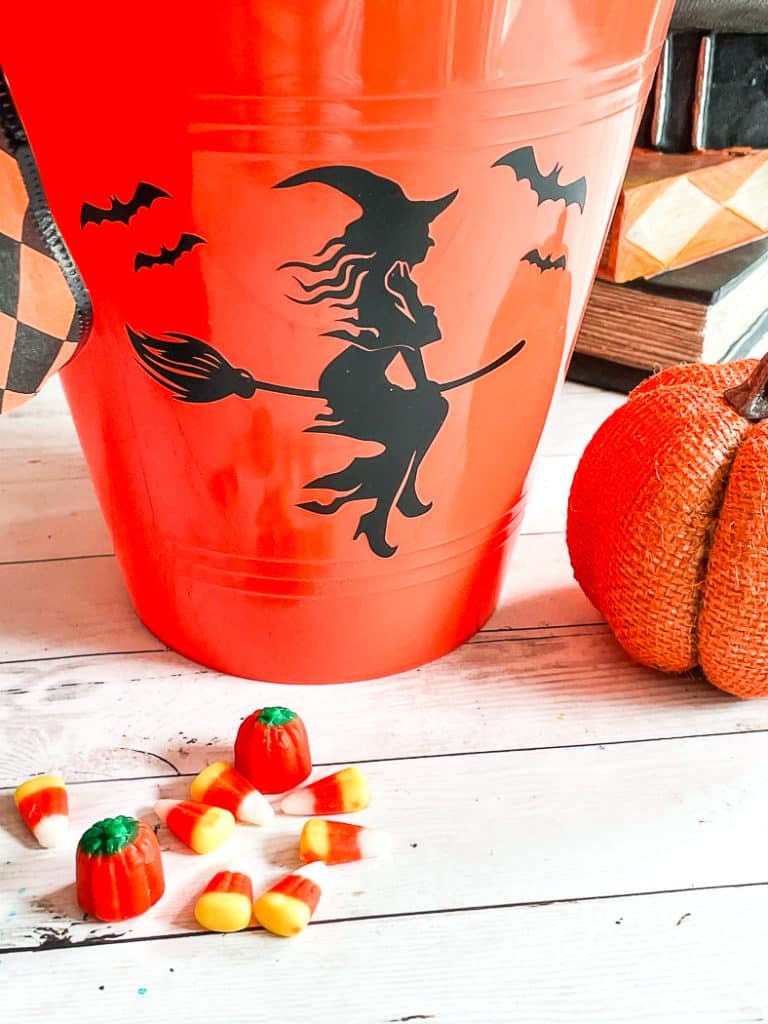
This bewitching little bucket cost less than $3, and took me about 5 minutes to make, including the ribbon on the side! It’s easy enough the kids can make it, and if they aren’t happy with it, it’s affordable enough to replace it before Halloween.
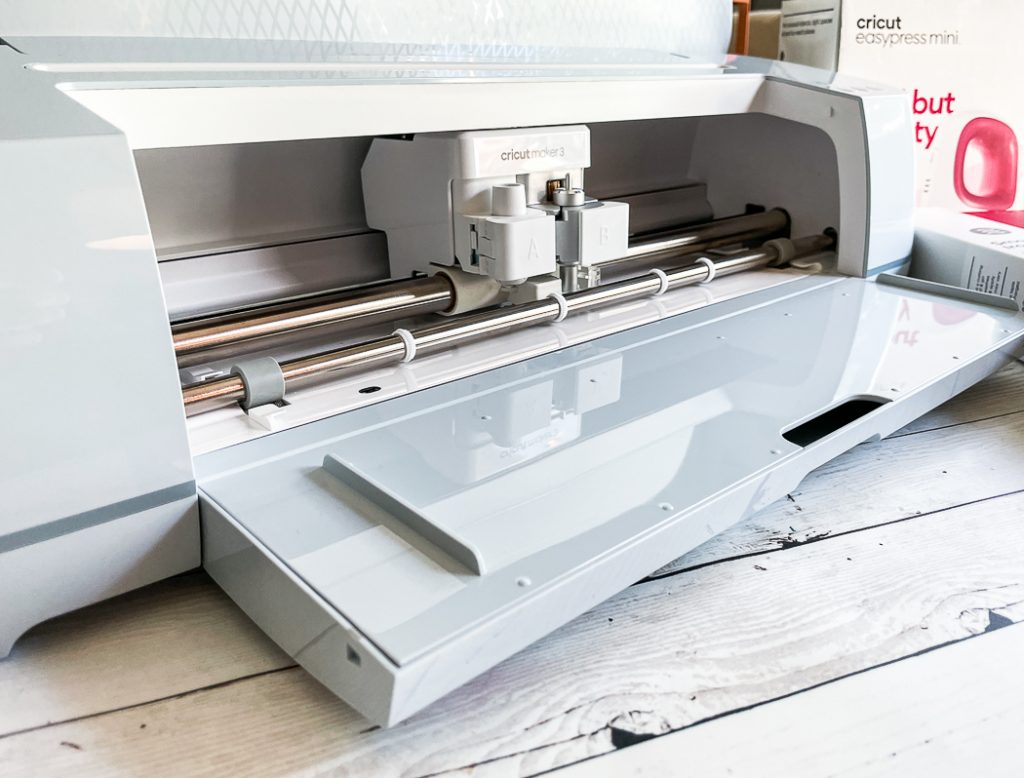
You may need to run to the store to gather a few supplies, but if you are like me, you may not have to. But, if you do, here’s a link to my Amazon Store. And the links below will take you to each item directly!
- Plastic Beach Bucket – I got mine from the dollar store, but these are a good alternative.
- Cricut
- Cricut Design Space Access
- Adhesive Vinyl
- Transfer Tape
- Optional – Ribbon and Glue Gun
Begin by cleaning the outside of the beach bucket. I used a little rubbing alcohol to clean it really well. While I waited for it to dry, I cut out the witch design with my Cricut. It was a 4×4″ cut, so I was able to use scrap vinyl to make it.
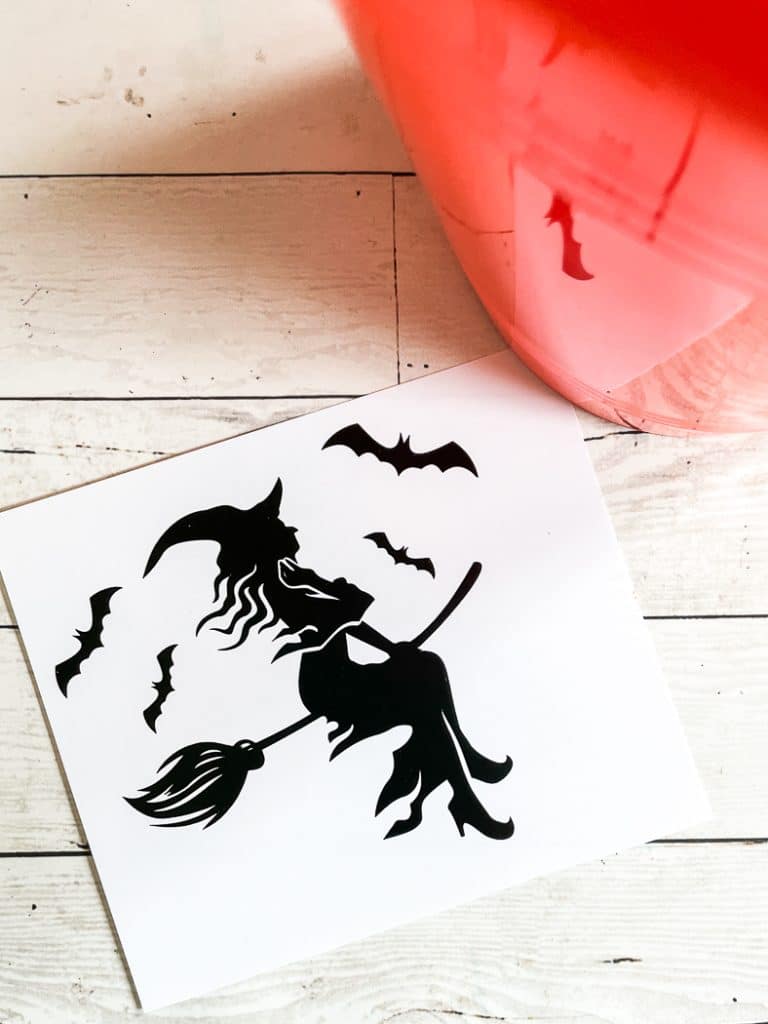
Once the design was cut out, weed the excess vinyl and apply transfer tape over the image. I was out of transfer tape and too impatient to go get some. This design is fairly simple, so you don’t have to have it.
Apply the design to the bucket, start on one side of the image and slowly press it onto the bucket to avoid bubbles and ripples in the vinyl.
Finally, use the ribbon and glue gun to make a cute bow.
This cute little Halloween bucket was such a fun and easy project. And, it’s a cute little catch all decoration in my house until I see my niece again.
If you enjoyed this easy DIY, you will love these too!
Simple DIY Halloween Costume and Treat Bag
Dollar Store DIY Halloween Project
Tags : Cricut, DIY, Halloween, Halloween Treat, Vinyl Craft

