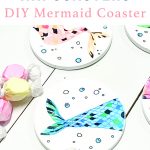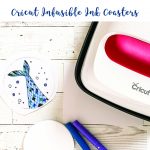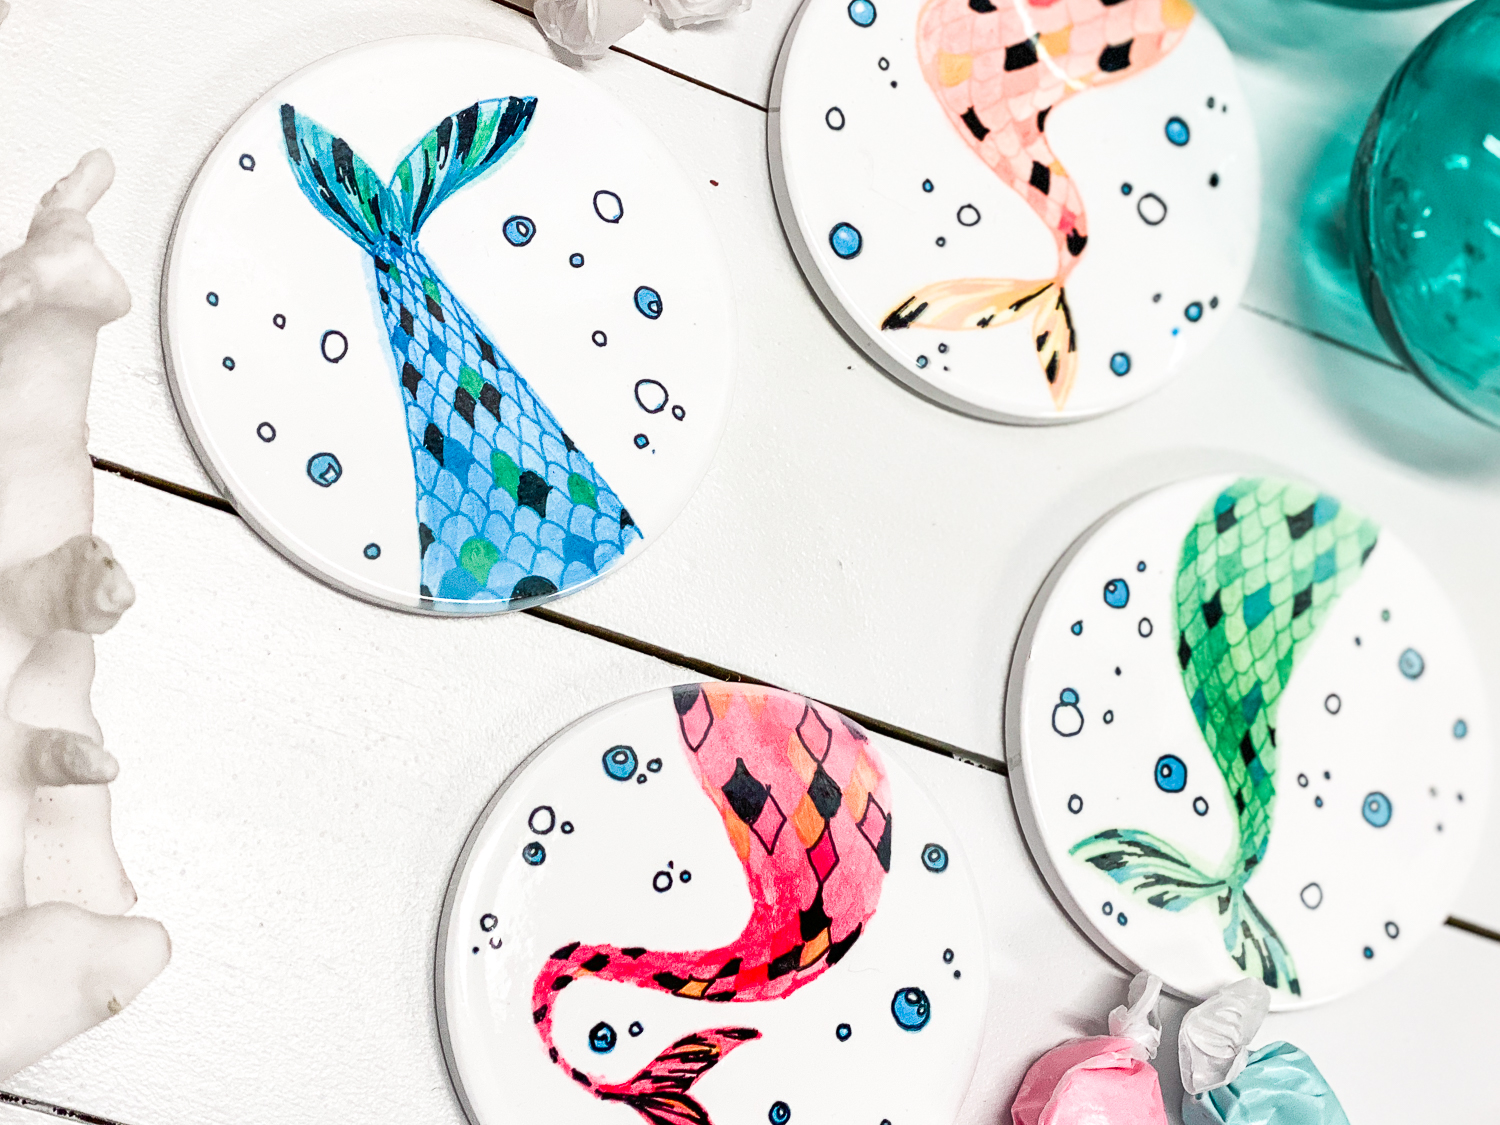
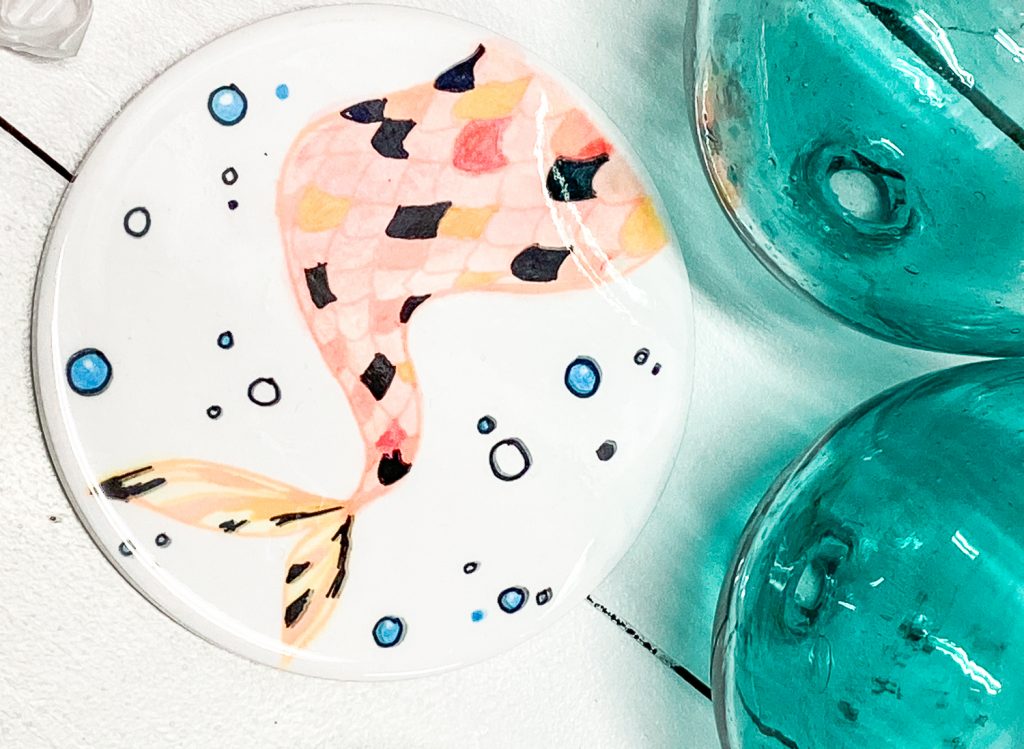
I finally gathered up enough courage to make my own Infusible Ink coasters. I’m not sure why it took me so long to make some, because it’s actually really easy. Especially with the Infusible Ink markers!
If you decide to make a purchase through my links, I will be paid a small commission for it. This doesn’t cost you anything additional.
Cricut Projects
If you have followed EPM for a while, you know I love to use my Cricut. I have used it to make home decor pieces, birthday party decor and favors, shirts, gifts, and more!
I shared this Cricut Infusible Ink Shirt DIY last year, and it is one of my mom’s favorite shirts still. And, I shared this fun Cricut Infusible Ink Beach Bag DIY last year as well. But, then, I really didn’t make a lot with the transfer sheets or markers again until recently.
Make Custom Infusible Ink Coasters
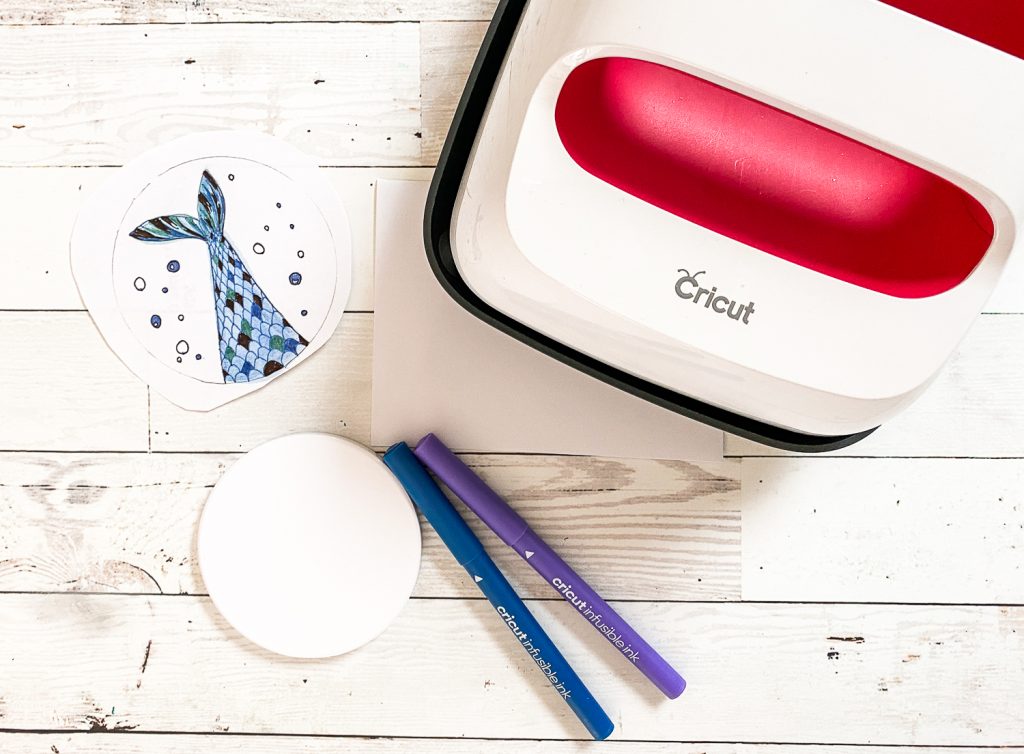
I had to order a few things to make these coasters, but I ordered it all on Amazon, and it was on my doorstep in just a few days. Amazon affiliate links below.
Step 1
Begin by tracing the coaster on a sheet of copy paper. Then, you can sketch your design in the space with a pencil, or you can use the Infusible Ink pens and just draw your design.
Step 2
Once your image is drawn, cut around the circle or square shape.
Step 3
Then, place the image onto the coaster, ink side down. Use a small piece of heat resistant tape to secure it in place.
Step 4
Press according to Cricut’s recommended heat settings.
Step 5
Allow the coaster to cool, and carefully remove the paper with your image on it.
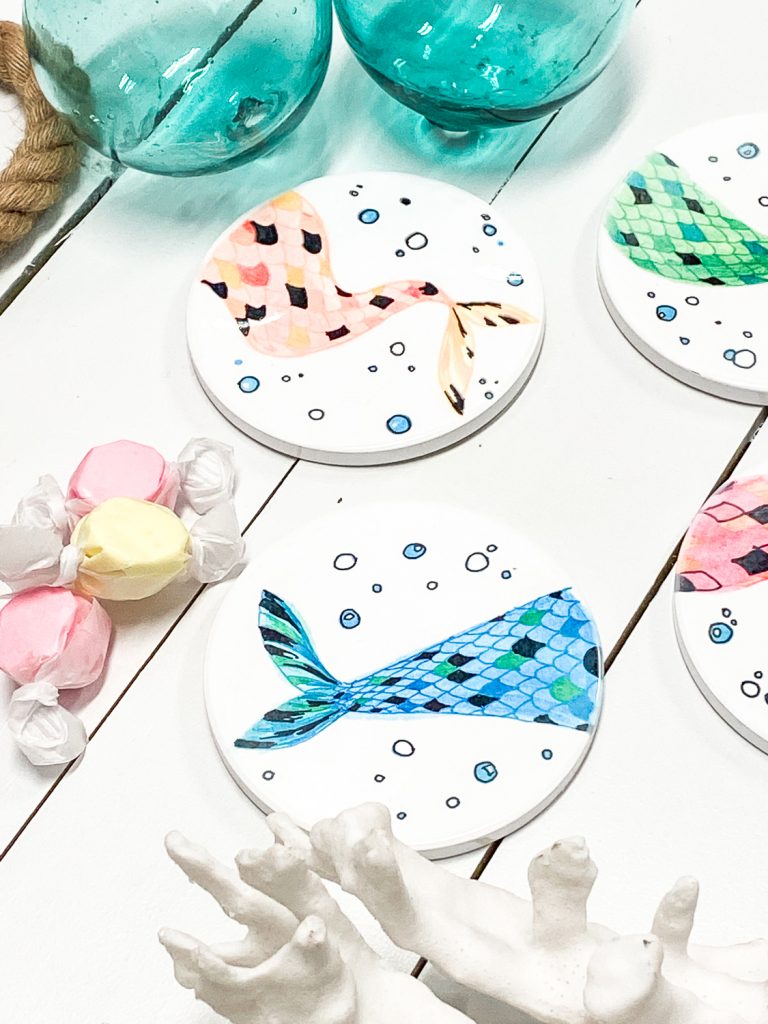
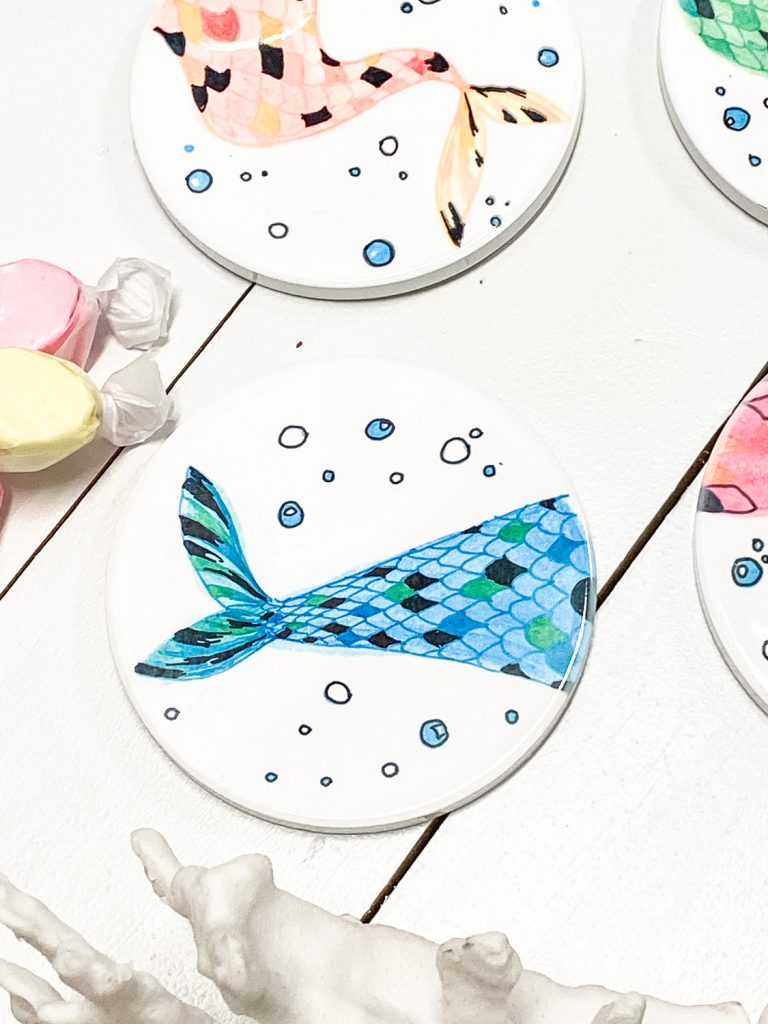
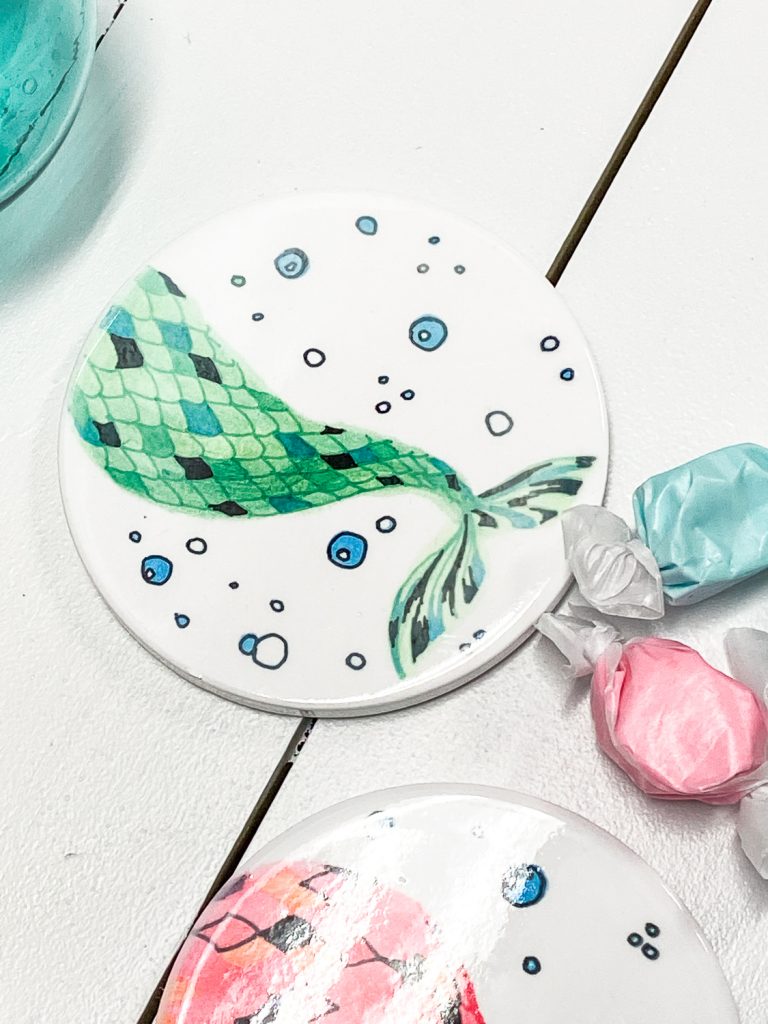
That’s it! Your coaster is done, and if you are like me, you may be addicted to created custom coasters. These would make fantastic gifts for new home owners. They would also be fantastic holiday and birthday gifts.
If you enjoyed this Cricut DIY, be sure to check out some of these posts too!
Three Easy Ways to Spread Joy with the Cricut Joy
DIY Vintage Game Cabinet with Cricut
Tags : Cricut, DIY, DIY Gift, Infusible Ink

