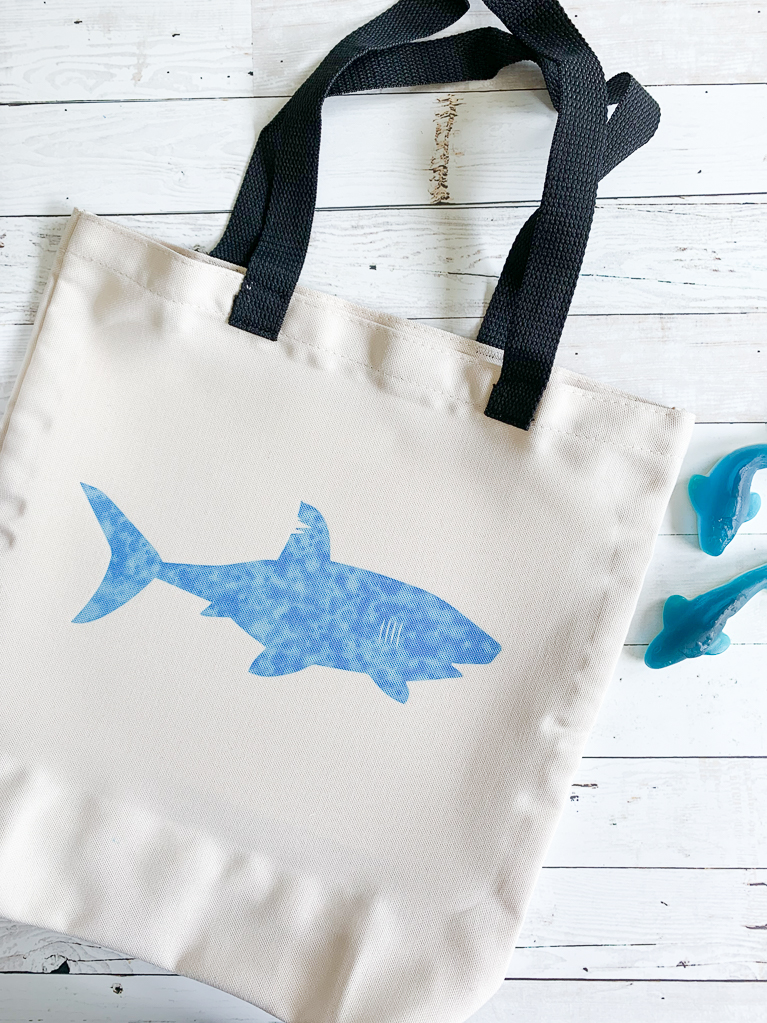
Cricut Infusible Ink Beach Bag DIY
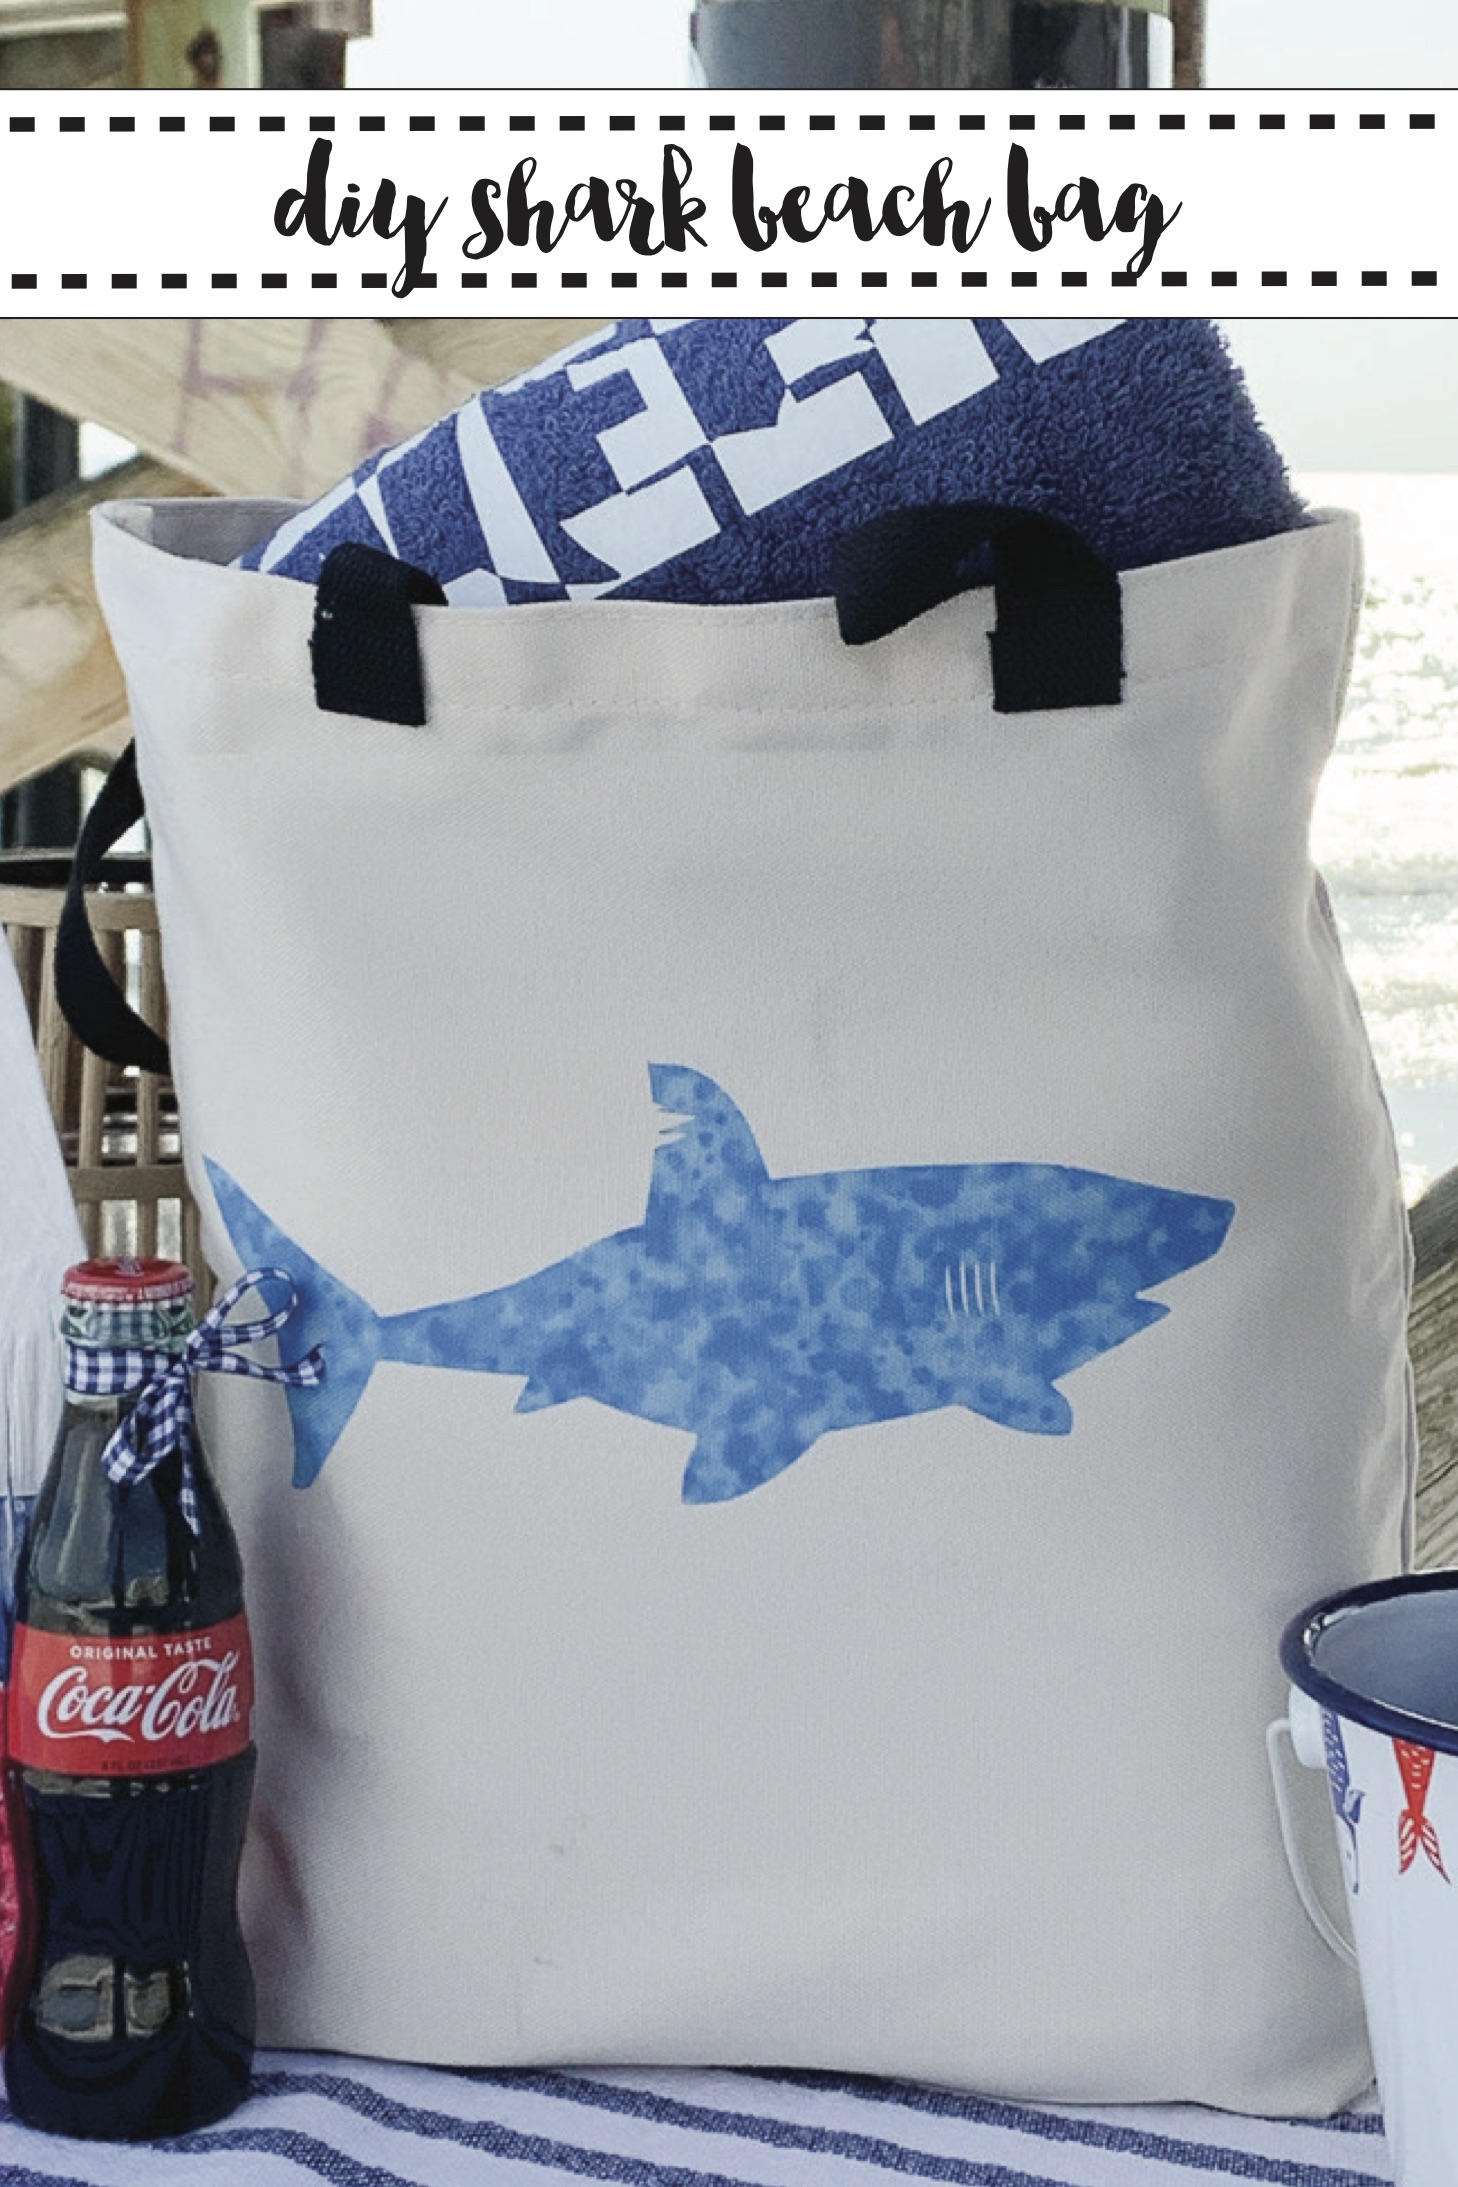
It’s Shark Week inspiration week on the blog, and I am soooo very excited to share this awesome shark bag! This Cricut Infusible Ink Beach Bag DIY could be one of the easiest, and coolest DIY projects I have ever done!
What is Cricut’s Infusible Ink?
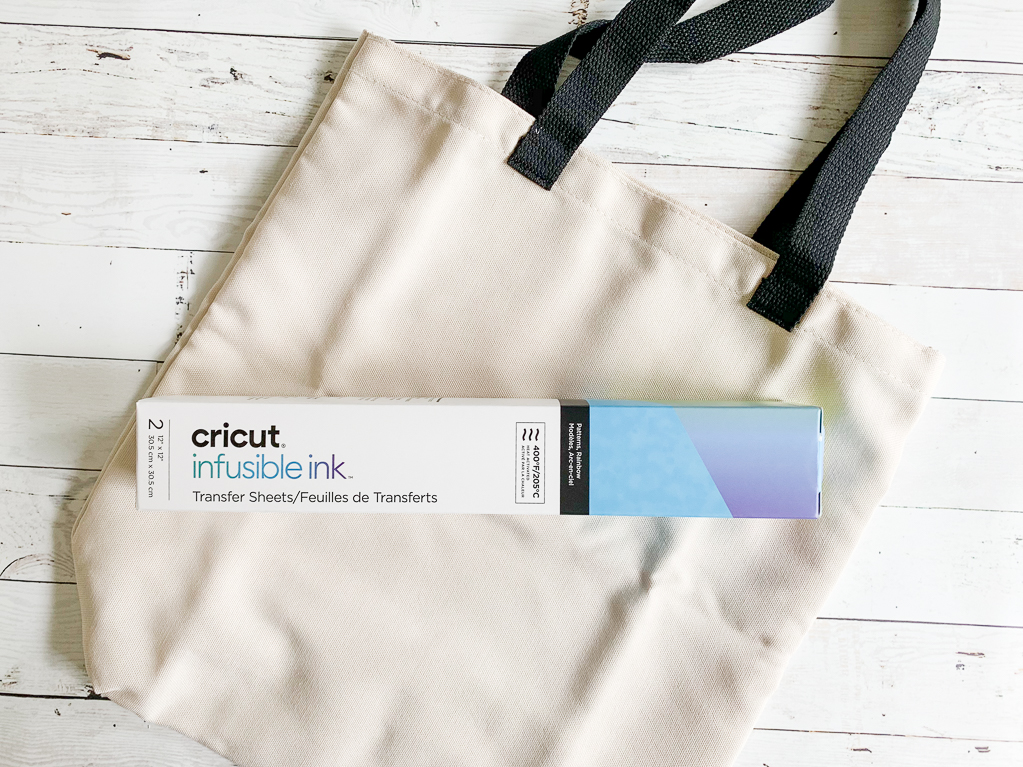
Infusible Ink is an ink transfer material that allows you to create a more professional and permanent product with your Cricut and EasyPress machines. There are two ways to create with Infusible Ink, with patterned transfer paper and with pens or markers. The ink is literally infused into the fibers of the fabric, making a product that won’t crack or peel.
Creating with Cricut Infusible Ink Patterned Paper
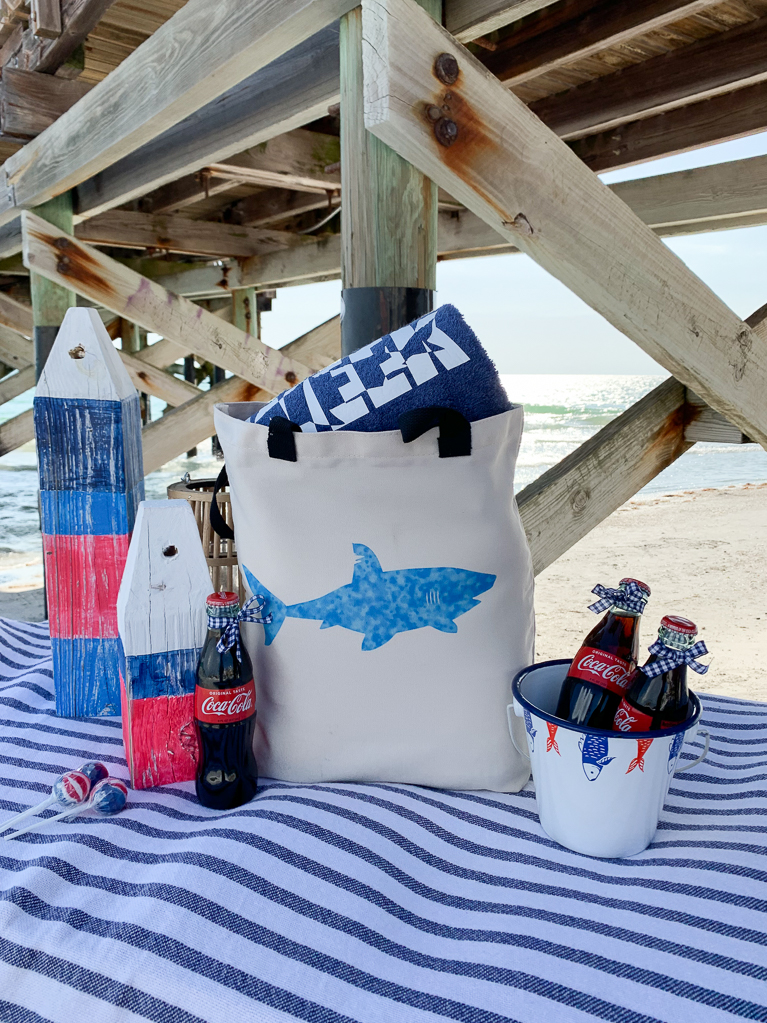
I needed to make a new beach bag for this year, so I thought I would use Cricut Infusible Ink to make a cool new beach bag! I used a Cricut bag and Cricut Patterned Transfer Paper to make this beach bag. And while it was more expensive than some of my other beach bags, I really do love the look of the watercolor shark on the tote bag.
Make A Shark Shirt or Tote Bag with Infusible Ink:
To make this jawesome shark beach bag, you will need a few minutes to work and a couple of supplies! (And if you are like me, you probably have all the supplies you need at home already)
Supplies for Shark Infusible Ink Projects:
Step 1:
Choose your design and size it to fit your bag {or shirt}
Step 2:
Stick the Cricut Infusible Ink Patterned Transfer Paper on a cutting mat patterned side UP!
Step 3:
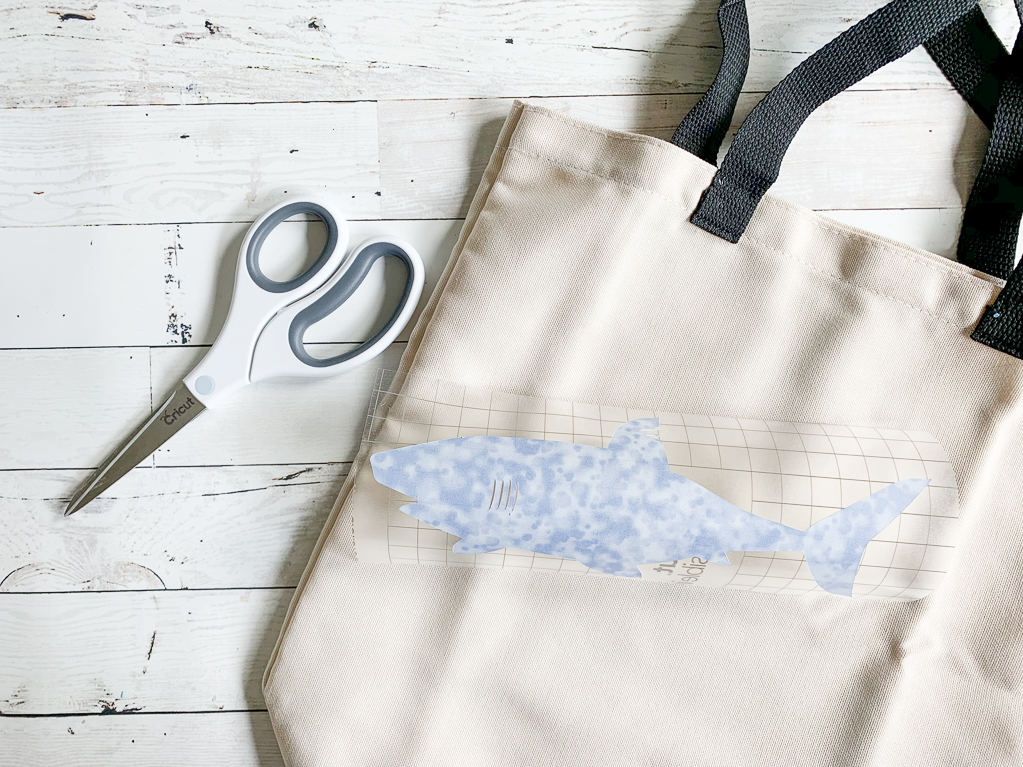
Send your image to cut, don’t forget to mirror the cut.
Step 4:
Carefully remove the excess transfer paper. Don’t use the weeding tools, if you need a tool, use a pair of tweezers.
Step 5:
Preheat your surface. Then carefully place your cut image onto the surface once it’s cool.
Step 6:
Cover the image with butcher paper and press according to Cricut’s recommended heat settings.
For more Shark Week inspiration, check out these posts too!
Tags : Cricut, Infusible Ink, Shark, Shark Week




[…] Shark Bag DIY […]