DIY Lemonade Stand Instructions
Y’all, I love my lemonade stand! I have used it for so many parties since we made it. Including cutting time, the whole project took just a few hours to make and was just about $50. It is, hands down, one of my favorite DIY projects, and I am looking forward to using it for so many more parties. I have had several requests for the DIY Lemonade Stand Instructions. Without making a second Lemonade Stand, I created a cut list and instructions to make it.
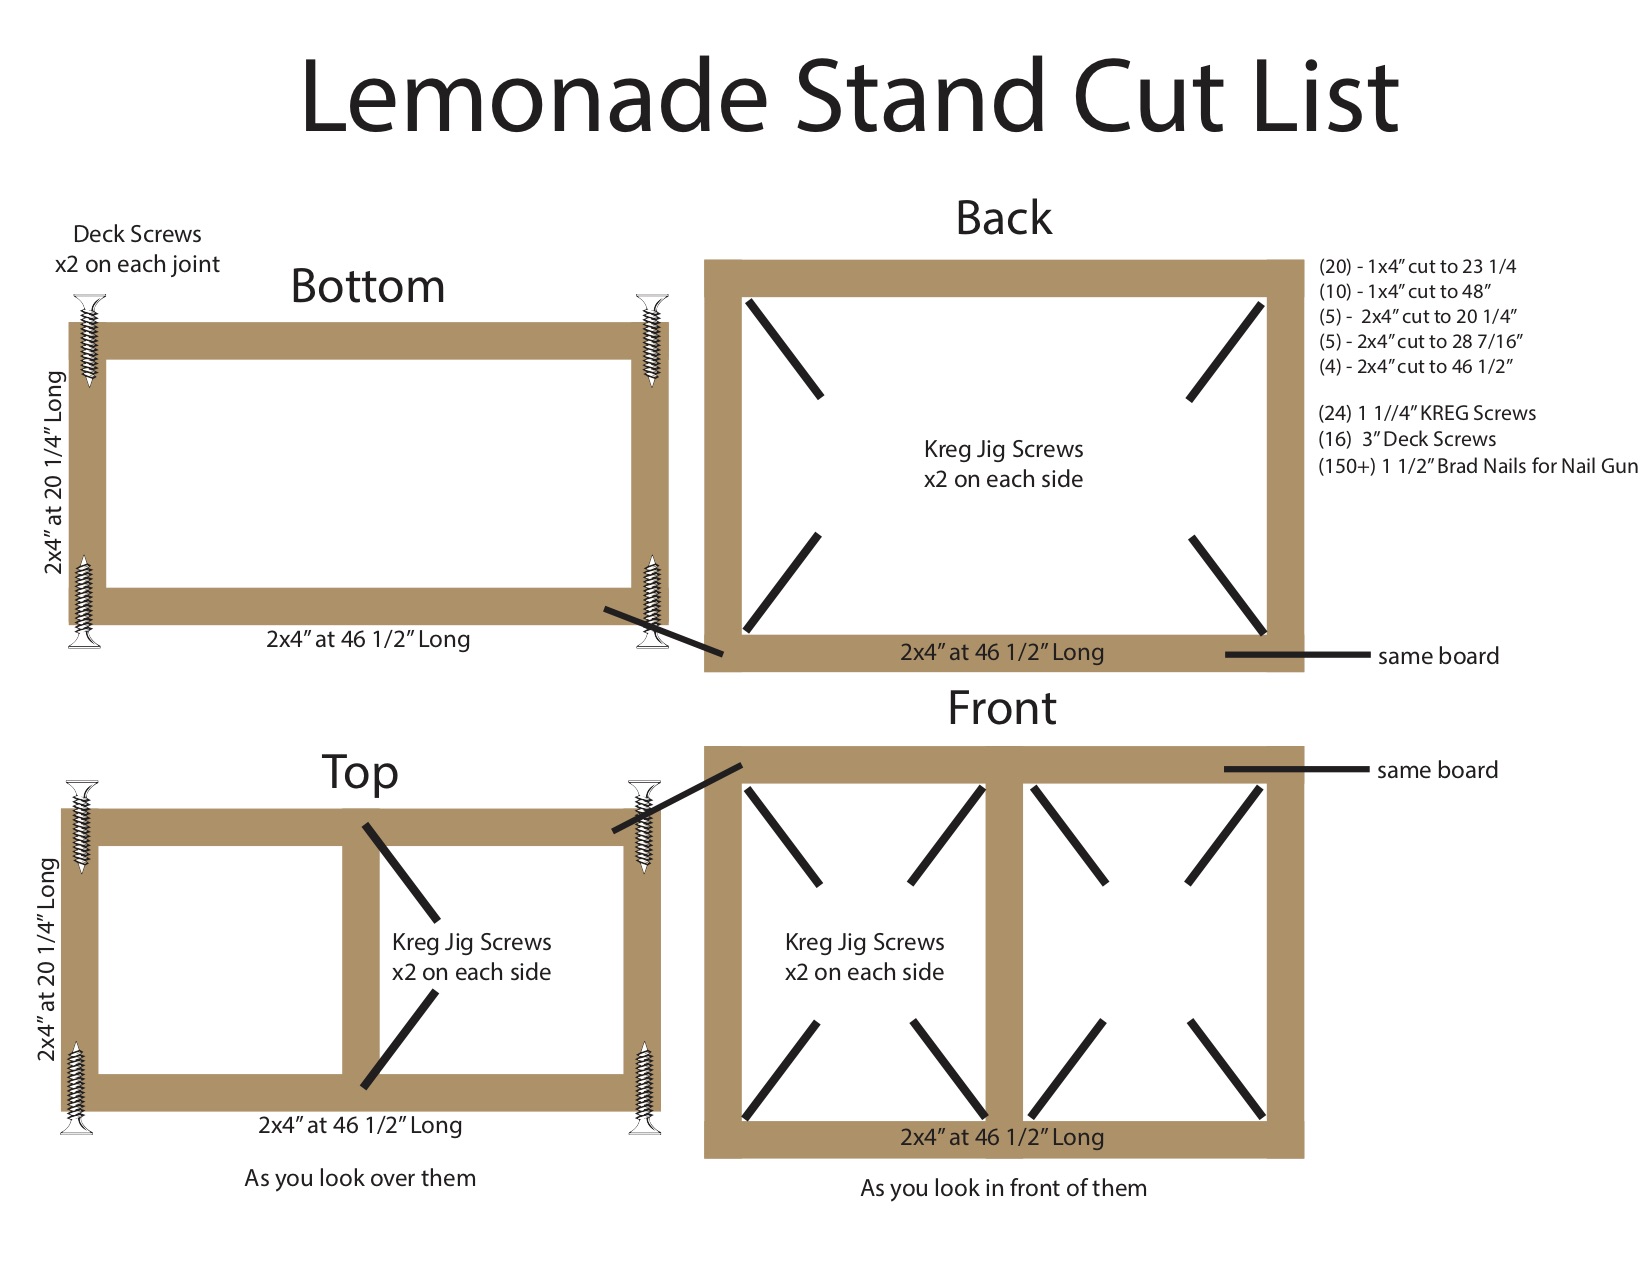
Lemonade Stand Cut List
There are a few things I would do differently if I made a second Lemonade Stand, so I have edited the cuts to reflect those changes. I didn’t allow for the width of the 1×4″ boards on each side, whoops!
{The cut list and assembly diagram are printable PDF Files at the bottom of the post}

If you decide to make a purchase through my links, I will be paid a small commission for it. This doesn’t cost you anything additional.
Purchase List
(5) 2×4″ – 8′ long
(10) 1×4″ – 8′ long
(10) 1/2″ plywood – 2×4′
Sign – (1) 1×4″ – 8′ Long cut in half, (1) 1/2″ plywood 1×4′
Optional – paint
Tool List
Step 1
Cut each board to the lengths listed above.
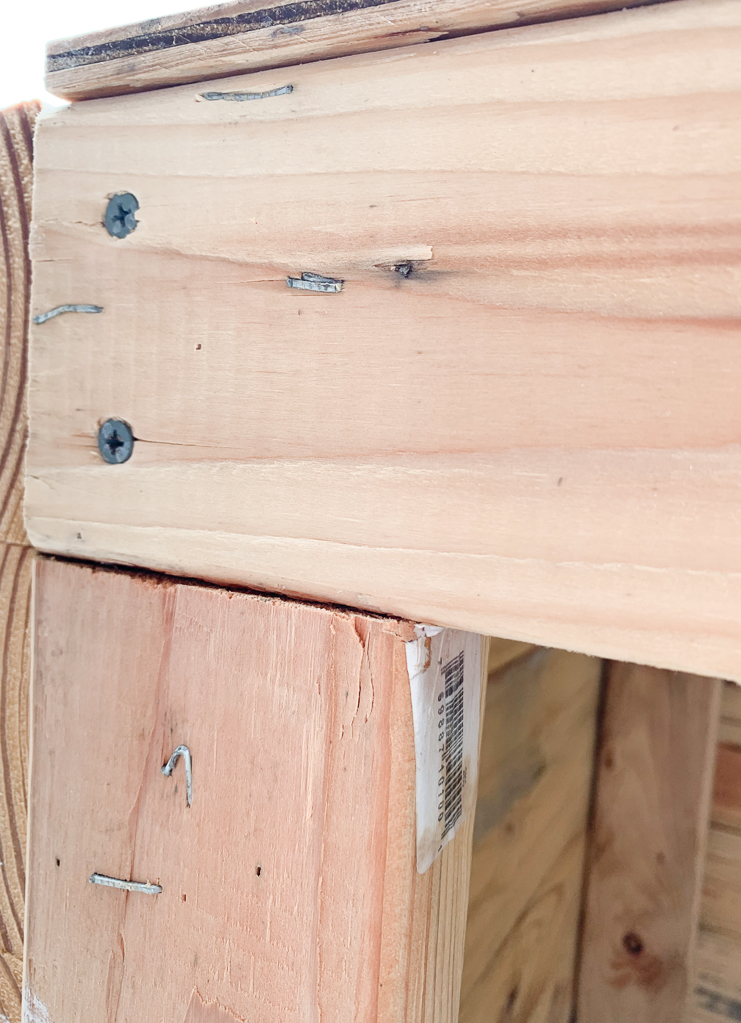
Step 2
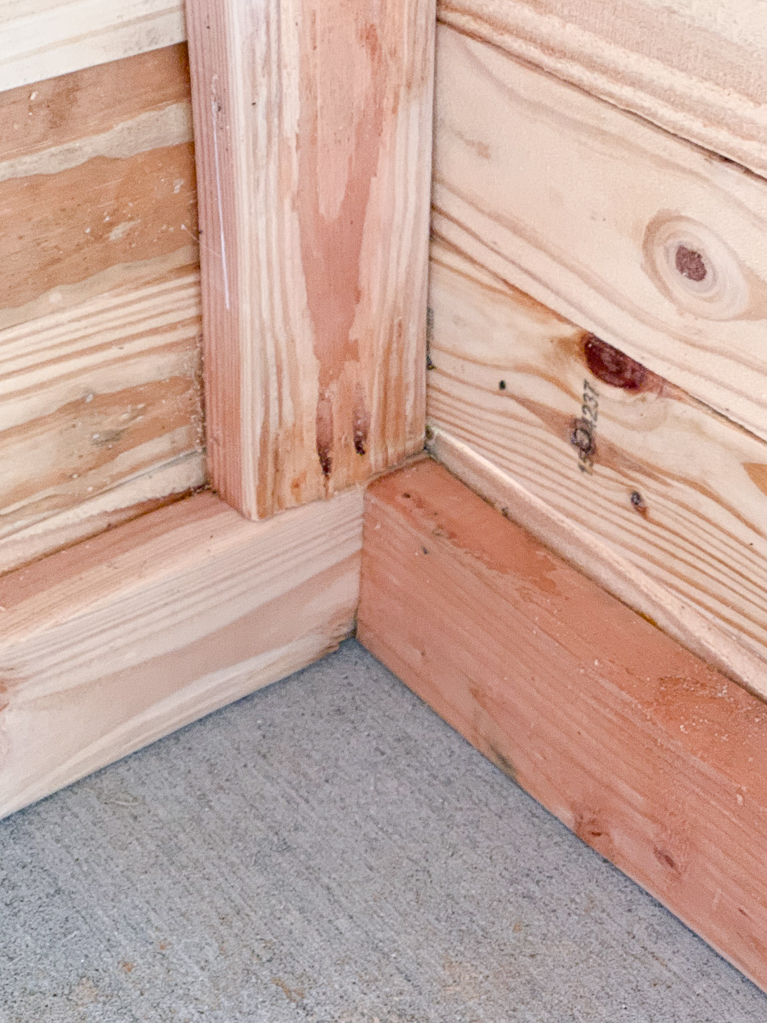
Build the rectangle frame for the top and bottom of the lemonade stand. We used deck screws to screw the long boards into the short boards. Be sure to keep the corners square. {The extra nails are from adding and removing the sign}
Step 3
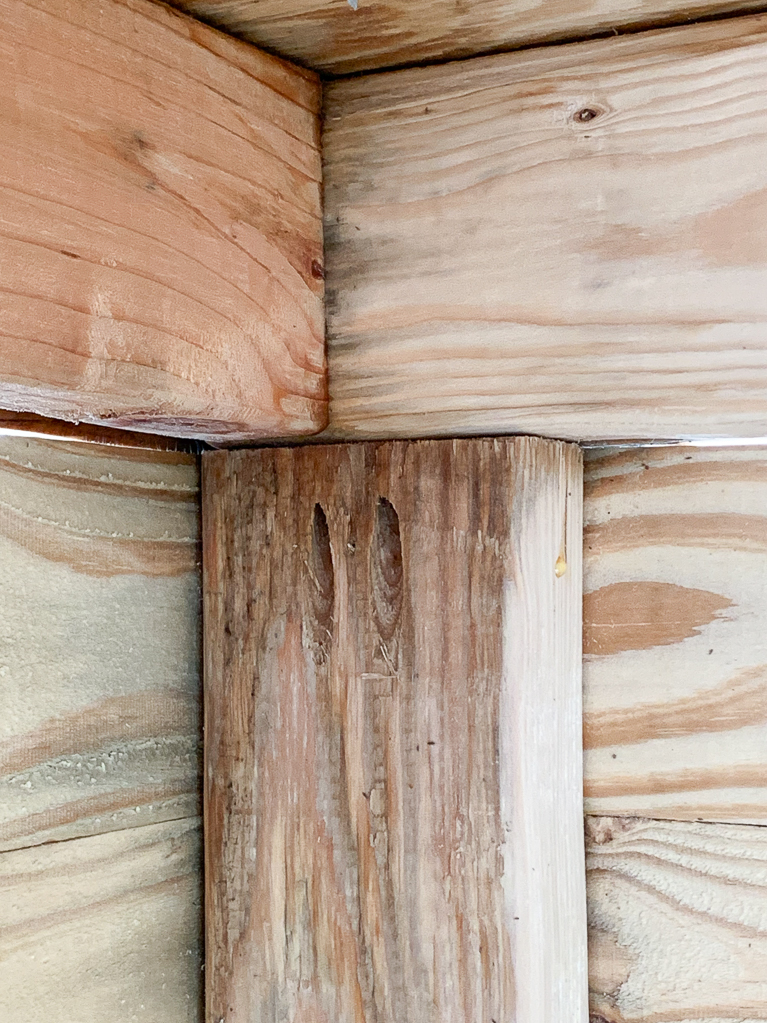
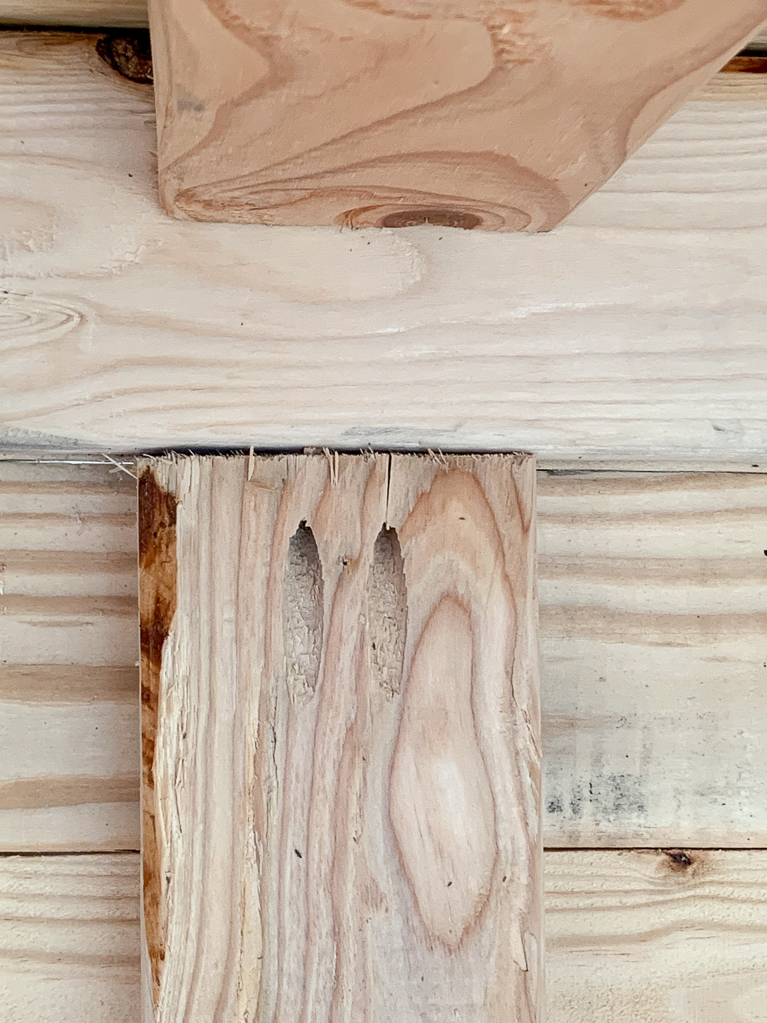
Use the Kreg Jig to drill pocket holes in the (5) 2×4″ – 28 7/16″ long boards, and the remaining 2×4″ – 20 1/4″ board on each end.
Step 4
Use the Kreg Screws and connect the 20 1/4″ 2×4″ to the middle of one of the rectangles. This will be the top of your Lemonade Stand.
Step 5
Use the Kreg Screws and connect the 28 7/16″ 2×4″ boards to each corner of the rectangles you already built. The fifth board needs to go in the middle of one of the long sides, this will be the front of your Lemonade Stand.
Step 6
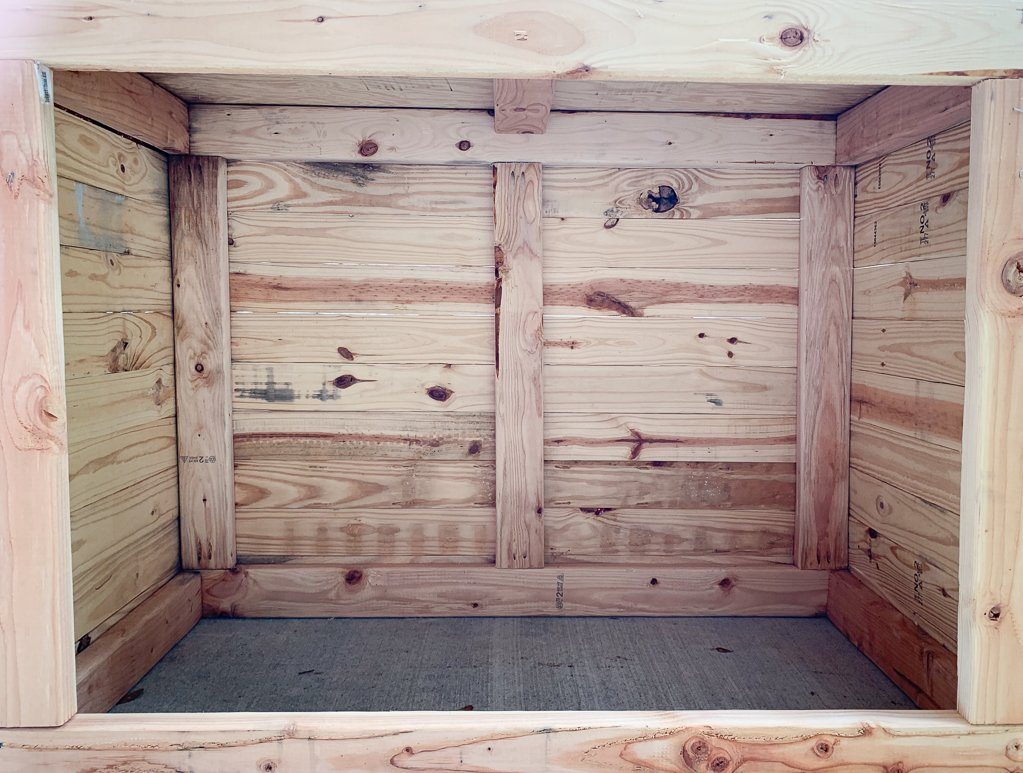
Use the nail gun and attach the 1×4″ boards to the front and sides. I used three nails on each side of the boards and in the middle on the front. Start at the top, and work down, be sure to keep the boards level.
Step 7
Place the plywood on the top and secure with screws.
Optional
Step 8
Cut the remaining 1×4″ in half and attach to the back of the Lemonade Stand. I will be adding a screw hole and nut and bolt to the stand and the sign to make it easier to take off and store. Screw the 1×4′ plywood to the top of the sign legs
Step 9
Paint the Lemonade Stand. I used DecoArt’s Curb Appeal White with a dry brush technique.
Download the printable Lemonade Stand Diagram and Lemonade Stand Cut List to use when you build it.

If you liked this post, be sure to check out these too!
Tags : Build, DIY, Lemonade Stand