Driftwood Sailboat DIY with Cricut
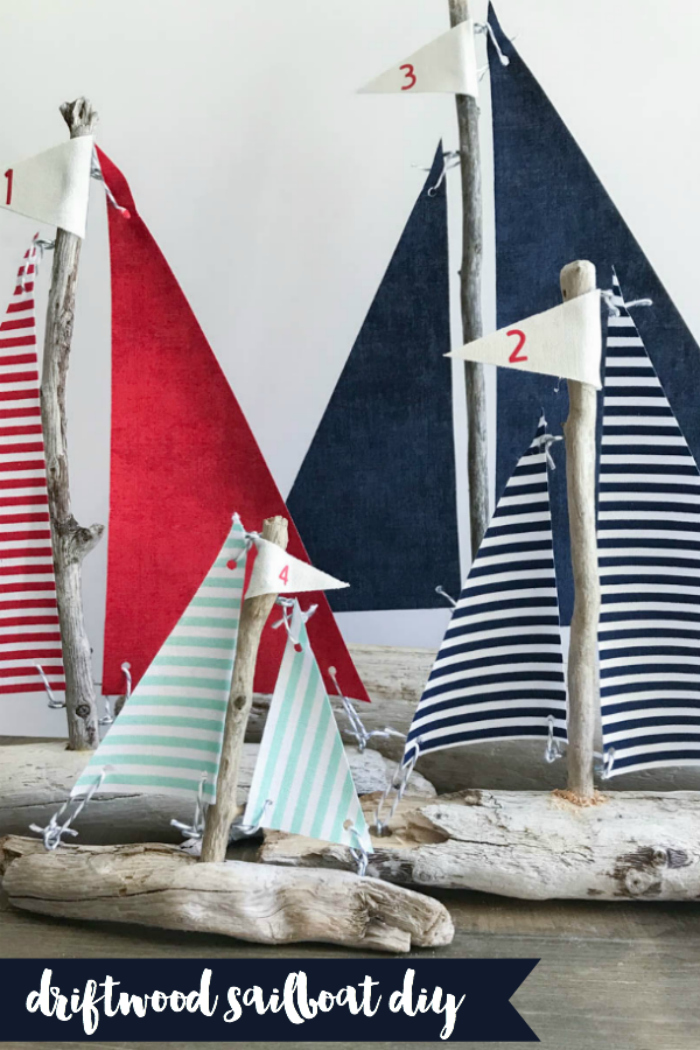
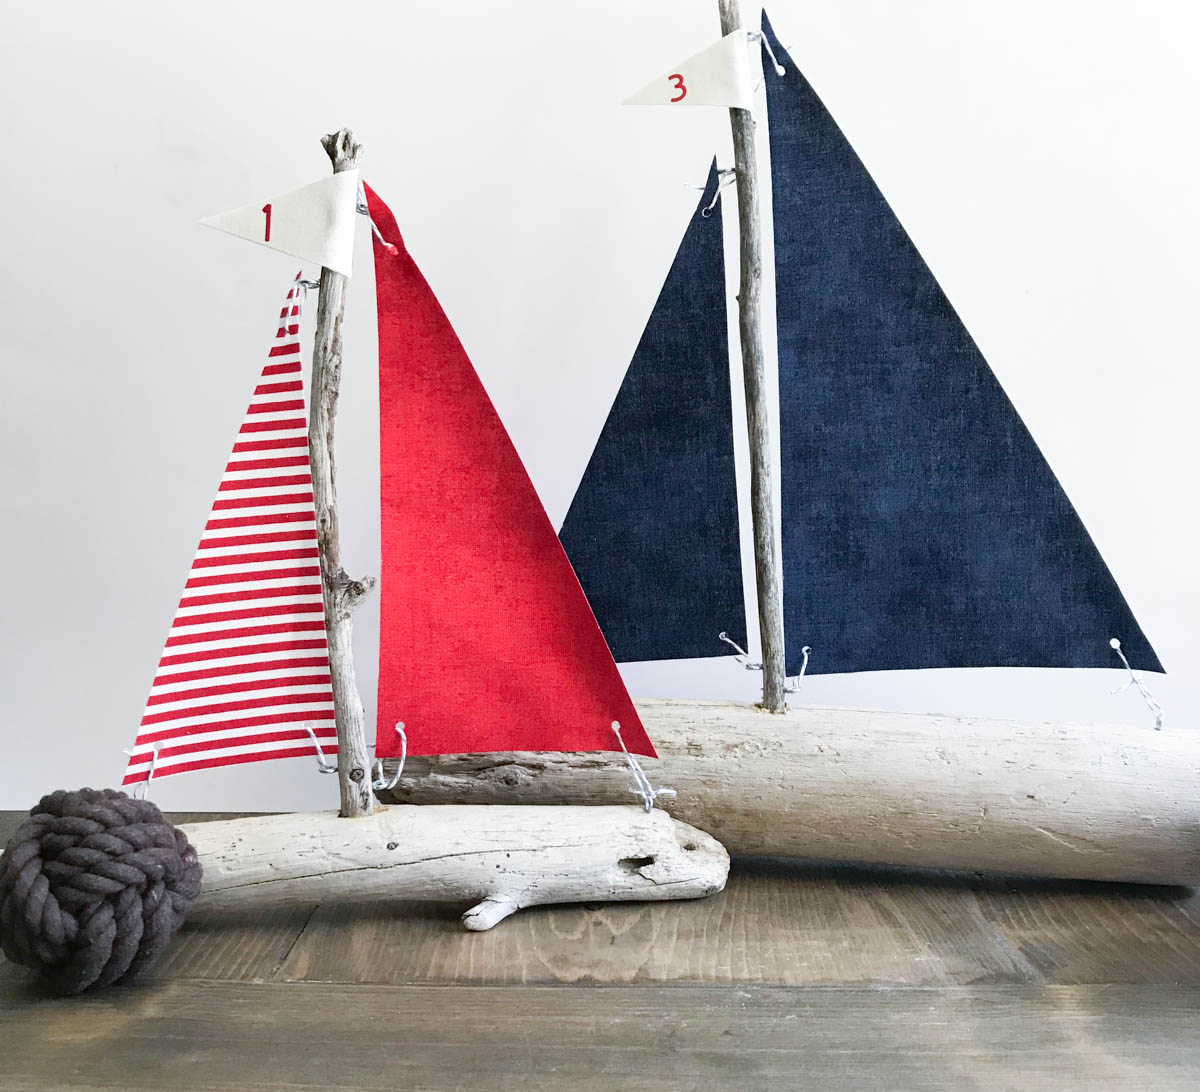
Driftwood Sailboat DIY with Cricut. Several years ago on vacation I saw and fell in love with driftwood sailboat, but the frugal me was astonished by the price and walked away empty handed. I knew I could make my own, but I never got around to actually doing it.
But, that changed this weekend with the help of my Cricut Maker, EasyPress, and some driftwood from the Northeastern beaches. I am so glad I waited until I had my Cricut Maker, it’s the ultimate in cutting performance and versatility. {Unlike all other cutting machines.} Like some of Cricut’s other cutting machines, the Maker offers Fast Mode cutting for a variety of materials. Plus, I can design on the go with my Design Space® apps. The Maker has Bluetooth® wireless technology, and the amazing Adaptive Tool System™ for professional-level cutting performance. It is compatible with Washable Fabric Pen for marking pattern pieces, Scoring Wheel for razor-sharp creases in cardstock, poster board, and the Knife Blade for thicker materials up to 2.4 mm (all sold separately). With over 500 digital sewing patterns and quilting blocks from Simplicity® and Riley Blake™ there is literally something for everyone!
I love the idea of making these for wedding table markers. They are relatively easy to make, and really very affordable.
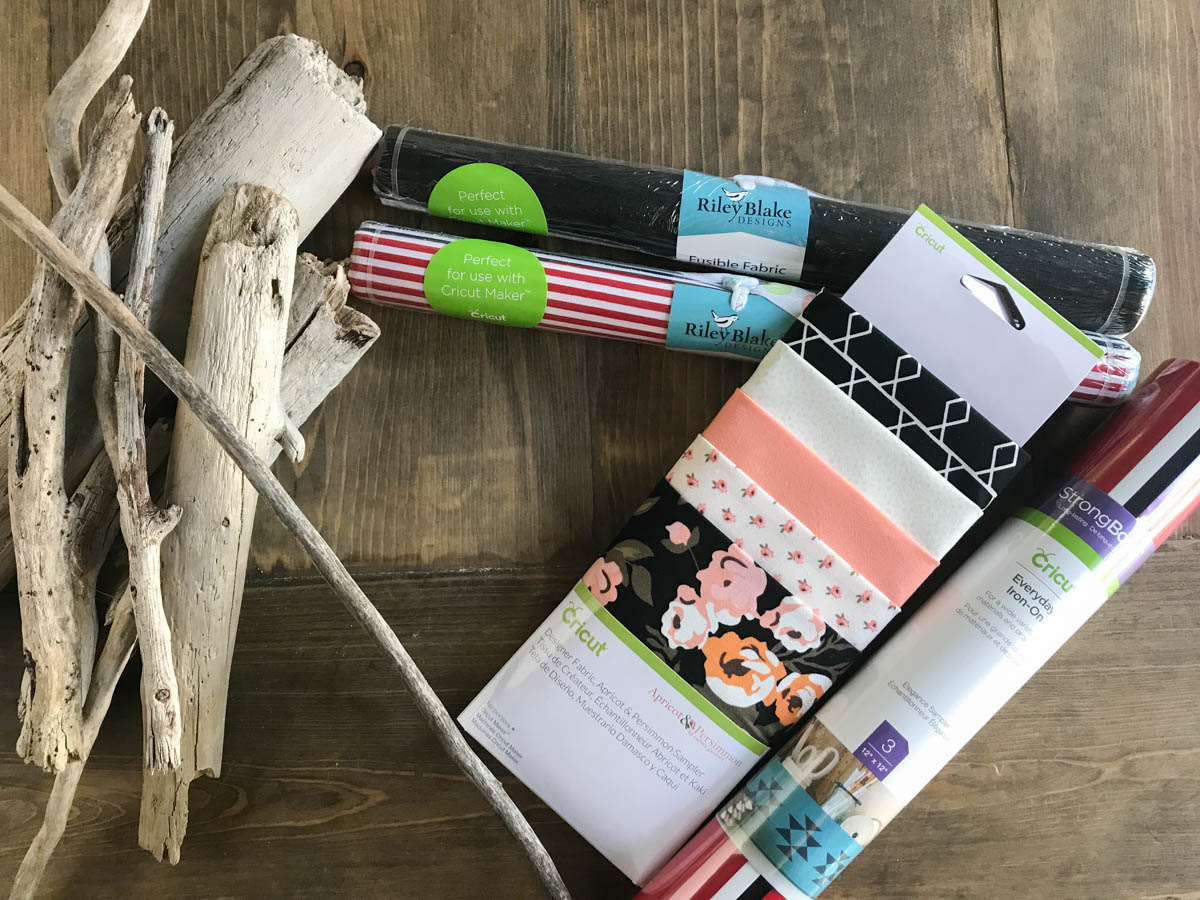
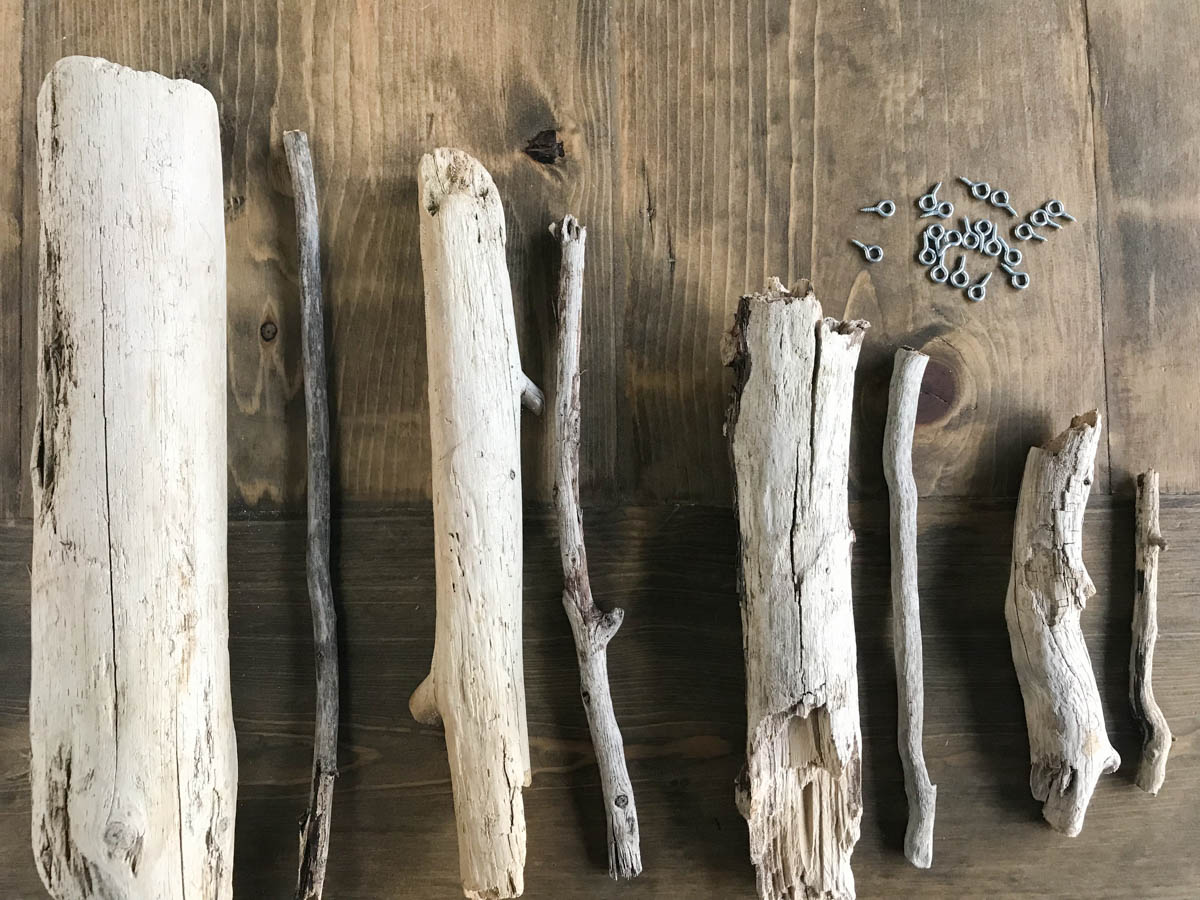
Make your own driftwood sailboats with:
Driftwood
Drill (with bits to match the eye hook size, and the driftwood mast)
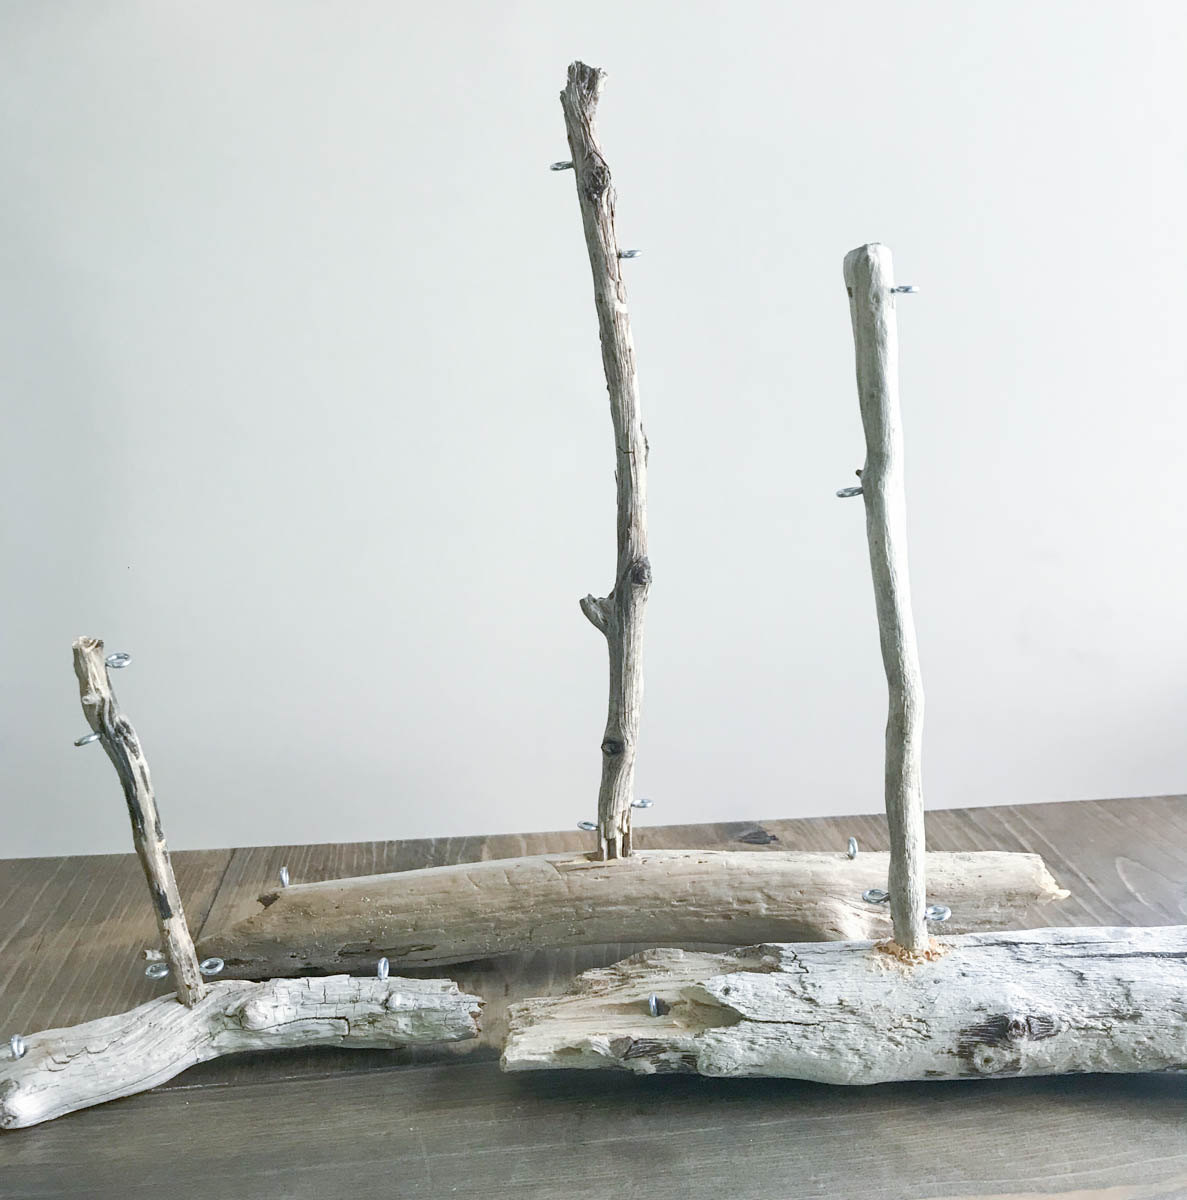
Begin by matching larger driftwood with smaller driftwood for the boat hull and mast. You may need to trim off length and knobs from the mast.
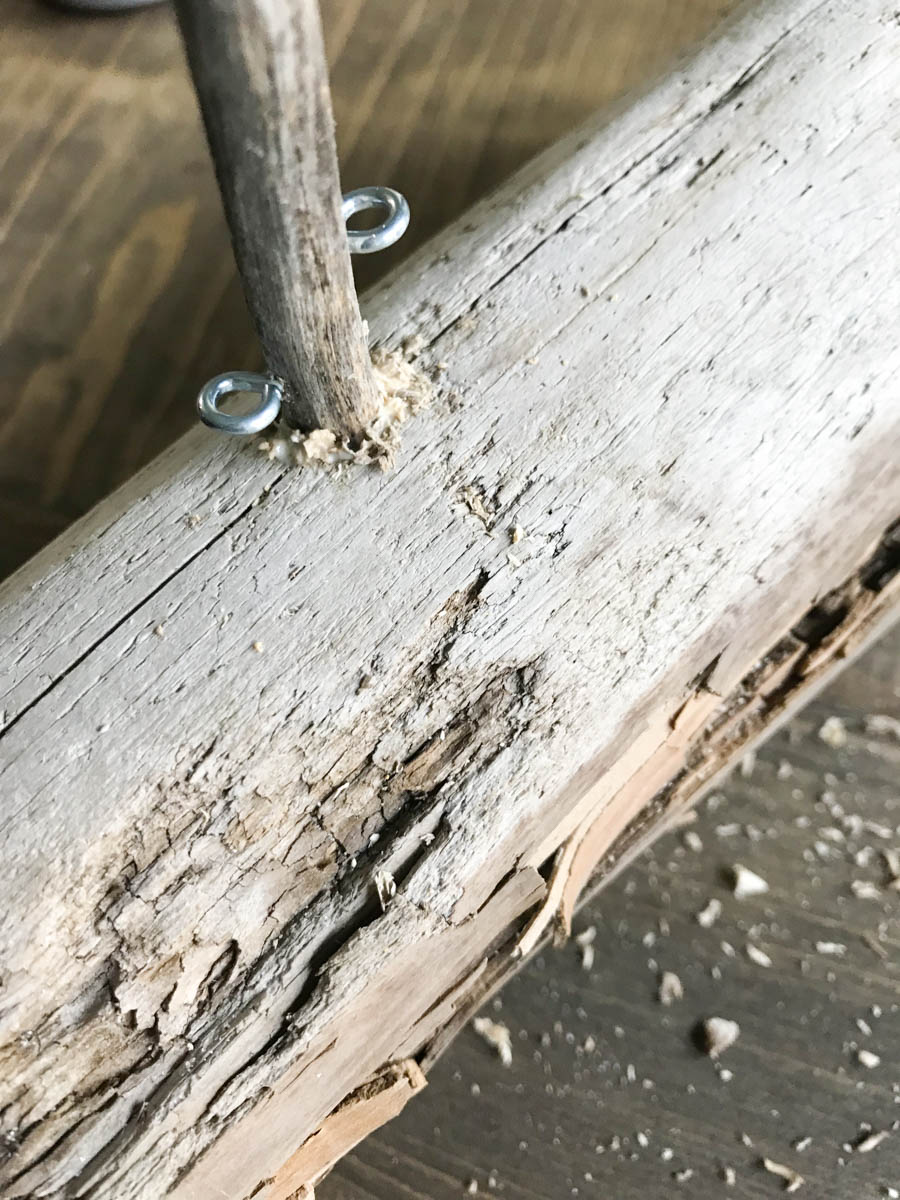
Drill a hole slightly larger than the mast and fill 1/2 way with wood glue. Put the mast in the hole and secure with more glue and or drill shavings. Allow the mast to dry.
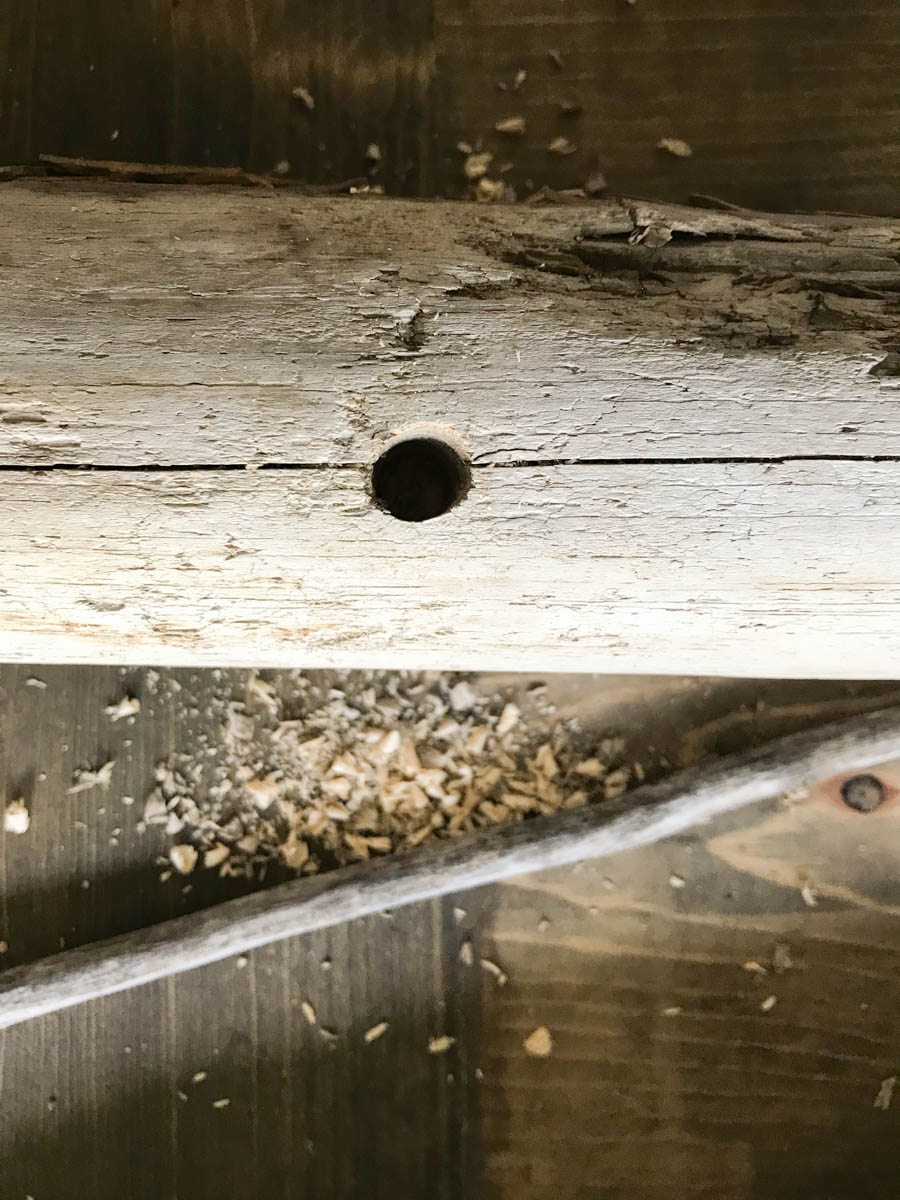
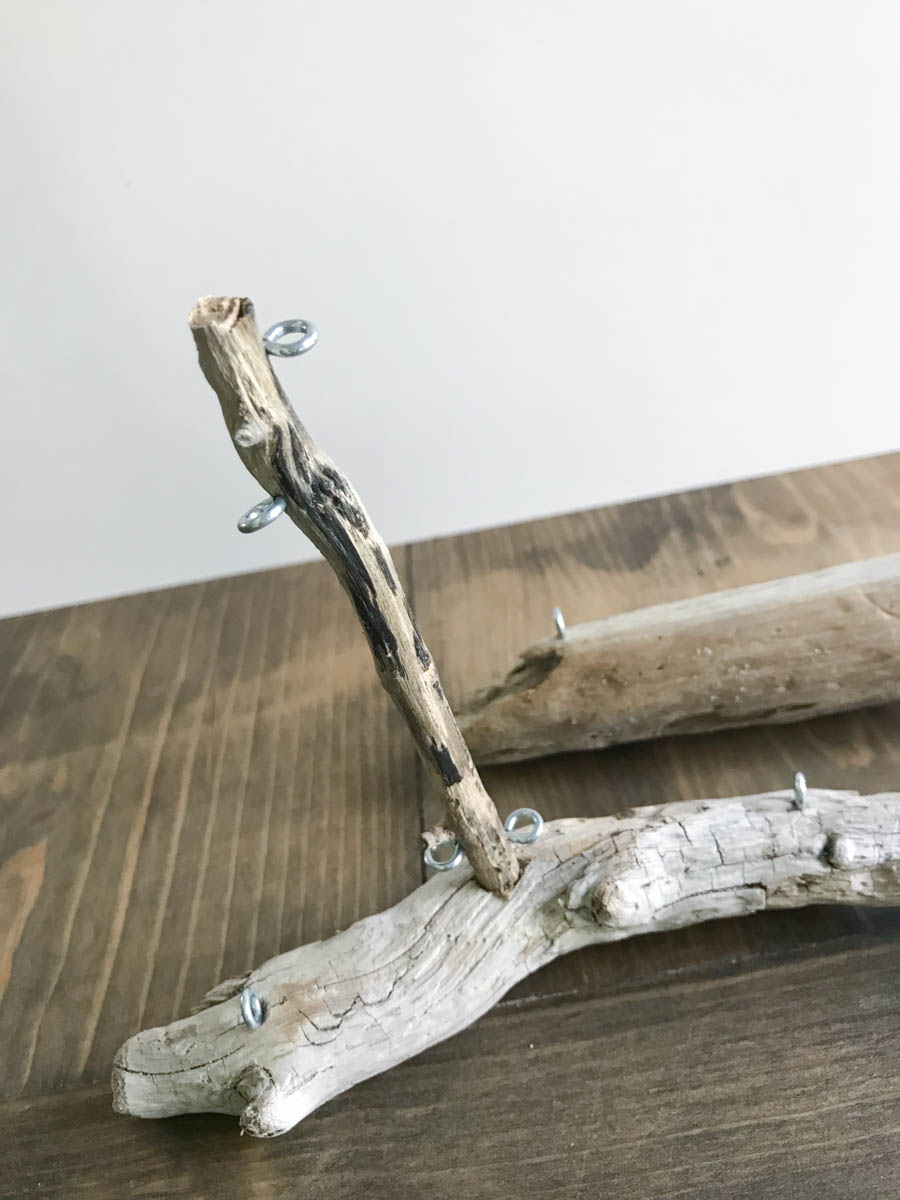
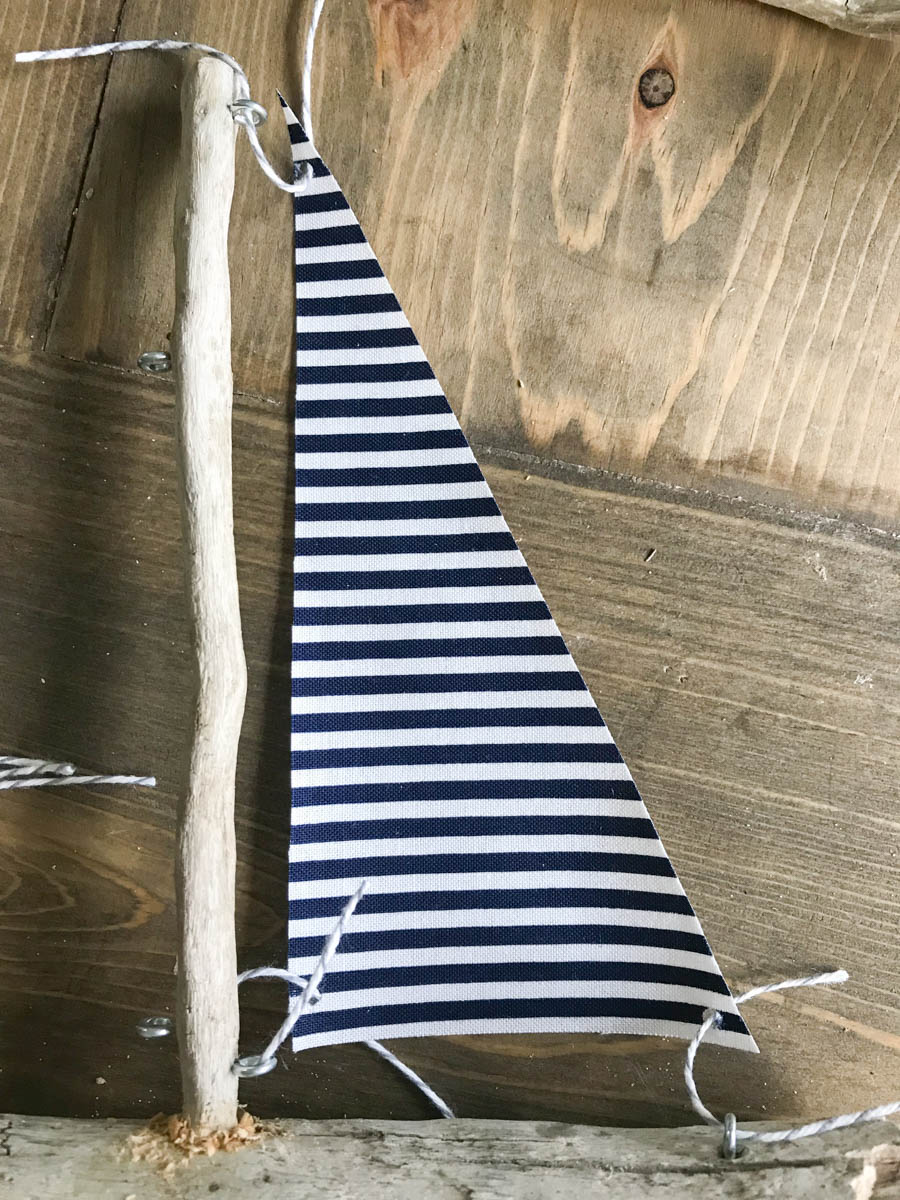
Pre-drill holes in each side of the mast for the eye hooks for the tops and bottoms of the sail. (Hold the mast while drilling to give it extra stability and keep it from breaking) Pre-drill one more hole on each end of the boat hull for the end of the sails.
Next, measure the distance between the top and bottom eye hooks, and the bottom eye hook to the end one on the hull.
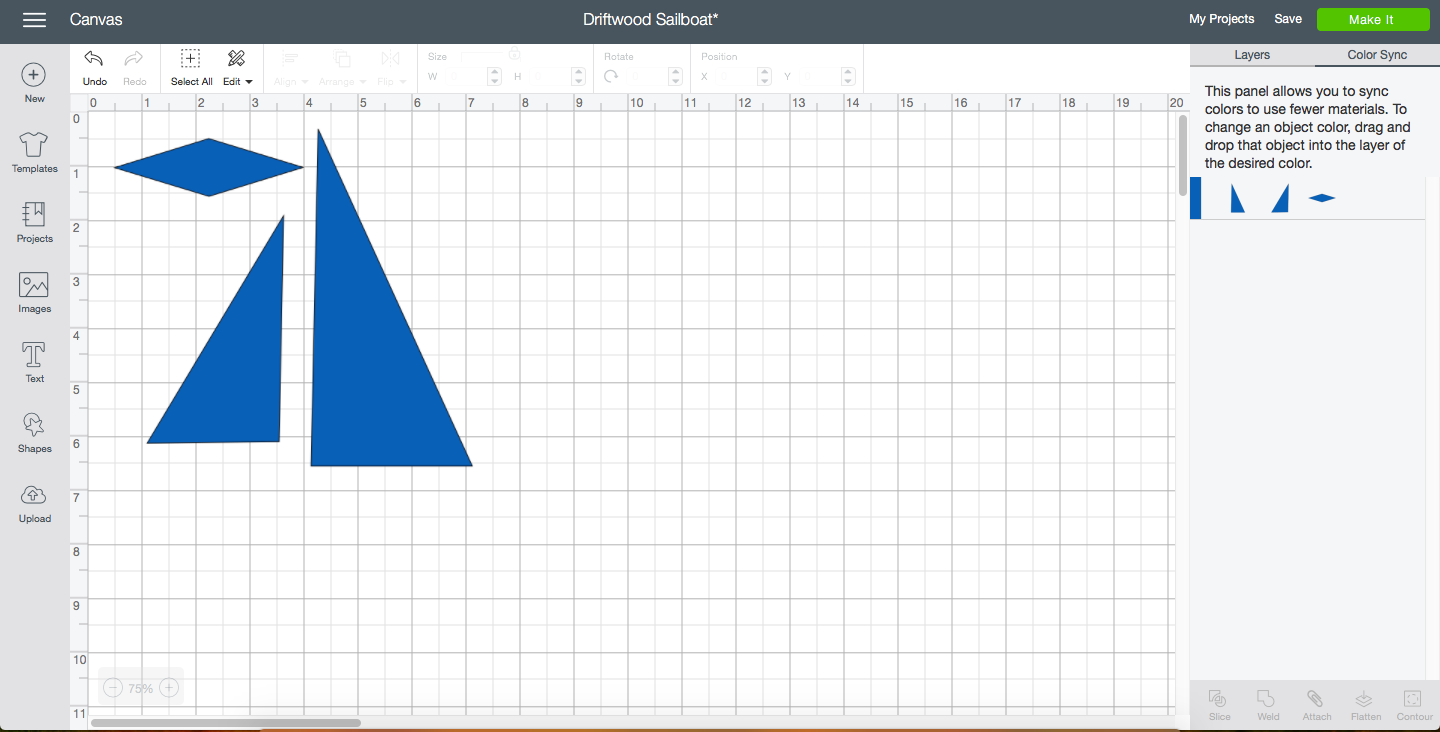
Take those measurements and adjust the top and bottom dimensions for the sails from this cut file. Make them just slightly larger than your measurements. I tested my cuts with paper before I cut the fabric.
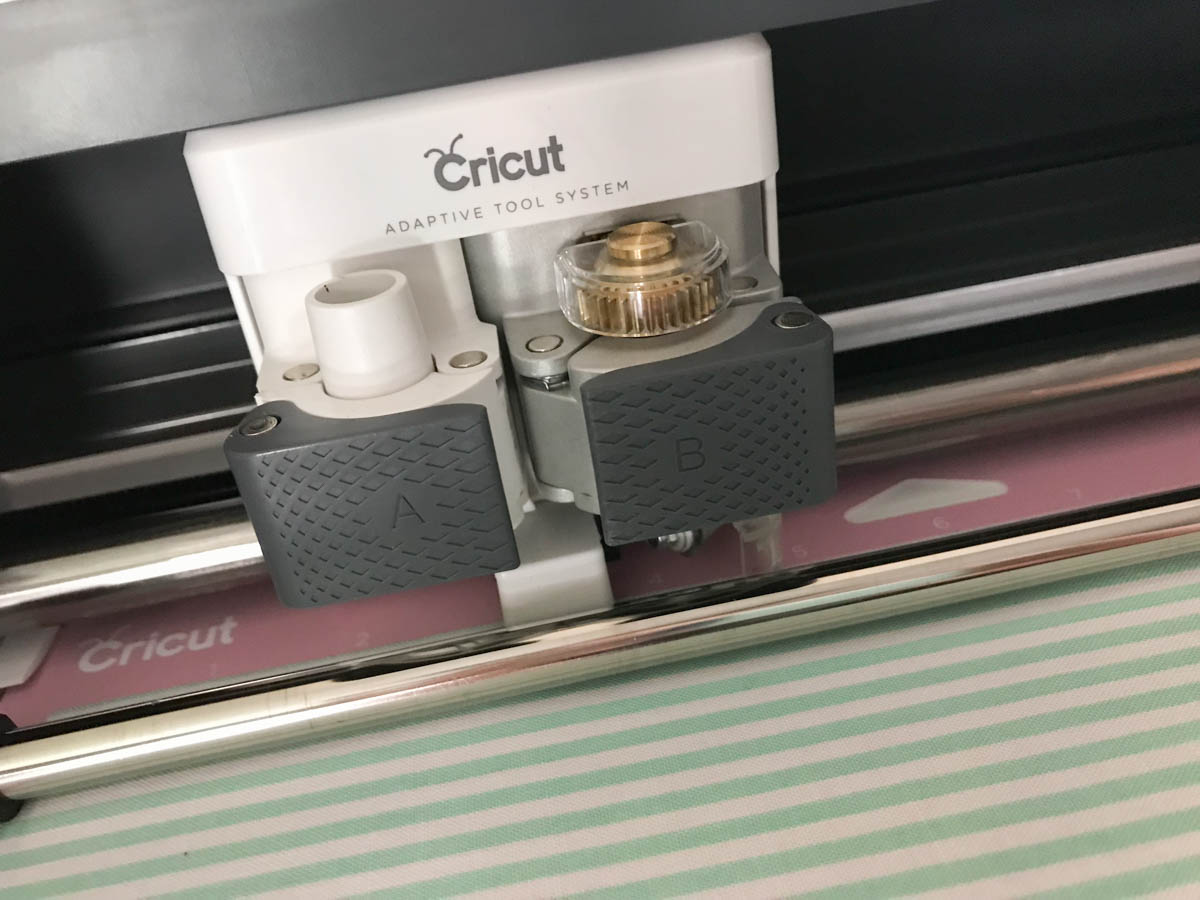
Load the Riley Blake Designs Fabric on the fabric cutting mat, and smooth with the brayer tool. Once the sails are cut, use the small paper punch to add tiny holes to the sail approximately where the eye hooks are.
Secure the sails with twine to the eye hooks.
Now you can cut your iron on (don’t forget to mirror the cut) and EasyPress it onto the diamond flag/sail. I folded mine in half to make it a little more stable.
Once I finished adding iron on numbers to the sails, I secured them to the tops of the masts with hot glue.
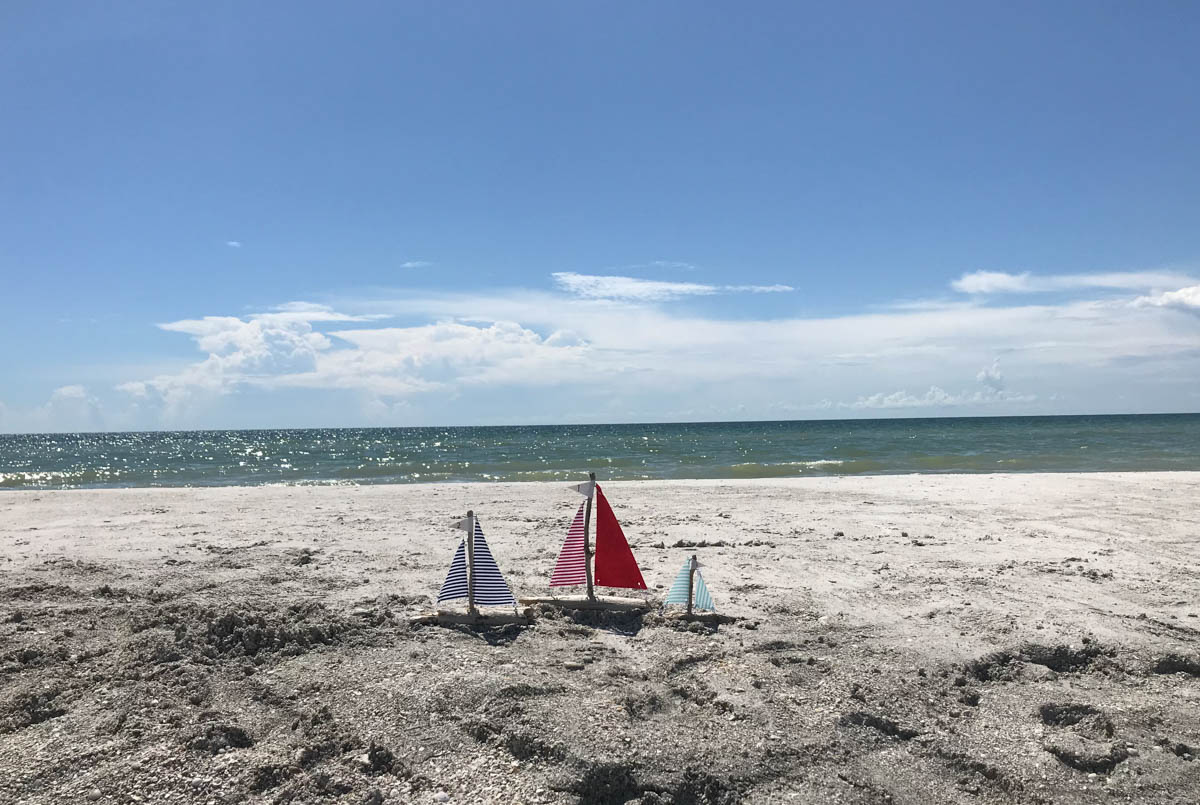
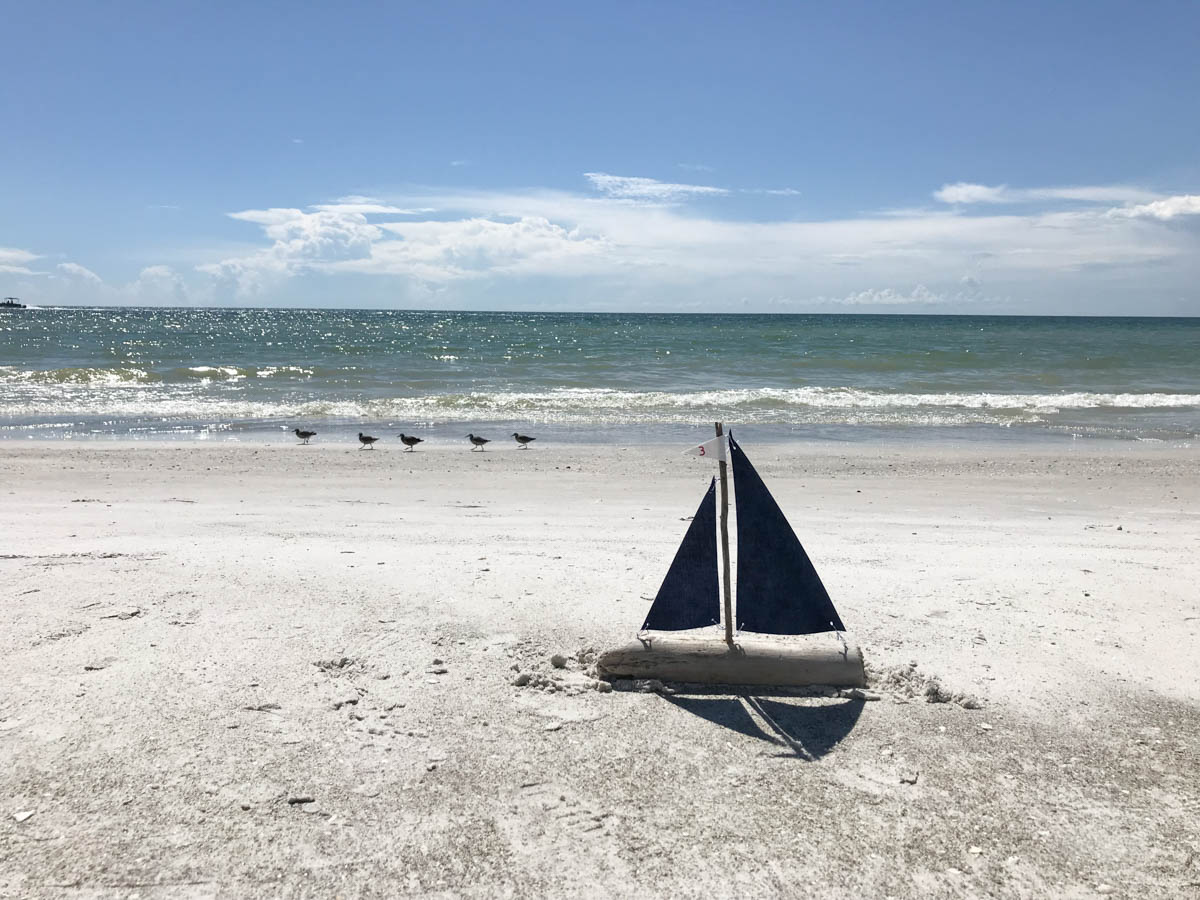
I love these so much! They can be made with driftwood from the beaches you walked on and hunted for, and then kept as home decor after the big day!
This is a sponsored conversation written by me on behalf of Cricut. The opinions and text are all mine.
Tags : Beach, Cricut, Cricut Blogger, Cricut Iron On, Cricut Maker, DIY, Driftwood, EasyPress, Iron On, Maker, Summer, Wedding
In DIY

