Simple Checkerboard Floor DIY
Supplies:
Vinyl – Oracal 631 from Expressions Vinyl
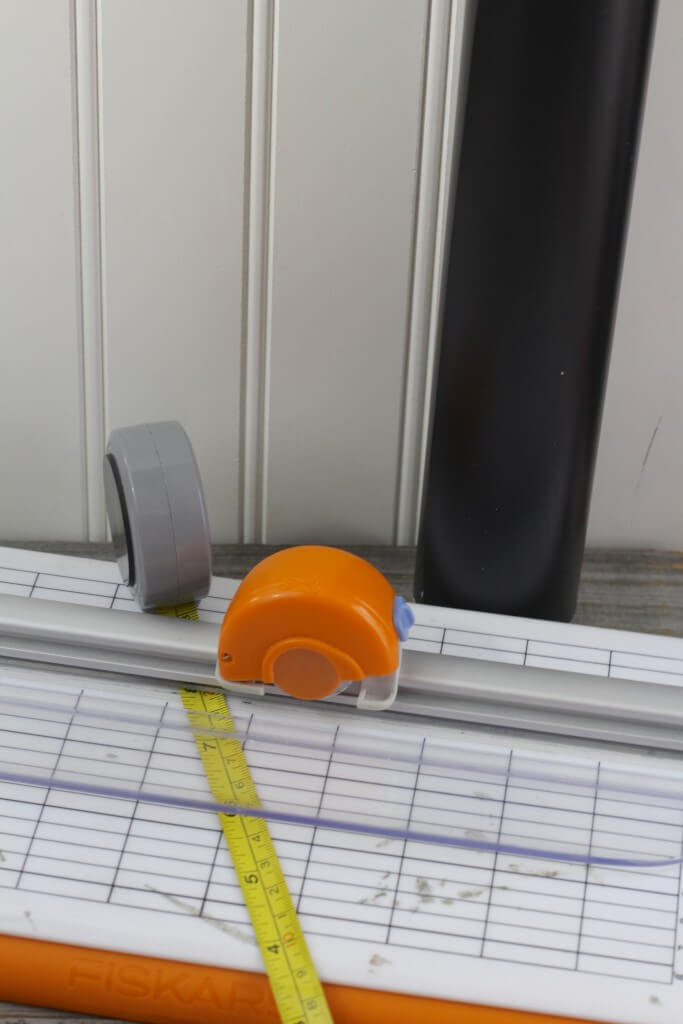
Scissors or Slide Cutter
Tape Measure
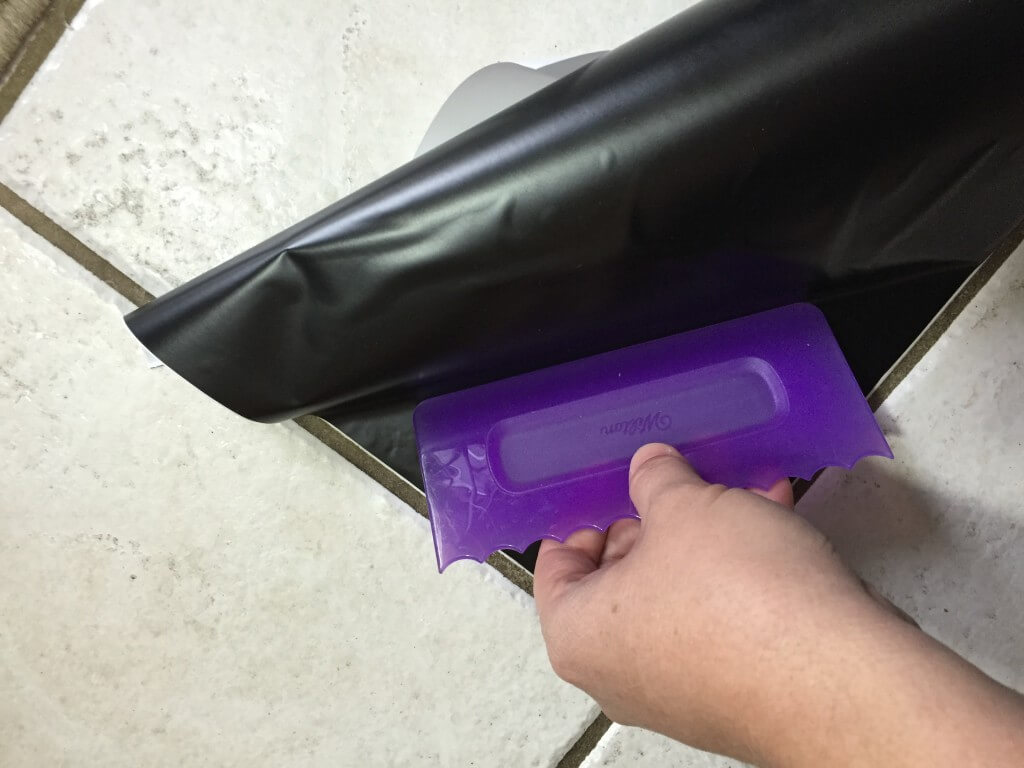
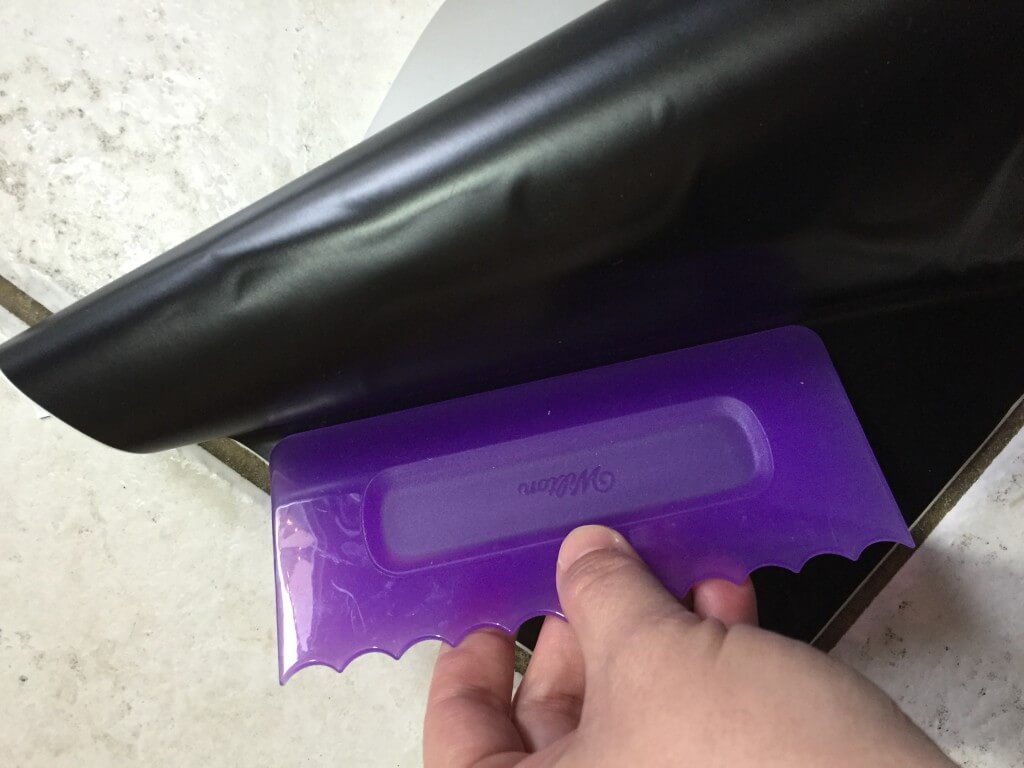
Credit Card or plastic card (I used my Wilton Buttercream Icing Smoother, and then sanitized it in the dishwasher before I used it for food)
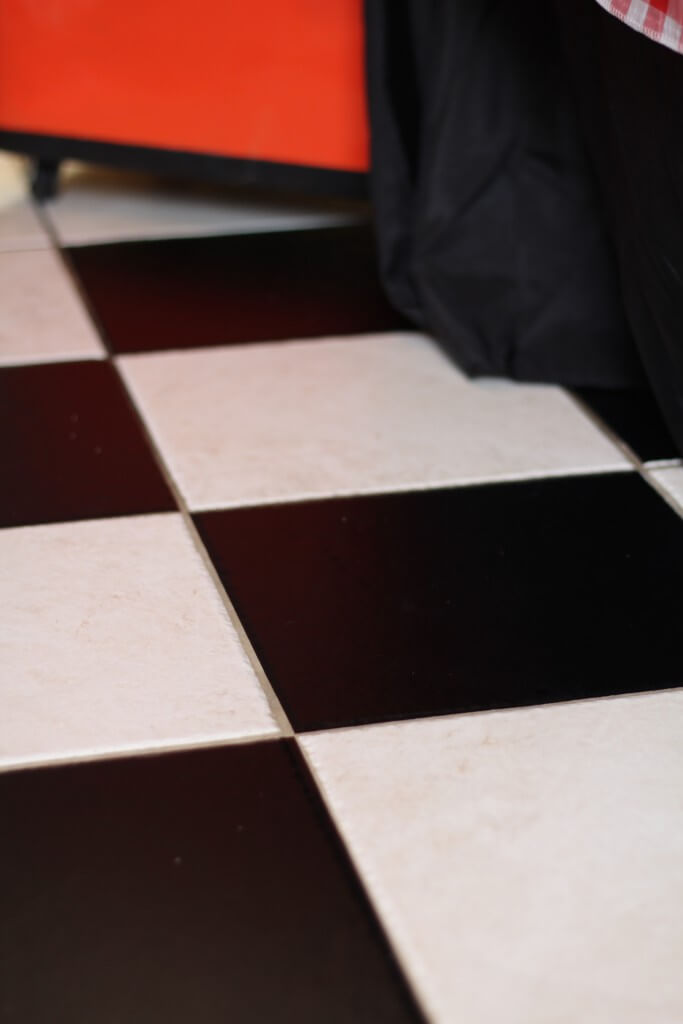
This is truly so simple…I started with cleaning our ugly white ceramic tiles. Once they were clean and dry I began cutting the vinyl to fit. Our tiles are 1’x1′ squares, the vinyl comes on rolls that are 1′ by 30′, so, I literally cut 30 1′ squares of vinyl with my slide cutter. Then, I pealed a corner of the backing off one vinyl square and stuck it to the tile.
To avoid bubbles in the vinyl, I slid the icing smoother across the vinyl onto the tile as I pealed the backing off the vinyl. You can see a little of the paper vinyl backing in the photo. You don’t want to peal it all off at once, or you will have a big sticky sheet of vinyl…I promise it’s easier to do it this way. Our tile has little surface “dips” and textures, but the vinyl covered them perfectly, but didn’t “hide” them, so it truly looked like, well, vinyl checkerboard floors.
Skip a tile, vinyl a tile, repeat until the floor is checkerboard. This lasted several days in the house with kids, and our dog running around, but it pealed off the tile with no residue or damage! Now, I know, not everyone is “lucky” enough to have builder’s grade white ceramic tile on the floor, but this works on wood floors and laminate floors (I tried it on both, but test it in an inconspicuous area before you commit to it for an entire floor), and any hard surface. You can use any color combo, and create your own floor design! In less than an hour, I covered a 75′ square foot area of flooring and it looked AMAZING!
Shop this DIY:
Slide Cutter (this is the newer version of mine, and I will be getting it soon)
Icing Smoother (similar to the one I used)
Tags : DIY, Everyday Party Magazine, Expressions Vinyl, Minted, Soda Shop, Soda Shoppe, Vintage, Vinyl

