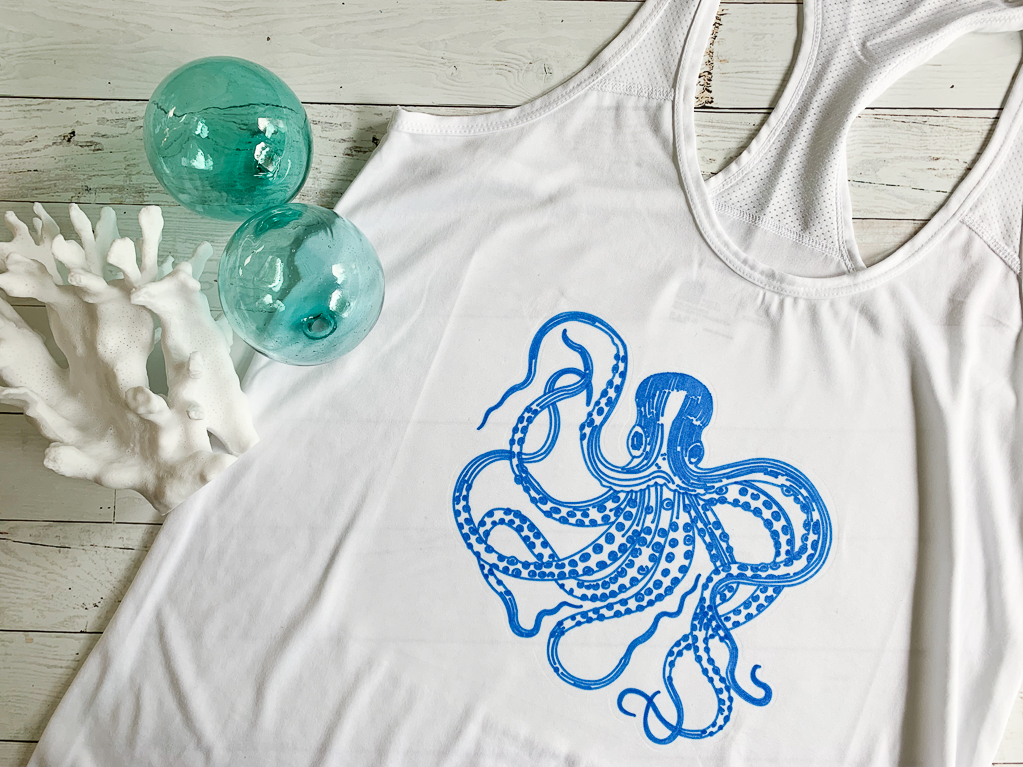
Cricut Infusible Ink Shirt DIY
I am so excited to share this DIY with you today. As you know, I love using my Cricut to create custom gifts, home and party decor, and so much more. So, when Cricut announced their newest product, I was pretty excited. Although, I was a little curious about the process and how it could be so much better than using Iron On. But, I LOVE this shirt and I am thrilled to share this Cricut Infusible Ink Shirt DIY!
If you decide to make a purchase through my links, I will be paid a small commission for it. This doesn’t cost you anything additional. These commissions help to keep the rest of my content free, so thank you!
What is Cricut’s Infusible Ink?
Infusible Ink is an ink transfer material that allows you to create a more professional and permanent product with your Cricut and EasyPress machines. There are two ways to create with Infusible Ink, with patterned transfer paper and with pens or markers. The ink is literally infused into the fibers of the fabric, making a product that won’t crack or peel.
Creating with Infusible Ink Pens
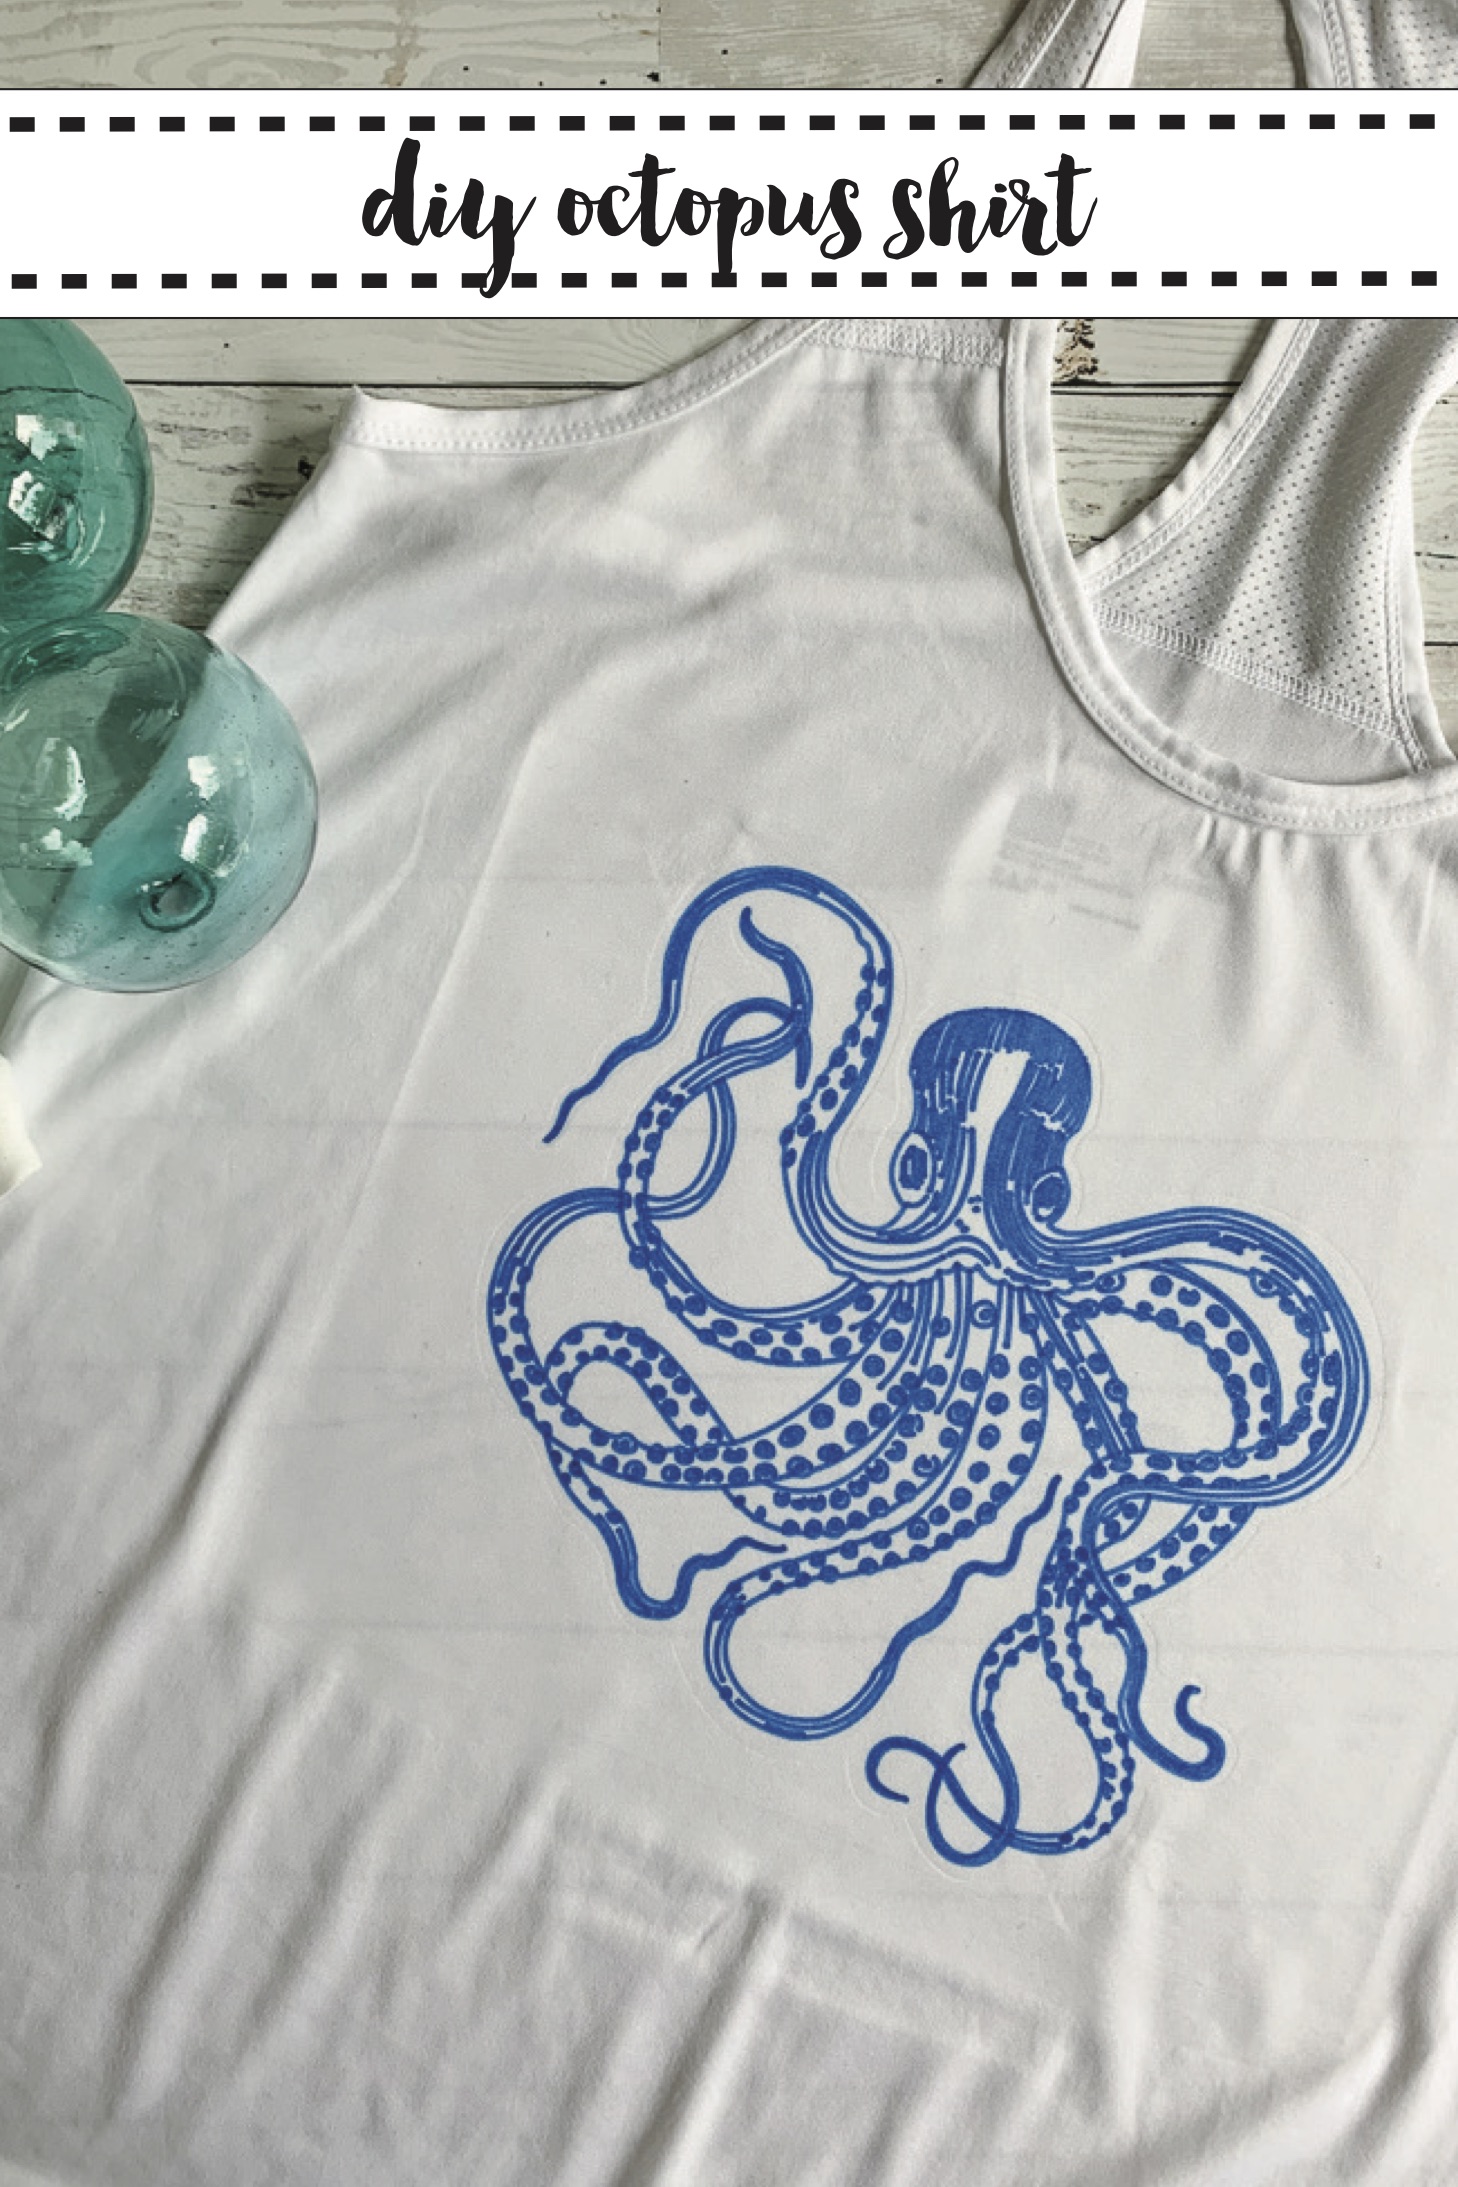
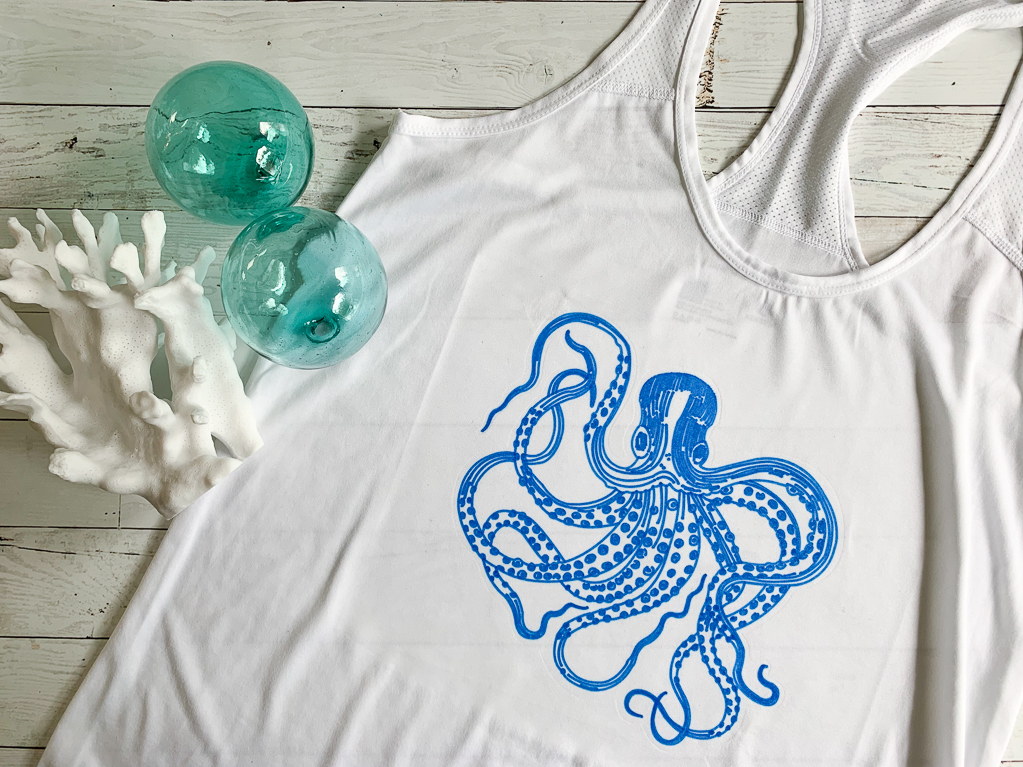
When I was scrolling through Design Space looking for an image for another project, I saw this drawn octopus image, and I fell in LOVE with it. I knew it would be the first project I made with Infusible Ink. I absolutely love how this project turned out, and I cannot wait to make more. This image is a drawn image, so I don’t think it would work with the patterned transfer paper.
Make An Octopus Shirt or Tote Bag with Infusible Ink:
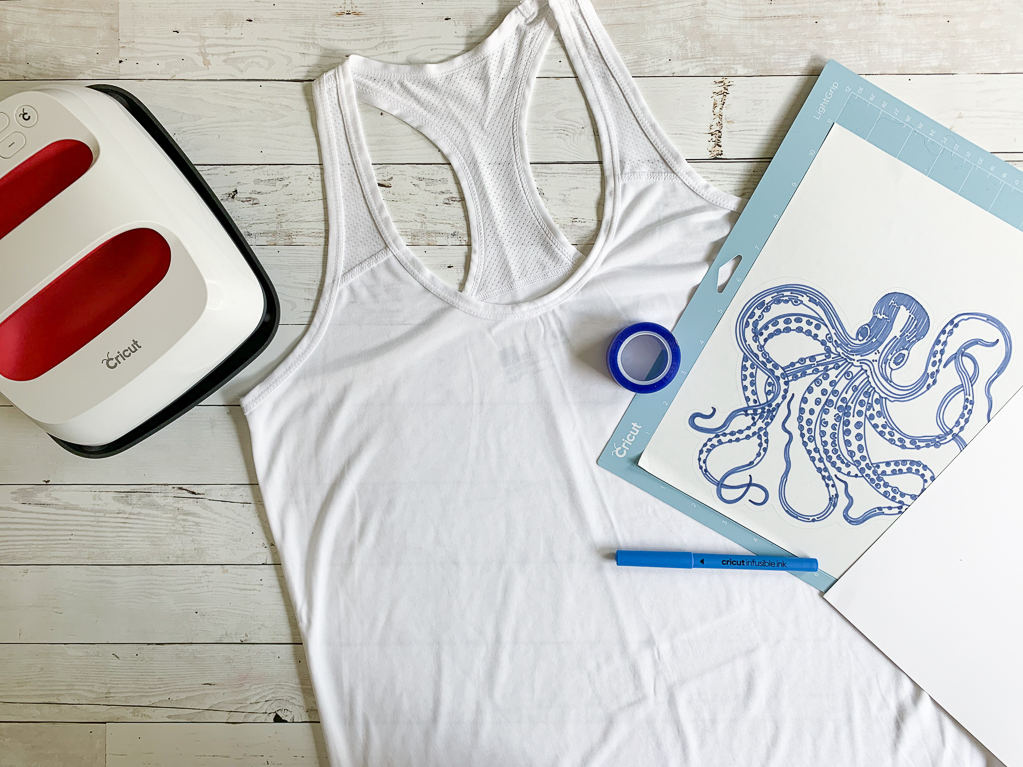
To make this awesome octopus shirt, you will need a few minutes to work and a couple of supplies! (And if you are like me, you probably have all the supplies you need at home already)
Supplies for Octopus Infusible Ink Projects:
Polyester Blend Shirt or Bag (I used a JC Penny’s brand work out shirt that is 100% polyester and was only $5!)
Step 1:
Choose your design and size it to fit your shirt or bag.
Step 2:
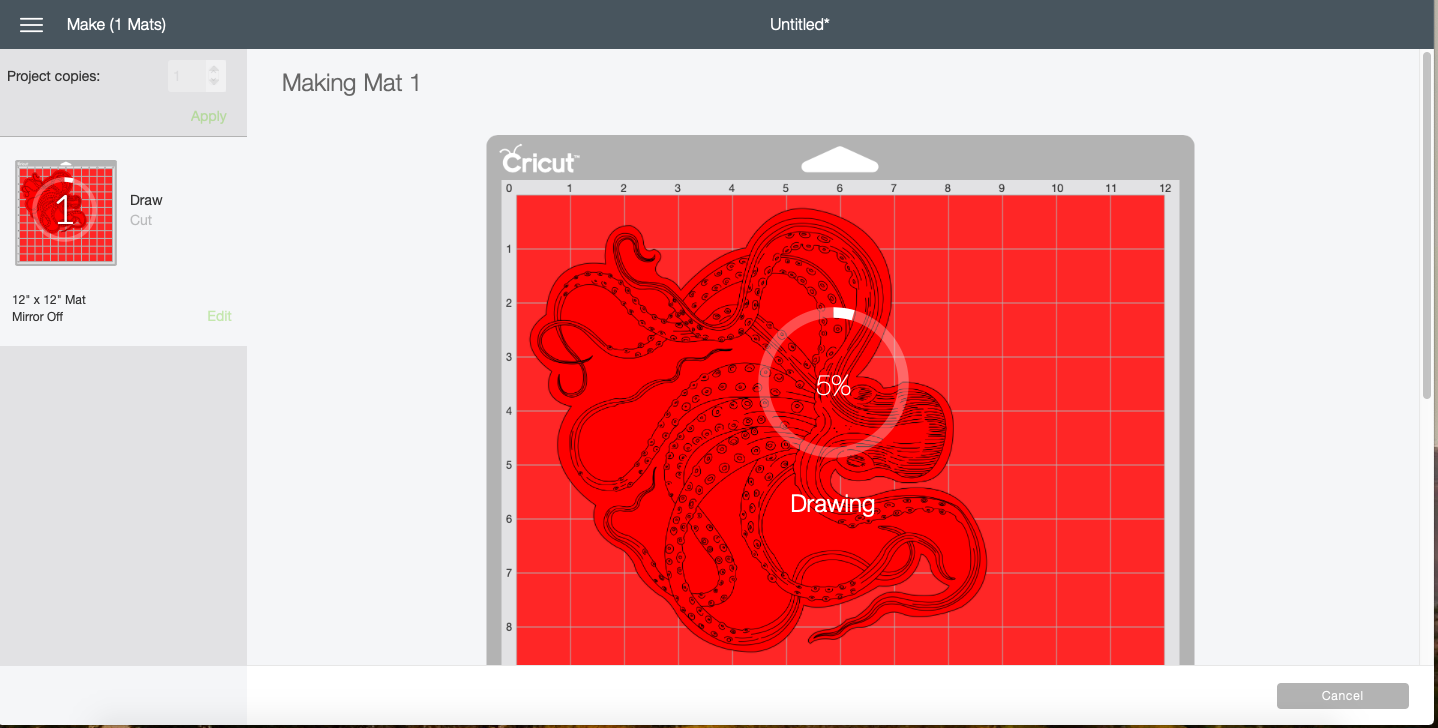
Place a sheet of copy paper on a light grip cutting mat.
Step 3:
Place an Infusible Ink pen into the pen holder of your Cricut Machine.
Step 4:
Send the project to draw and cut. {Don’t forget to mirror the image. I did not mirror it for this project because it didn’t matter}
Step 5:
Place your shirt or bag on the EasyPress Mat and cover the area where you will be adding your image with butcher paper. Press for 20 seconds.
Step 6:
Place a piece of card stock inside the shirt and use a lint roller to remove any lint or dust from the shirt.
Step 7:
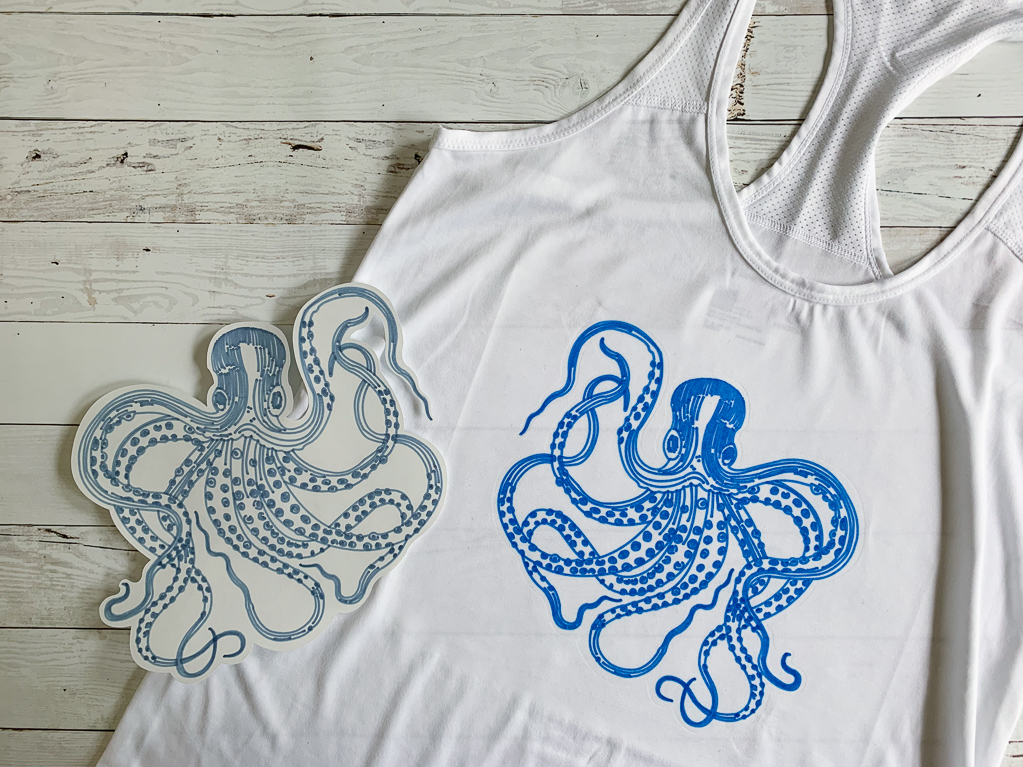
Place the image onto the shirt, ink side down. Add a little bit of heat resistant tape to hold the image in place.
Step 8:
Cover the image with the butcher paper and press according to Cricut’s recommended guidelines.
Step 9:
Allow the shirt to cool, and carefully pull the butcher paper and ink transfer paper off of the shirt.
Be sure to check out Hey Let’s Make Stuff’s post with more info and tips on using Infusible Ink!
If you liked this Cricut Project, be sure to check out some of these too!
Tags : Cricut, DIY, EasyPress, Infusible Ink, nautical, Shirt

