Hanukkah Celebration
Growing up, I was always fascinated with how other people celebrated holidays. My parents raised my sister and I in a Lutheran Church and School, however, they were always very open to exposing us to as many faiths as we asked about. Hanukkah always held a special place in my heart, and because of that, I have tried to share some elements of Hanukkah with my own children.
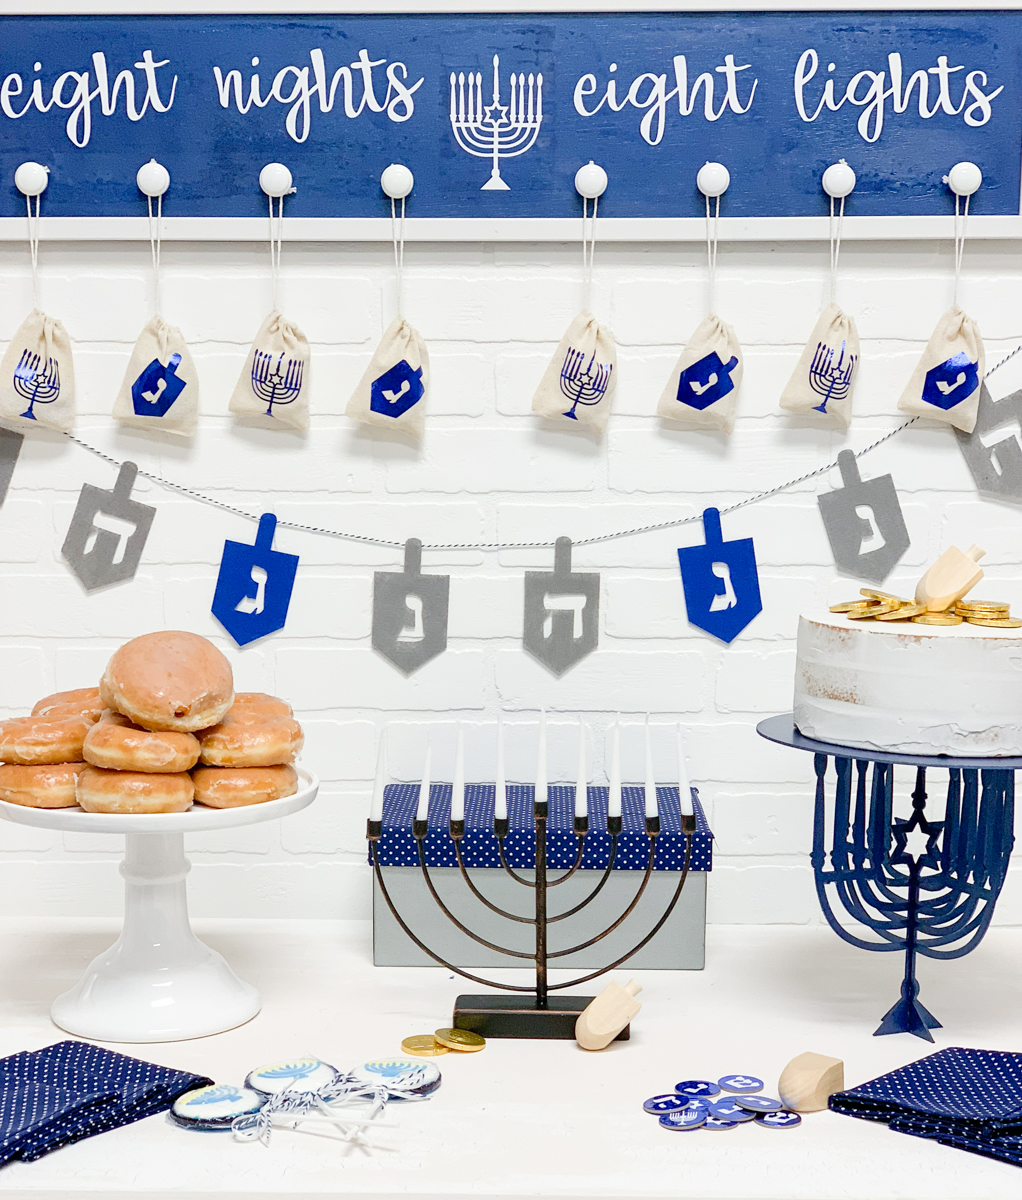
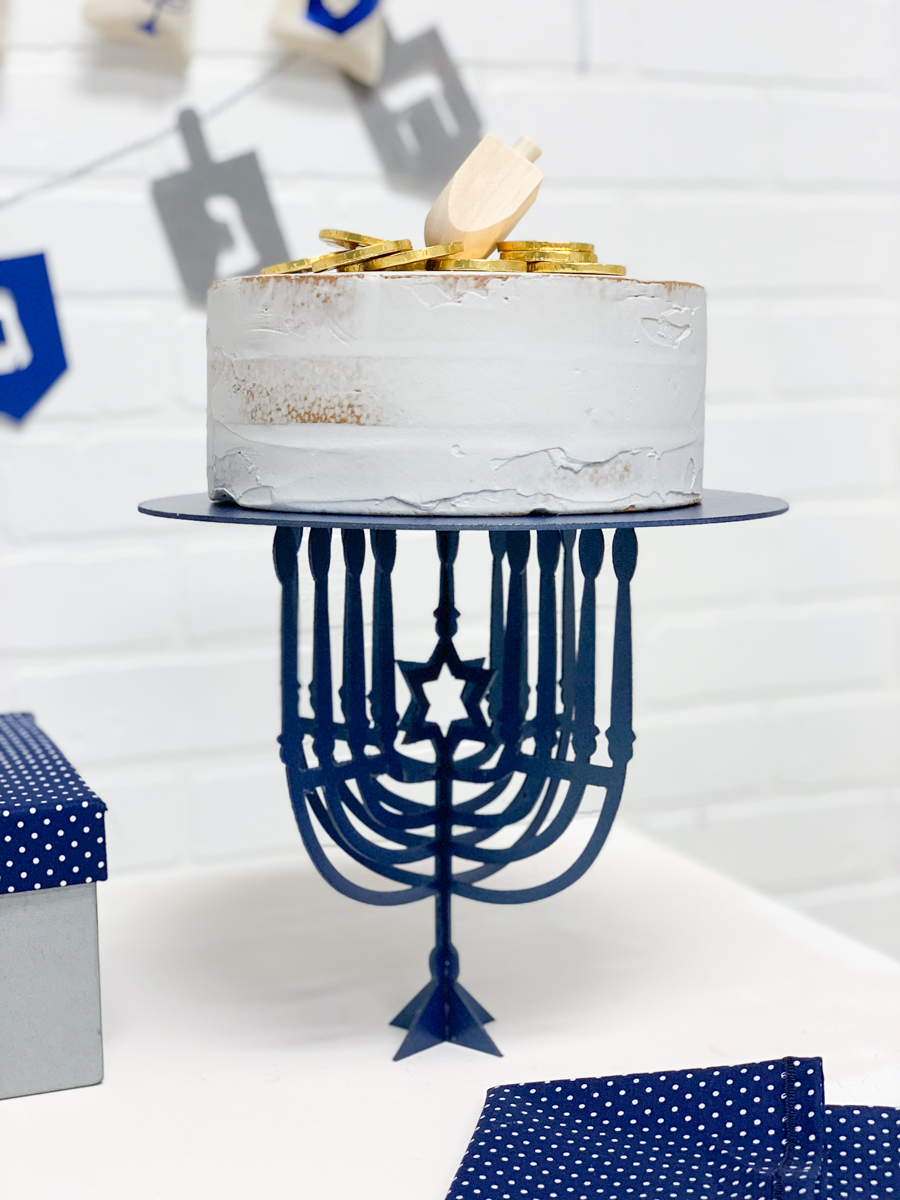
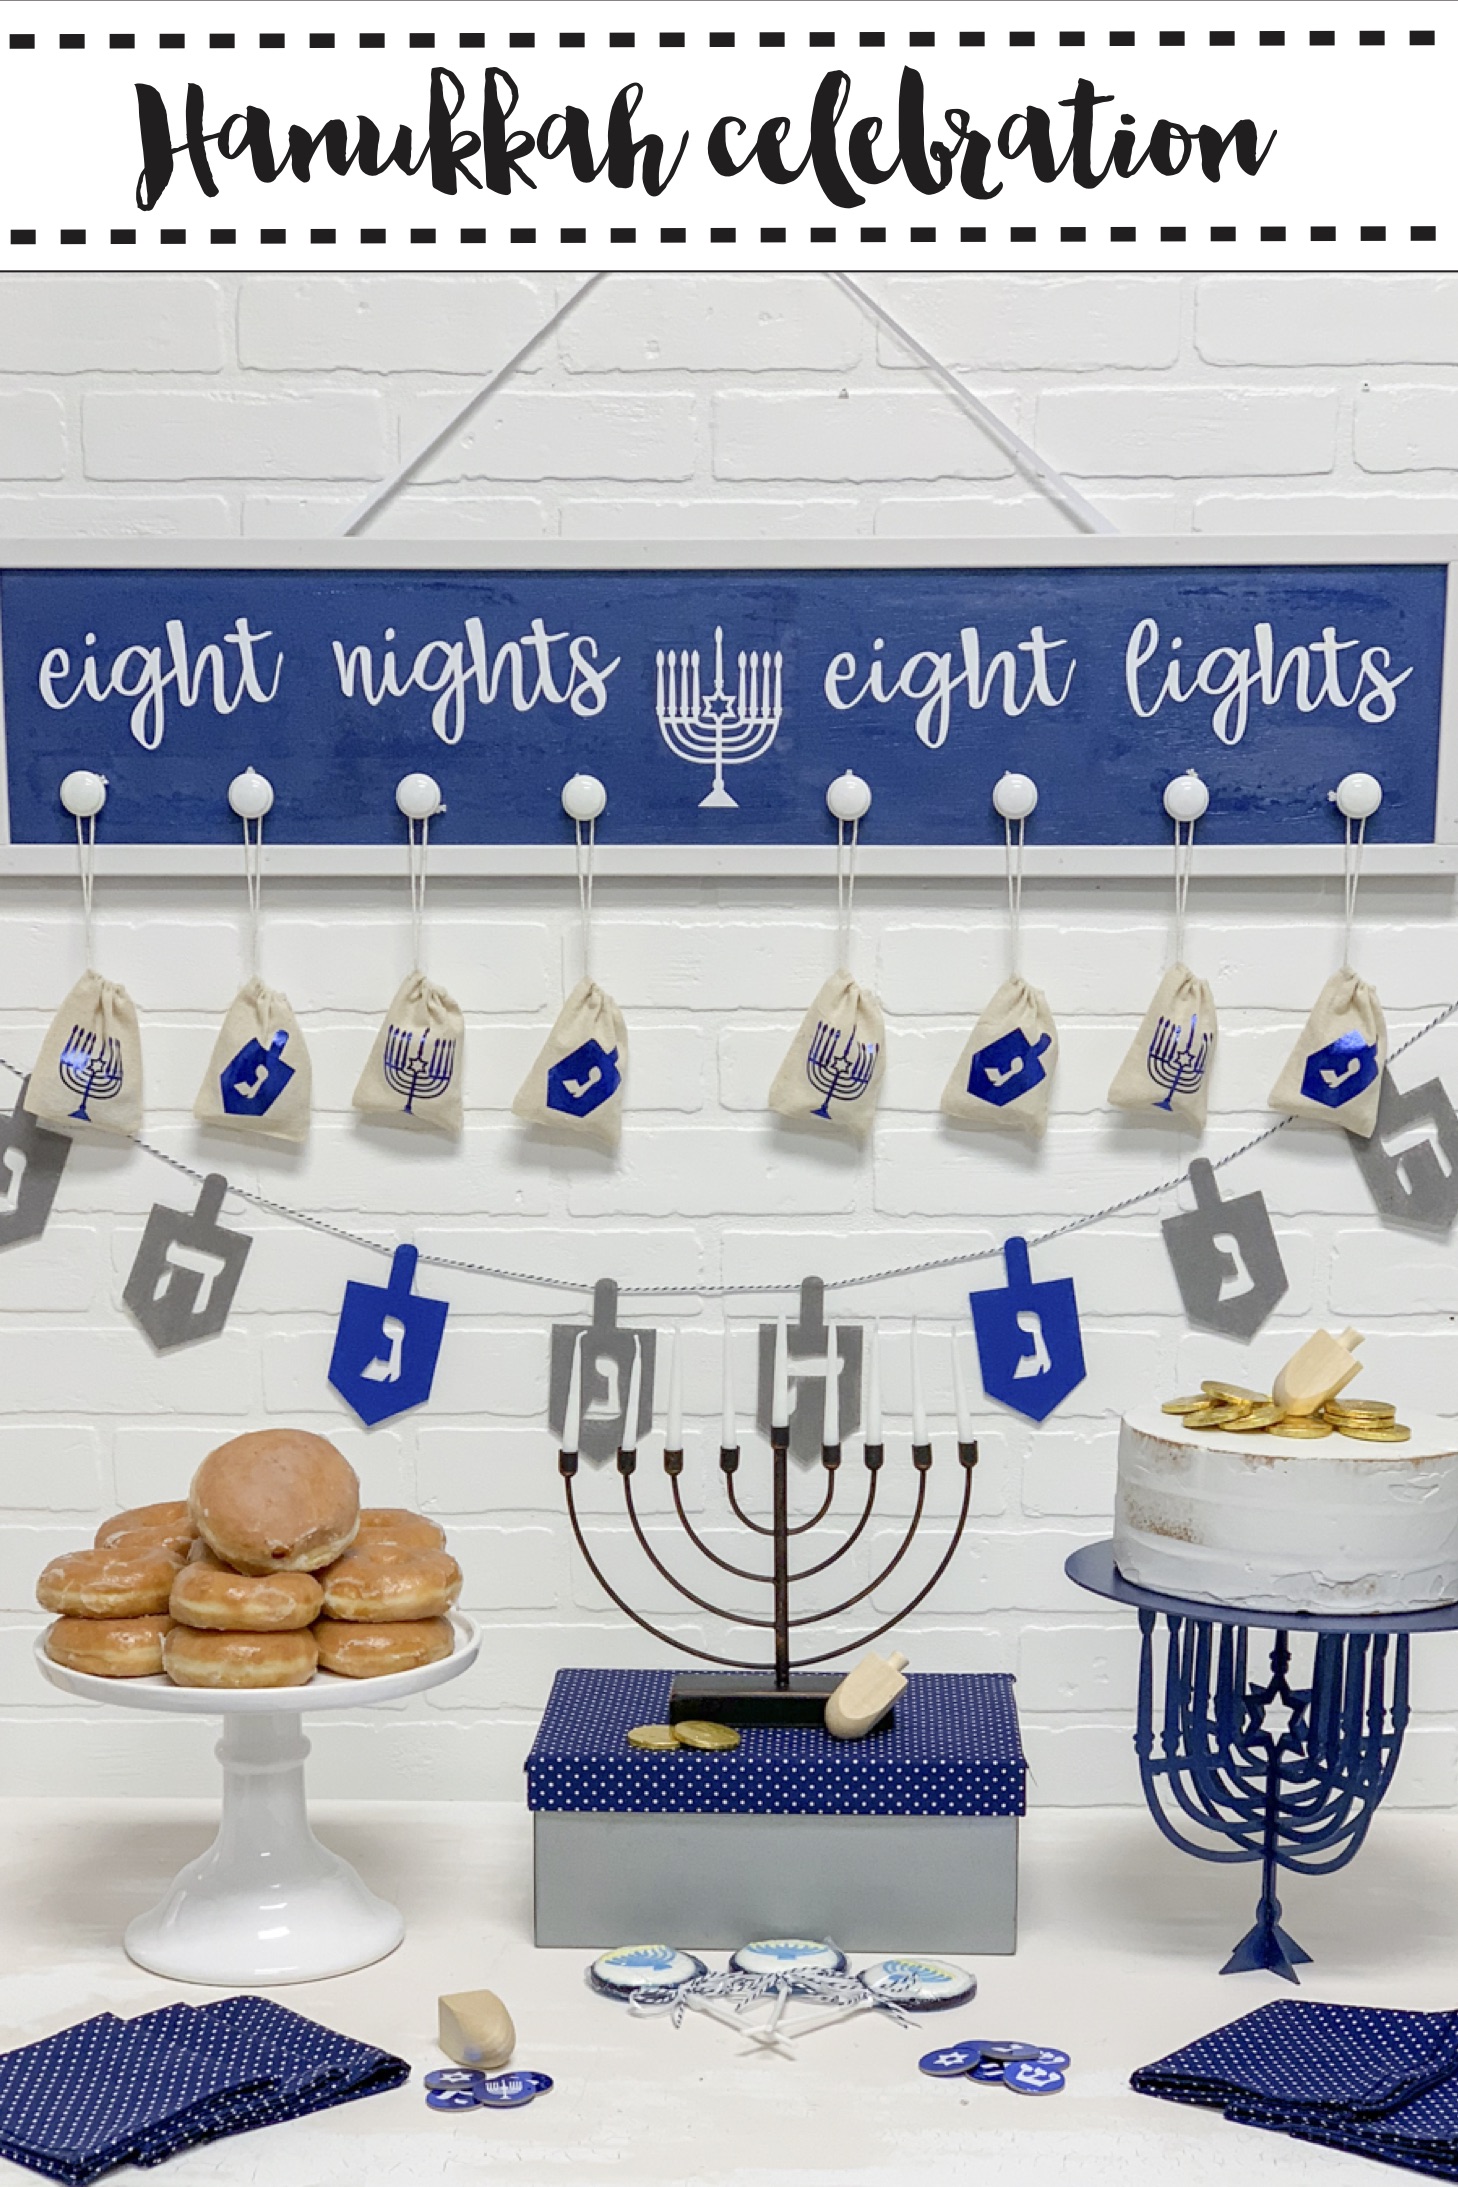
It is really hard to find a lot of Hanukkah decor in stores, this is the first year I have seen more than a small section of an aisle dedicated to the holiday. However, I wanted to make as much of our Hanukkah decor as possible. I was able to make a hanging wooden sign, chipboard game pieces for the Dreidel Game, small favor bags, banners, and even a chipboard cake stand! In fact, the only things store bought were the dreidels, pom pom garland, candies, Menorah and candles, and the donuts.
The Table
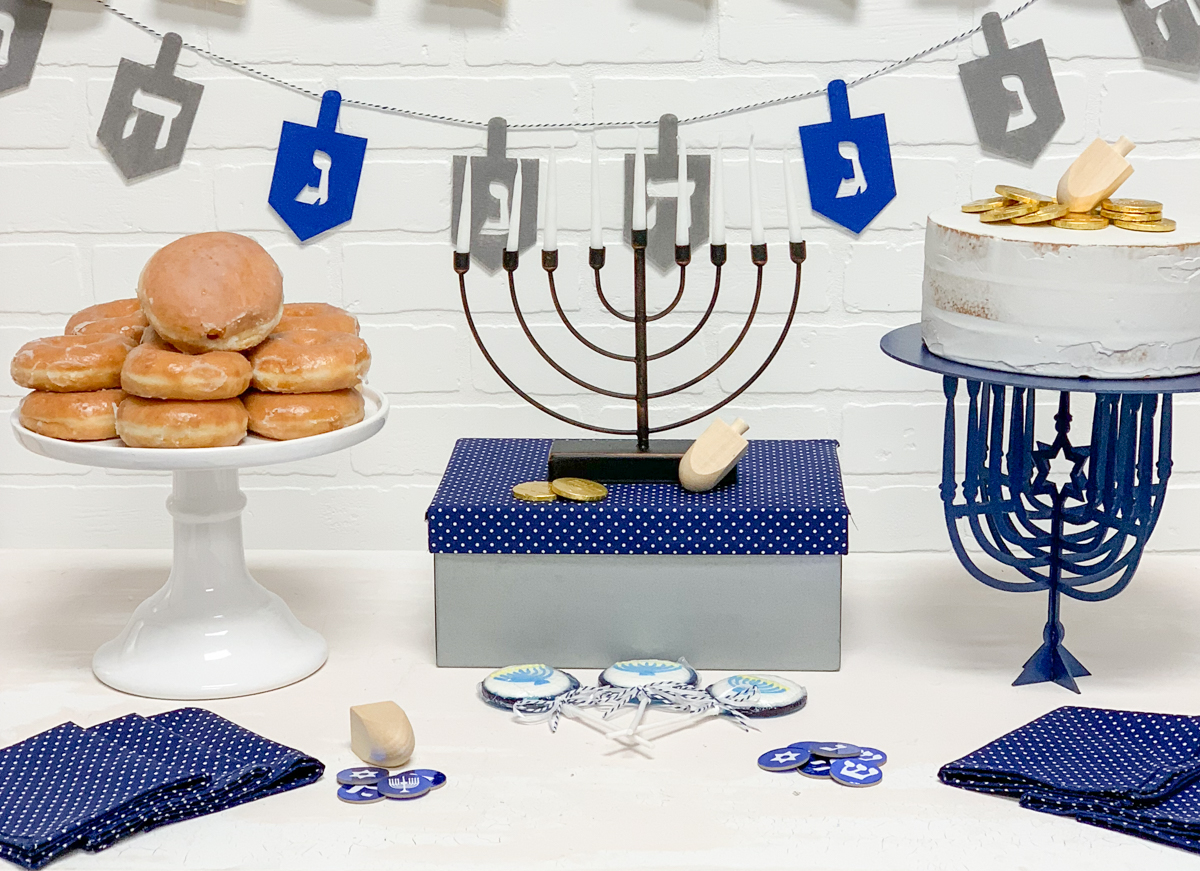
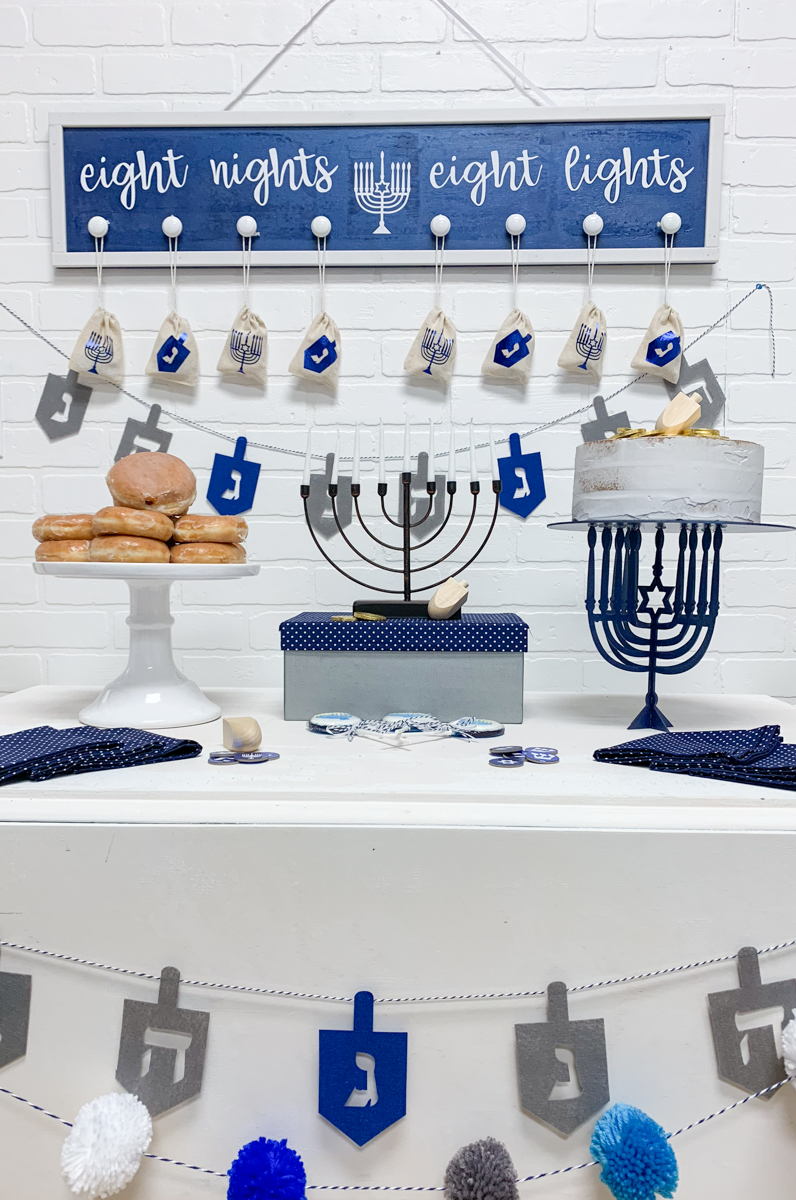
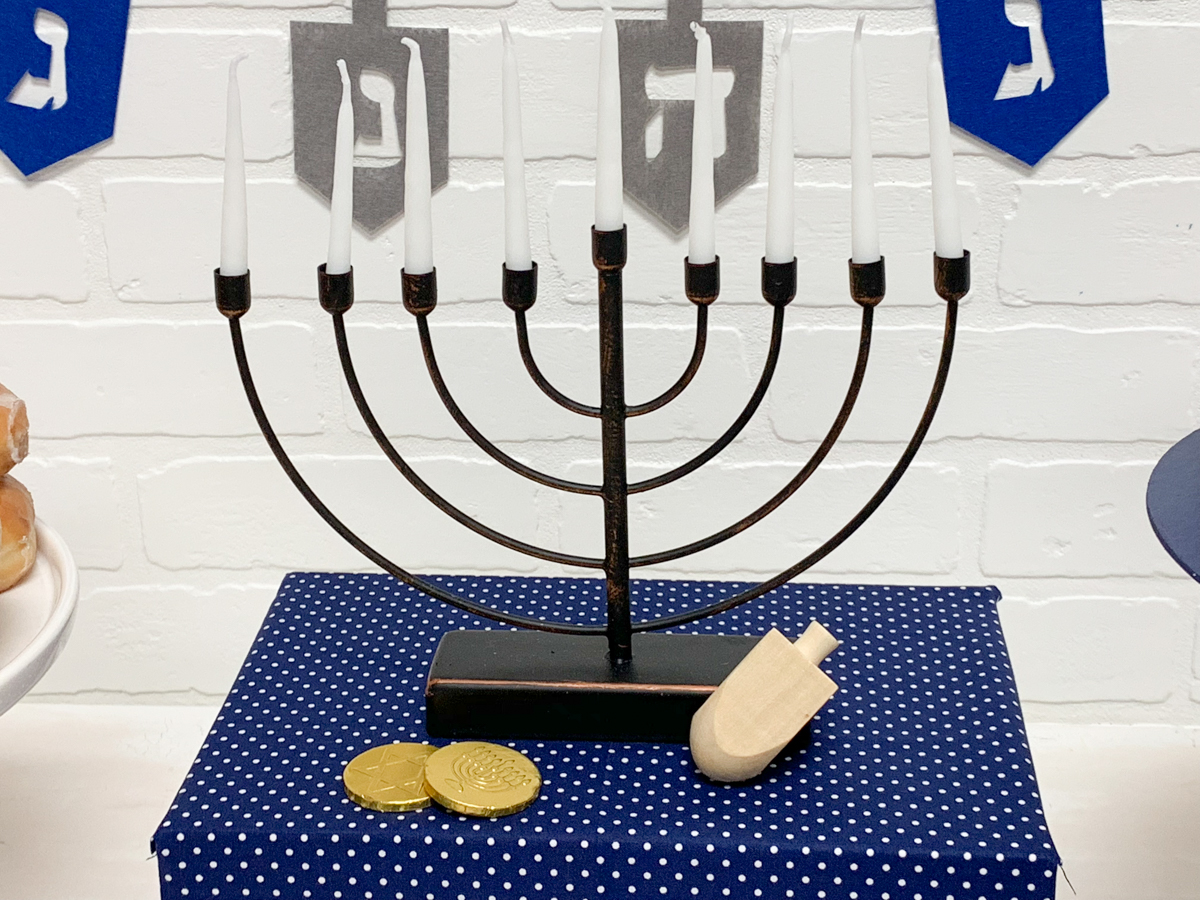
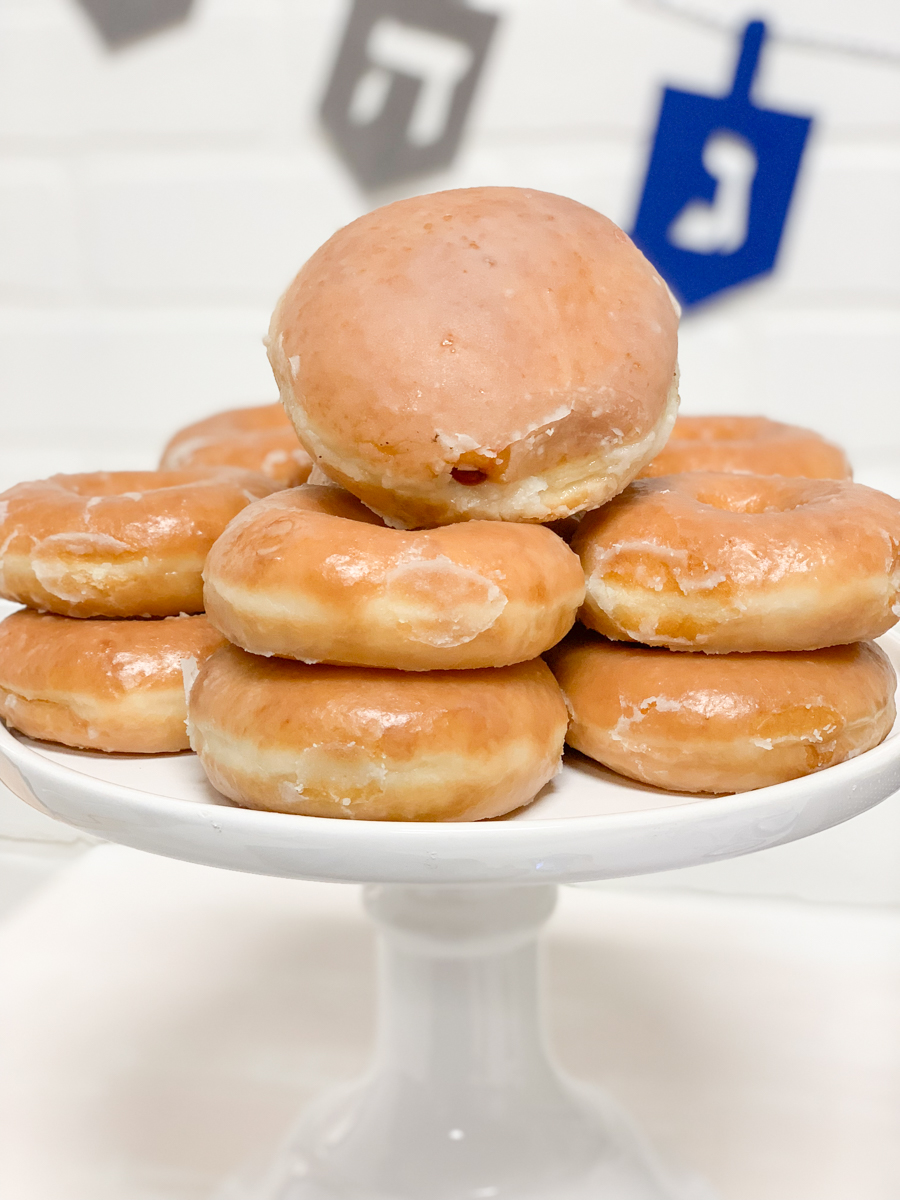
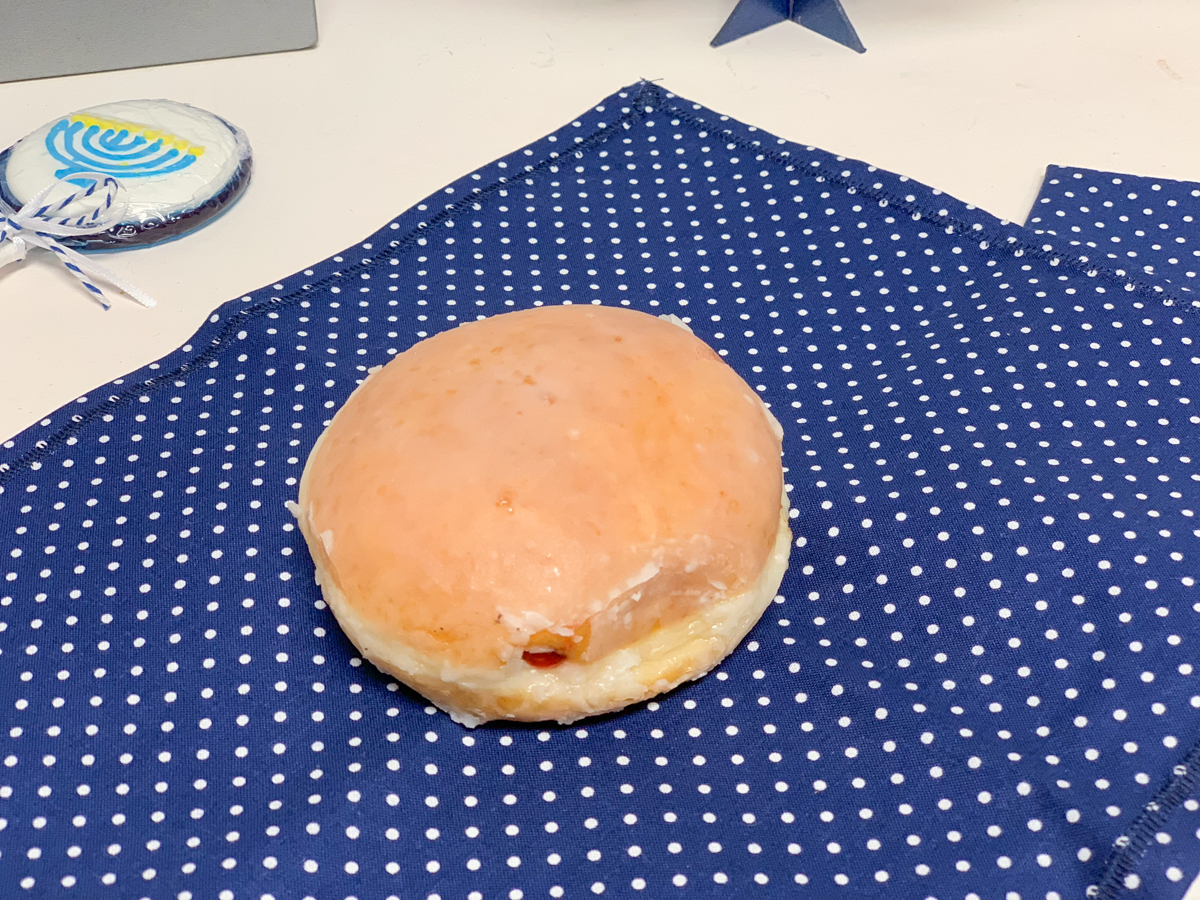
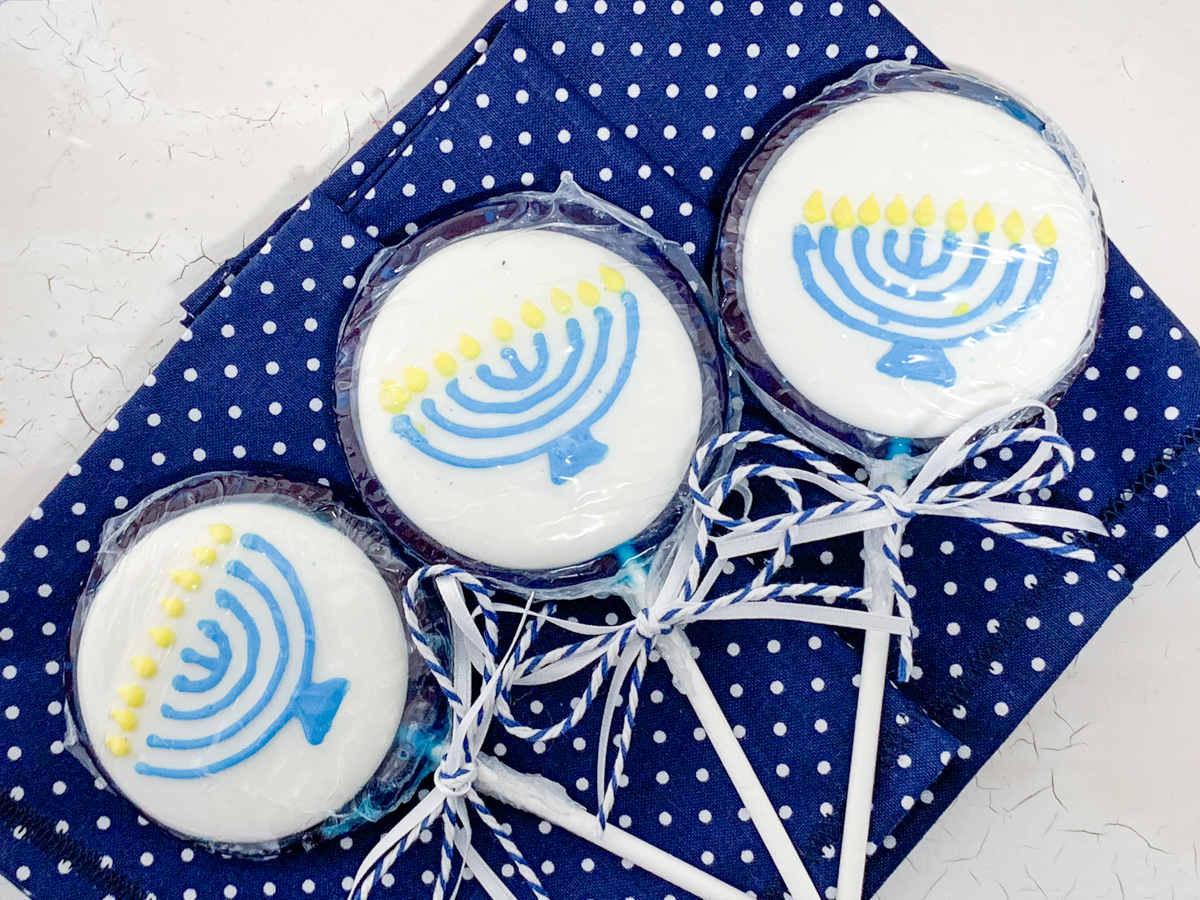
I wanted the table to be simple so I could really focus on the meaning of the holiday with my boys. I made a 3D Menorah cake stand for the table, and covered a small box of trinkets and photos with some Riley Blake Fabric I had. I placed our Menorah on the box, and then in front of it {so we could safely light the candles}. On the opposite side of the Menorah cake plate, I had a traditional cake plate full of donuts. We decided to eat off of hand made fabric napkins, they were made with more Riley Blake Fabric, and added a little vintage feel to the table. I used undecorated dreidels, game pieces, and fun Menorah lollipops to fill in some spots on the table.
I hung a DIY felt dreidel banner and a pom pom garland on the front of the table to give it a little pop of color.
The Wall
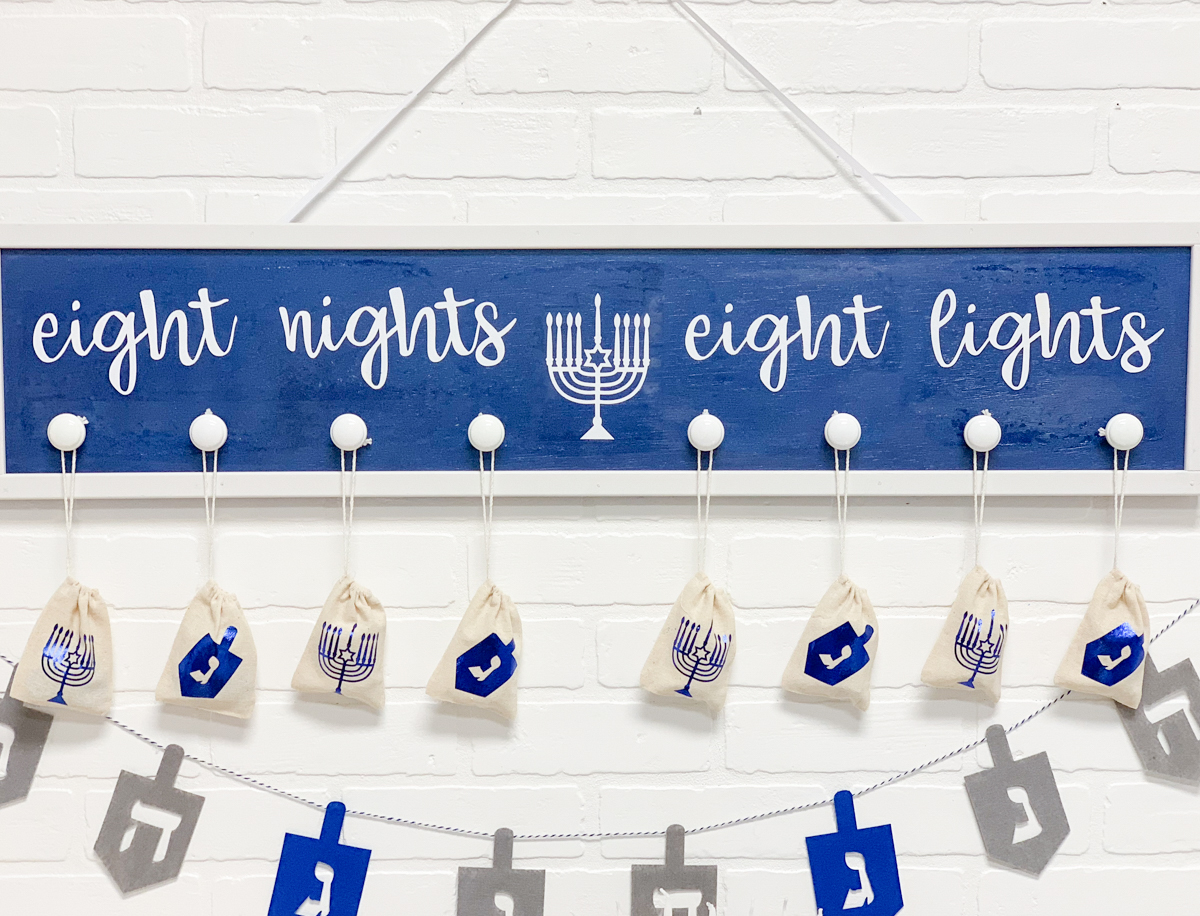
On the wall above the table, I hung a hand made wooden Hanukkah sign, and another dreidel banner. The Hanukkah sign has eight hooks on it and eight little favor bags for each night of Hanukkah.
Our celebration was simple, but sweet, and it was a great way to continue to expose my family to more cultures, beliefs, and celebrations.
Make the Felt Banner
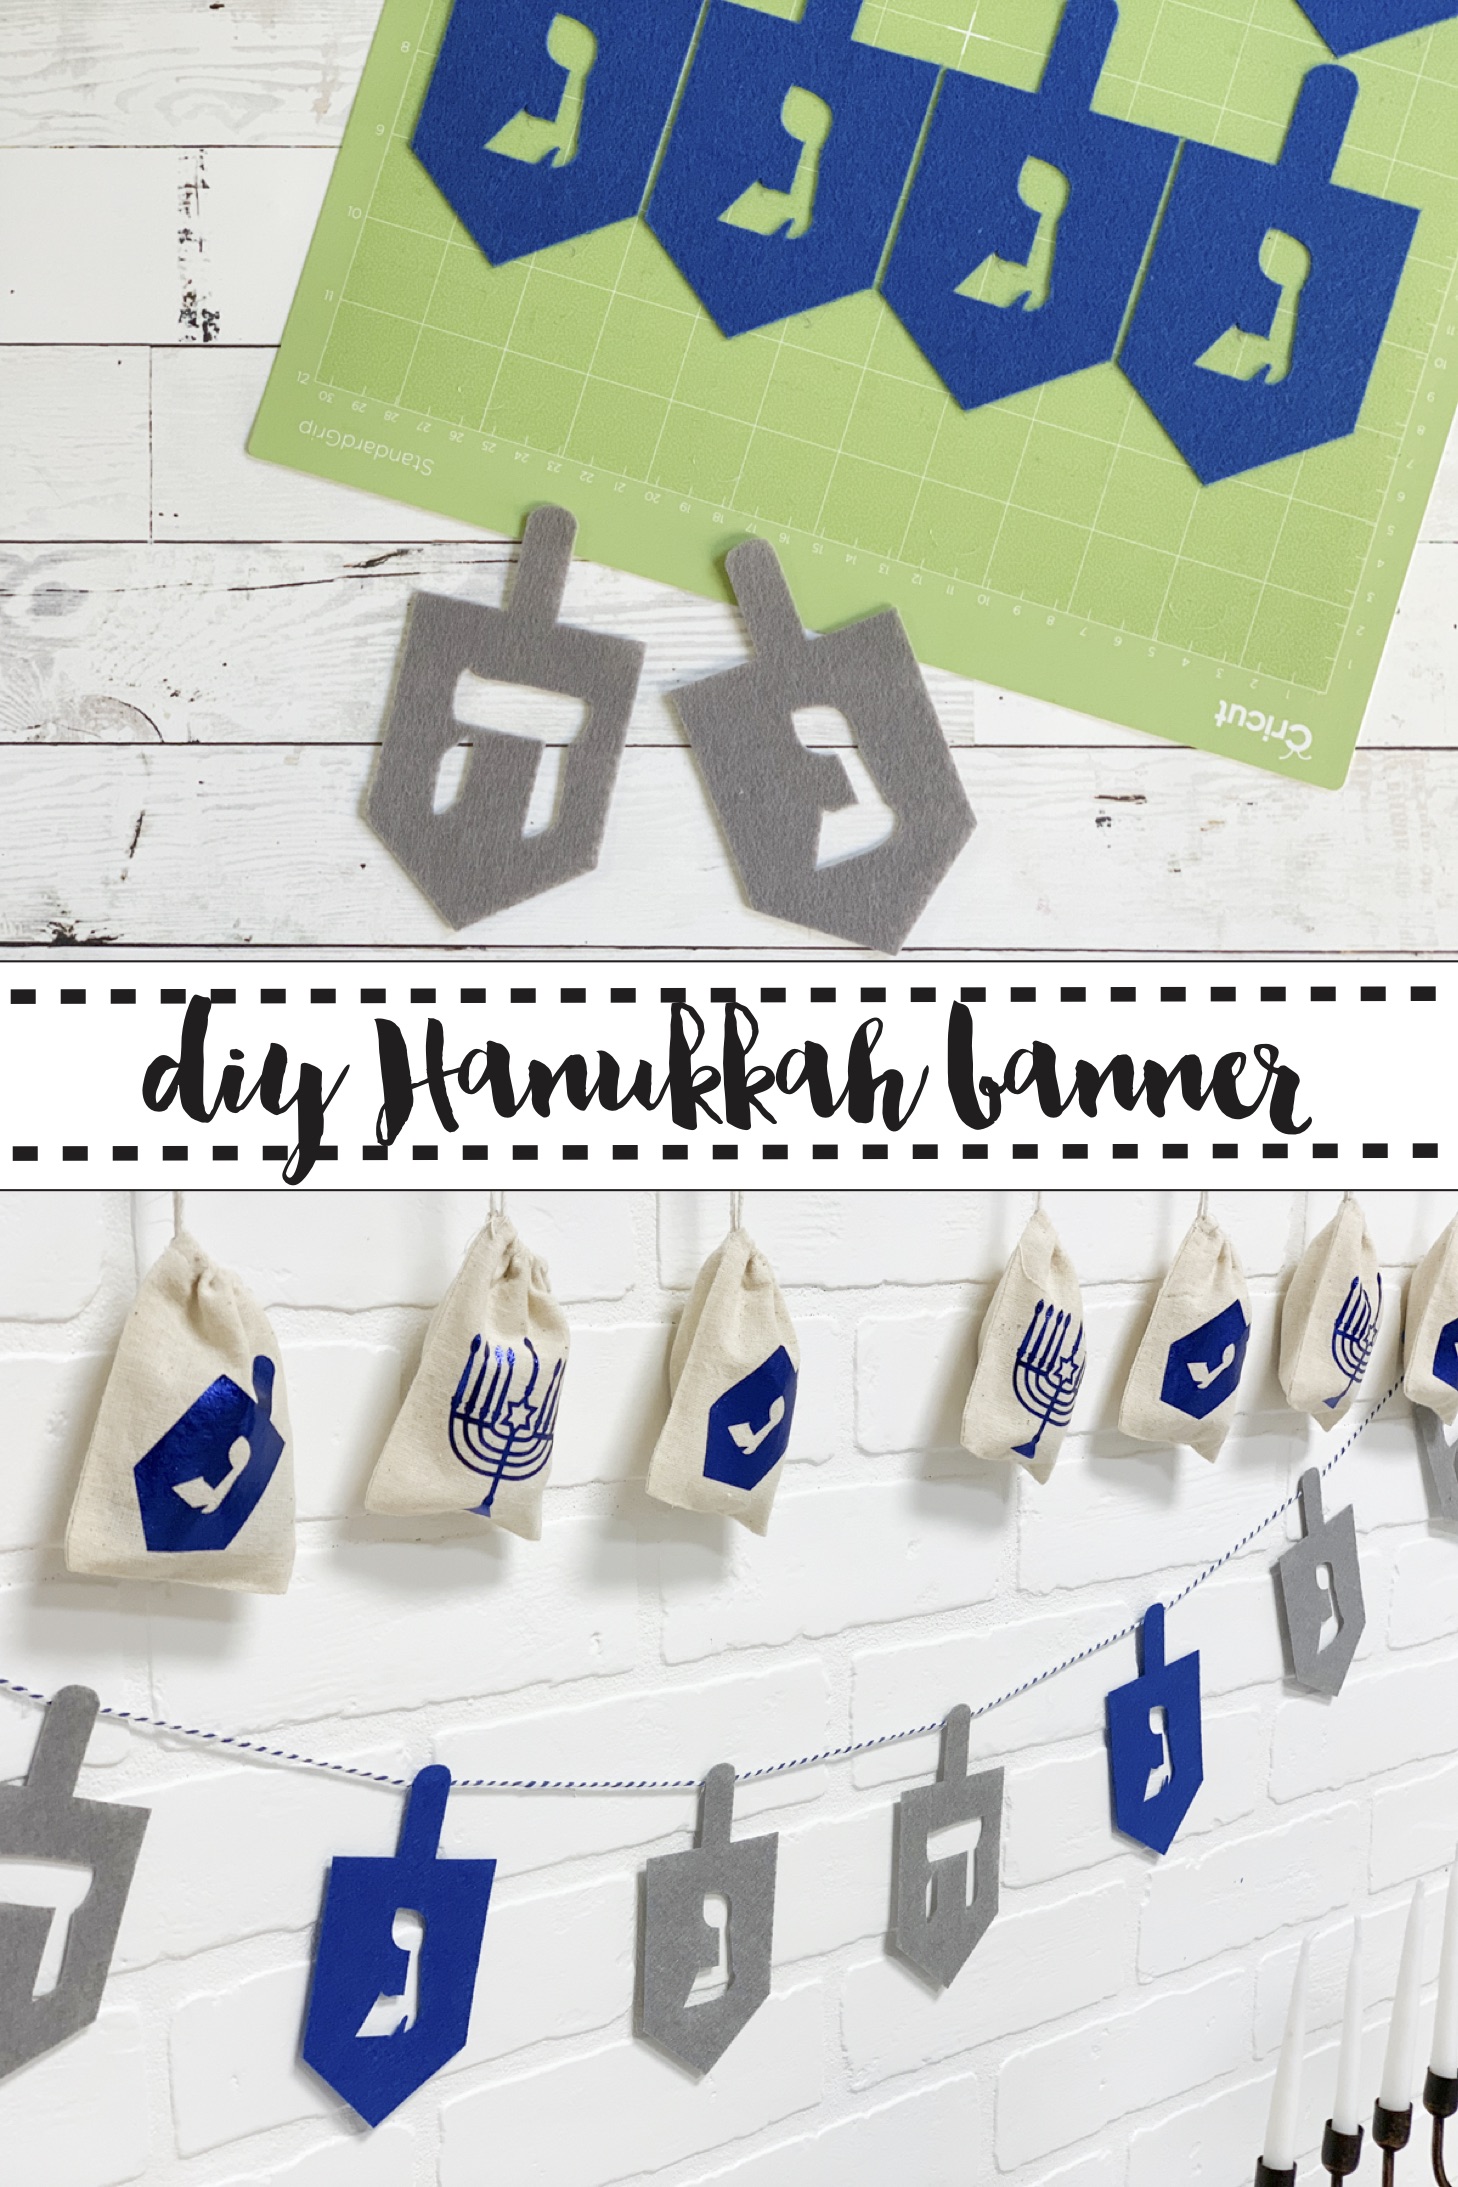
The felt banners were SO easy to make! Each one took less than five minutes to make, and I couldn’t be happier with how they turned out.
You will need:
Cricut Maker and Rotary Blade
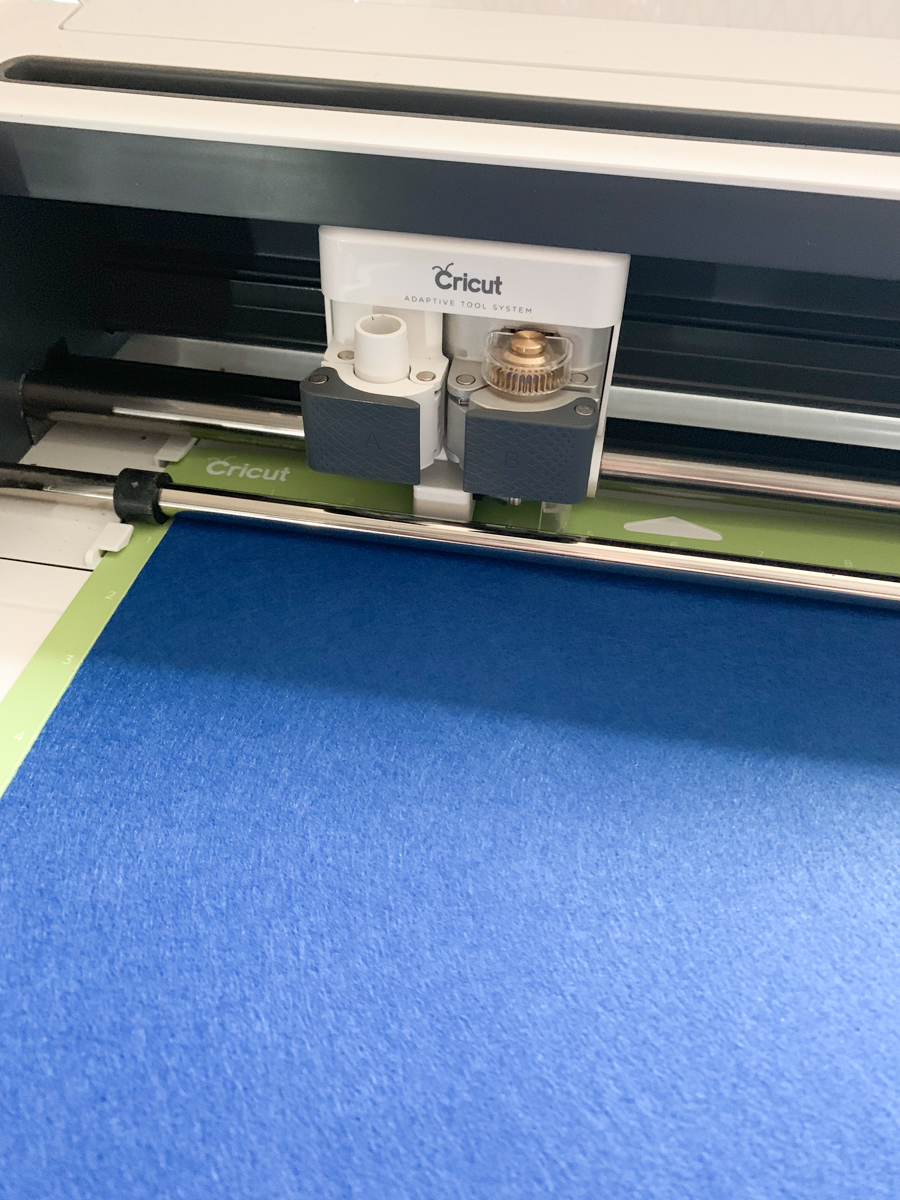
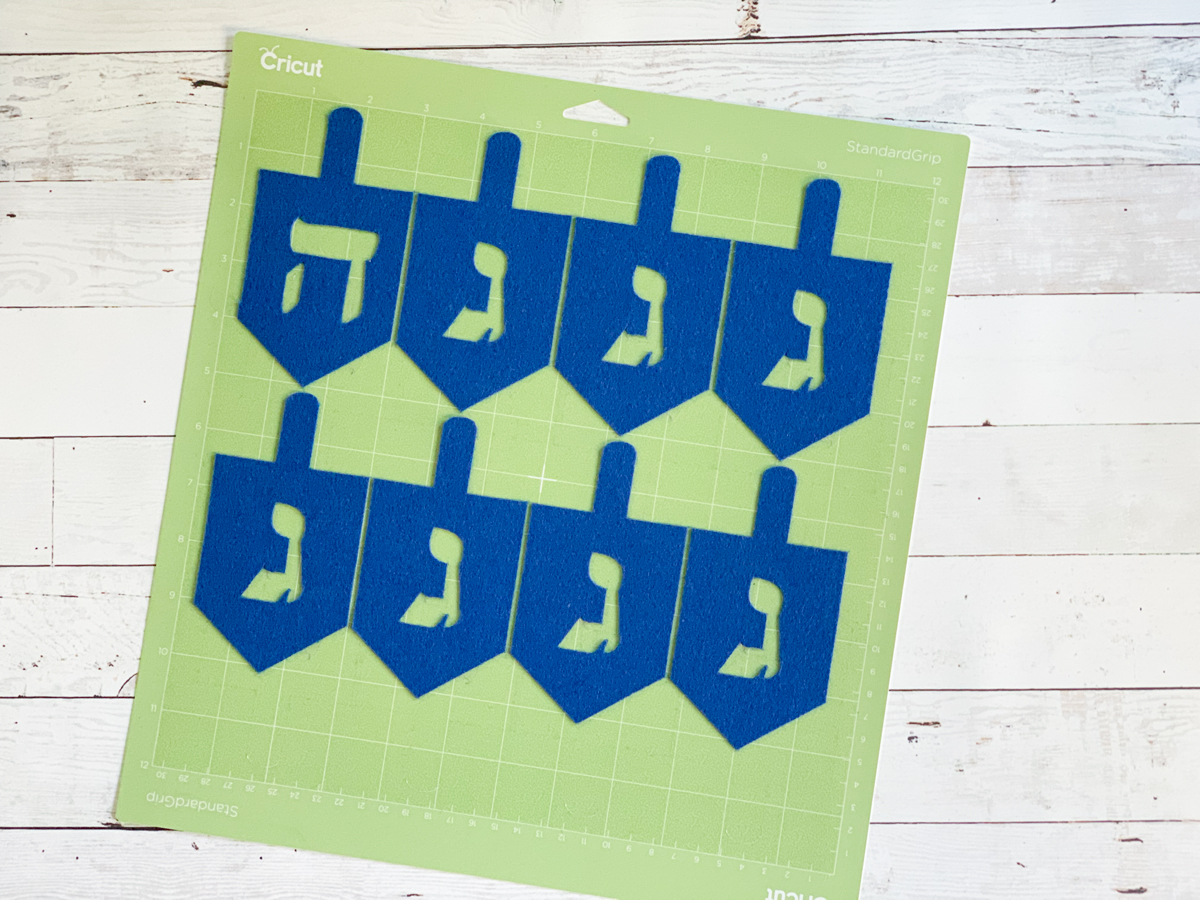
Open this cut file and send the project to cut. I used three sheets of 12×12 Cricut Felt in two colors.
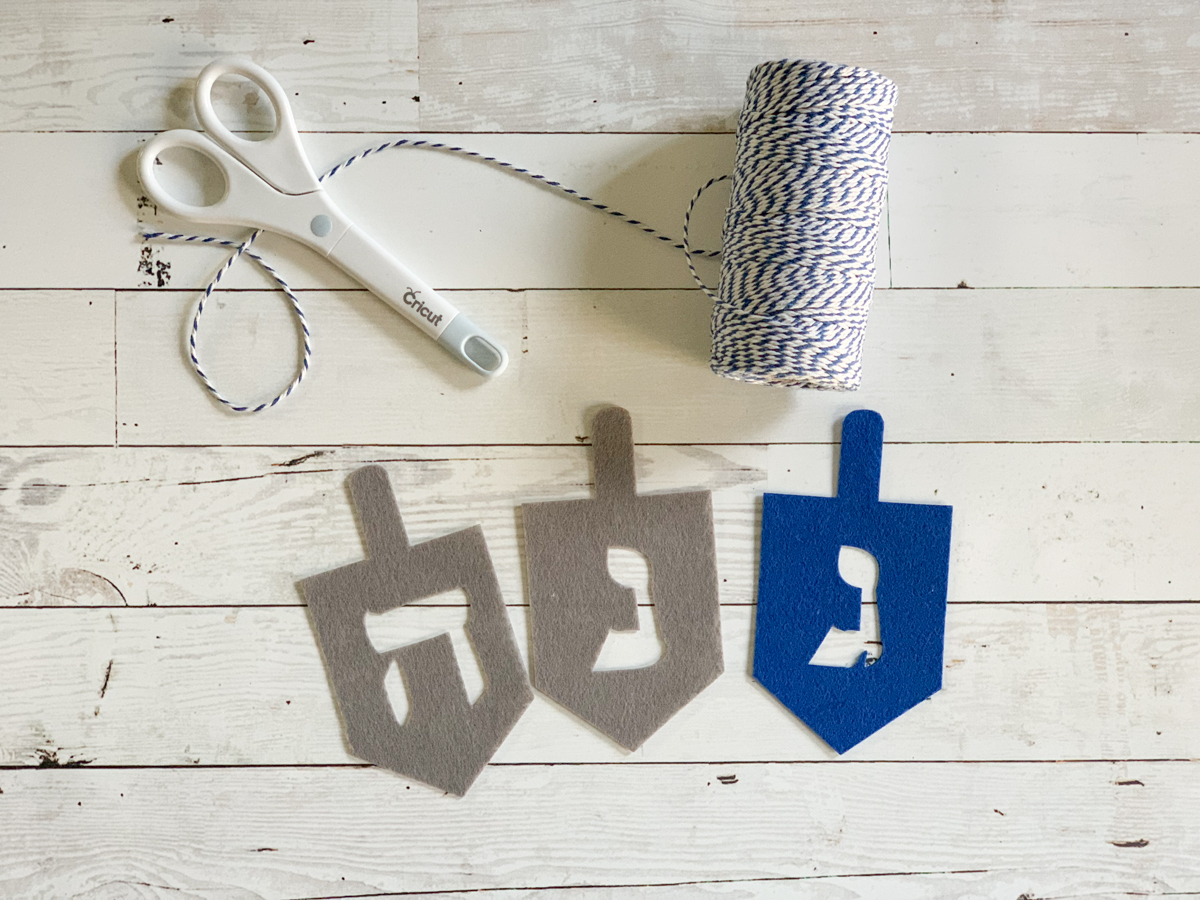
Remove the dreidels from the cutting mat, and arrange how you like it. I used two grey dreidels for every one blue one.
Once the pattern was decided, I added a dot of hot glue to the back of the dreidels on the back, and stuck the baker’s twine in the hot glue.
Make the Hanukkah Favor Bags
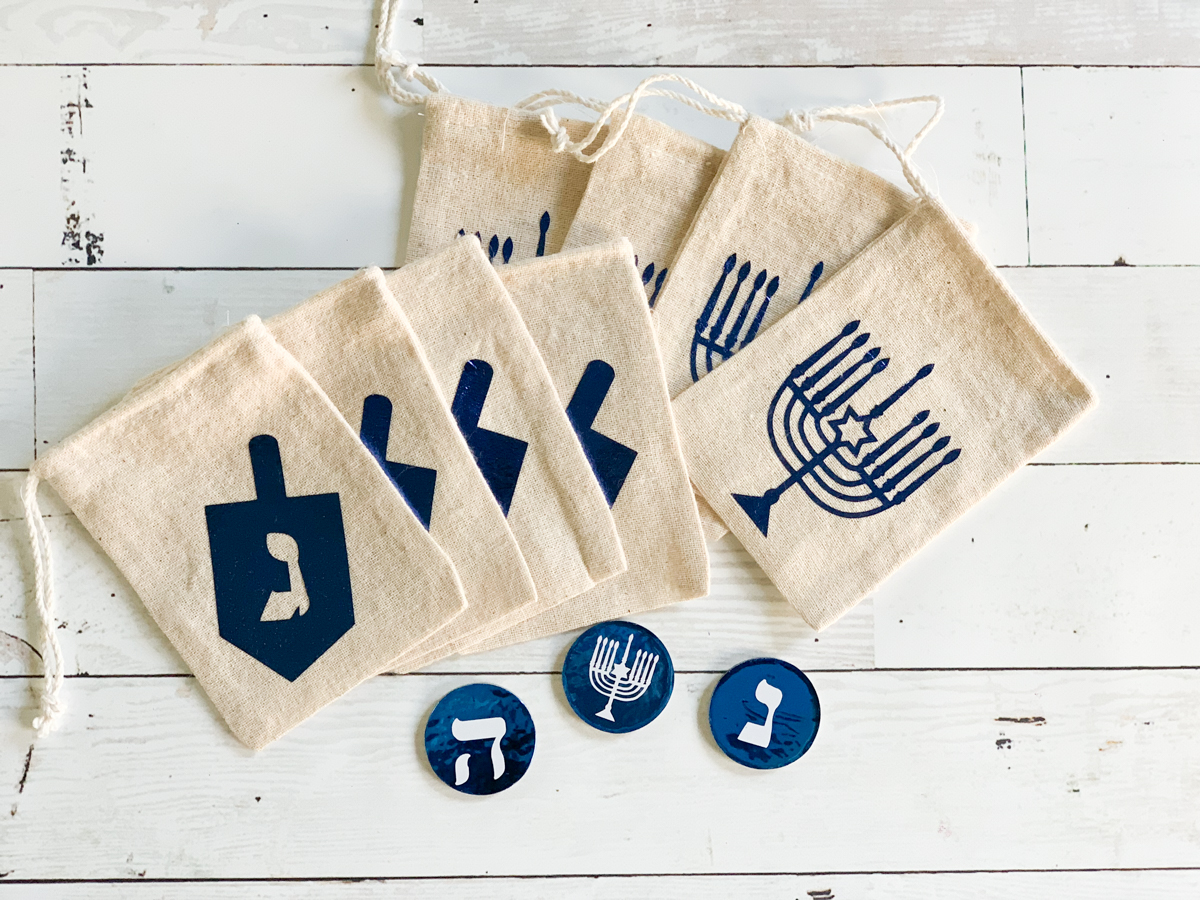
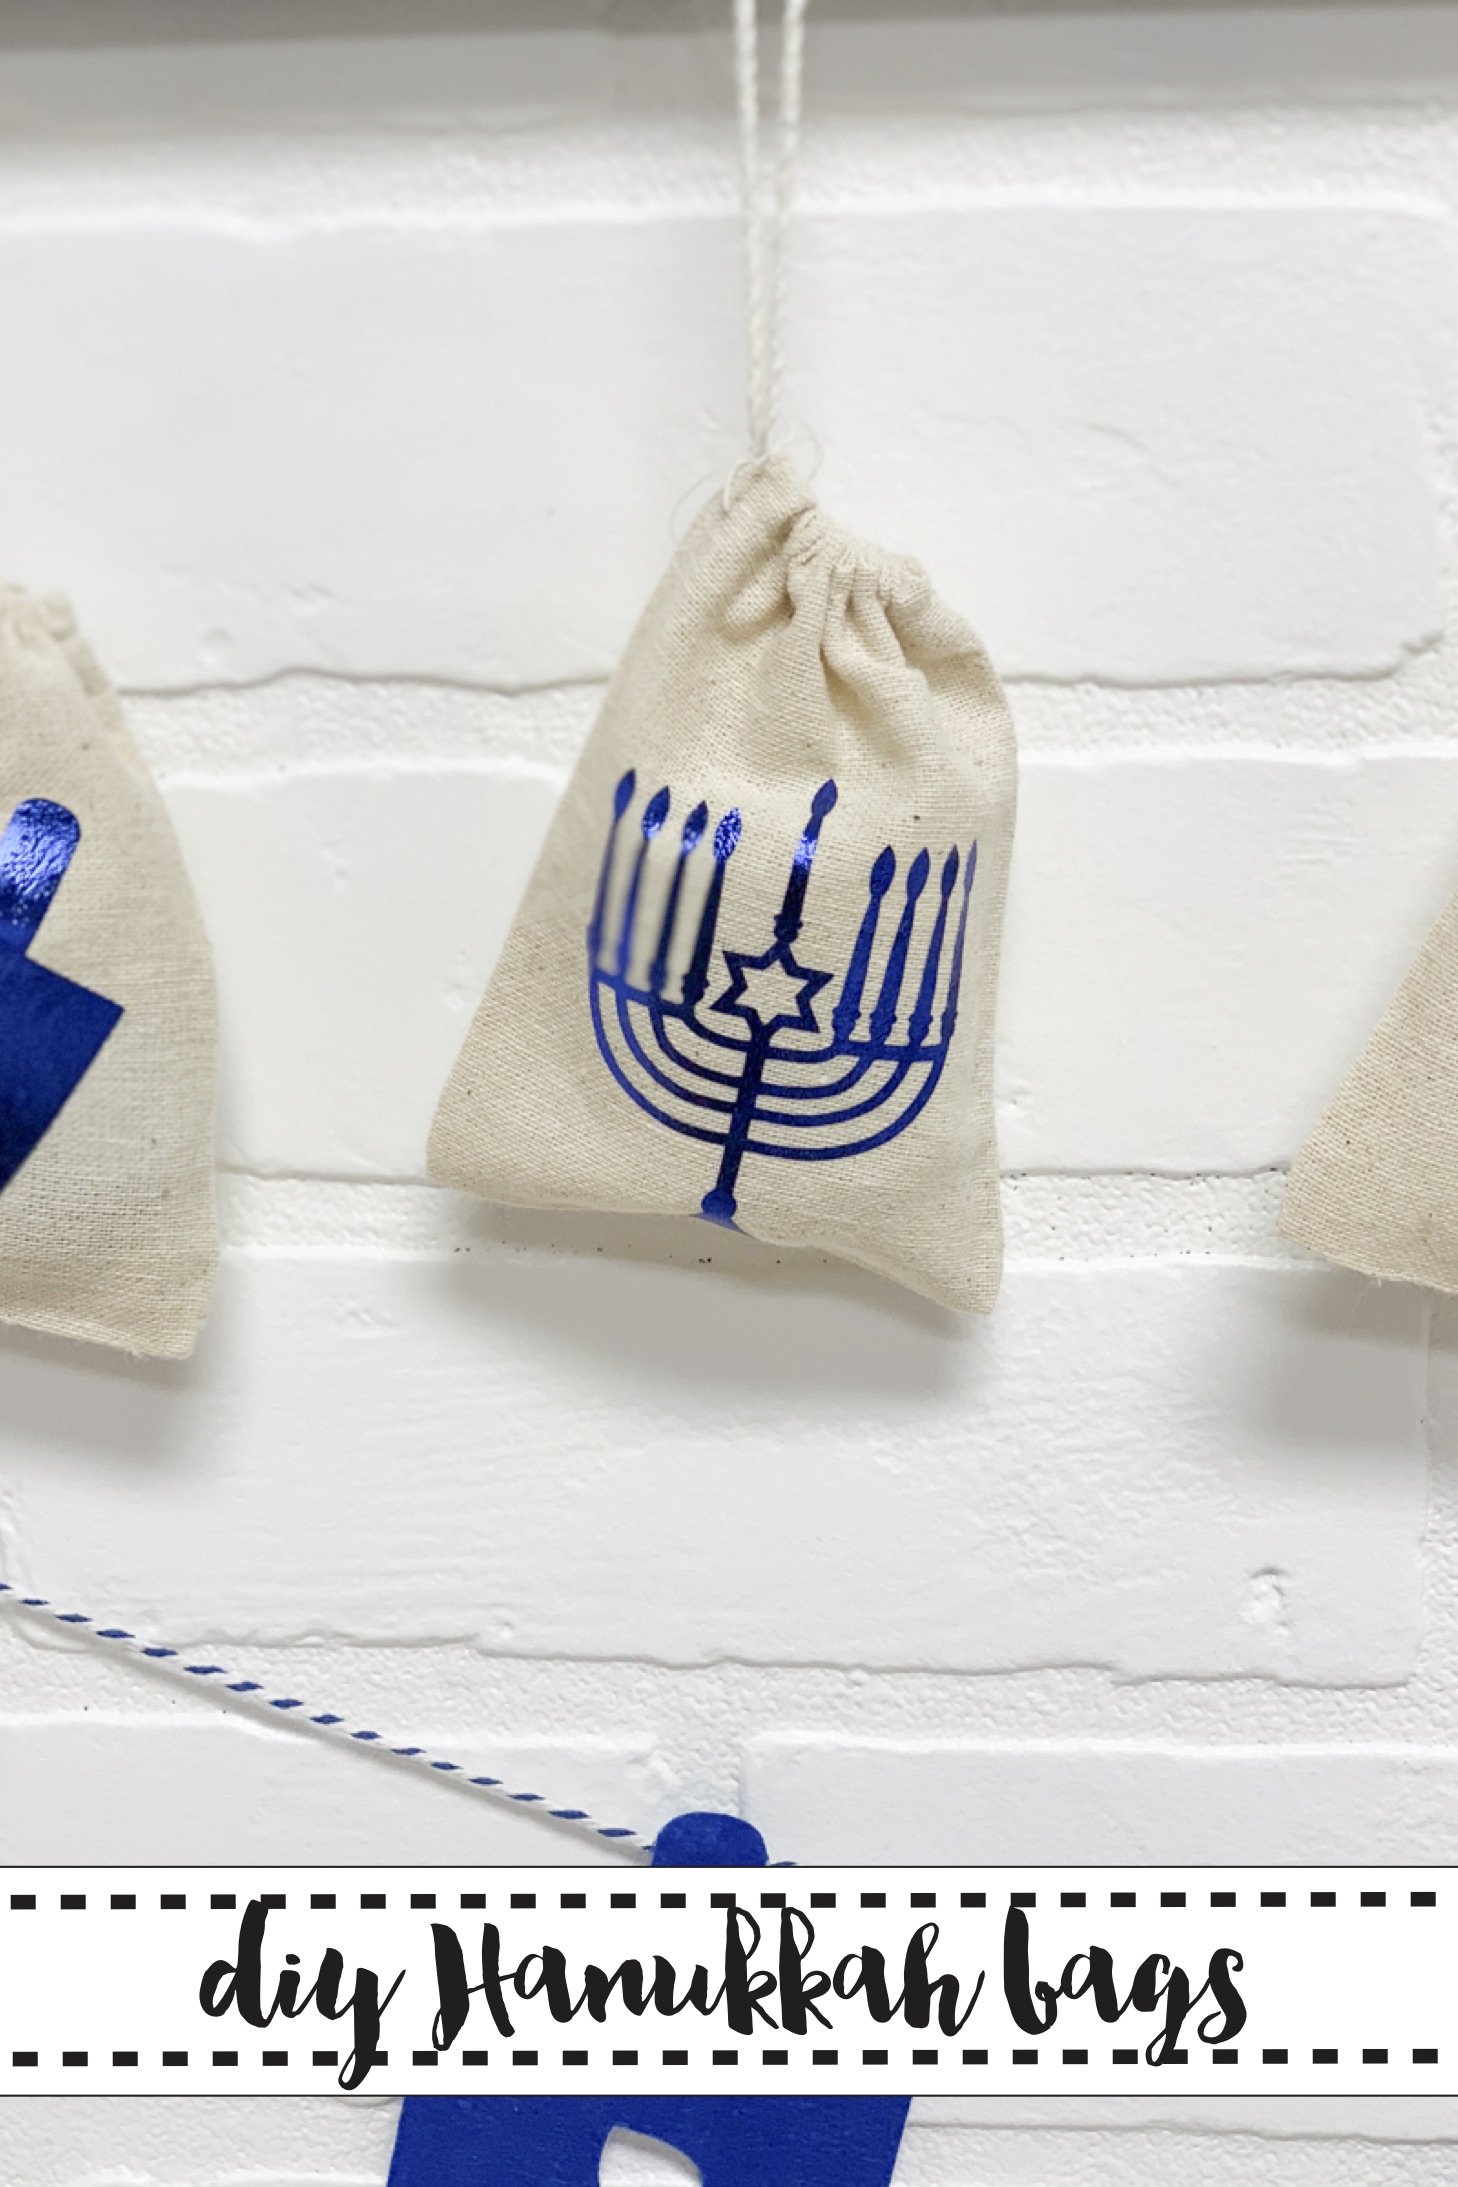
These small canvas bags were perfect for our Hanukkah Sign. They were another quick project as well.
You will need:
Gelt, Dreidels, or other small favors.
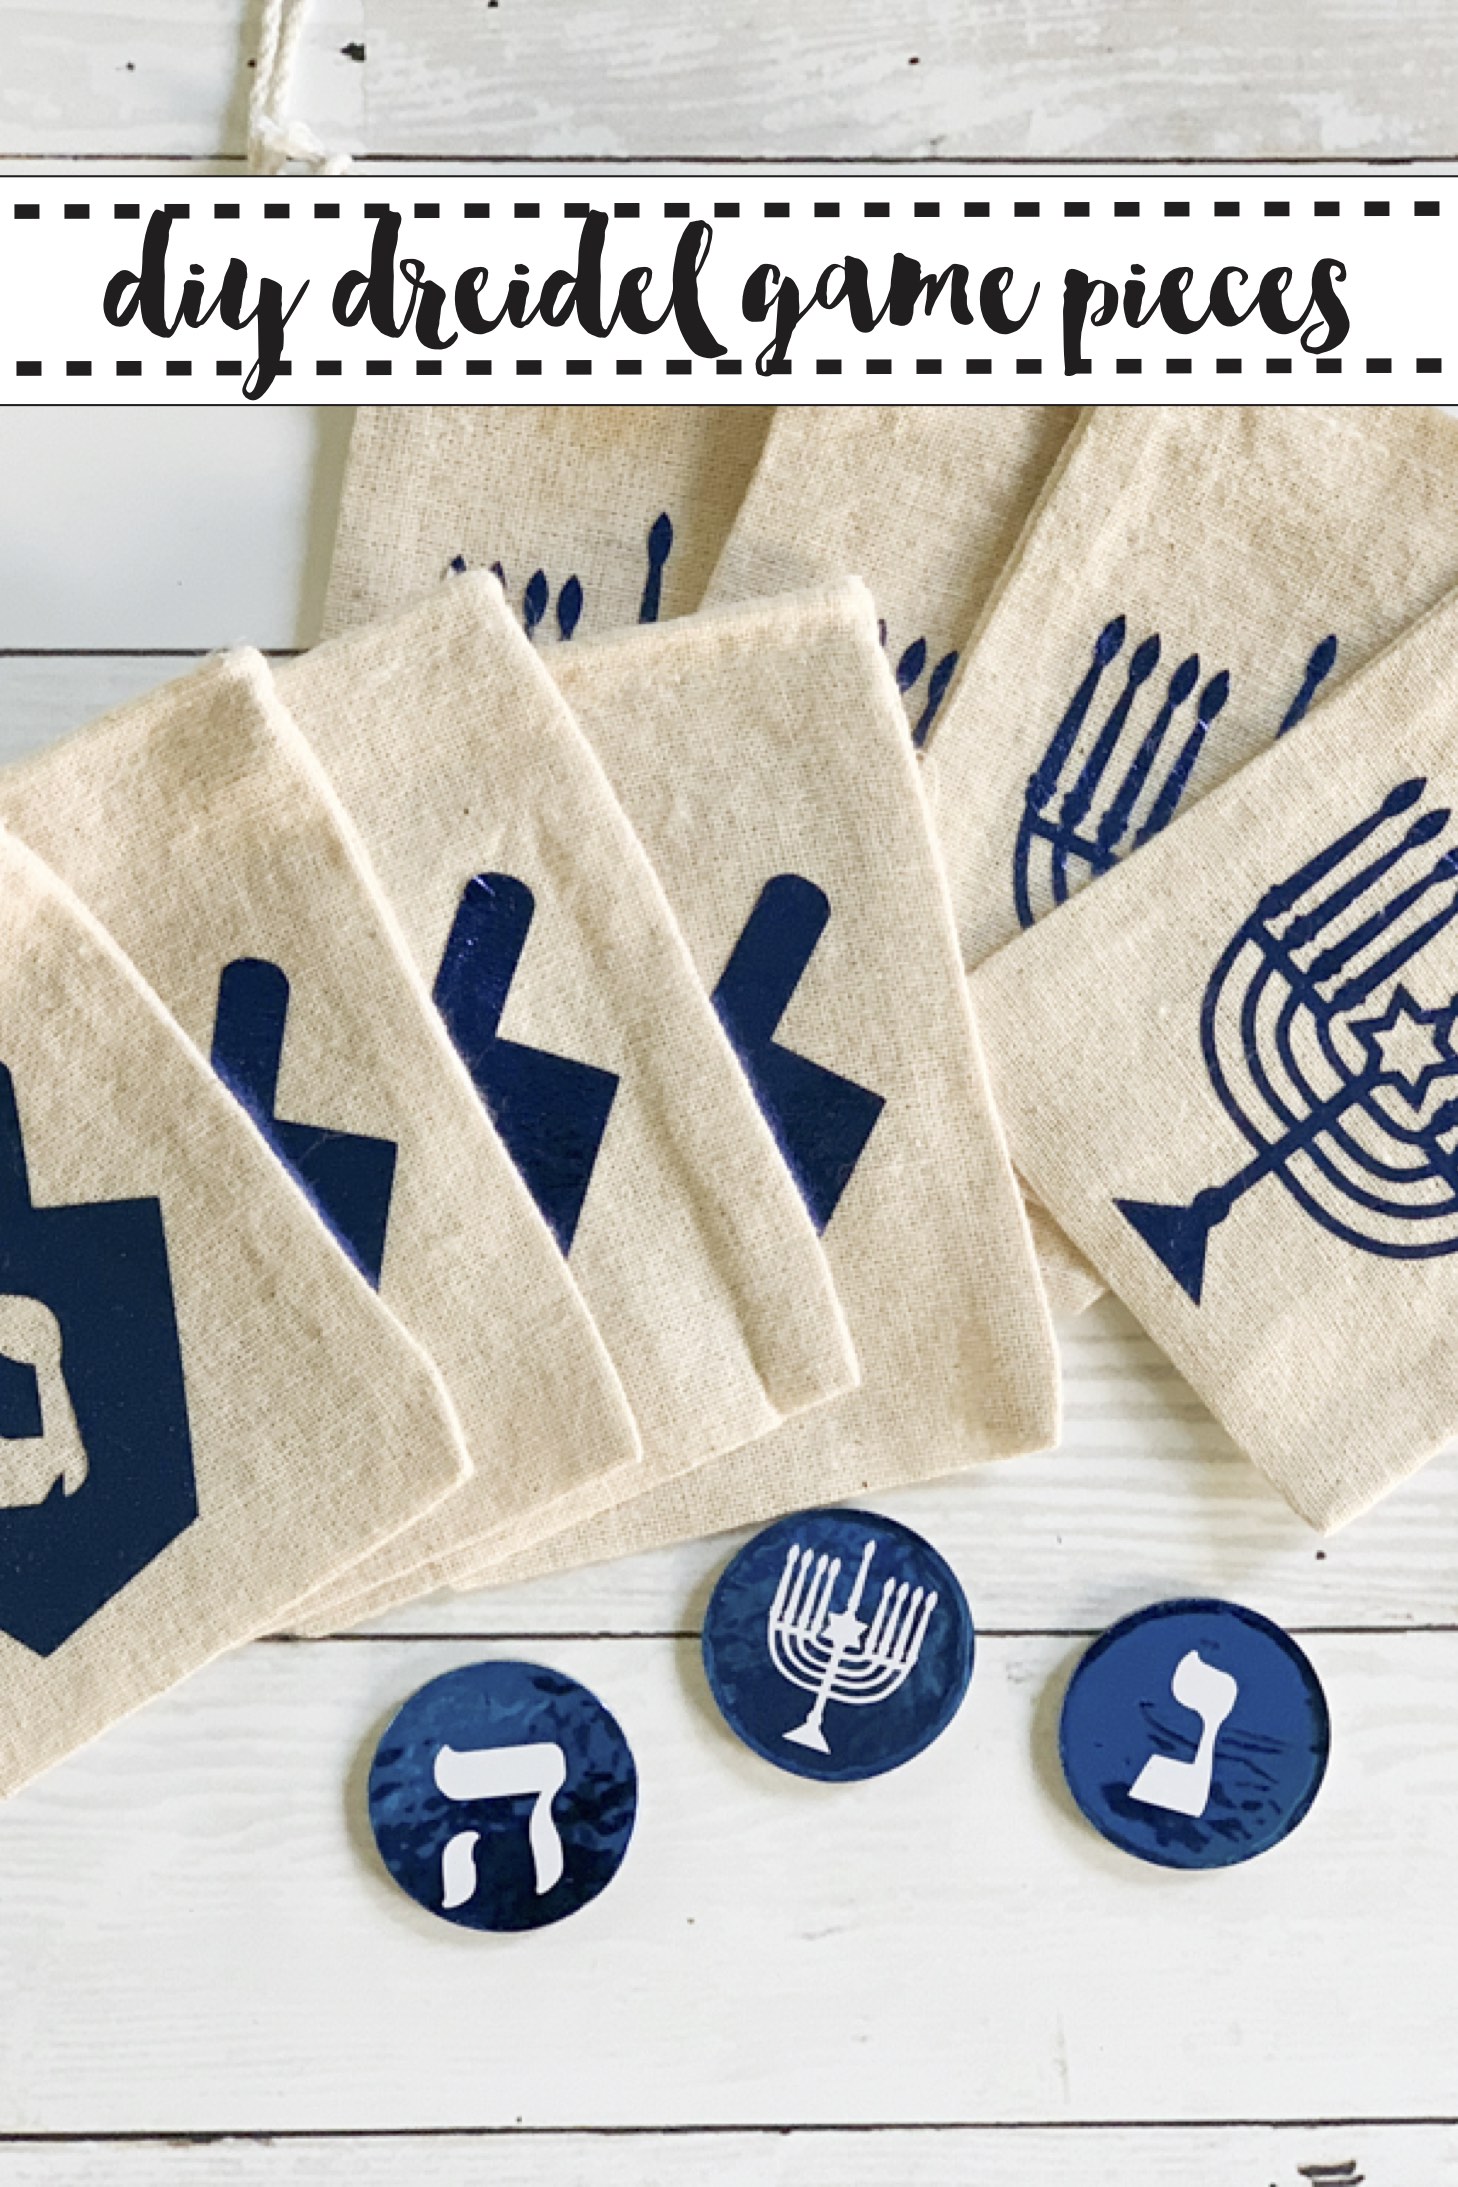
Open this cut file and make sure that it will fit your bags. If so, send it to cut. {Don’t forget to place the Iron On on the mat shiny side down and mirror the cut!}
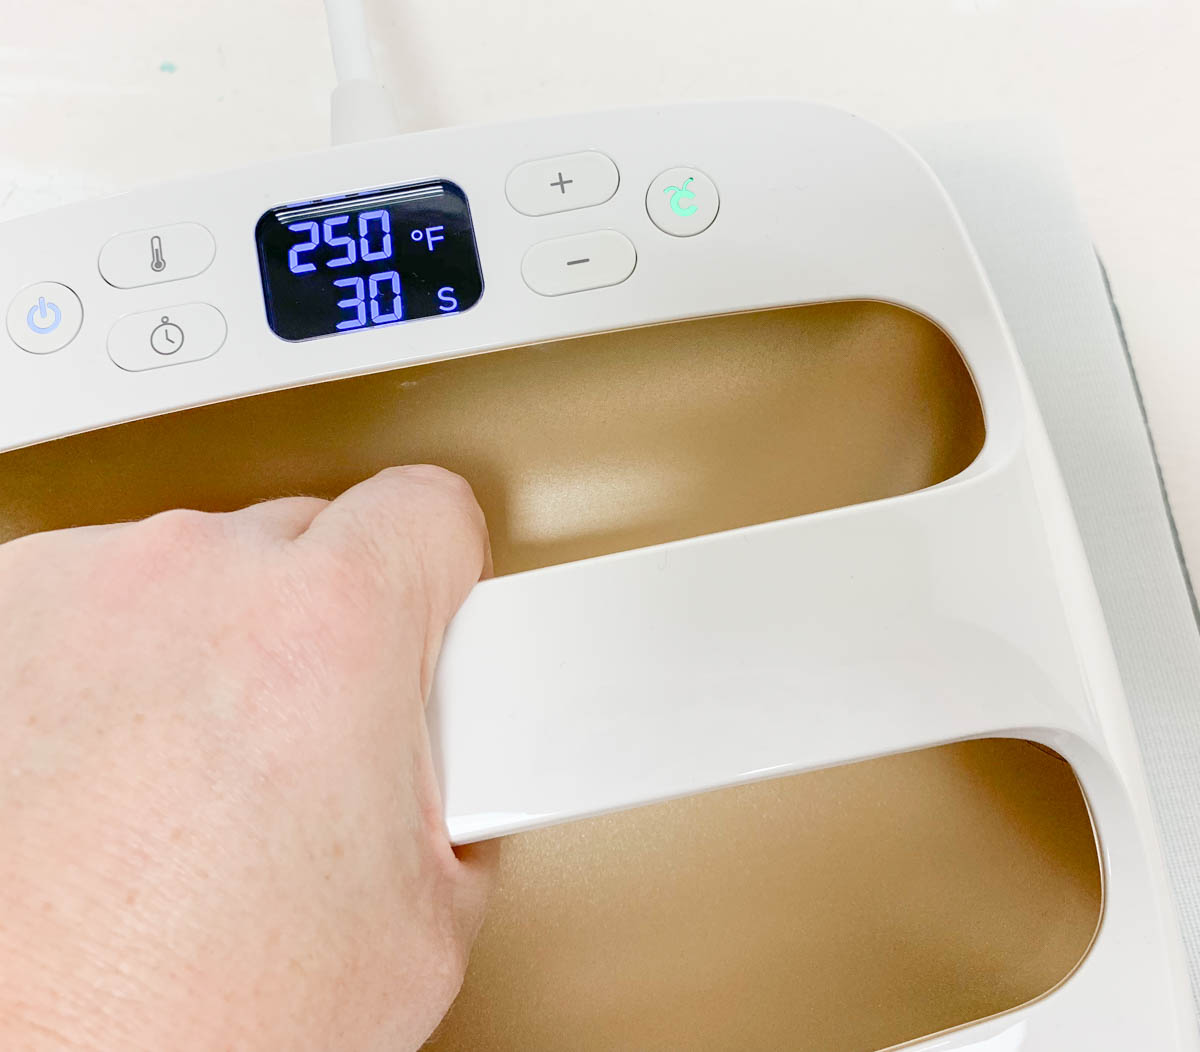
Weed the excess Iron On, and prepare your bags for pressing. Follow Cricut’s recommended guidelines for the EasyPress machines, and press the Iron On onto the bags.
Fill with goodies and be Hanukkah ready in no time!
The sign was made the same way I make all of my wooden signs, you can find a step by step DIY for one here. The cut file is sized to fit a 36″x 8″ sign, and you can find that here. I used drawer pulls as hooks, and screwed screws through the back of the board into each drawer pull.
Make Dreidel Game Pieces
You will need:
Cricut Maker and Knife Blade
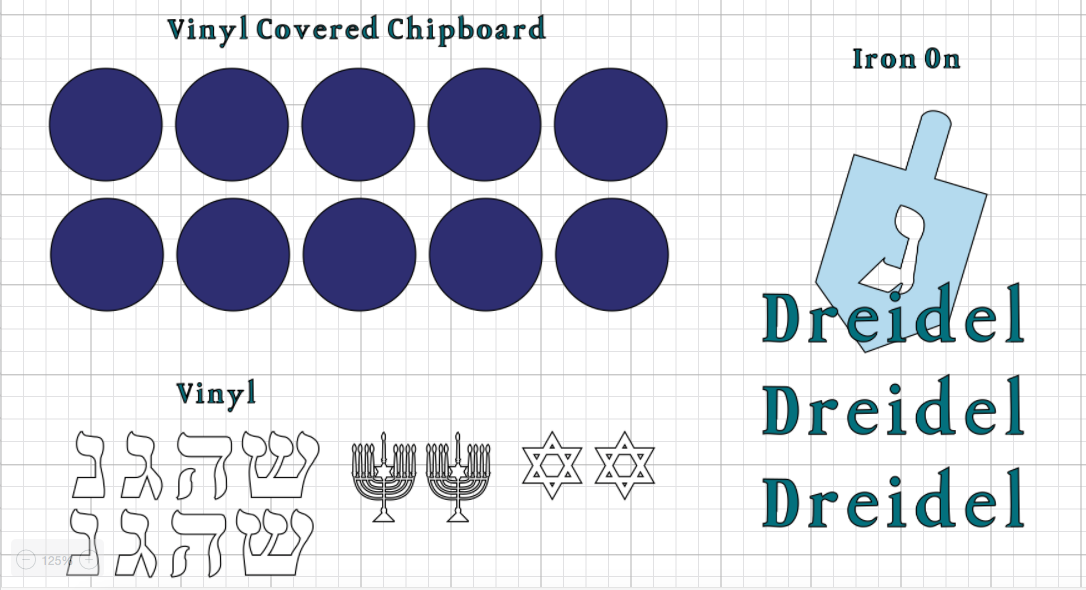
Begin by covering a piece of Cricut Chipboard with adhesive foil on the front AND back side. Place the Chipboard on a strong grip mat and add masking tape around the edges.
Open this cut file, and load the Chipboard to cut. This will take a while to cut, and I would add 2-3 extra cuts at the end to ensure that the adhesive foil has been cut through all the way.
While the chipboard is cutting, place vinyl on a standard grip mat. Once the Chipboard is cut, load the vinyl to cut.
Weed the excess vinyl {A Cricut Tool Kit is helpful, but not necessary} and apply the vinyl stickers to the Chipboard Circles.
You can make a small bag to put them in, but that is totally optional.
You can find more Hanukkah Inspiration here:
This is a sponsored conversation written by me on behalf of Cricut. The opinions and text are all mine.
Tags : Cricut, Cricut EasyPress, Cricut EasyPress 2, Cricut Maker, DIY, Hanukkah, Hanukkah Celebration, Holidays



[…] Hanukkah Celebration […]