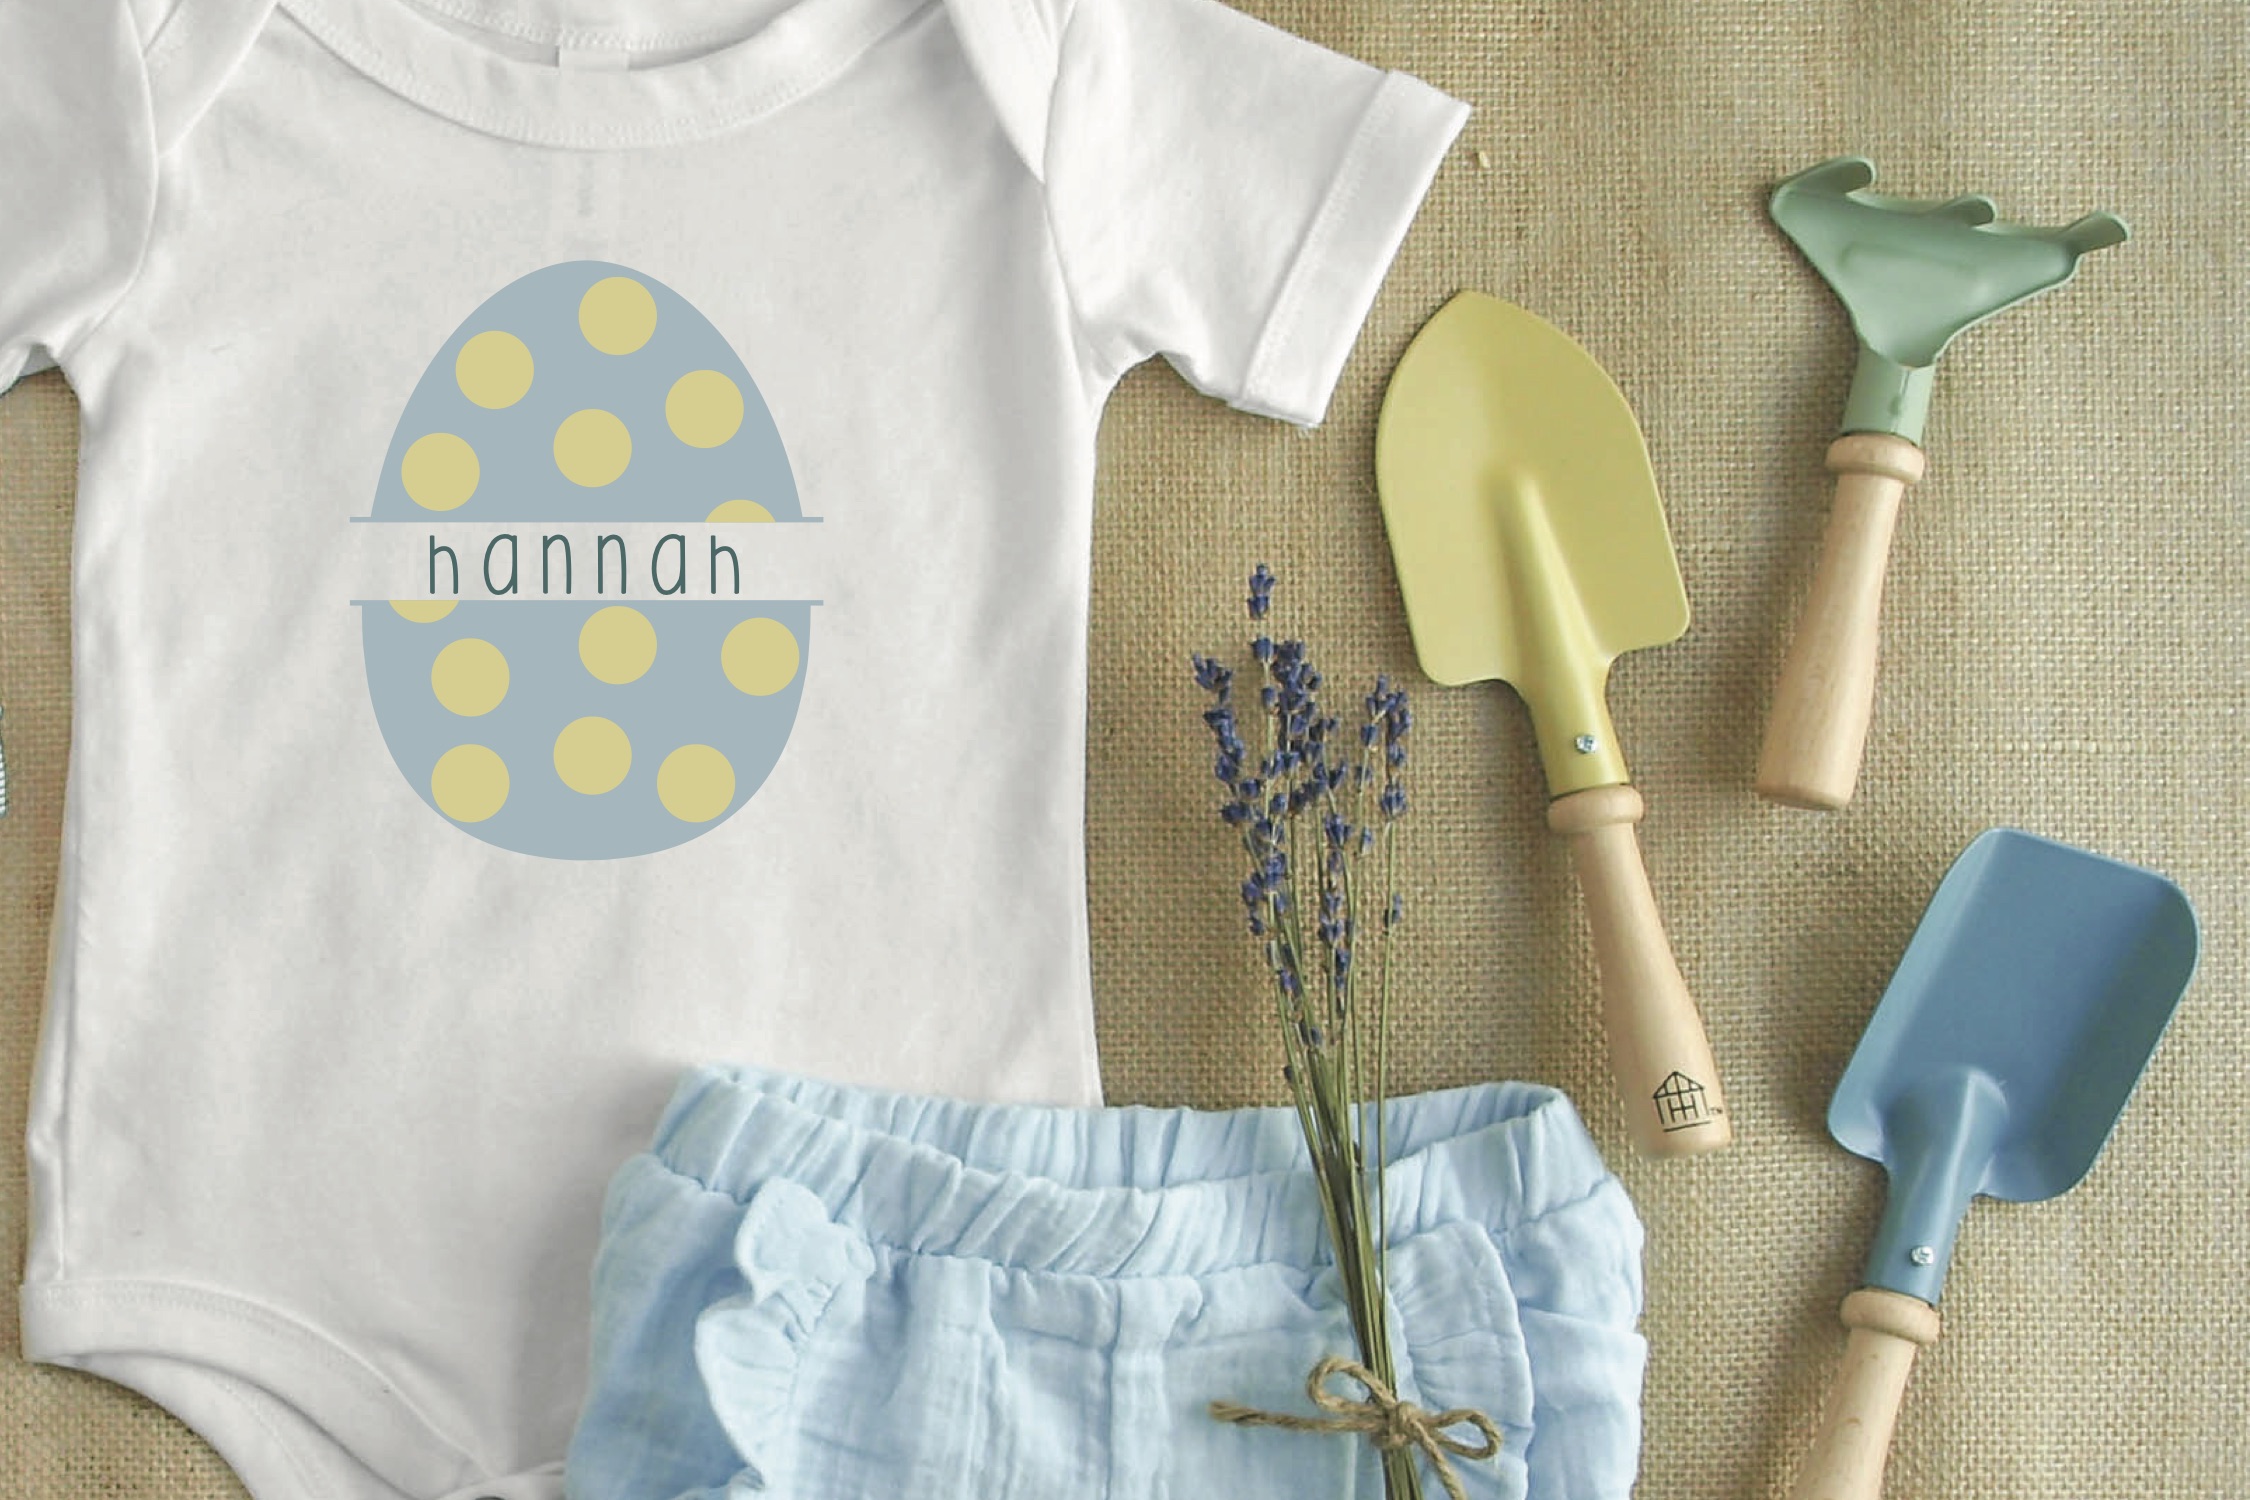
Easter Split Monogram SVG
I need to be totally real with you all for a minute. The last few weeks at my house have been truly NUTS! I had grand plans for elaborate blog posts, recipes and DIY’s for you all, and life has just totally caught up with me. We had a huge water leak under the foundation. The foundation had to be jackhammered out, which meant our {old, ugly} tile floors had to be removed, and we had to get new kitchen cabinets. Even though, it took just over a month to get the approval for the work to be done, the work was done in ten crazy days.
We just started to settle back into our routine, and my sister, son, and nephew were involved in a car accident. Thankfully they are going to be ok, but we have spent a lot of time at the doctors and therapy offices. Then, add in hockey and life…
Easter SVG
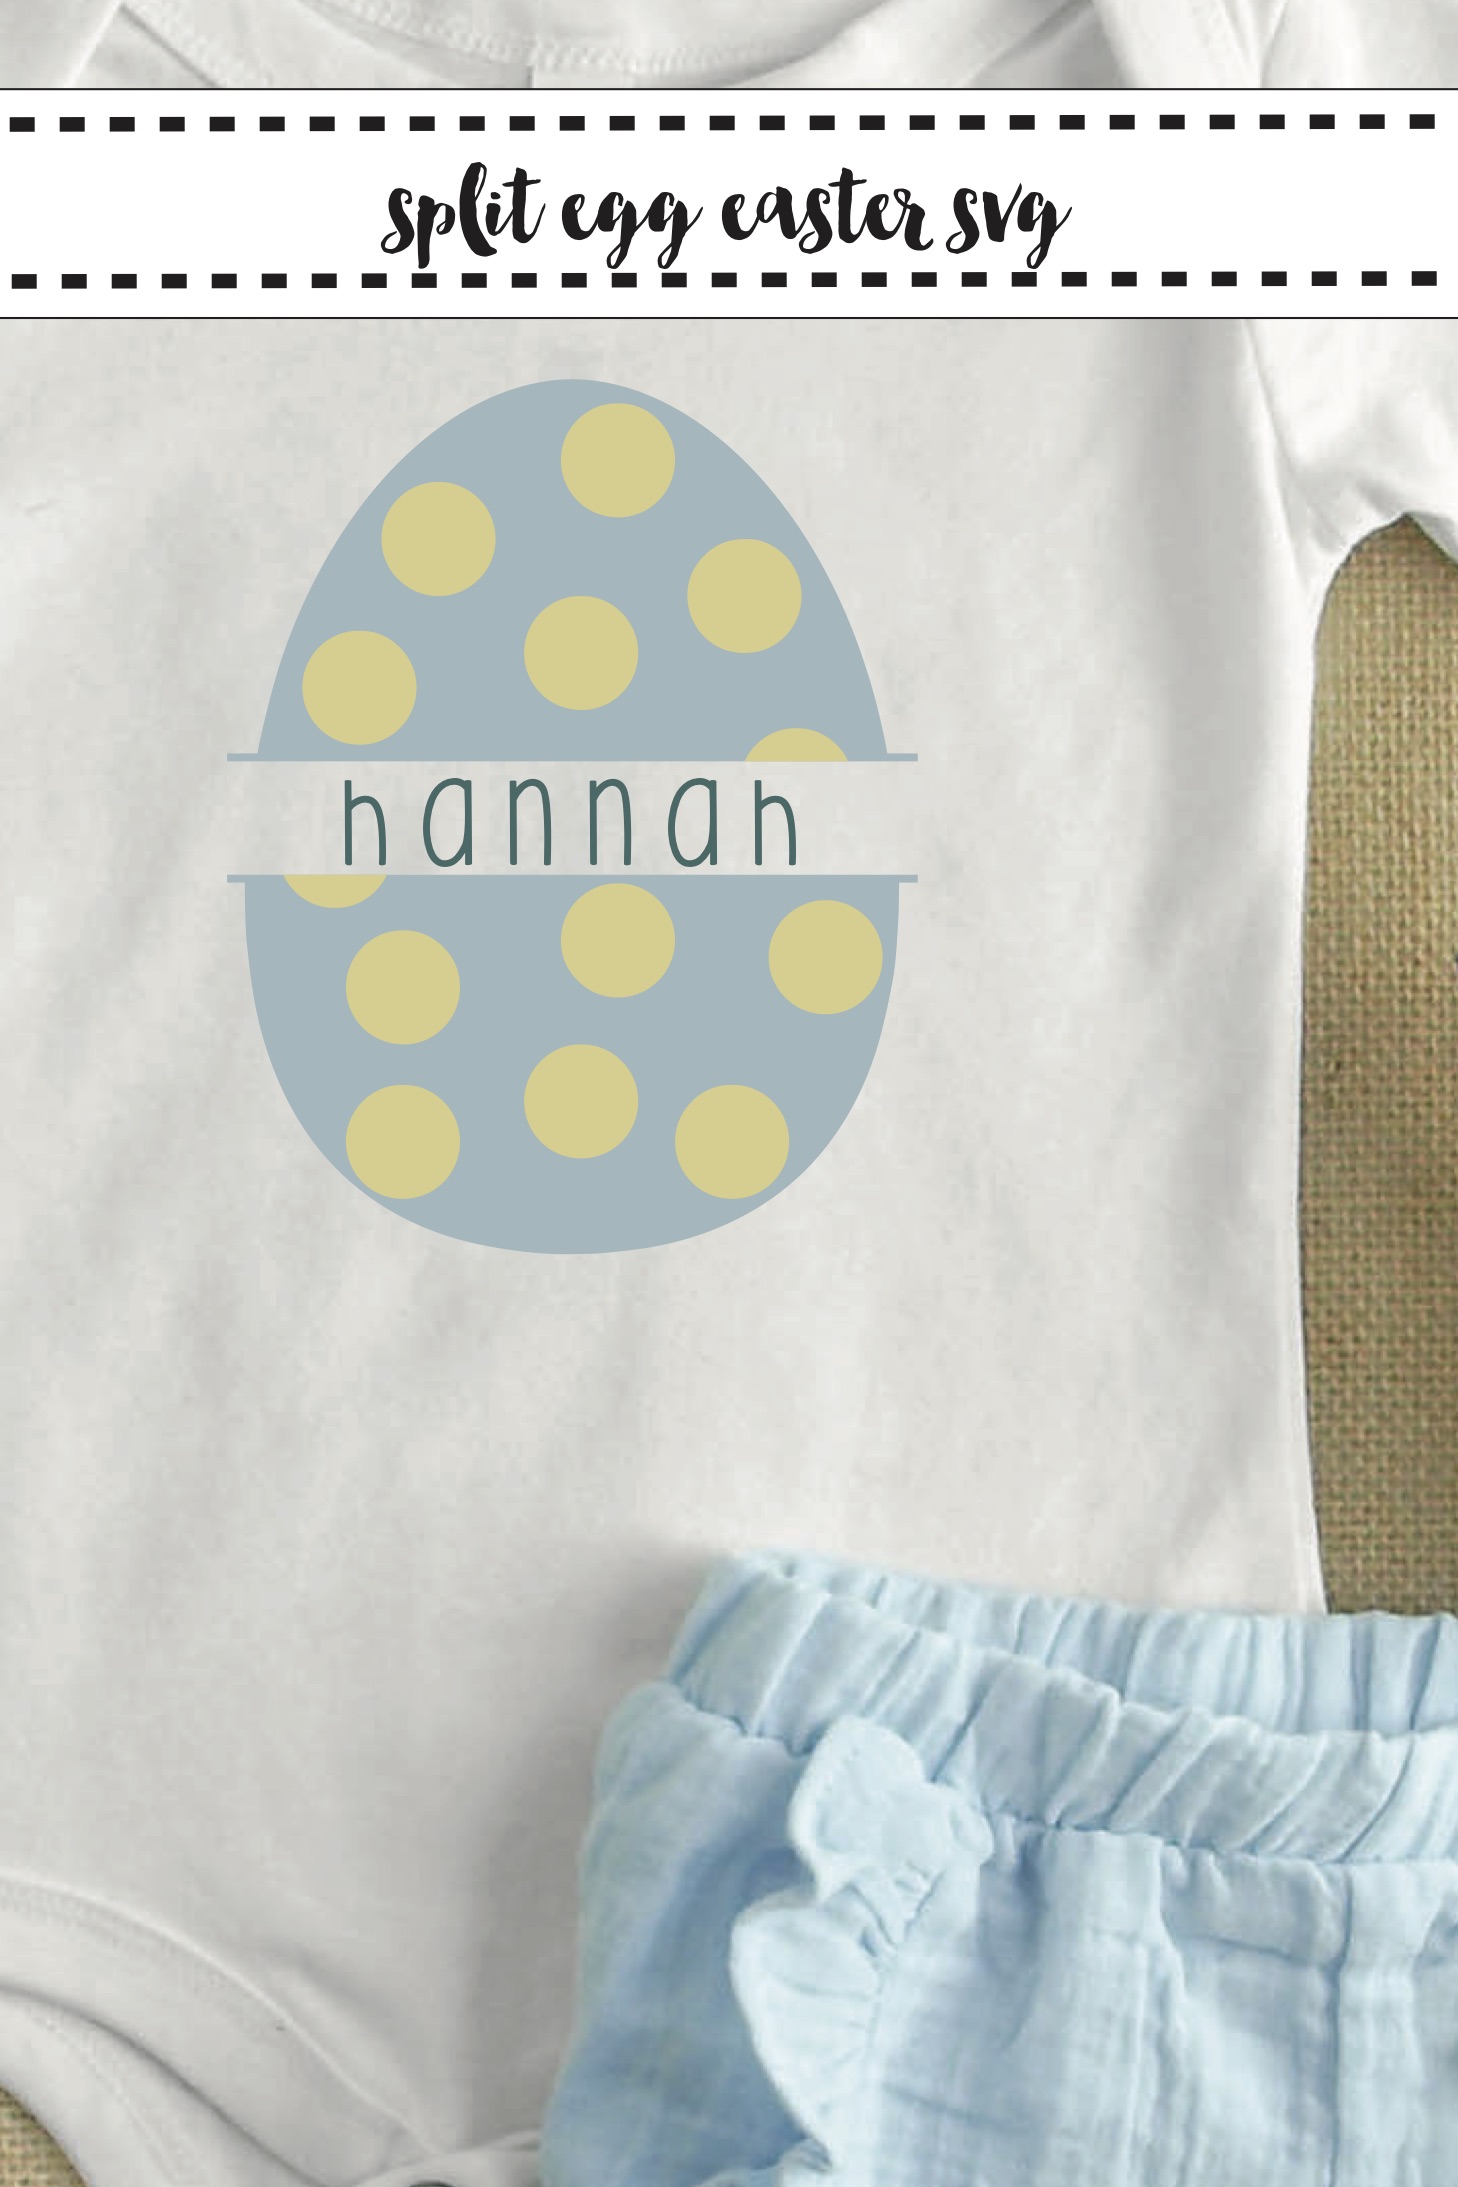
Anyway, all of this to tell you, I extended myself some grace and went with easier posts this week. I have wanted to share a monogram style SVG for a while, but I wasn’t sure how to do it so you all could enjoy it. But, this week in a moment of quiet clarity, I realized I could make a split egg and you could add text to the middle! Even though it’s not quite a monogram, it is a cute way to make personalized easter baskets or personalized baby clothes.
Personalize the SVG File:
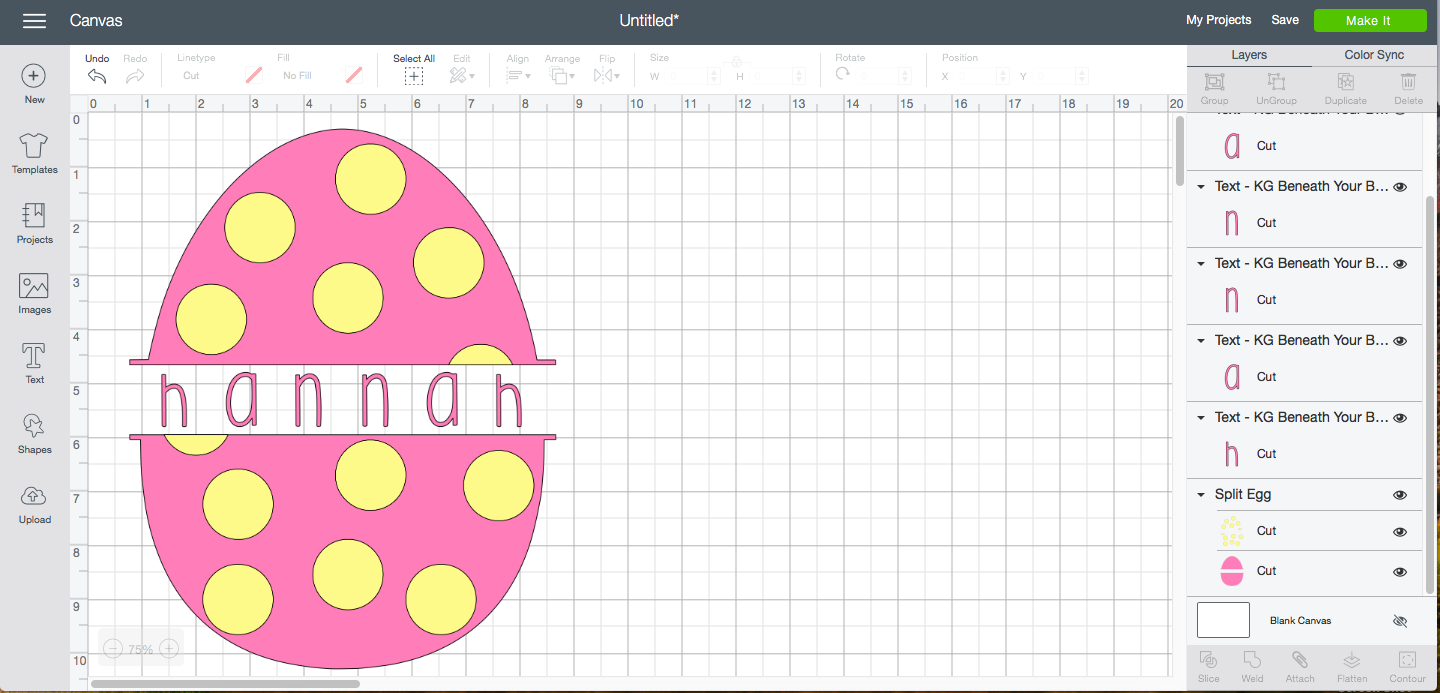
As you will see, the SVG file has a blank space in the middle, this is where you will add your child’s name. {or your own}
Supplies:
SVG File {Use code SPLITEGG to download it FREE}
Blank Bags, Shirts, Mugs, or Blank Wood Signs.
Step 1:
Download the SVG file from the shop.
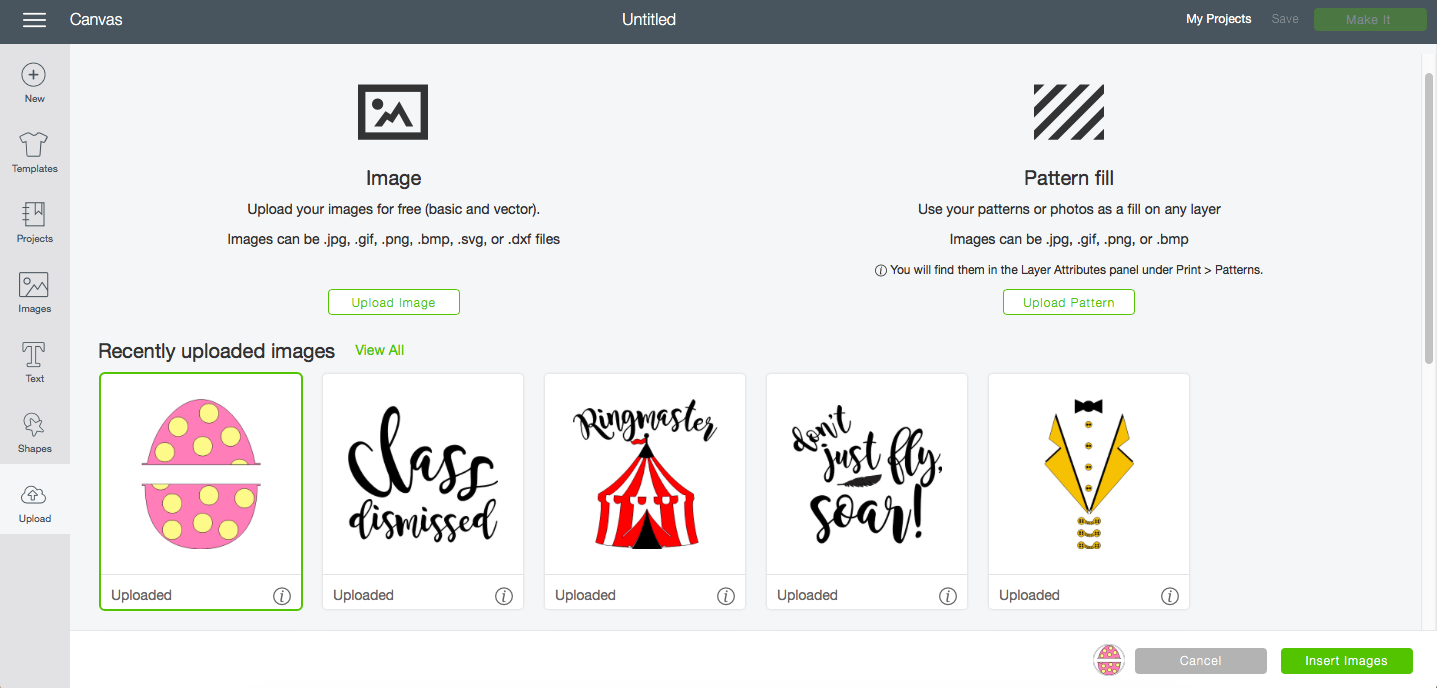
Step 2:
Upload the SVG into Cricut Design Space.
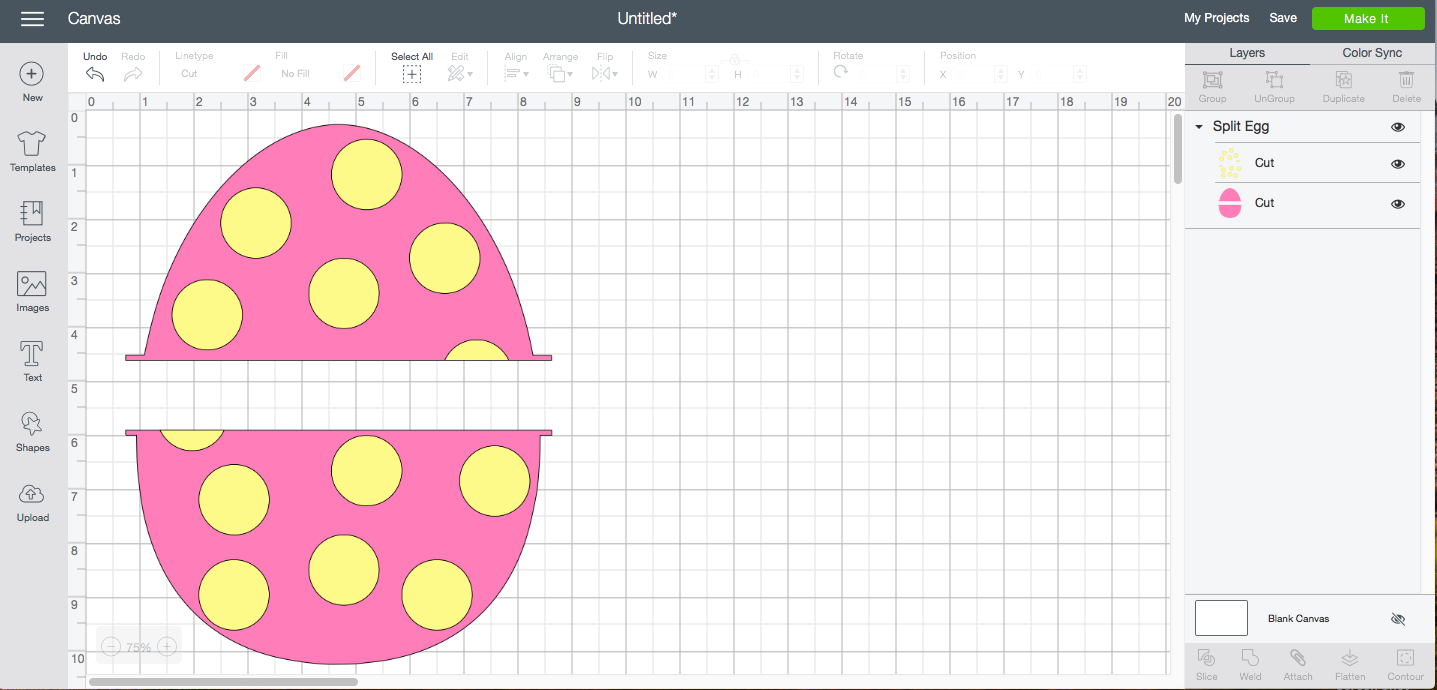
Step 3:
Size the SVG file to fit your project.
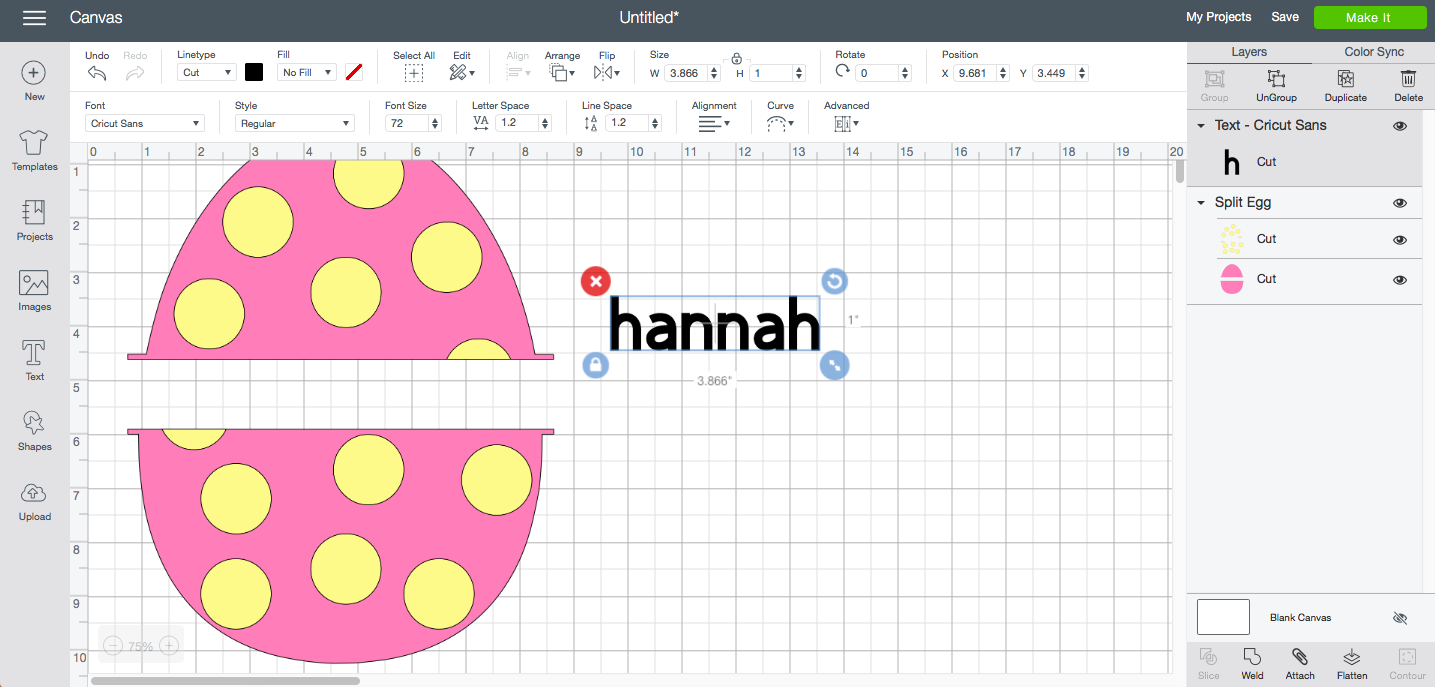
Step 4:
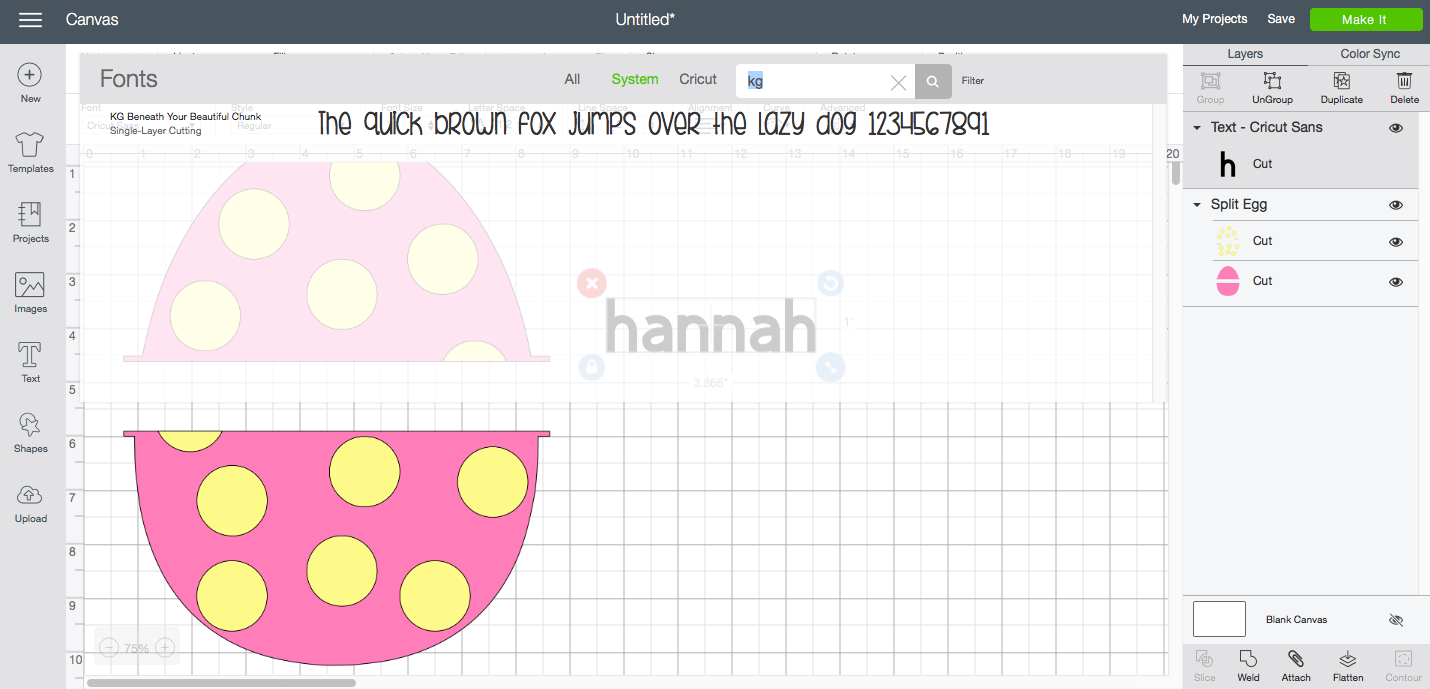
Create a text box in Design Space, and type the name you want to use. Size that box to fit in the blank space in the egg SVG. You may have to ungroup the text and space it out. Once the spacing is how you want it, weld the text together. If you are using the same color Iron On or Vinyl for the text and the egg or polka dots, select the text and the egg/polka dots and weld them together too. I used the KG Beneath Your Beautiful Chunk font
Step 5:
Send your project to cut. Don’t forget to mirror the image if you are using Iron On, and place the Iron On on the cutting mat shiny side down
Step 6:
Weed the excess Iron On or Vinyl.
Step 7:
If you are using vinyl, use transfer tape to apply the vinyl to your project.
If you are using Iron On, use Cricut’s recommended heat settings for the EasyPress 2 and apply the Iron On to your project.
This design would be adorable on a personalized Easter bunny! And, it’s also a great way to make custom baby clothes, personalized Easter buckets, and even personalized Easter basket liners. How will you use it?
If you like this SVG File, be sure to check out some of these projects too!
Free Printable Easter Coloring Page
Tags : Easter, Everyday Party Magazine Summer, freebie, Freebies, Monogram, Southern, SVG


[…] Split Egg Monogram SVG […]