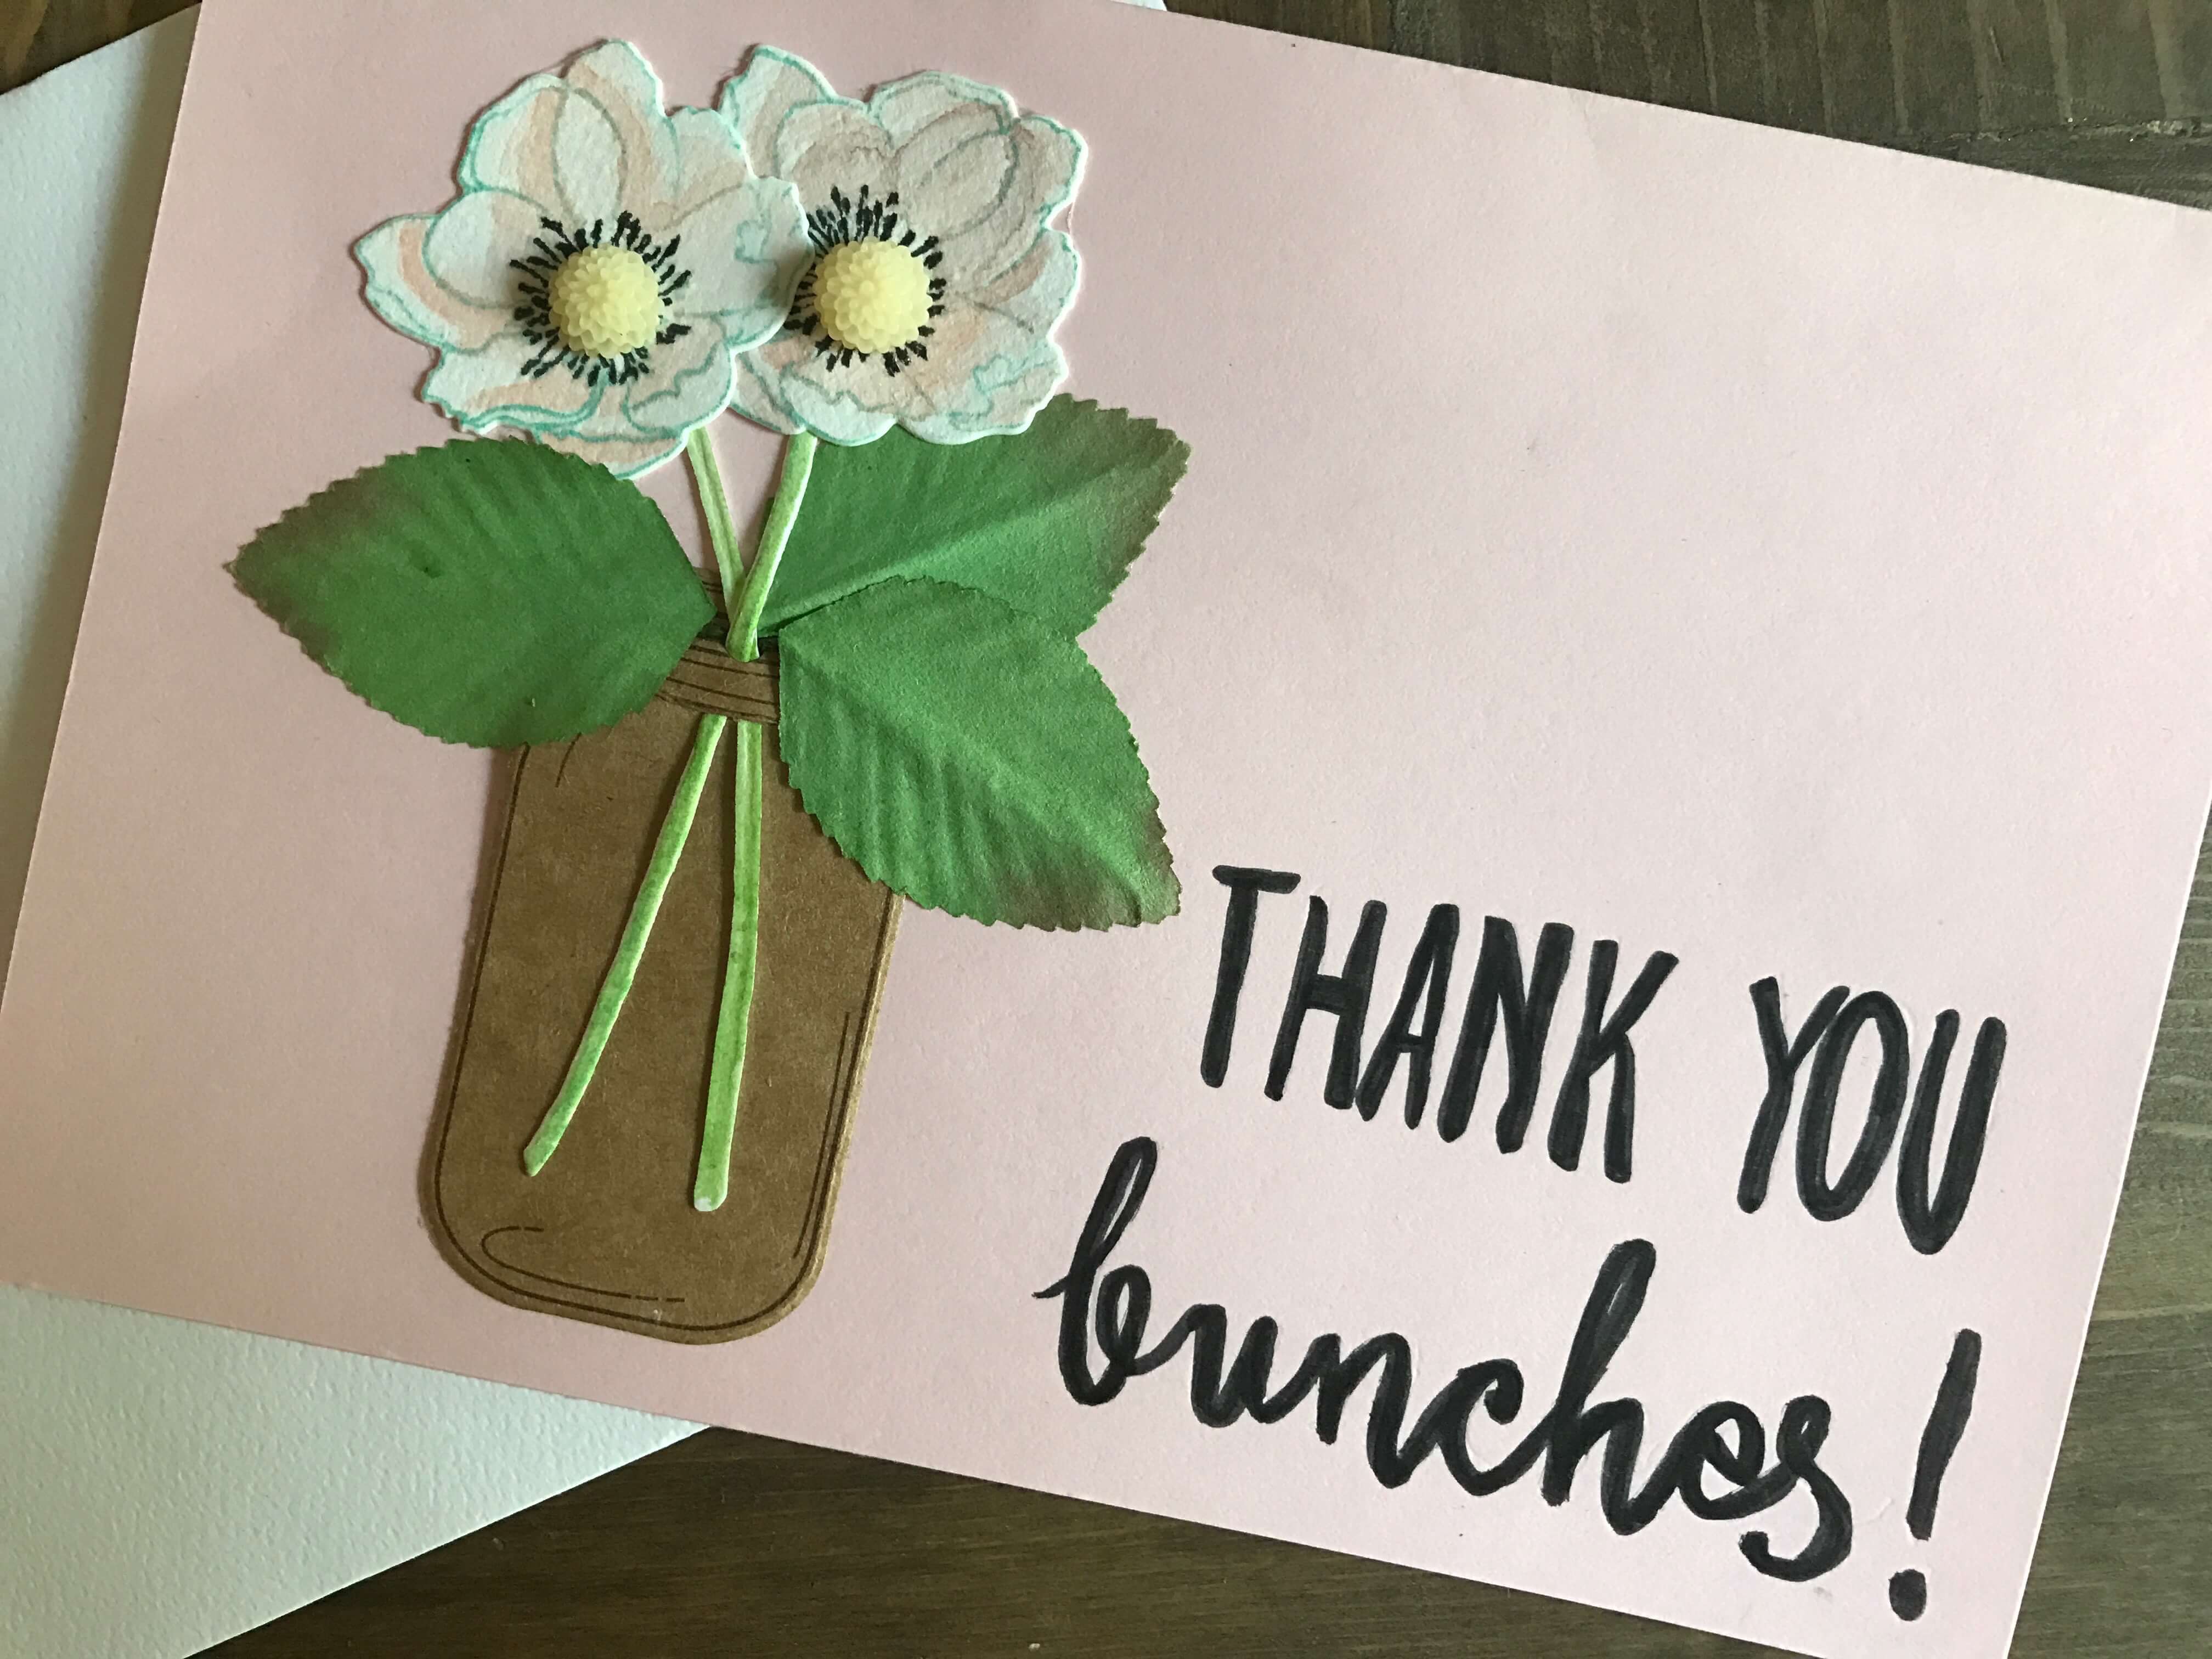
Simple Thank You Card DIY
This review is based strictly on my opinion. Others may have a different opinion or experience with the product listed above. I was provided the sample free of charge by the company or PR agency and I have given my honest opinion.
If you decide to make a purchase through my links, I will be paid a small commission for it. This doesn’t cost you anything additional. These commissions help to keep the rest of my content free, so thank you!
Simple Thank You Card DIY. There really isn’t anything more important than saying thank you (and I’m sorry). Those two little words have so much impact! Whether someone attends your party and gives you a hostess gift or birthday gift, or they give you a helping hand when you really need it, you really need to take a few moments to express your gratitude. 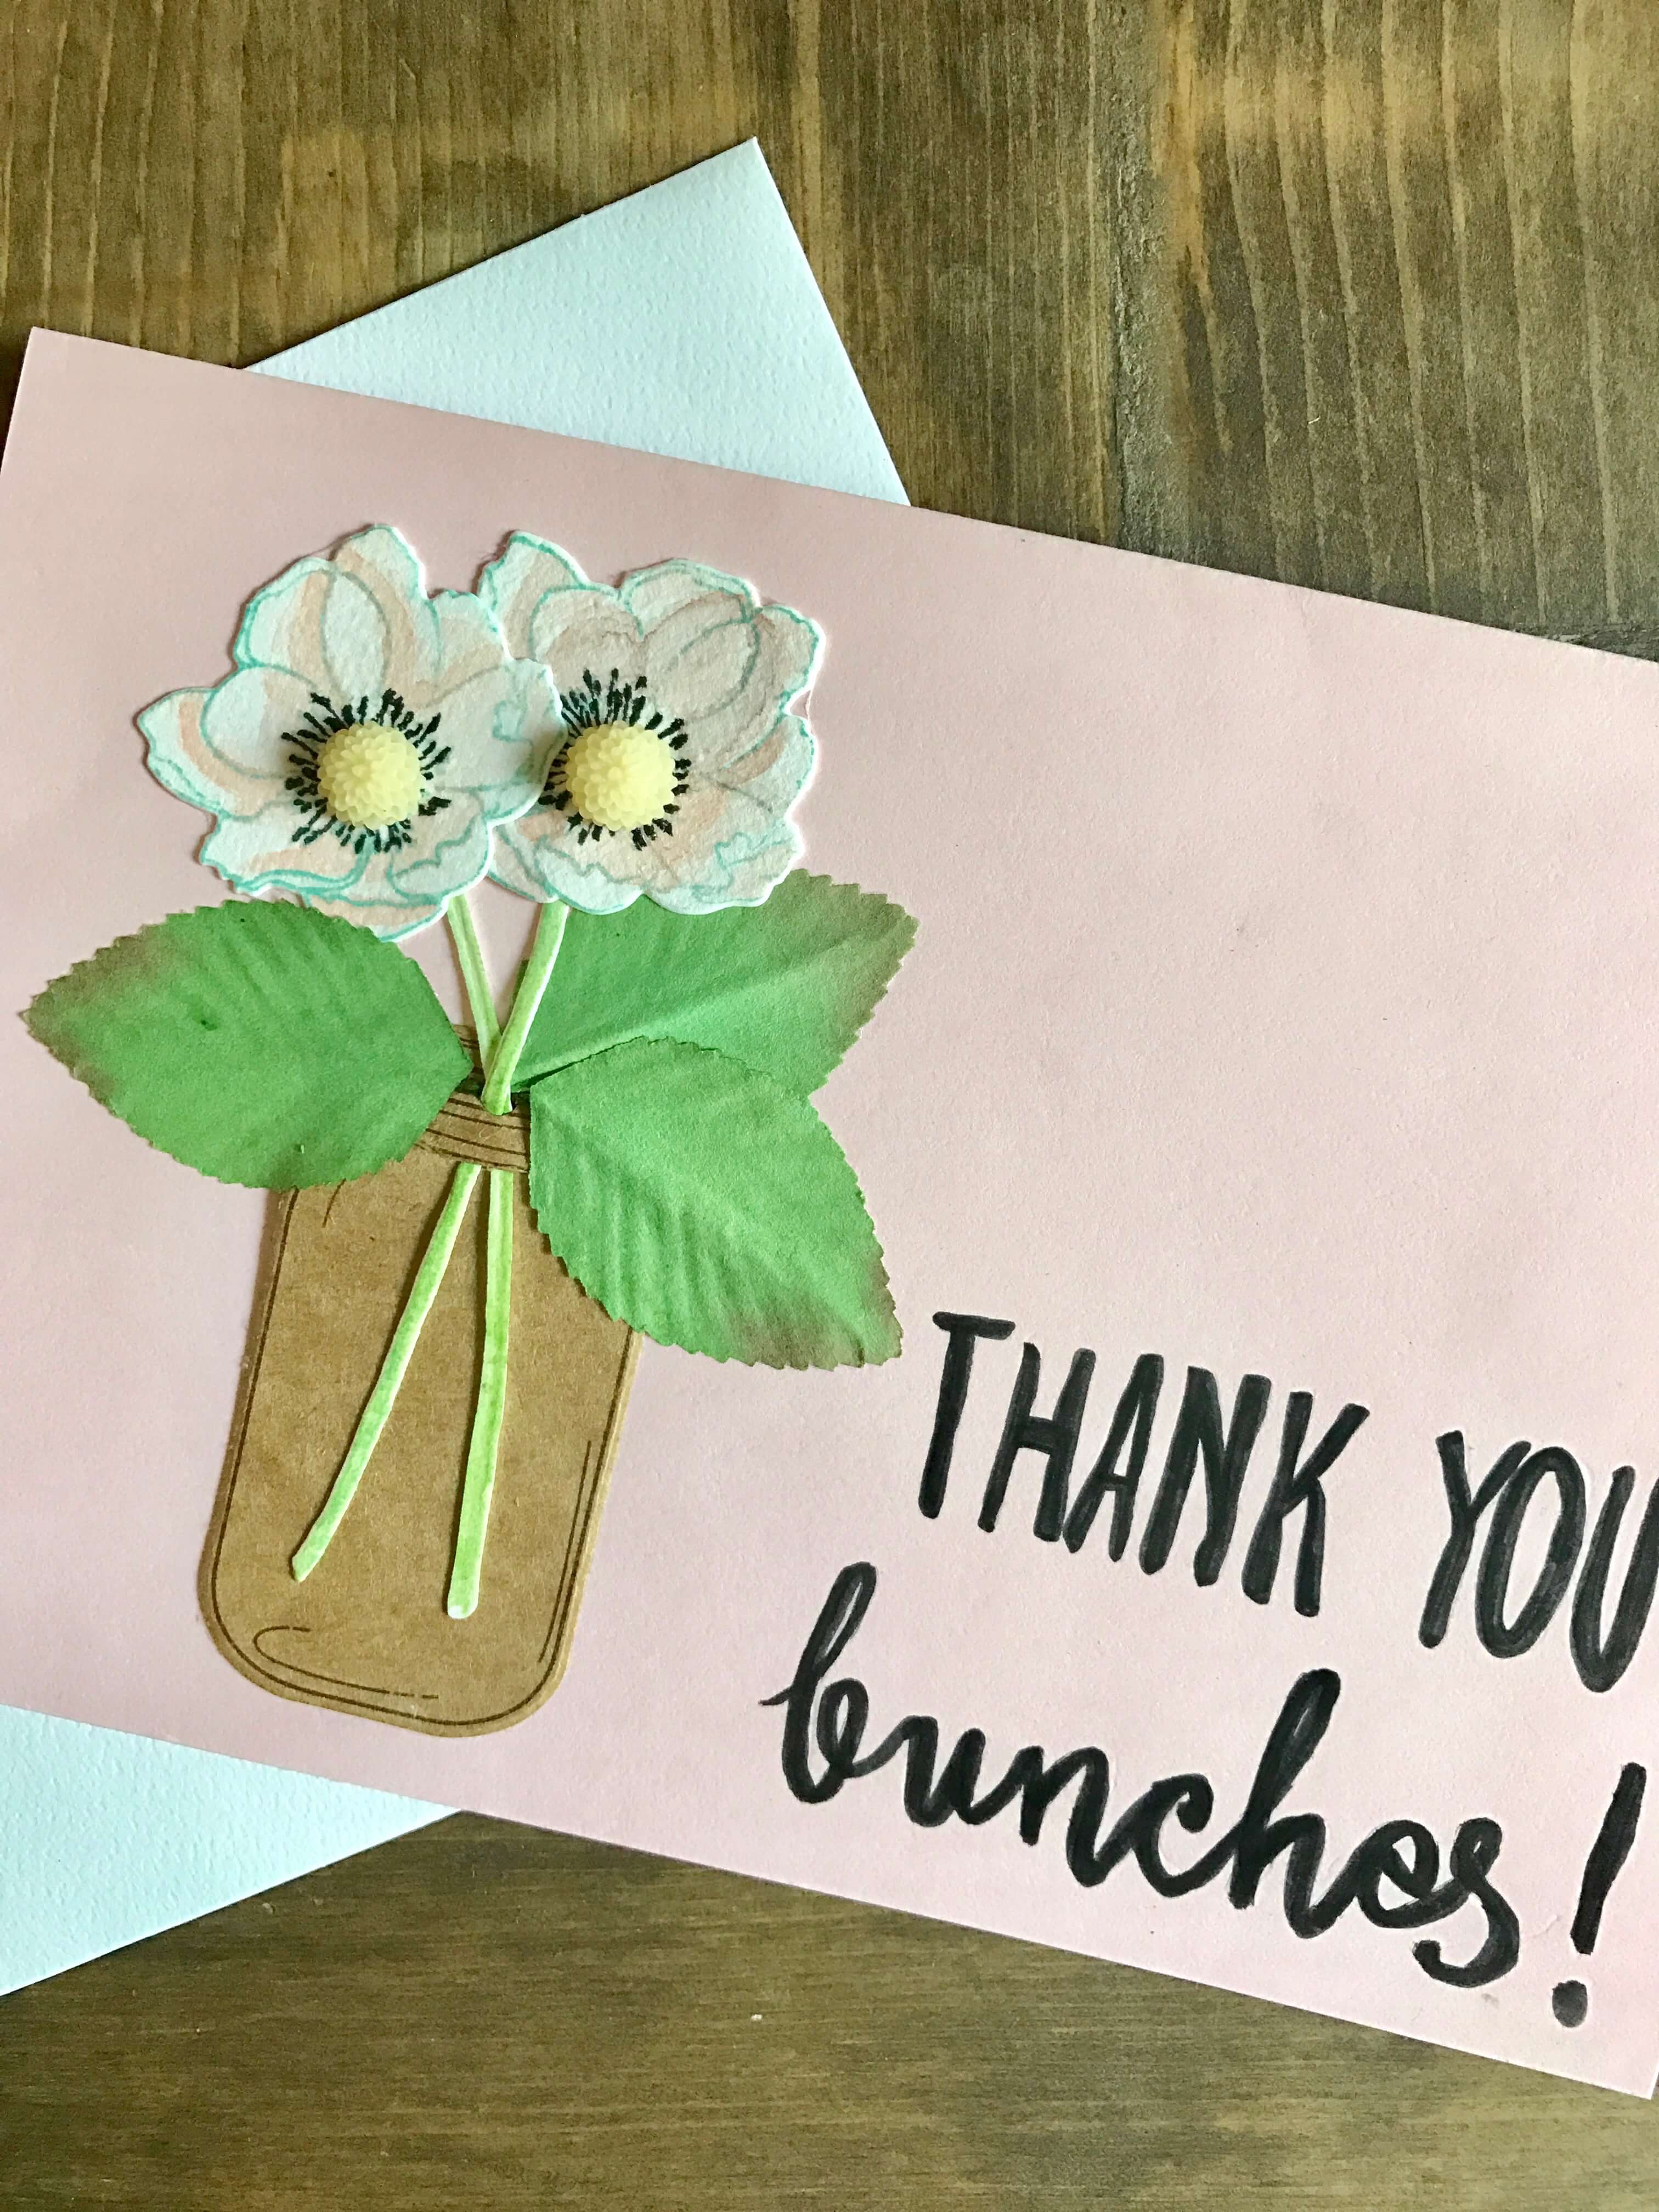
 Before I jump into the how and why, be sure to read through to the end for links to other amazing blogger projects, and learn more about a giveaway!
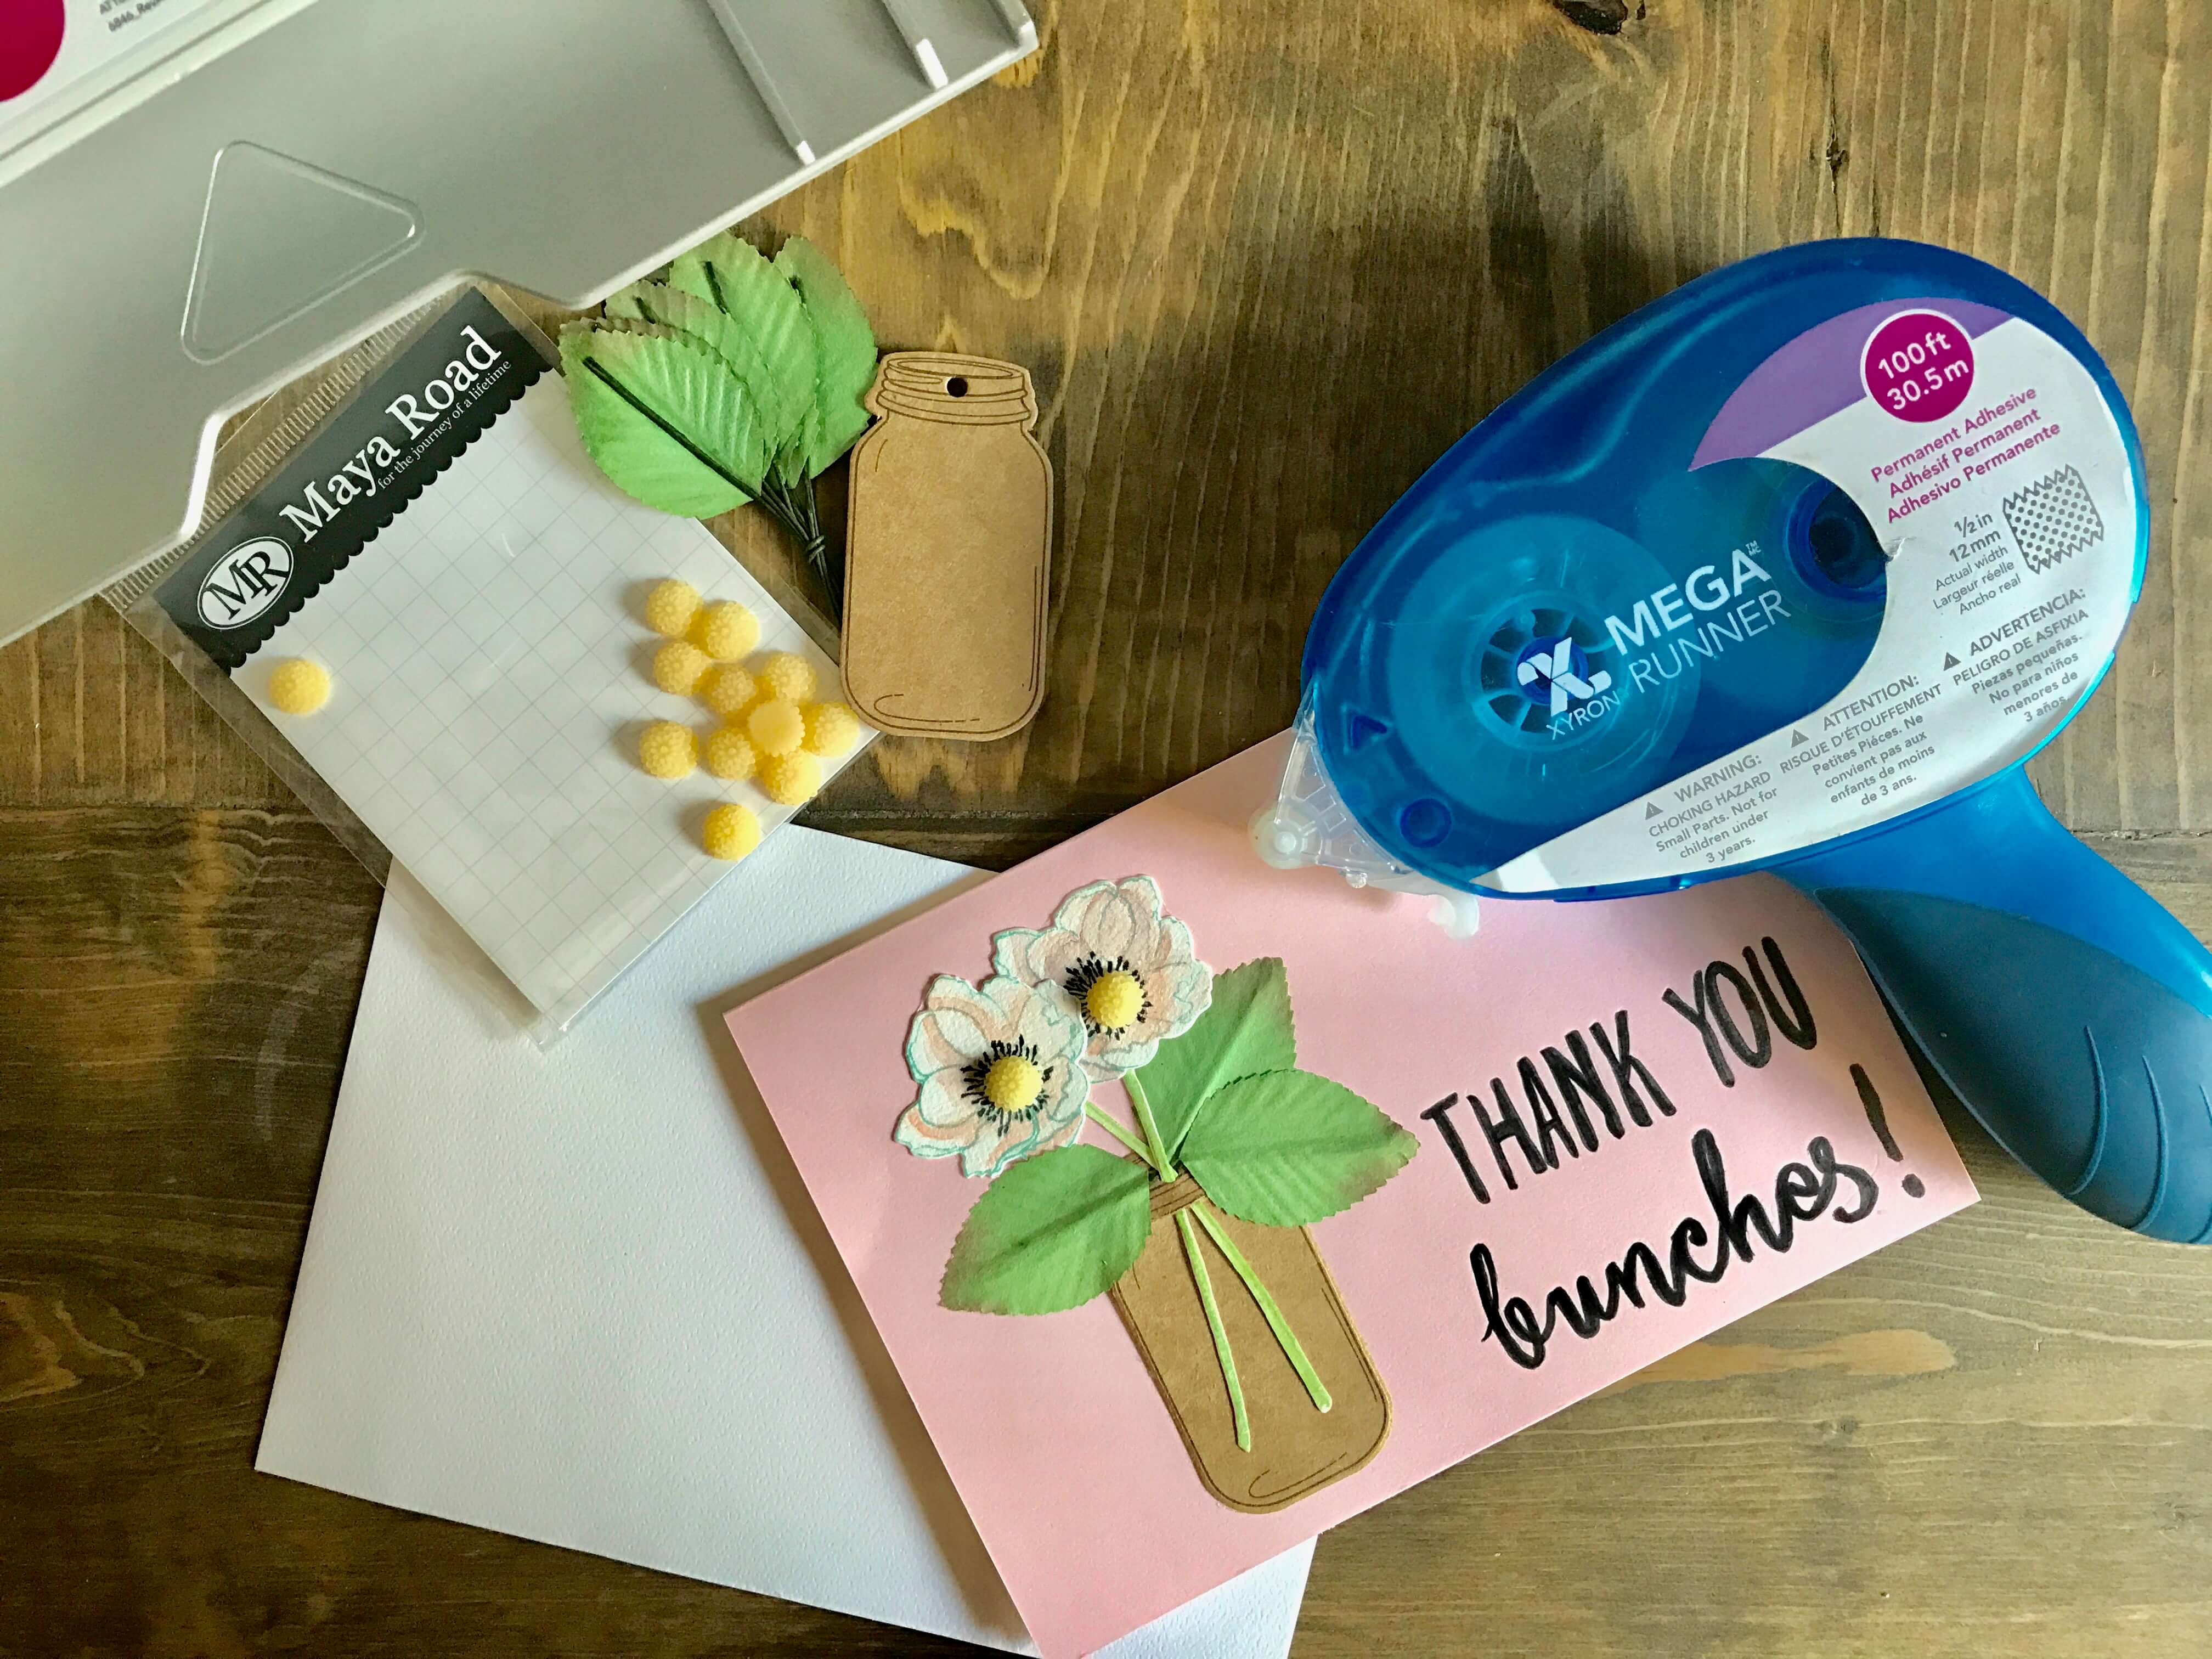
We have been working tirelessly on our yard for the last week, and the finishing touch was 5 pallets of sod…after a full week of leveling the yard, and backfilling a pool hole, we were completely gassed by the time the sod was delivered! But, one of our dear friends came over after work and helped us level the rest of the yard and put out 2 full pallets, and then some, of sod. Not only was her labor invaluable, but her energy was contagious. We needed that boost to get us through the rest of the job. So, I made this sweet little Thank You Bunches card with my Xyron, Sizzix, and embellishments from Maya Road. I am going to slip a little Starbucks gift card in it and slide it into her bag when she comes over next week.
Supplies: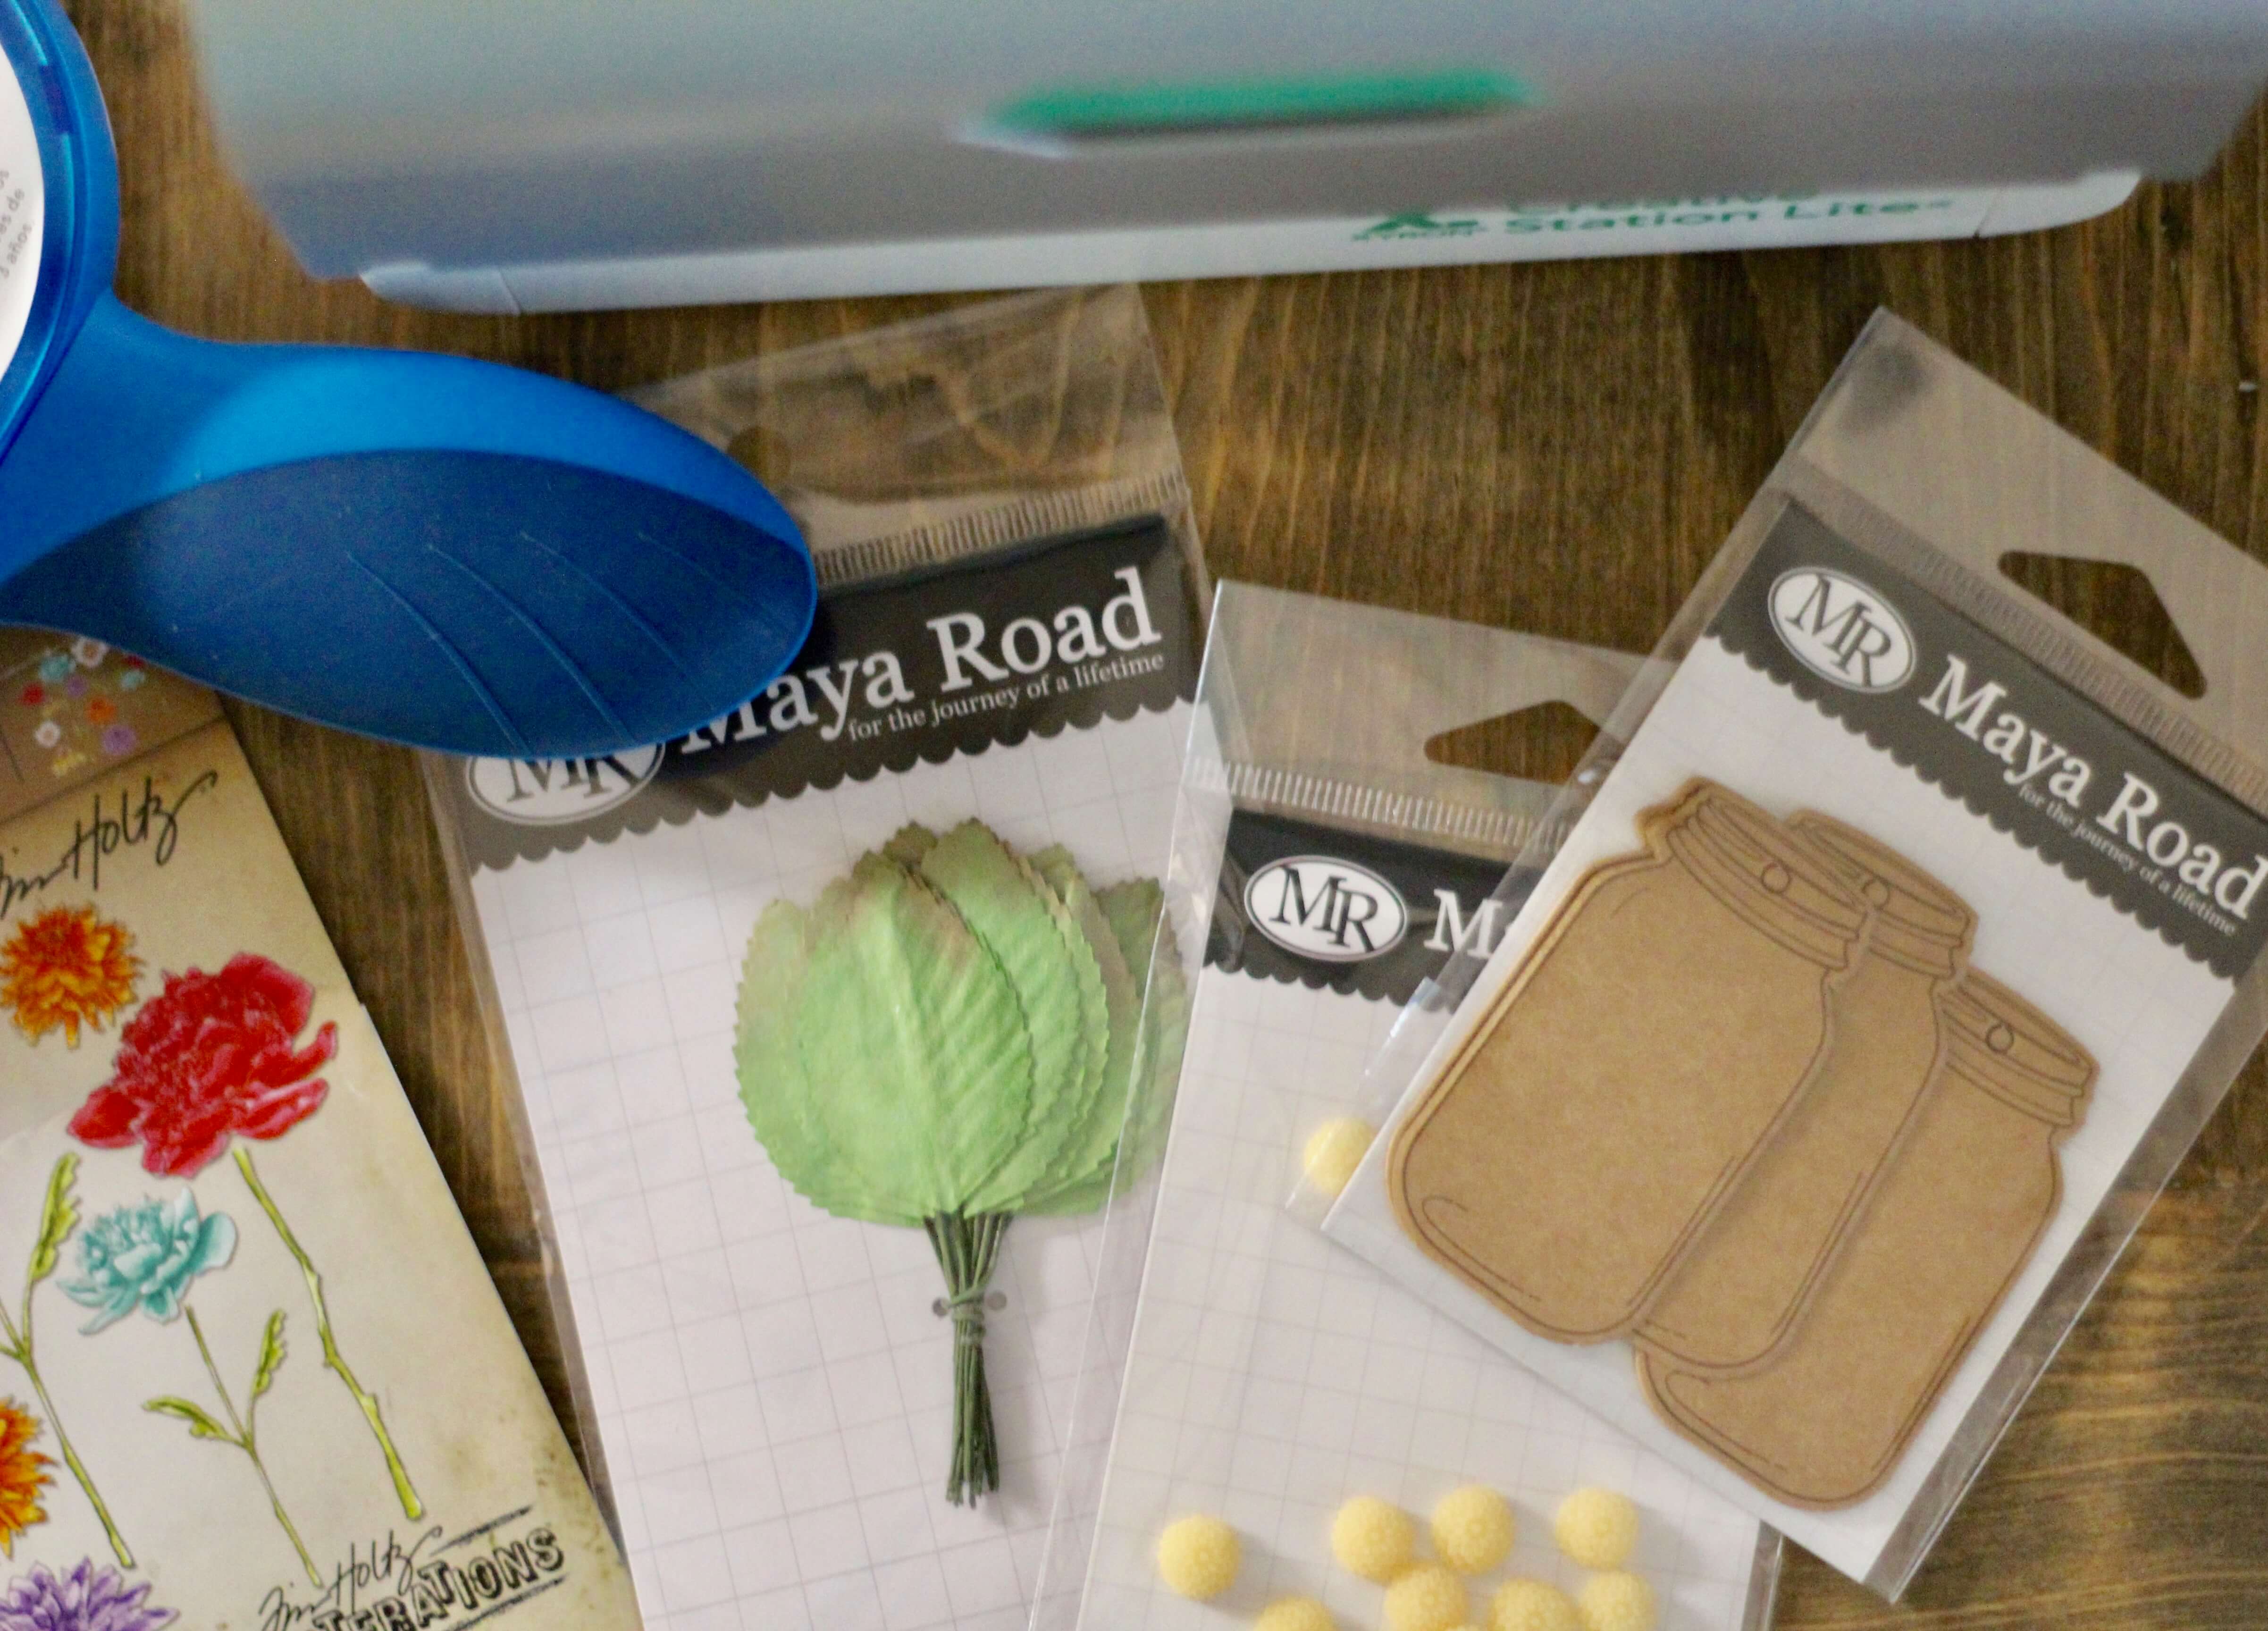
Sizzix
Tim Holtz Framelits – Flower and Garden Mini Bouquet and Stamps
Paint/Colored Pencils
Maya Road Mason Jar Kraft Tags
Maya Road Resin Mini Mums – Sand
Maya Road Vintage Findings Paper Leaves – Small
Pen
Paper
Scissors
Envelope
The first thing I did to make this card was cut out Tim Holtz Flower Garden and Mini Bouquet flowers and stamp them. Then I painted them. While the paint dried, I sliced a thin cut at the neck of the mini mason jar kraft tags from Maya Road. I carefully slid the flower stems through the slice, and used my Xyron Mega Runner to adhere the stems to the jar.  Next I added some Maya Road leaves, and carefully stuck the “stems” behind the jar through the same slice. A quick strip of Xyron adhesive helped keep the stems in place while I added the flower buds to the flower stems with the Xyron Mega Runner.
  I ran the whole canning jar and flowers through my Xyron Creative Station to make a giant dimensional sticker.
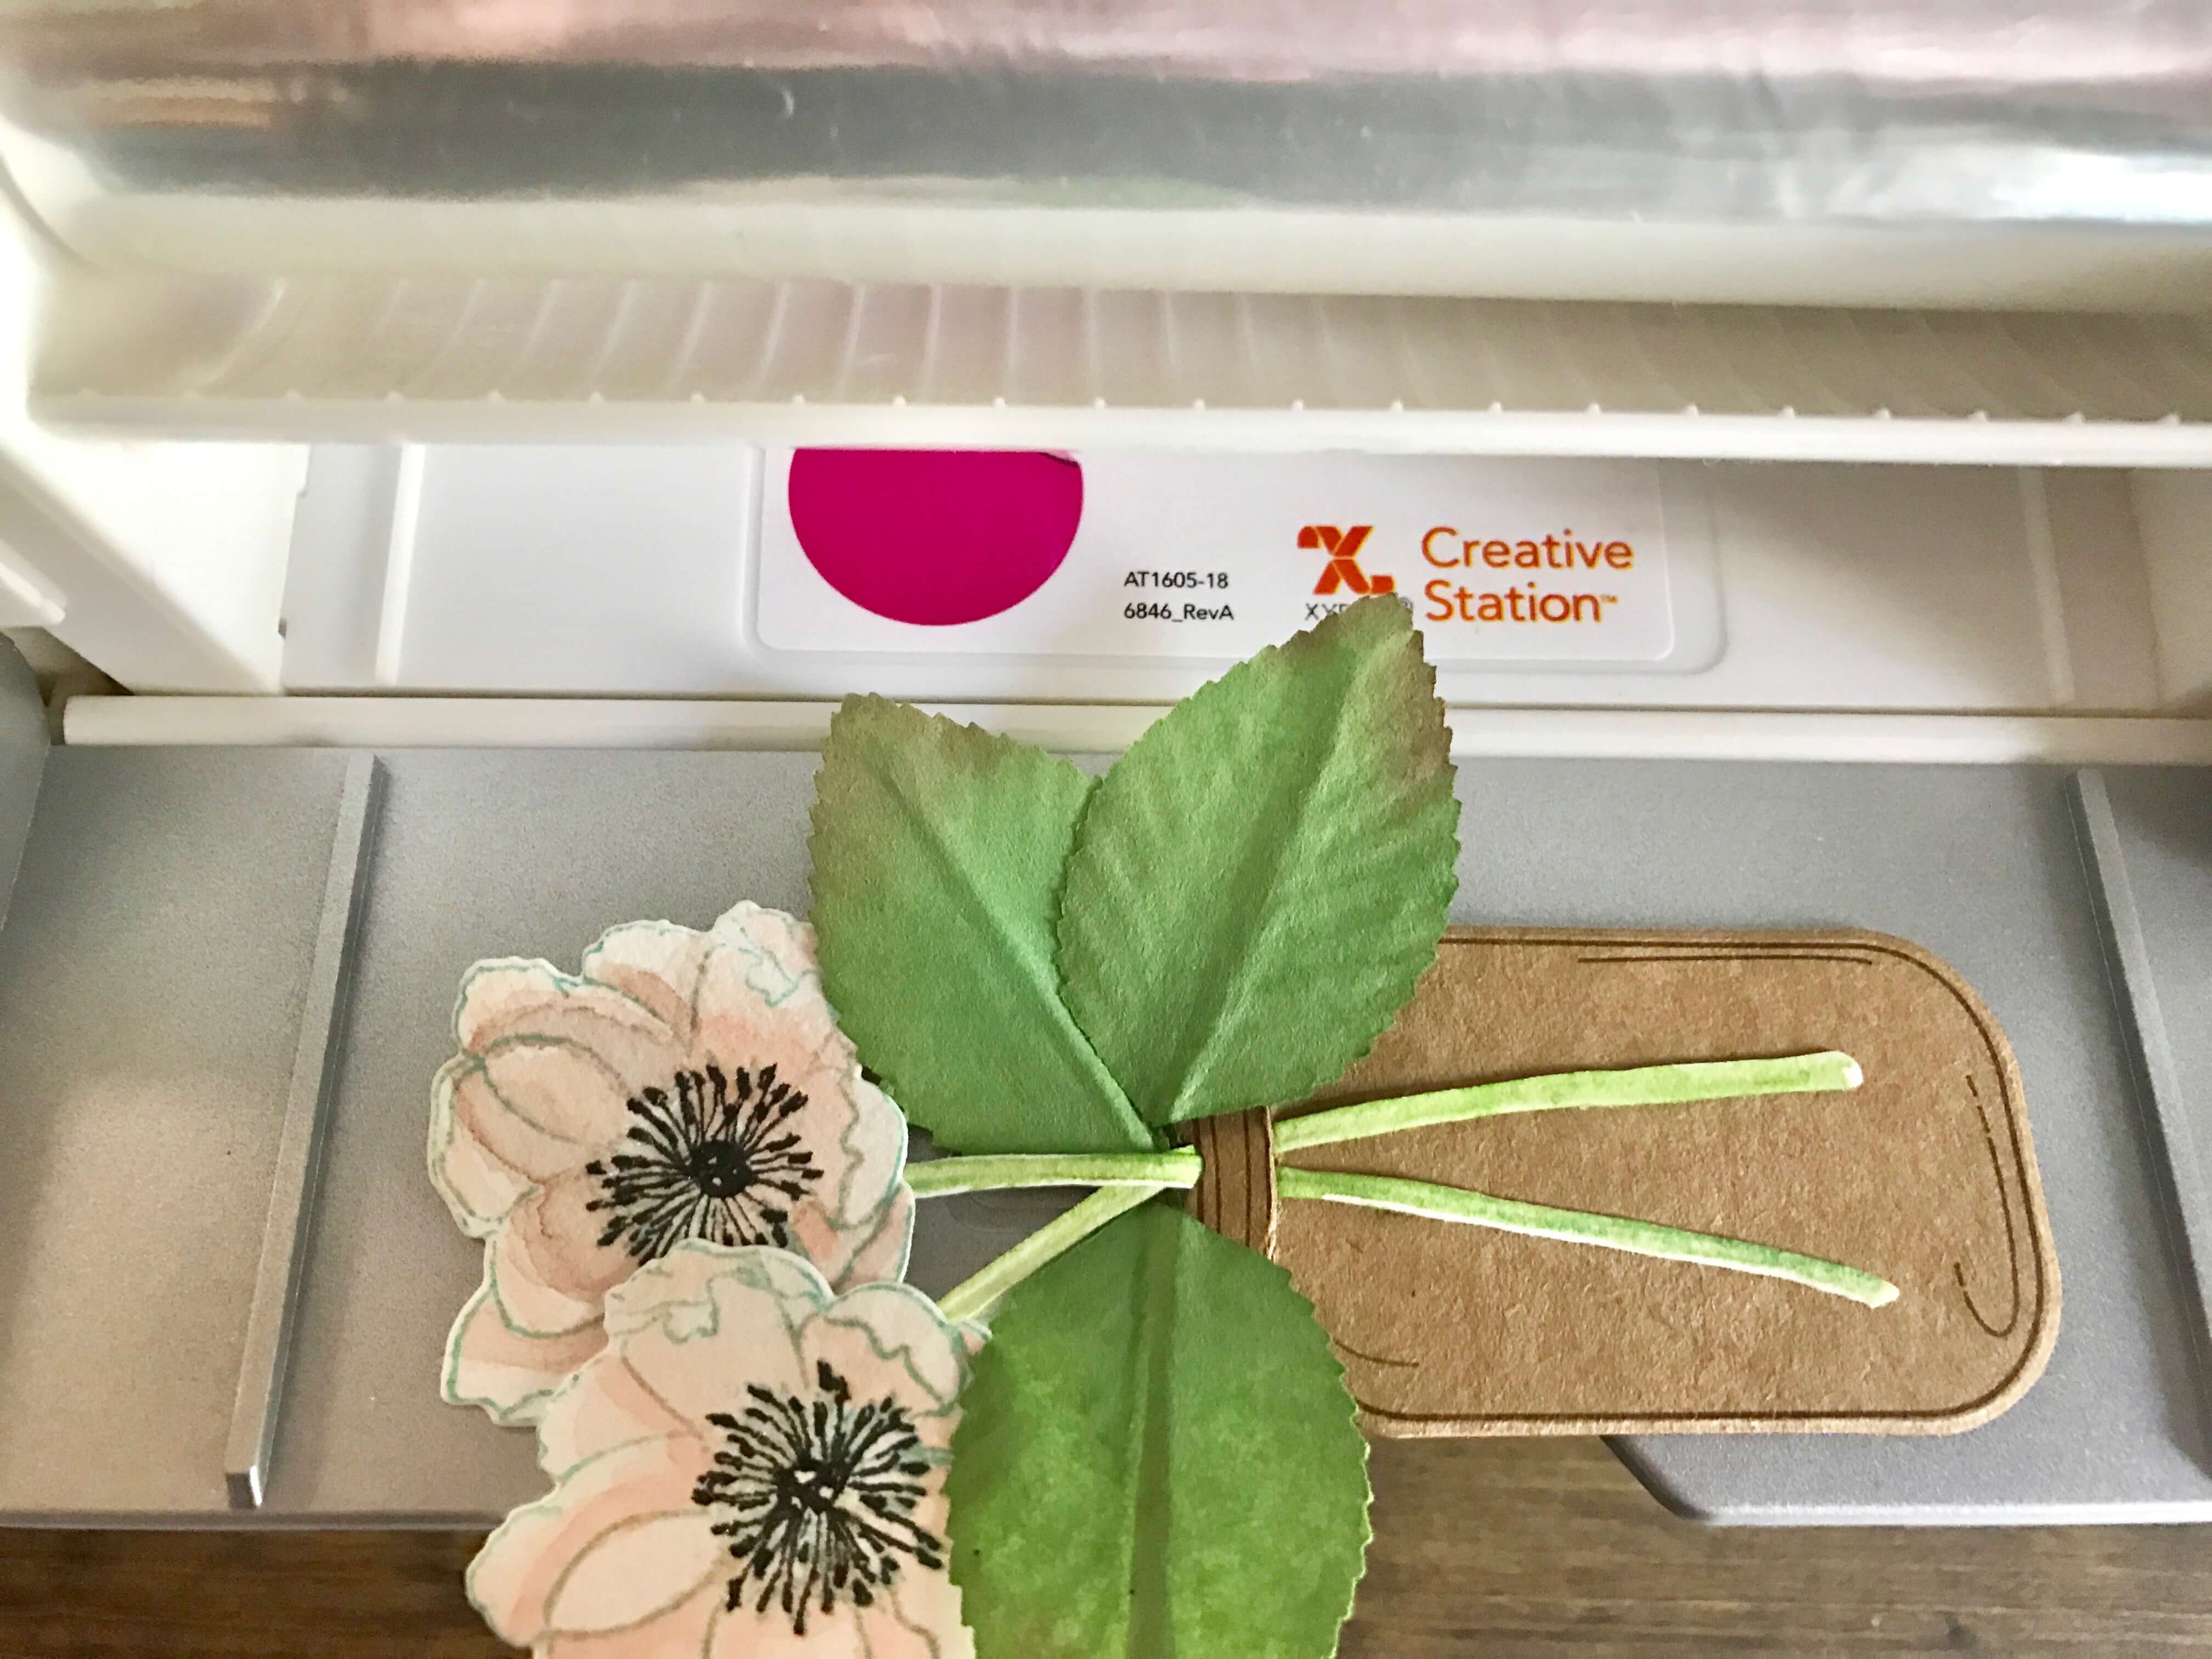
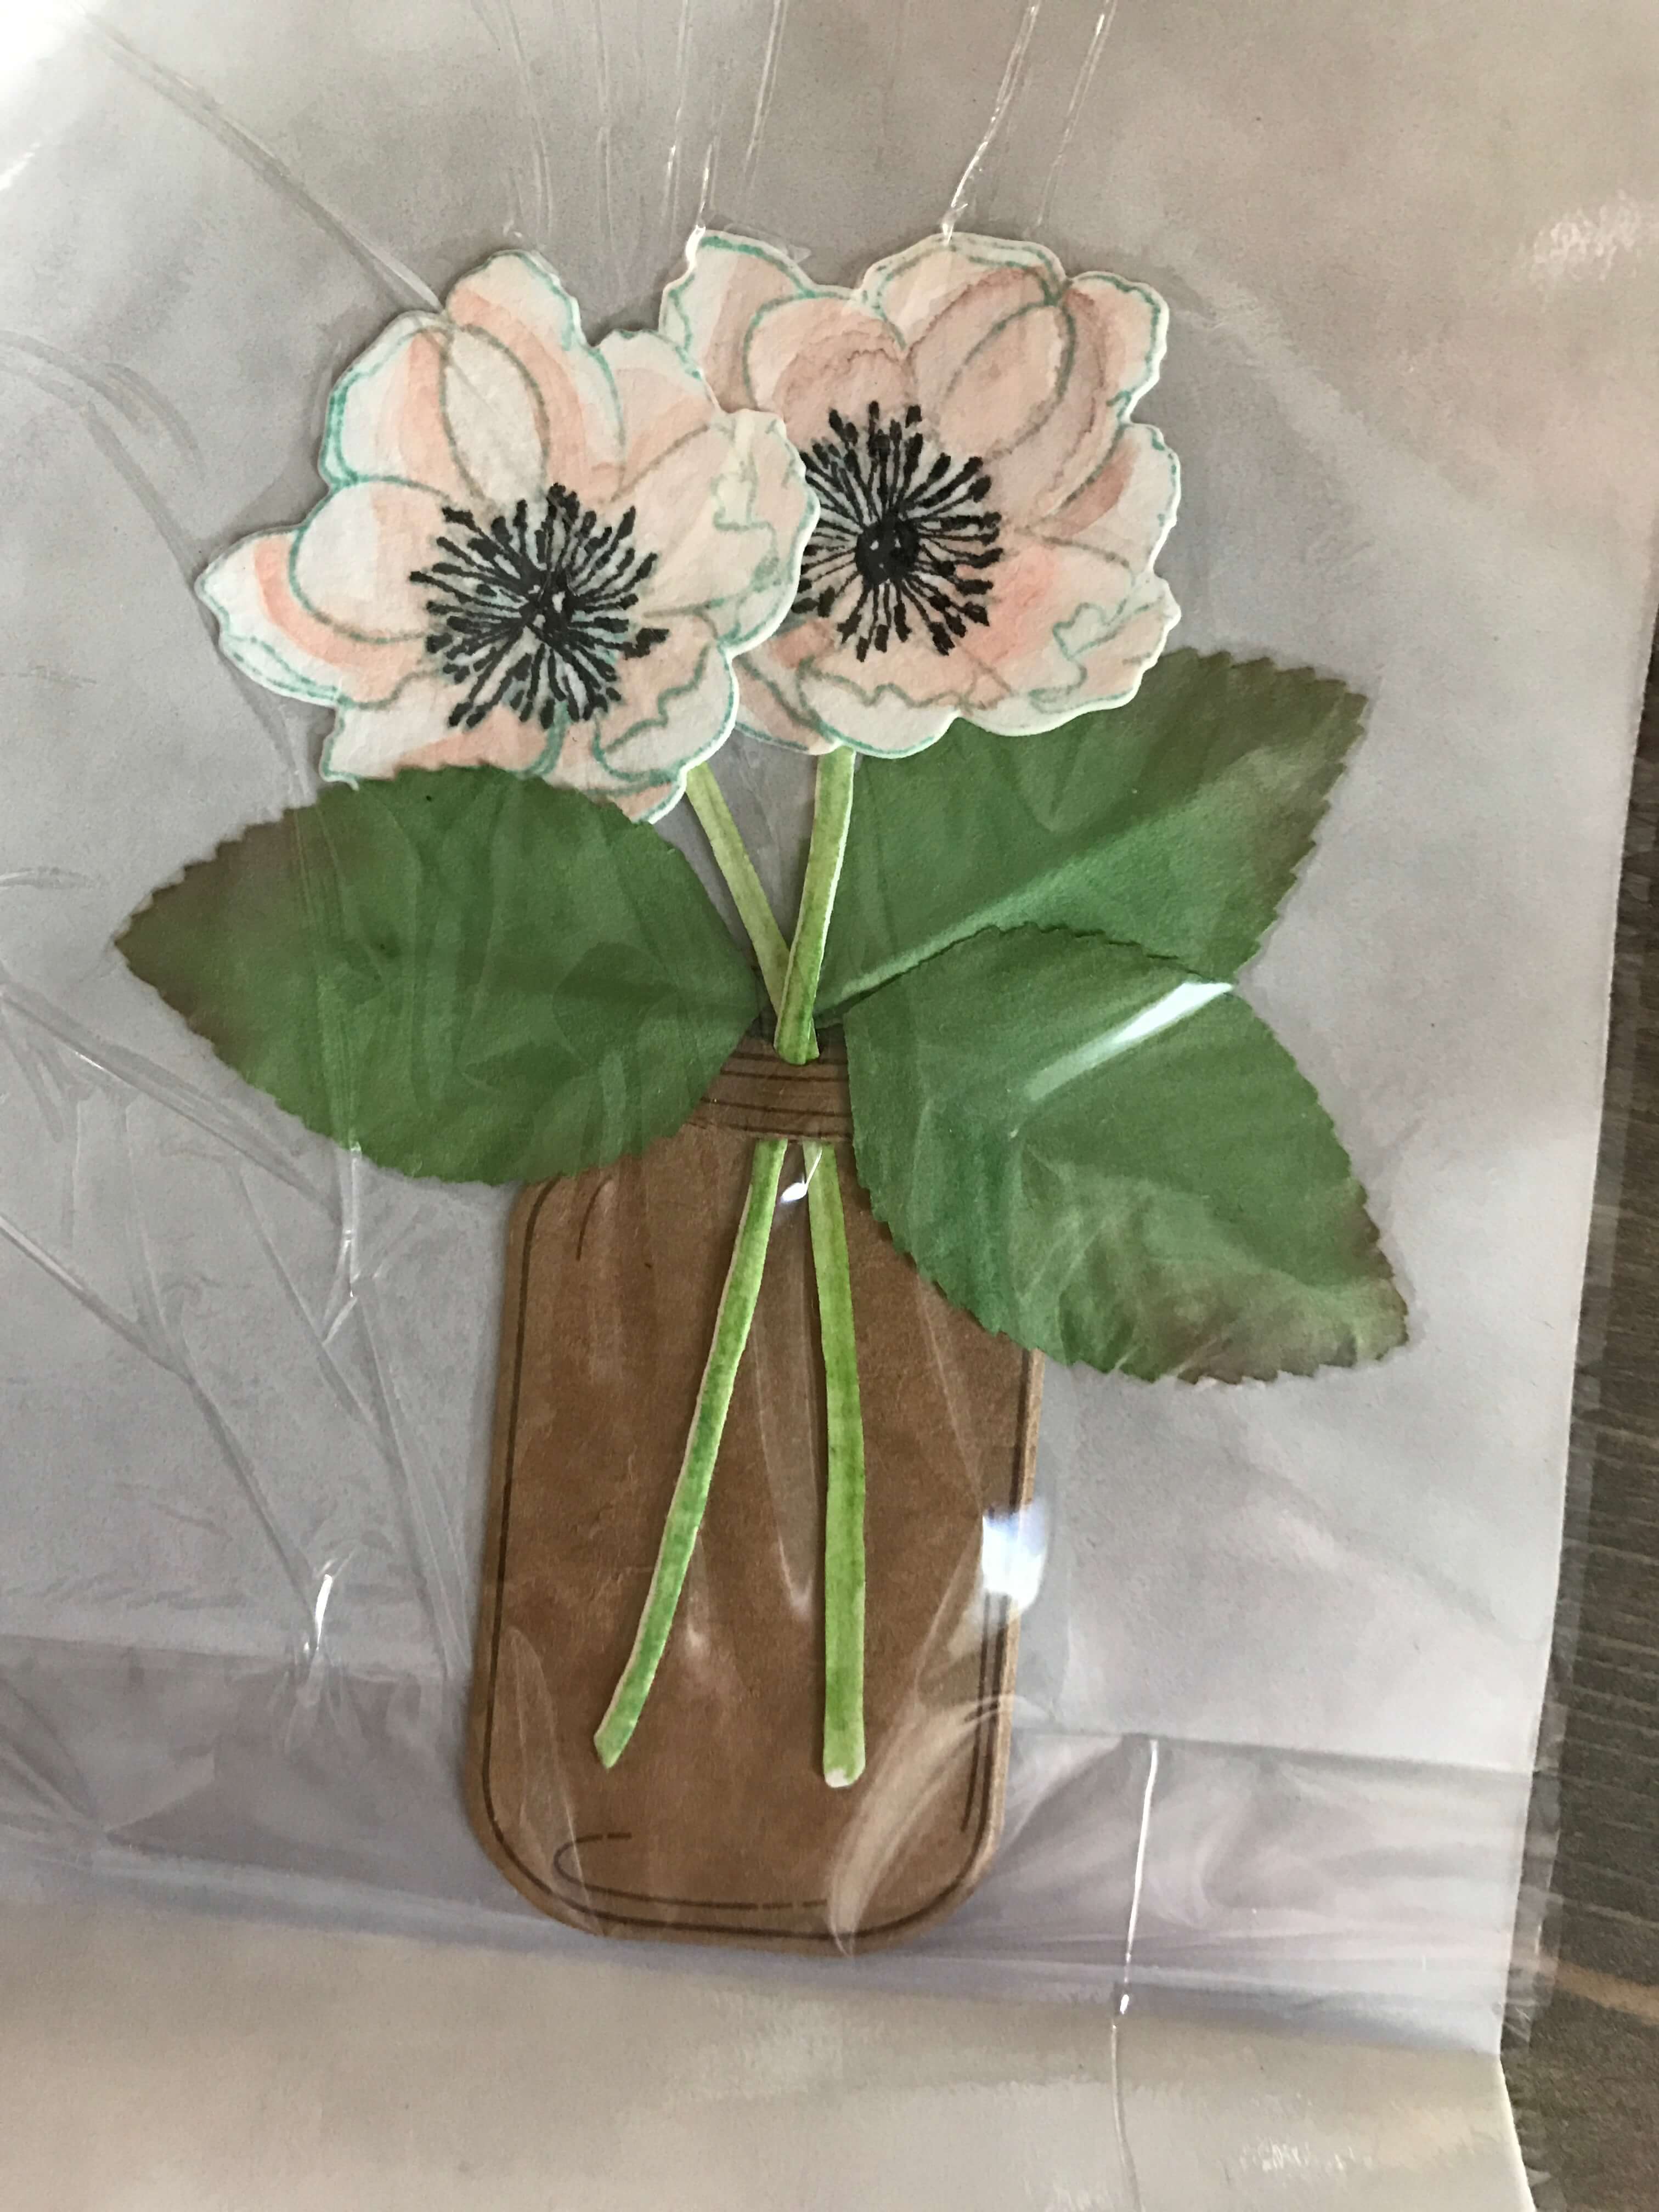 Now, it was ready for a floral “button” resin mini mum from Maya Road, another quick strip of adhesive from my Mega Tape Runner was all I needed to secure them to the middle of the flower.
I added the sticker to a folded piece of card stock cut to fit a 5×7″ envelope. Then, I printed up THANK YOU bunches in fonts I liked to fit the space next to the jar of flowers. I gently traced over each letter on top of the card stock with a pencil to give me a little outline of the text. I filled in each letter with a black brush pen, and that was it! It’s ready for a heartfelt note and little gift card! 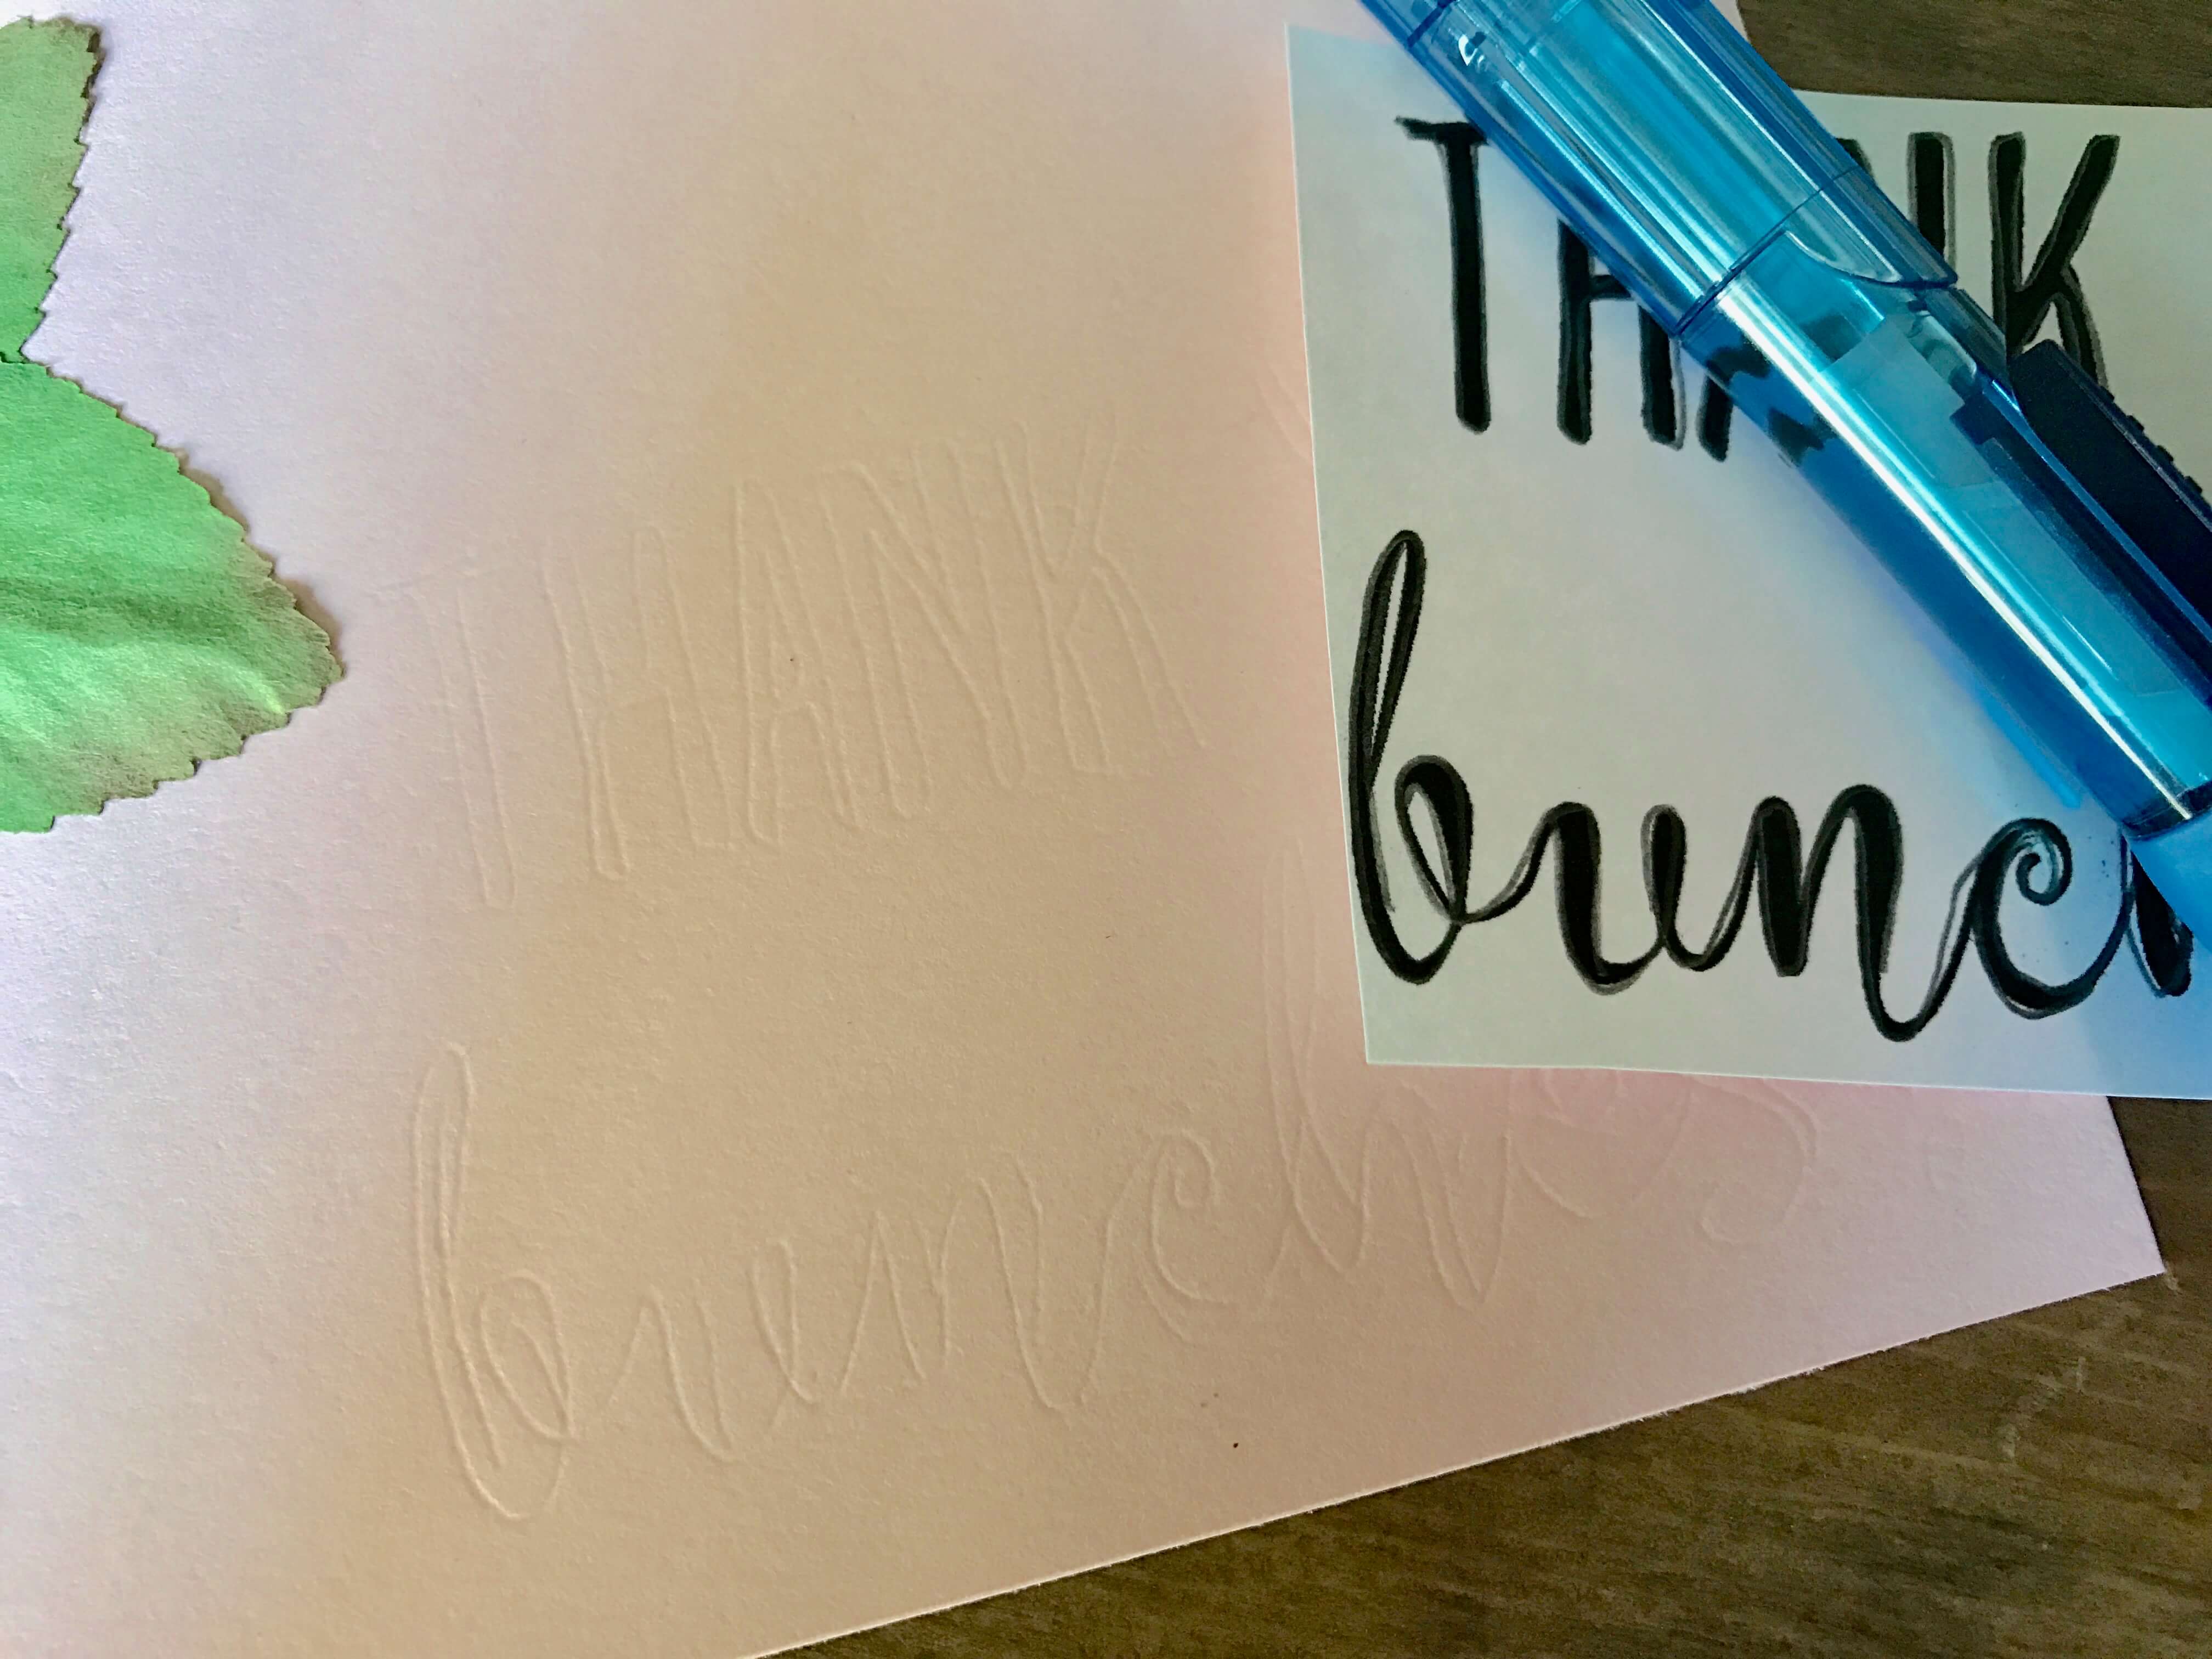
 I actually love this card so much, I think I am going to make several more to keep on hand!
Hop on over to fellow Xyron Design Team Bloggers, Scrapbook Flair and Giorgia Rossini to see what amazing things they created with their Xyron and Maya Road goodies! ANd follow along on the Xyron Facebook Page and comment on each Xyron and Maya Road project they share for a chance to win a Xyron 1.5 sticker maker.
Tags : DIY, Flowers, Maya Road, Sizzix, Thank You Card, Tim Holtz, Xyron, Xyron Blogger

I love your card, especially those cute flowers in the mason jar!
Thank you!
I love your card. So very prettt.
Thanks so much!
Oh Jessica — I would frame this card, if I were you — or if I was the recipient! 🙂 It’s so pretty and perfect for Spring! LOVE the way you used those mason jar tags!
Thank you so much! I kind of want to make more mason jars with flowers and shadow box frame them!