Simple No Sew Stocking with Cricut
This review is based strictly on my opinion. Others may have a different opinion or experience with the product listed above. I was provided the sample free of charge by the company or PR agency and I provided my honest opinion. No other type of compensation was received for this review.
If you decide to make a purchase through my links, I will be paid a small commission for it. This doesn’t cost you anything additional. These commissions help to keep the rest of my content free, so thank you!
#cricutmaker #cricutmade #cricut #ad
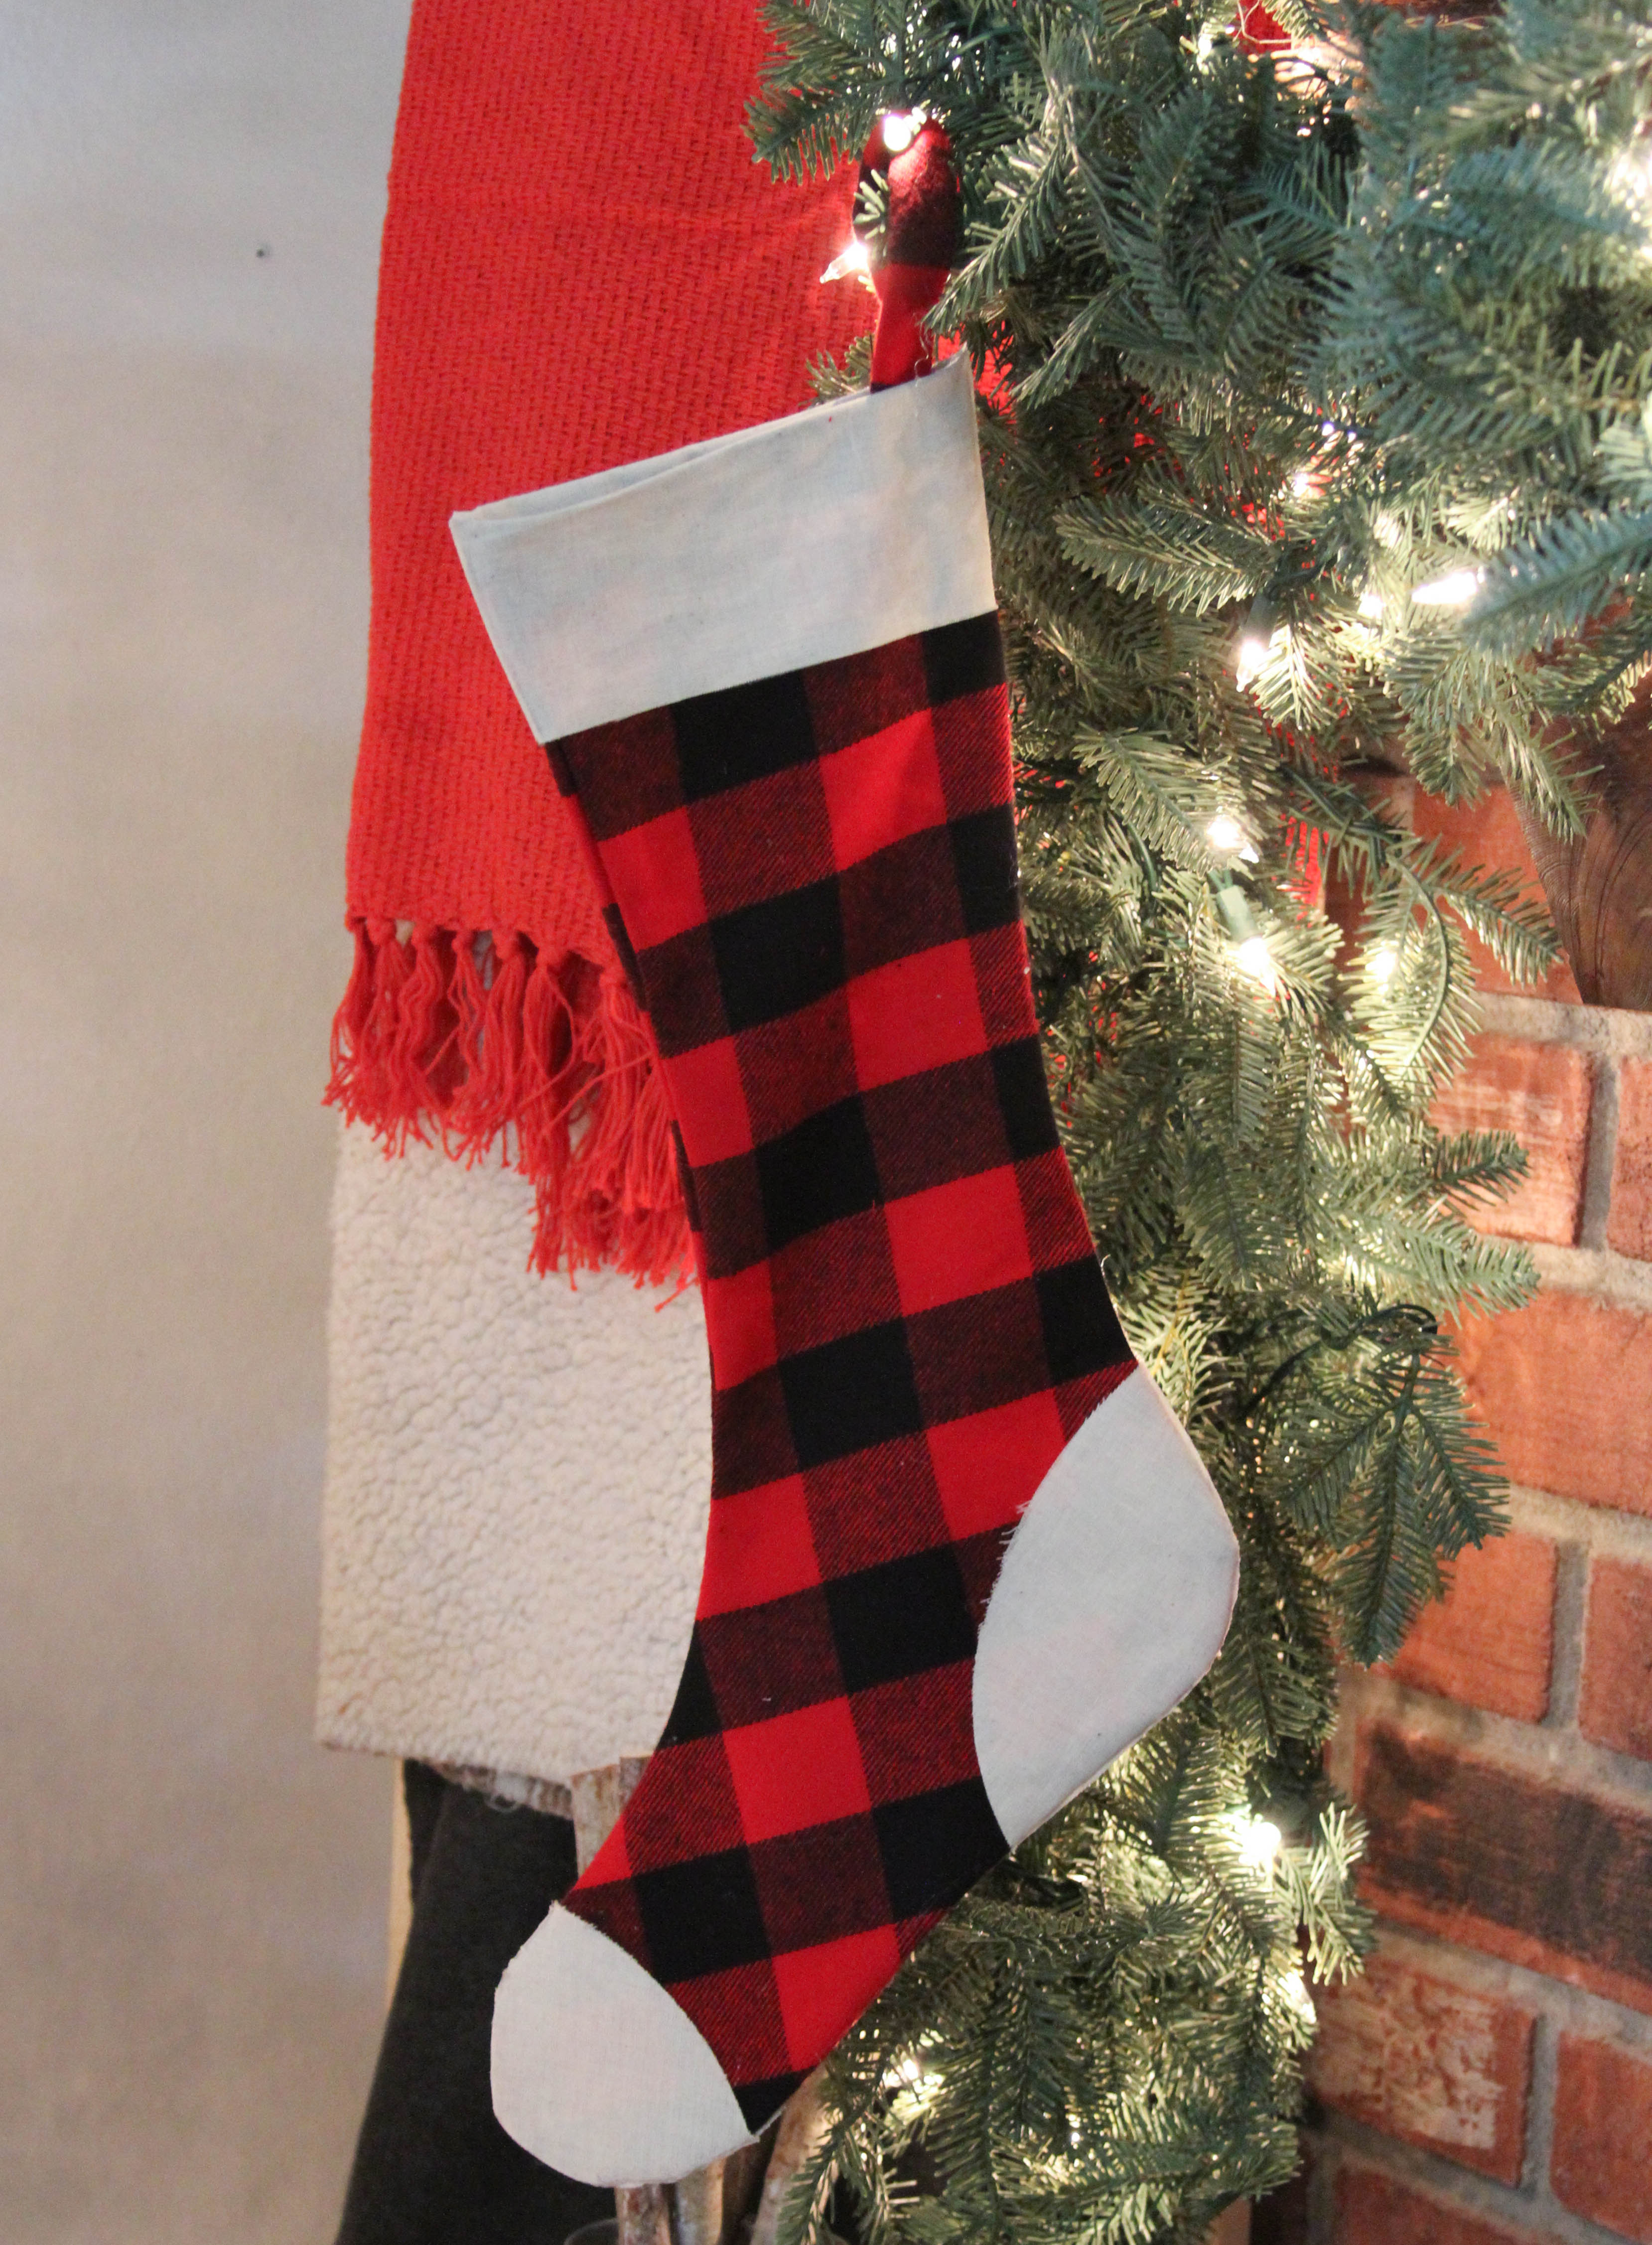
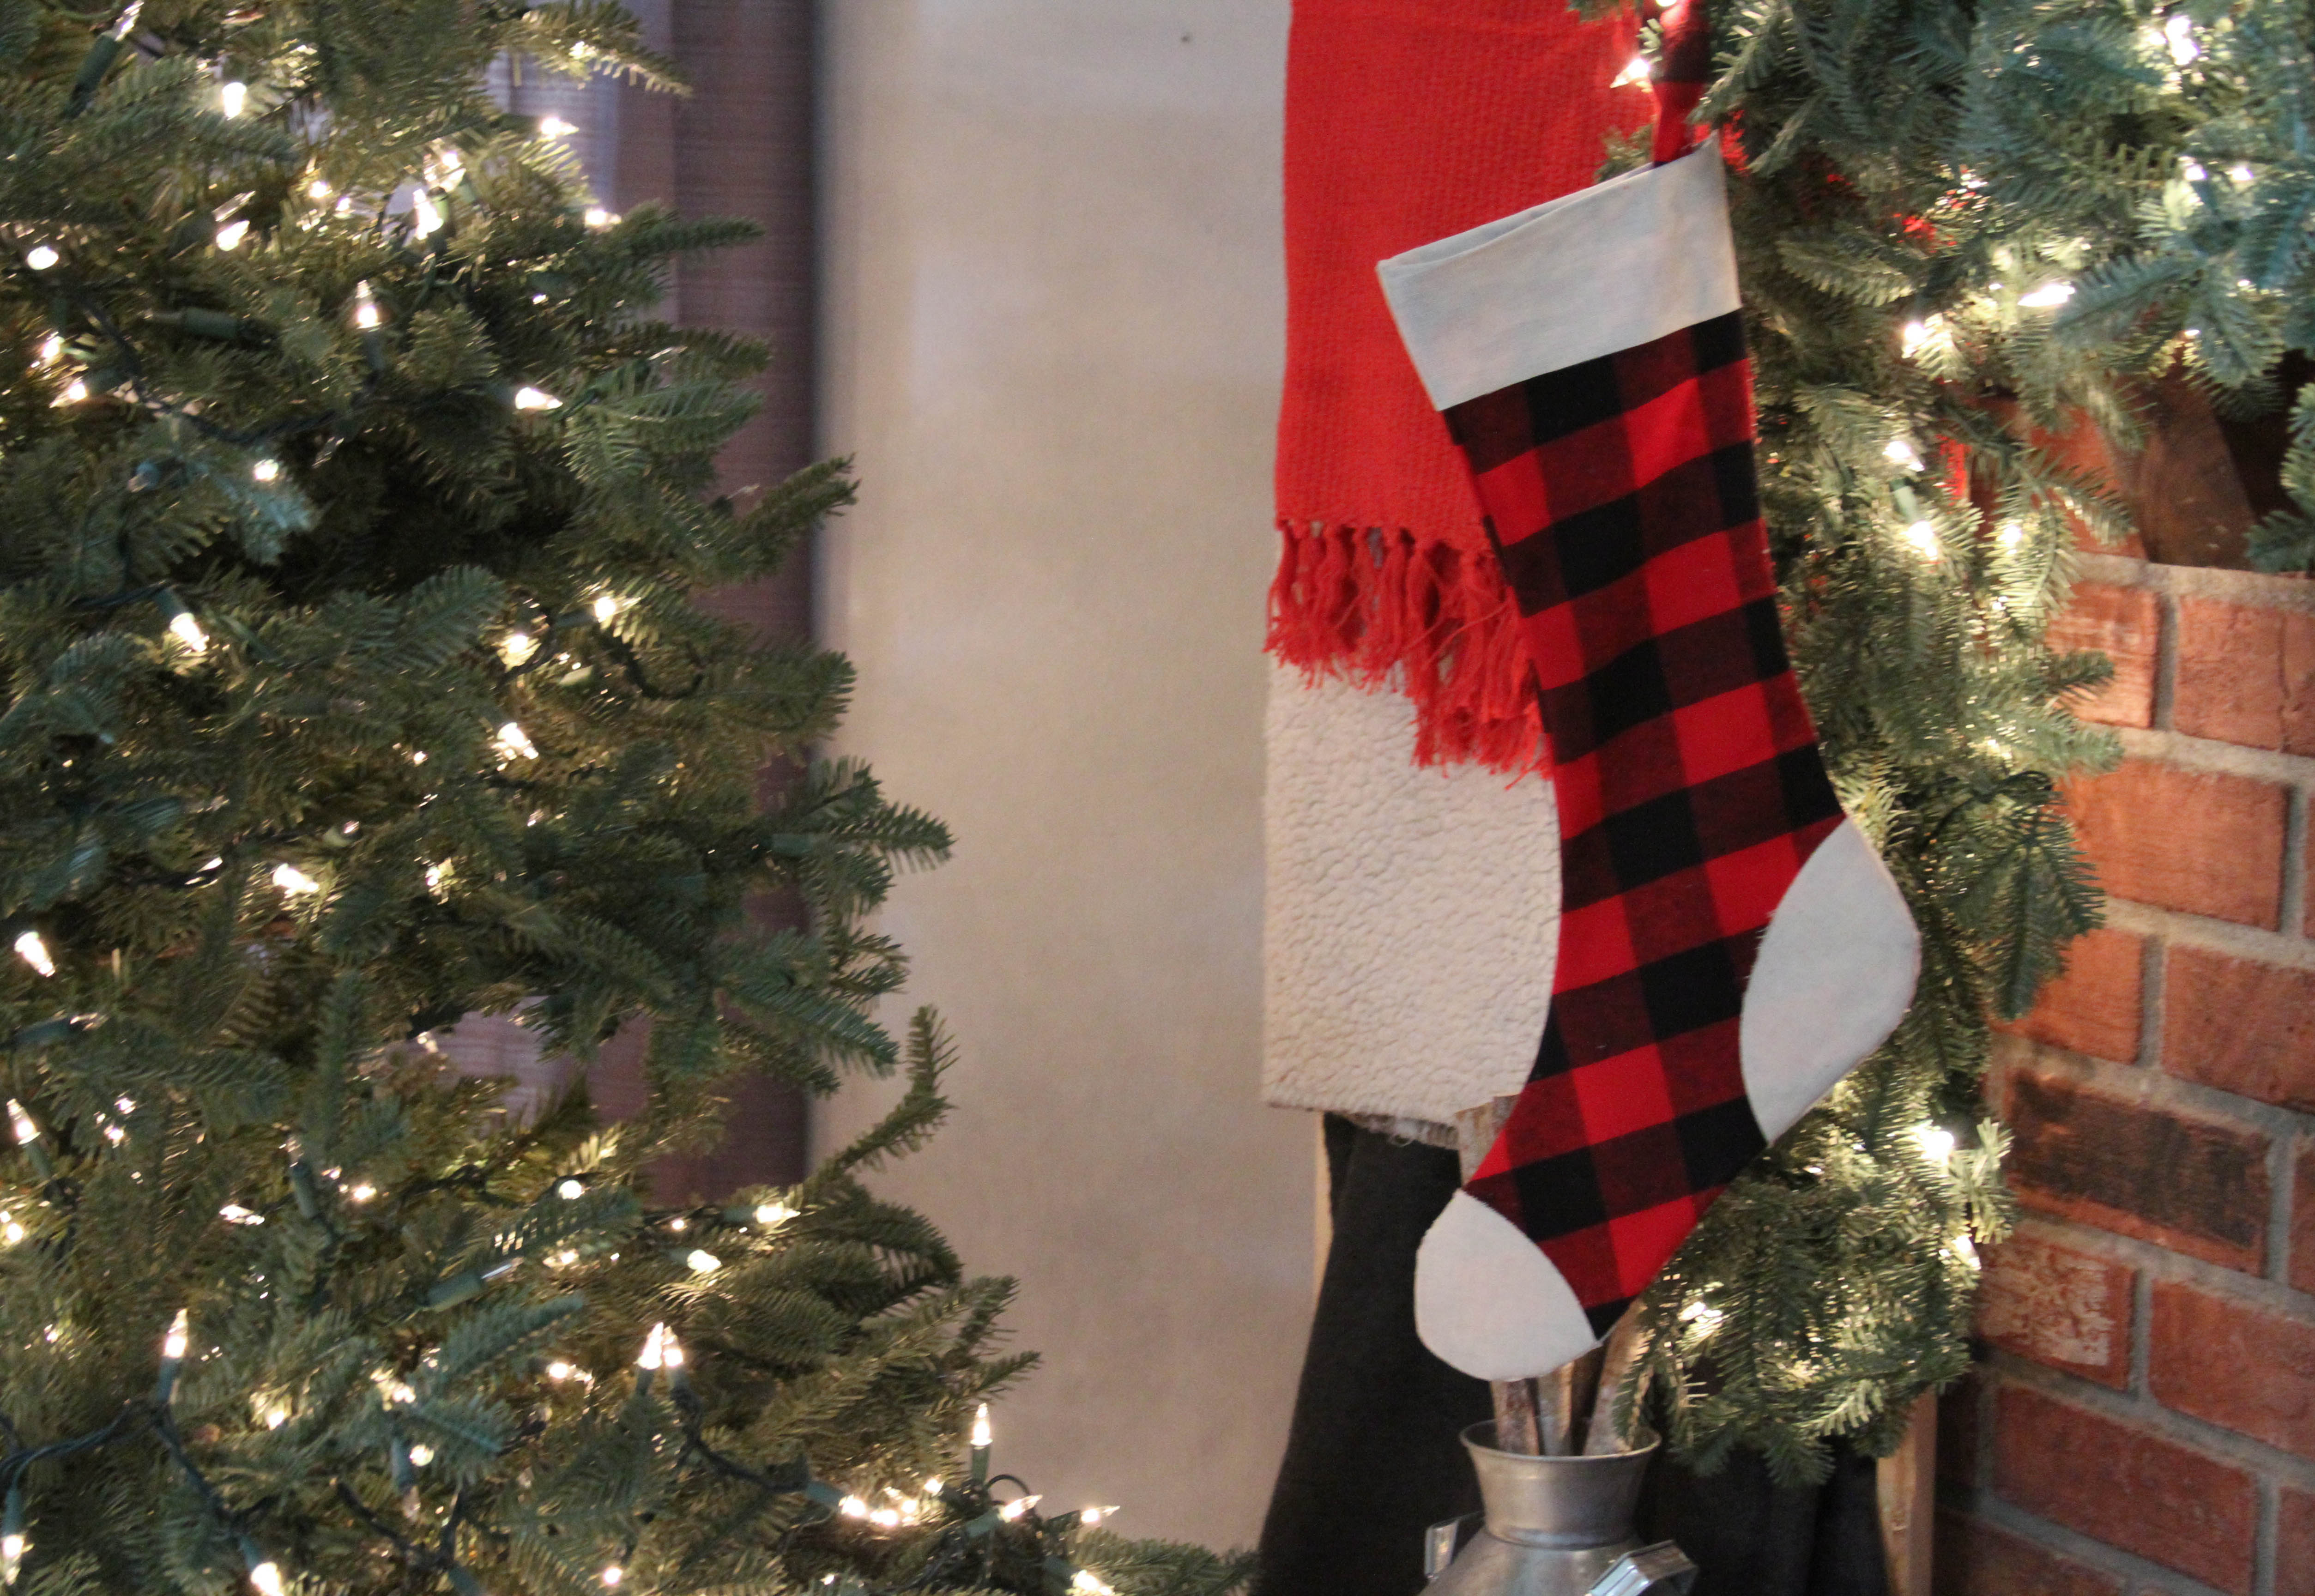
Simple No Sew Stocking with Cricut. It’s no secret that I love my Cricut machines…but, you guys, the Maker is a total game changer, and seriously makes me want to learn to sew!
I like to give my boys teachers little gifts, and I always struggle with packaging them in something cute, and if possible have it be part of the gift. I also have 4 kids, and a lot of teachers, so I want to keep costs as low as possible! So, when I saw red and black buffalo plaid fabric on sale recently, I grabbed a few yards and got to work.
Supplies:
Fabric – two colors
Fusible Iron On Fabric
Hot Glue Gun and Glue
(optional- sewing machine)
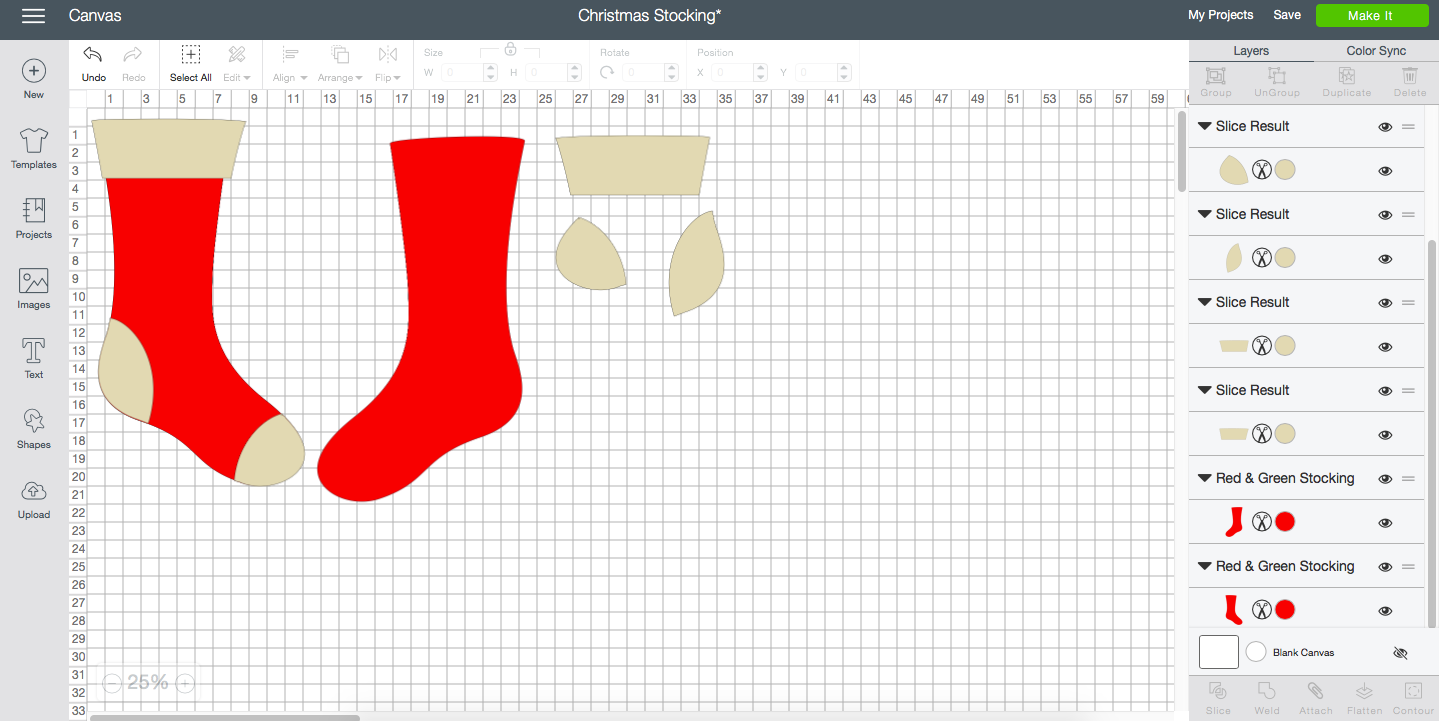
If you sew, there are several stocking patterns from Simplicity. I don’t have a sewing machine, and I saw that those patterns cannot be adjusted, so I decided to make my own pattern using Design Space. If you do sew, you can easily use this cut file too. I found a stocking I liked in Design Space and edited it and sliced it to create a simple stocking with a toe and heal embellishment. Then, I scaled it to the size I wanted and duplicated and mirrored it. Get the cut file here.
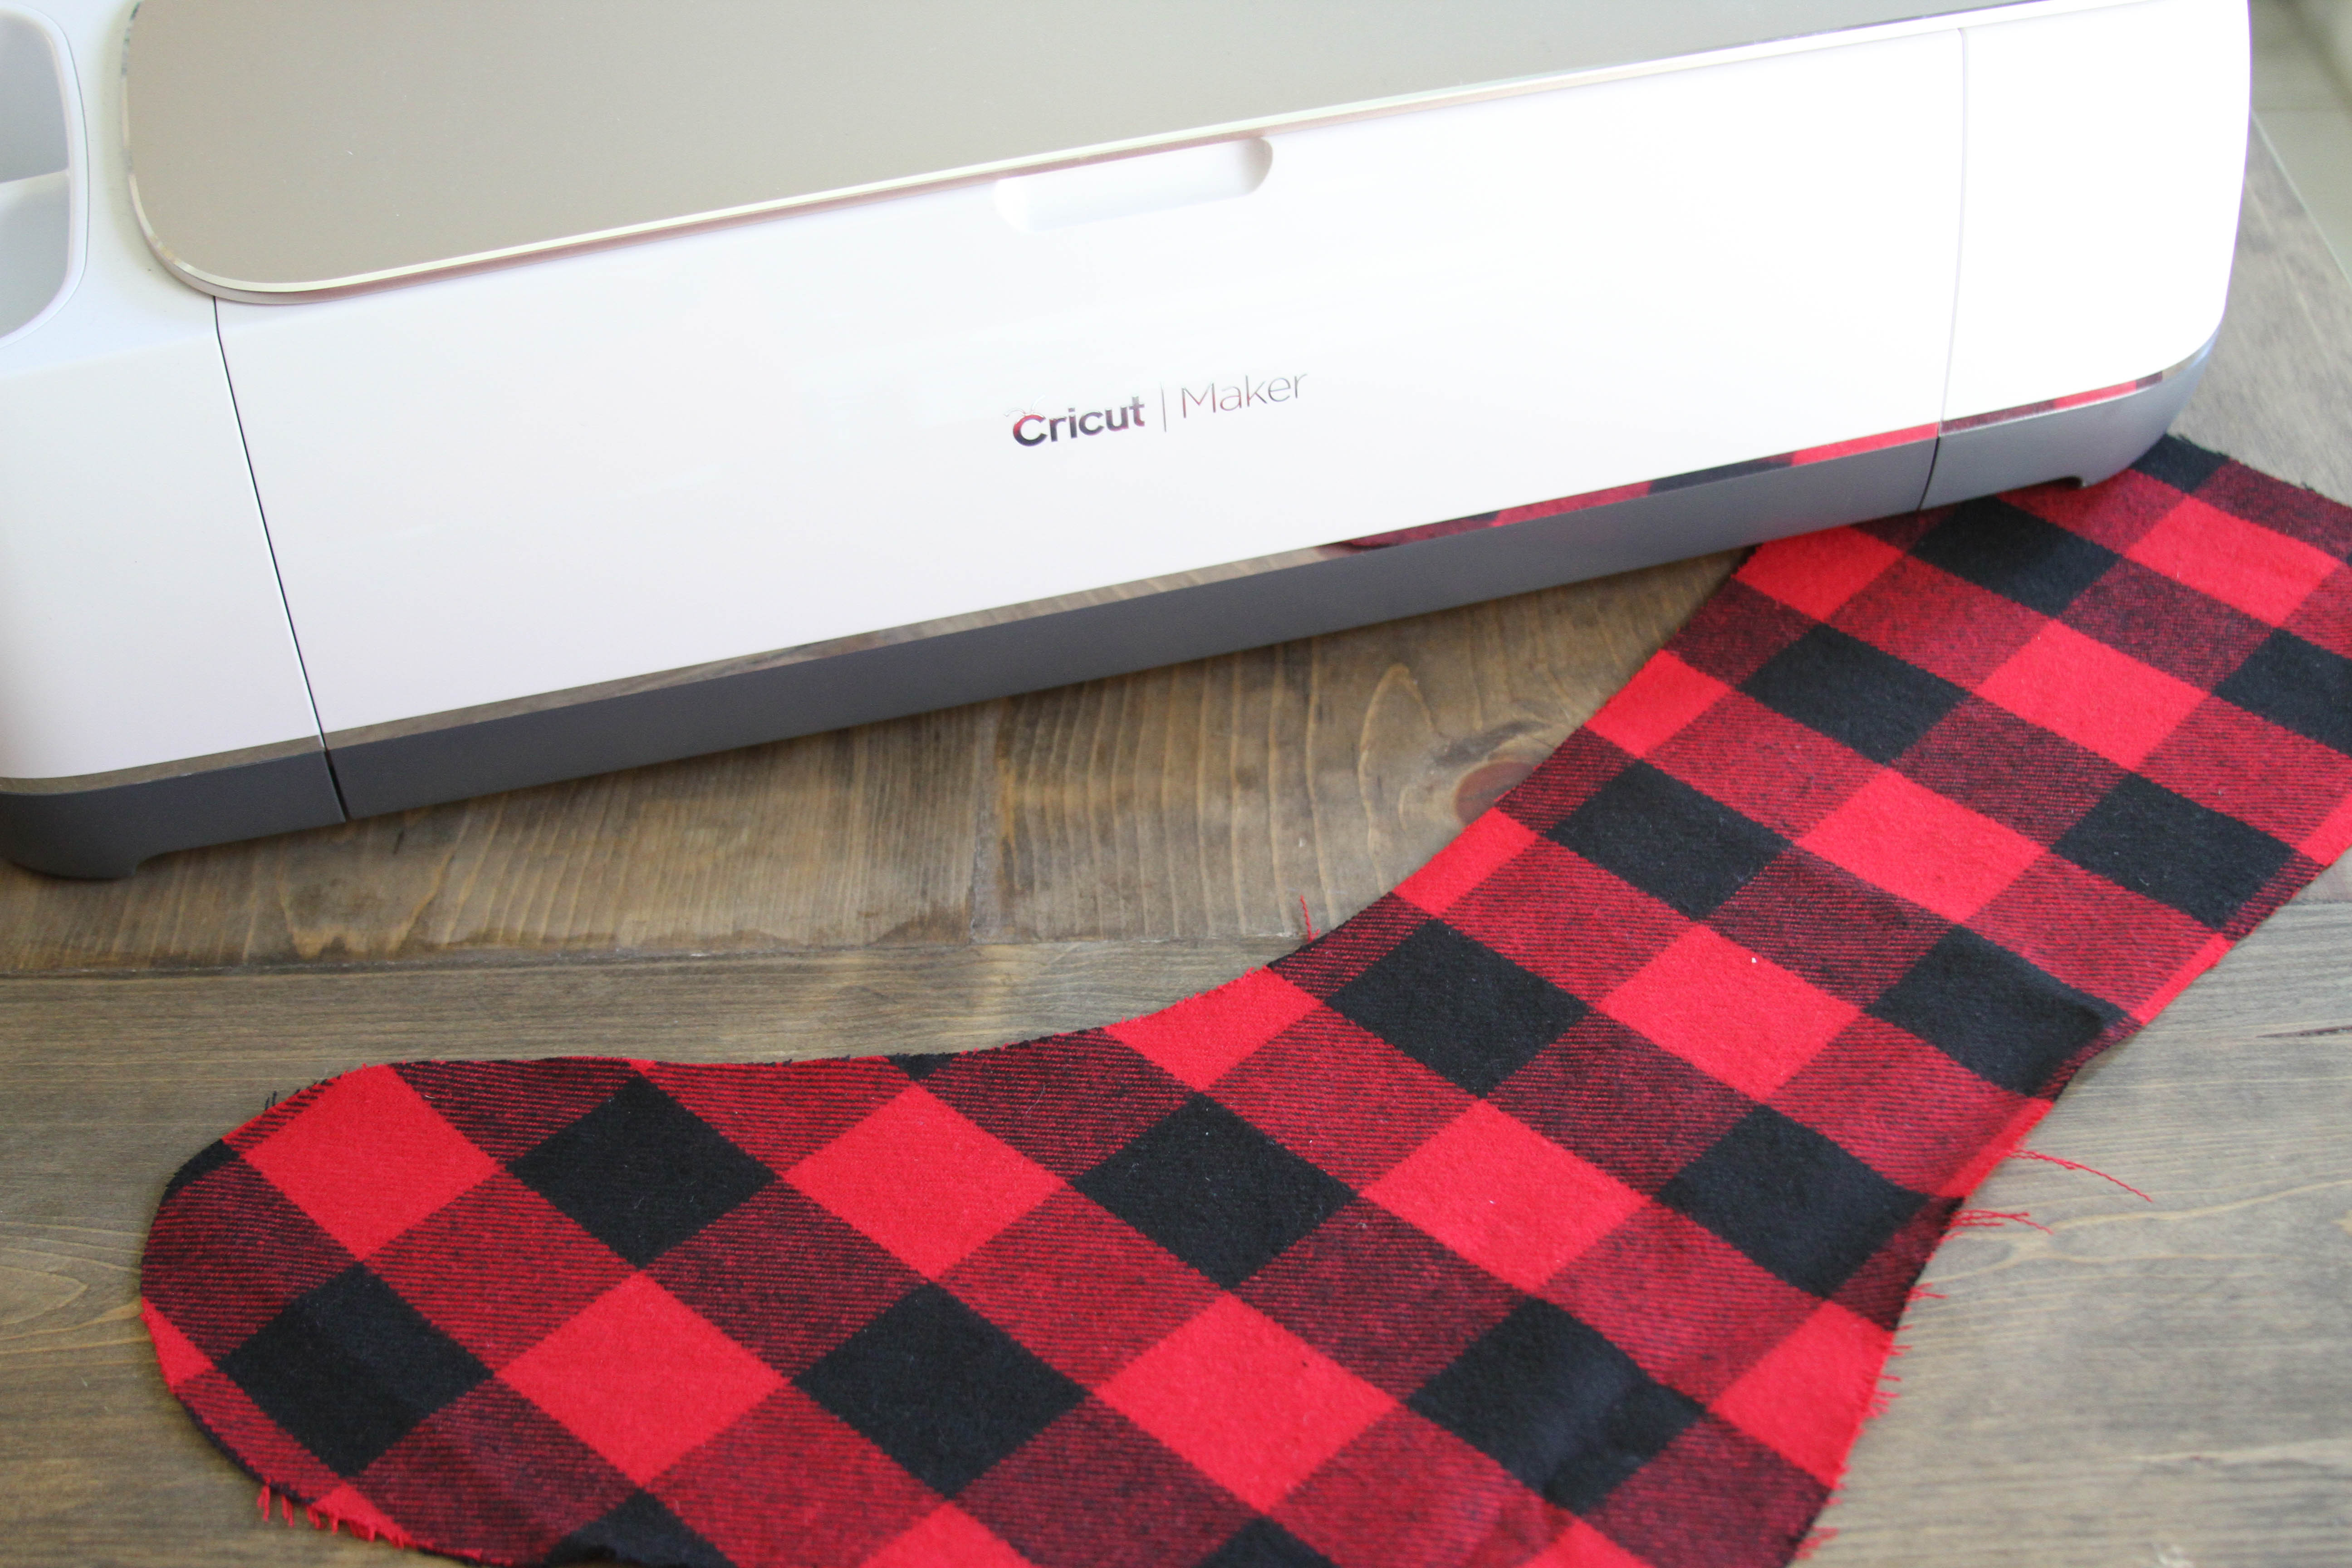
I used Fusible Iron On Fabric on the toe and heal embellishments and sent them to cut. Next, I cut the stocking shapes.
I used the EasyPress to press the fabric onto the heal and toe on the right sides of the stockings. You could stitch them onto the stocking too.
I placed the stockings on top of each other, right sides facing in. (So you can’t see the toe and heal fabric) Next, I hot glued the edges of the stocking together. If you have a sewing machine, you could totally sew it too. Once it was fully dry, I flipped it right side out, and added a hanging hook to the top with scrap fabric and more glue.
I will fill these with goodies for the boys teachers and I am ready for the holidays!
This is a sponsored conversation written by me on behalf of Cricut. The opinions and text are all mine.
Tags : Cricut, Cricut EasyPress, Cricut Maker, DIY, Stocking
In DIY

