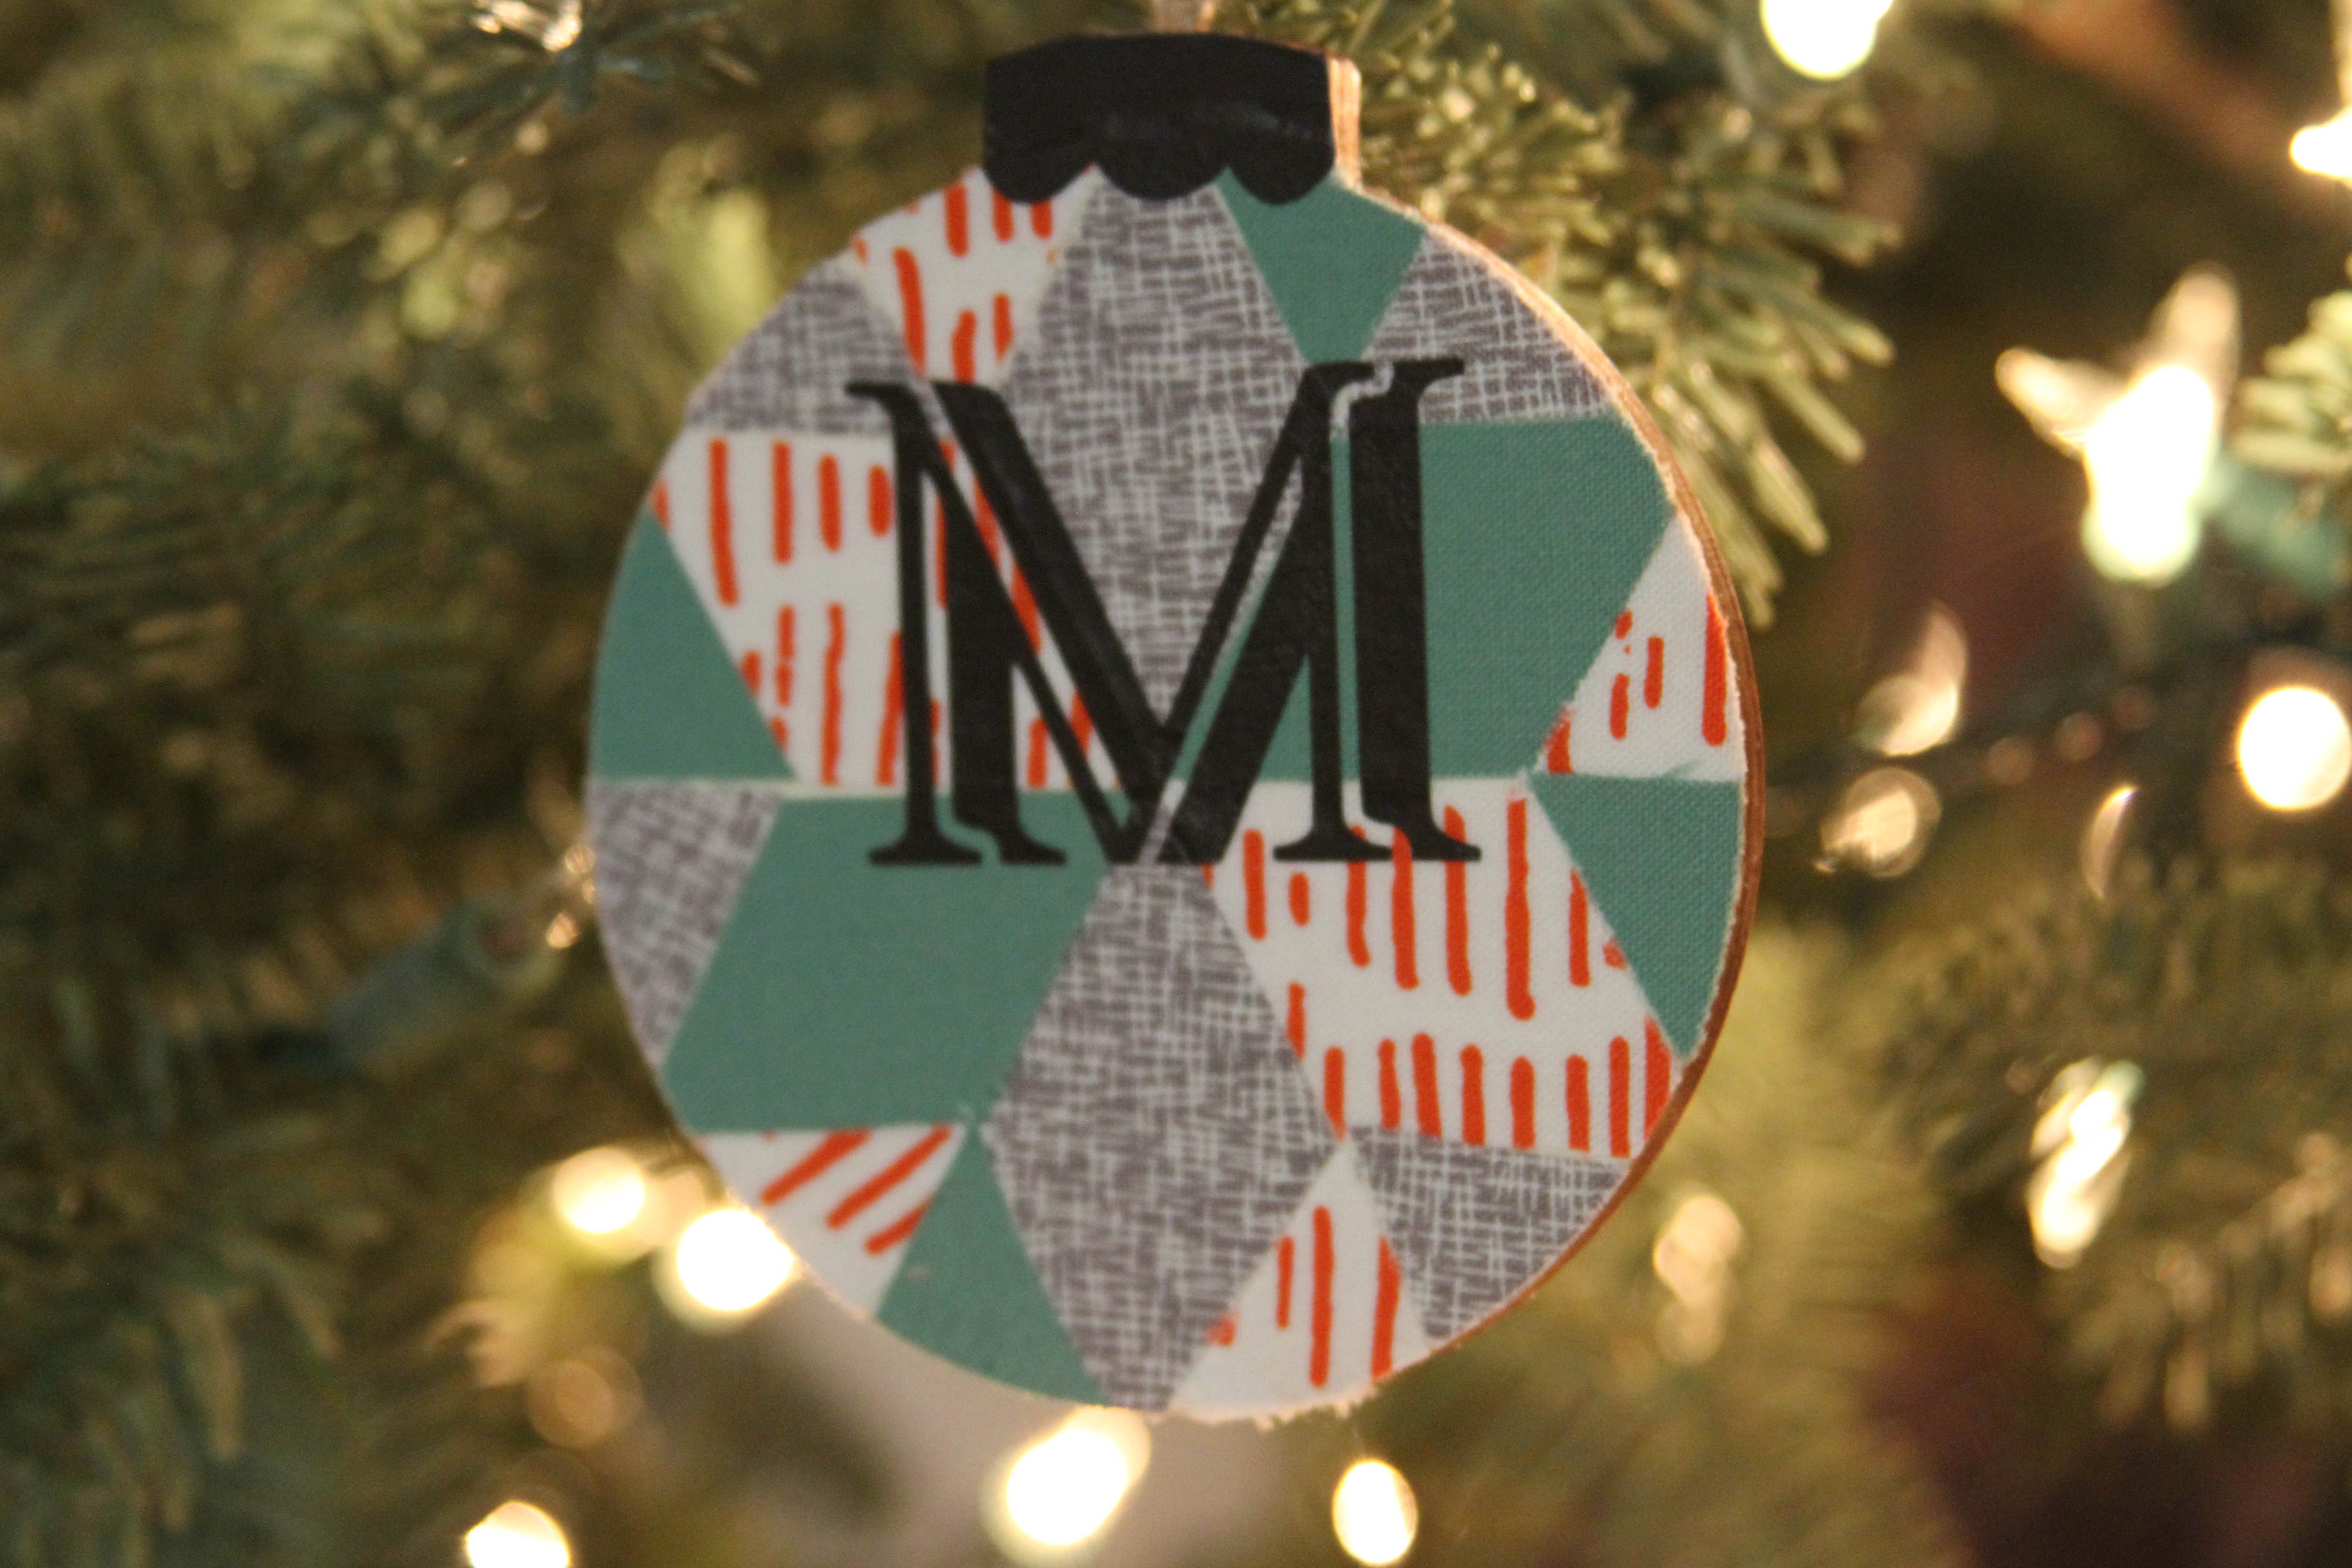
Quilted Ornament DIY
This review is based strictly on my opinion. Others may have a different opinion or experience with the product listed above. I was provided the sample free of charge by the company or PR agency and I provided my honest opinion. No other type of compensation was received for this review.
If you decide to make a purchase through my links, I will be paid a small commission for it. This doesn’t cost you anything additional. These commissions help to keep the rest of my content free, so thank you!
Quilted Ornament DIY. I love Christmas ornament exchanges. I love them even more when they are DIY ornaments. You all should already know how much I love my Cricut machine, so when I was invited to participate in a Cricut made ornament exchange, I jumped on it! A group of Cricut bloggers got together to exchange ornaments made with Cricut machines with the added fun of not knowing who was sending us an ornament until it arrived, so fun, right?! Be sure to check out all of the rest of the ornaments from the exchange at the bottom of the post too!
I was assigned a bloggy friend, and while we have met a few times, and even had dinner together, I still didn’t know all that much about her. So, I did what any rational person would do, and I stalked her. Eventually, I decided on a quilted ornament…except, I can’t sew, and I certainly don’t know how to quilt…
Supplies:
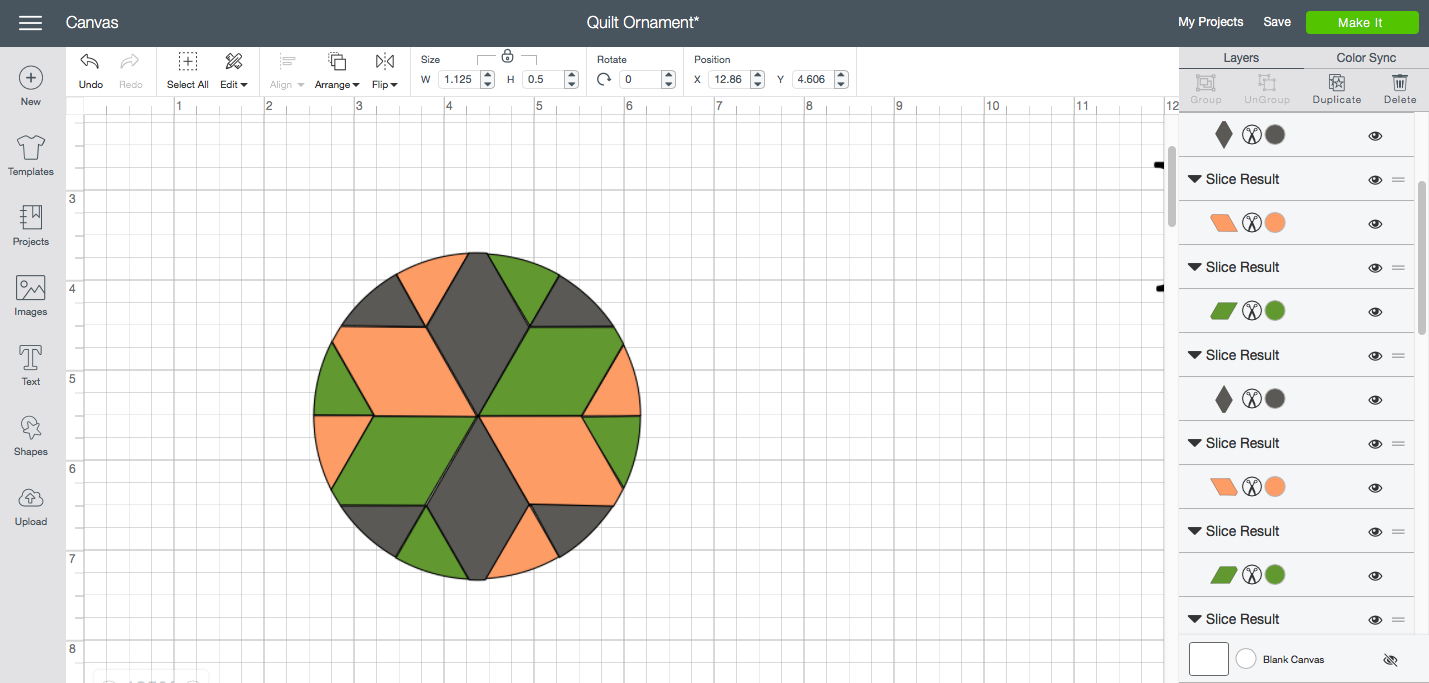
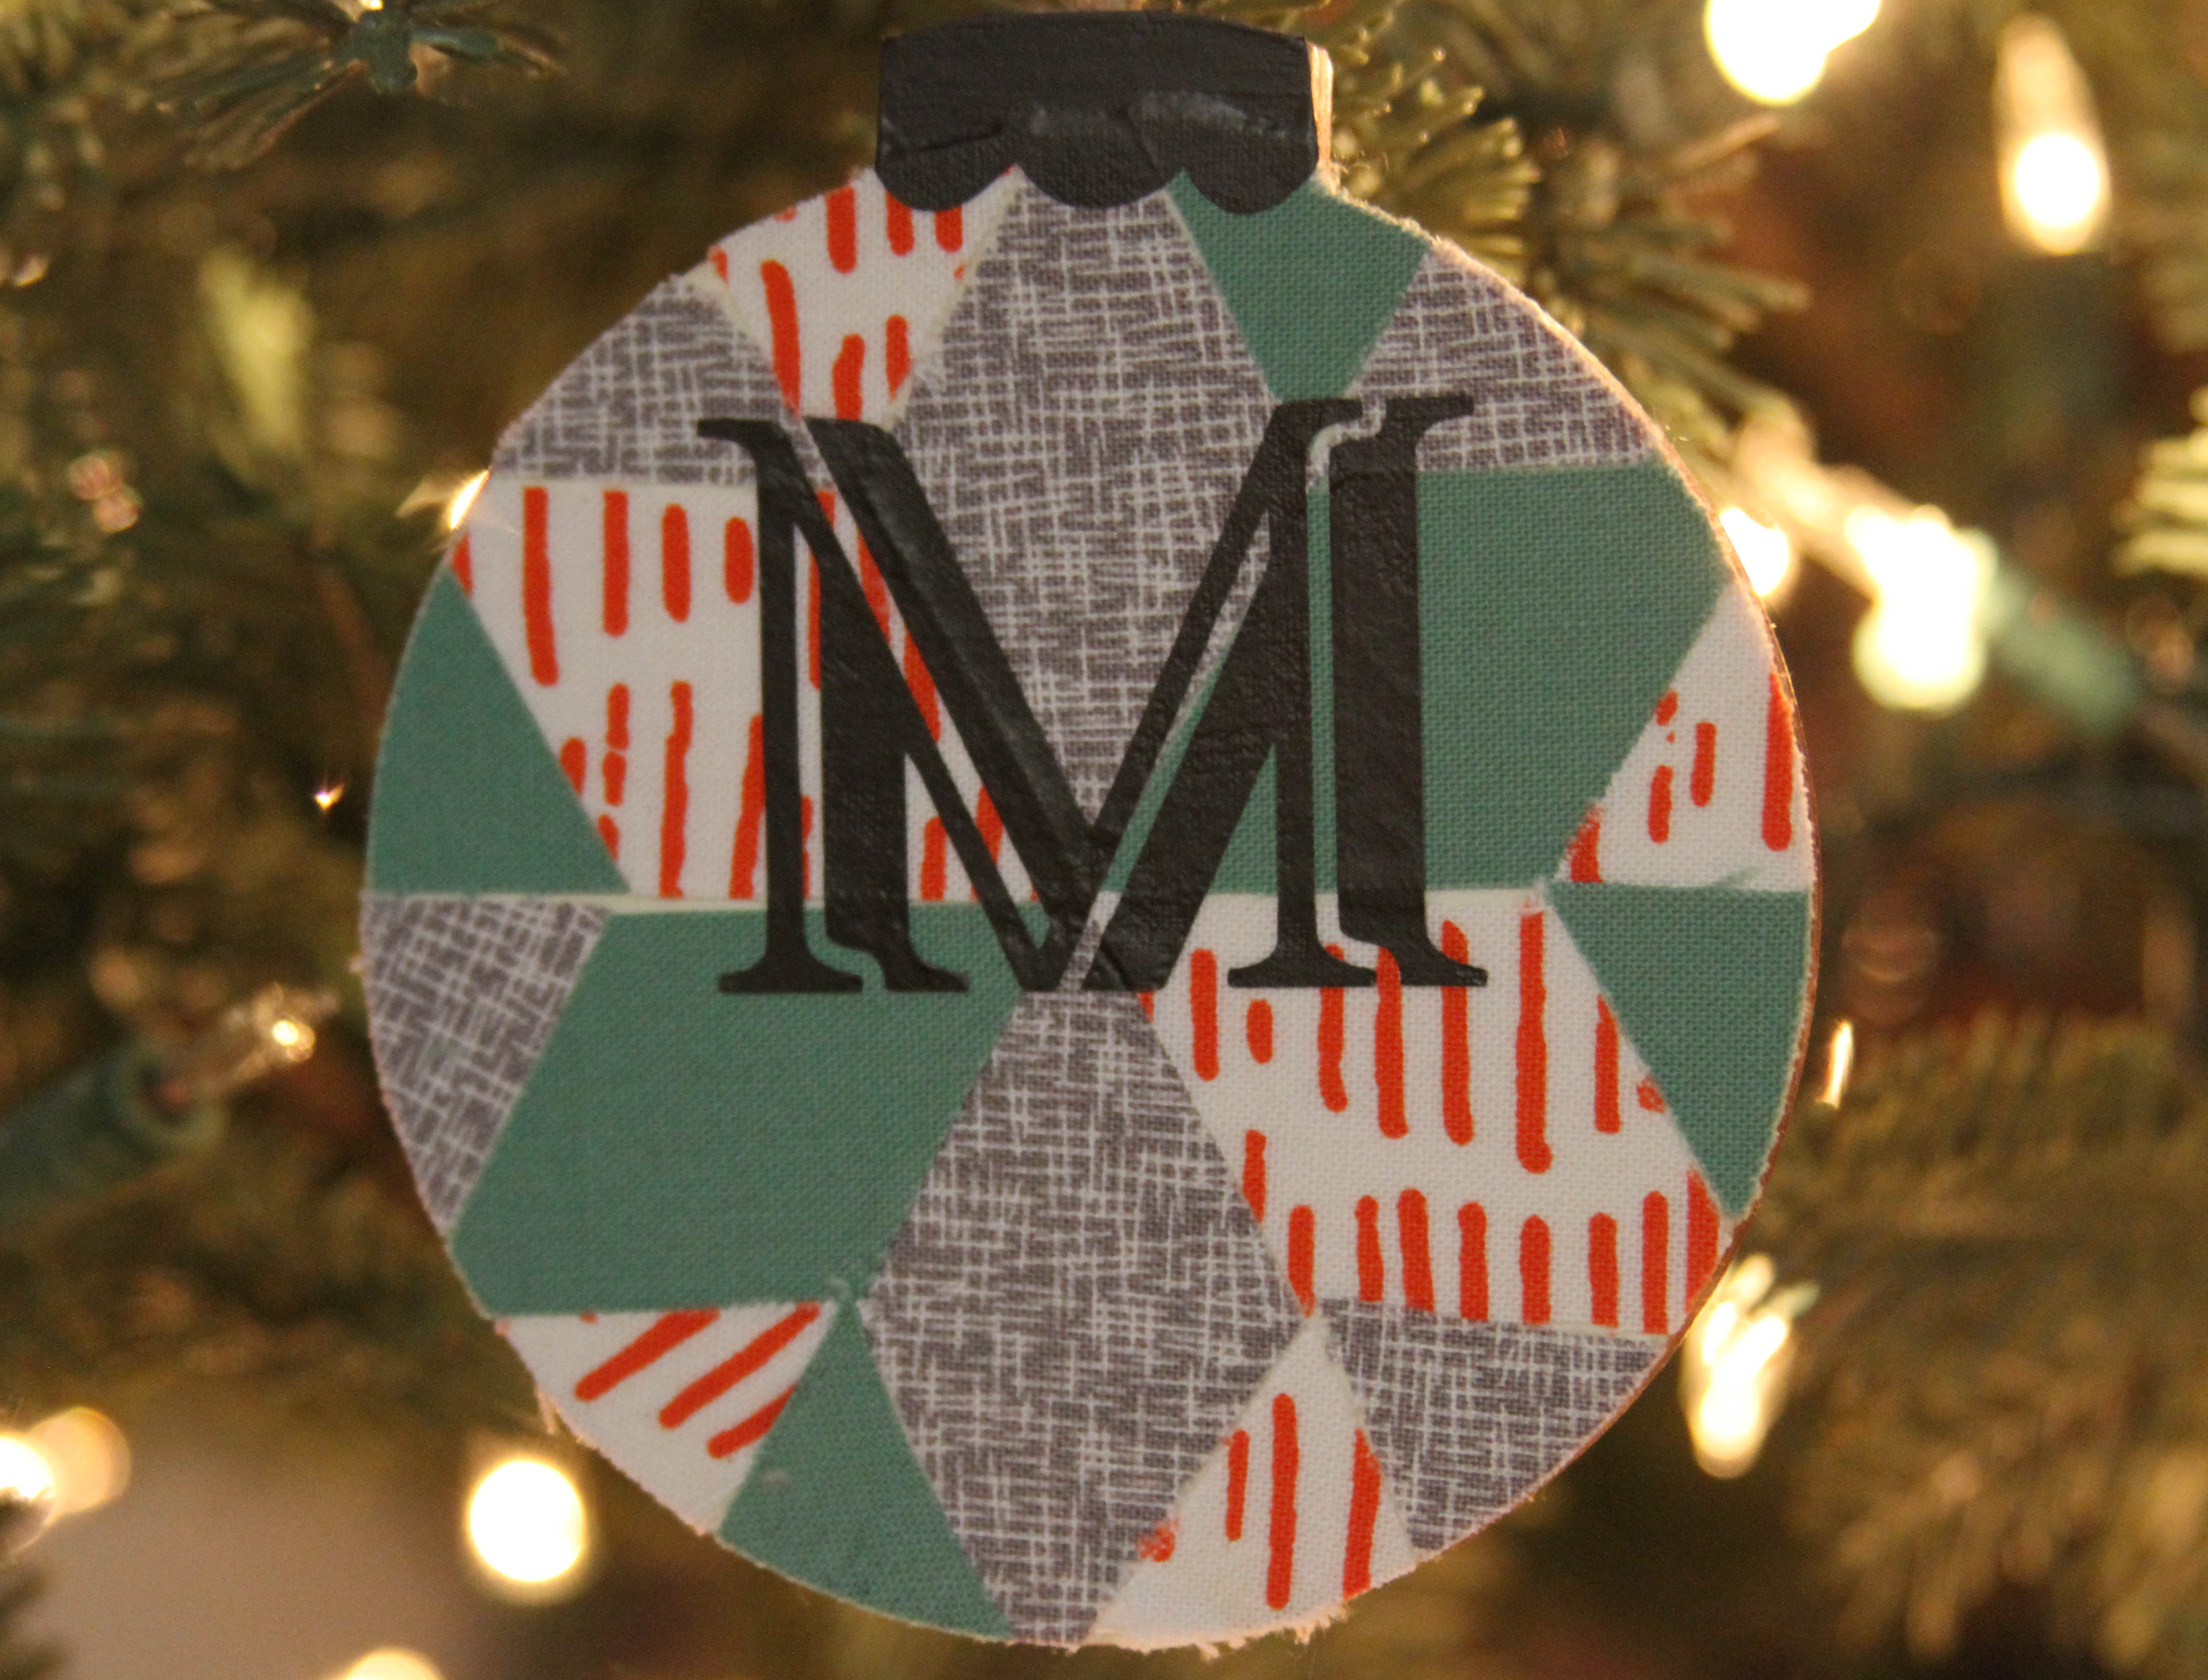
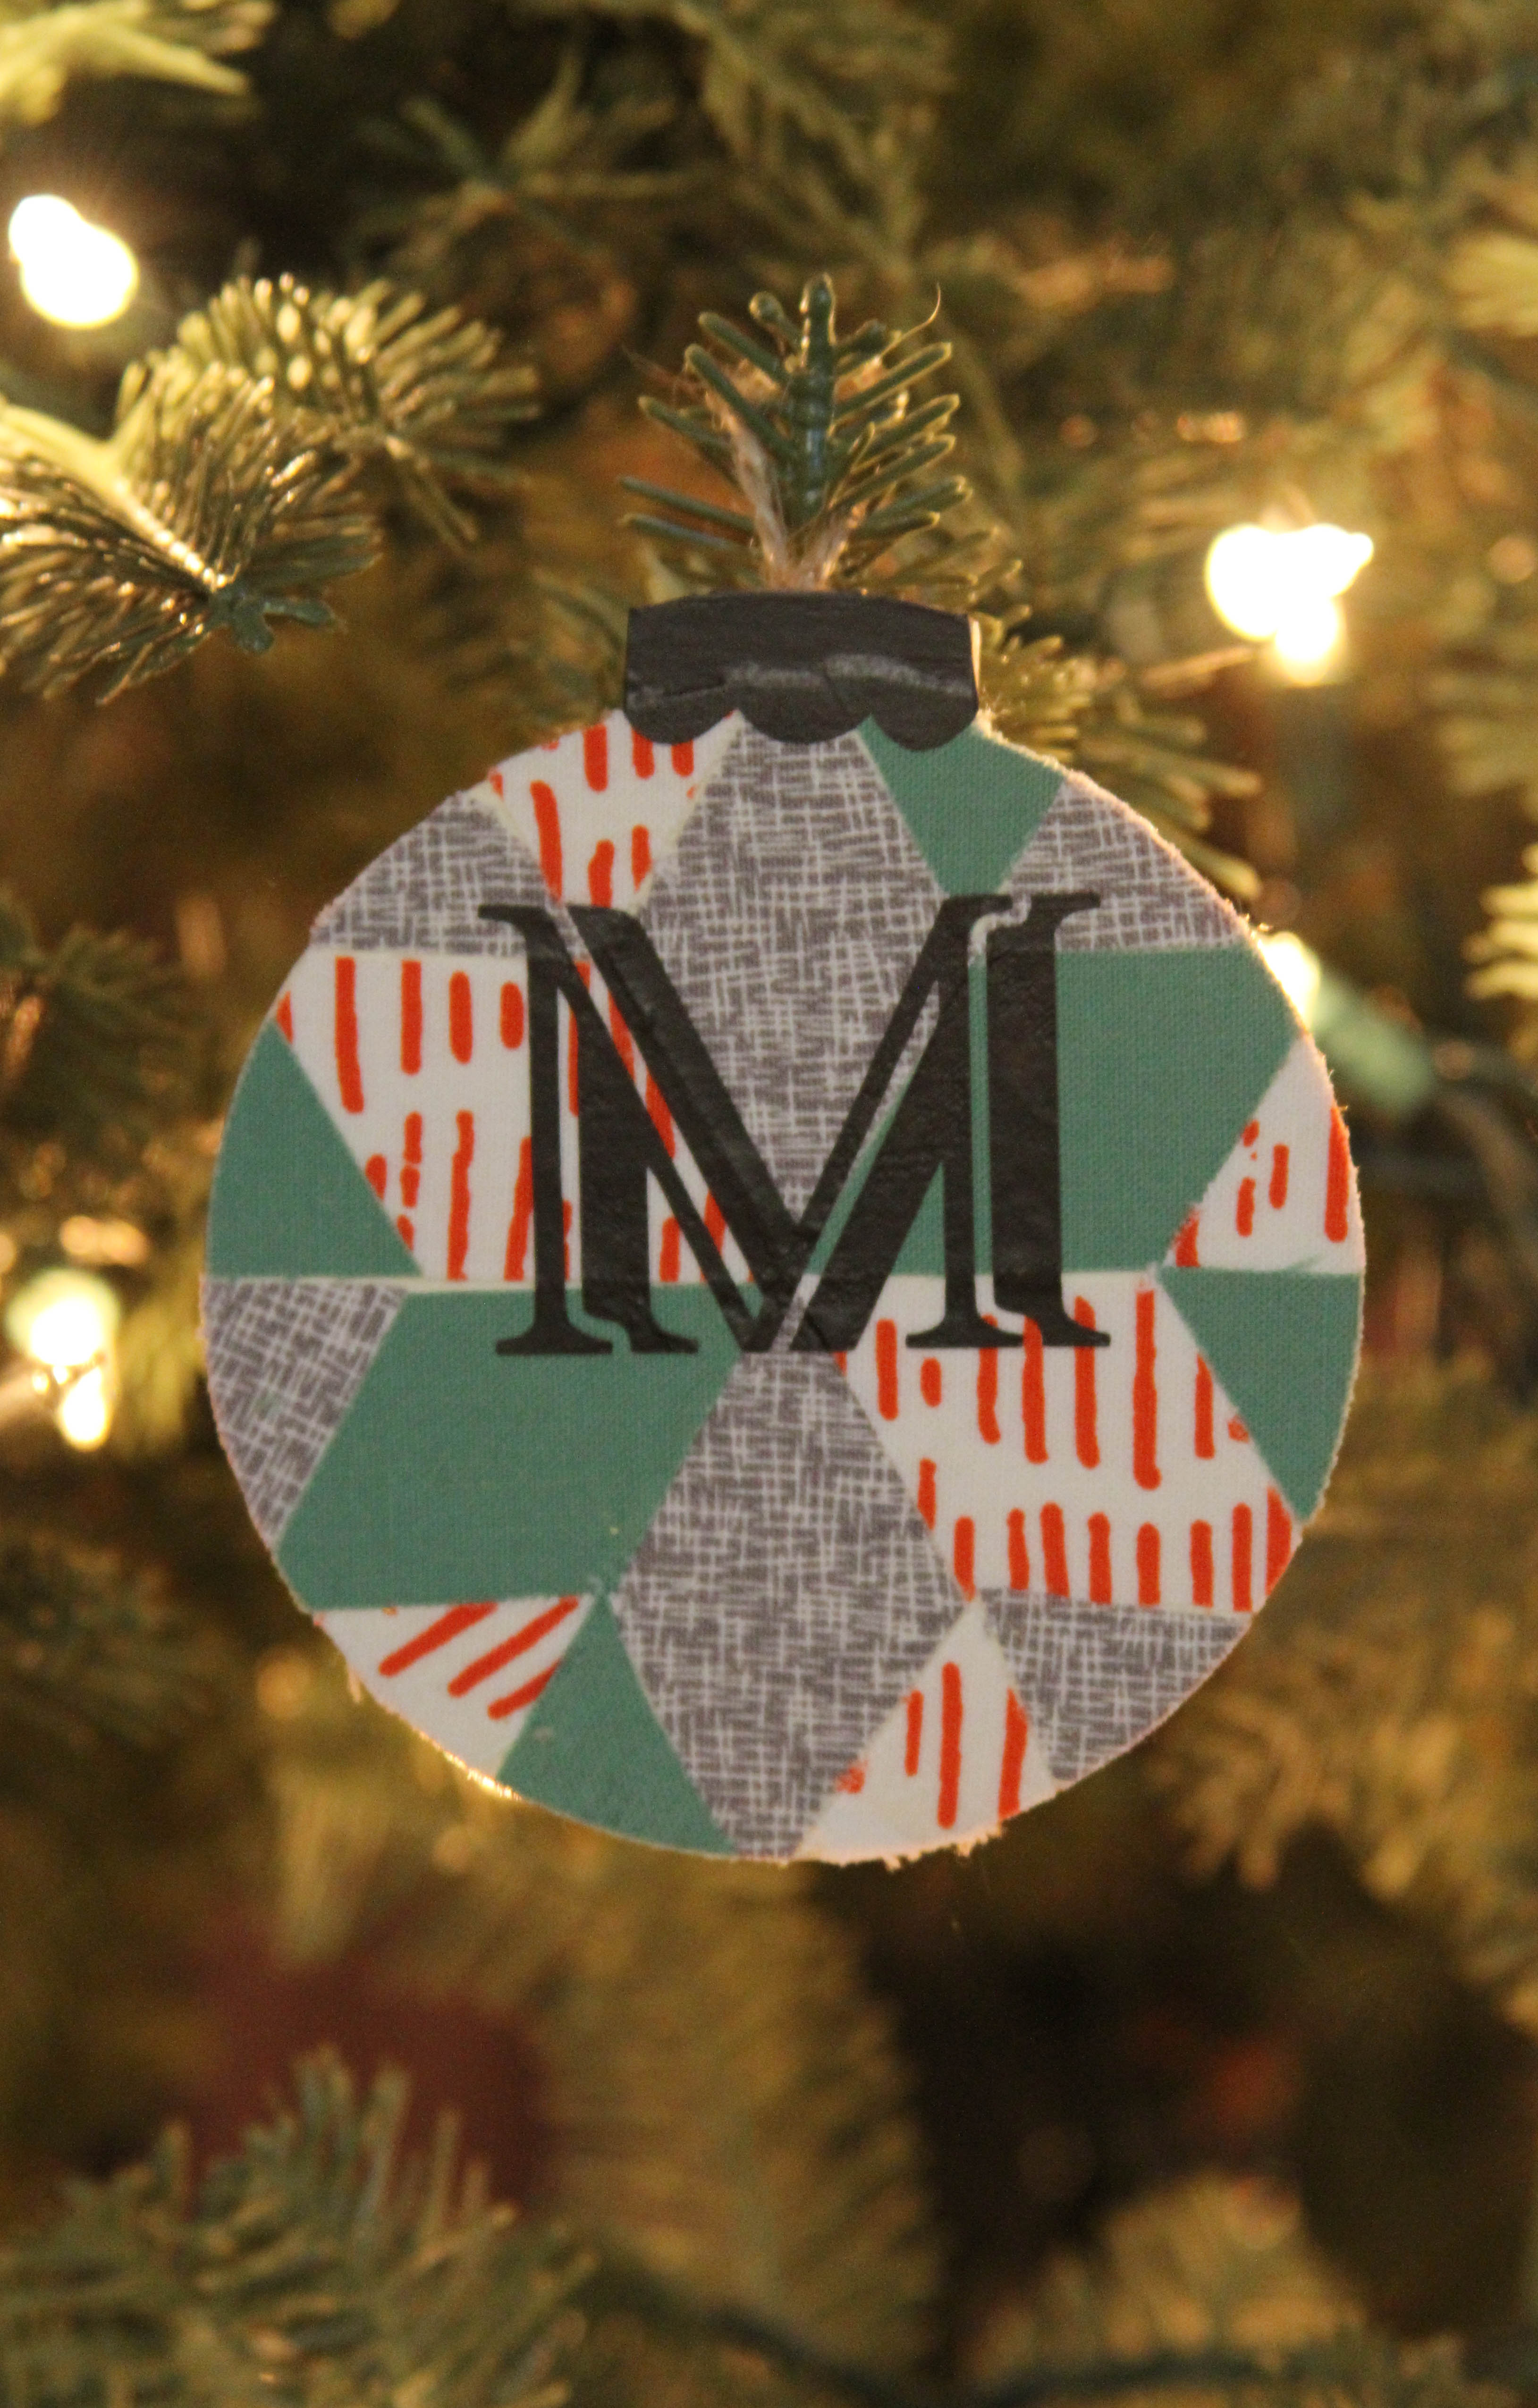
I decided I wanted to make the ornament look like a quilt with a diamond/star pattern, like a quilt my aunt made for our family years ago. Luckily, I was able to manipulate and scale diamond shapes in Design Space to create a pattern. I wanted them to fit the ornament perfectly, without having to make additional cuts by hand too. Once I created a pattern I liked, I measured the wooden ornament blank and made a circle to match it in Design Space. Next, I sliced each diamond from the circle and deleted the excess. (Grab the cut file here)
Once the design was ready, I used the iron on fusible on my chosen fabric, and sent it to the machine to cut. (Since I used a fusible fabric with this project, I could have used my Explore Air 2)
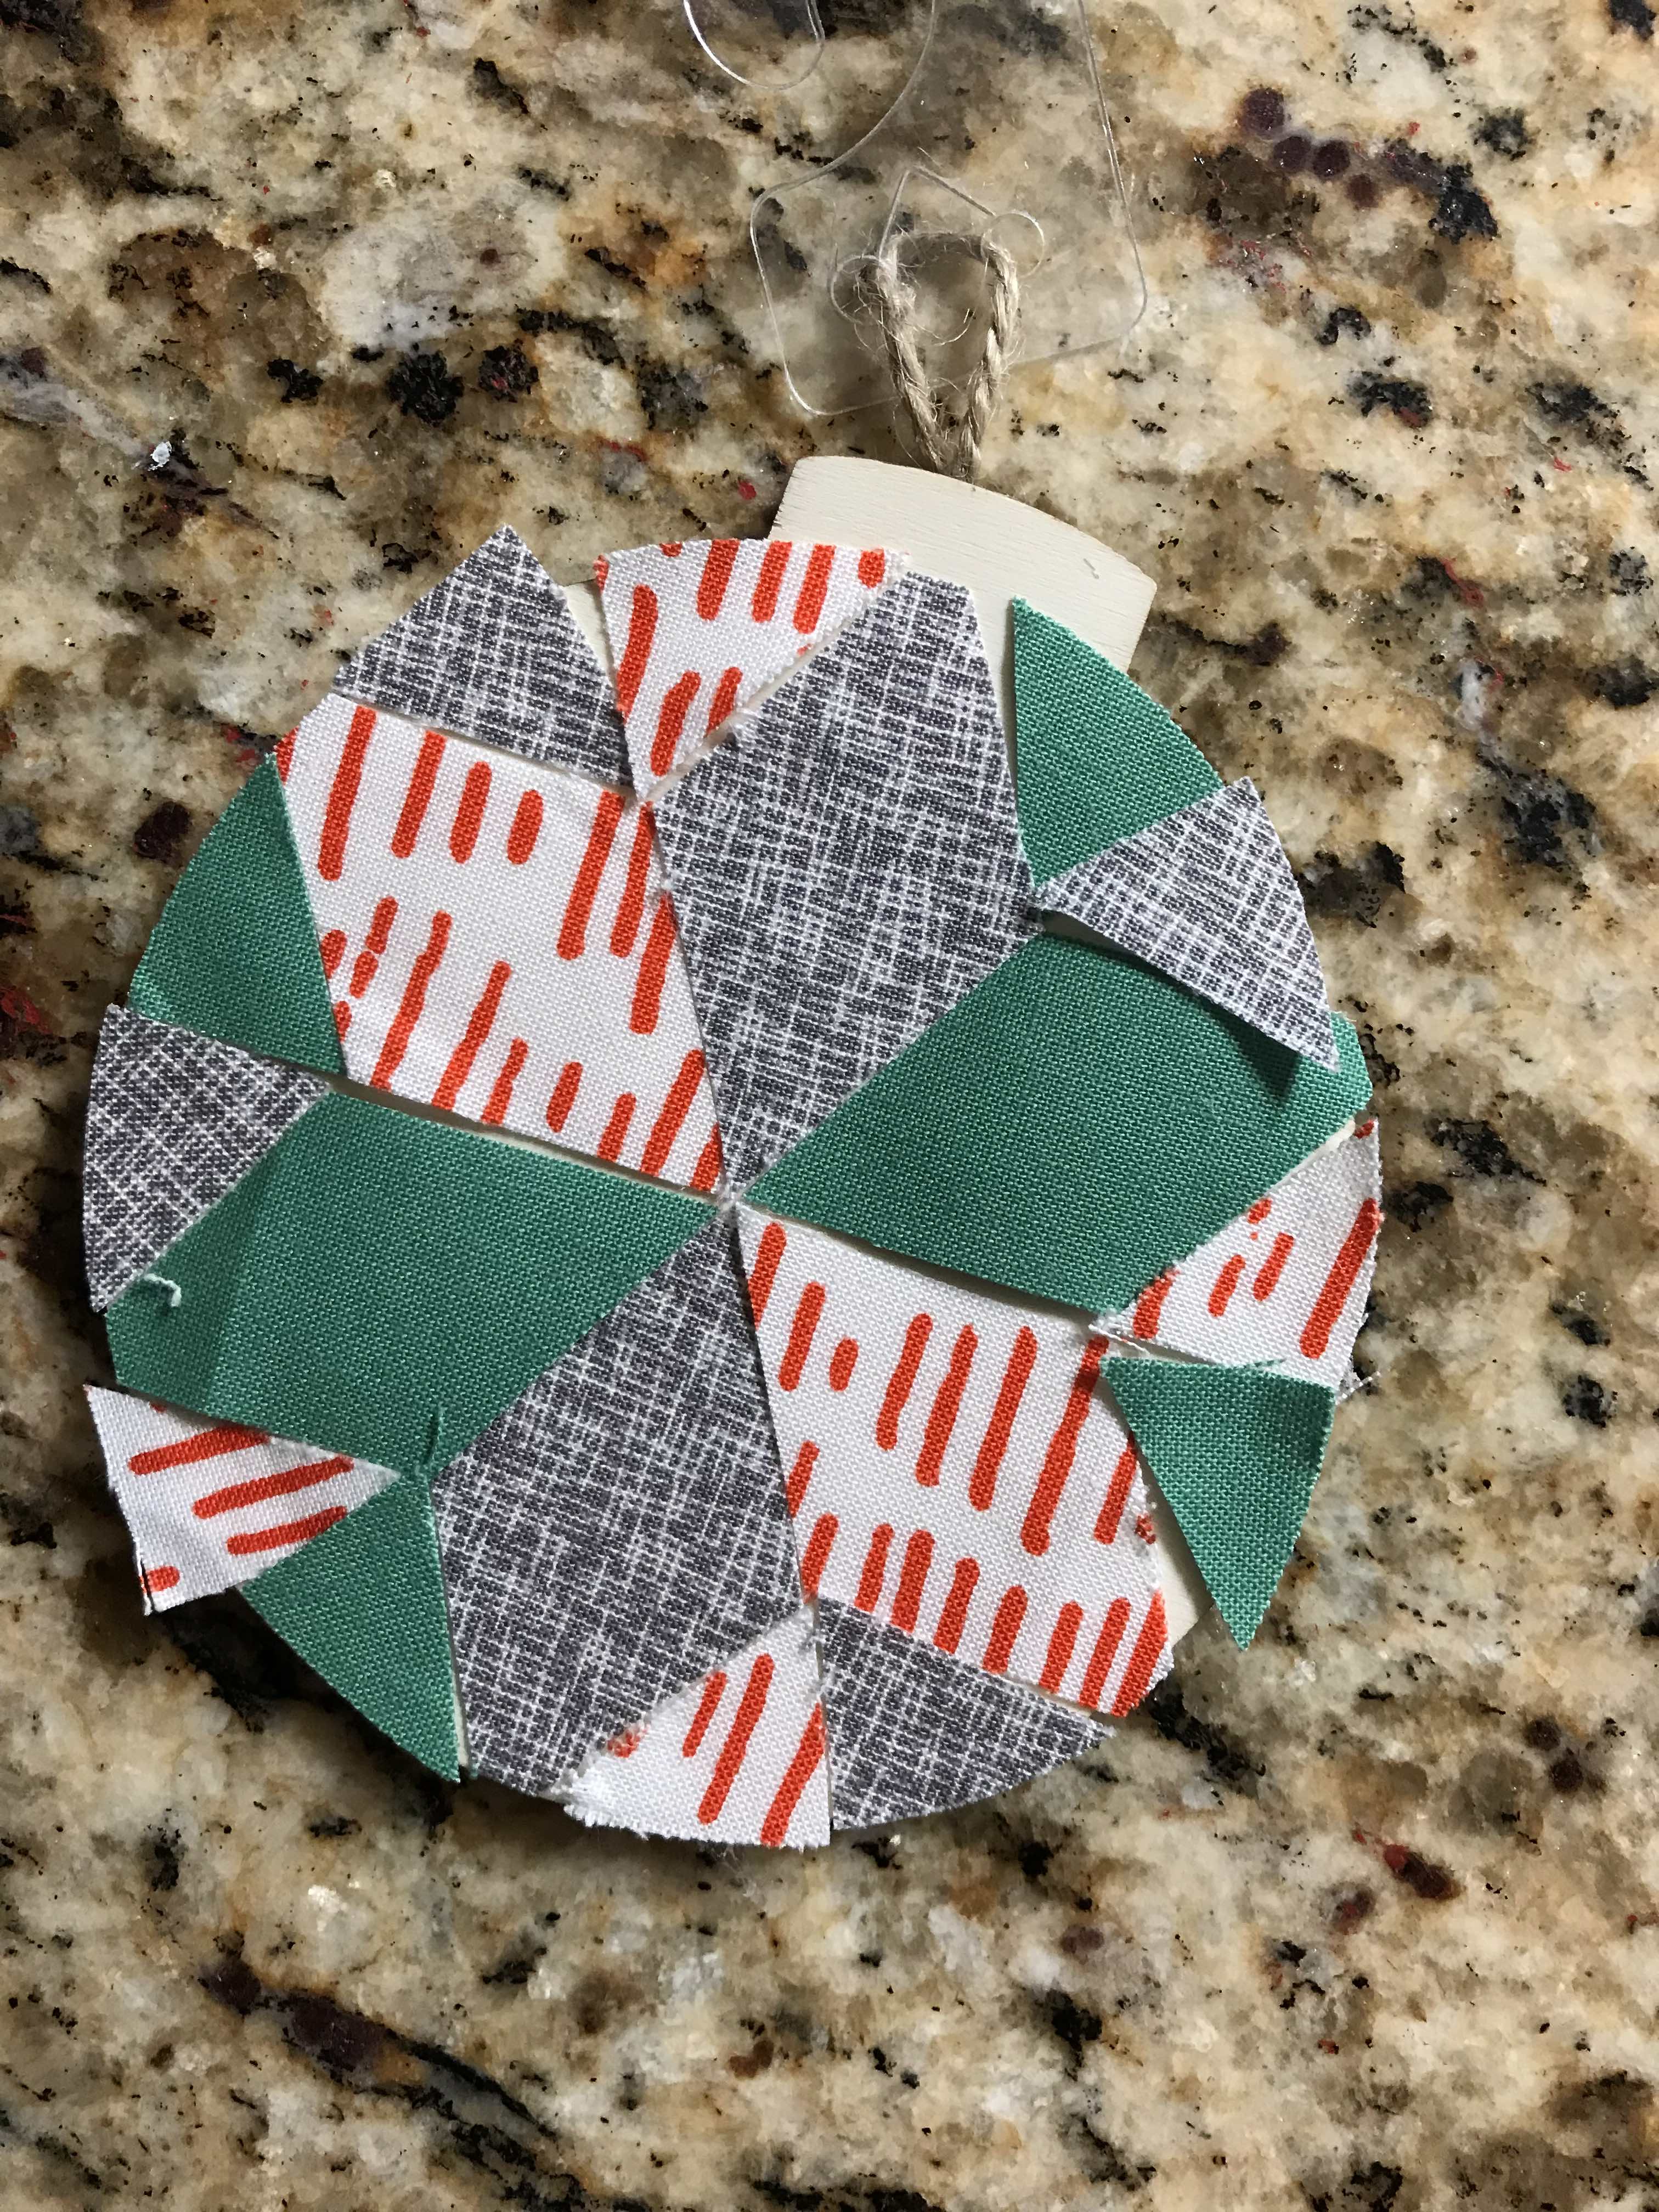
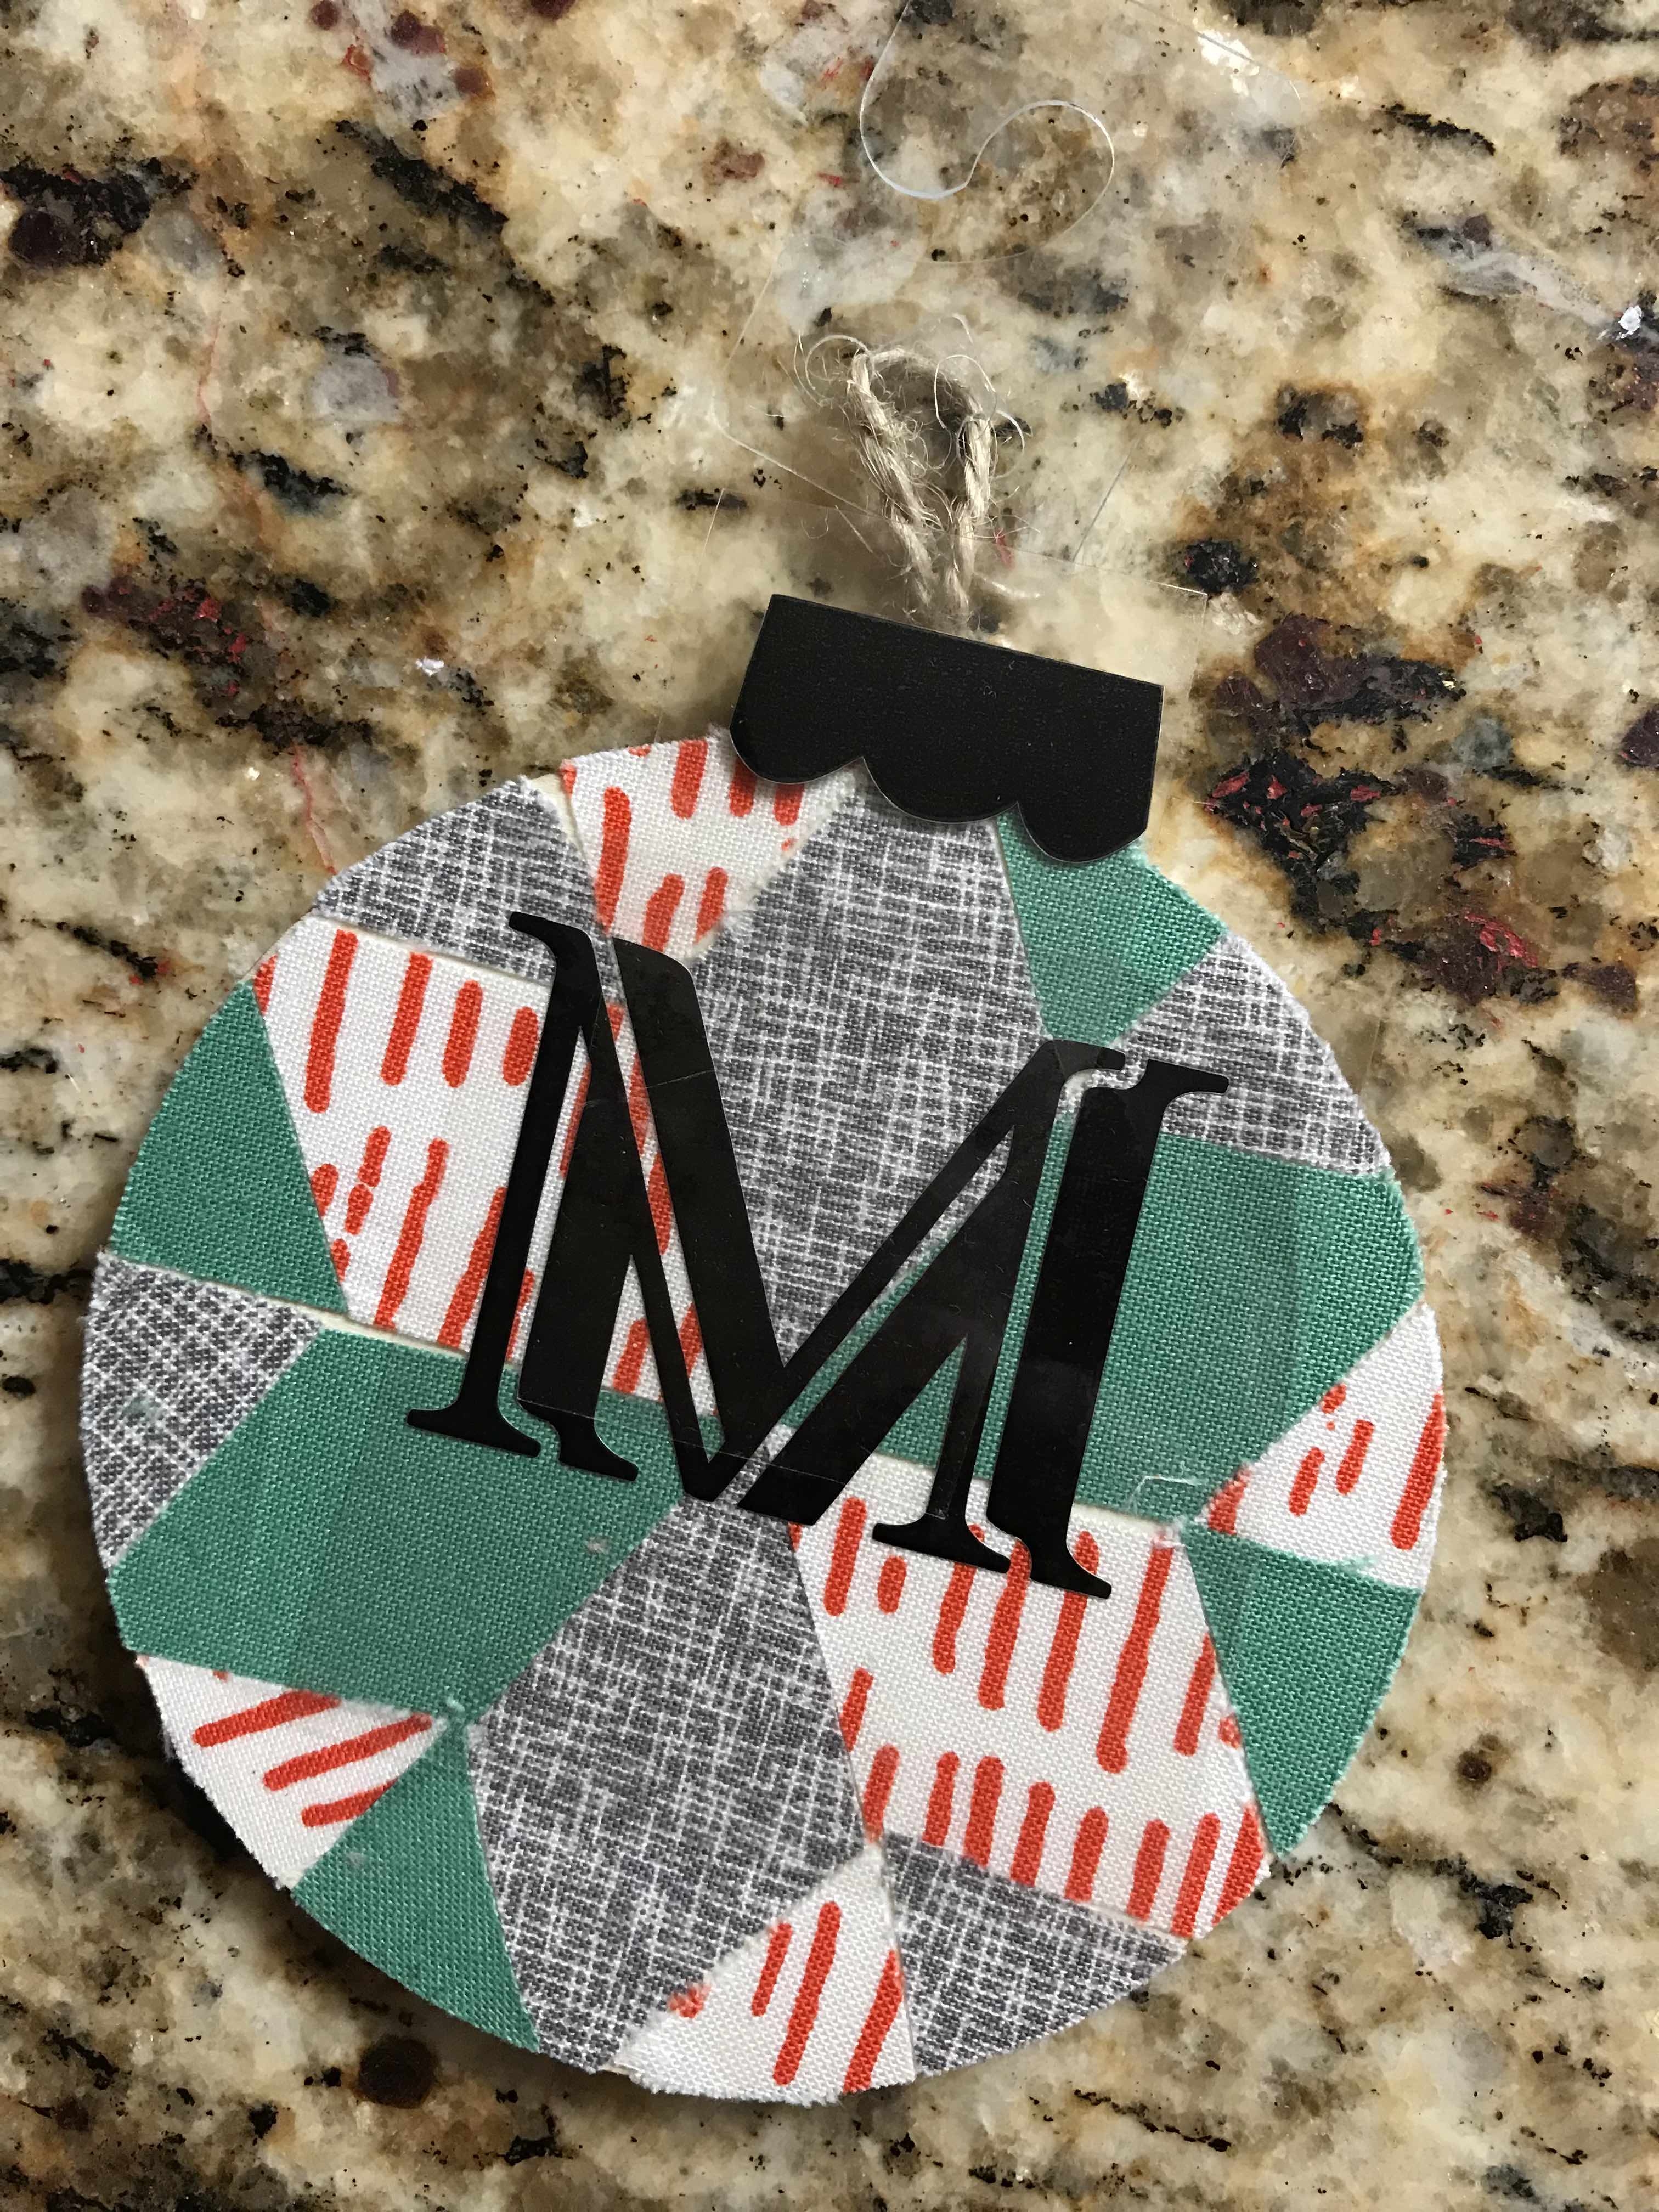
After the pieces were all cut out, I laid them onto the wooden ornament and fit them into place. This was like a puzzle and I had to move them around a lot to make them match correctly.
I used my EasyPress to press them onto the wood. They moved a little, so next time I think I will do it in sections.
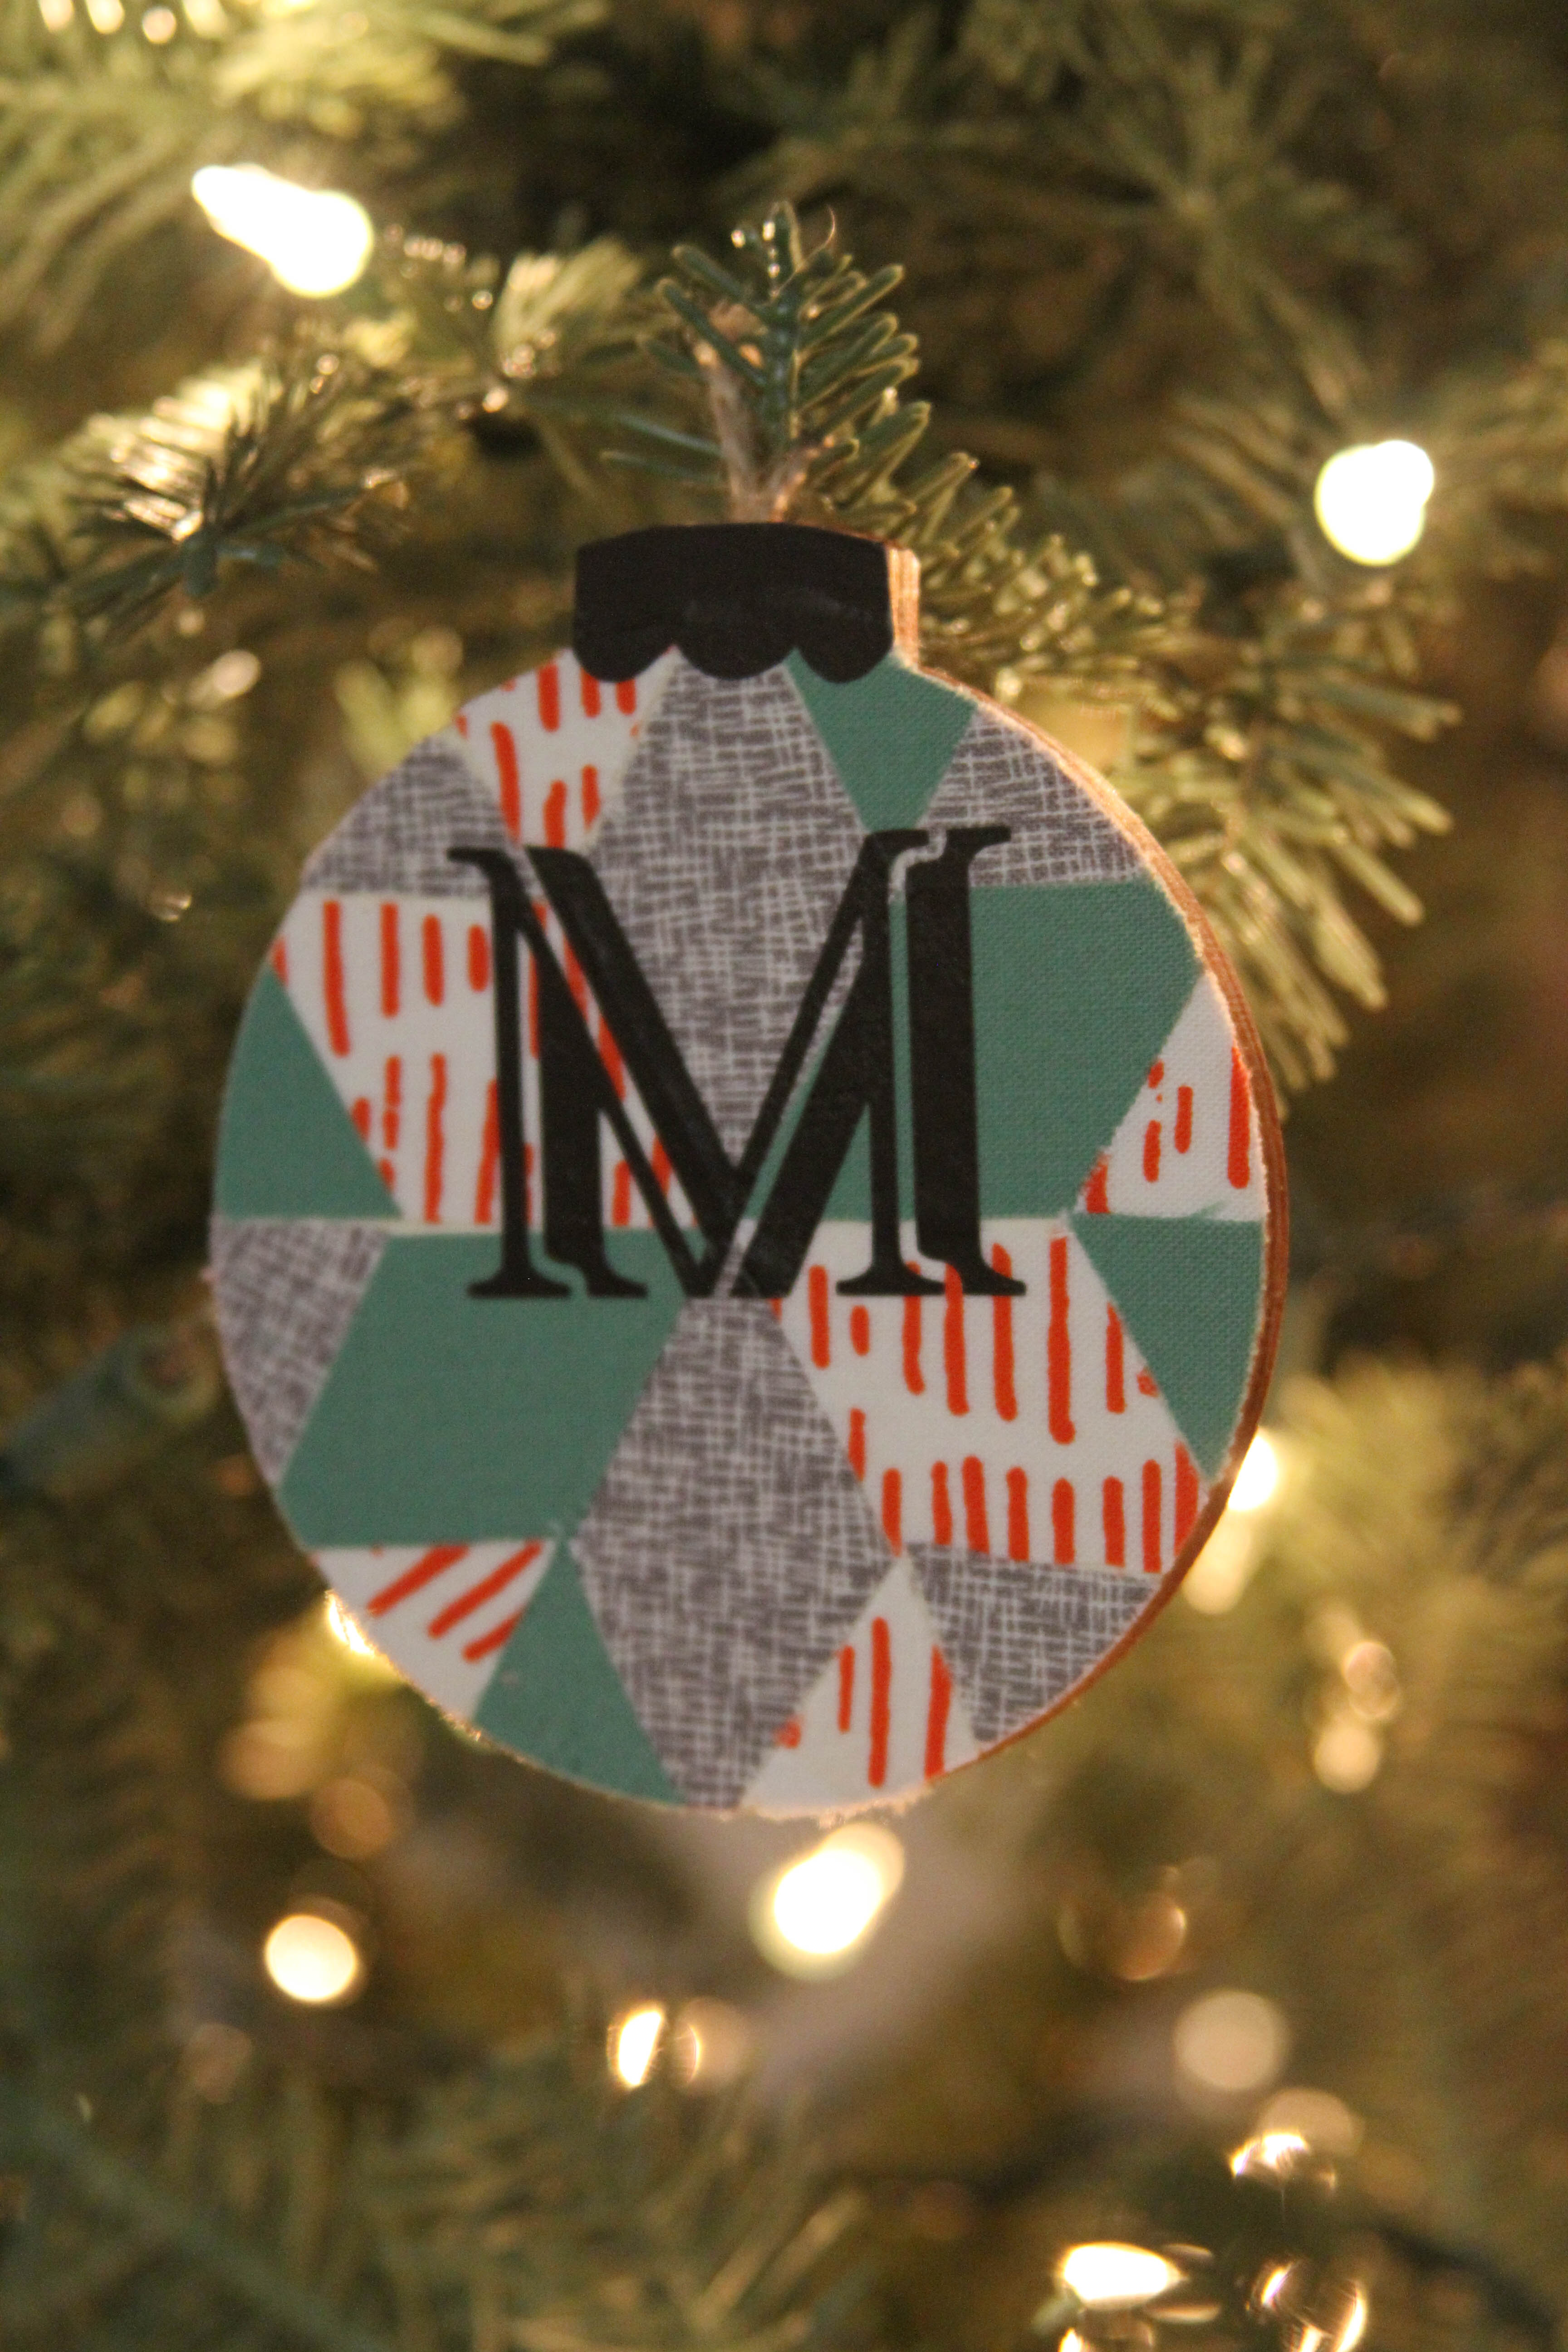
To finish the ornament, I cut an ornament topper and a letter out of Cricut Iron On Vinyl. I used the slice tool again to make the ornament topper. I chose an ornament topper style I liked in Design Space and sliced the topper from the ornament. I also wanted to make this ornament a little more personal, so I cut the letter M (her last name begins with an M) and used my EasyPress to apply the topper and the M.
This project was so fun, and I hope my friend loves it!
If you have the WP Plugin
[inlinkz_linkup id=751698 mode=1]
Tags : Christmas, Cricut, Cricut EasyPress, Cricut Maker, DIY, Ornament, Ornament Exchange, Quilt
In DIY

WOW! The quilted look turned out great!
Thank you!
I absolutely love this! It’s the perfect non-quilted quilt ornament!
Lol! Thanks!!