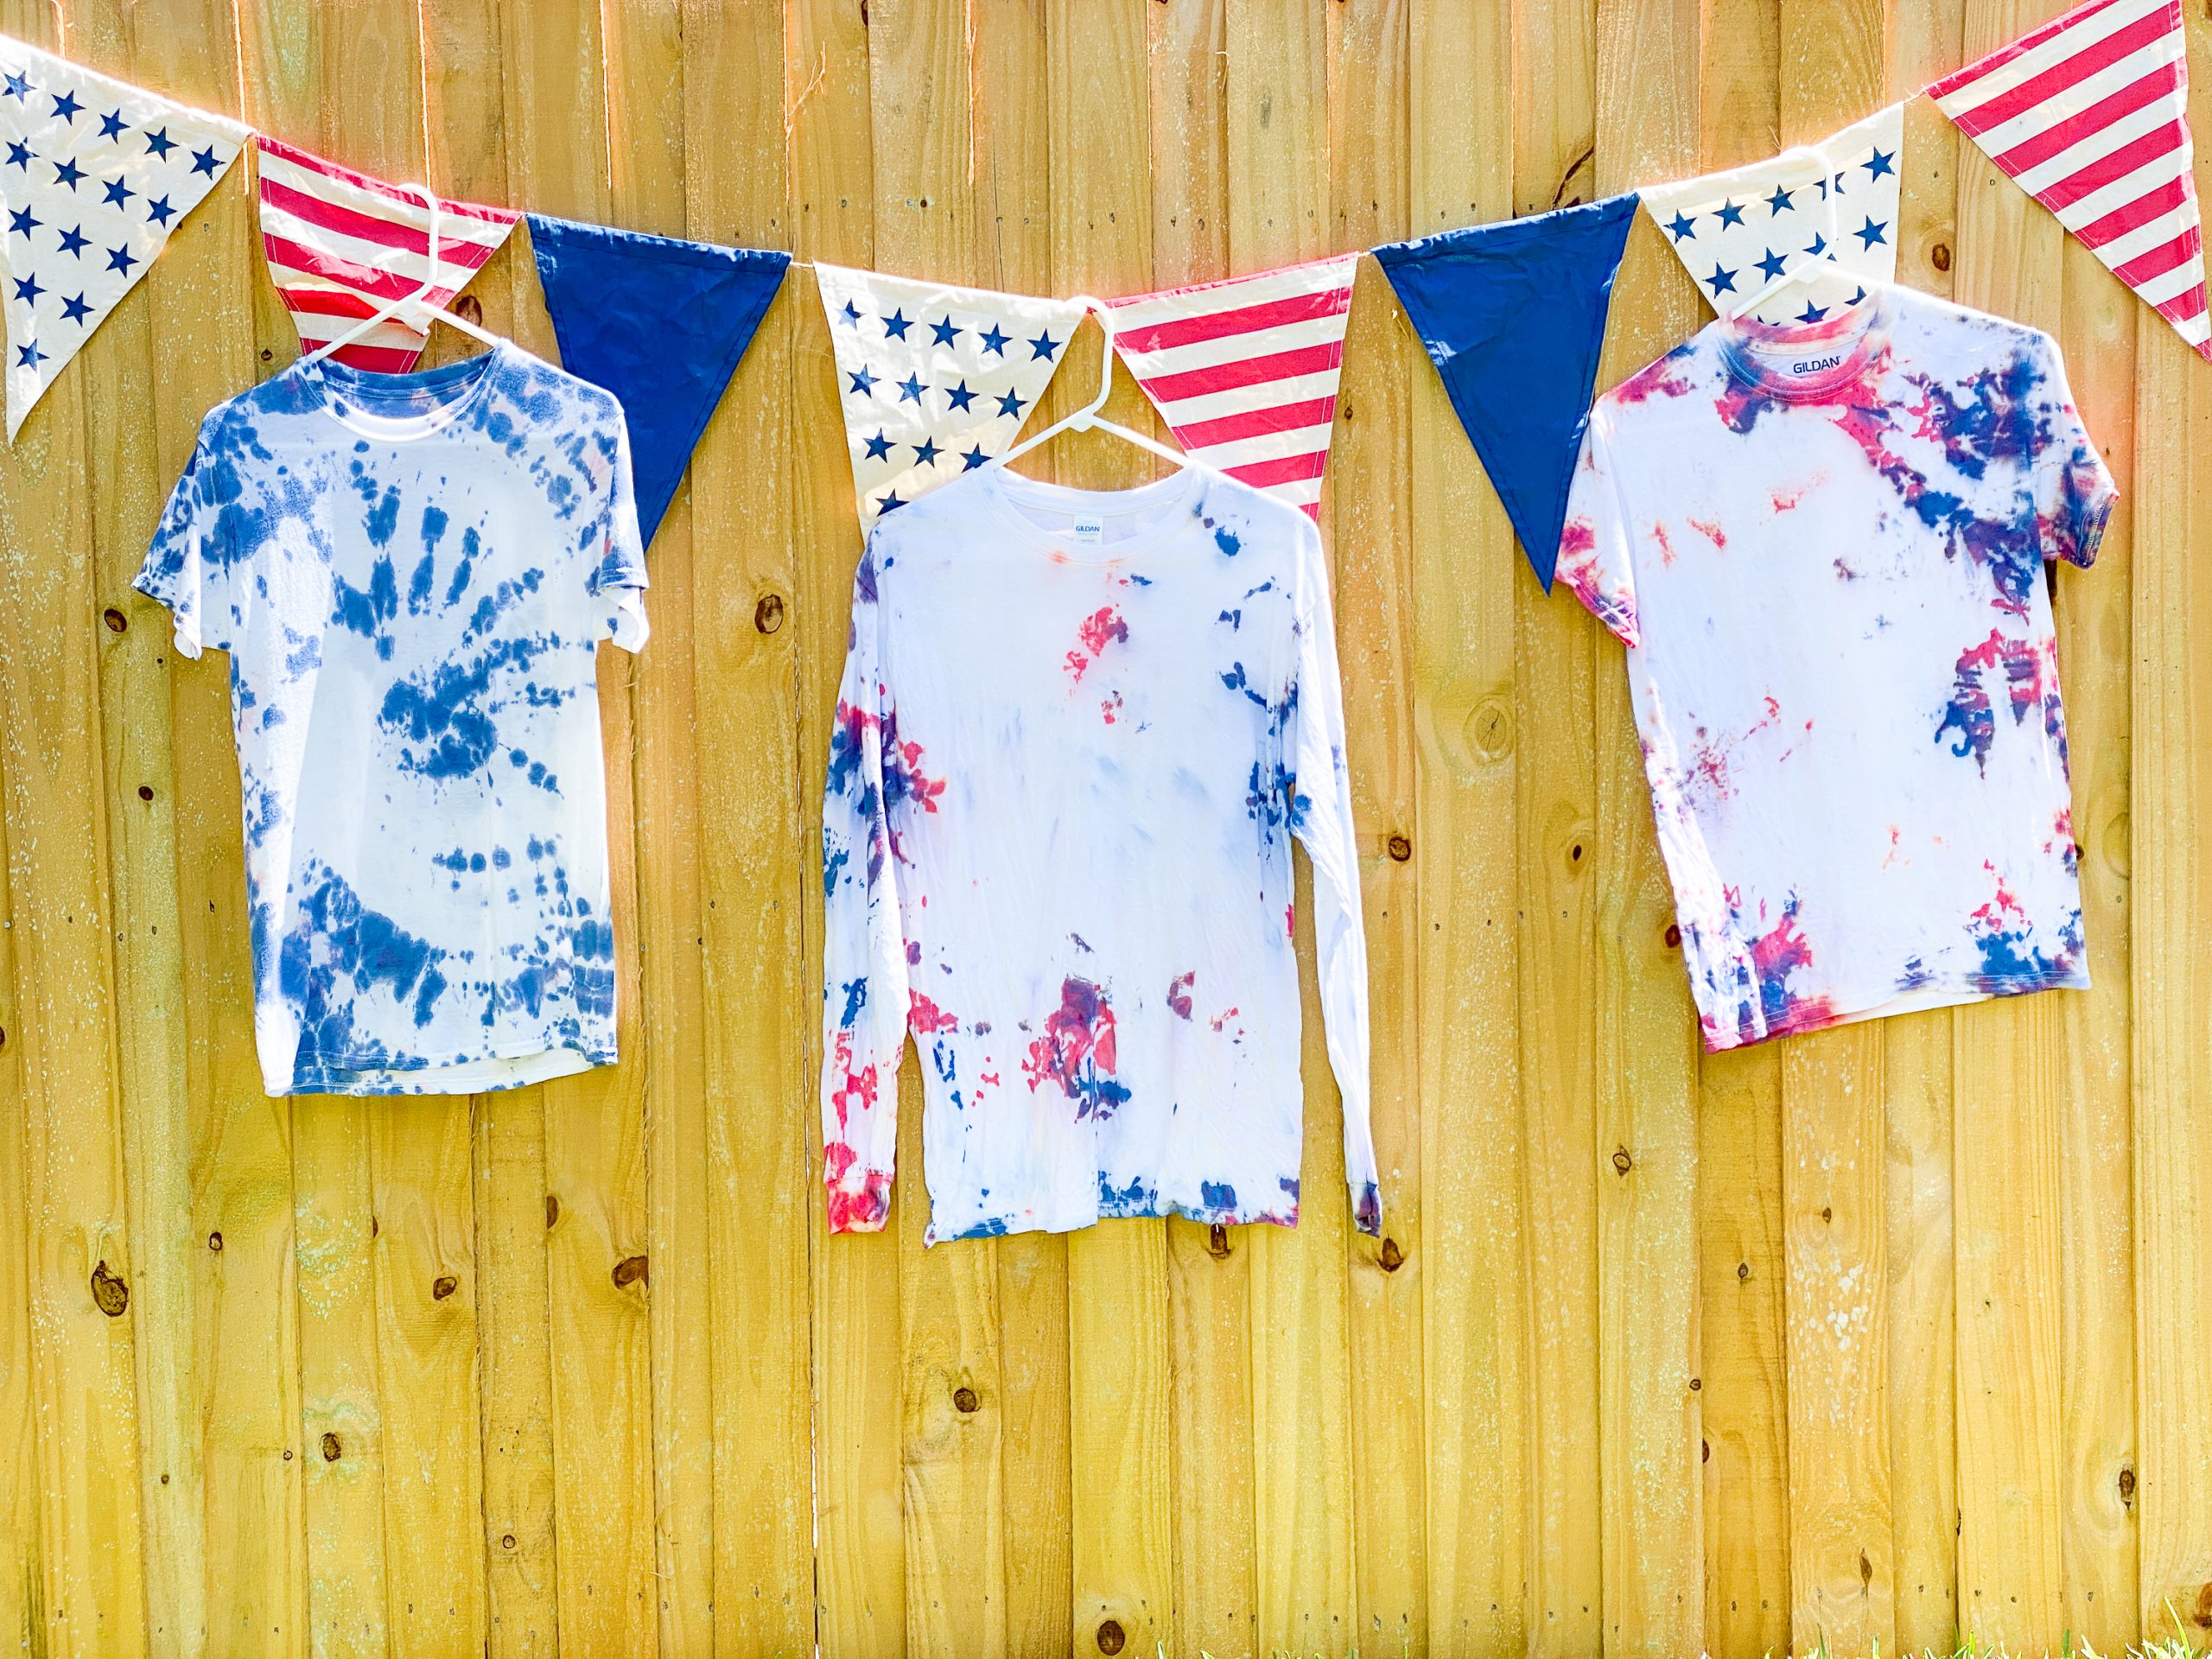
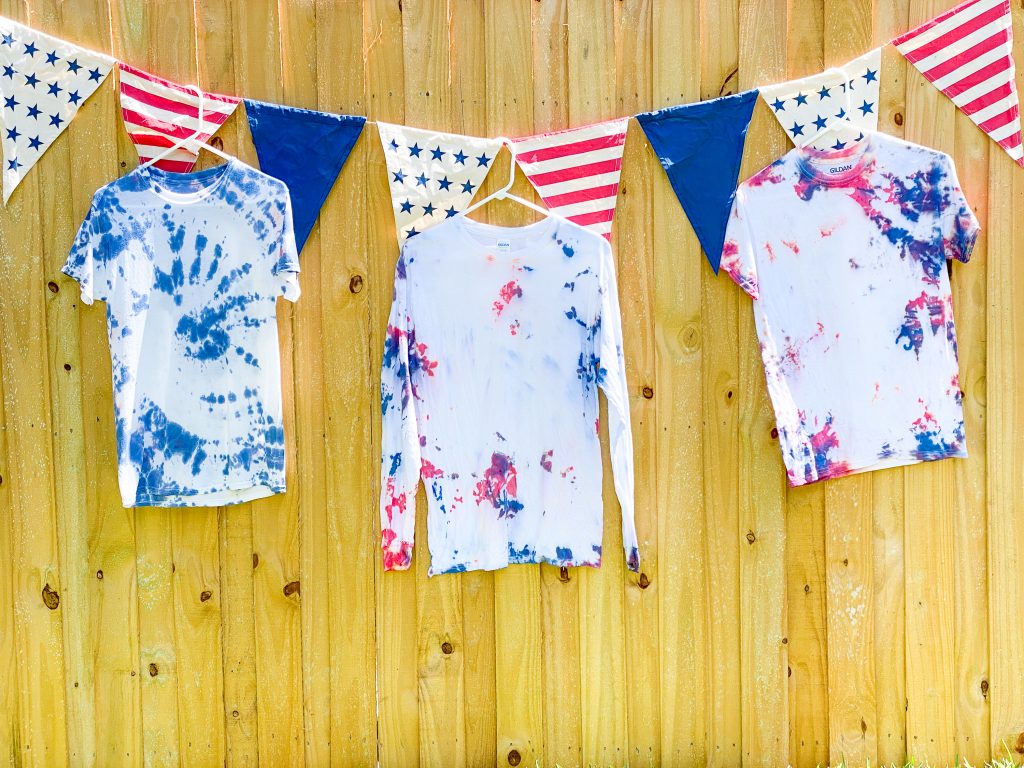
One of my favorite things to do with the boys during the summer is make tie dye shirts. We have made tie dye shirts for the Fourth of July nearly every year since they were little kids. And, in all of those years, I realized I have never shared a Red White and Blue Tie Dye DIY!
If you decide to make a purchase through my links, I will be paid a small commission for it. This doesn’t cost you anything additional.
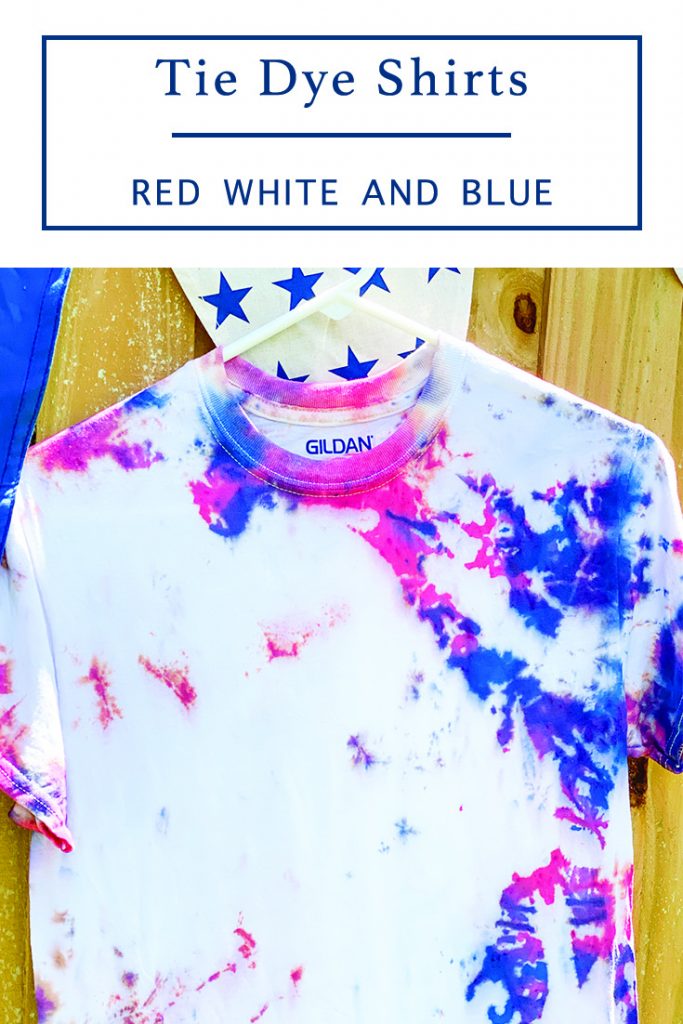
Tie Dye Shirts
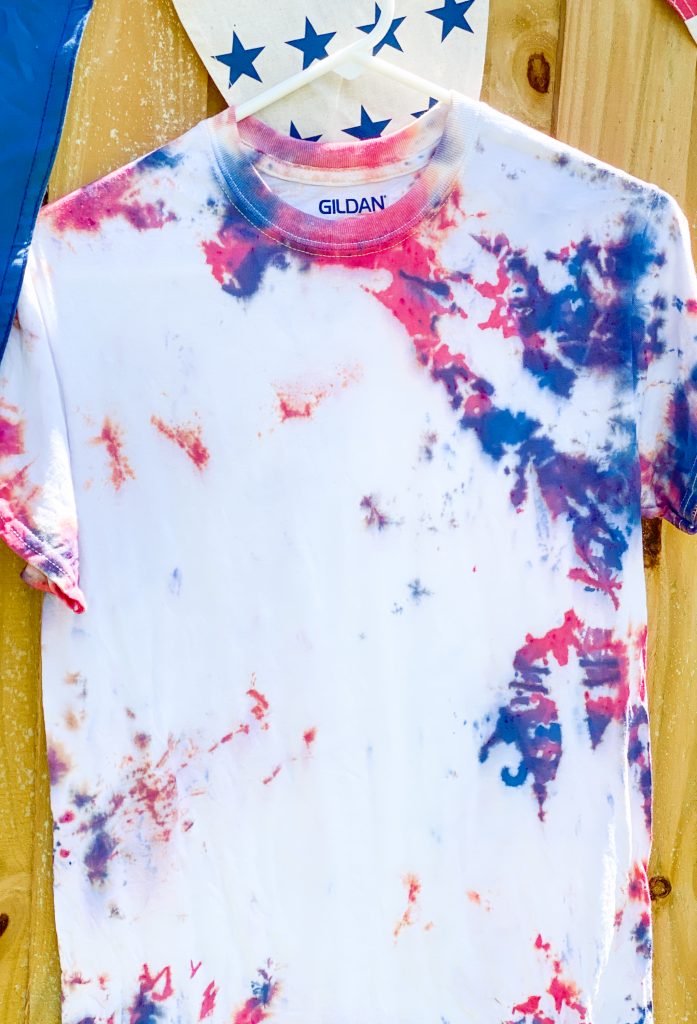
The great thing about making tie dye shirts is that it is really hard to mess them up!
We all like to make our own shirts, sometimes when we make them we add a little iron on vinyl to the shirts after we are done. Other times, we just wear the tie dye shirts as they are.
What is Tie Dye?
Tie Dying is the process of dying fabric using rope or rubber bands to resist the dye.
Tie Dying Supplies
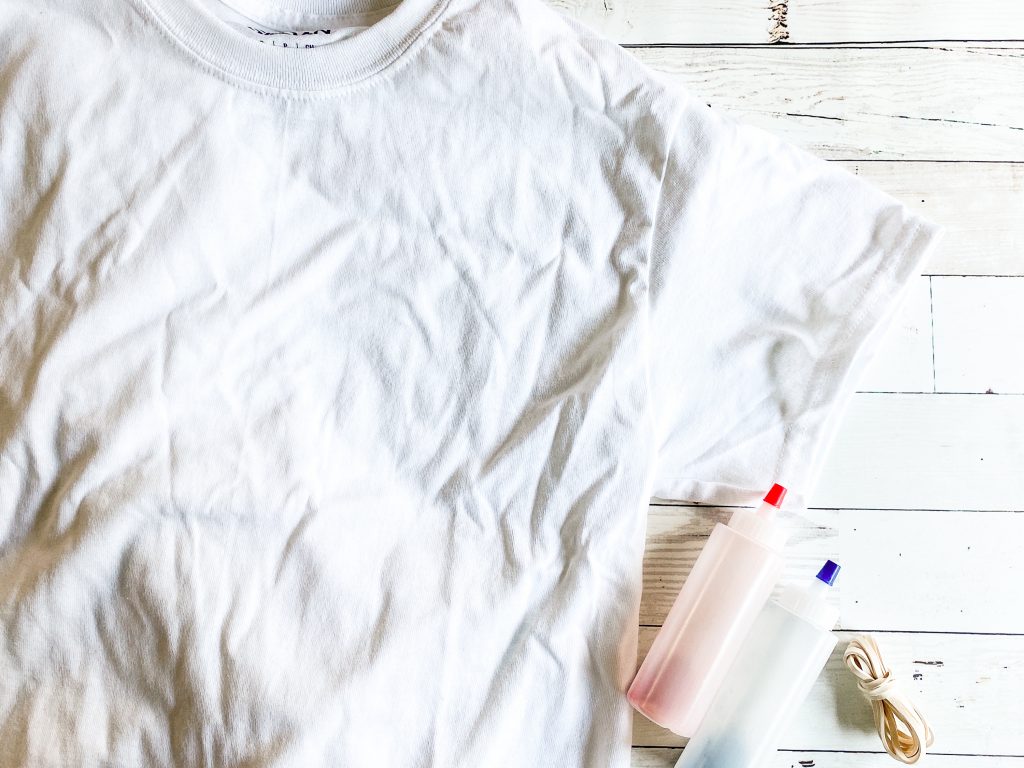
You can find everything you need to make the perfect tie dye shirt on amazon!
How to Dye Fabric
Begin your tie dye project by washing the fabric with a gentle detergent and no fabric softener.
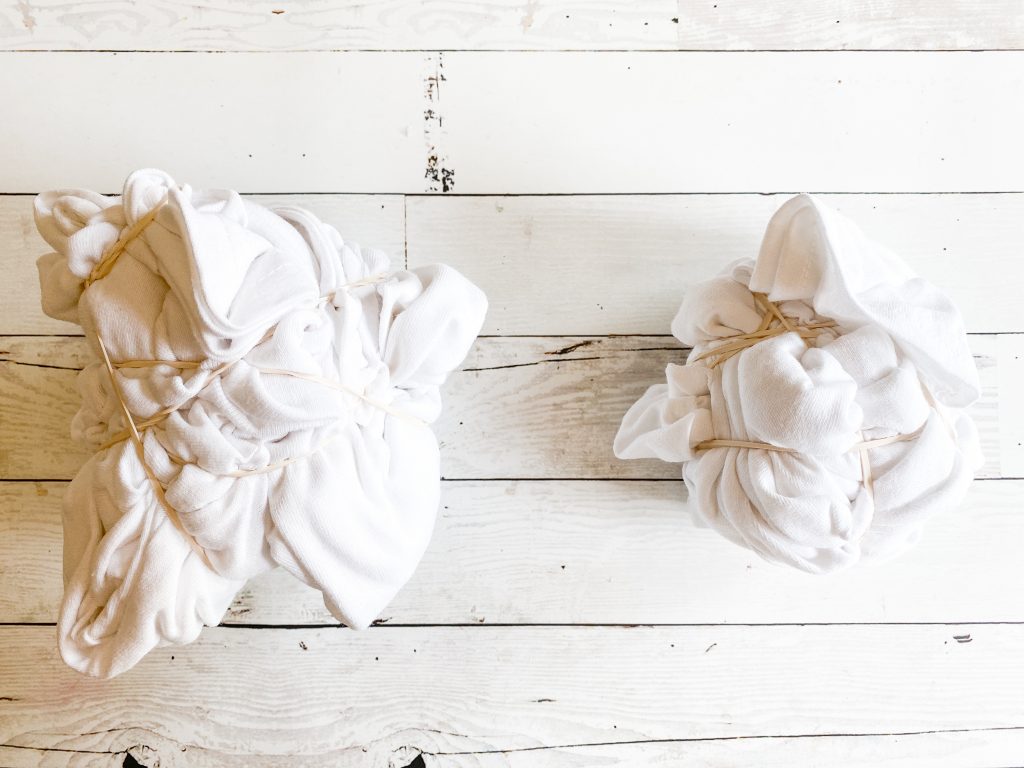
Once the fabric is dry, decide on the dye pattern you would like to use. You can roll the shirt, twist the shirt, or even ball up the shirt.
Then, add rope or rubber bands to hold the shape of the shirt. This will also be a spot without dye.

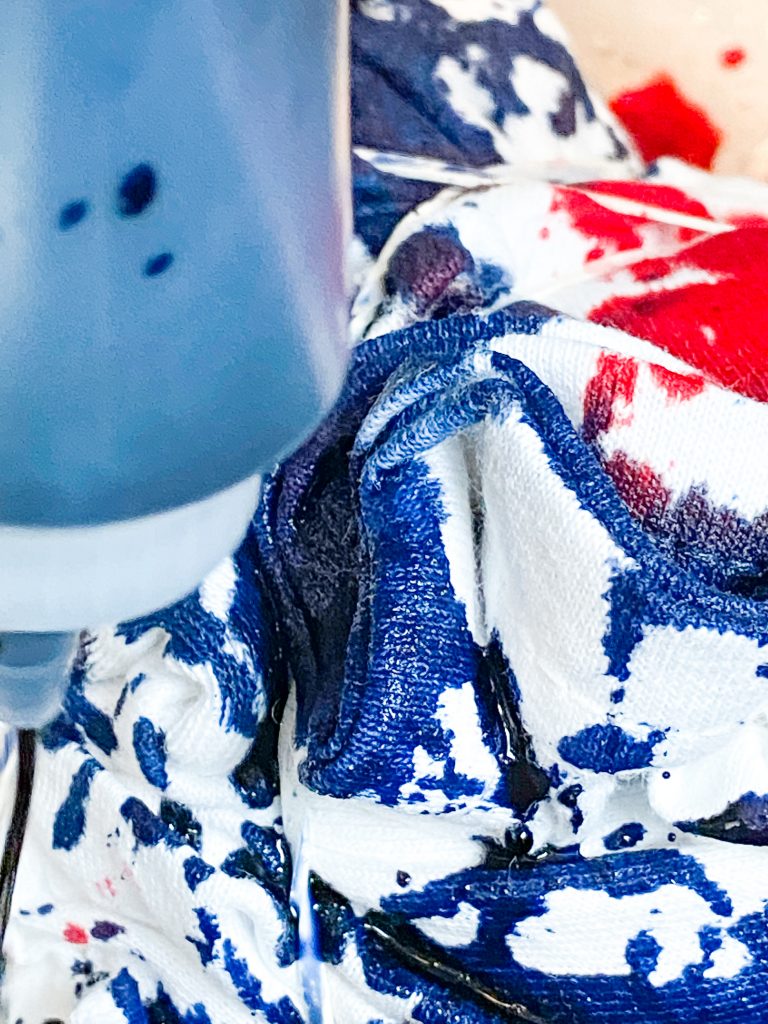
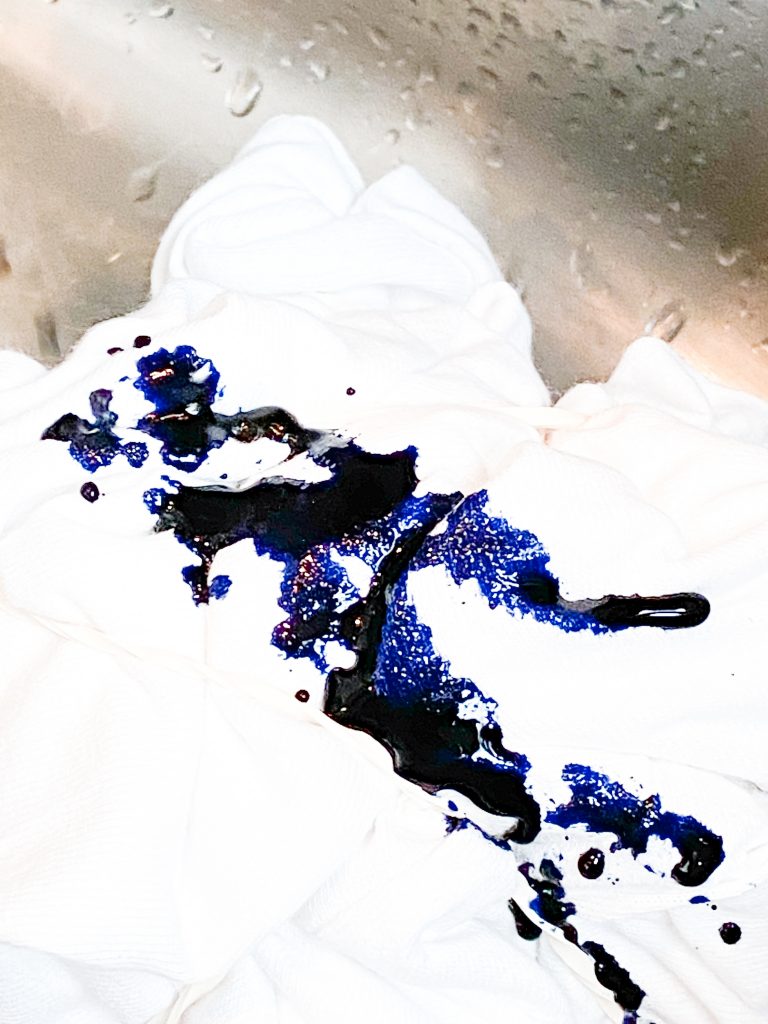
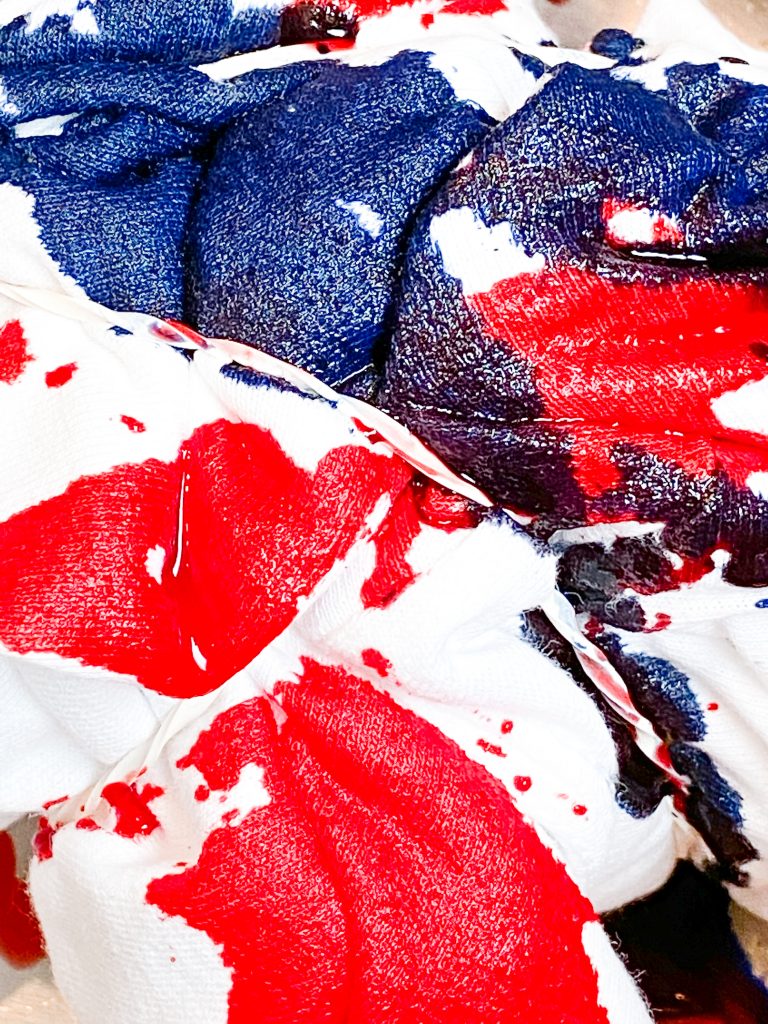
Next, use a squeeze bottle or bucket of dye to apply color to the shirt. I prefer a squeeze bottle for one or two shirts, but a bucket is better for several shirts.
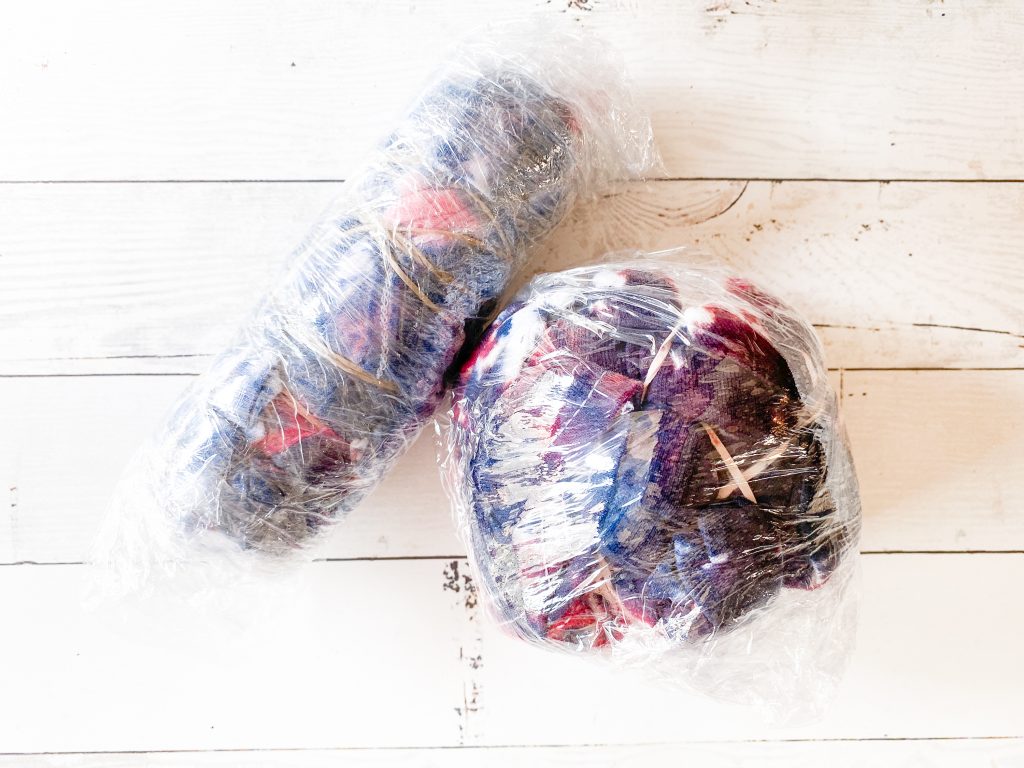
Once you have applied all of the dye to the shirts, wrap each shirt in plastic wrap. Allow the dye to set overnight.
Unwrap the shirts and rinse under hot water until the water runs clear.
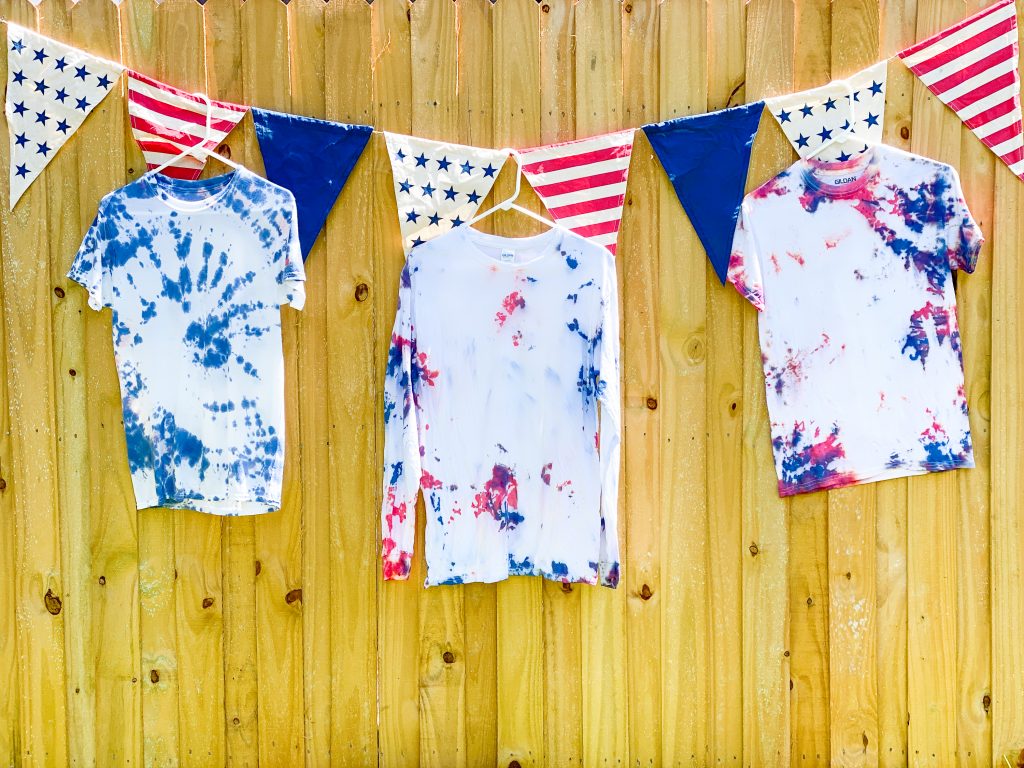
Now, wear your shirt or add an Iron On design.
If you liked this Tie Dye DIY post, be sure to check out some of these too!
4th of July Word Search Printable Activity Sheet
Tags : 4th of July, DIY, Fourth of July, July 4th, Tie Dye


