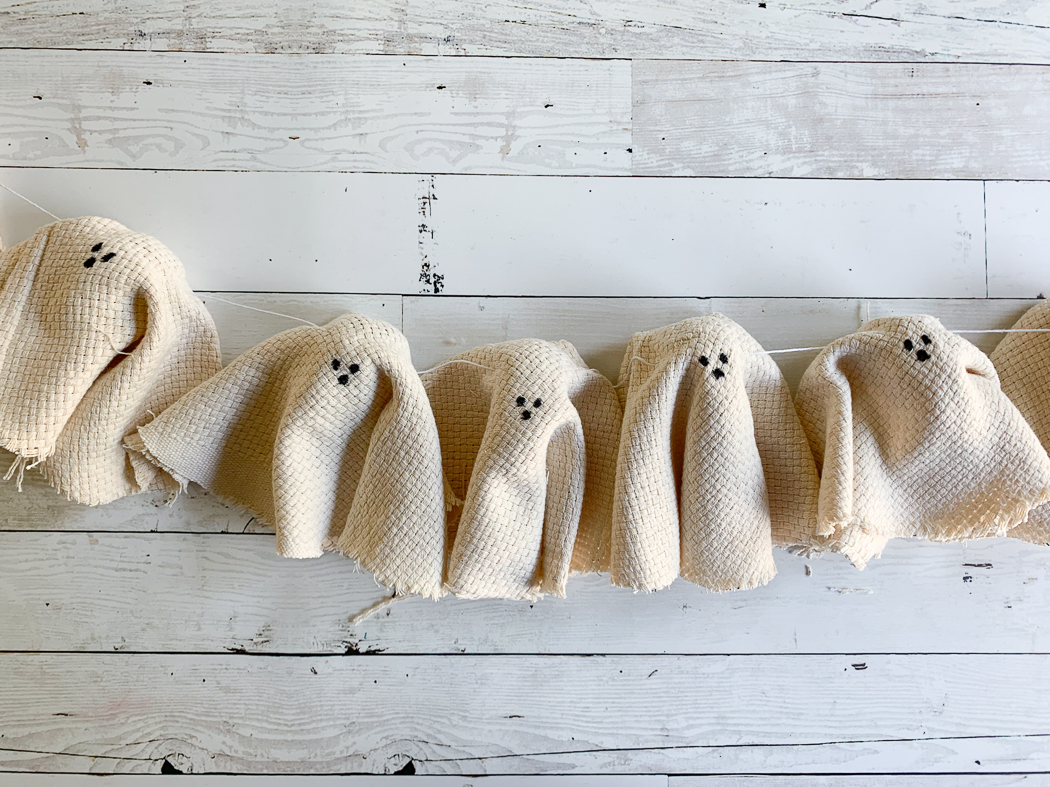
Easy Ghost Halloween Decor
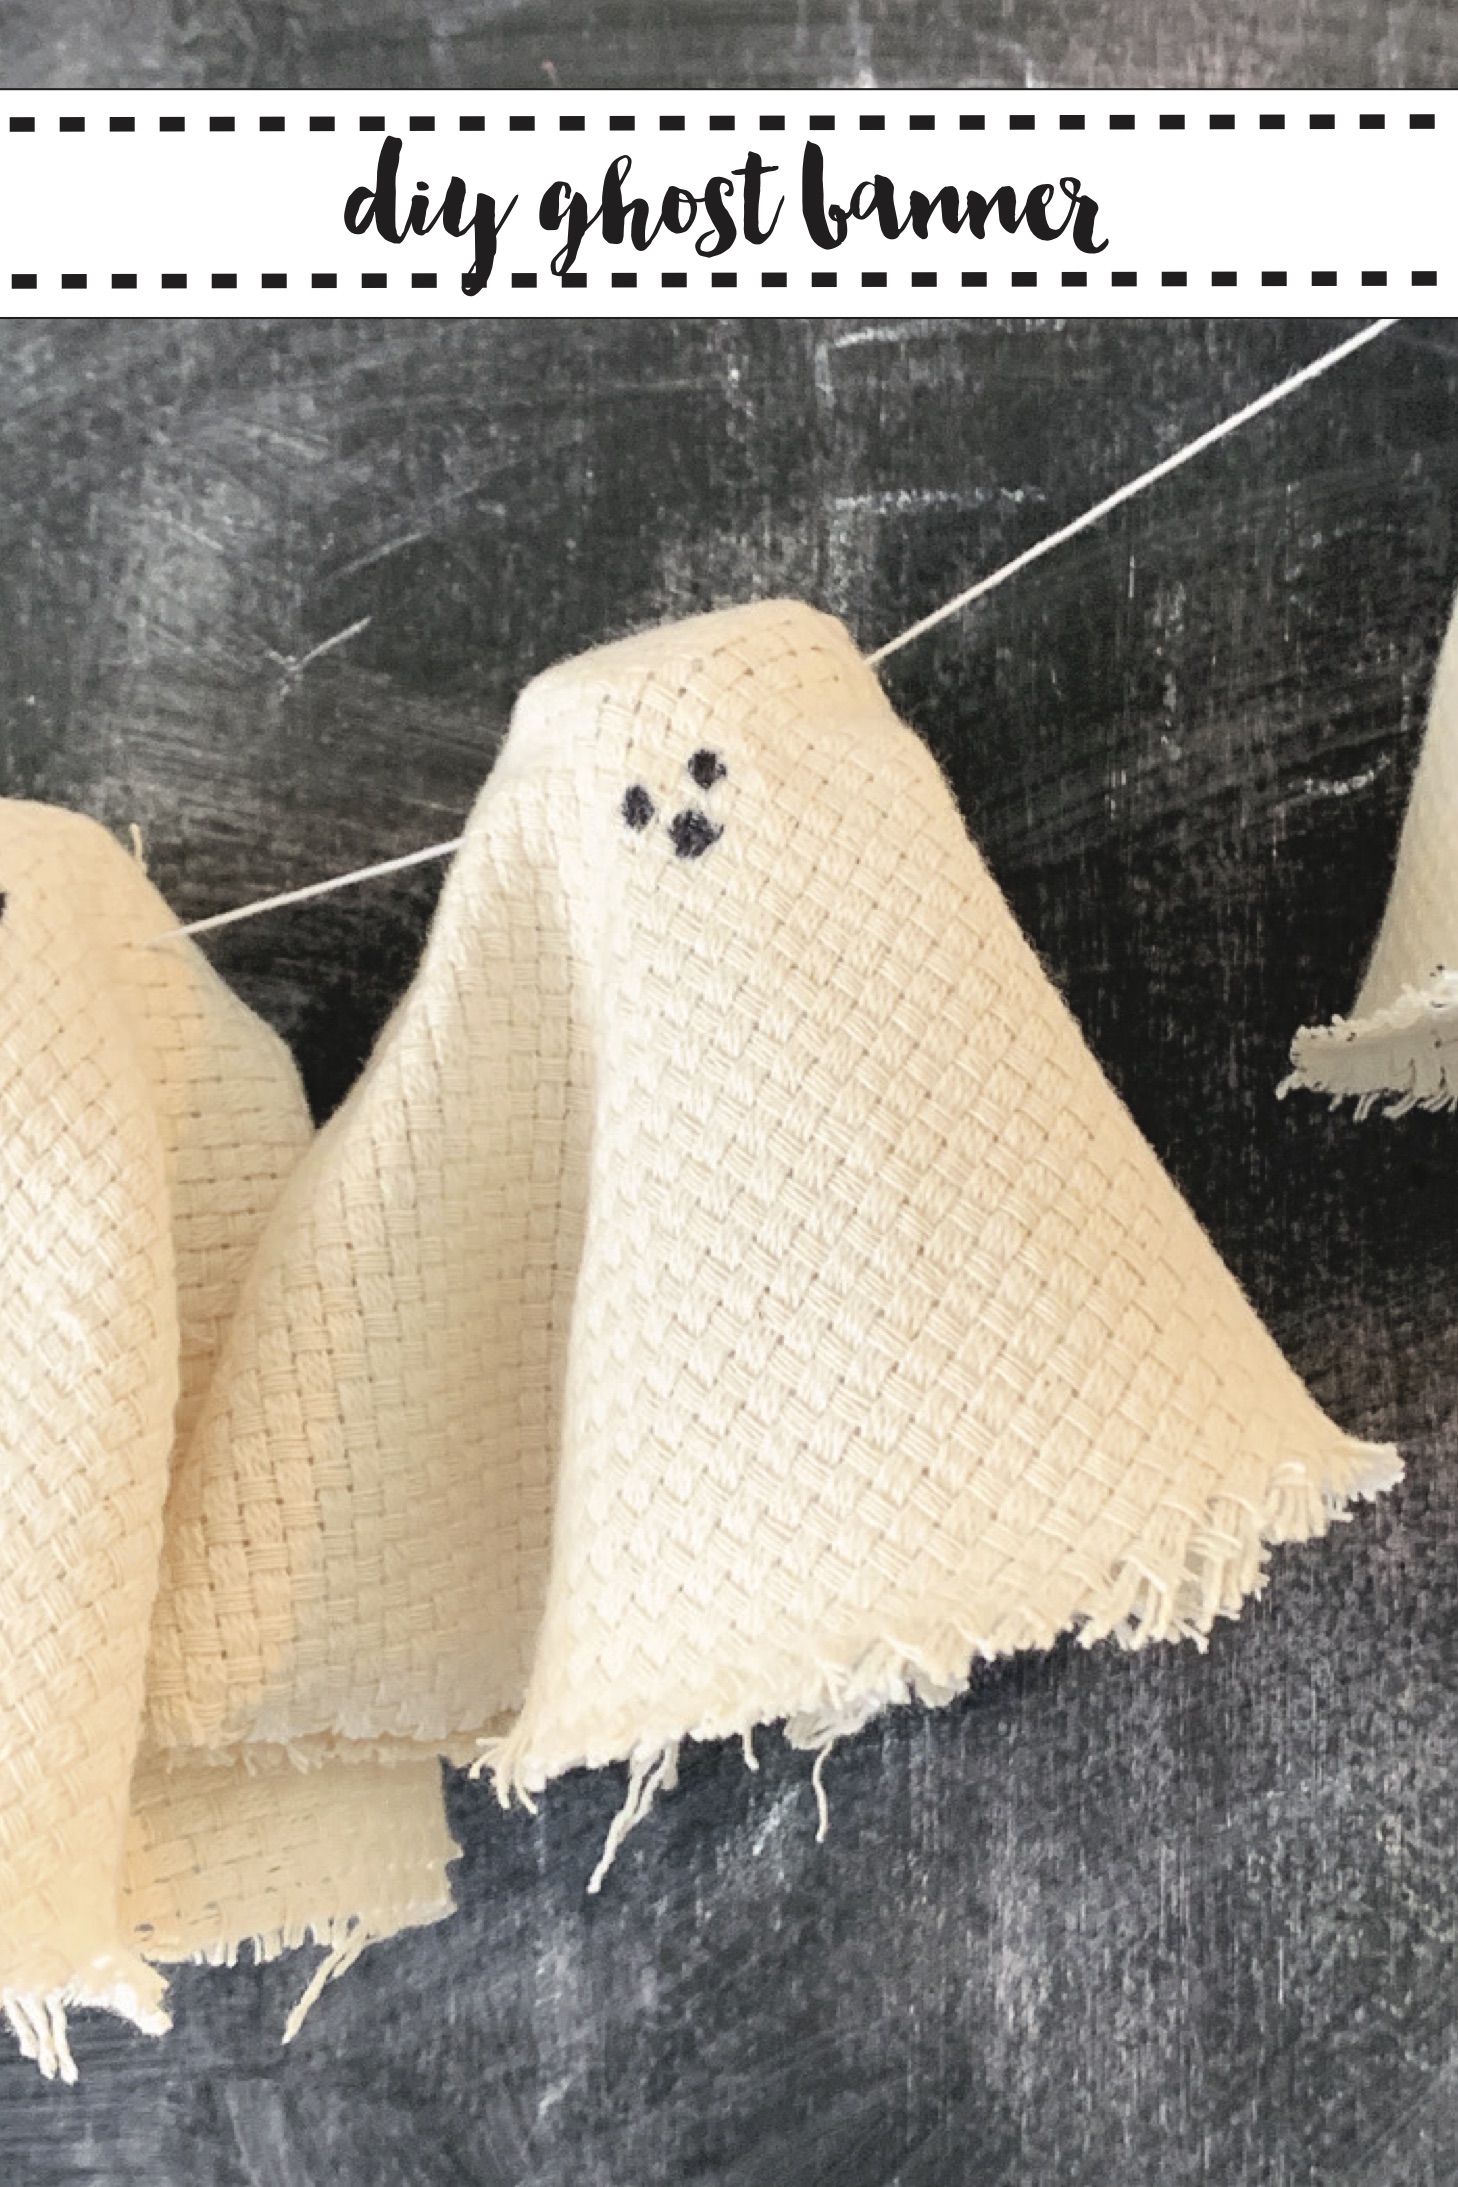
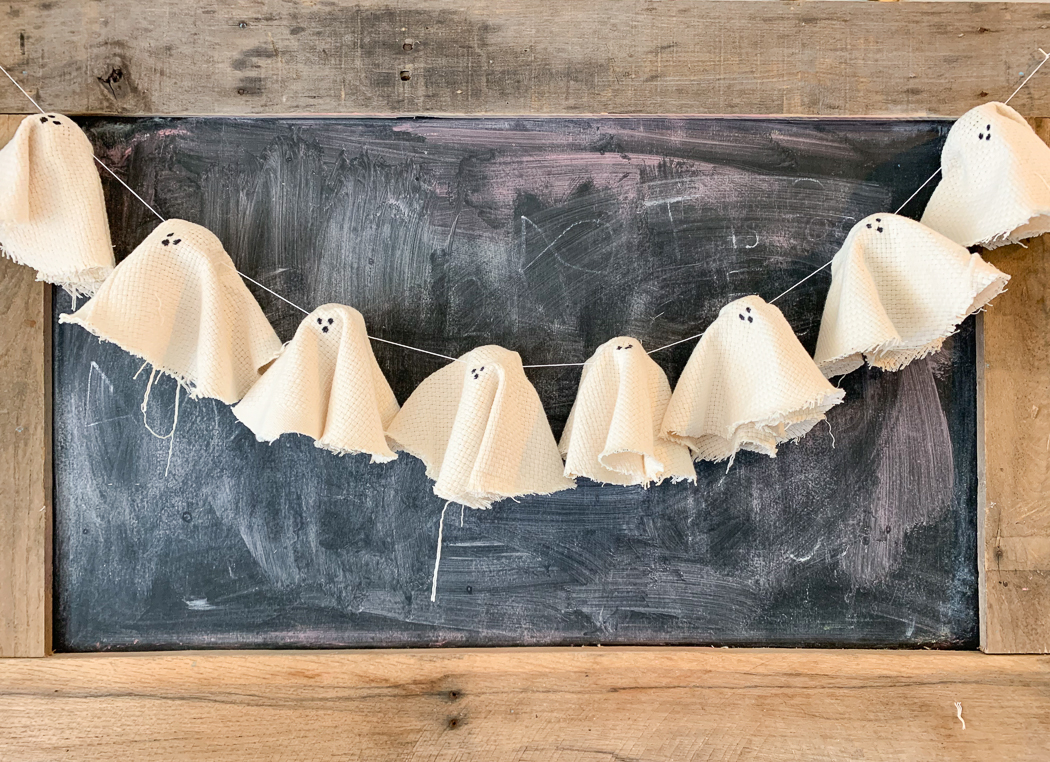
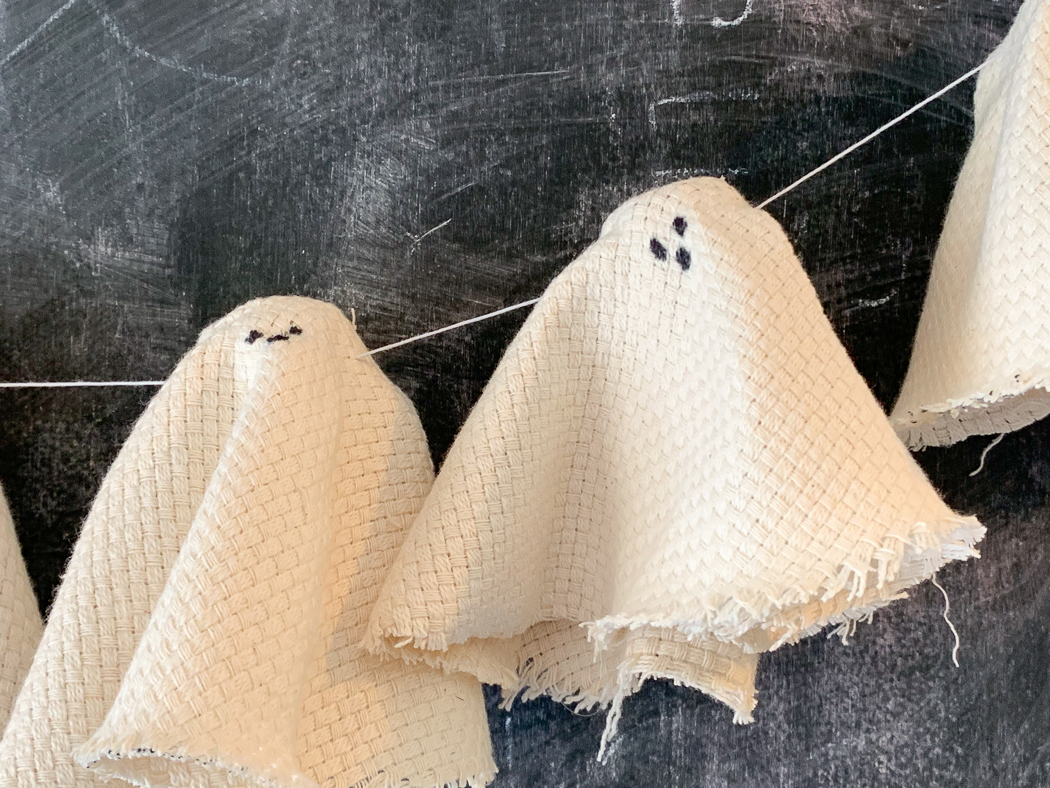
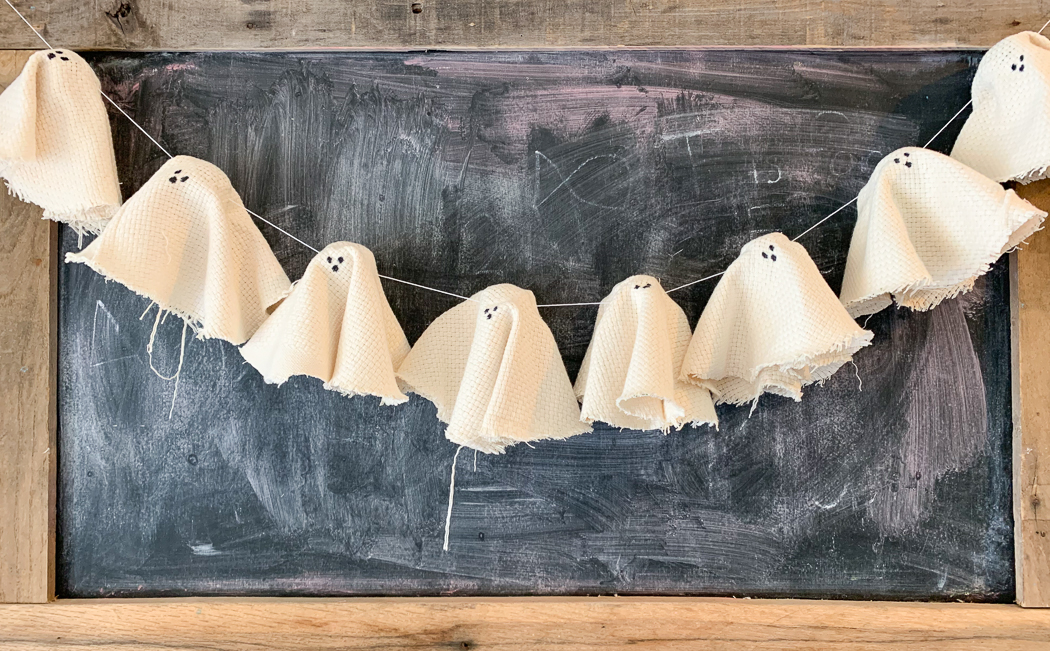
I am super excited to share this easy peasy Halloween decoration DIY today. I recently saw a similar ghost banner at a store I love, but it was $20! And.I.just.couldn’t.spend.that kind of money on a burlap ghost banner. This adora-BOO-le banner was ready to hang in less than 15 minutes and is the perfect Halloween decoration for parties and the Halloween season. Keep reading to see how I made this cute ghost Halloween decoration!
If you decide to make a purchase through my links, I will be paid a small commission for it. This doesn’t cost you anything additional.
Make your own Halloween Party Decorations
I have the shortest attention span ever when it comes to crafting, my max is about 10-15 minutes, which is why I love Craft Lightning!
This banner cost a little more than I thought because I sent my sweet hubby to the store to buy the material. He picked out a more expensive fabric than the burlap I was planning on using. It was still cheaper than buying the original from the store.
I love making my own party and holiday decorations, because I can make them totally custom. And, I can usually make them pretty quickly and for less than buying something similar at a big box store.
I am styling a little Halloween party for my niece, nephew, and the boys the first week of October, and I wanted to go with a small vintage style Halloween party. These cute little ghosts will be part of the party backdrop and my Halloween decor.
Halloween Ghost Decor DIY Supplies
These cuties are so easy to make, and you only need a few supplies!
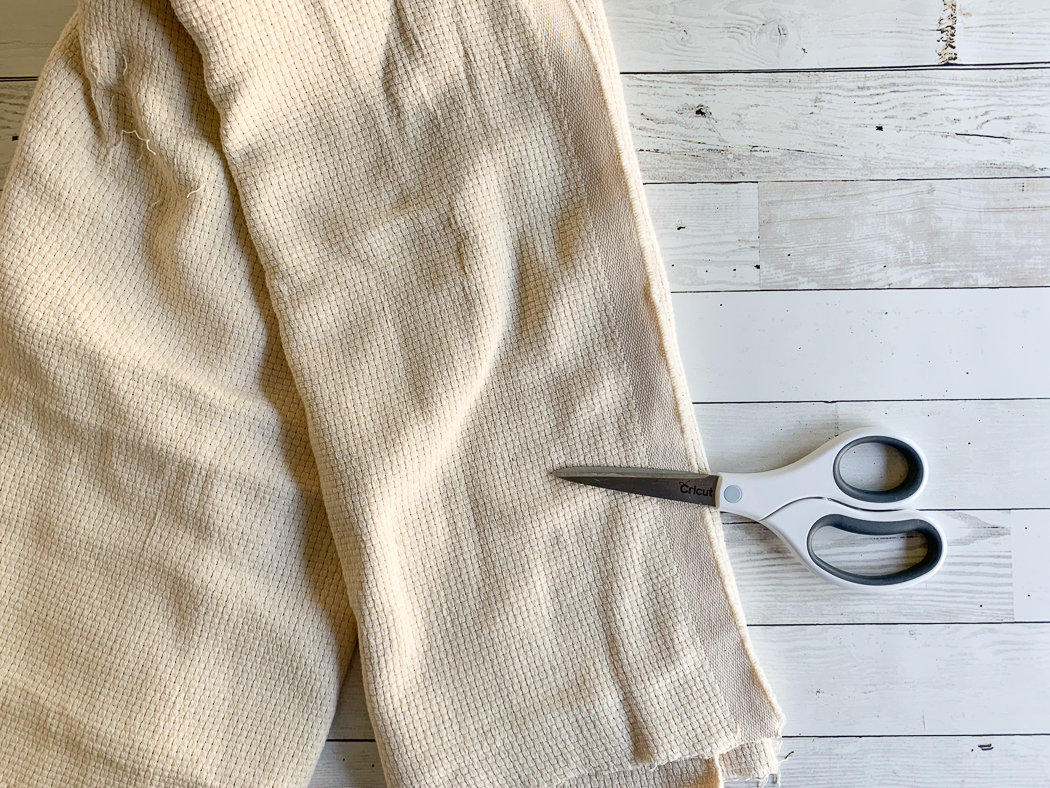
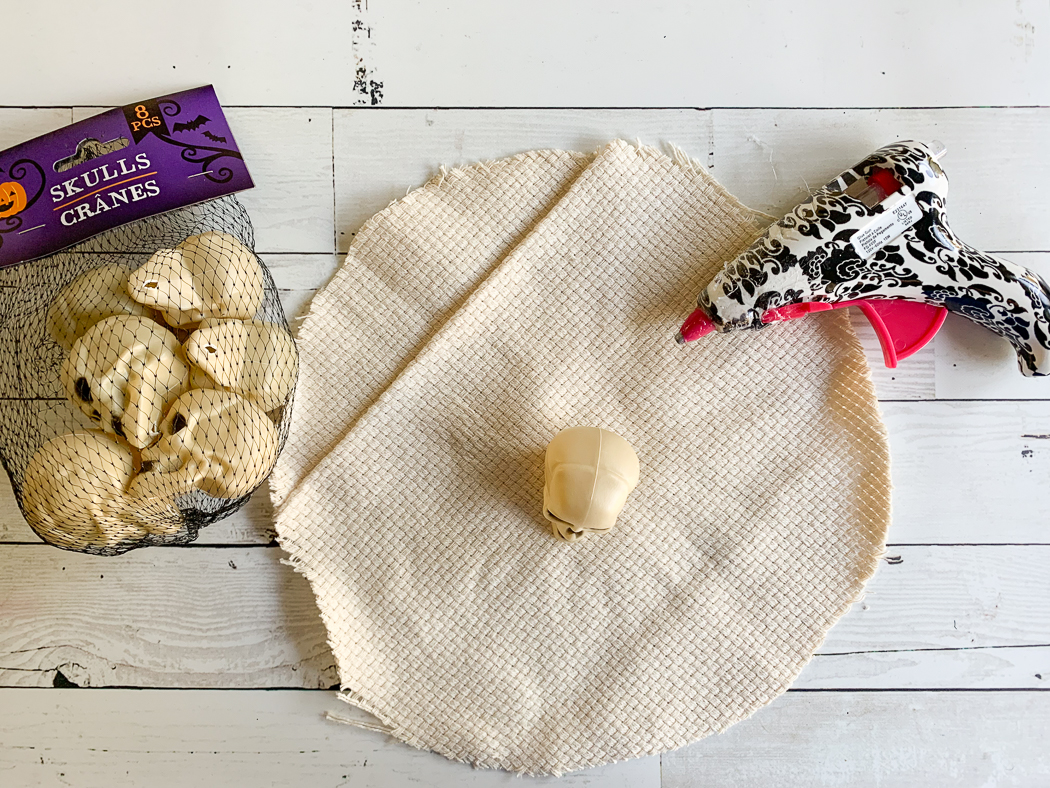
Fabric – Burlap, Muslin, or whatever else you want to use
Styrofoam Balls or Small Skulls
Step 1
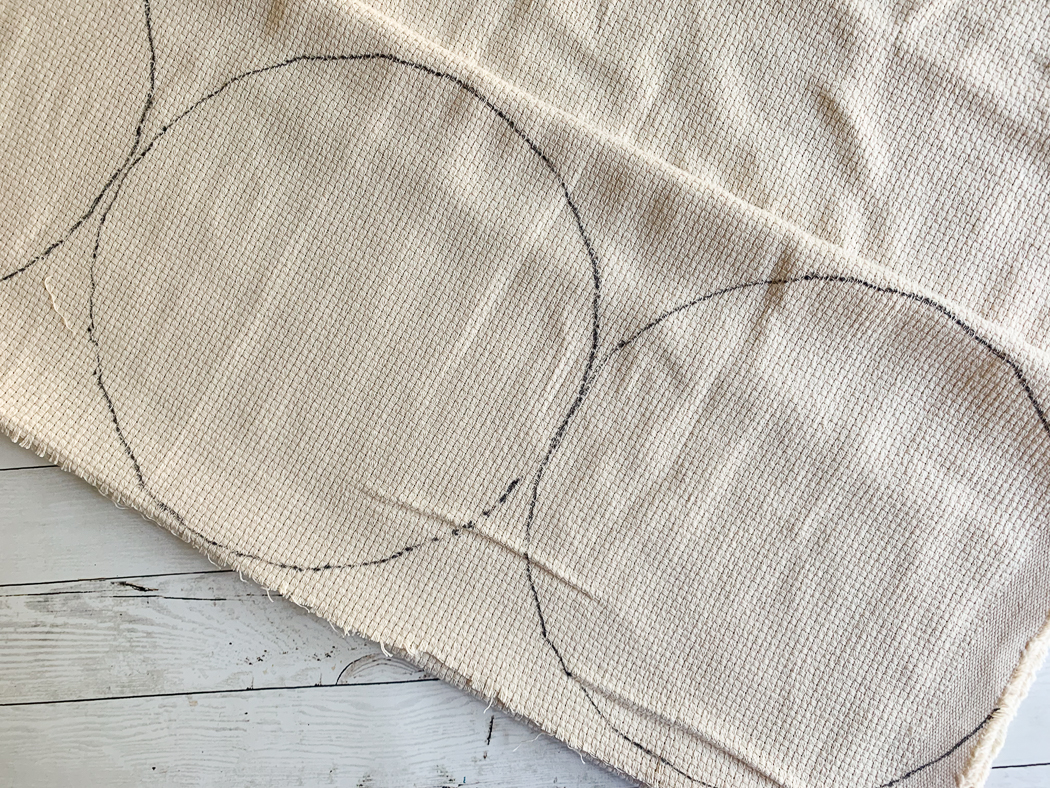
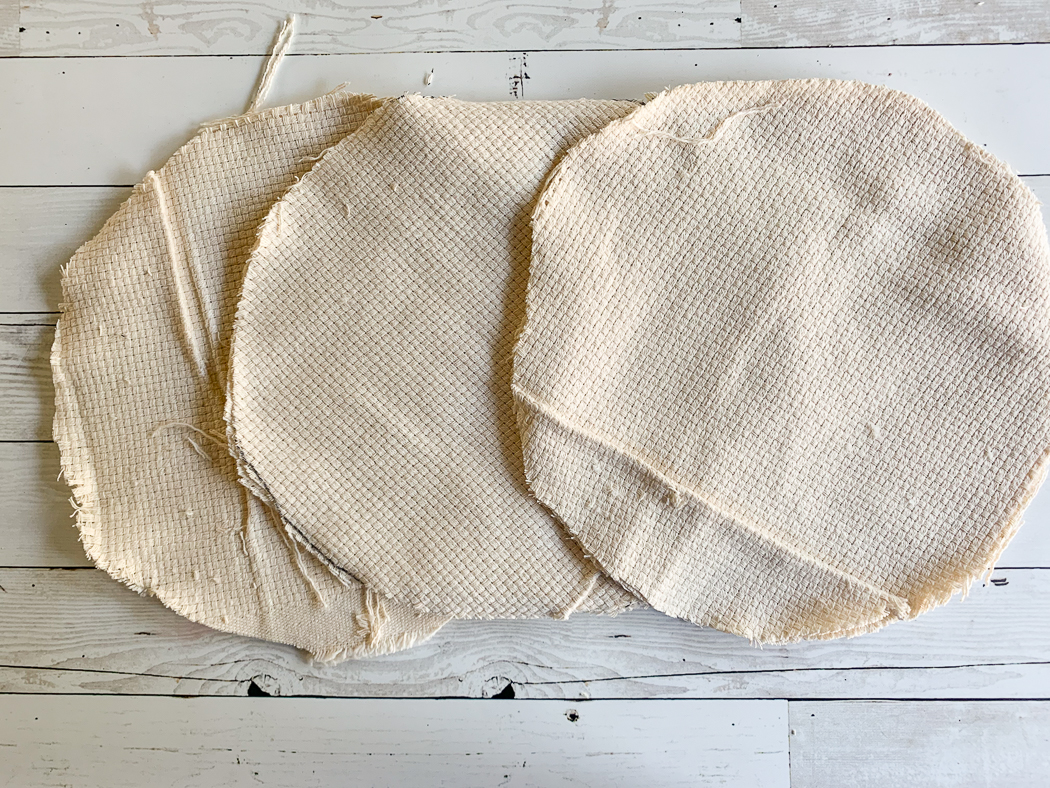
Cut circles from the fabric. I used a large mixing bowl as a template, and cut out 8 large circles.
Step 2
Hot Glue the styrofoam balls or skull to the middle of each fabric circle. I used the skulls because they were 8 for $1 at the Dollar Tree, and a lot cheaper than styrofoam. However, styrofoam would be easier to thread.
Step 3
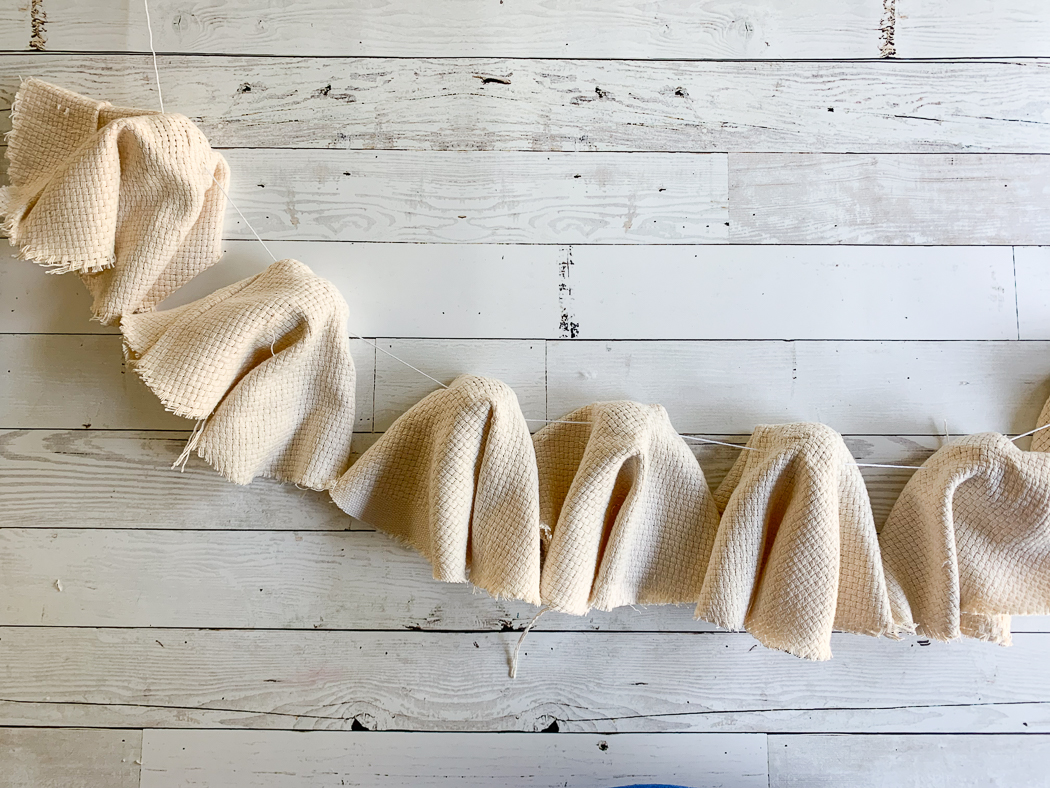
Once each ghost has a “head”, thread the embroidery thread through each one to create a banner. If you use skulls, you may need pliers to help pull the needle through the skulls. Be sure to give yourself extra thread to space the ghosts out.
Step 4
Use a marker to draw a little ghost face on each one.
Step 5
Hang and enjoy!
 If you liked this post, be sure to check out these too!
DIY Halloween Sign
BUTTON CODE:
Tags : Craft Lightning, DIY, Halloween

[…] up your Halloween party with this fabric ghost banner from Everyday Party […]