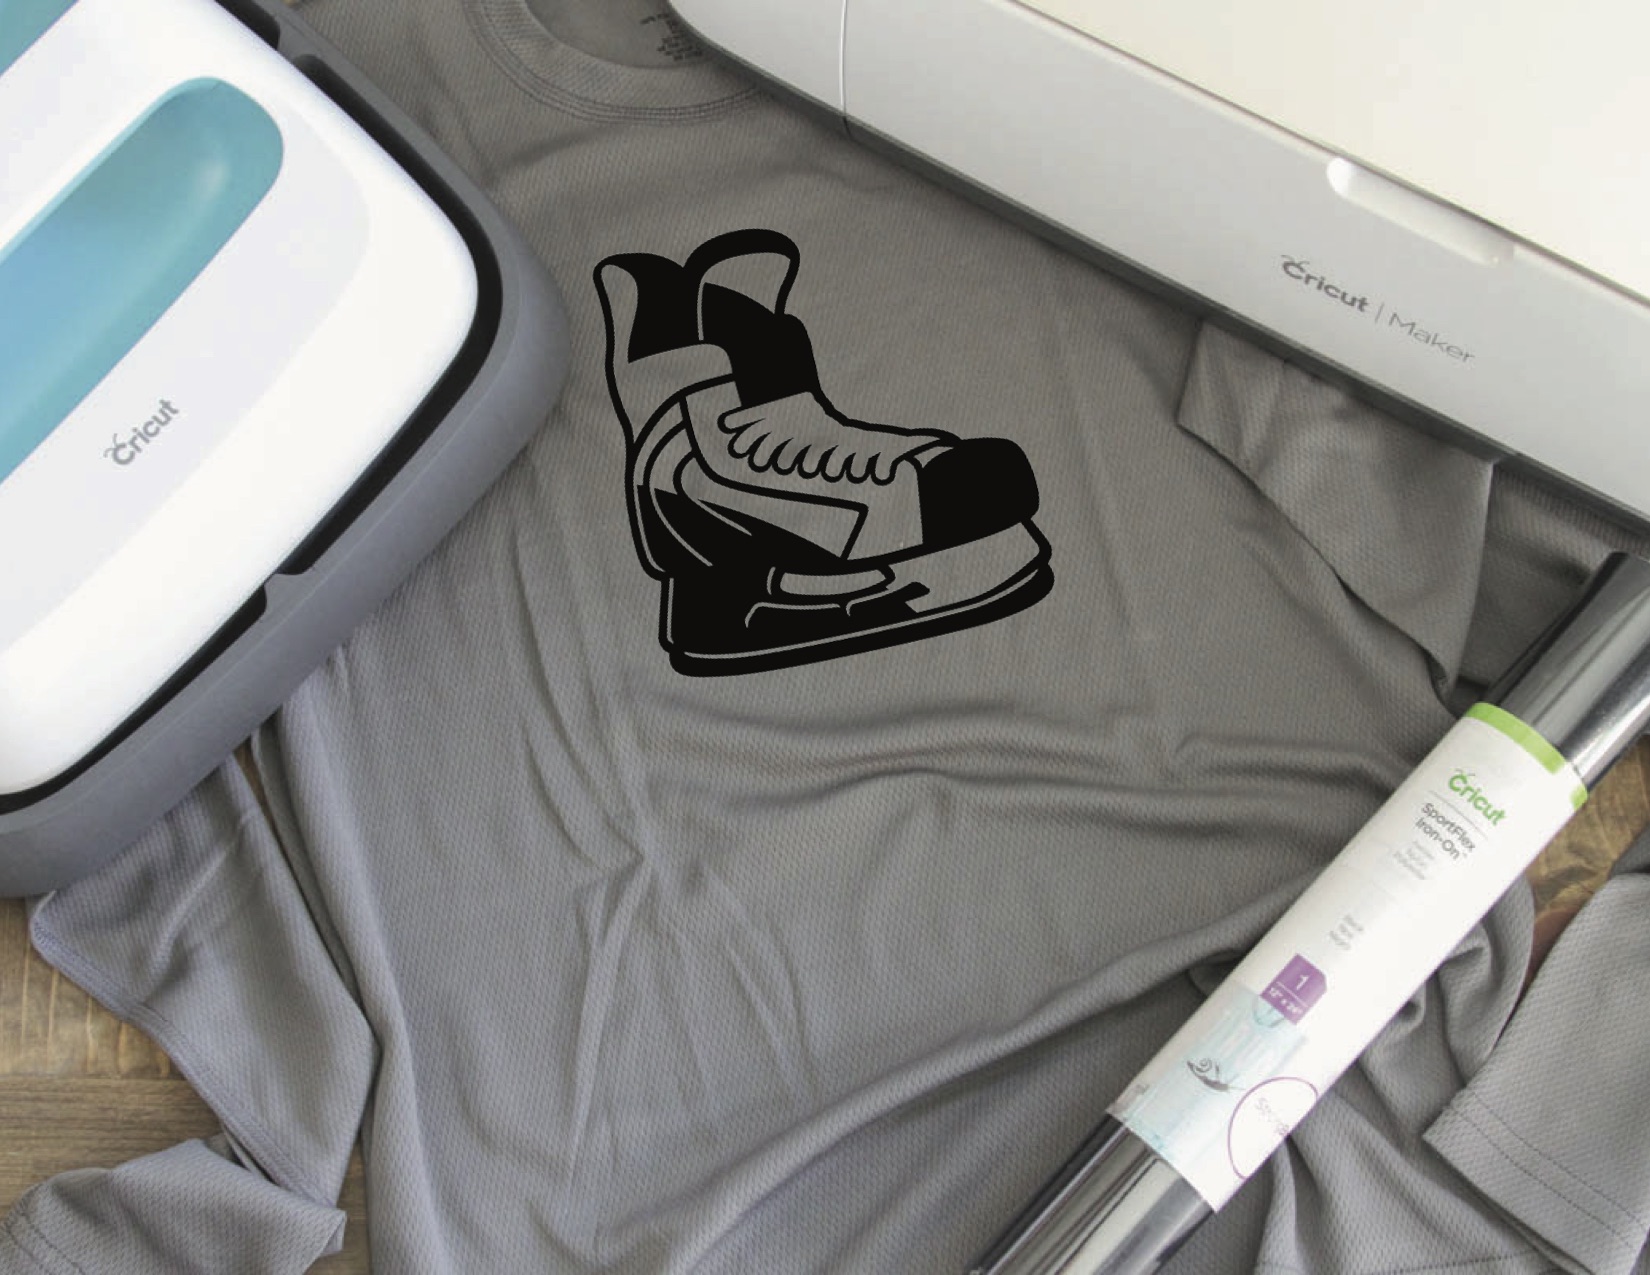
DIY Shirt with Cricut SportFlex Iron On™
DIY Shirt with Cricut SportFlex Iron On™. This post isn’t party related, but, I hope you will enjoy it anyway…but this would be a simple and relatively affordable party favor! I have mentioned before that blogging helps pay for my son to play hockey. It is truly his passion, and as a mom, it truly warms my heart to be able to let him play. Recently, his little brother decided he wanted to try hockey. Of course this thrilled my husband and he had to go out and get the new hockey player all new gear.
One thing I have learned as a hockey mom is that their gym clothes and under clothes get lost very easily in the locker room, unless they have something personalized or custom on them. This is where Cricut SportFlex Iron On™ has saved my wallet! I have long been a fan of Cricut’s traditional Iron On, but the new SportFlex Iron On™ takes it to a totally new level! It has a stretchy, flexible give that allows it to keep the image (no puckered vinyl) to keep it’s shape on your shirt. It is great for poly-blend, rectec or dry-fit style shirts and shorts. I think 2/3 of my weekly laundry is a rectec style shirt, and I am SO very excited to be able to make custom cut vinyl for these shirts now! My kids love the lightweight feel of the Iron On, I love being able to create two layer designs. PLUS (and this is HUGE) The new Cricut SportFlex Iron On™ features the Cricut StrongBond™ Guarantee* for long-lasting results that stick!!! Yay for no more Iron On peeling off! Cricut SportFlex Iron On™ comes on a roll that is 2′ long and just under 1 foot wide, so there is plenty on the roll to work with!
My older hockey player starts his new hockey season this fall, but the younger one started this past week, so we needed to get him some rectec clothes to wear under his gear. He doesn’t like the pads touching him when he is sweaty, so we picked up a pair of thermal long johns for him. Like his older brother, I want to make sure the gear we buy makes it’s way back home, so I opened up Design Space and had him pick a hockey image for his shirt.
Supplies:
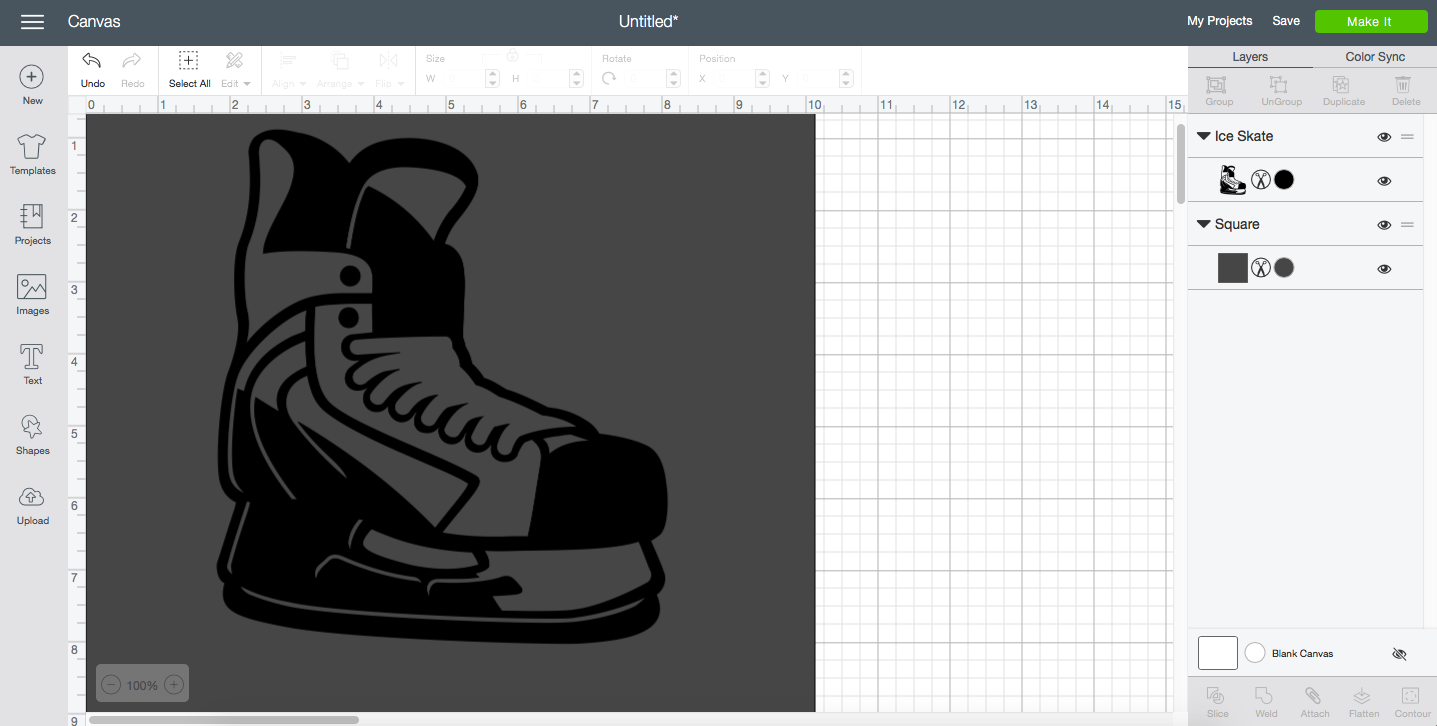
Open Design Space (If you have a hockey lover, use this cut file) and size the image to fit your shirt. (I used a grey box behind my image to see if the black SportFlex Iron On would look ok)
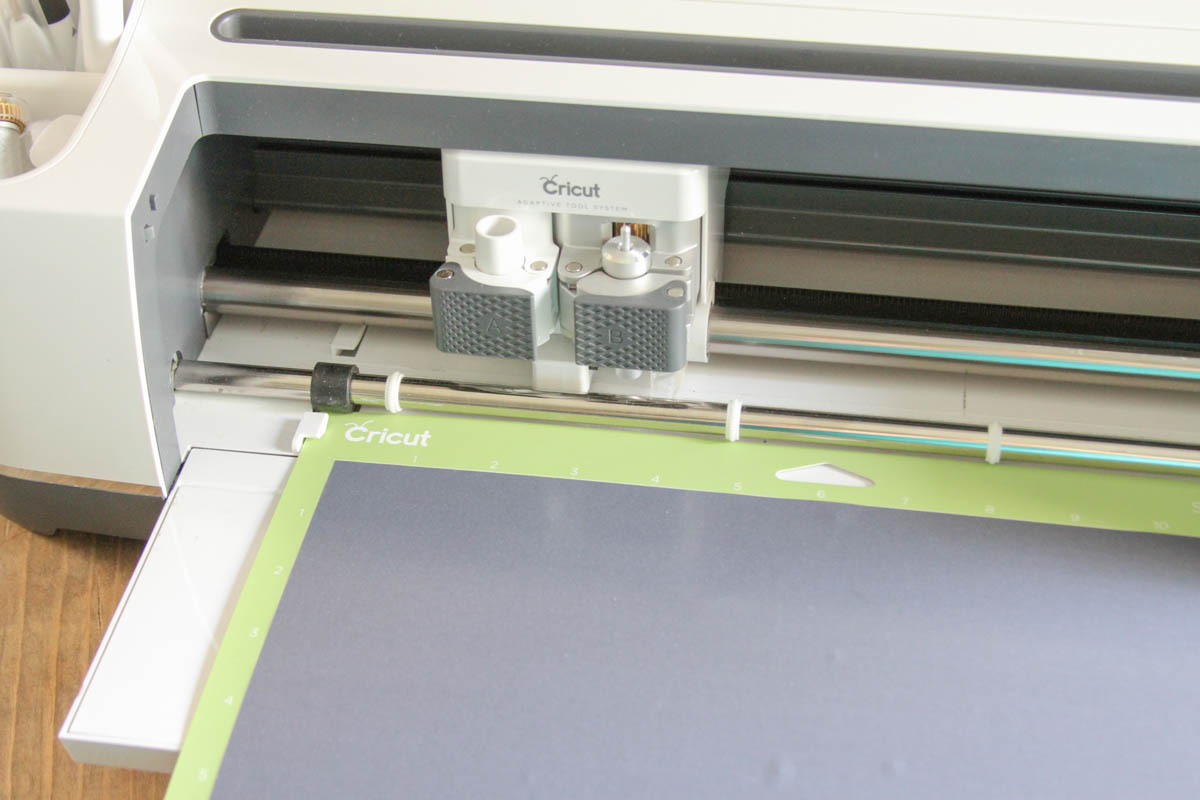
Apply the Cricut SportFlex Iron On™ to a standard grip mat, shiny side down. Send the image to the Cricut to cut, don’t forget to mirror the cut.
Weed the Cricut SportFlex Iron On™.
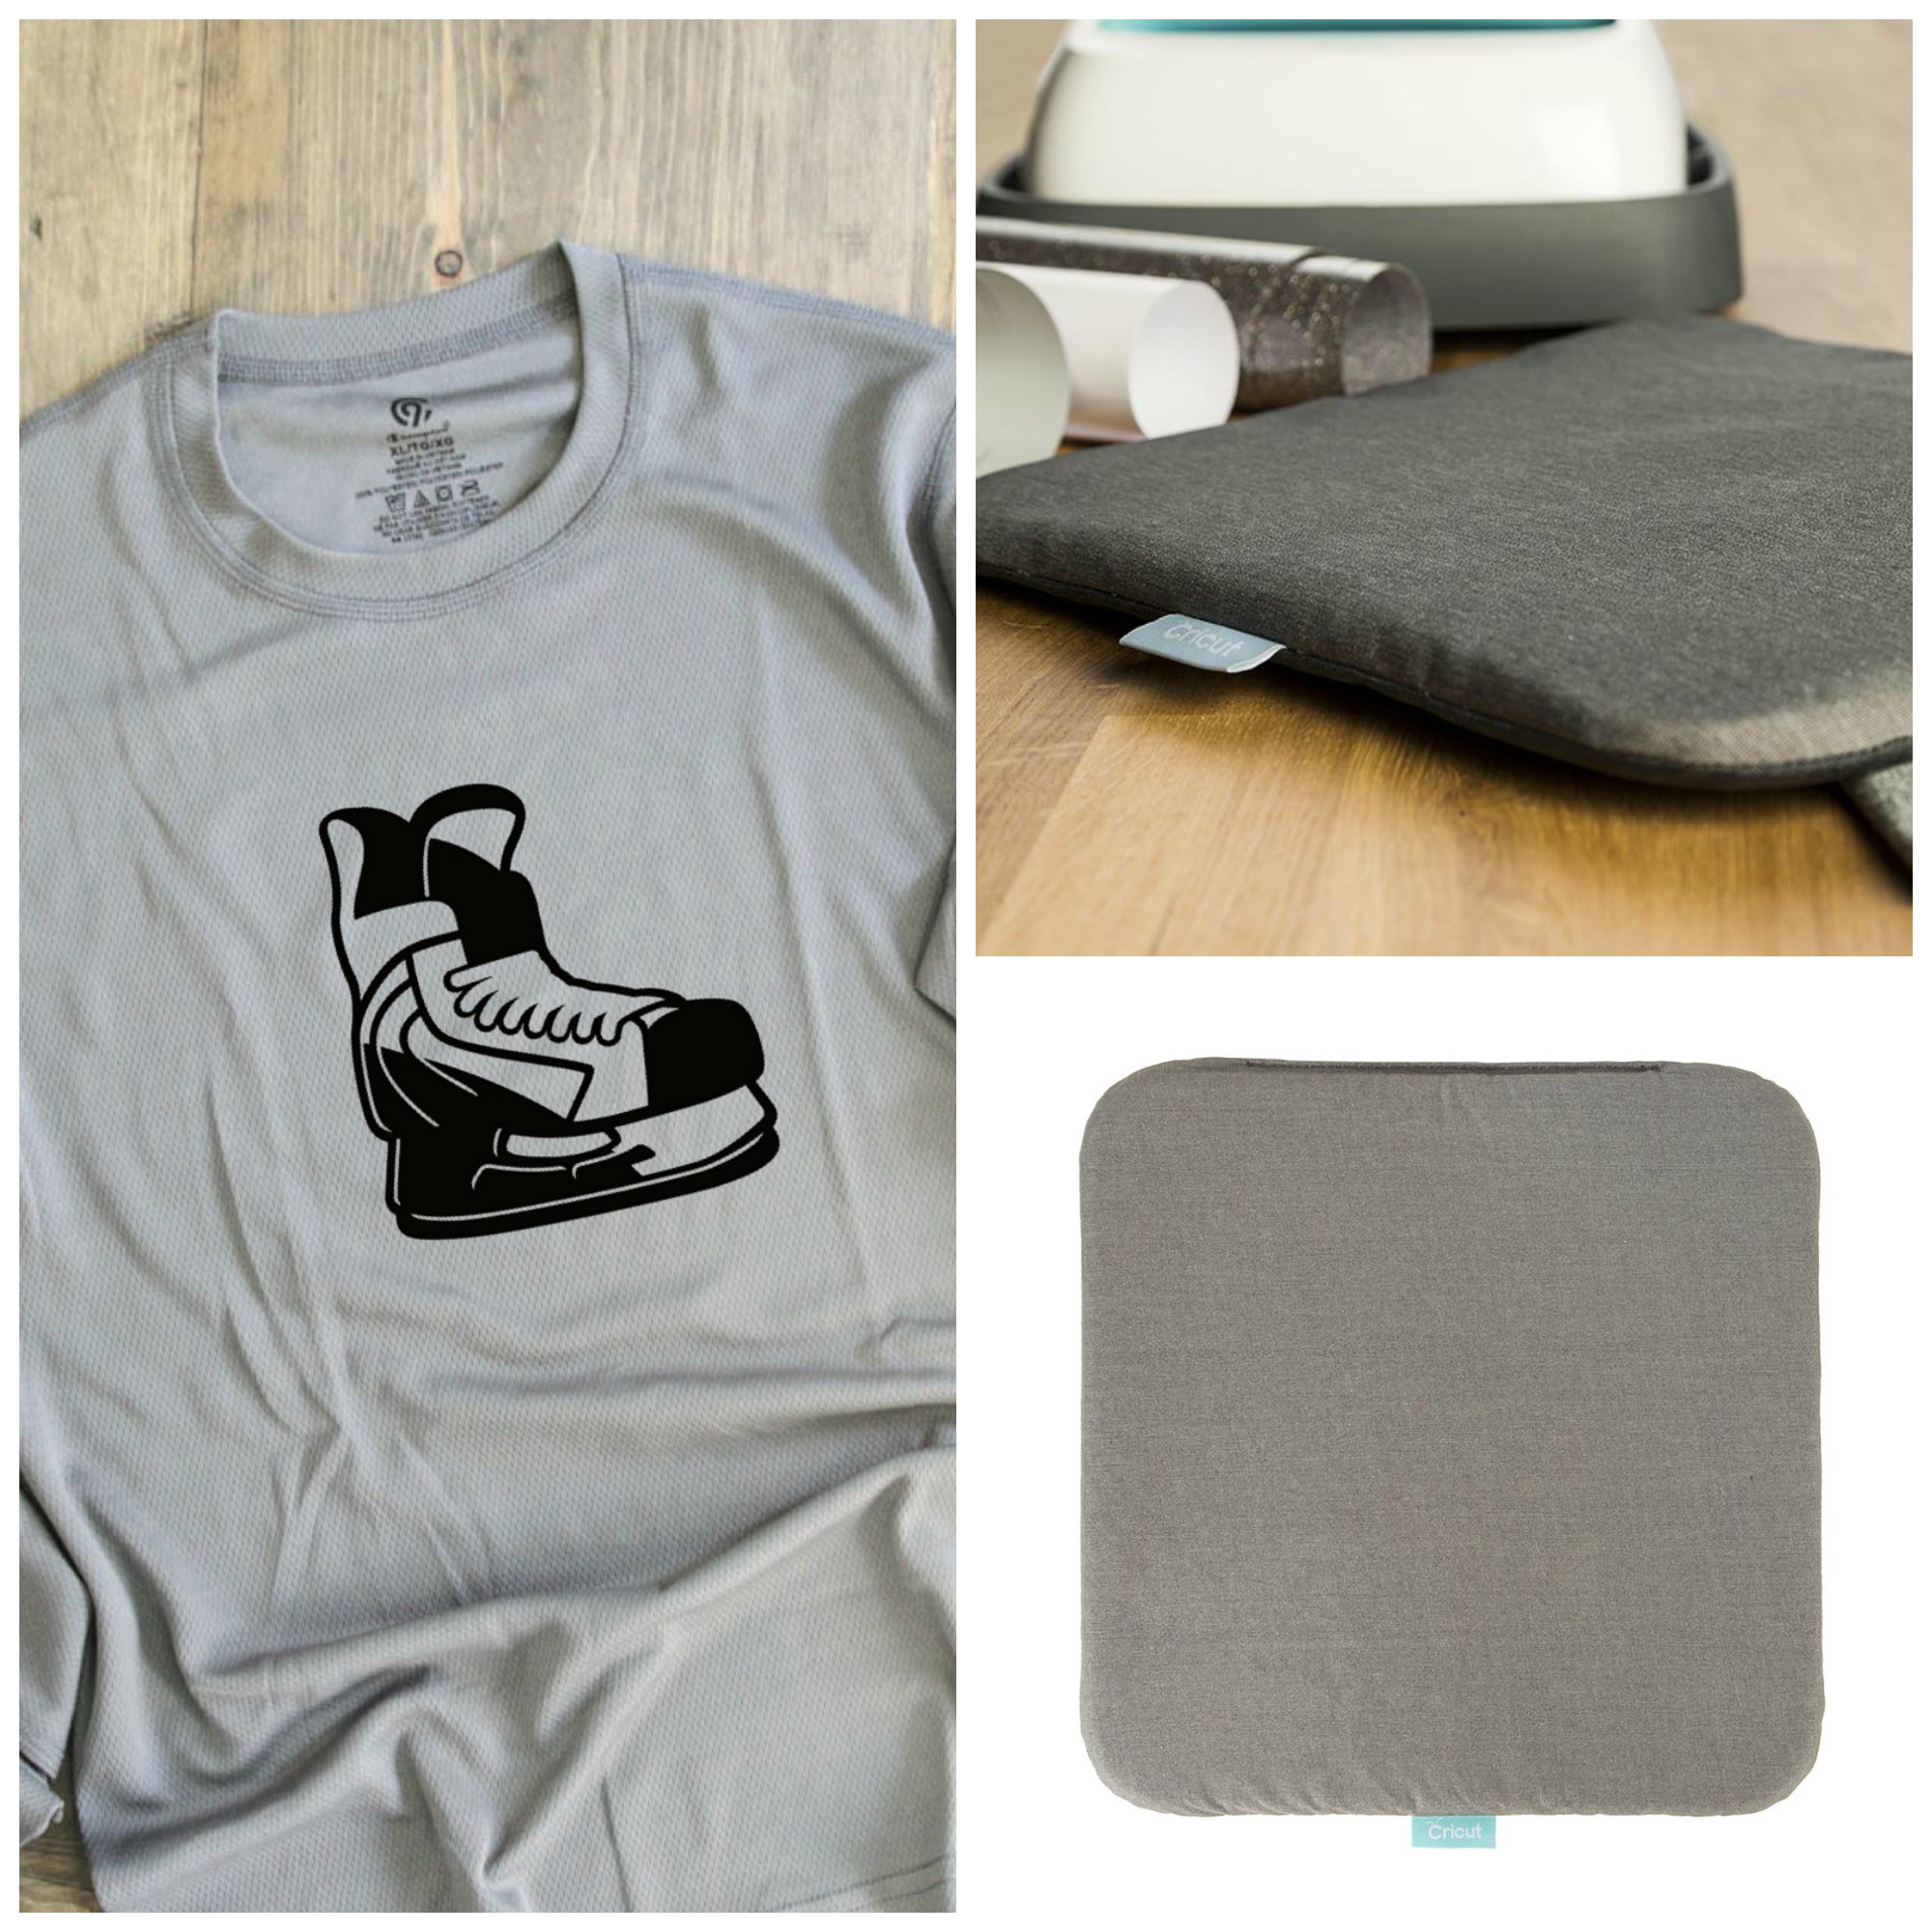
Preheat your EasyPress. Place your shirt on the new Cricut EasyPress Mat, and warm the area where you will apply the SportFlex Iron On™.
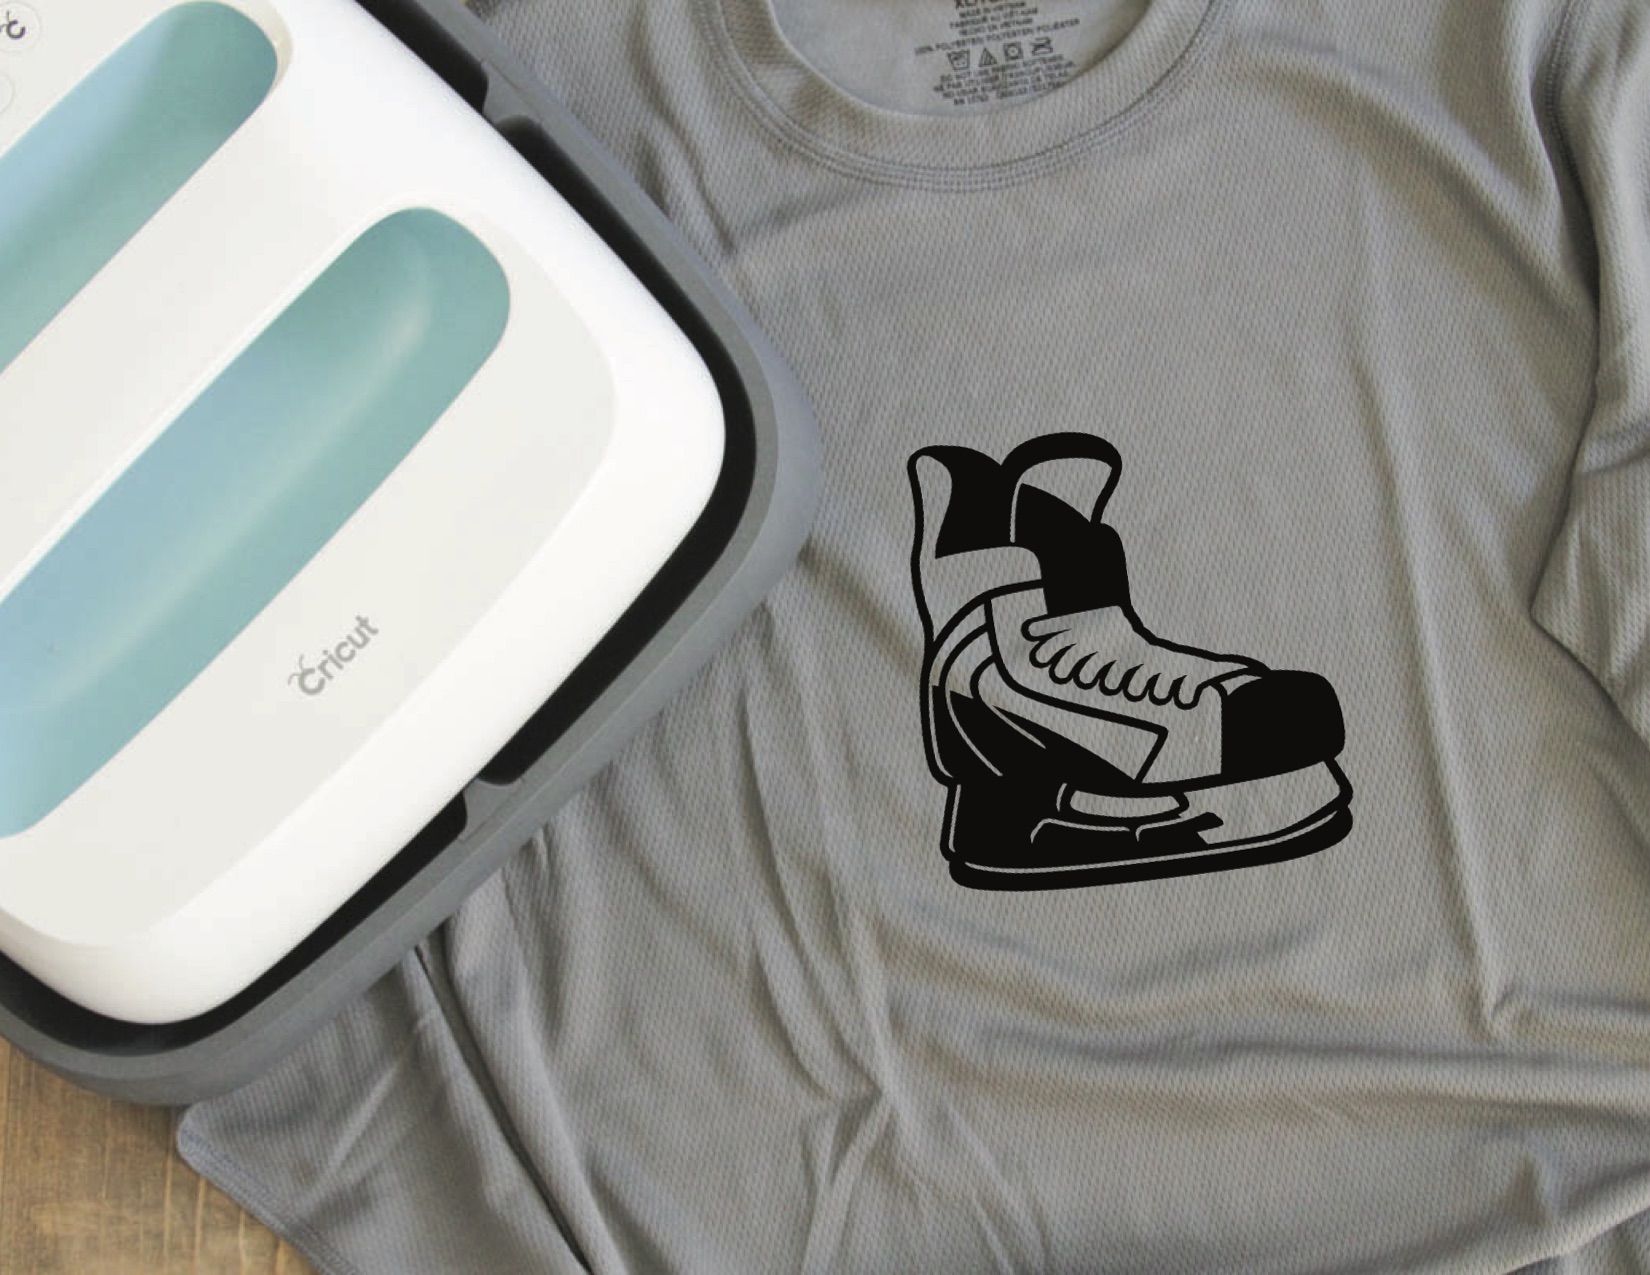
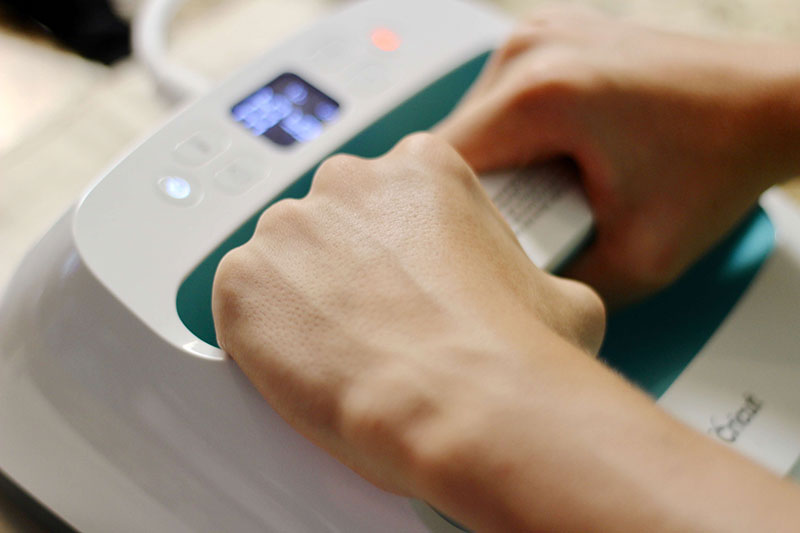
Place the SportFlex Iron On™ on the shirt, and cover with the protective sheet. Press the image onto the shirt. I set the temp at 305 for about 30 seconds.
Flip the shirt inside out and press the backside of the SportFlex Iron On™.
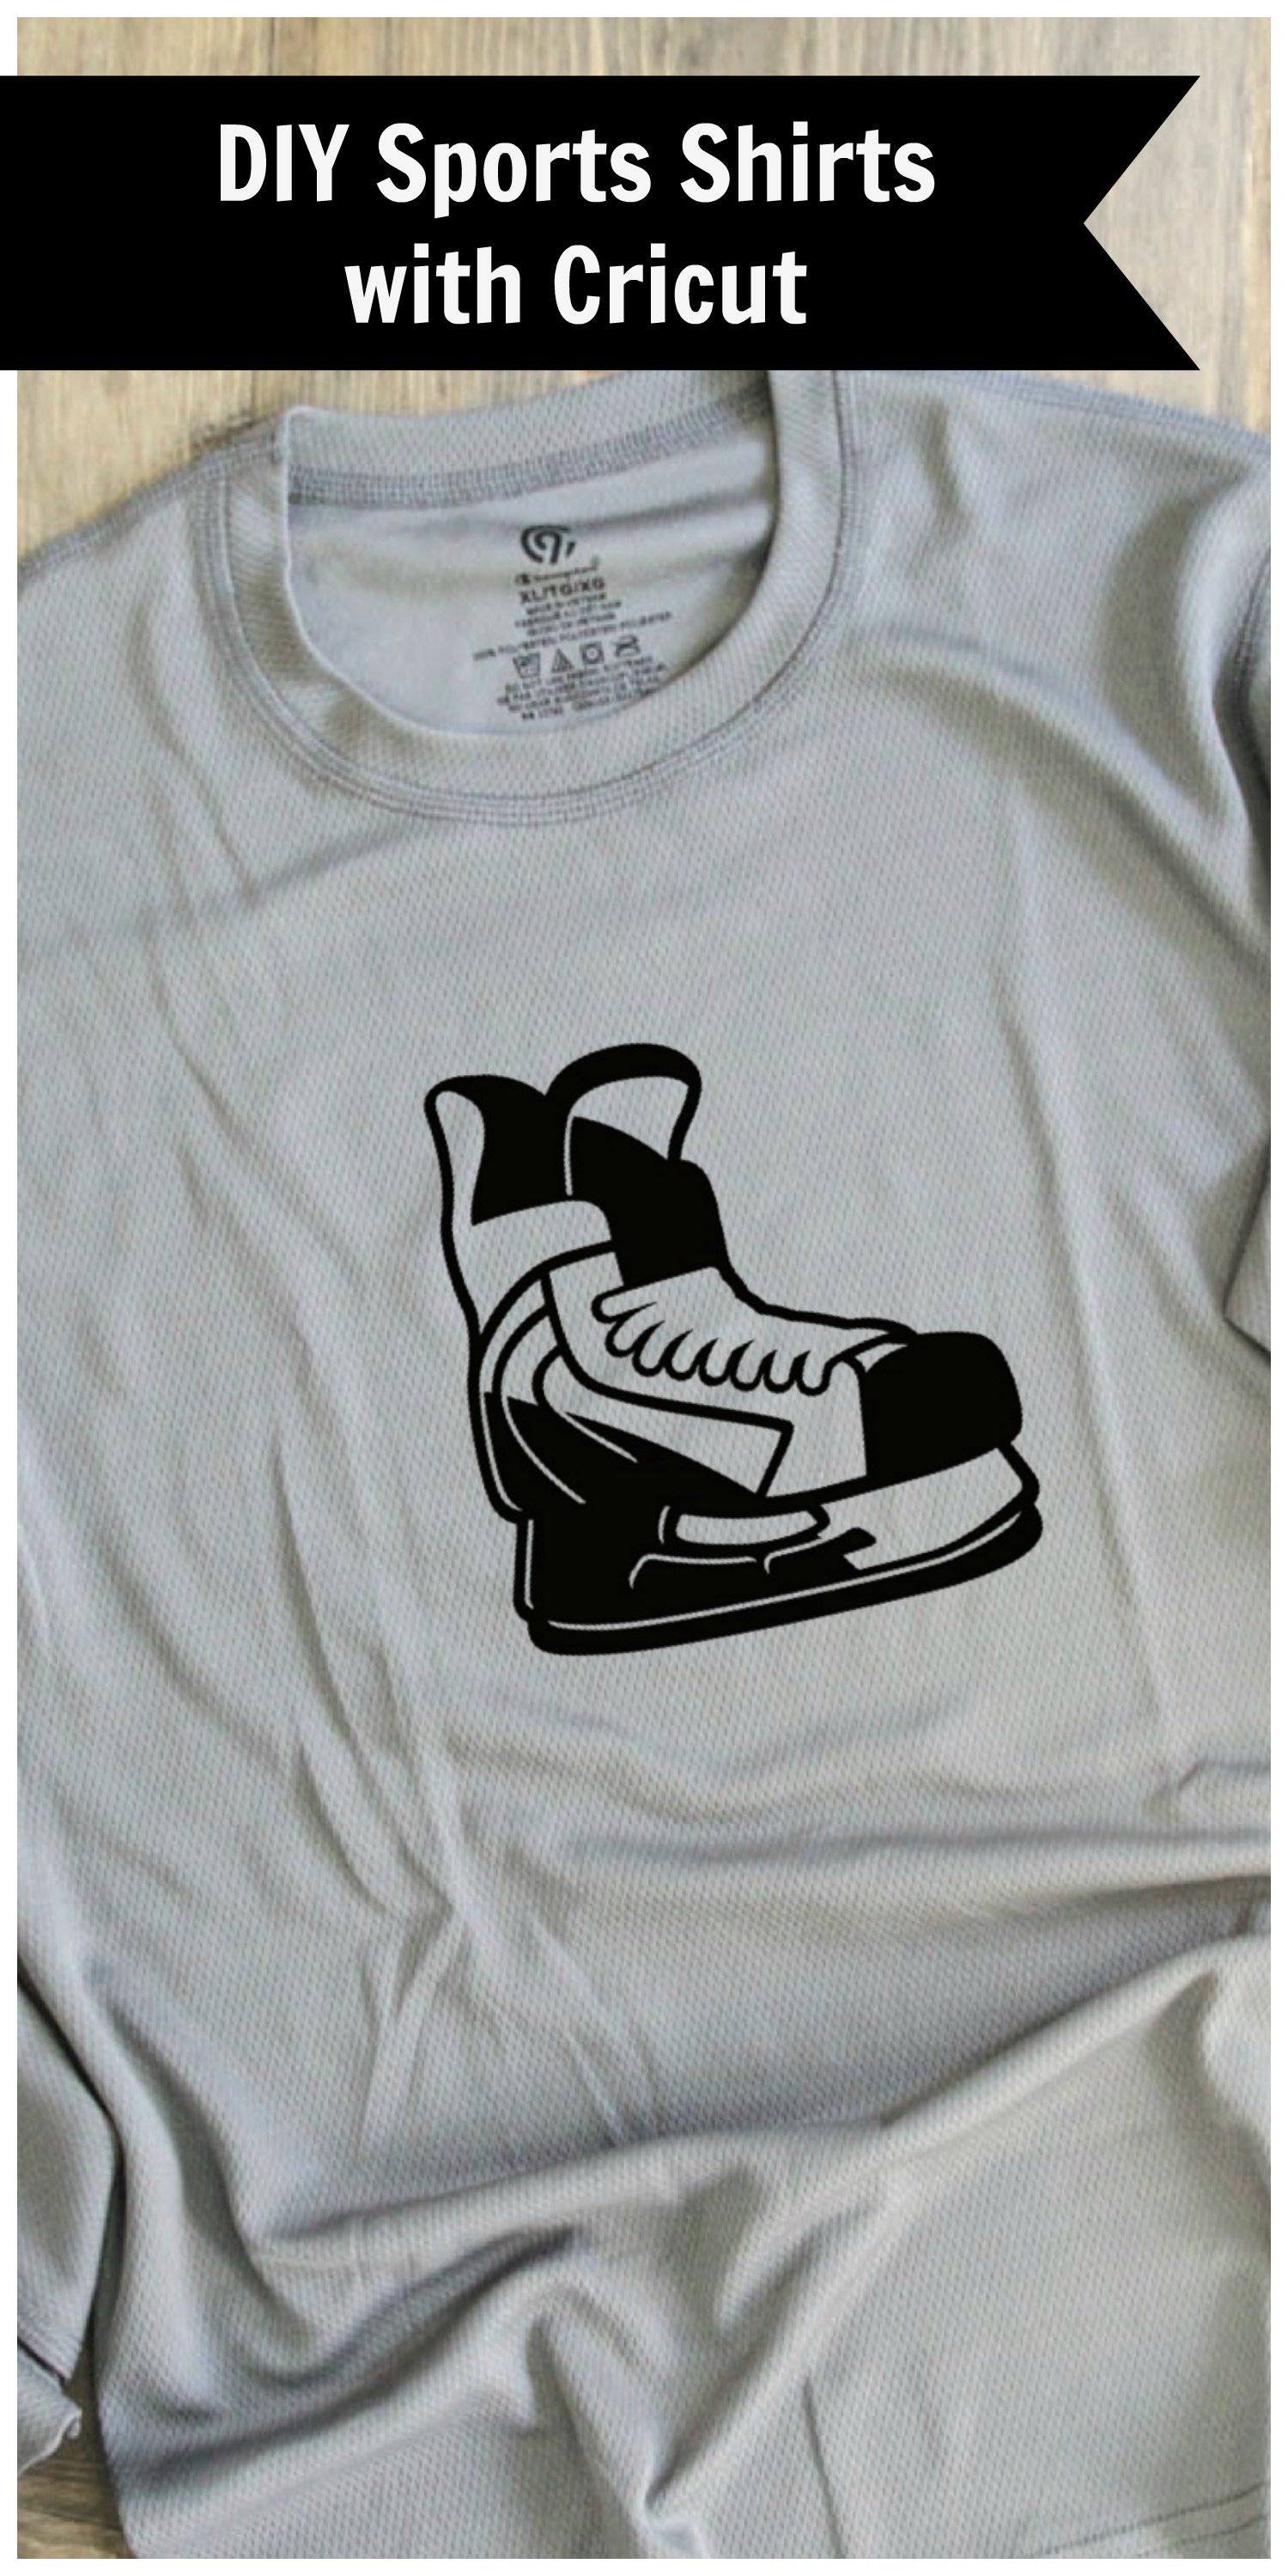
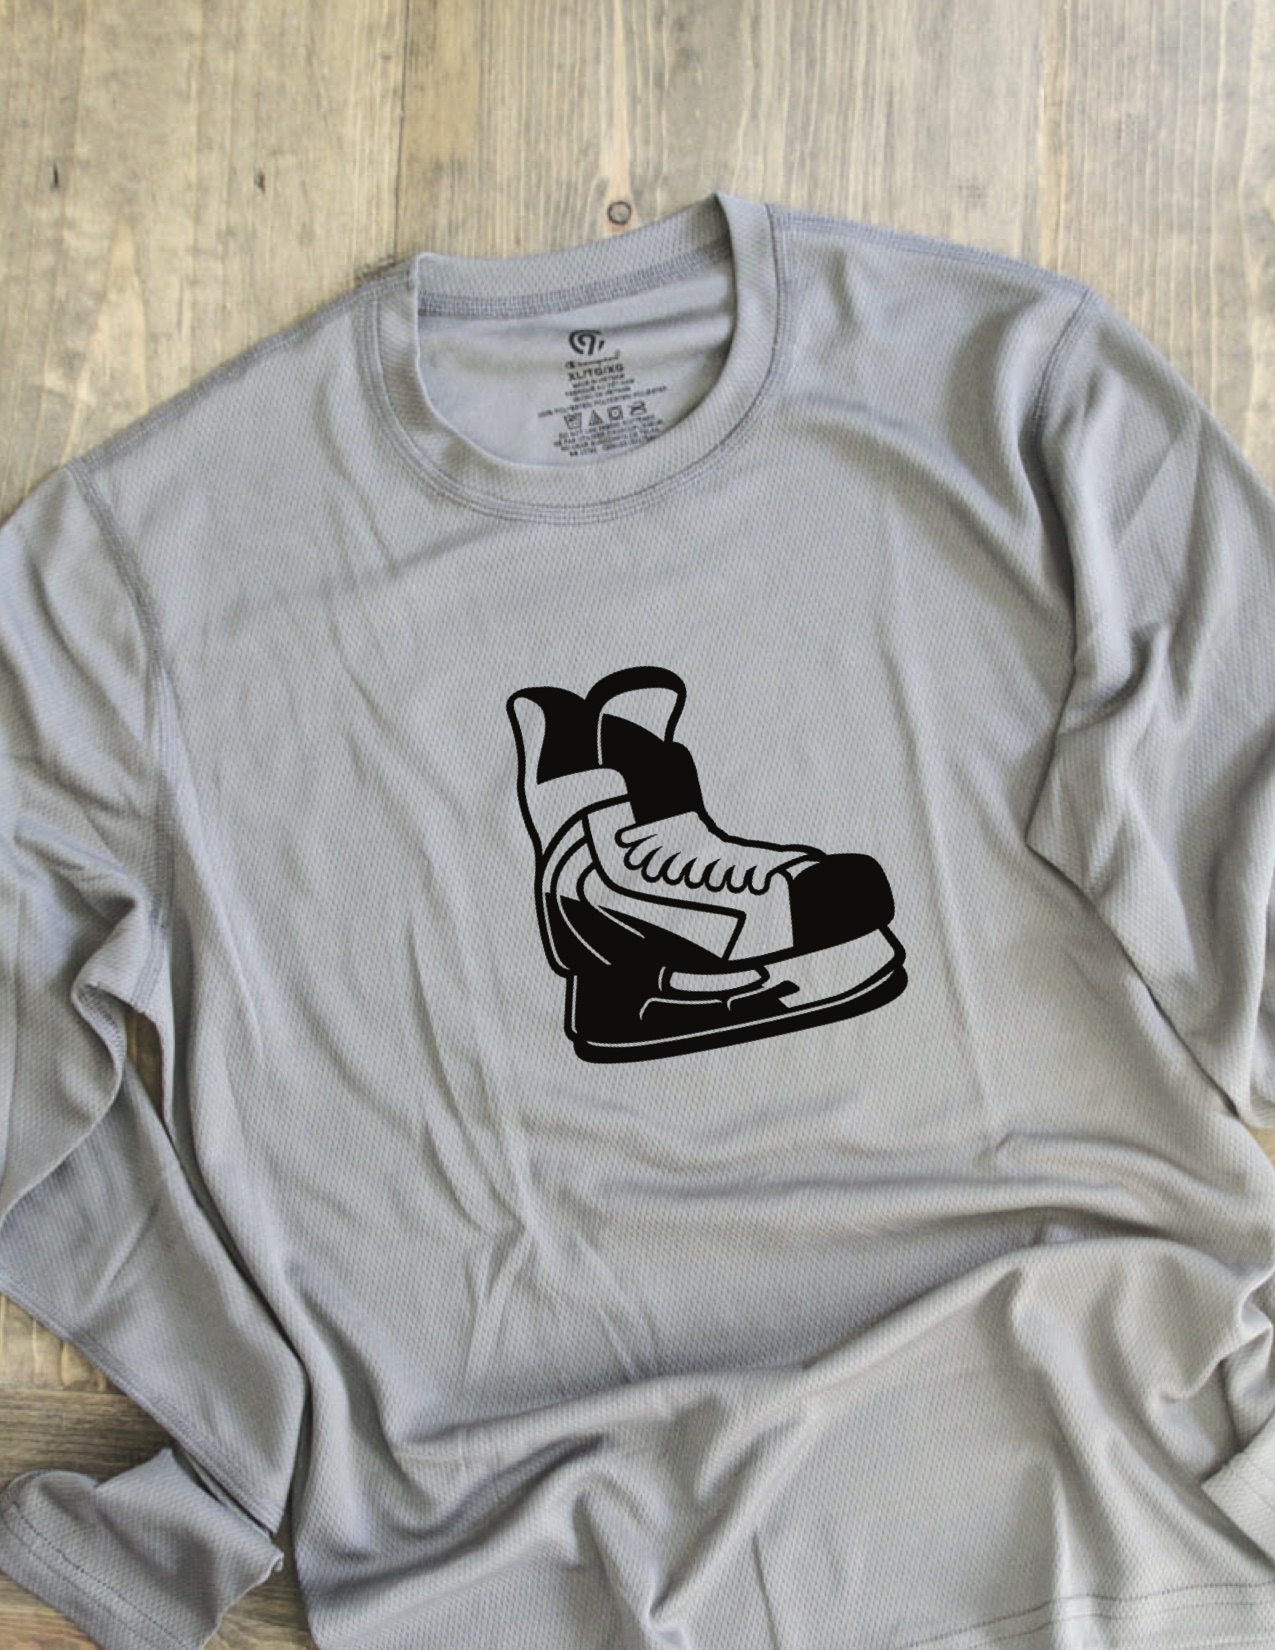
Now, your kiddo will have the coolest gear on the ice!
This is a sponsored conversation written by me on behalf of Cricut. The opinions and text are all mine.
Tags : Cricut, Cricut EasyPress, DIY, EasyPress, Hockey, Iron On, SportFlex Iron On

Loving this SportFlex! I’m making my basketball star some tees like this too. And maybe a few things for myself. 🙂
I KNOW! I am making some hockey ones for myself too!!