I have shared quite a bit about our son’s apartment recently. He’s only 17, so he doesn’t live there alone, my husband and I are taking time living with him, and then we switch and come back home. I was there for a little over a week recently, and I took the time to make some DIY Holiday Decor with my Cricut Maker.
This review is based strictly on my opinion. Others may have a different opinion or experience with the product listed. I was provided the sample free of charge and paid a small fee by the company or PR agency and I provided my honest opinion. #Ad #CricutMade
If you decide to make a purchase through my links, I will be paid a small commission for it. This doesn’t cost you anything additional.
Holiday Decor
I love using my Cricut to make holiday shirts, gifts, and decor. It’s a great way to create custom decor and gifts for your home and friends. And, if you are crafty, you probably have a lot of supplies already.
DIY Holiday Decor with Cricut
Our apartment is new construction with flat white painted walls, and dark cabinets in the main living space. Since we won’t be there long, we are not painting it. However, it is such an uninspiring space.
And, we didn’t move a lot into the apartment, because it is temporary. But, it is important to make it feel like home for our son and ourselves while we are there. So, I brought my Cricut Maker and a bag full of supplies to decorate the space and make it feel more welcoming and cozy.
Chipboard JOY Sign
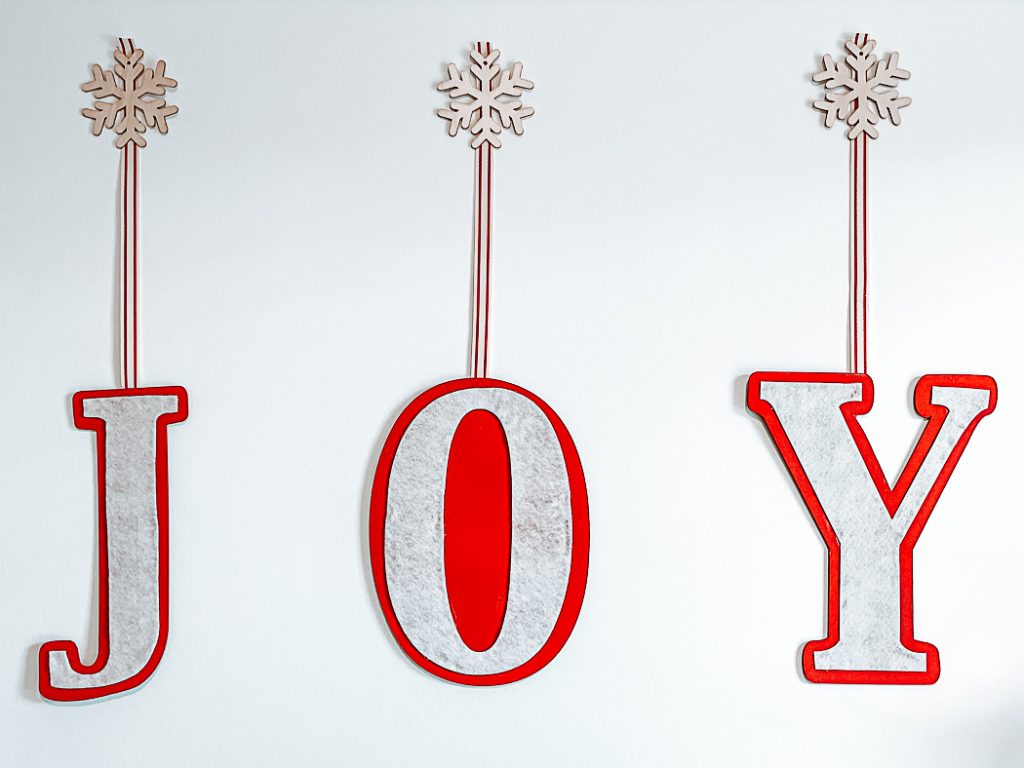

After I set up the Christmas tree and some inexpensive holiday decor, I got busy making more decorations. The ceilings are ten feet high, so there is a lot of blank space on the wall above the TV. My son and I thought the blank wall needed something, but we weren’t sure what we should add. I cut out the letters JOY with chipboard and felt and I knew they would be perfect on the blank wall. After I cut out the chipboard letters, I painted them with red craft paint. Then, I used hot glue to secure the felt to the painted chipboard. Finally, I hot glued ribbon to the back of each letter and pinned the letters on the wall with DIY snowflake thumbtacks. This simple DIY took less than 30 minutes to make and hang, not including cutting and drying time, and it added so much to the space!
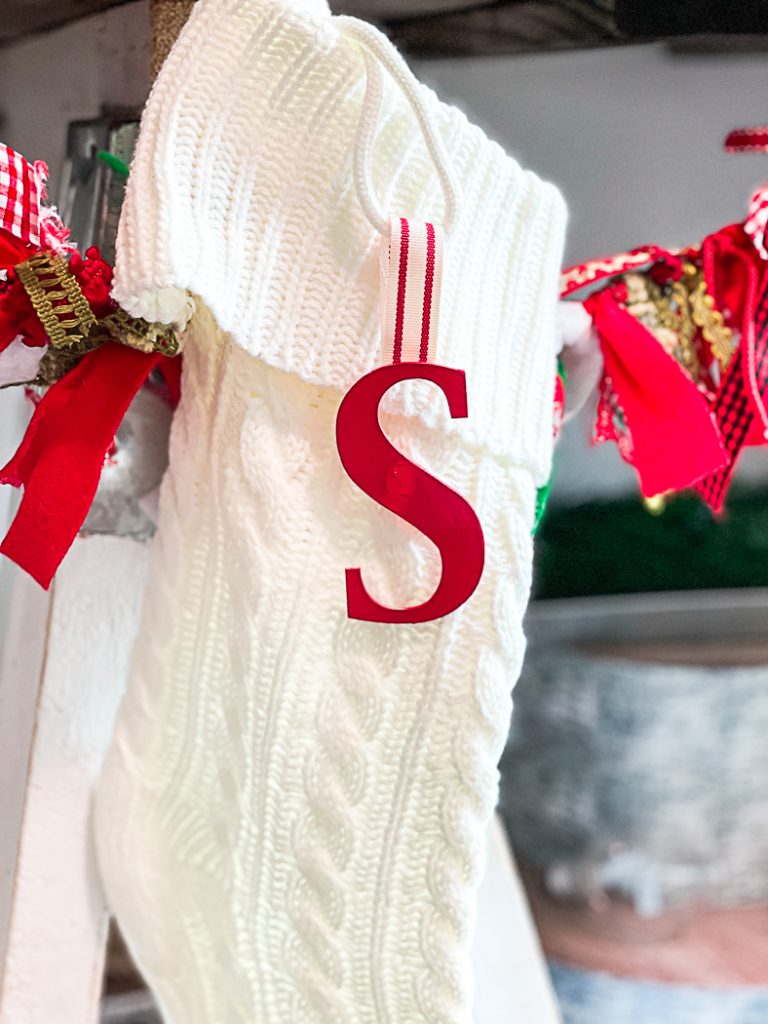
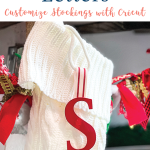
I also cut out small stocking markers from chipboard at the same time. After I painted them, I used ribbon to hot glue them to inexpensive stockings.
Supplies
Wood Slice Ornaments
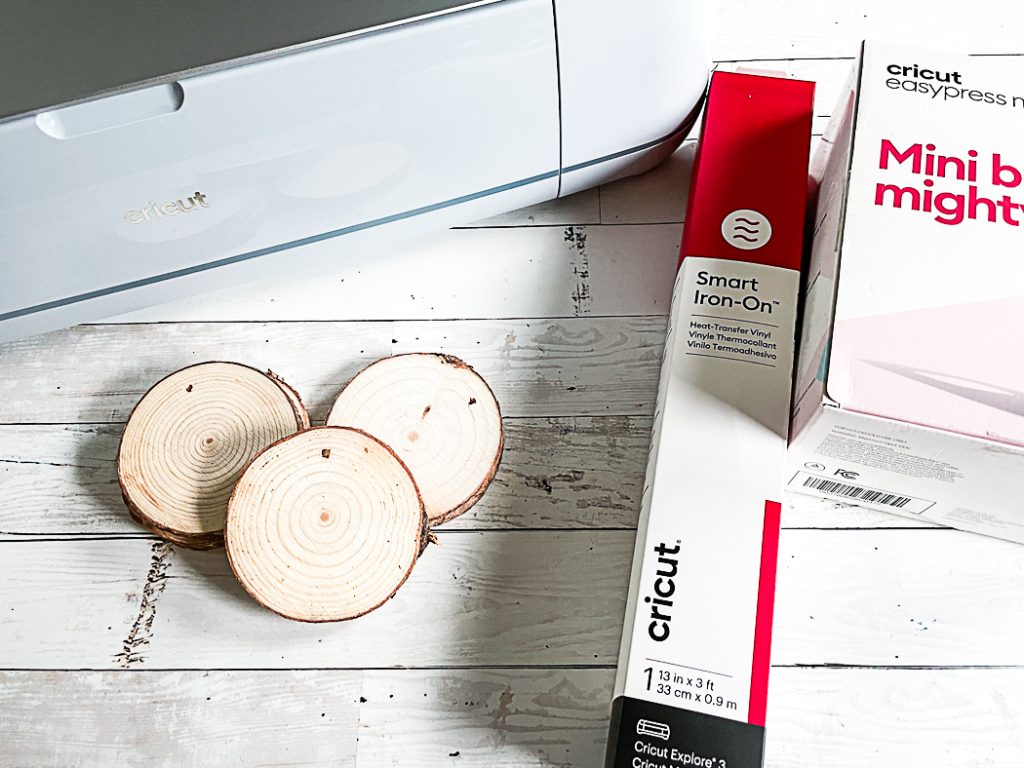
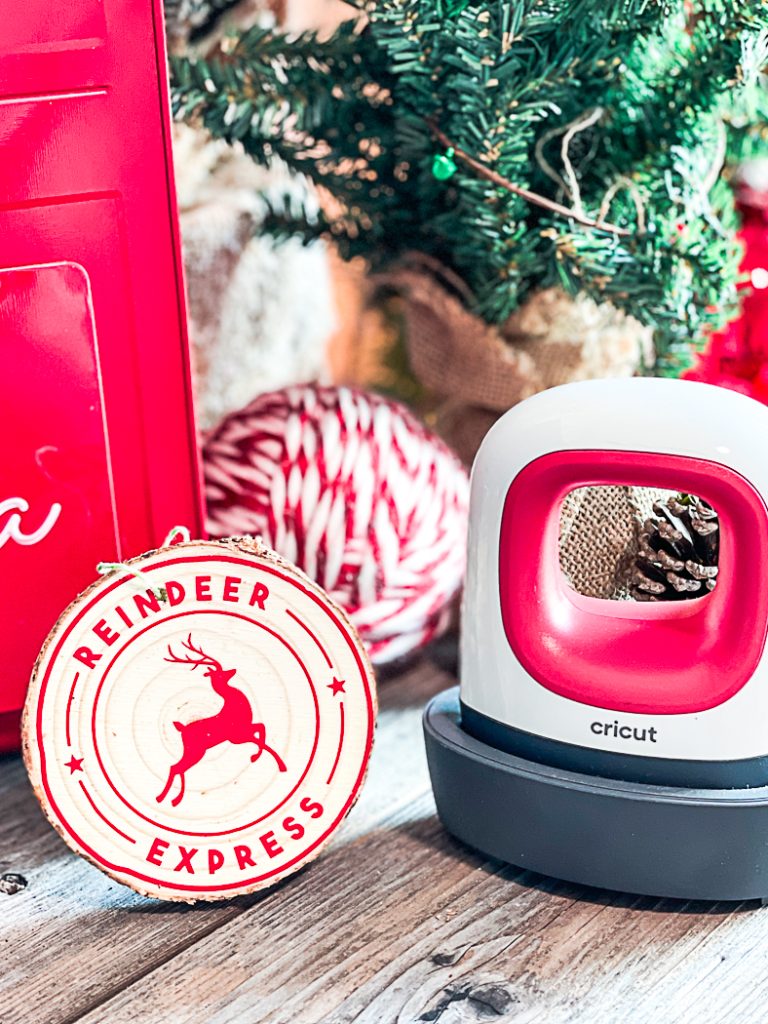
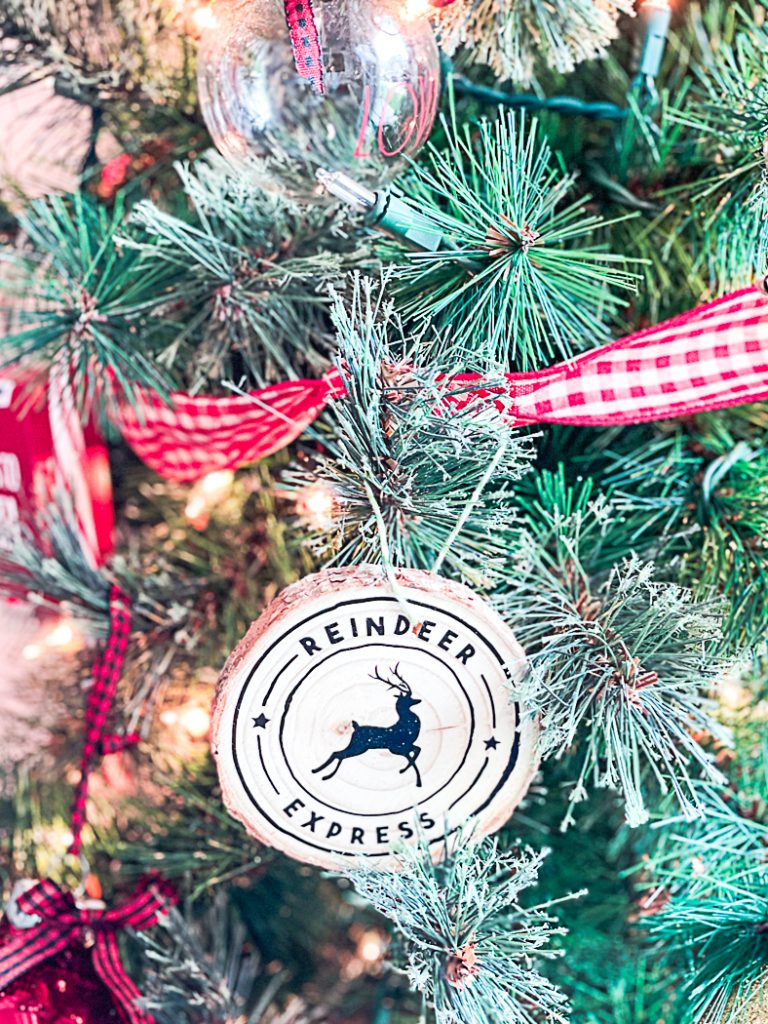
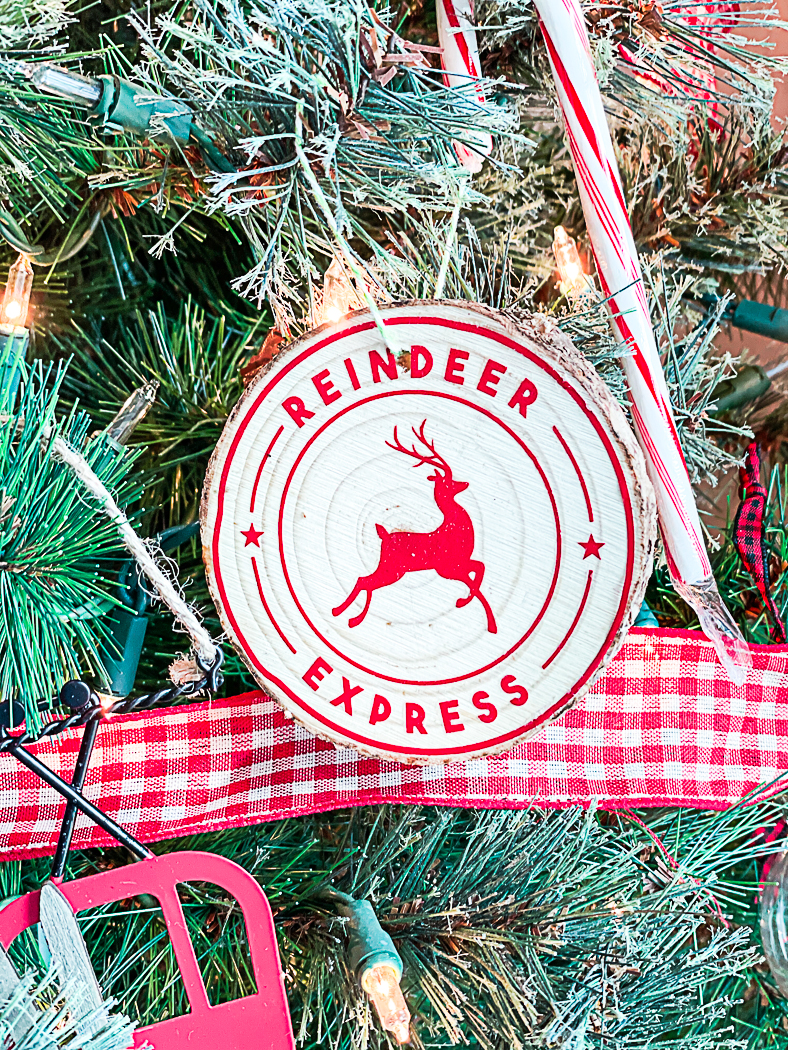
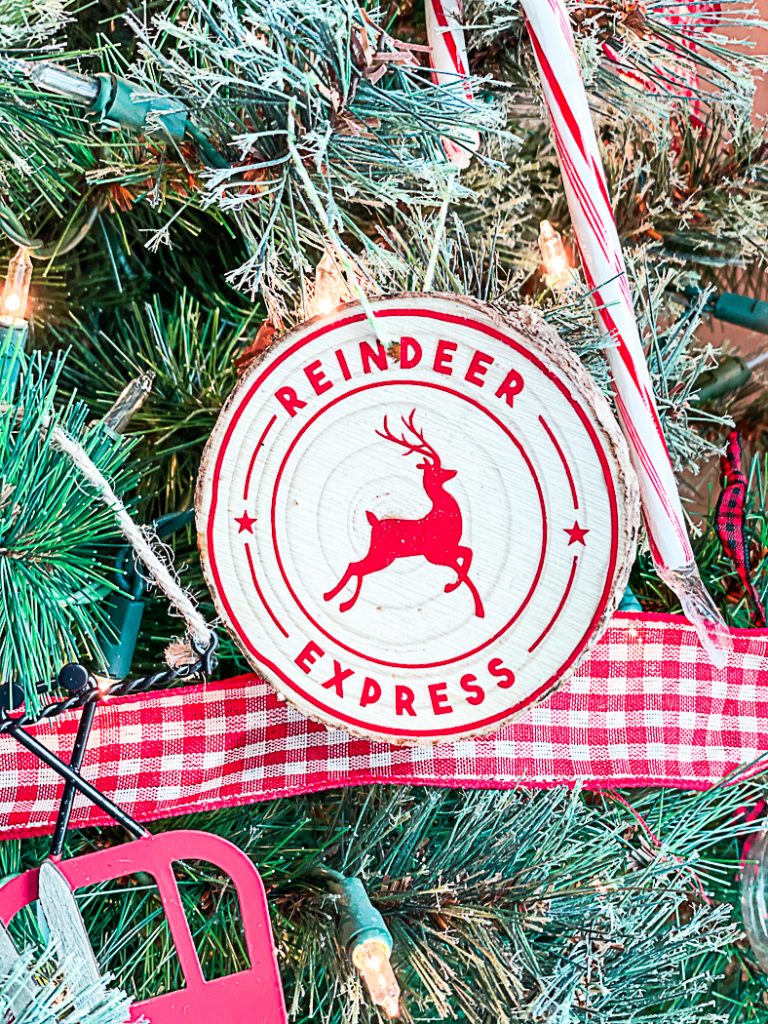
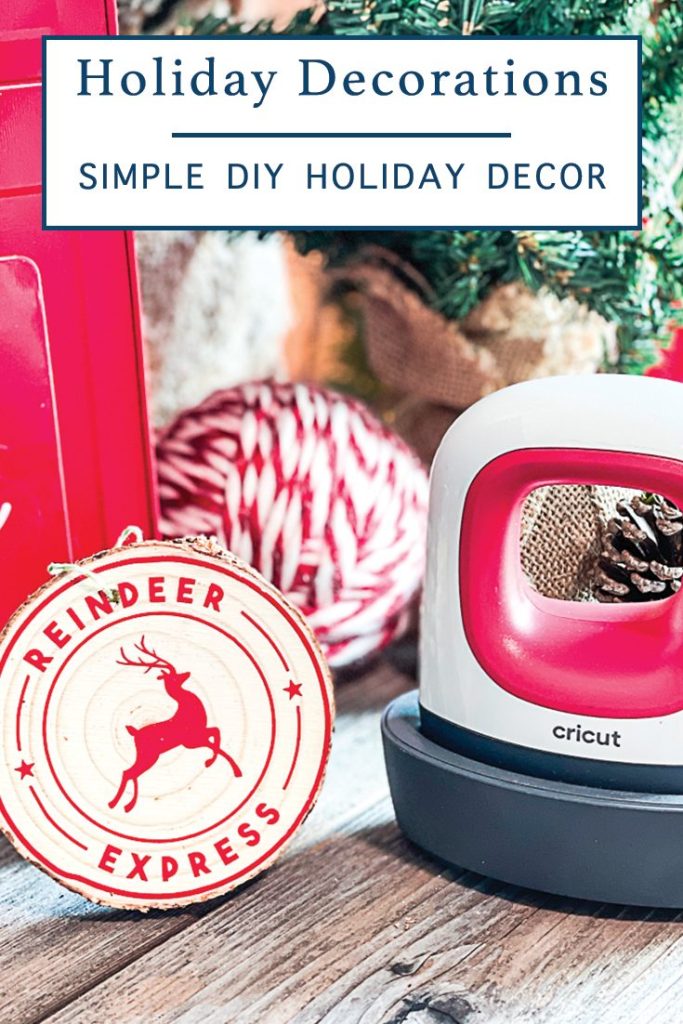
One of my favorite, inexpensive ways to decorate a Christmas tree is with wood slice ornaments. You can get free wood slices from Christmas tree lots, or you can buy a package of them for a few dollars from the craft store. They can be decorated with Iron On, paint, or both. I found a pre-made circle reindeer cut image in Cricut Design Space, and I knew it would be perfect on wood slice ornaments.
I sized the image to fit the wood slices, and cut the image from scraps of Iron On. After I weeded the excess Iron On, I used my EasyPress Mini to press the image on to each wood slice. Finally, I added a small piece of baker’s twine through the hole in the wood slice. If you are using wood from a tree lot, you can hot glue a loop of ribbon to the back side.
Supplies
Chipboard Sled
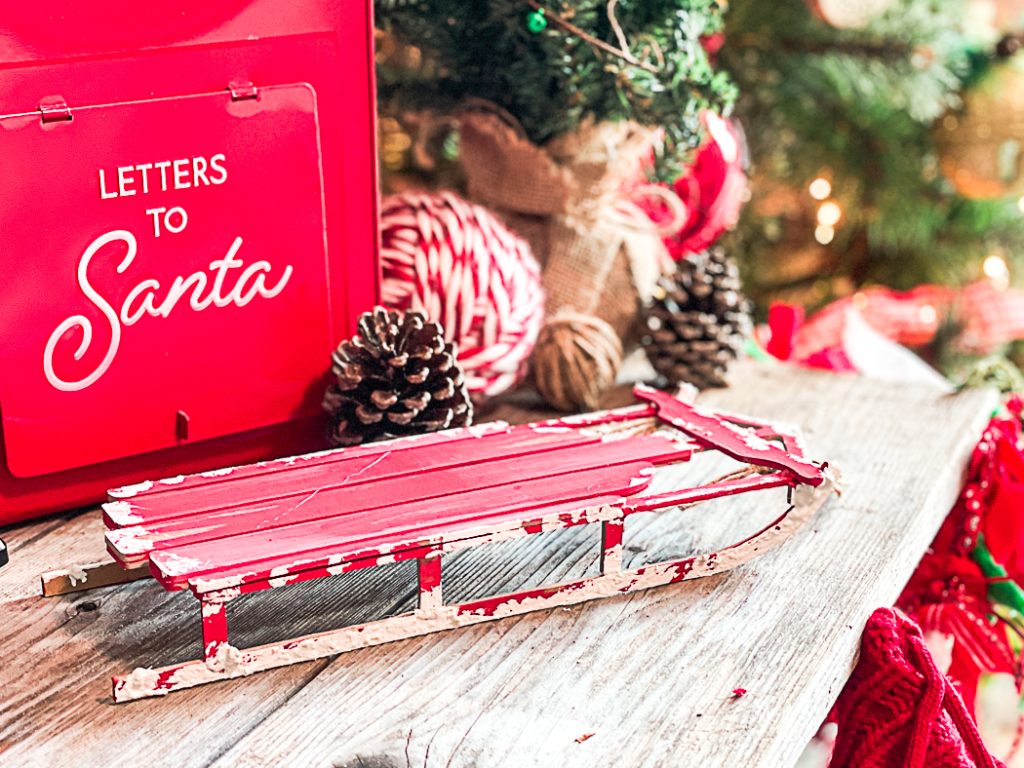
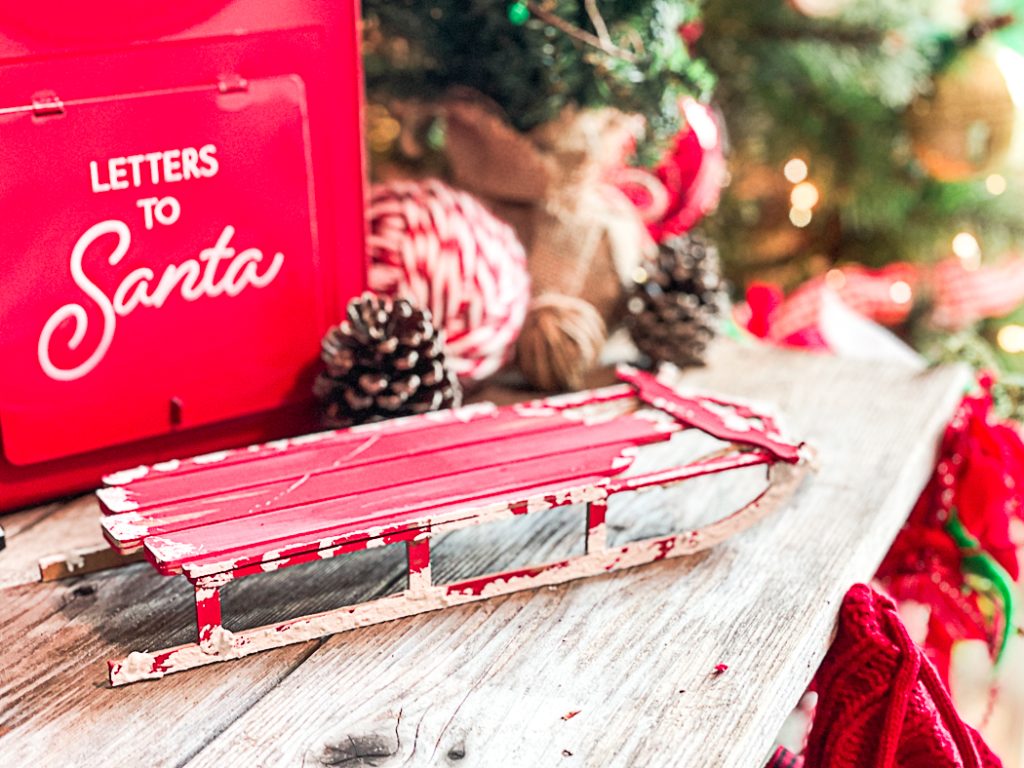
This little sled was the product of two left over pieces of chipboard, and a few minutes of extra time before we had to leave for hockey practice one afternoon. And, it ended up being my favorite project!
I found the Sled Image in Design Space, and I knew it would be perfect. I had to modify it some to make it work with chipboard, but it was totally worth it! Once it was cut, I used hot glue to assemble it. The small rectangles were hot glued to the top of the sled, and the skis of the sled. I also used hot glue to attach the boards of the sled to the frame. Then, I dry brush painted it with red craft paint to make it look old and worn. My son suggested adding white paint to look like snow on the front and sides of the sled. I added some white flour to the craft paint to give the snow some texture and dimension. Finally, I glued a piece of twine to the front of the sled. I can’t tell you how much I love this sled! (It’s also perfect for the Elf on a Shelf!)
Supplies
Christmas Decor
We were able to decorate our apartment with a very small budget and a few hours of crafting. And, I think my son will remember his first year of Juniors hockey and the home we created for him with fond memories.
If you enjoyed this post, I know you will love these too!
Tags : Christmas, Christmas DIY, Cricut, DIY, DIY Christmas


