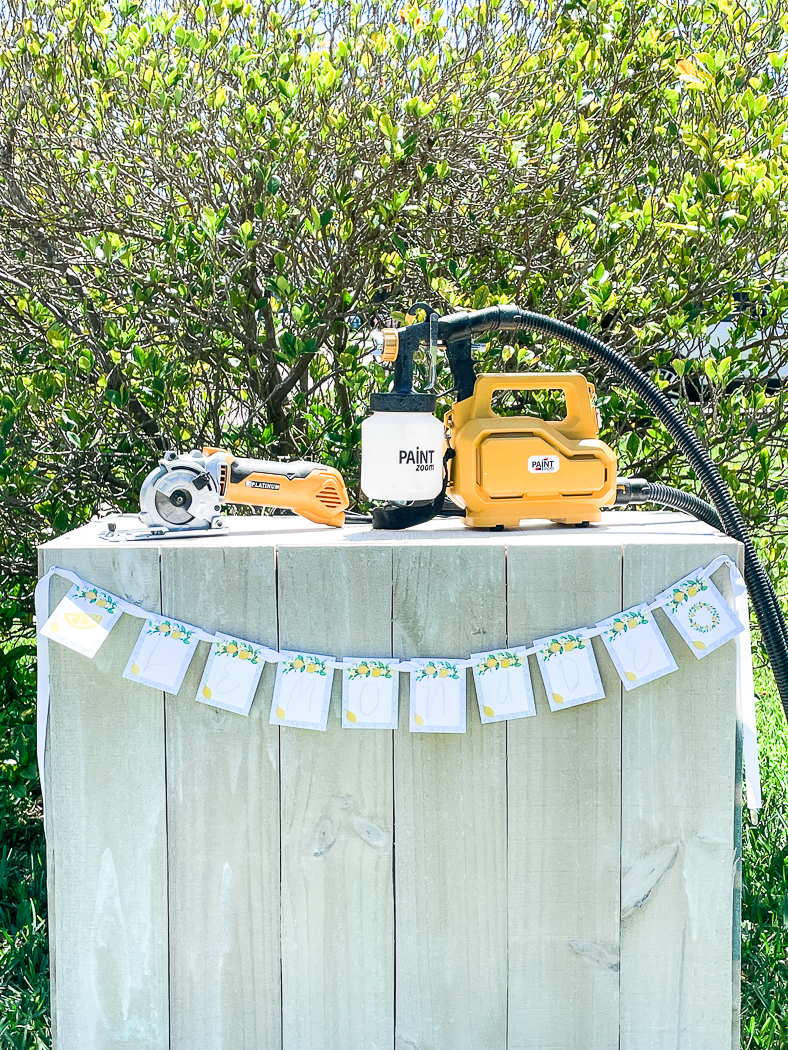
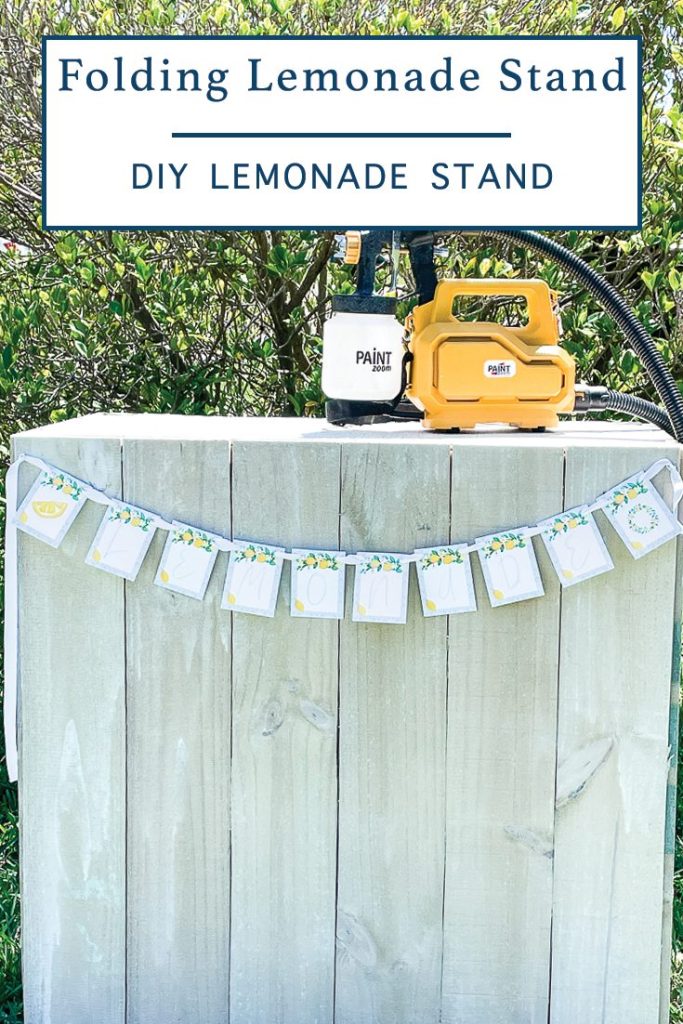
Y’all know I love lemonade stands. The problem I have had with all of the stands that I have built is storage. Where can I store it to keep it safe from the outdoor elements when I am not using it. Yes, we have a large garage, but we also have 4 kids, 5 cars, a golf cart…you get the idea. So, this year I decided I was making a folding lemonade stand!
If you decide to make a purchase through my links, I will be paid a small commission for it. This doesn’t cost you anything additional.
This review is based strictly on my opinion. Others may have a different opinion or experience with the product listed. I was provided the sample free of charge and paid a small fee by the company or PR agency and I provided my honest opinion.
Lemonade Stand
I think I have built four or five rustic style lemonade stands in the last 10 years. They are sturdy and heavy, and they last several years even in the harsh Florida weather. But, I have to repaint them often, and moving them can be a challenge.
I shared the DIY Lemonade Stand Instructions for this stand several years ago, and I used it for everything, until it just was too worn out to keep using.
Make a Folding Lemonade Stand
This sweet little stand took about 90 minutes to make from first cut to final paint spray. It was an easy project, and I am so in love with the final result!
First, gather your supplies. We had most of the tools we needed to make this, but I did need to run to the hardware store for wood and hinges.
Supply List
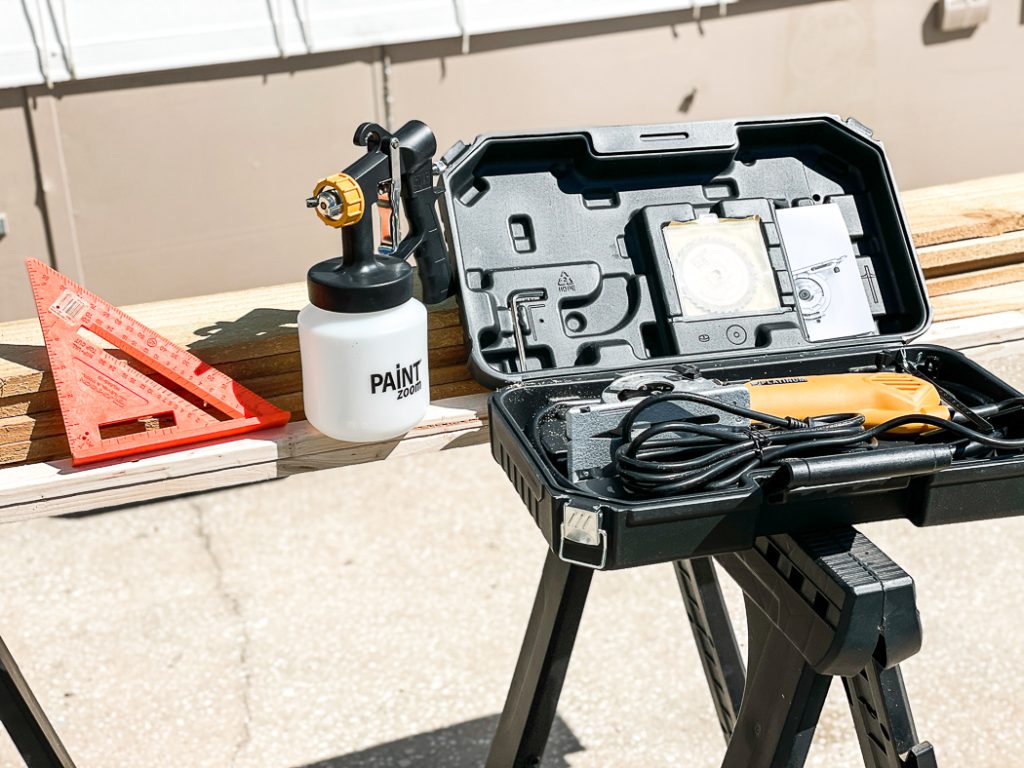
- 6 – fence pieces – just the replacement ones, not an entire panel.
- 2 – 1×2″x8′ boards
- 4 – 1″ hinges
- 1 – 2×4′ piece of plywood
- RotoRazer – This is GREAT for small projects
- PaintZoom – Check out this video for more on the PaintZoom.
- Speed Square (it’s a triangle)
- Pen
- Wood Glue
- Nail Gun and Nails
- Drill and Drill Bit
- Clamps
DIY Folding Lemonade Stand Instructions
Check out this video to see the RotoRazer in action, use the code PARTY if you decide to buy one.
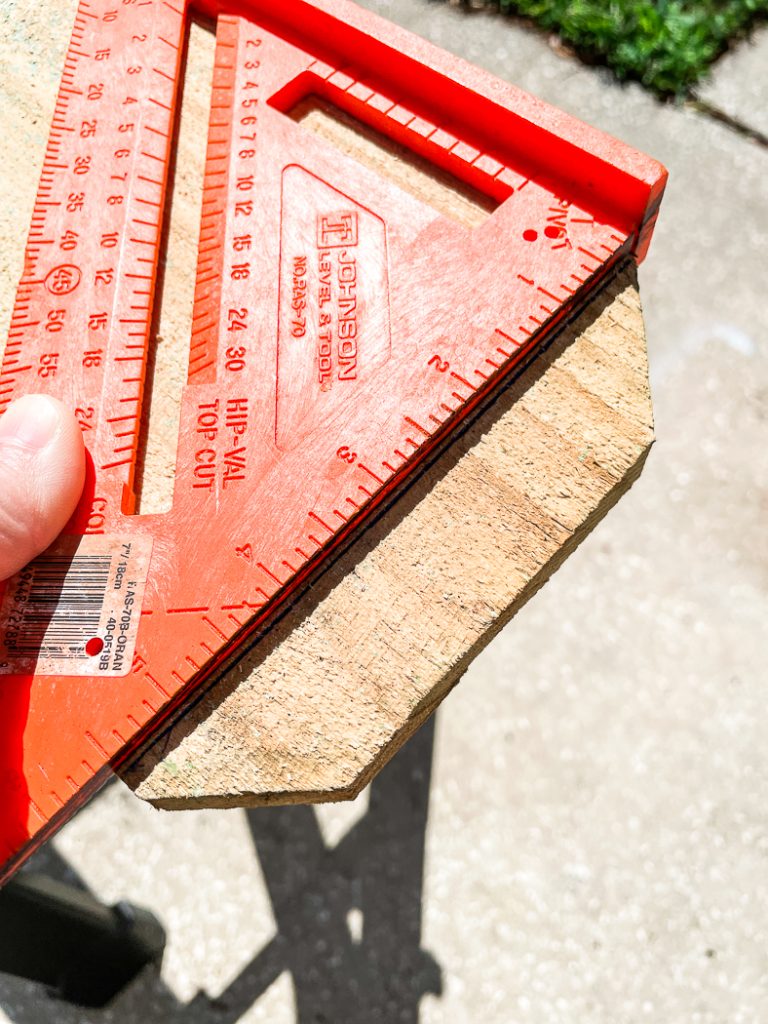
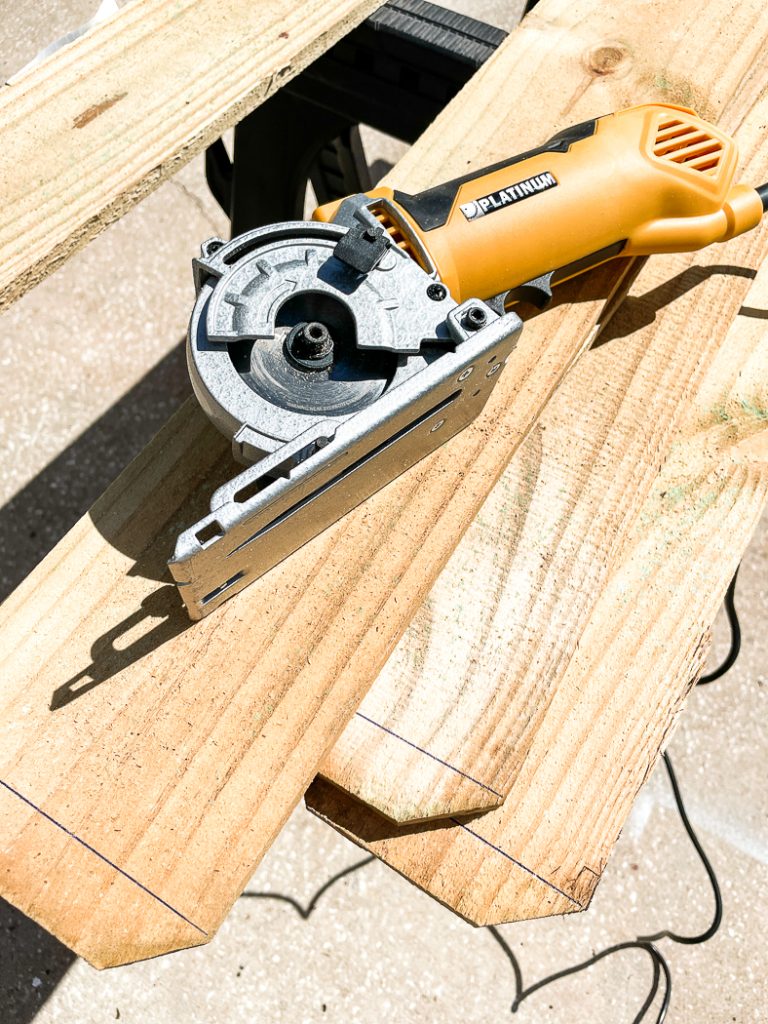
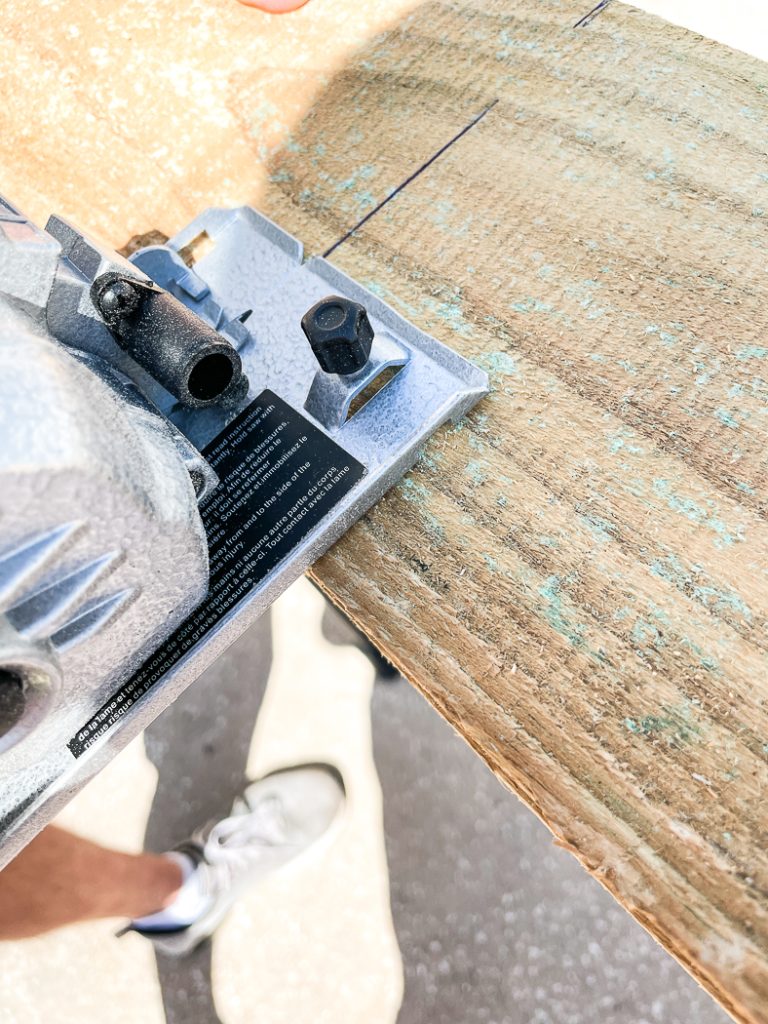
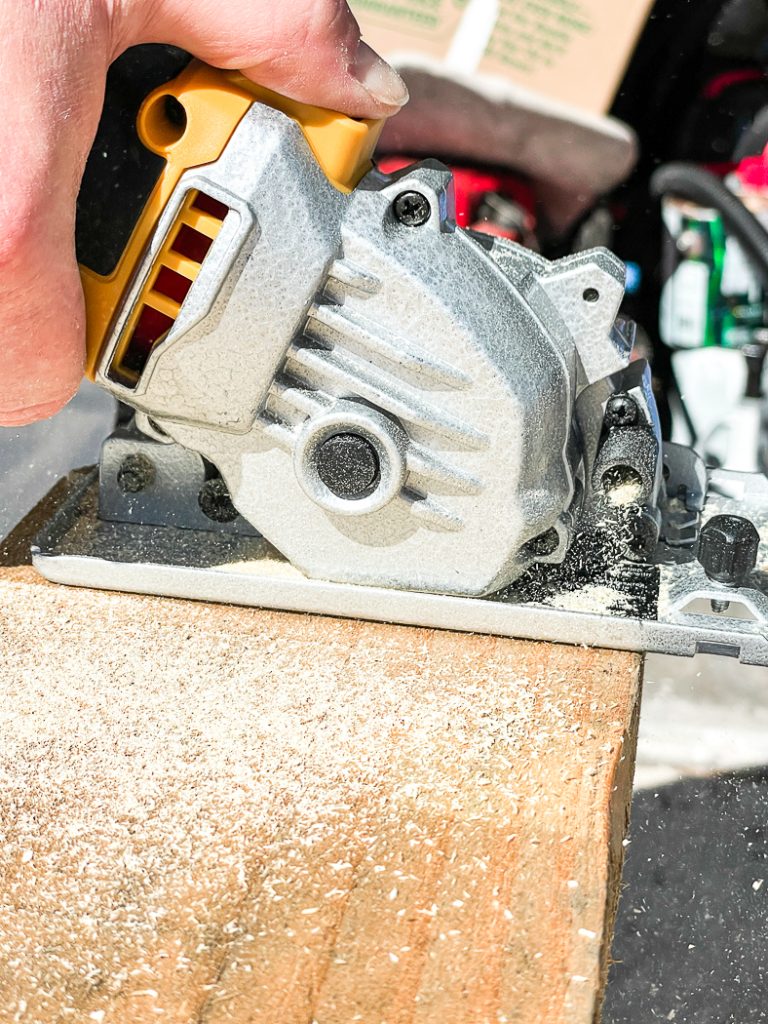
Begin by cutting the dog ears off of each piece of fencing. Cut as close to the edge as you can. Then, cut each board in half. Make sure each board is the same length. Our boards were just about 35″ long after we cut off the dog ears and cut them in half. You should have 12 fence boards that are just under 3′ long.
Now, lay out 6 of those boards side by side on your work surface. Then, measure the length of those boards, and cut two pieces of 1×2″ boards to that length.
Put wood glue on the back of the 1×2″ boards that were just cut and secure them to the fence boards. I used the nail gun and clamps to hold the boards in place while the glue dried. We put one board 3/4″ of an inch from the top, and the other about 7″ from the bottom. The top board should be placed so that the plywood you are using for the table top sits flush.
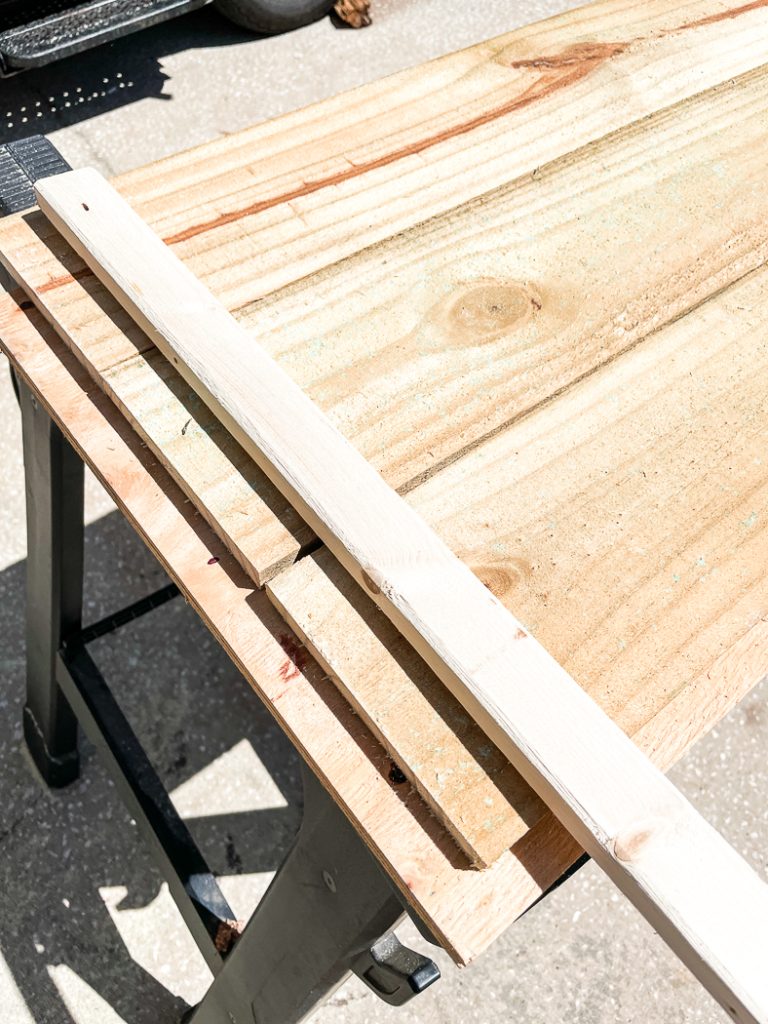
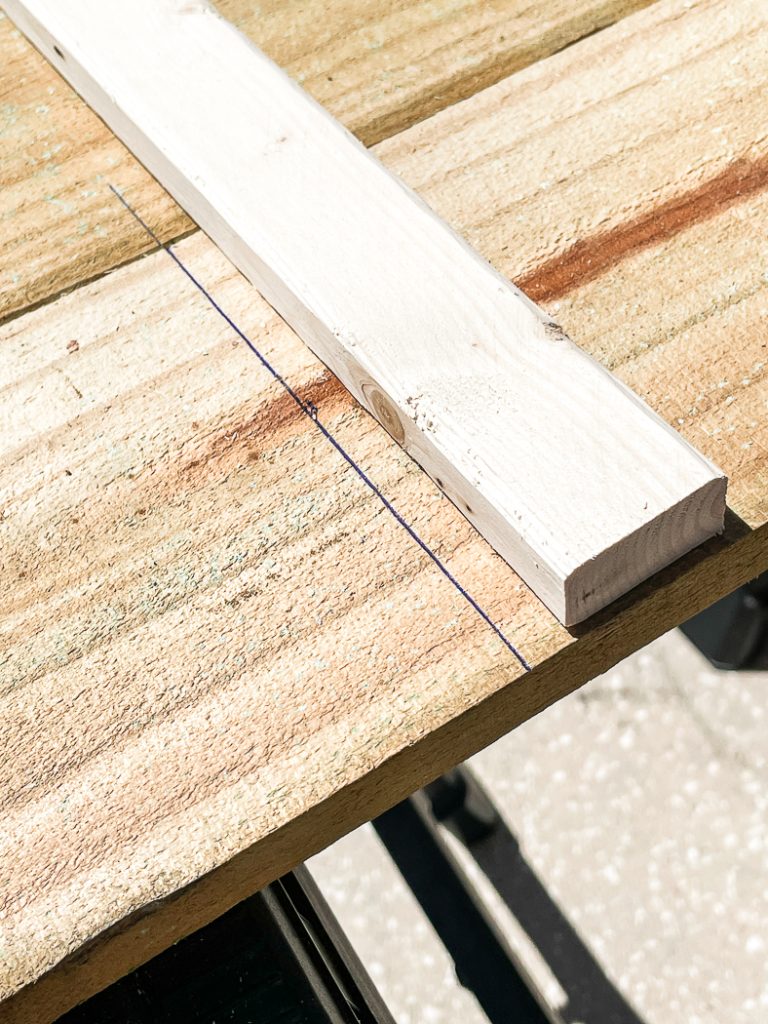
Repeat this process with the other fence boards, but make two sections 3 panels wide. And, cut the 1×2″ boards 1″ shorter than the boards are wide. This will allow the hinges to work properly.
Once the glue is fully dry, line up the boards, and mark the spots on the 1×2 boards for the hinge screws. Pre-drill the holes to prevent the wood from splitting. Then, attach the hinges to the boards.
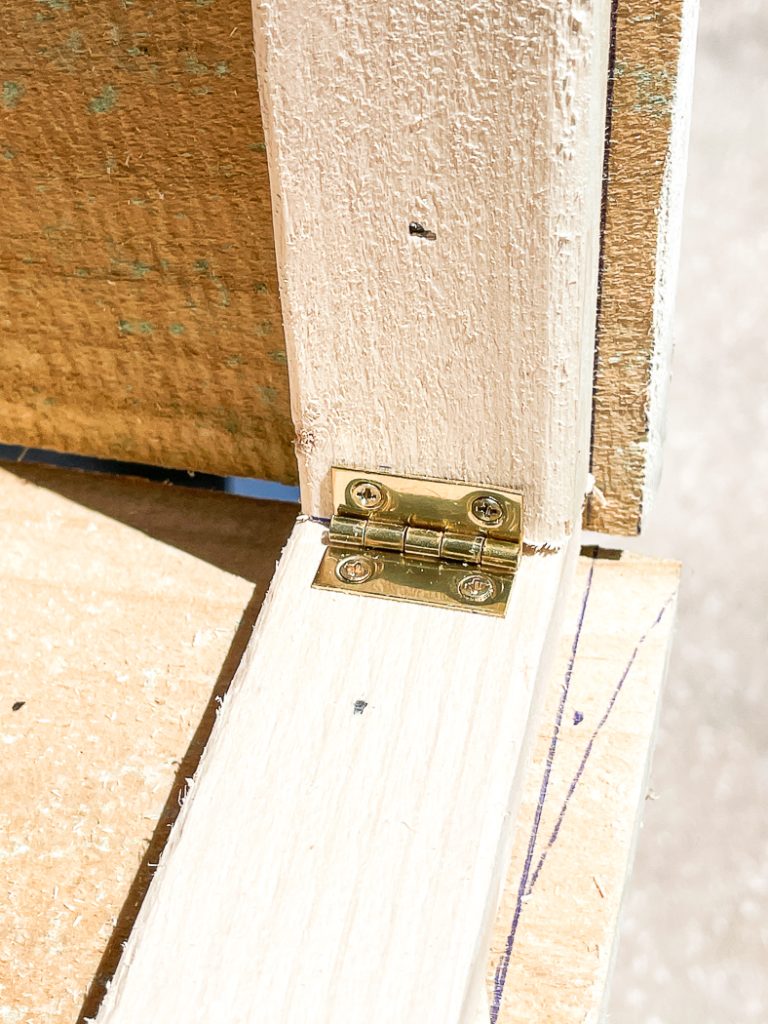
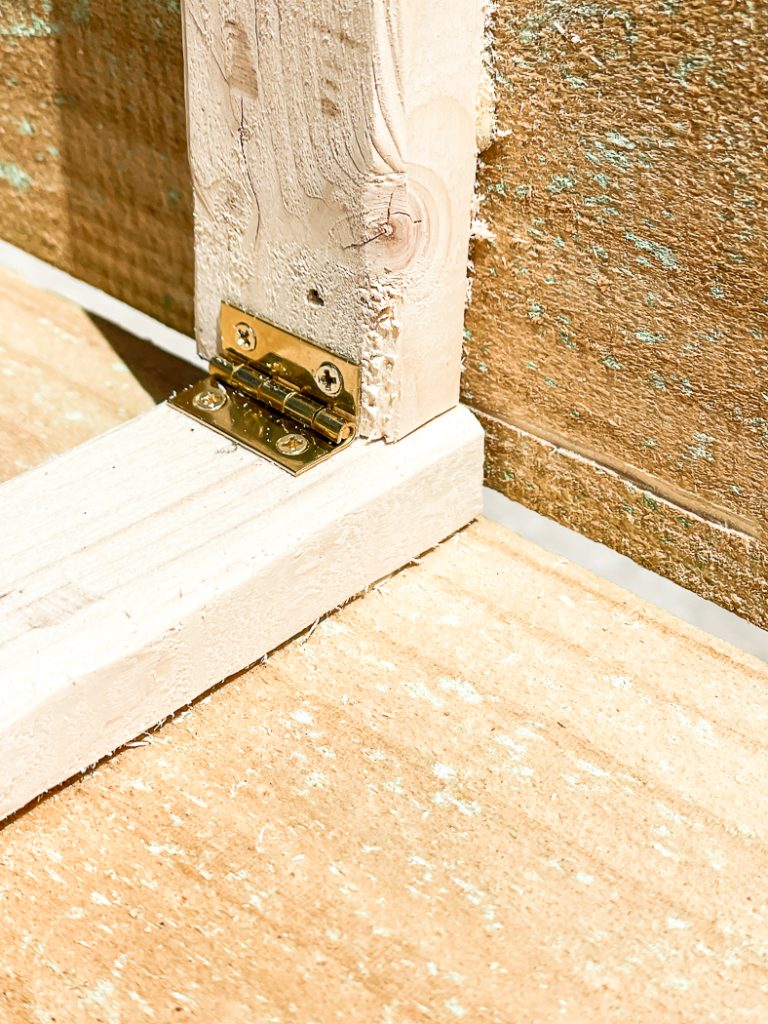
Now you should have a U shaped panel when the hinges are open. Measure the top, and cut the plywood to fit. Use the excess to create a small shelf on the bottom of the lemonade stand. This will make it more stable too.
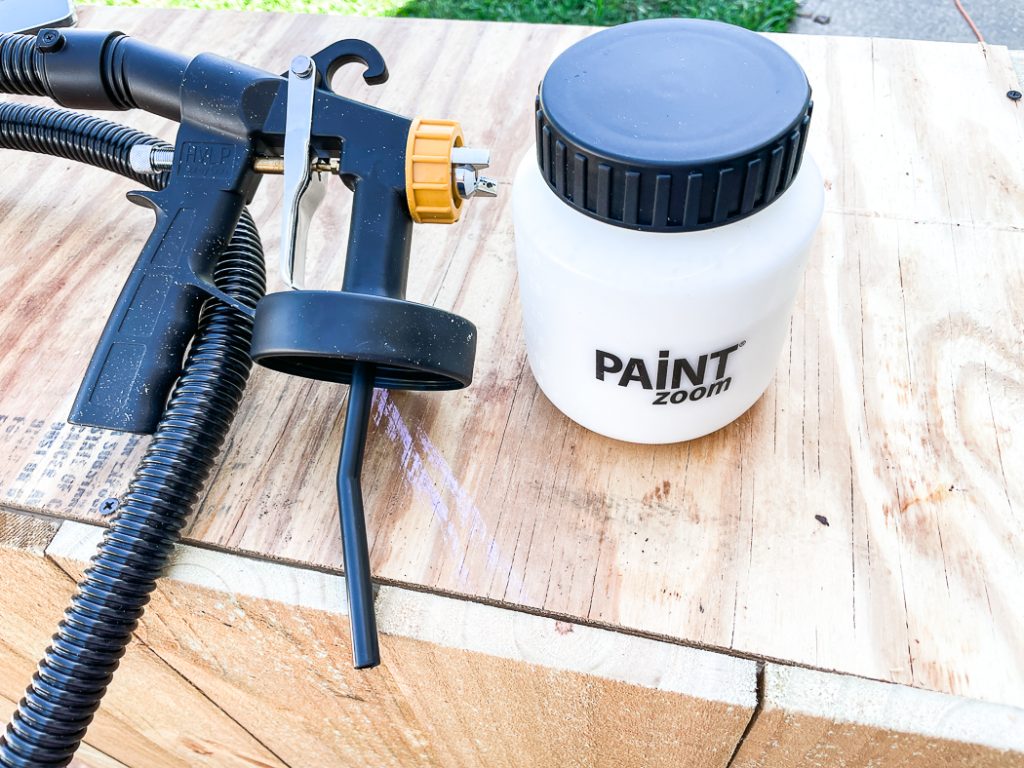
Finally, fill your paint sprayer and paint your new FOLDING lemonade stand! We thinned our paint quite a bit to give our stand a whitewash look.
If you enjoyed this DIY, you will love these too!
Tags : DIY, Lemonade Stand, PaintZoom, RotoRazer




[…] DIY Folding Lemonade Stand I just made this one, and I love that it is so portable and easy to use. […]