It is graduation season. And I am super excited to share this simple DIY with you. When my oldest son graduated the graduates weren’t allowed to decorate their caps. I thought that was weird because he went to an art school…but, I digress. So, instead of decorating his graduation cap, we decorated a graduation cap cover. Then, he could take it off and put it on as he needed to. If your school is like my son’s, you can make a grad cap cover, or even use the FREE SVG file on a shirt or bag!

If you decide to make a purchase through my links, I will be paid a small commission for it. This doesn’t cost you anything additional.
Graduation Cap
I was super involved in the PTA when my boys were younger. And, the PTA parents and I used this Graduation Cap Gift Box DIY to make over 100 little treats for all of the graduating fifth graders.
Make DIY Graduation Cap Decorations

It is super easy to make a grad cap cover. But, you will need a few supplies. And, if you want, you can use this SVG file to make a shirt or bag too! This Amazon shopping list has everything you will need to make a custom cap for your commencement exercises. (Be sure to check out my Amazon Shop for more of my favorites too!)
- Split Senior SVG – use the code SPLITSENIOR to download it FREE
- Vinyl or HTV
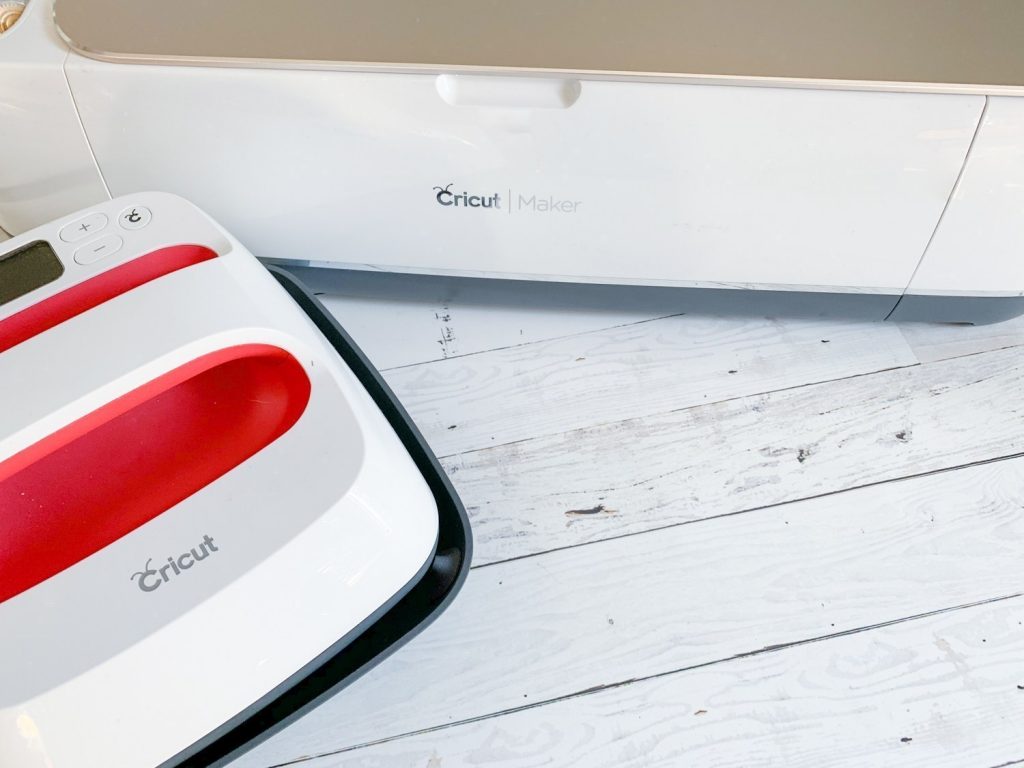
- Cricut or Silhouette
- Transfer Tape or EasyPress
- Card Stock Paper to match your school colors/cap and gown
Make Grad Cap Decorations
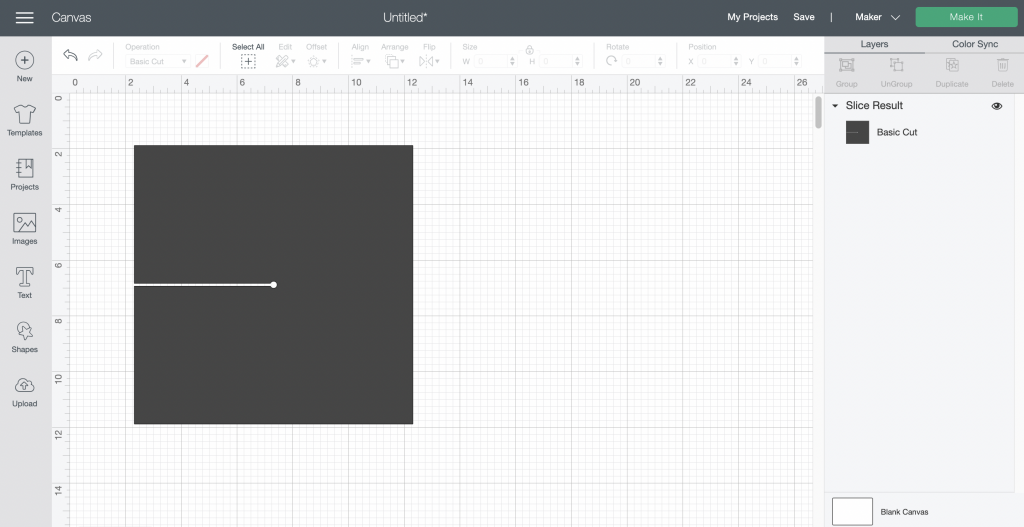
First, begin by measuring the top of your cap. The one we used was 10×10″. Then, open the design program for your cutting machine. Create a square shape the same size as your grad cap. Next, add a small circle in the middle and a cut line from one edge to the circle in the middle.

Once you have those steps done, cut out the square from cardstock.
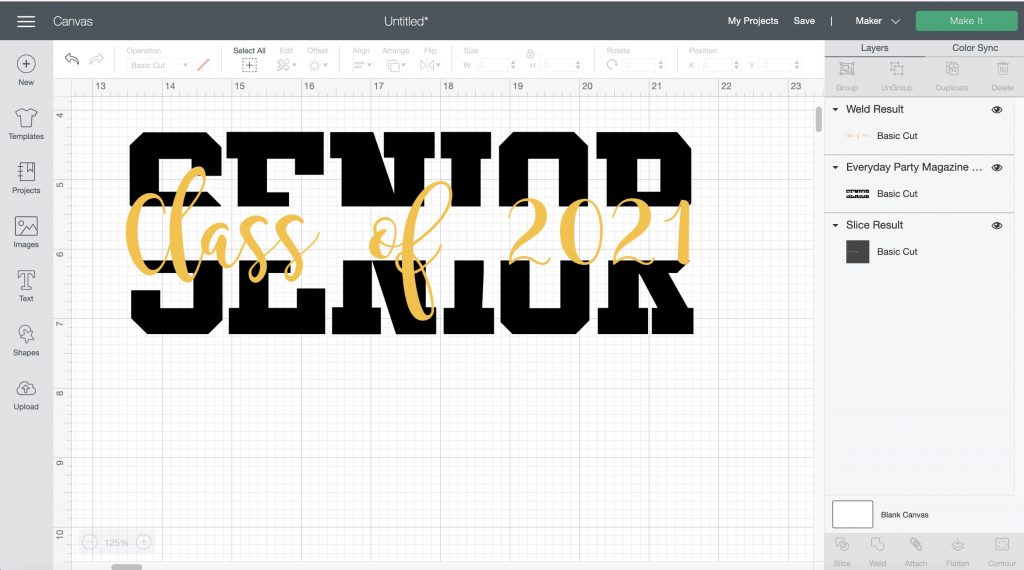
Next, upload the SVG file and size it to fit the square (or shirt or bag, if you are making those). This file can be customized for your graduate. I added Class of 2021 to the middle of the text, but you could add your name, or school too!

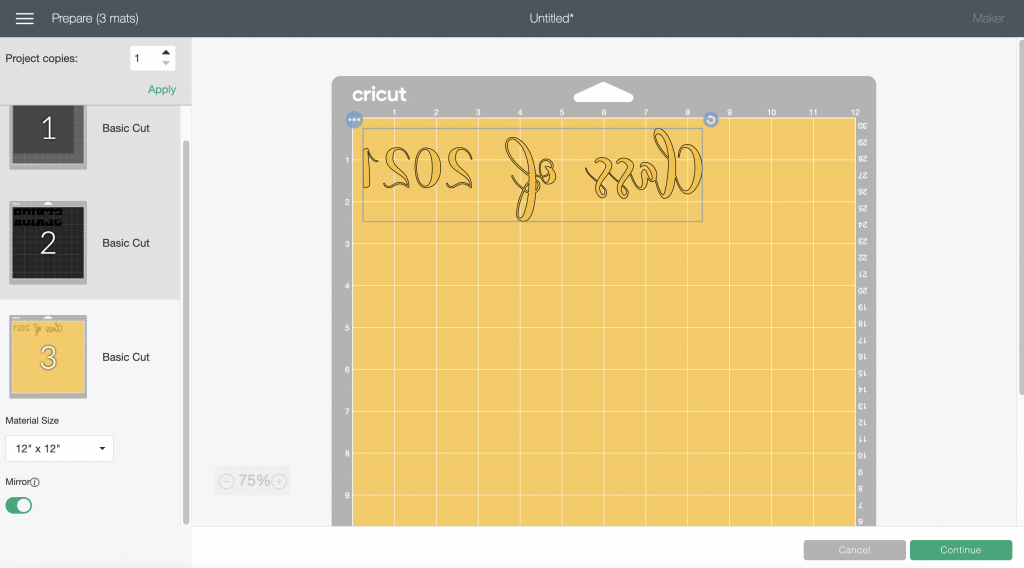
After you have sized the SVG file, send it to cut. If you are using HTV, mirror the cut and place the HTV on the cutting mat shiny side down.

Once the image is finished cutting, remove it from the cutting mat, and remove the excess HTV or vinyl. Next, use transfer tape for vinyl or the EasyPress to apply the design onto the card stock you cut out.
Finally, slide the grad cap cover onto your graduation cap. You may need to use a little adhesive on the cover to keep it secure on the cap.

If you enjoyed this DIY Graduation Cap Decorations post, you will love these posts too!
Tags : Cricut, DIY, graduation


[…] DIY Graduation Cap Decorations […]