
Graduation Cap Gift Box DIY
If you decide to make a purchase through my links, I will be paid a small commission for it. This doesn’t cost you anything additional. These commissions help to keep the rest of my content free, so thank you!
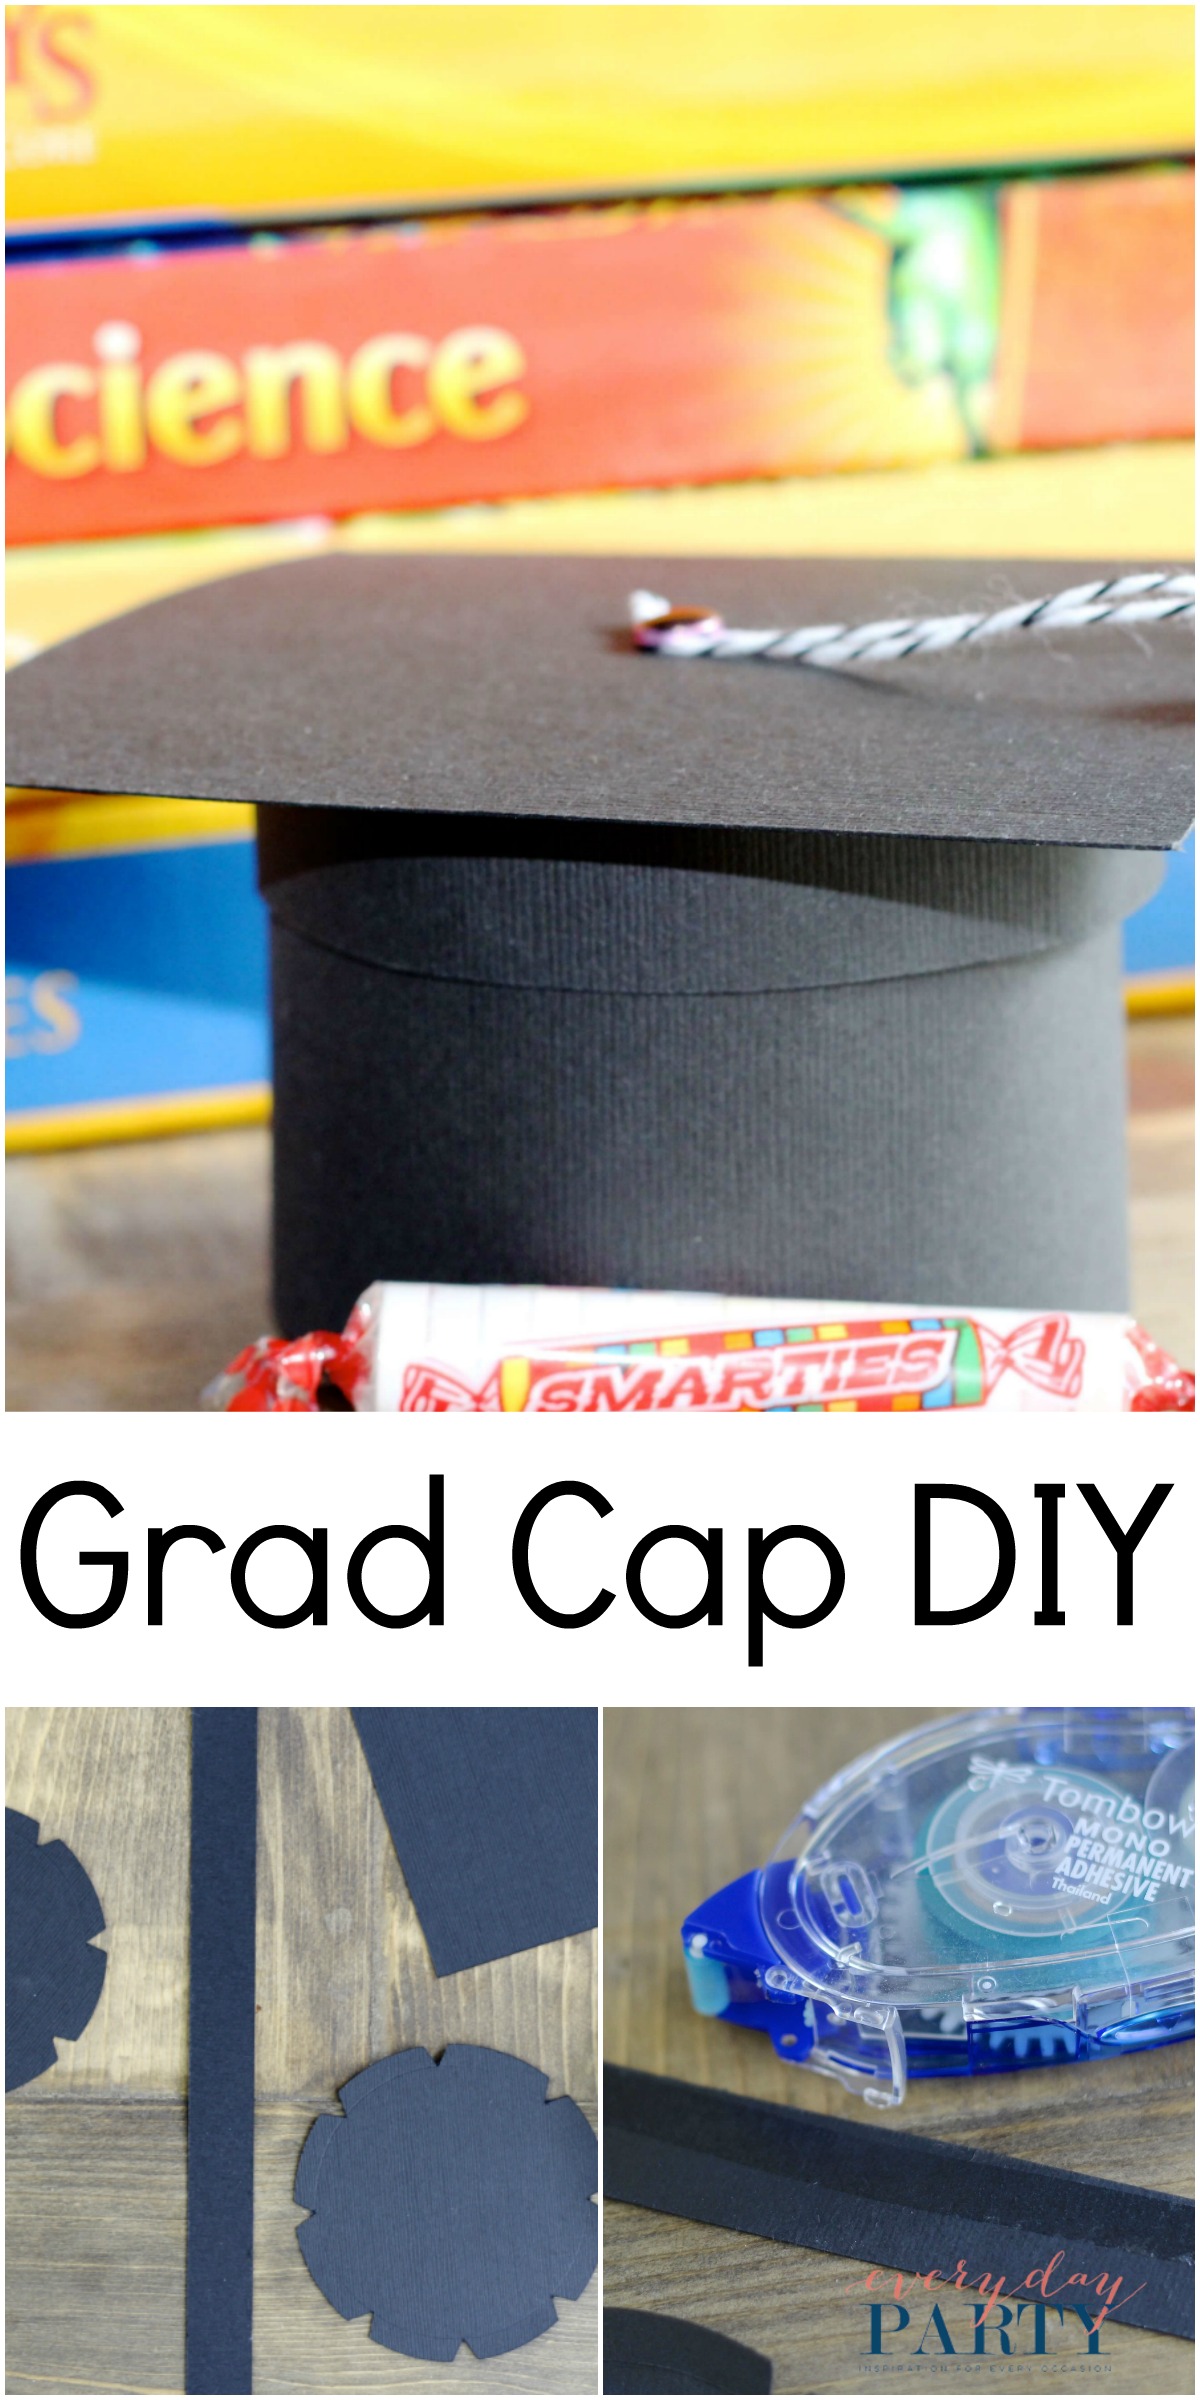
Graduation Cap Gift Box DIY. You guys, my third son is “graduating” from 5th grade. As an infant, we were told by more than one doctor that he may not make it until his first birthday. He was so very sick, all the time. My husband and I are constantly awe struck by God’s grace and his strength. He has grown, and developed, and I can promise you that you would not know at.all. that he was ever sick, let alone on the brink of death several times. So, despite thinking 5th grade graduation is ridiculous, we celebrate…we celebrate his achievements, God’s grace, and our little boy.
Our son has a giving heart, he wants to give all of his friends gifts for every occasion. And, while I love that he wants to give, ultimately, that money has to come from somewhere, so I want to make the gifts as affordable as possible. And, the first thing I do when I am making affordable gifts is check Cricut for project ideas. Unbelievably, there aren’t any graduation cap gift boxes. So, I decided to make one, and I am sharing the simple DIY with you!
Supplies:
Brass Fasteners
Baker’s Twine
Smarties Candies (or whatever candy/treat you want to add)
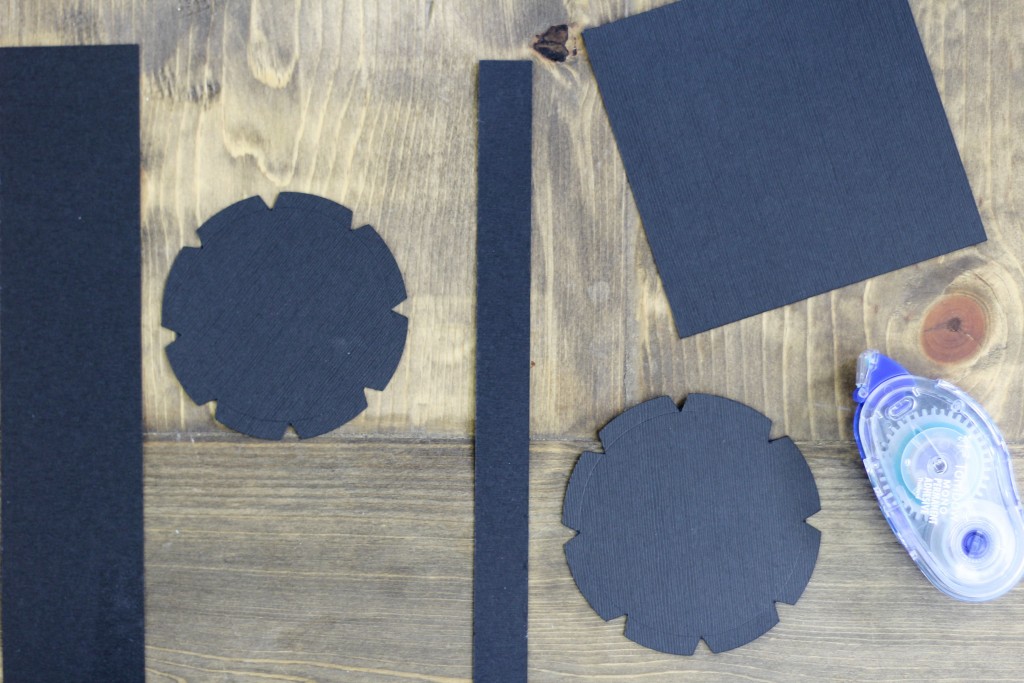
I have the project canvas saved, so all you need to do is go to here, and send it to the Cricut to cut. Once your pieces are cut, you can get started.
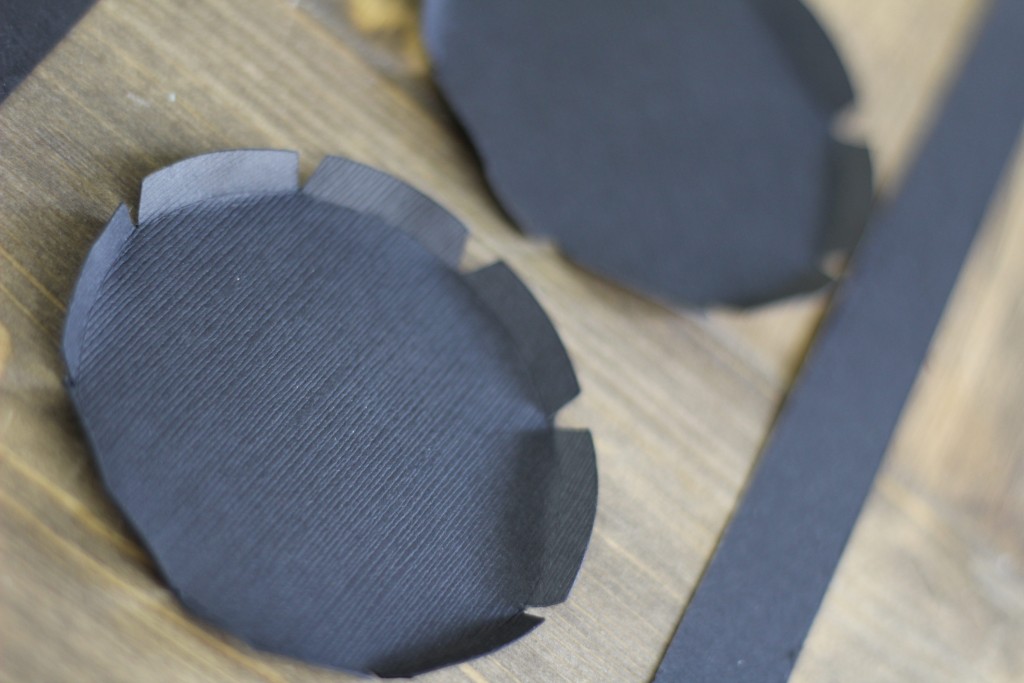
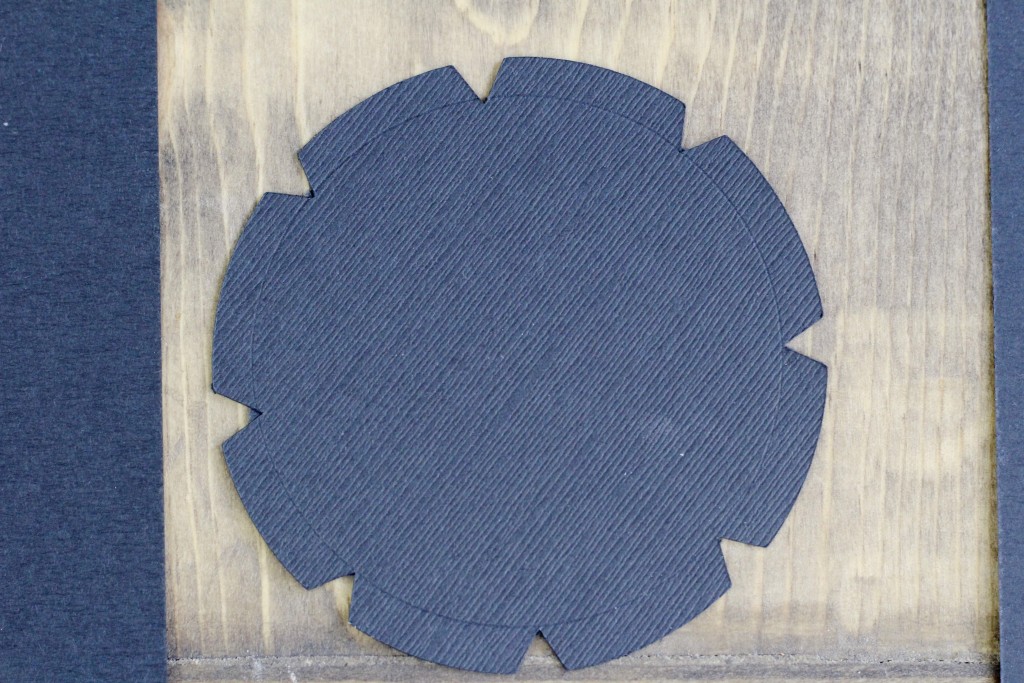
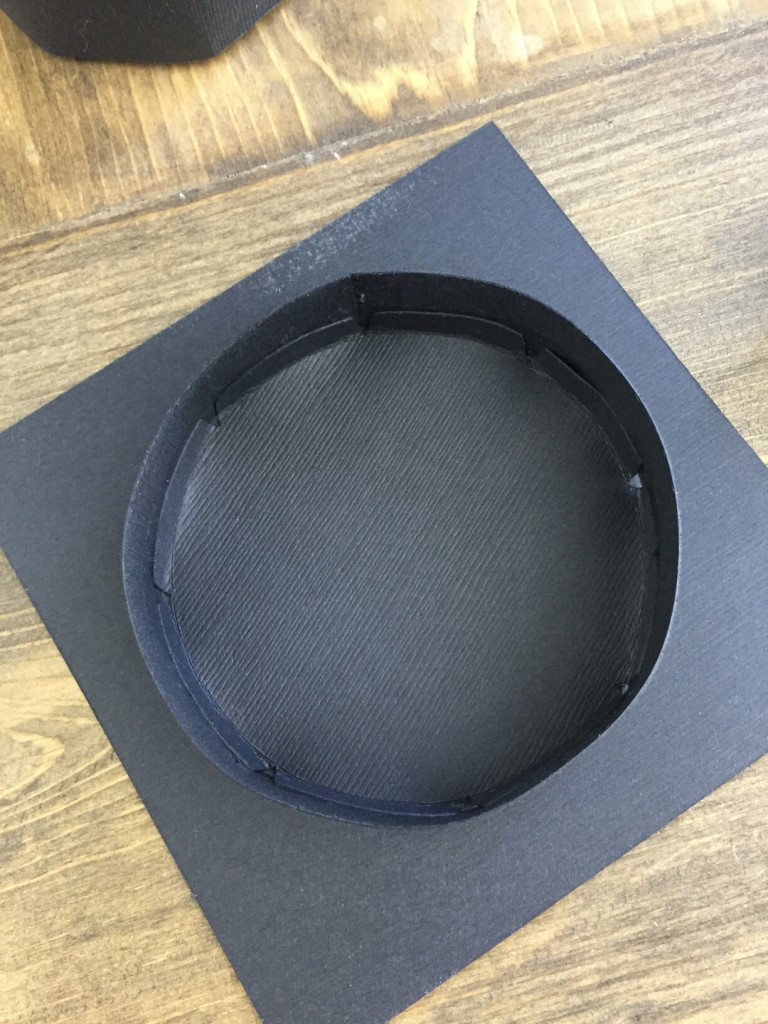
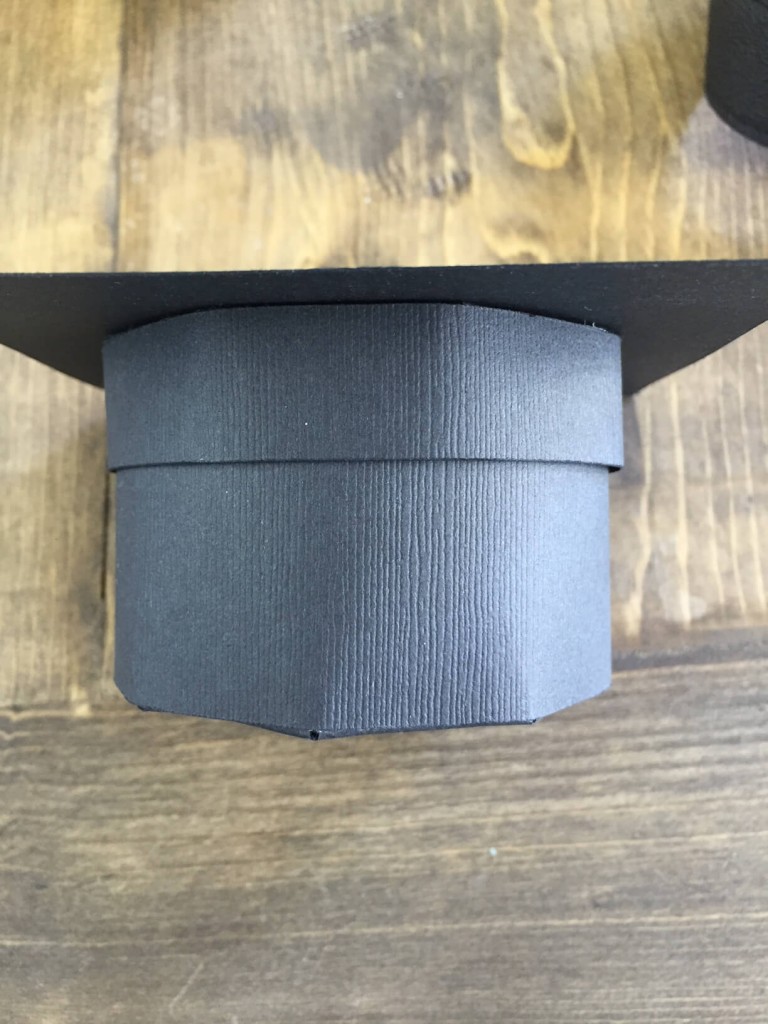
First, fold the tabs of the circles up. There should be a score line inside the circle, this will help make folding the tabs much easier. (You can see the faint score line in the image)
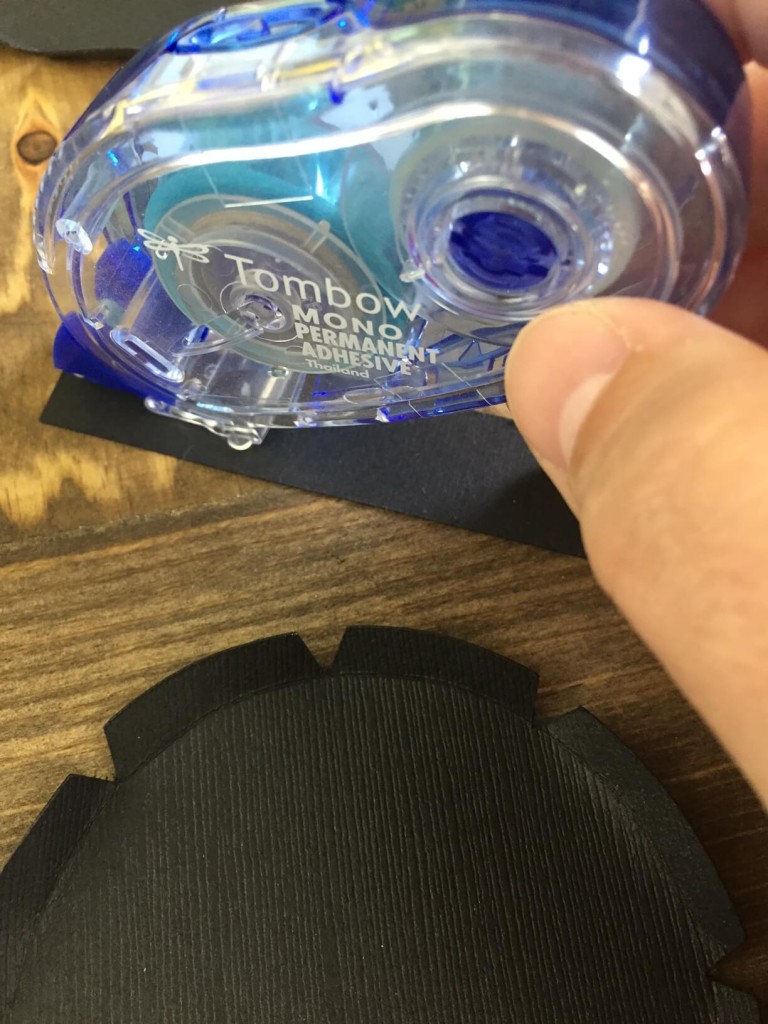
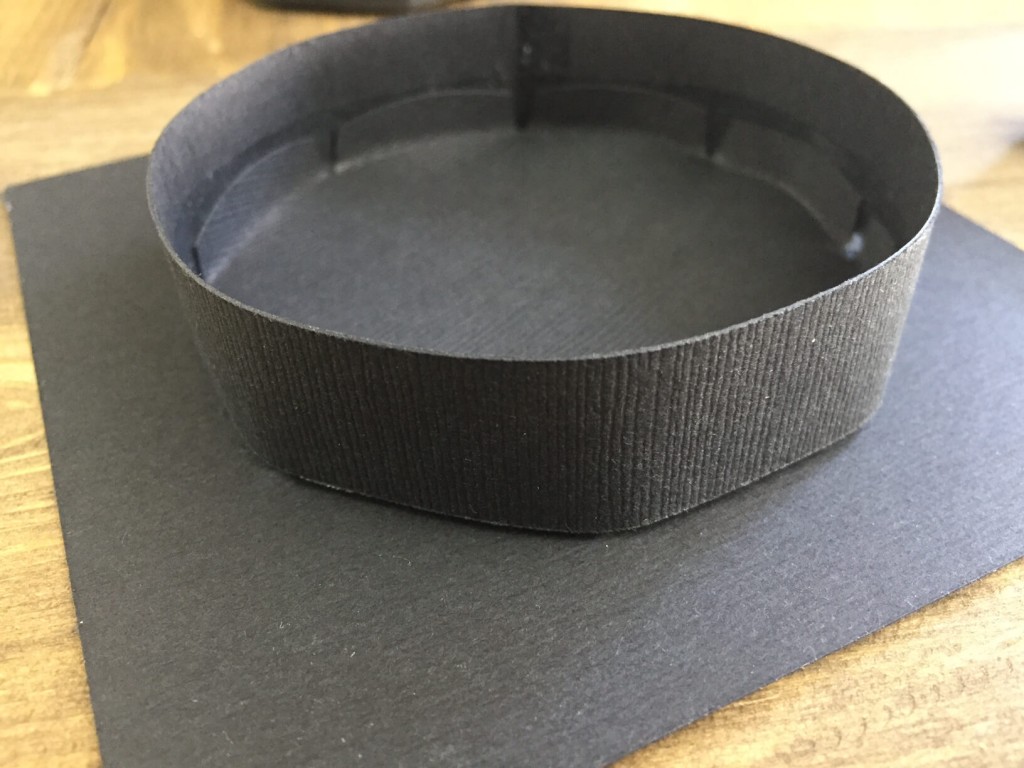
Once the tabs are folded up, add a tape line to one side of the longest (narrow) strip of paper.
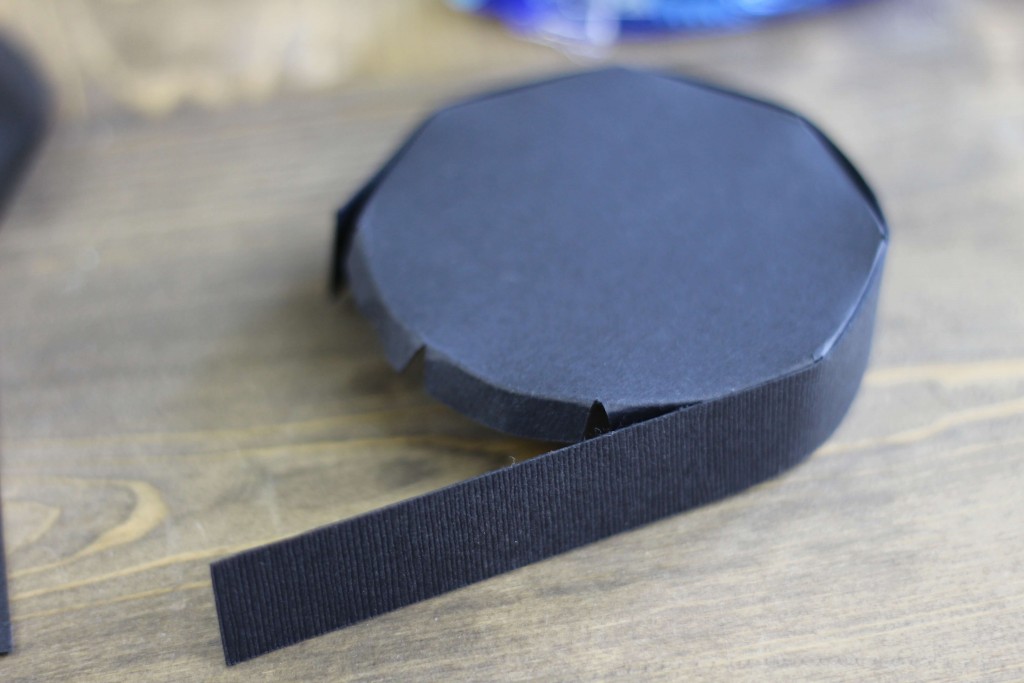
Then, stick the paper to the folded tabs of the LARGER circle. Make sure to keep the edge of the paper strip flush with the edge of the circle.
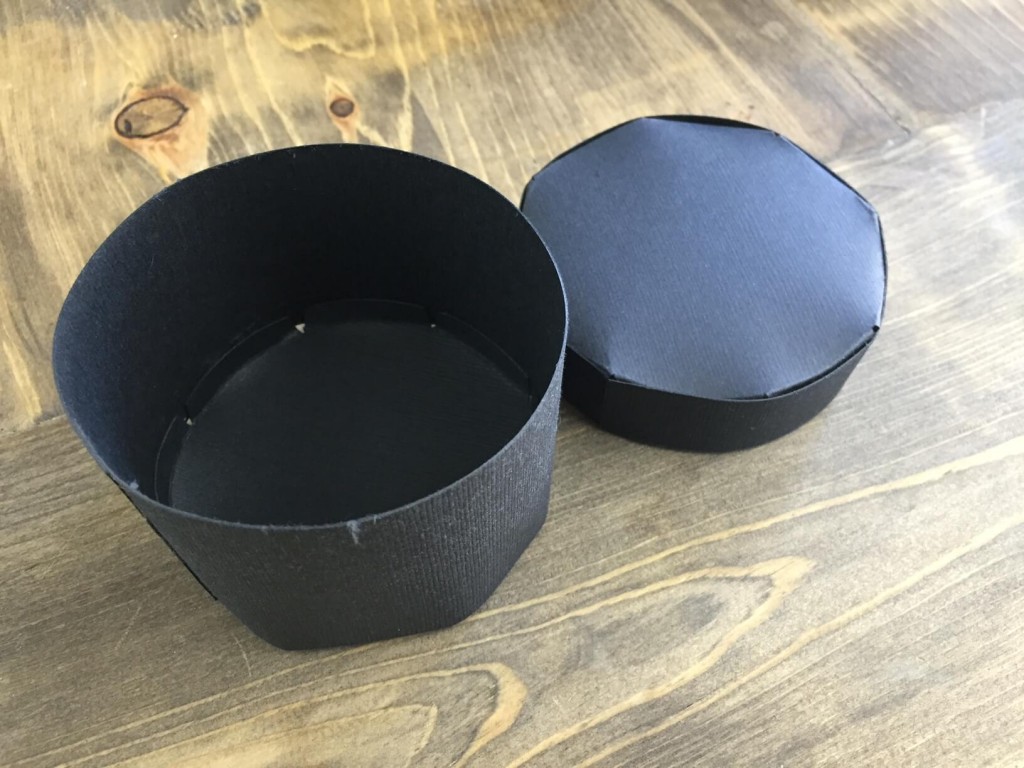
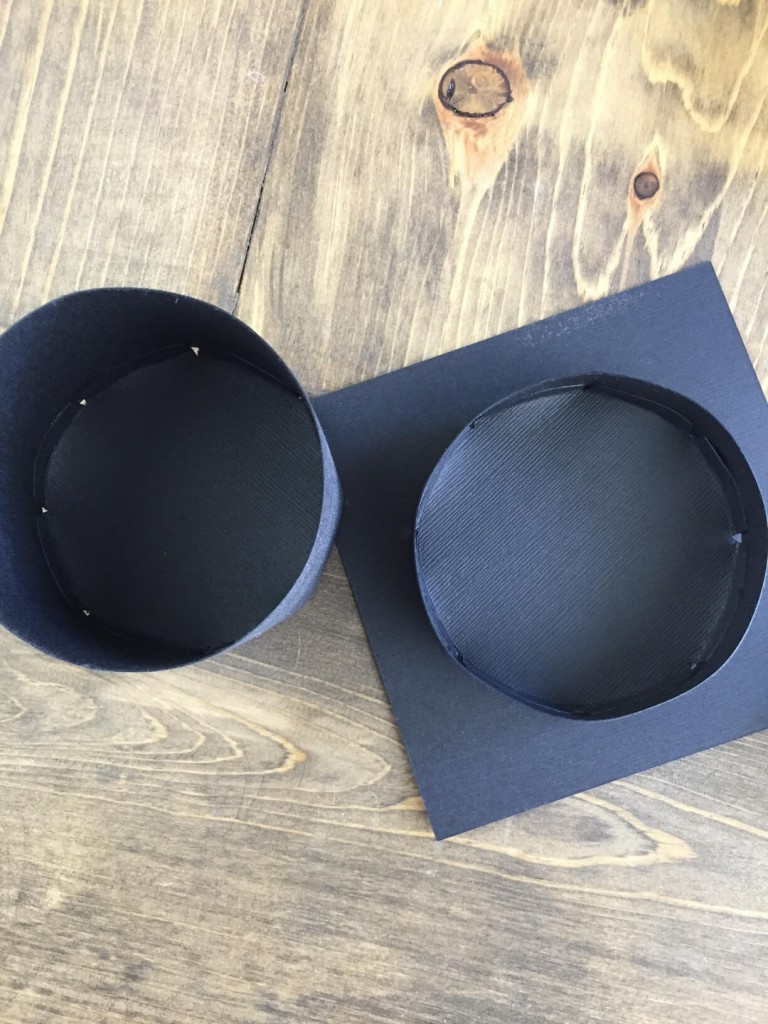
Repeat with the smaller circle and larger paper strip.
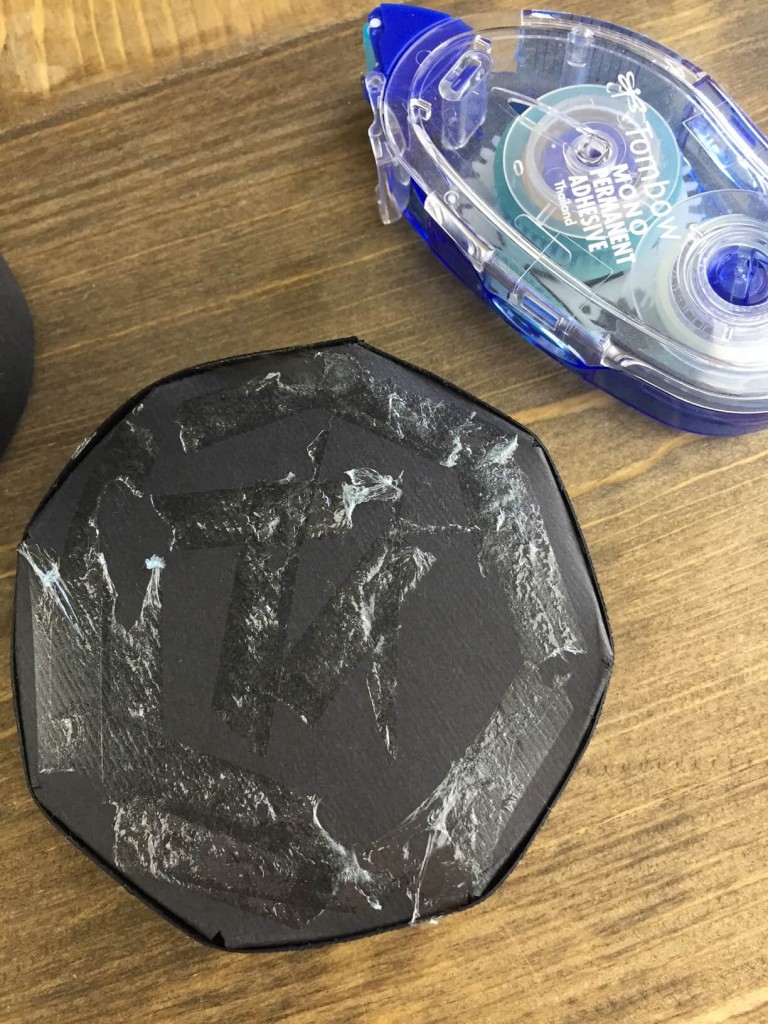
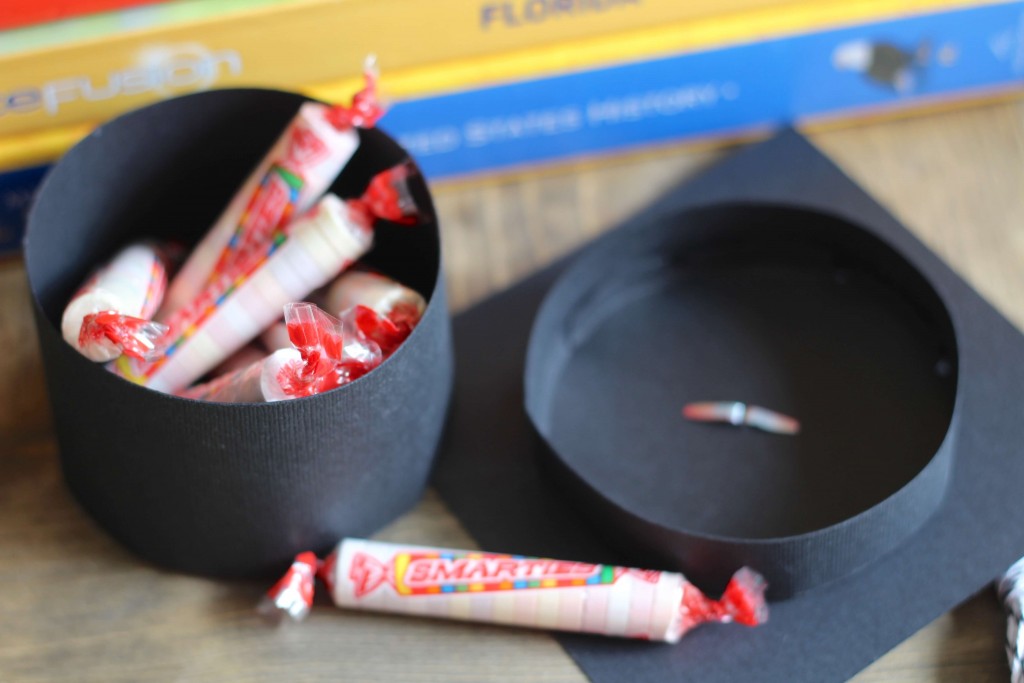
Attach the square piece of paper to the larger circle to mimic a mortar board graduation cap. Again, I used a tape runner for this.
Make a tassel. Wrap baker’s twine around a piece of cardboard about 30 times, and then add a length of twine to create the hanger. Next, wrap another section of twine around the top, to create a loop for the hanger, glue in place. Finally, cut the larger loop on the bottom to create a tassel. There are tons of great DIY’s online for yarn tassels if you need pictures.
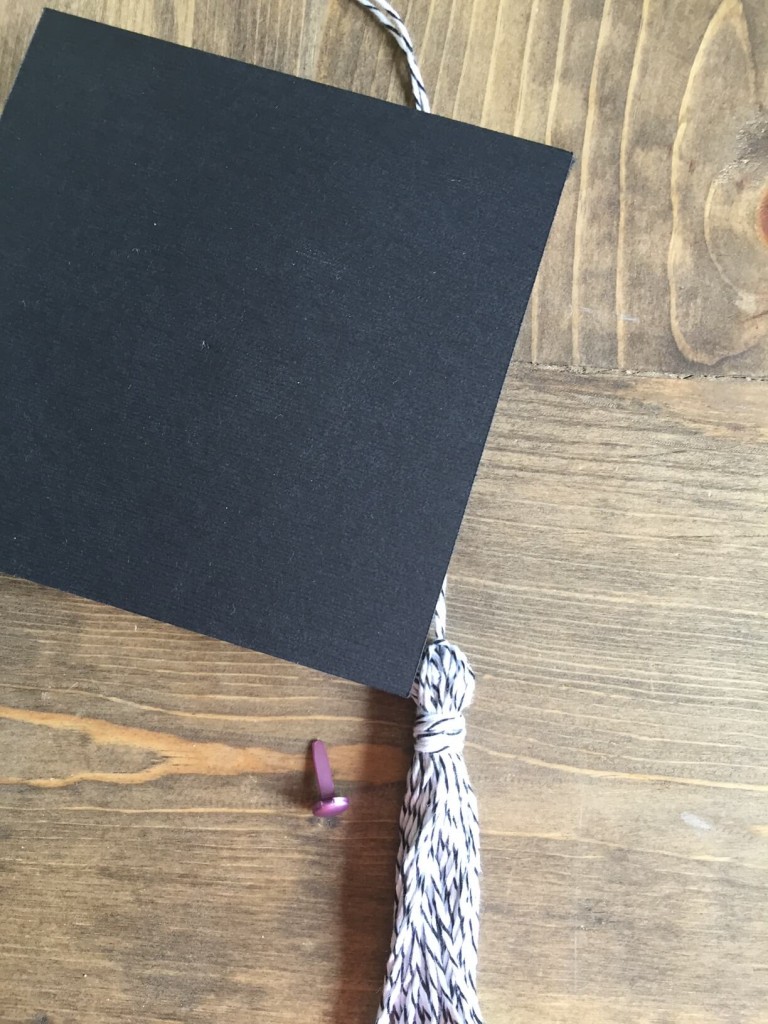
Carefully poke a hole in the top center of the mortar board. Add the brass fastener, and loop the tassel hanger onto the fastener.
Fill with your favorite candy or treat!
Congrats to ALL the grads from the Class of 2016!
Tags : Cricut, DIY, Everyday Party Magazine, graduation, Graduation Cap, Motar Board




This is totally awesome sauce! I LOVE it so much!!! I need a Cricut now.
You do need a cricut! Thank you, I was so happy it turned out like it was in my head 😉
Can you tell me how long this took to make? I was thinking of making for my son’s 5th grade class and my older son’s 8th grade class for next week.
Hi Kari…I think it took me slightly longer than forever to make it, but I was photographing each step too. I would think you could realistically make one in 5-10 minutes. Definitely less if you have a helper, and once you get a rhythm going. I am making about 65 of them for my son’s school’s 5th grade class.
Super cute! Great job!
This turned out perfect! What a special grad gift!