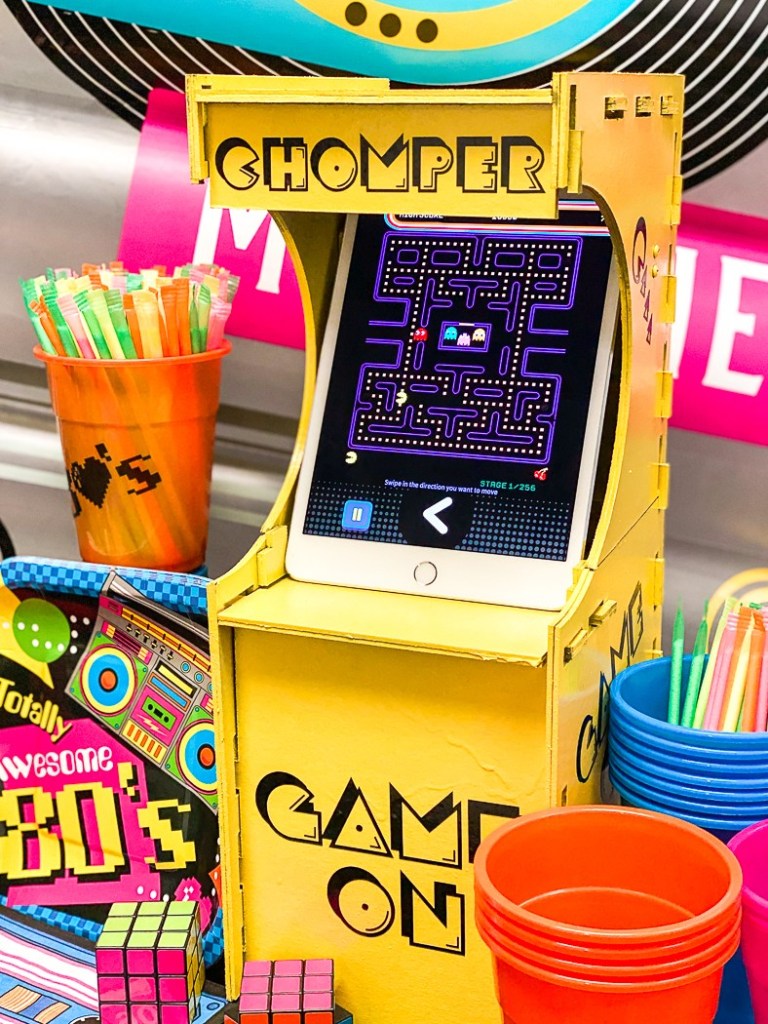
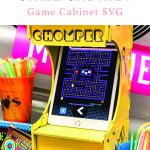
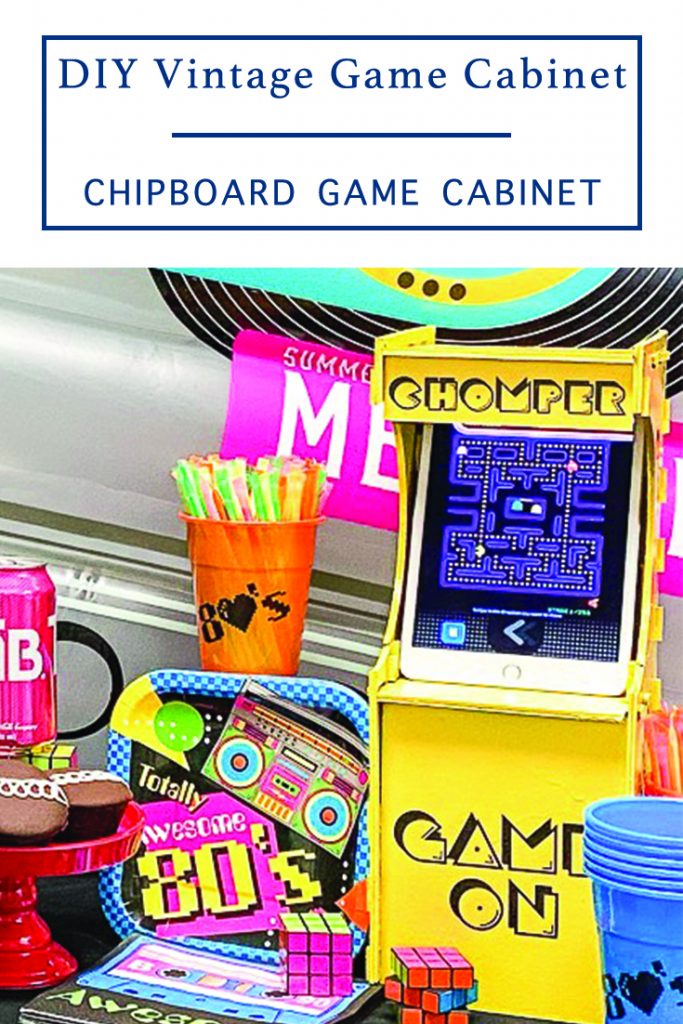
So, like we are totally at the bored out of our minds stage of this shelter in place pandemic. It’s so, like, gag me with a spoon. Seriously, we are starting to grate on each other’s nerves and it’s not fun sometimes. I needed something fun for everyone, and I needed it quickly. So, I designed a DIY Vintage Game Cabinet and hosted a family only 80’s Party.
If you decide to make a purchase through my links, I will be paid a small commission for it. This doesn’t cost you anything additional.
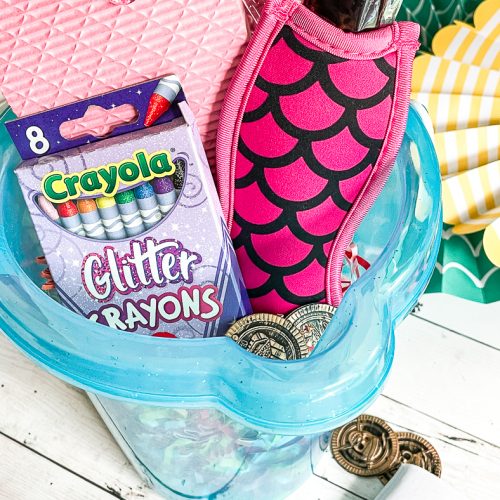
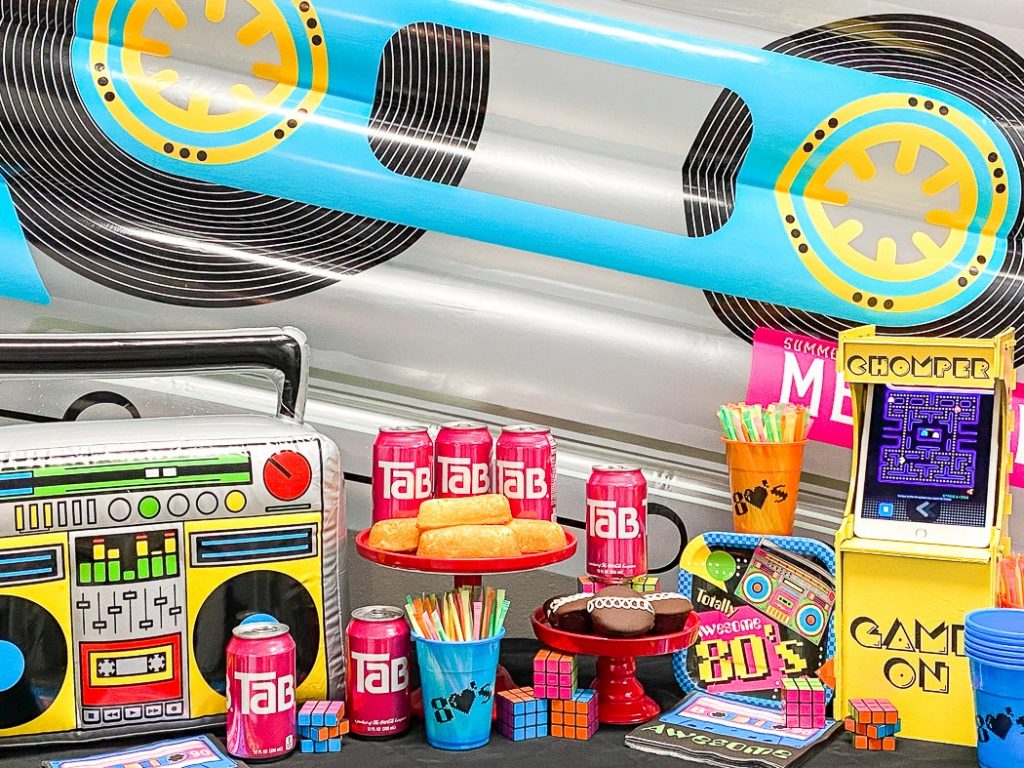
80’s Party at Home
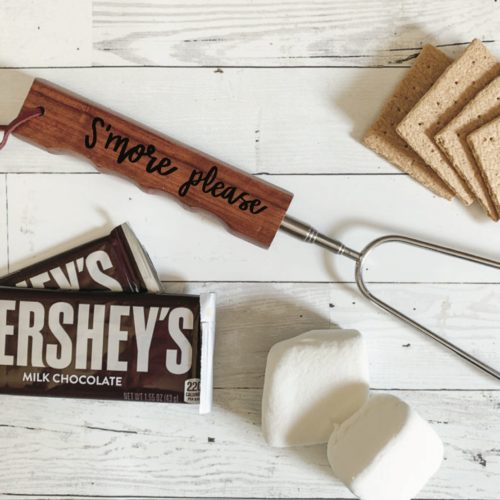
I ordered a bunch of 80’s party supplies from Oriental Trading, and totally ’80’s food from Shipt. Then, guys, I put my math brain on and designed this totally rad DIY Game Cabinet cut file for my Cricut! Our Totally Rad ’80’s Party was like Far Out Man!
Vintage Games
My parents owned a laundromat when I was growing up. We had 6-10 stand up video games at any given time. It was truly an ’80’s child’s dream come true! Free play PacMan, Donkey Kong, Galaga, Tron, Centipede, and more, as long as I did my homework and my chores. And, y’all, I took that for granted. I so wish I had even one of those old machines now.
Since my boys, hubby, and I all love to indulge in ’80’s movie marathons and play retro games on our iPads, I thought it would be totally RAD to design an iPad stand that looked like a vintage game cabinet.
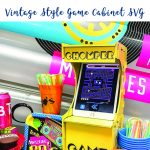
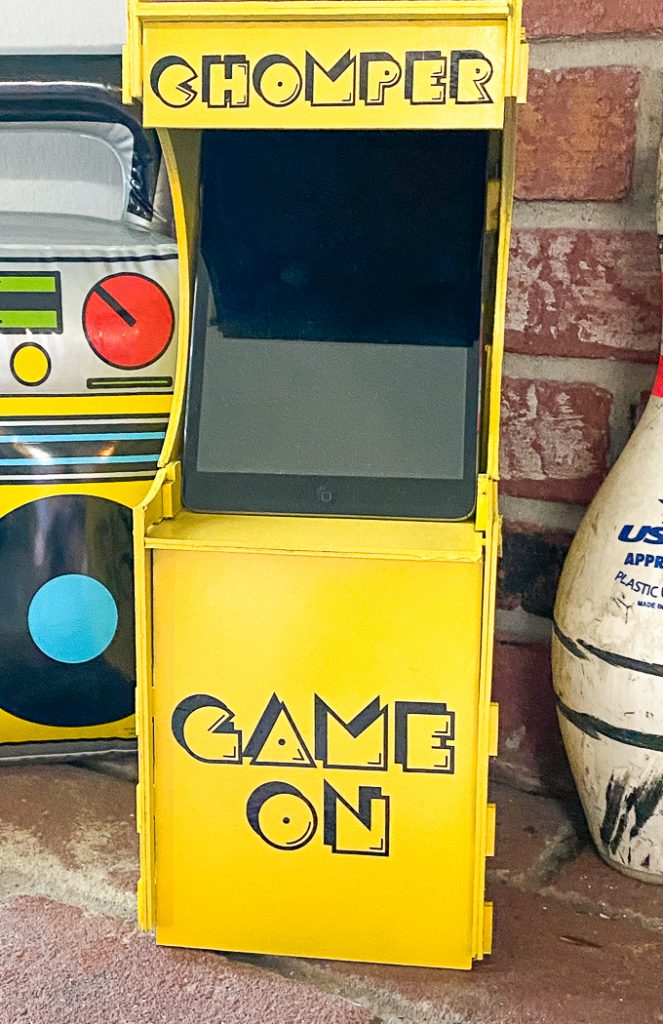
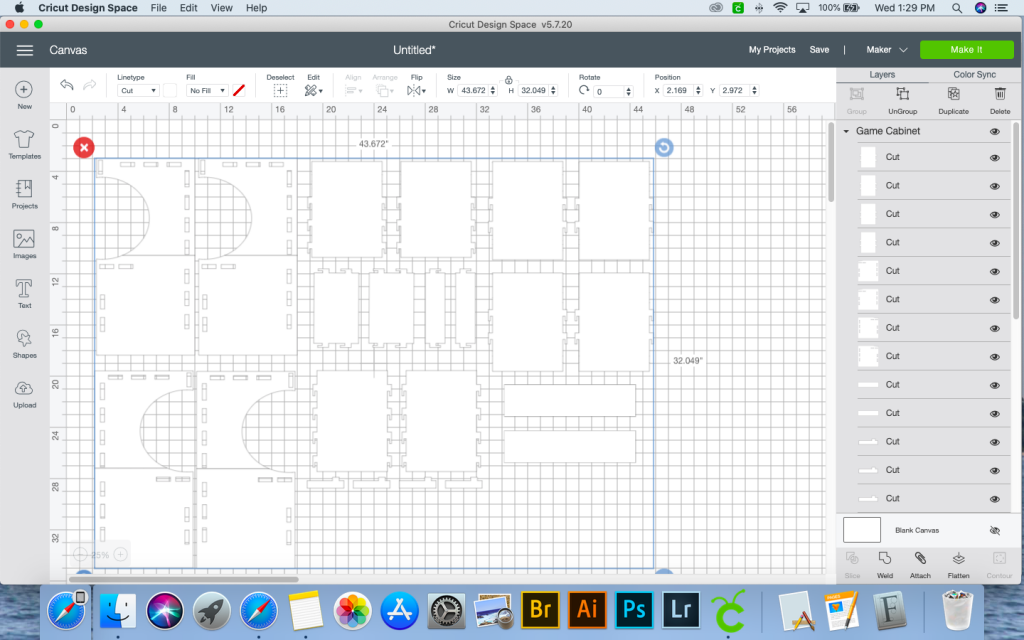
Game Cabinet SVG
This cabinet took me eleventy billion hours to design, and eleventy billion more to cut out…and I still ended up changing the cut file some. However, I wasn’t able to cut the revised SVG on chipboard because I ran out, and my local stores didn’t have enough. I did cut it from cardstock, and it worked as well as I hoped card stock would.
This cut file took all day to cut, but I totally think it was worth it!
I’m sharing the SVG for the cabinet, the decals, and the PDF cutting page in the downloadable file. The game cabinet is assembled like the DIY Bed for Dolls and Elves I shared.
Make Your Own DIY Vintage Game Cabinet
This project will take a while to cut, and you will need a LOT of Chipboard. There are 16 mats to cut, some are simple rectangles and are finished quickly, but others are more intricate and take a lot more time to cut.
Supplies
- SVG File from the shop
- Cricut Maker
- Cricut Knife Blade
- Adhesive Vinyl
- Transfer Tape
- Cricut Chipboard
- Amazon Links Below –
- Masking Tape
- E6000 Glue
- Clamps
- Paint
- Wood Screws
- 1×1 Scrap Lumber or Dowel Rod Cut to fit inside the game cabinet
Step 1
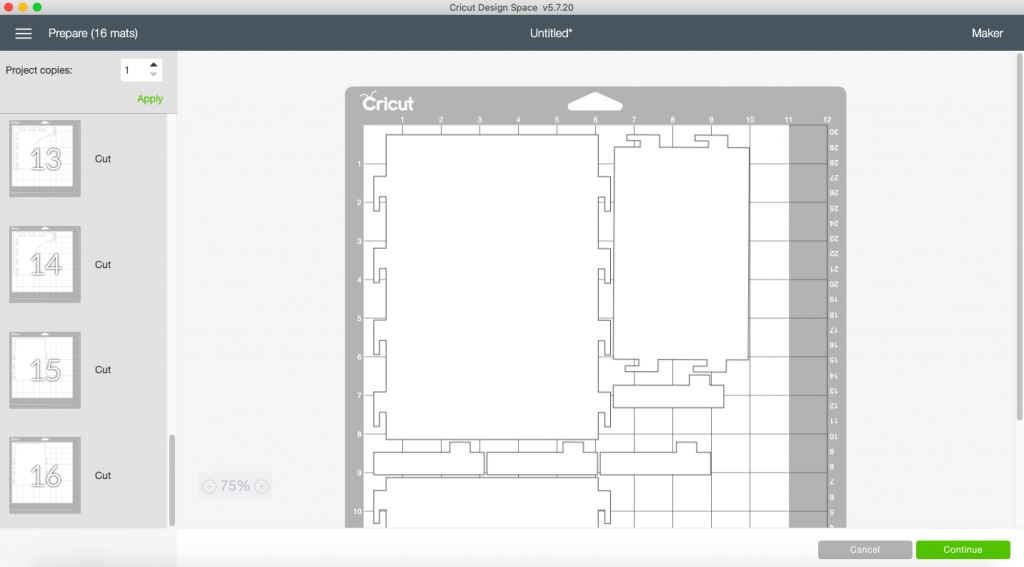
Download the SVG, and upload it to Cricut Design Space. Send the image to cut. Be sure to select an 11×11″ cutting surface. And, don’t forget to tape the edges of the chipboard to the cutting mat.
Step 2
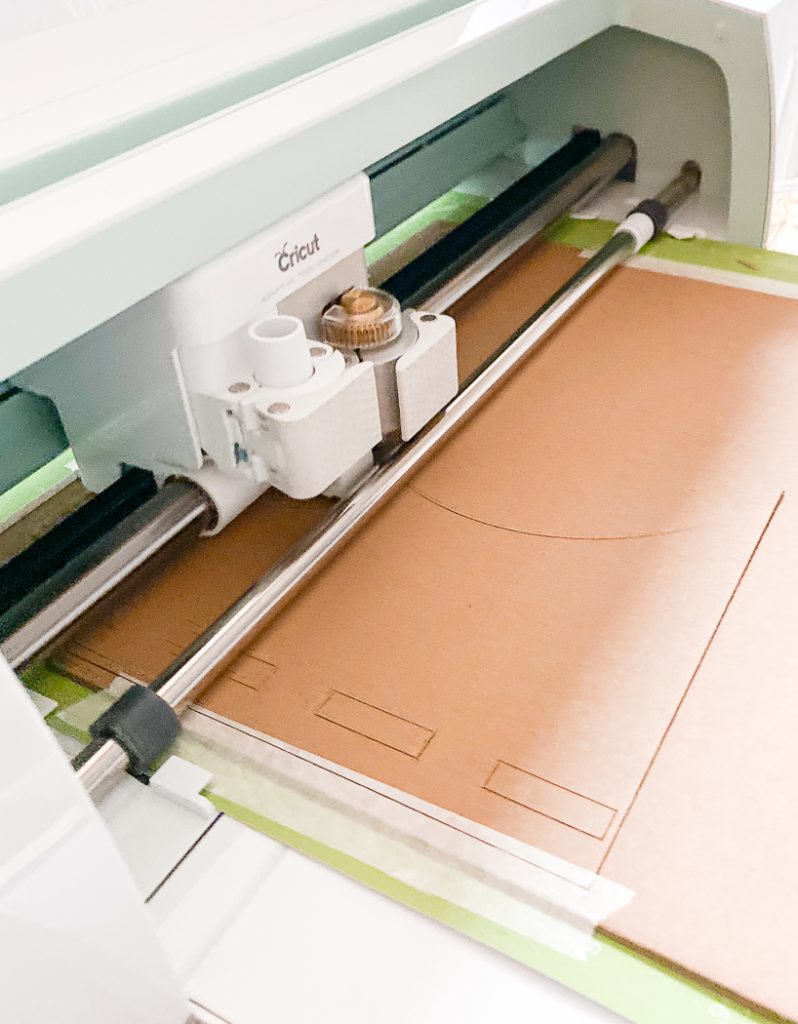
Turn on Netflix and watch some shows, this will take about 10 hours to cut.
Step 3
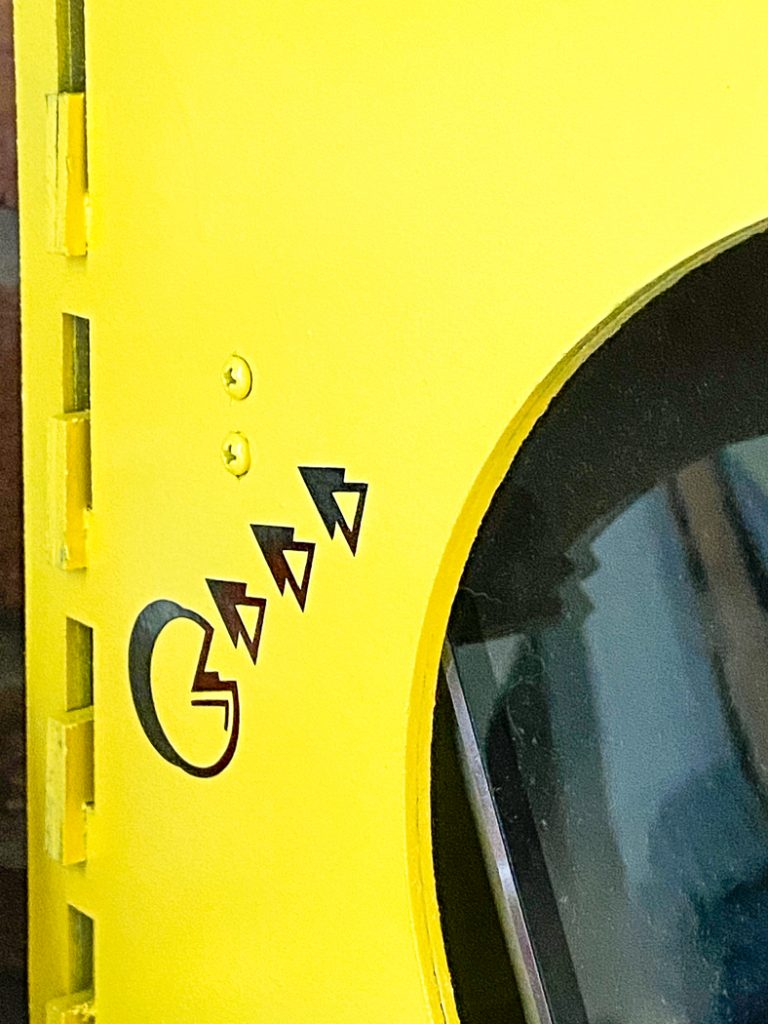
Once all of the chipboard is cut, upload the decals to Design Space, and send those to cut. I used permanent black adhesive vinyl for this.
Weed the excess and set aside.
Step 4
Assemble the game cabinet. I used E600 and clamps to glue the double layers together. This wasn’t 100% necessary. But, I wanted to make sure my cabinet was totally secure for our iPads.
Once the layers are glued together, assemble the cabinet. The PDF is printable and will help you identify which pieces are which.
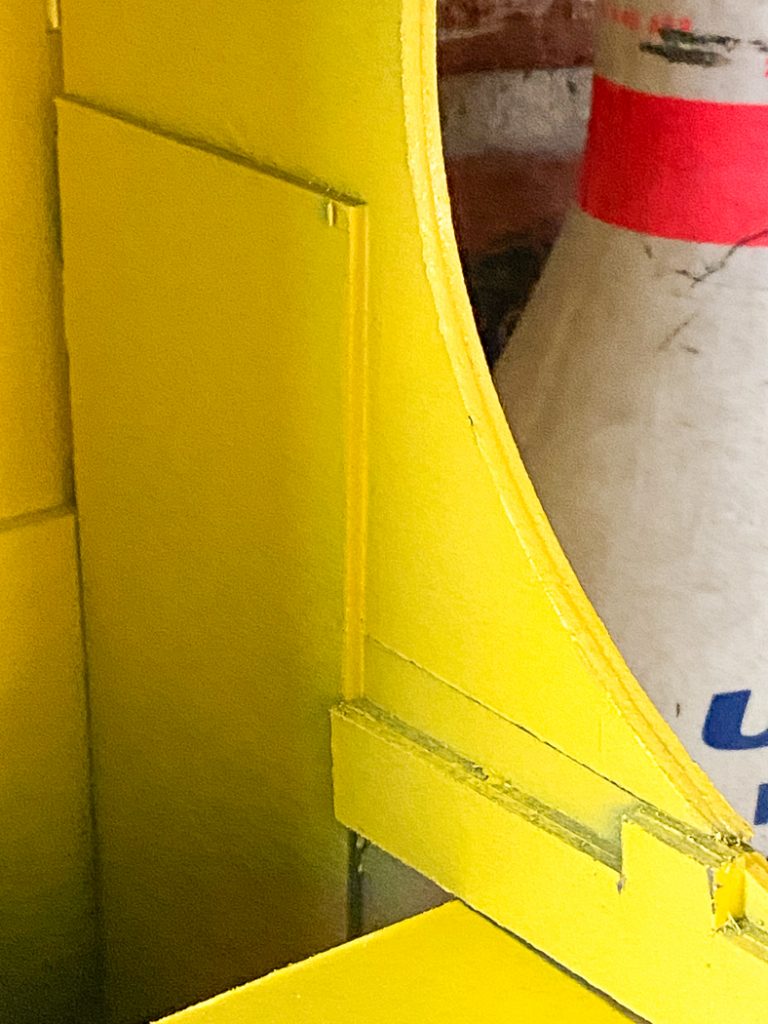
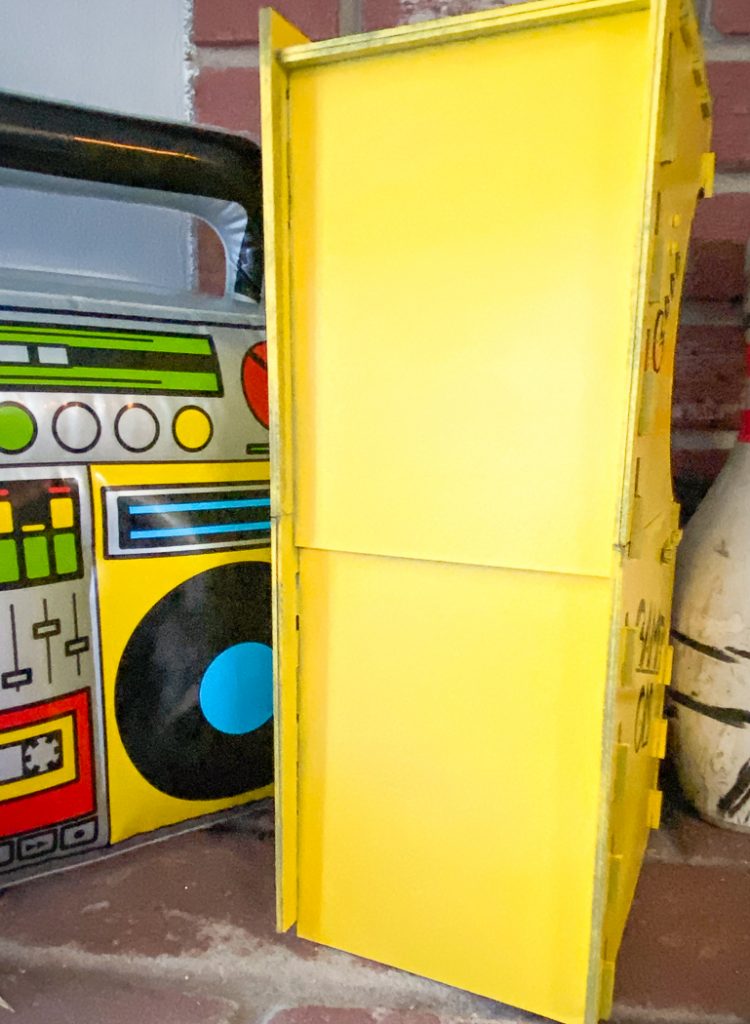
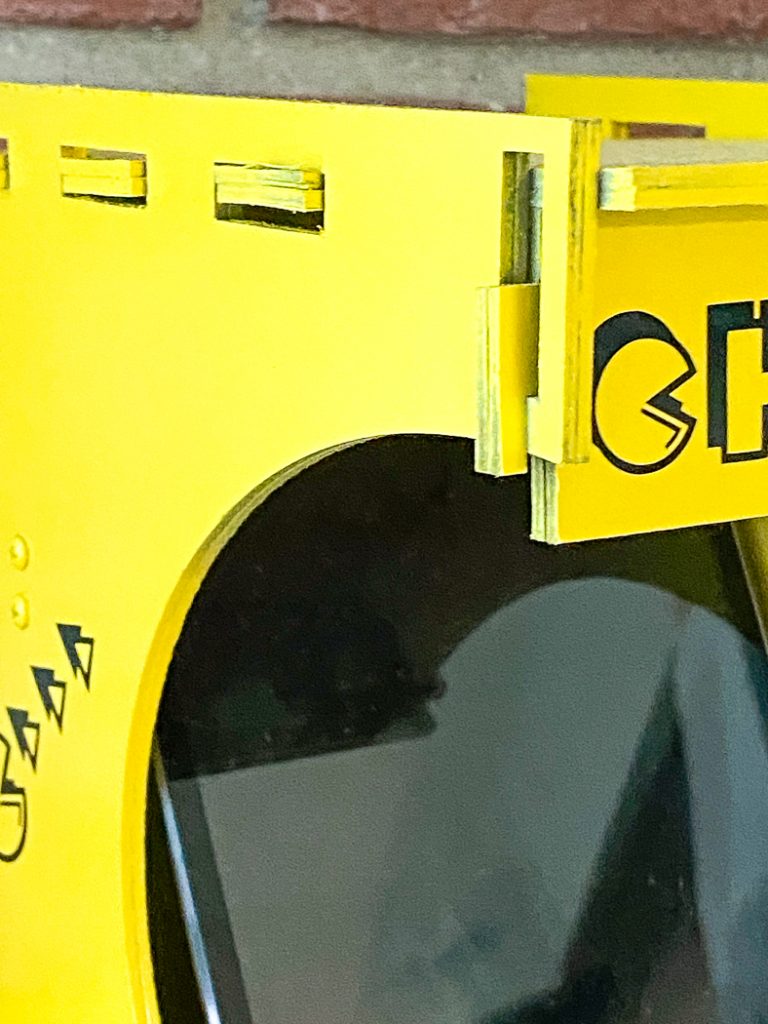
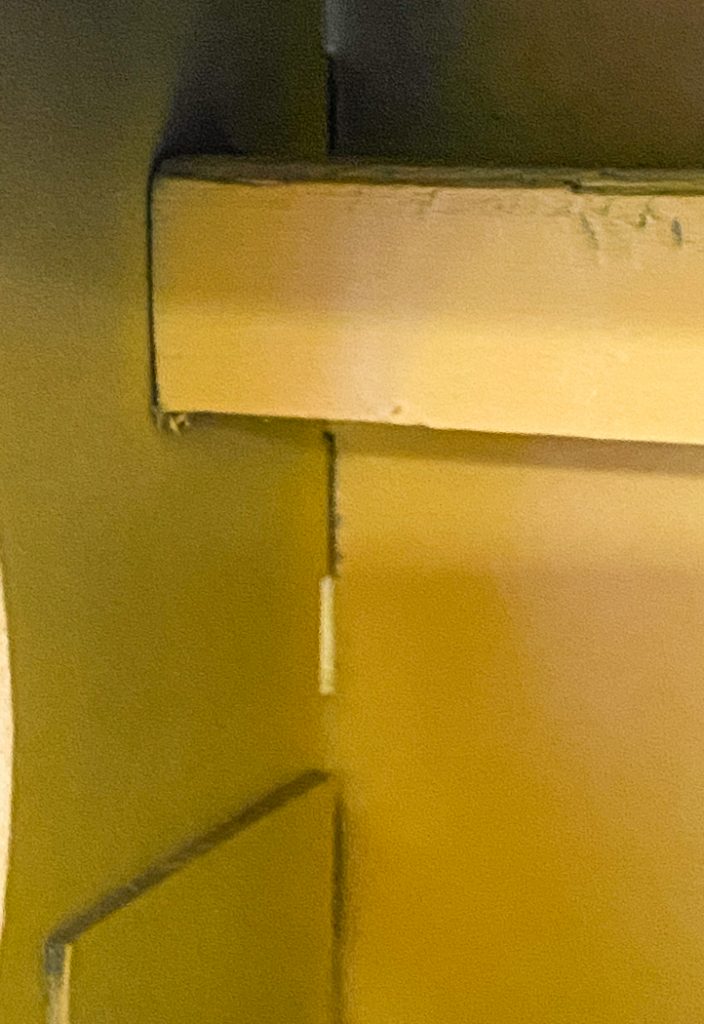
The top back section of the game cabinet will overlap the bottom, this makes it more secure. There are two rectangles for the inside to act as flat bracket to secure the top and bottom sides to each other. I am adding a bunch of pictures of the assembled game cabinet so you can see how it is assembled.
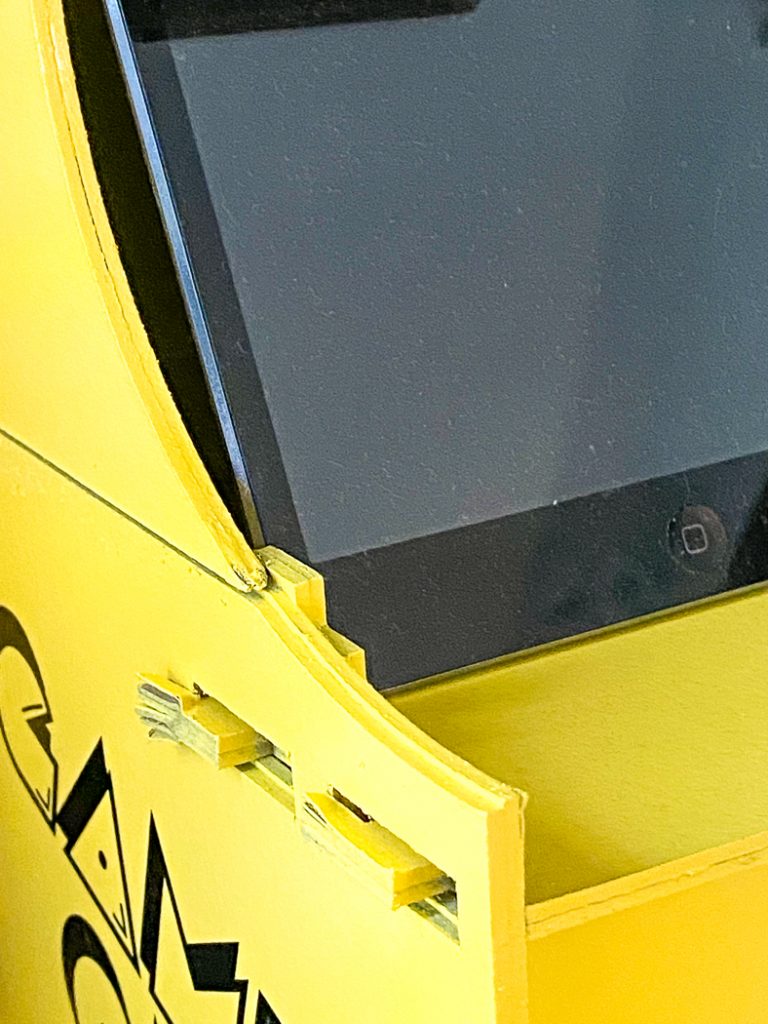
At this point, I measured the space between the sides and cut a piece of 1×2 scrap to fit between the sides. I placed it towards the top in the back. This will act as a back support for the iPad. I used two small wood screws on each side to secure it. This made the whole cabinet much more secure and gave me more piece of mind when I put our iPad in the cabinet.
After the cabinet is fully assembled, paint it. I used spray primer and yellow spray paint on mine. But, get creative with it!
Step 5
Once the paint has fully dried, apply the decals to the game cabinet.
Step 6
Sync your iPad to an xBox or PS4 remote via Bluetooth and you can wirelessly play your games in the cabinet. (This will only work with newer iPad Minis)
If you liked this DIY Vintage Game Cabinet post, be sure to check out more of my 3D Chipboard projects here
Top Five Cricut Maker Projects
Tags : 80's Party, Cricut, DIY, Gamer, PacMan, SVG File