
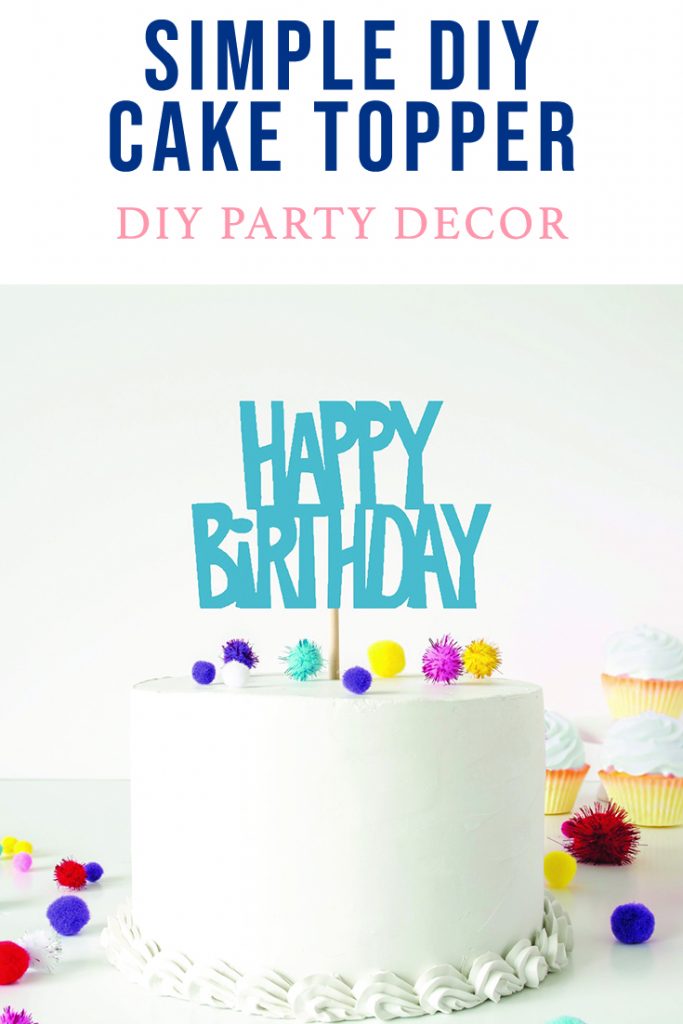
It’s no secret that I love my Cricut Machine. In fact, I have several of them, and they are absolutely the work horses of my craft room. My son recently turned 16. So, I took the opportunity to create a DIY Party Cake Topper with my Cricut. It was perfect, and I couldn’t love it more!

If you decide to make a purchase through my links, I will be paid a small commission for it. This doesn’t cost you anything additional.
Party with Cricut
I can’t think of many parties that I have hosted with out using my Cricut machine for something. My Cricut Explore Air 2 and Maker machines can make nearly any party decoration.
My very favorite Cricut party piece is the DIY Cactus Cupcake Stand I made several years ago. And, last year, I hosted a Cookies and Milk Party that I made all of the decorations for using my Cricut!
Make a Cake Topper with Cricut
This project is fairly simple, but, I saved the cut file for you if you want to make the same one.

If you want to make a different Cake Topper with your Cricut, follow these simple steps, and you’ll have the perfect custom topper for your party.
Supplies
- Cricut
- Card Stock
- Amazon Link – Bamboo Skewer
- Amazon Link – Hot Glue Gun and Hot Glue
Step 1
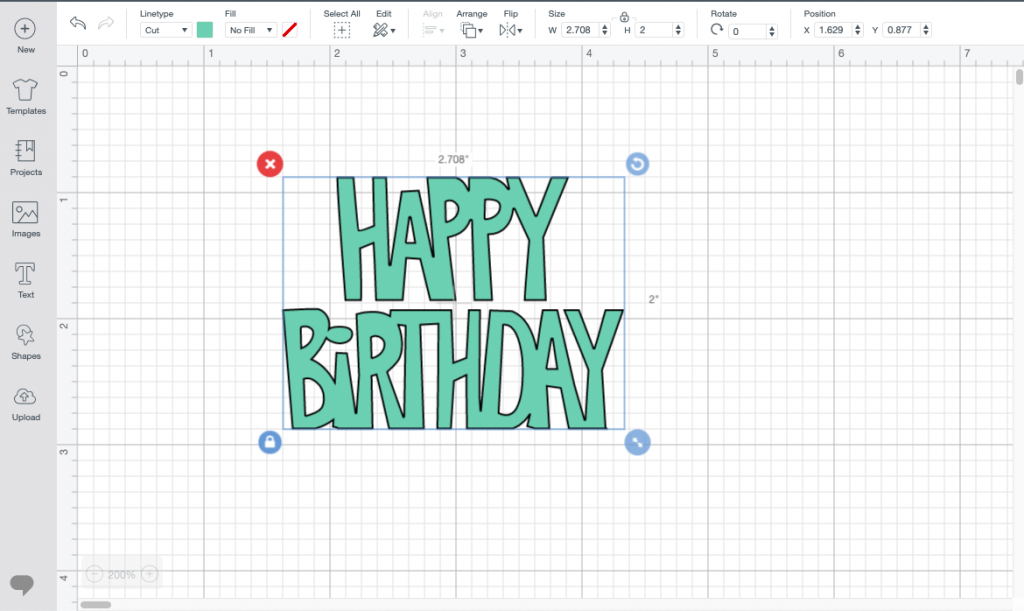
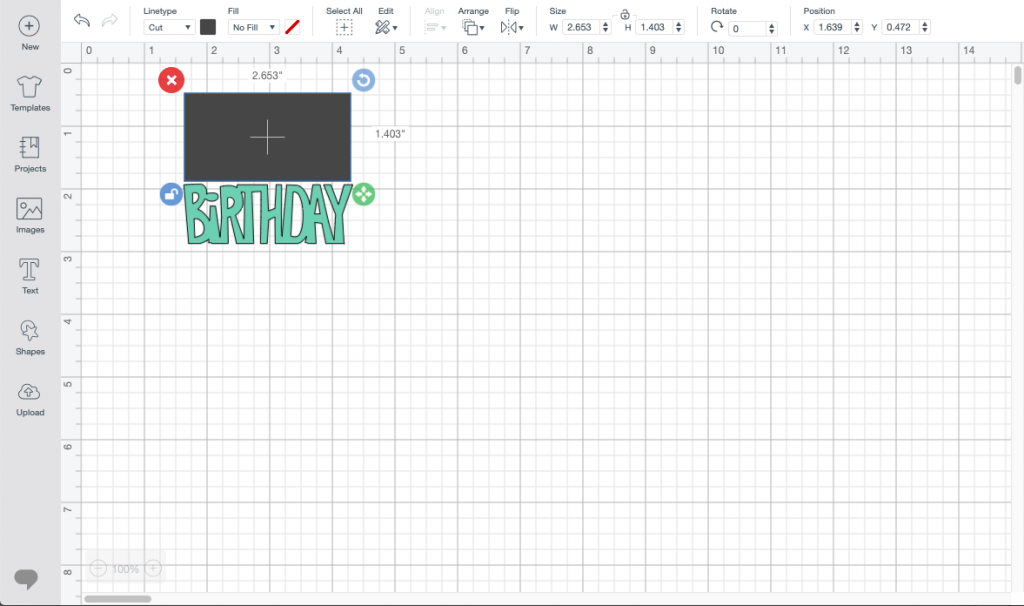
Open Design Space and select a file or type the text you want to use.
Step 2
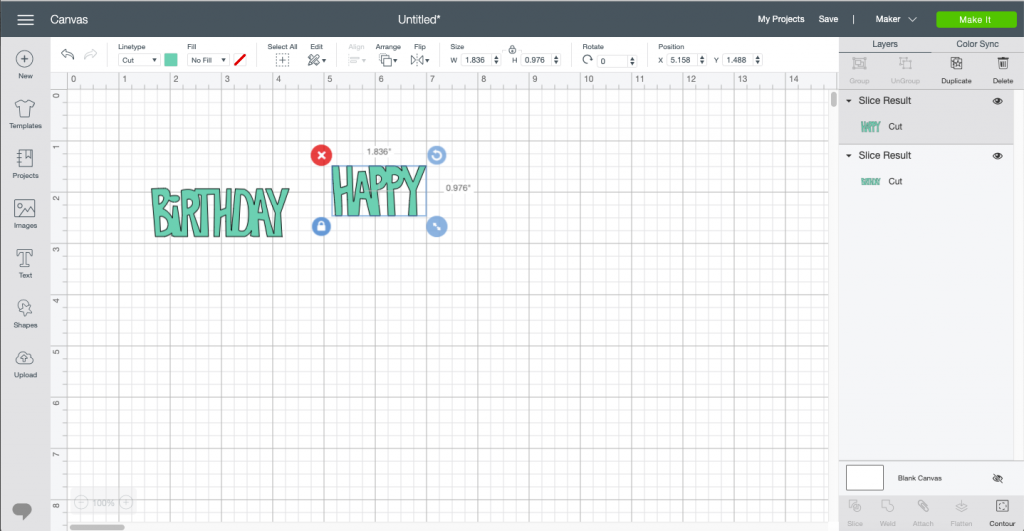
Un-group or Slice the Cut File so that you can weld the text or image together.
Step 3
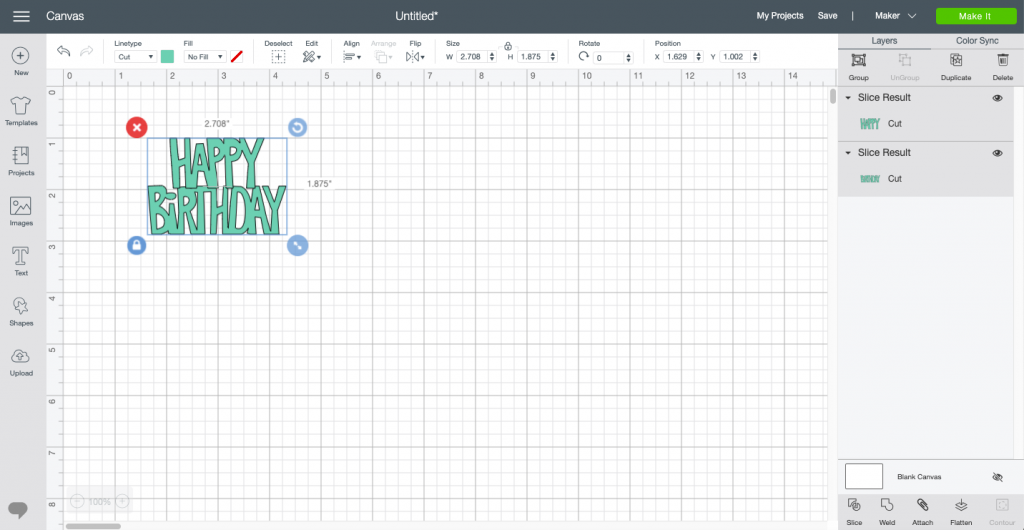
Move the text or images so that they are touching in several spots. This will create a stronger cake topper.
Step 4
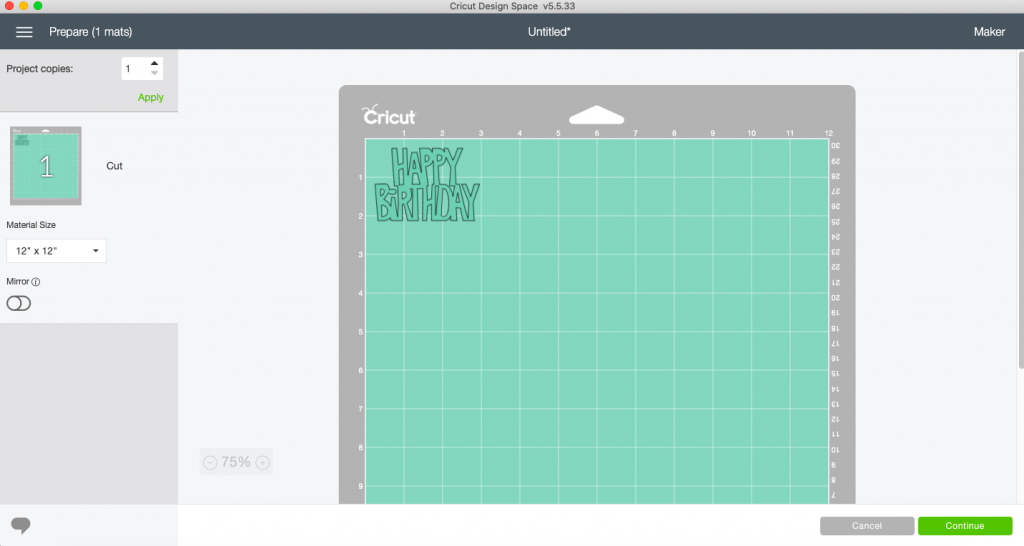
Send the project to cut.
Step 5
Weed the excess card stock. And peel the cutting mat off of the card stock. This will keep your card stock rigid.
Step 6
Apply a bead of hot glue to the bamboo skewer and glue the card stock image or text to the skewer. You may need to use two skewers if you have a large image.
Step 7 – Optional
You can cut a second image and glue it to the back of the first one to hide the skewer(s) and make the cake topper more sturdy.
If you liked this post, be sure to check out these too!
Shark Week Party With Cricut Explore Air
Easy Personalized Party Favors
Tags : Cake Toppers, Craft Lightning, Cricut, DIY, DIY Party, DIY Party Favor