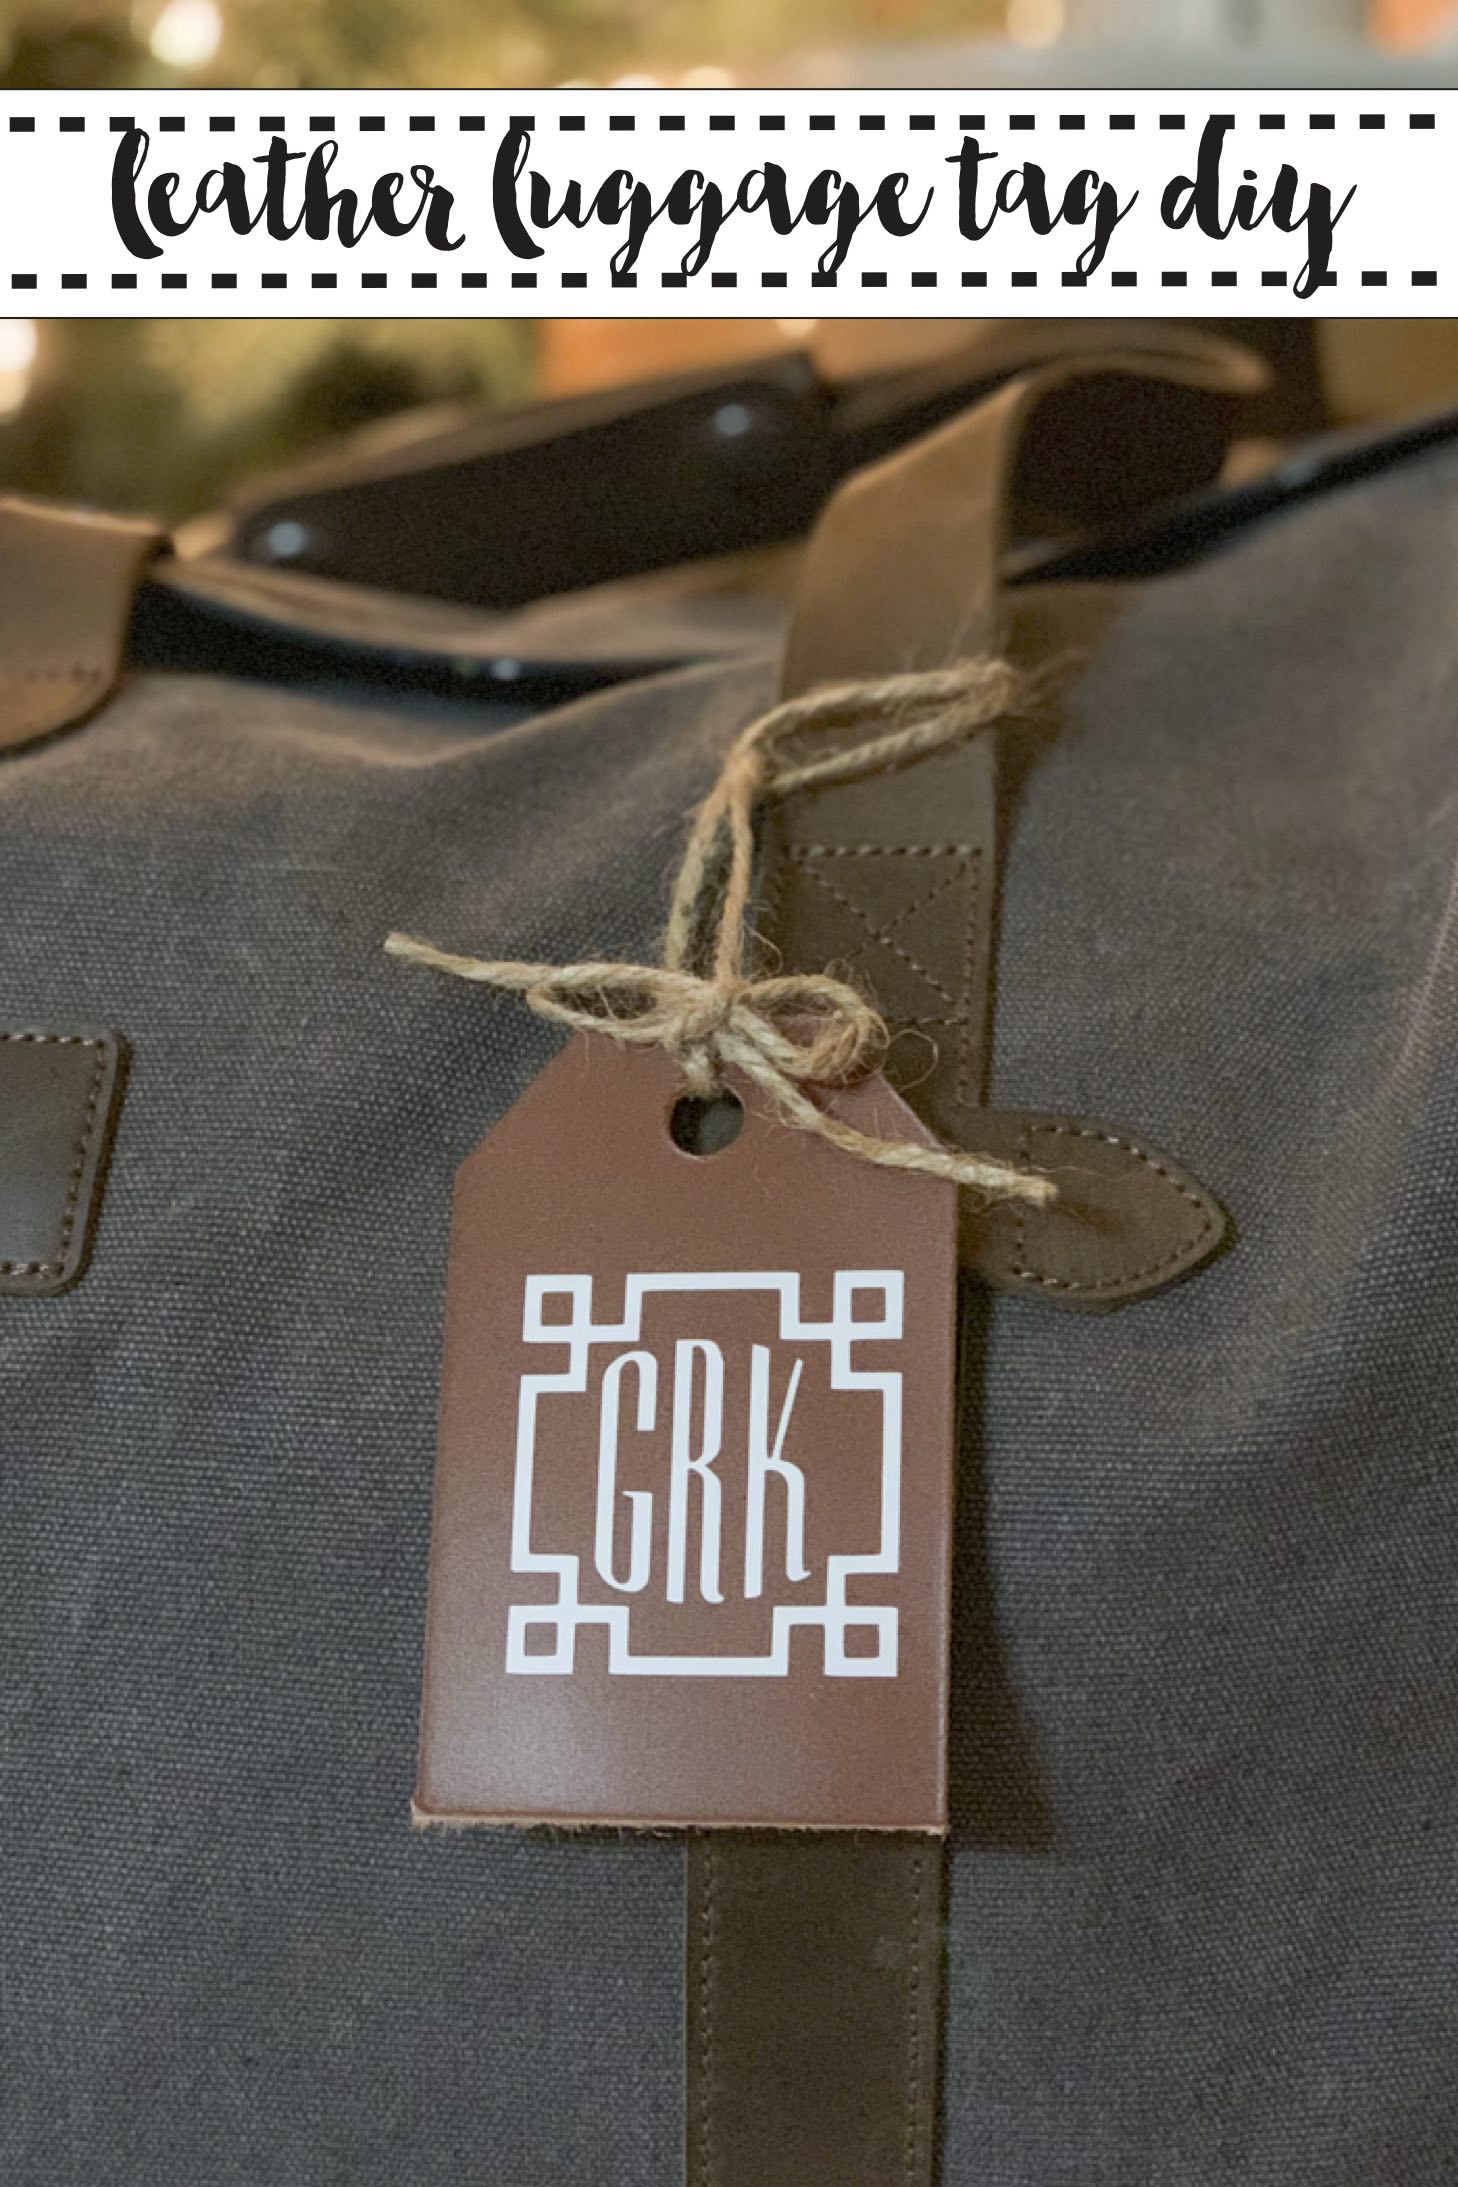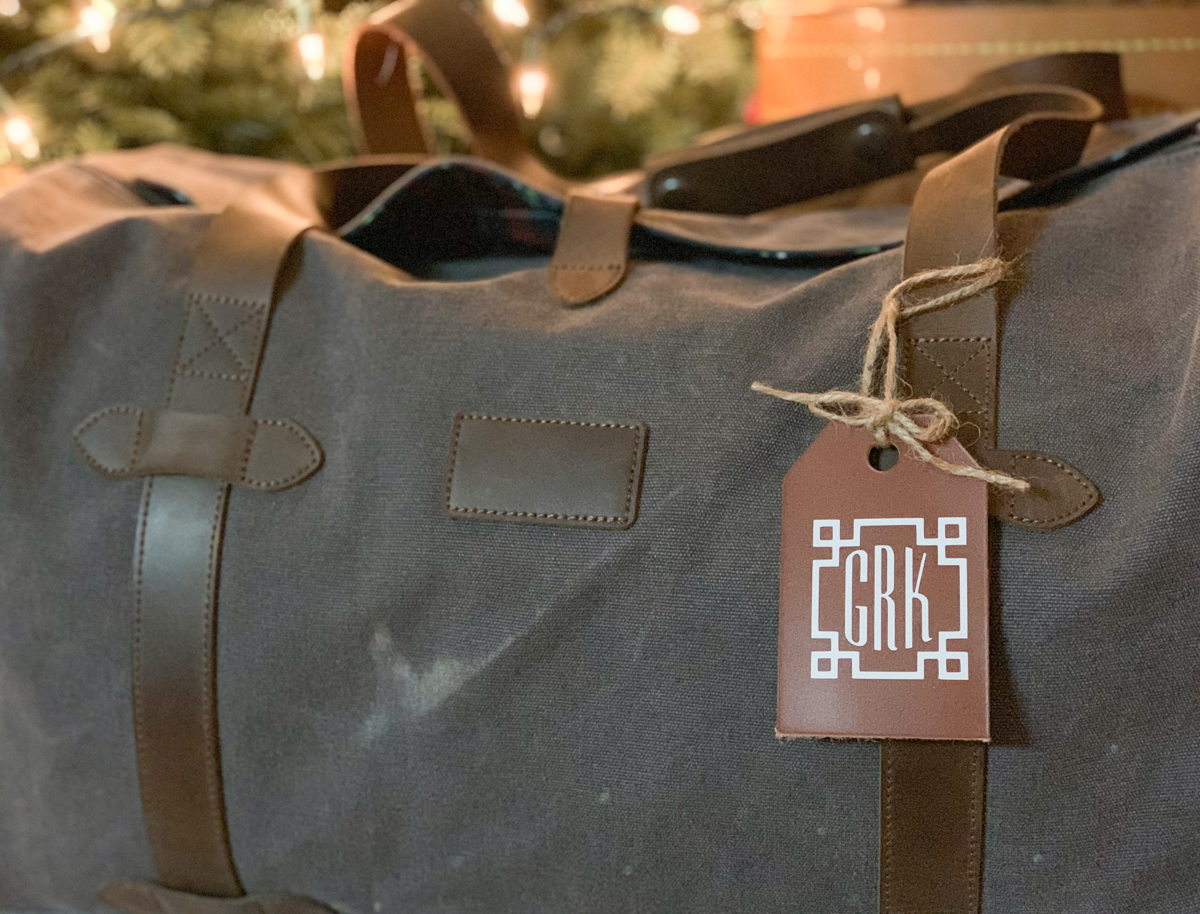
Leather Luggage Tag DIY
This year has been the year of travel for me! I have been to so many places that were on my bucket list, and revisited places and people I love. But, with all of that travel I have definitely found the need for a nice luggage tag.
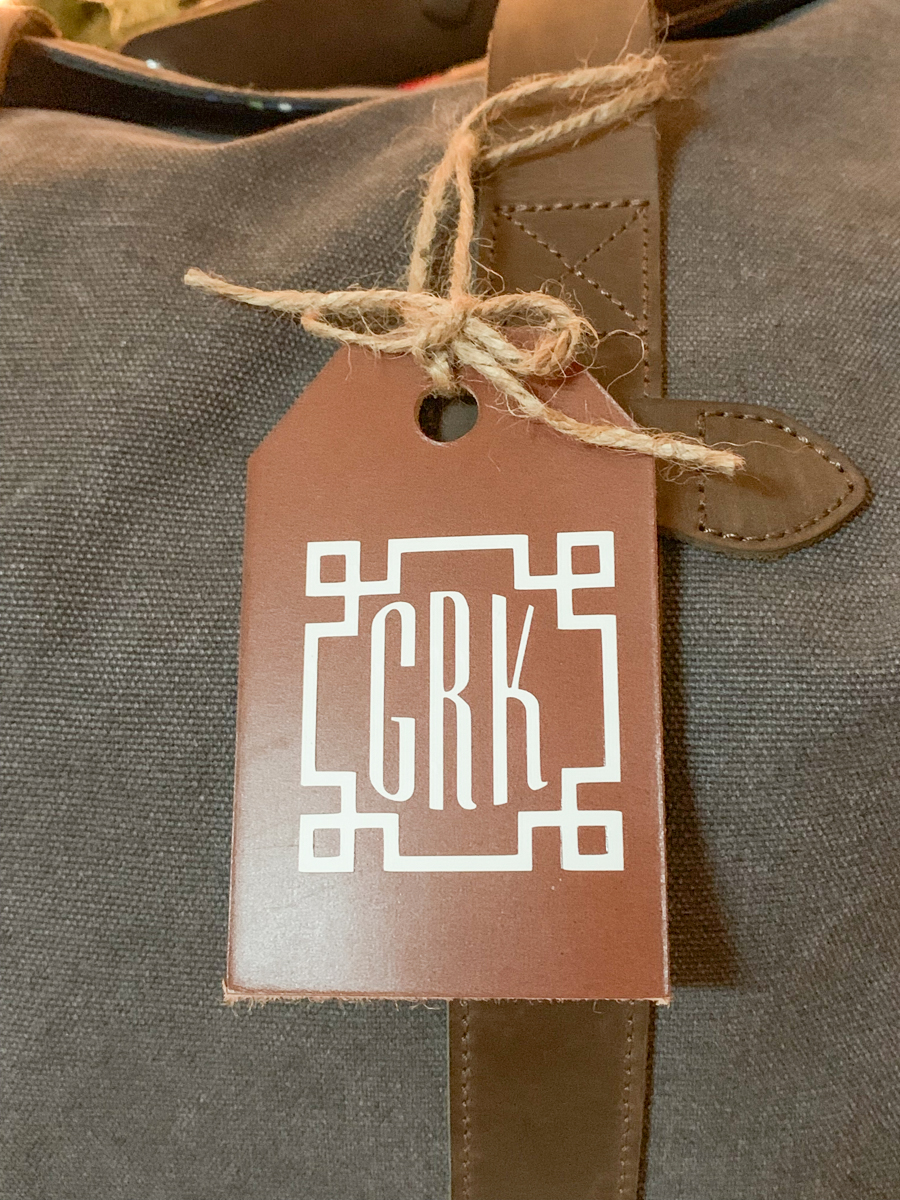
Make your own Monogrammed Leather Luggage Tag
This project is so simple, the Cricut literally does most of the work, and in just a few minutes, you have a durable, totally custom luggage tag!
Supplies:
Step 1:
Open this cut file, and customize the monogram. {I use Anna’s Decorative Monograms}
Step 2:
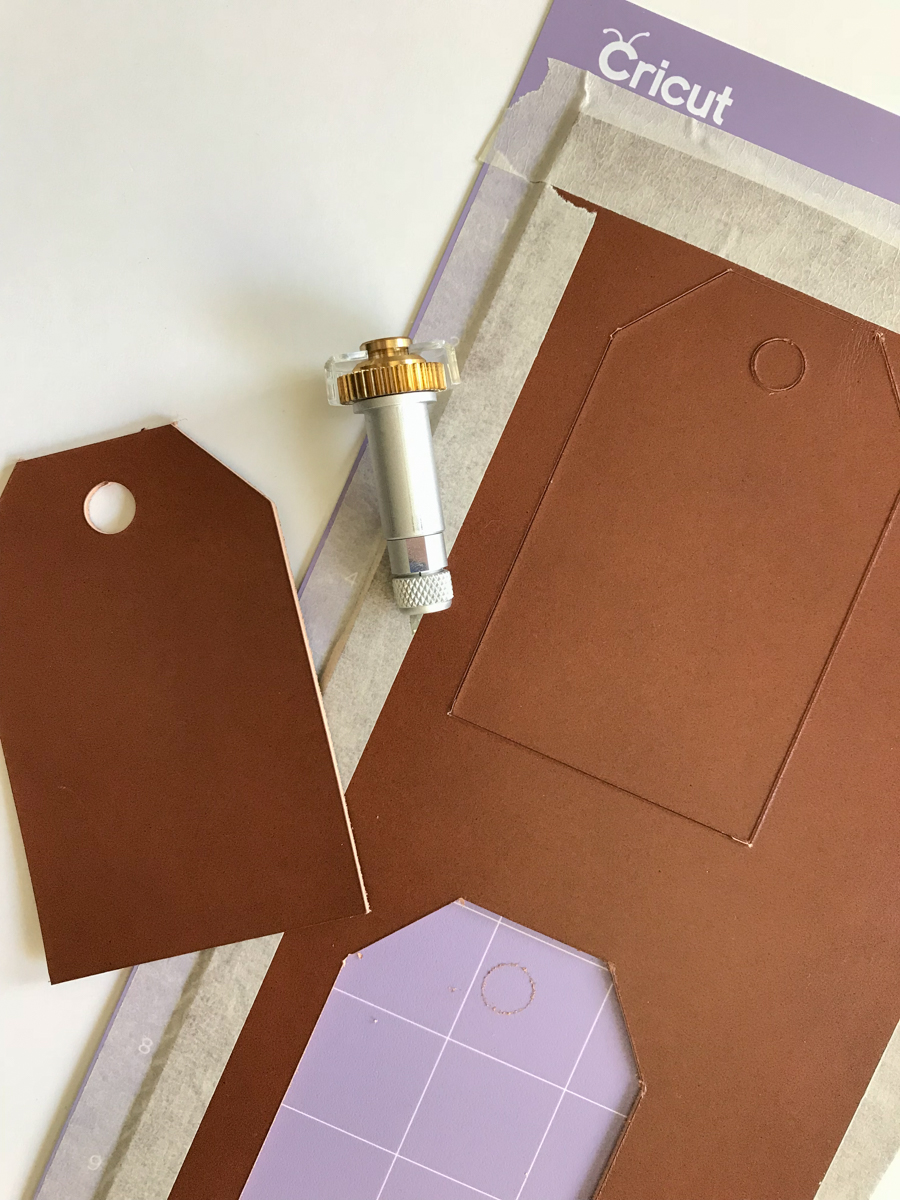
Send the file to cut. You will need to use a strong grip mat and masking tape for the leather. While the leather is cutting, prepare the Iron On. Place the Iron On on a standard grip mat, shiny side down.
Step 3:
Weed the excess Iron On and leather.
Step 4:
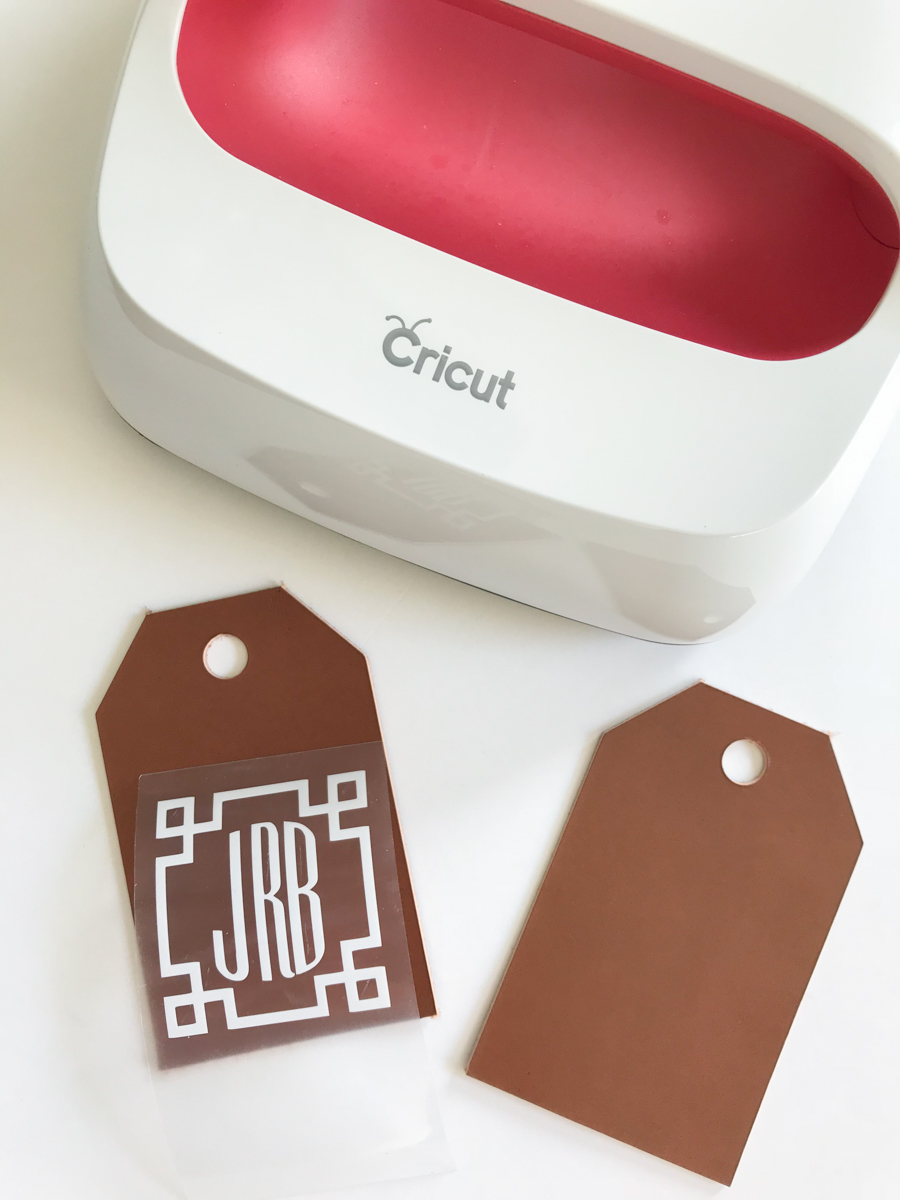
Pre-heat the EasyPress 2 to the recommended heat, and press the Iron On onto the leather.
Step 5:
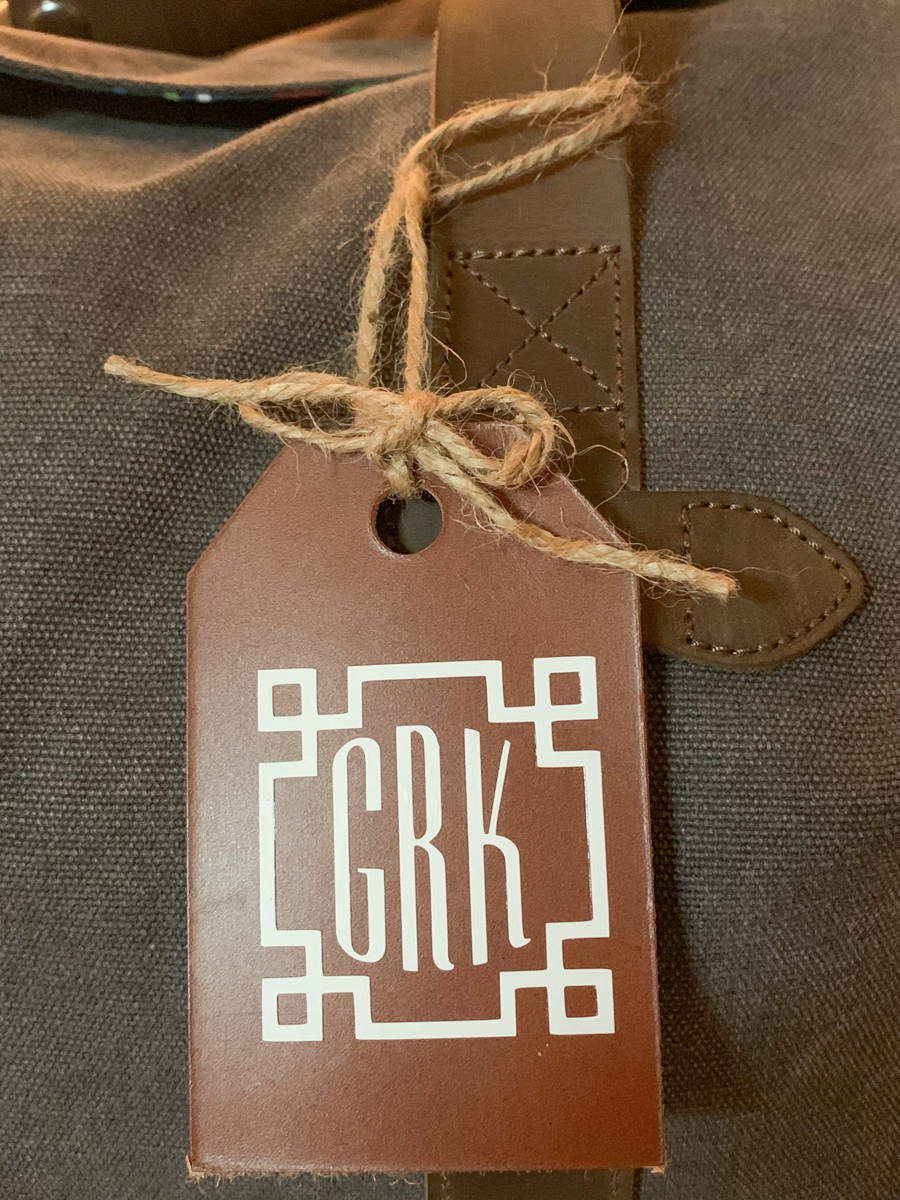
Tie onto luggage with leather twine or heavyweight jute.
These luggage tags would be perfect holiday gift tags too!
Be sure to check out these posts too!
Tags : Cricut, Cricut EasyPress 2, Cricut Maker, DIY, EasyPress 2, Gift Tag, Groomsman, Groomsman Gift, Leather, Luggage, Monogram, Monograms

