
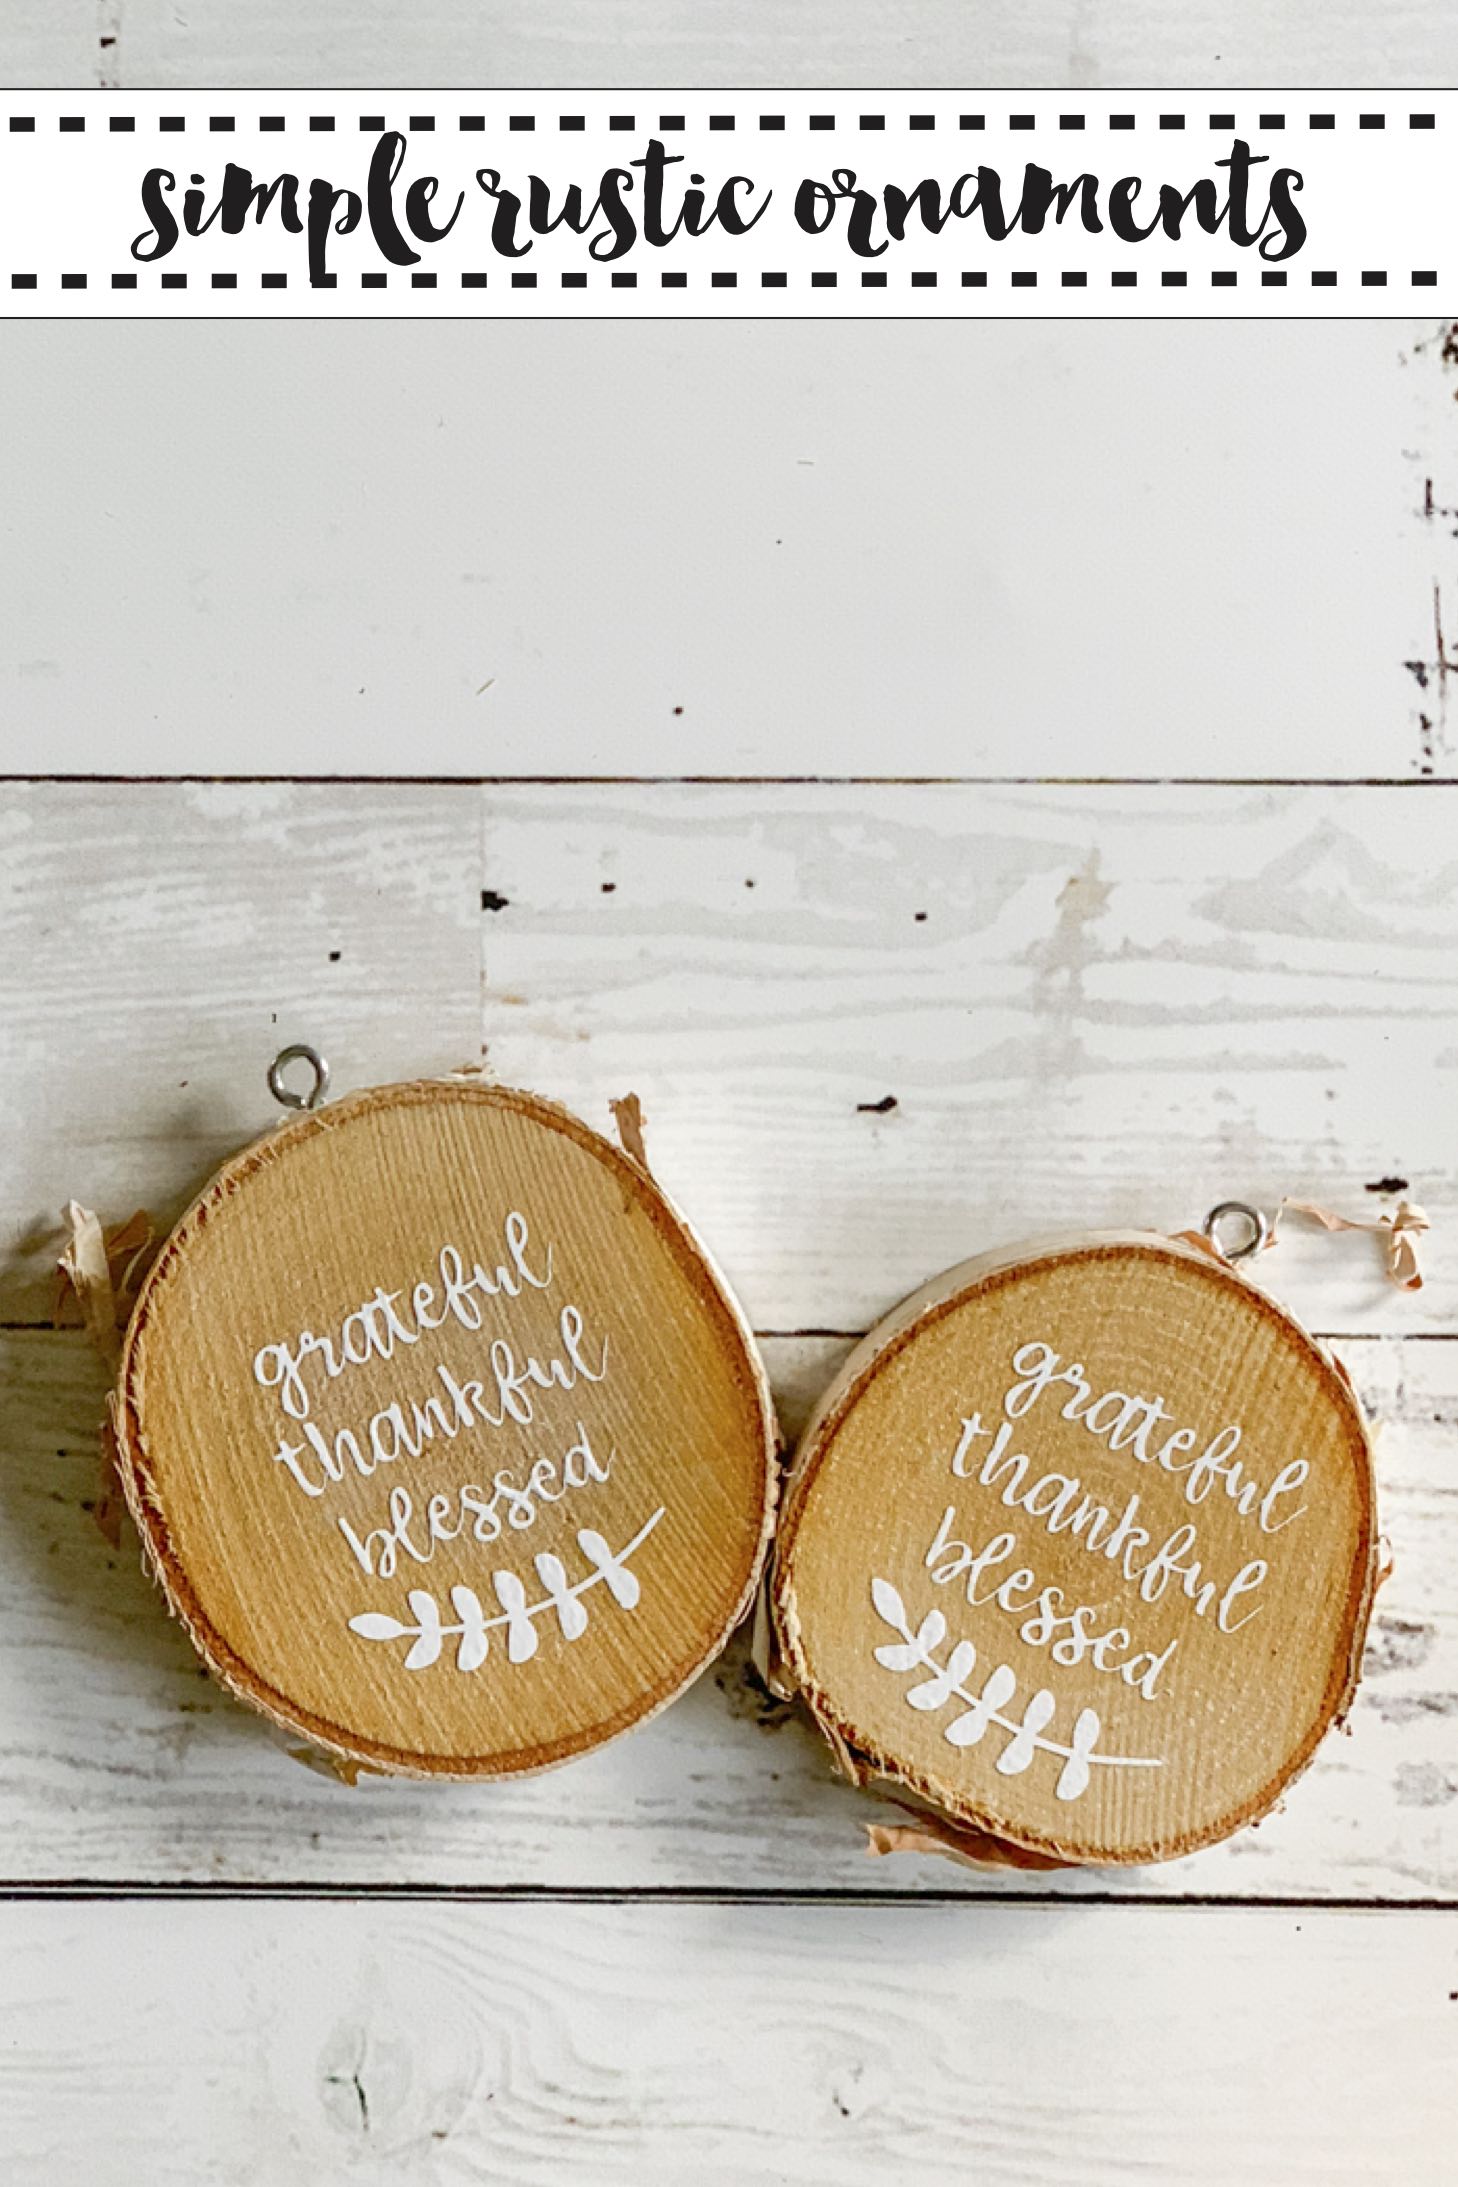
Simple Rustic Ornament DIY
Simple Rustic Ornament DIY. I am super excited to be back again for Remodelaholic’s Creative Christmas Challenge! I really look forward to seeing what all of the other crazy talented bloggers come up with. Plus, you know I love a good creative challenge!!
This year, for the first time ever, we are hosting a Friendsgiving Dinner Party. I am SO excited to host it, and I have been working on tons of little projects to make the party absolutely perfect. These simple rustic ornaments are actually doing double duty, and are place settings as well as favors for each guest.
You only need a few things to make your own rustic ornaments:
Design Space and this Cut File
EasyPress or Iron
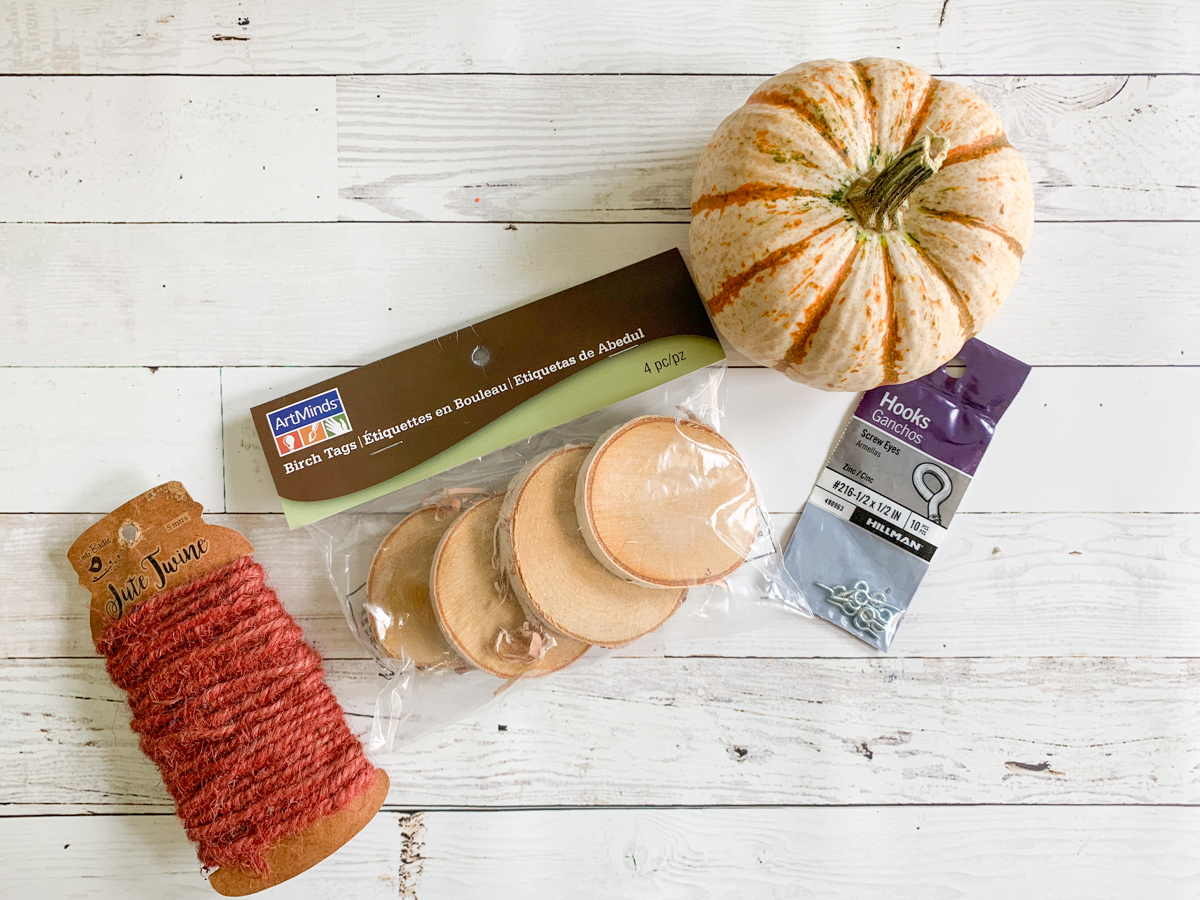
Begin by opening this cut file and sizing it to fit your wooden discs. I bought mine, but you can totally cut some logs too. Once the cut file is the right size, send it to cut. Cut as many as you will need. {Don’t forget to mirror your cut and place the Iron On on the cutting mat shiny side down} Weed the excess Iron On and cut each cut file out. {Each one should say grateful, thankful, blessed and have leaves under it}
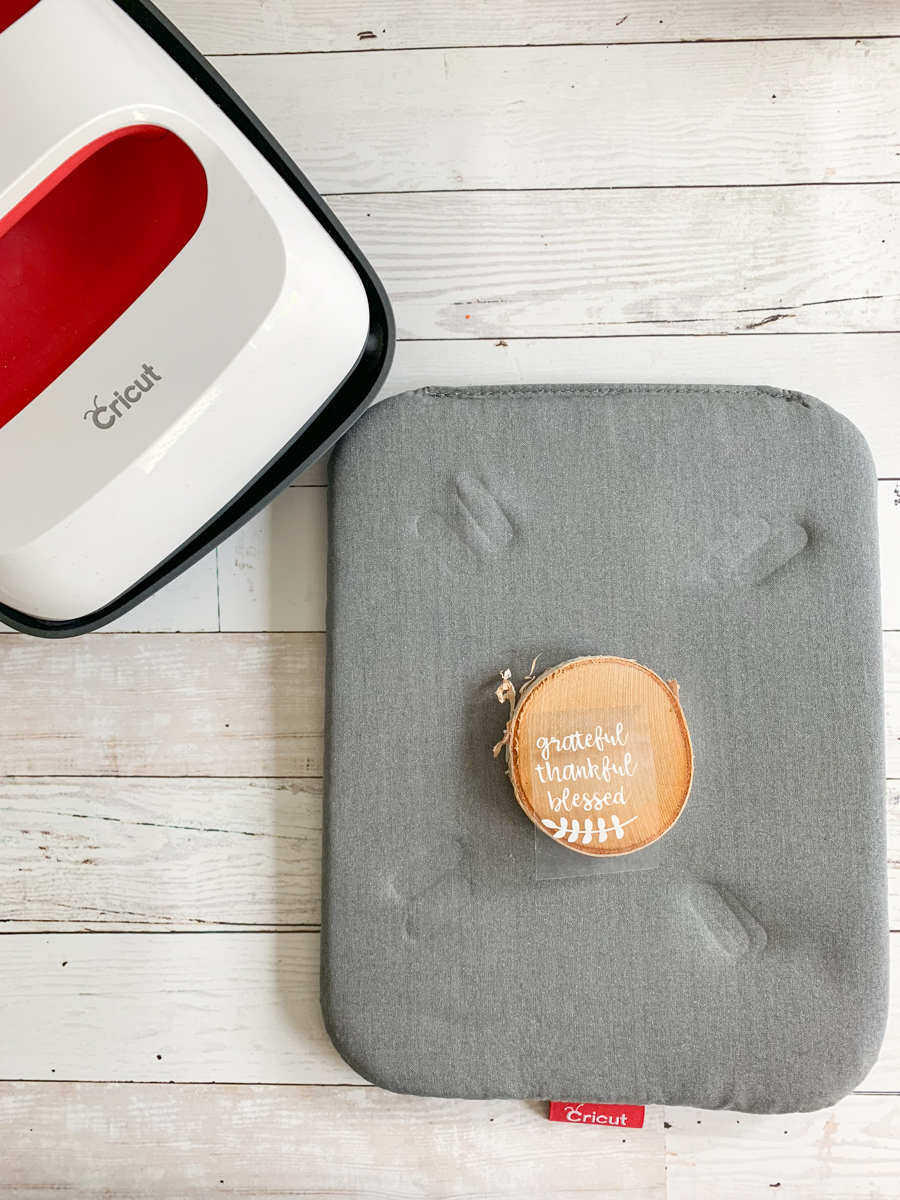
Place the Iron On on to the wooden disc and pre-heat the EasyPress. Place the Iron On Protective Sheet over the Iron On on the disc, and press the Iron On onto the disc. I pressed each disc for about 45 seconds at 275*. Remove the Iron On Carrier Sheet, and set aside while you press the rest of the discs.
Once all of the discs have the Iron On pressed on, drill a small hole at the top of the disc.
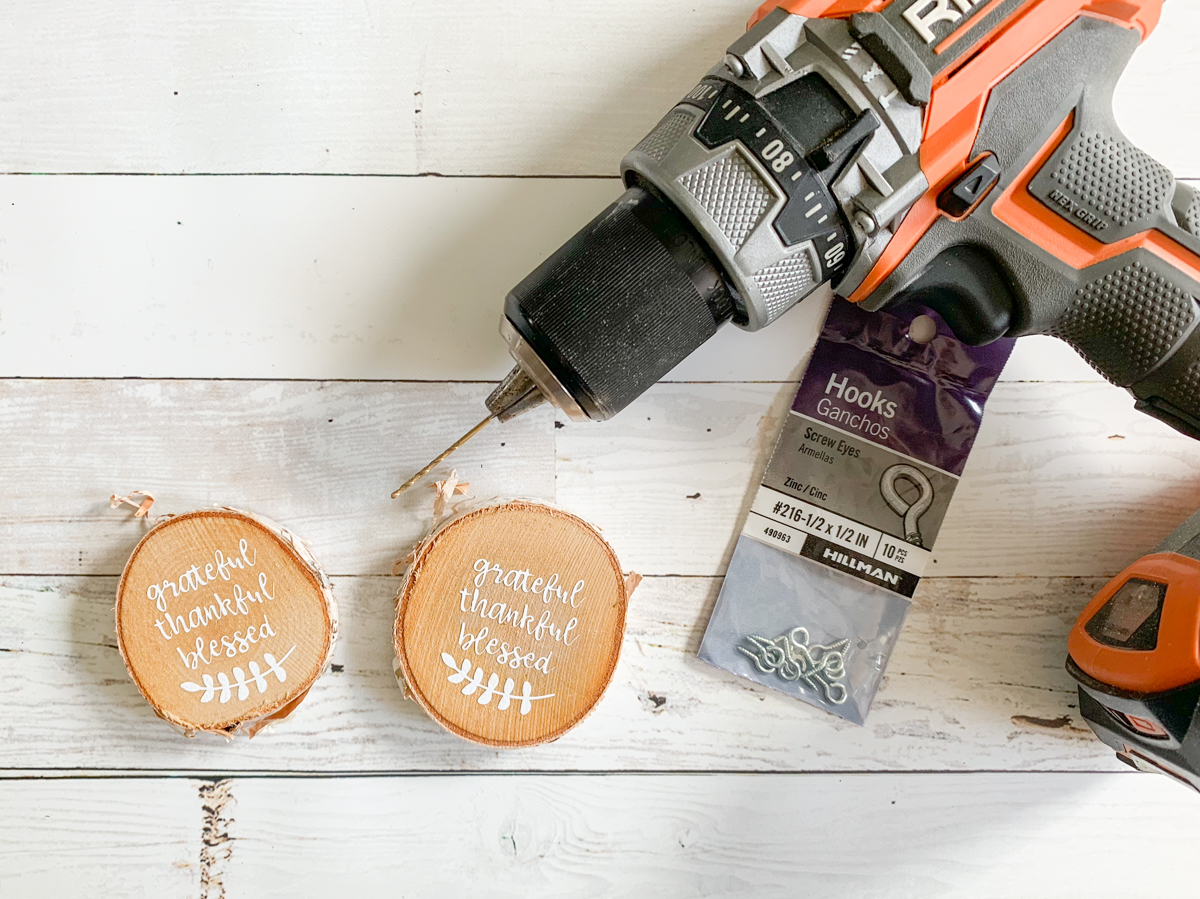
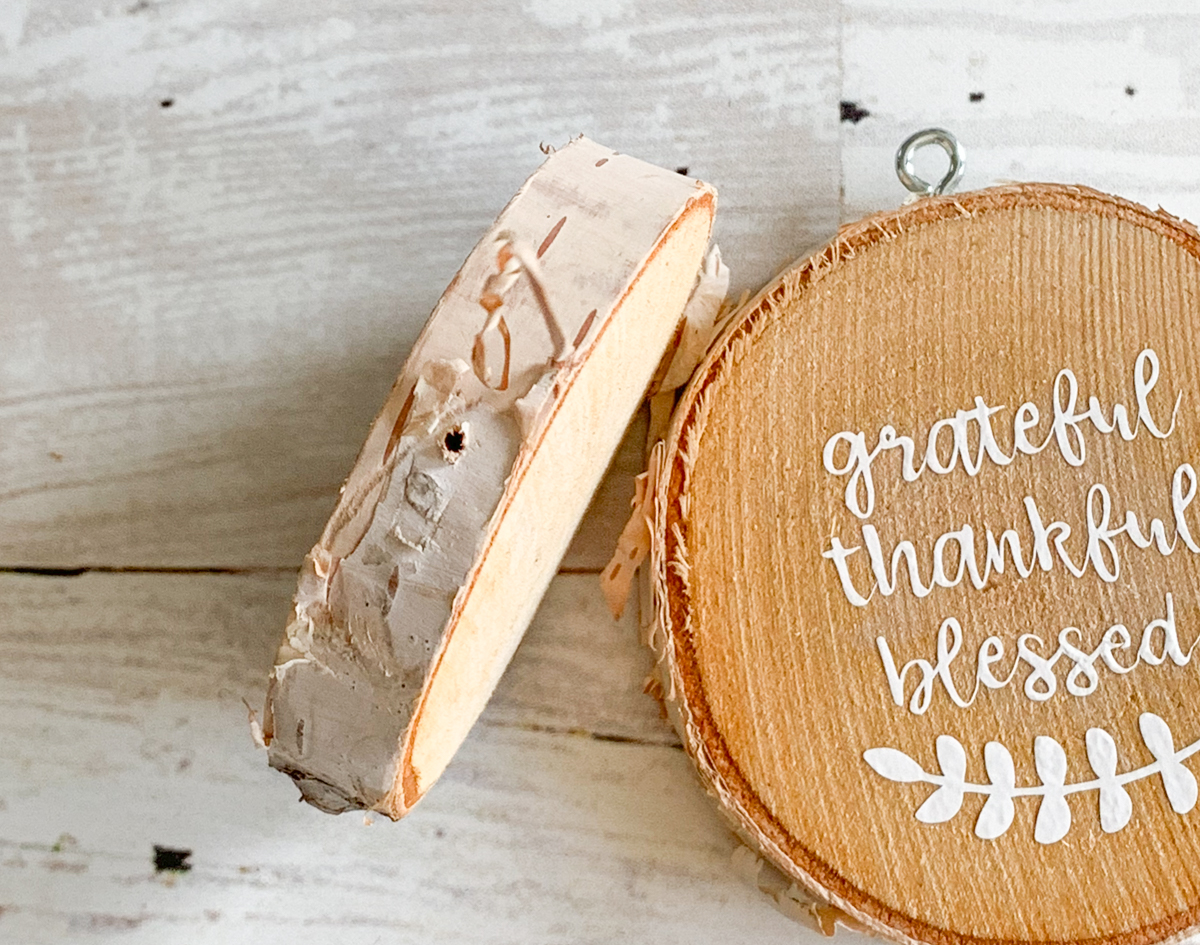
Now, screw in the small eye hook.
Be sure to check out everyone else’s awesome projects too!
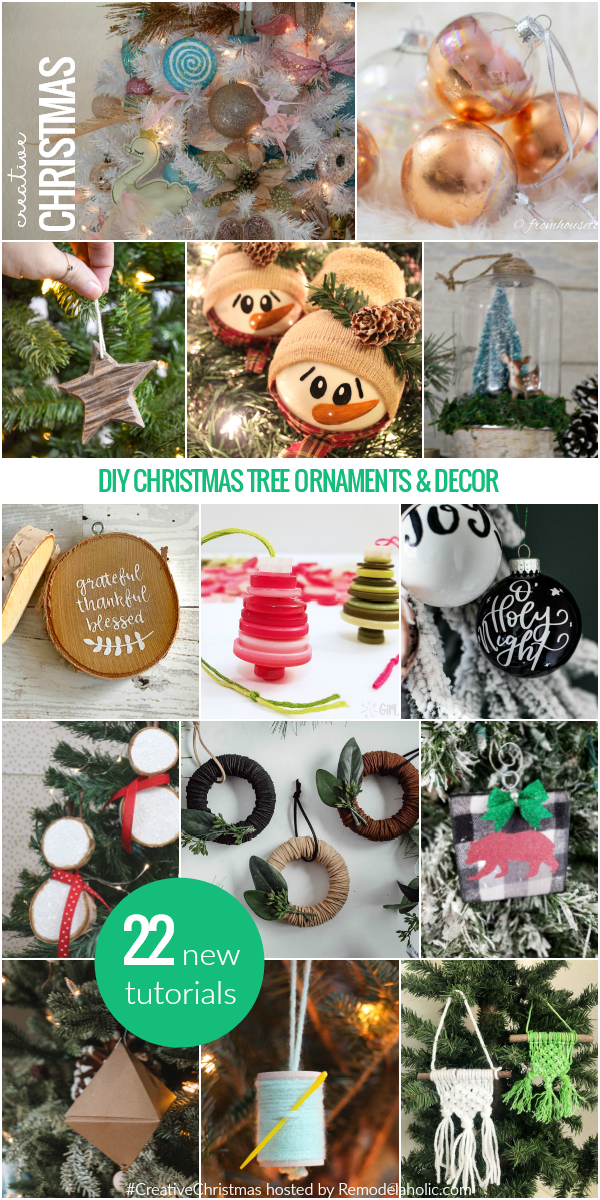
Nutcracker Christmas Tree Decorating | Remodelaholic
Copper Christmas Ornaments | From House to Home
DIY Rustic Carved Wood Ornaments | Ugly Duckling House
Snowman Globe Ornaments | Kailyn Williamson
Dollar Store Snow Globe Ornaments | Our Crafty Mom
Button Christmas Ornaments | Girl Just DIY
Handlettered Ornaments 3 Ways | Lemon Thistle
Wood Slice Snowman Ornament | Creative Ramblings
Mini Wreath Ornaments | Love Create Celebrate
Buffalo Plaid Ornaments | Leap of Faith Crafting
Easy DIY Geometric Ornaments | Practical and Pretty
7 Cheap and Easy Christmas Ornaments | Toolbox Divas
Macrame Ornaments | Frazzled JOY
Grapevine Christmas Wreaths | Grace in My Space
DIY Apple Candle Village | Life on Summerhill
Festive DIY Christmas Card Holder | Red Cottage Chronicles
Lettered Tree Sign | Smiling Colors
Modern Christmas Wreath | Sister’s What!
Reversible Holiday Easel | Queen Bee of Honey Dos
Pretty Decorative Clothespins | Sustain My Craft Habit
DIY Wooden Triangle Christmas Tree | Adventures of a DIY Mom
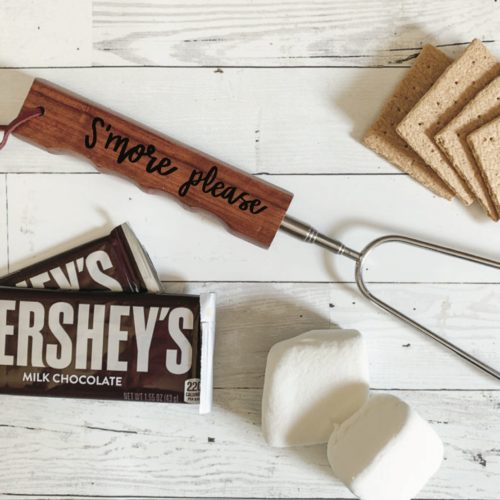
And, check out more of my Friendsgiving Dinner Party DIY’s too:
Tags : Christmas, Creative Christmas Challenge, DIY, DIY Ornament, Farmhouse, Farmhouse Style, Martha Stewart, Martha Stewart Thanksgiving, Ornament, Remodelaholic, Rustic, Thanksgiving


These ornaments are so cute! I recently got a cricut but haven’t tried any of the iron on vinyl yet. But now I want to 🙂
Oh man, you gotta try it!! It’s a total game changer!!
I love these ornaments that double as dinner guest favors! So simple but beautiful.
Thanks so much!! These were fun to make!
I love crafting with wood slices, but I don’t think I’ve ever used vinyl on them. Great idea, yours turned out beautifully, thanks for the inspiration.
Super cute! I’ve never put iron on on wood before, but I’m definitely going to try!
I love these SO much, Jessica! And iron-on vinyl is my favorite to weed — so easy! I need to try this for sure. Thanks for joining Creative Christmas!