Rustic Halloween Celebration
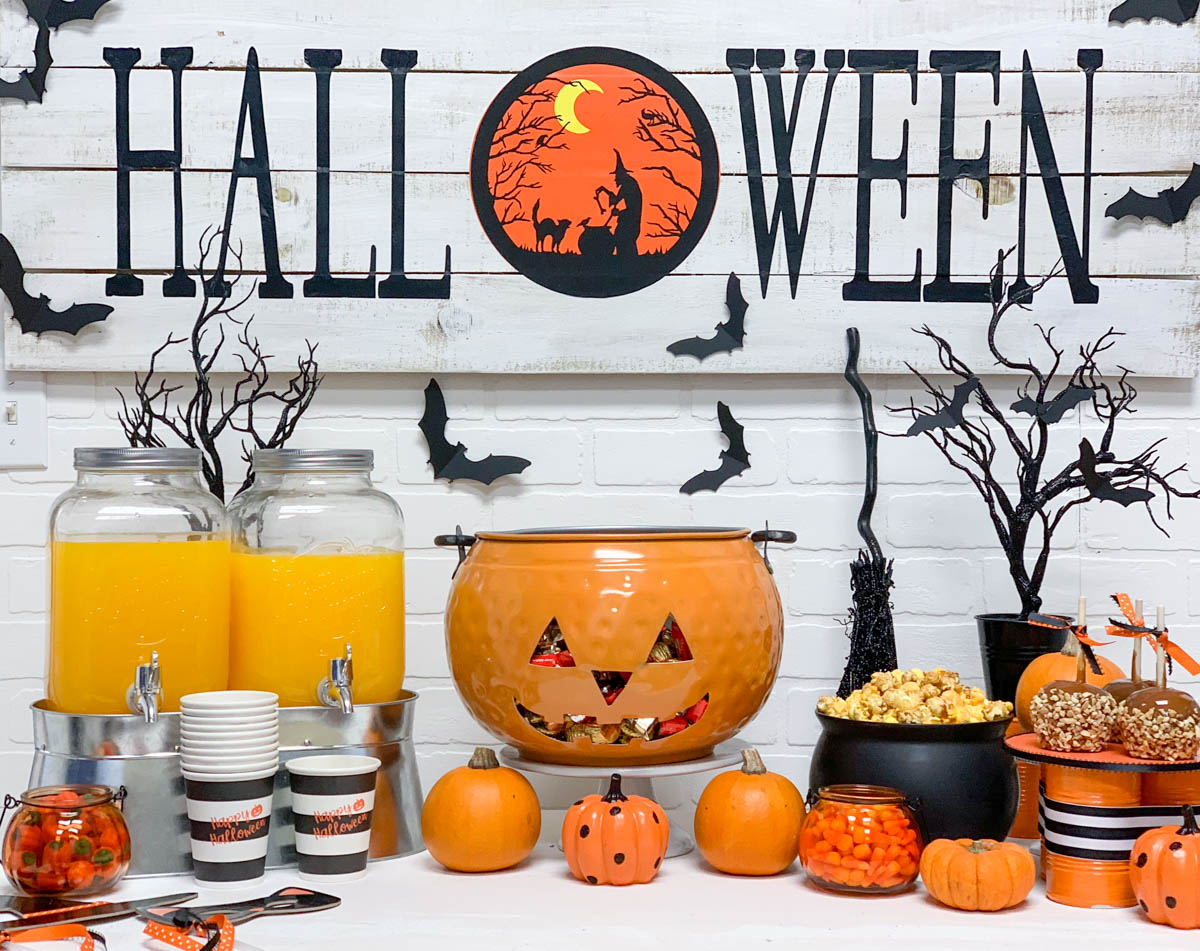
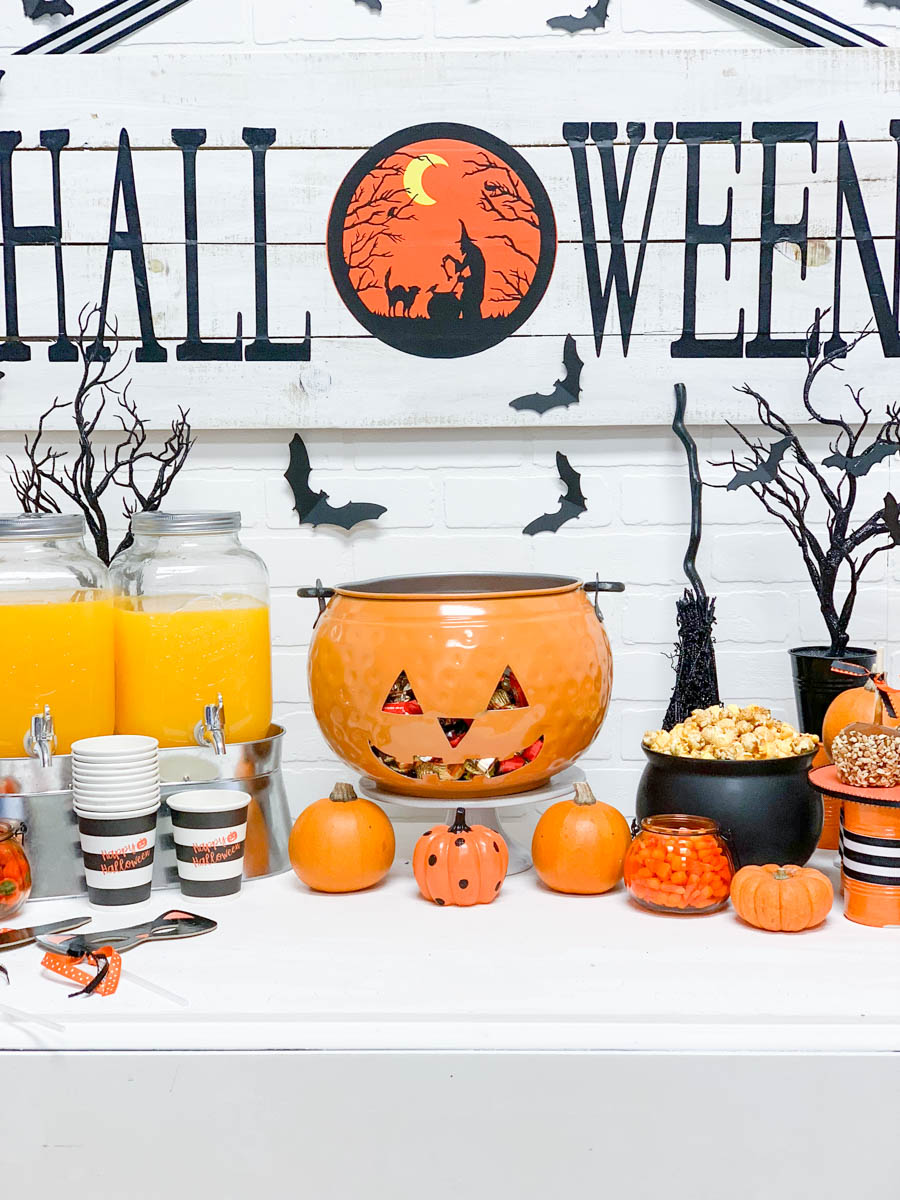
Rustic Halloween Celebration. It’s officially October, which means I can start sharing ALL THE HALLOWEEN things, including this fun rustic-ish celebration! It’s so easy to to have a handmade Halloween celebration with pro quality decor with the Cricut Maker.
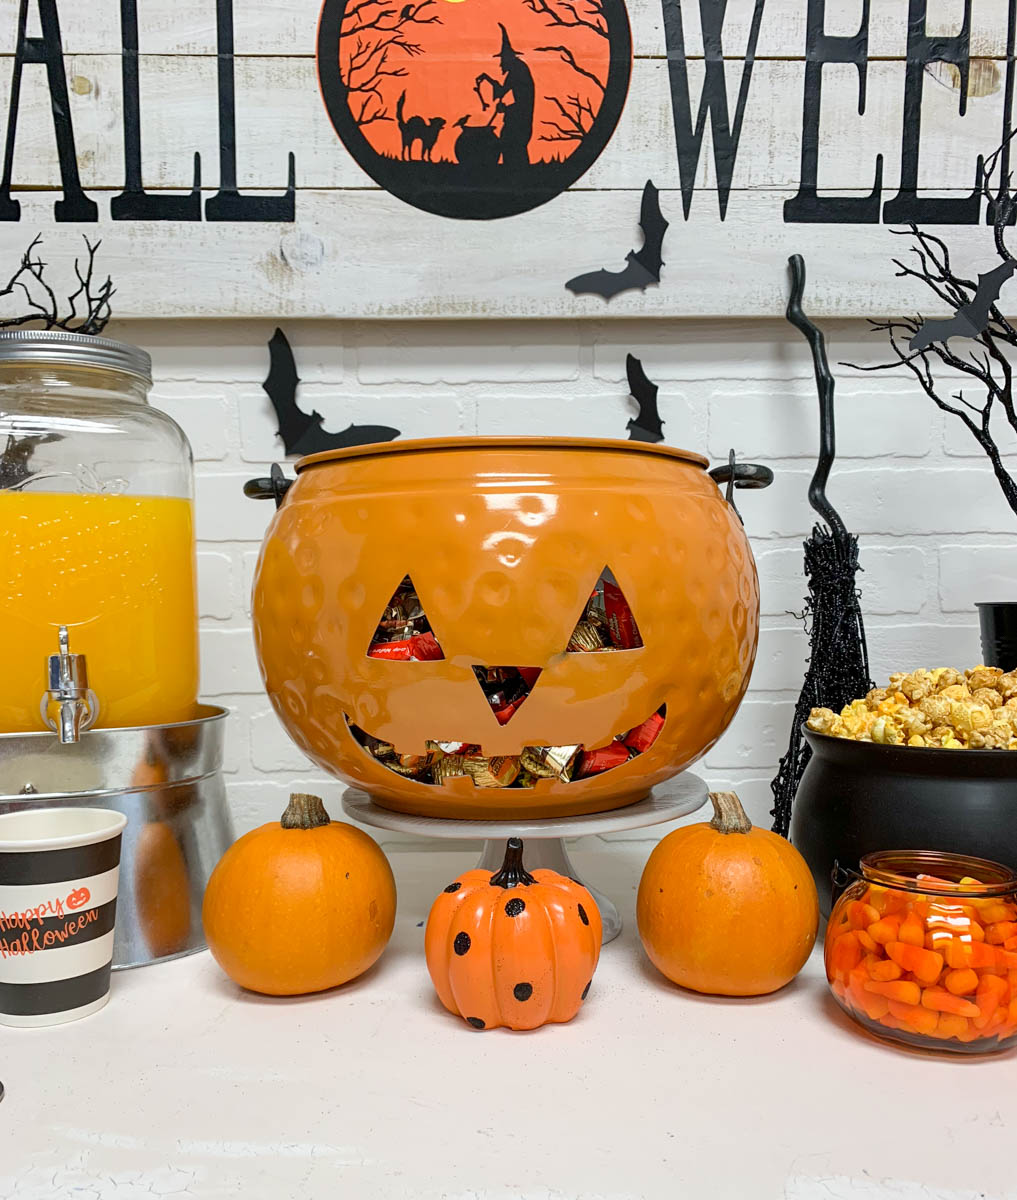
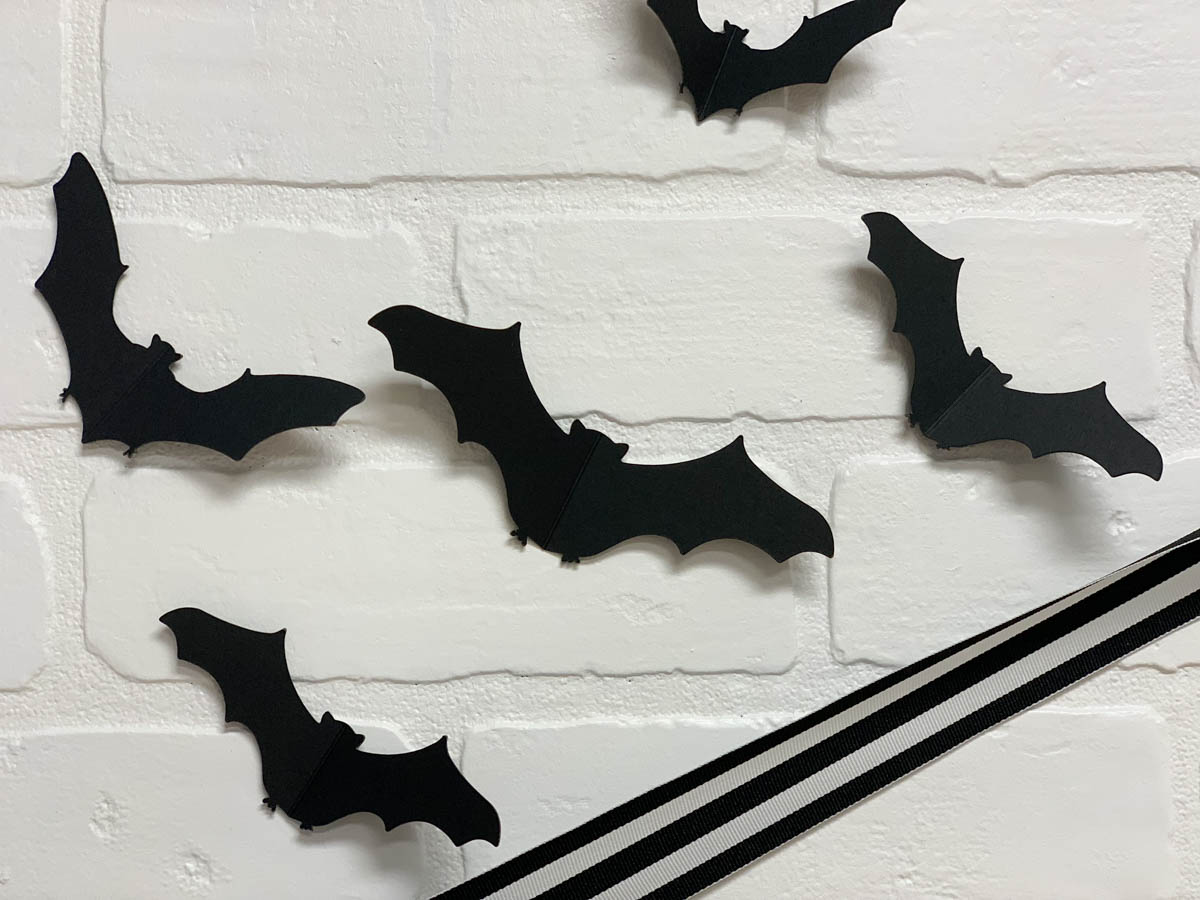
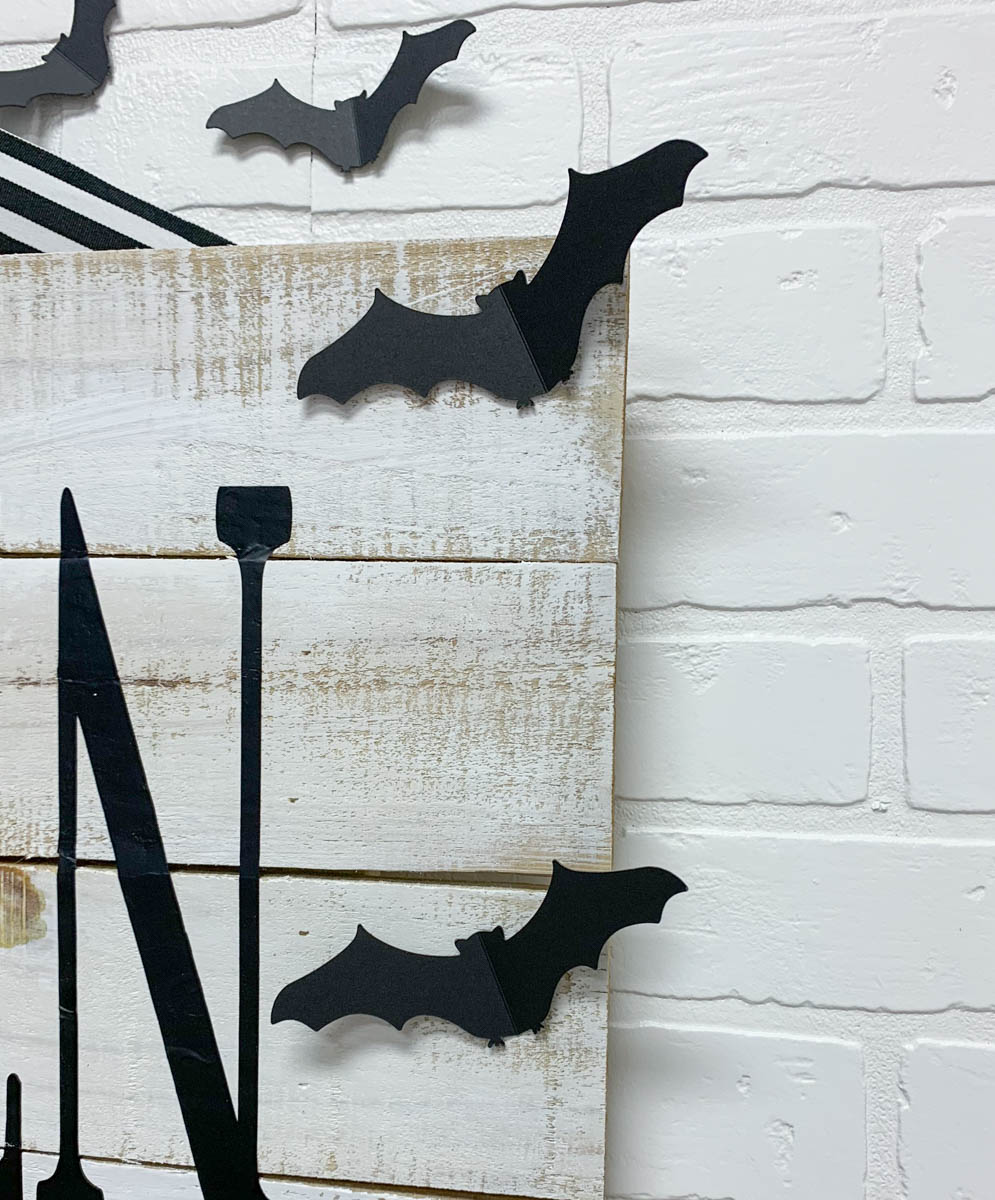
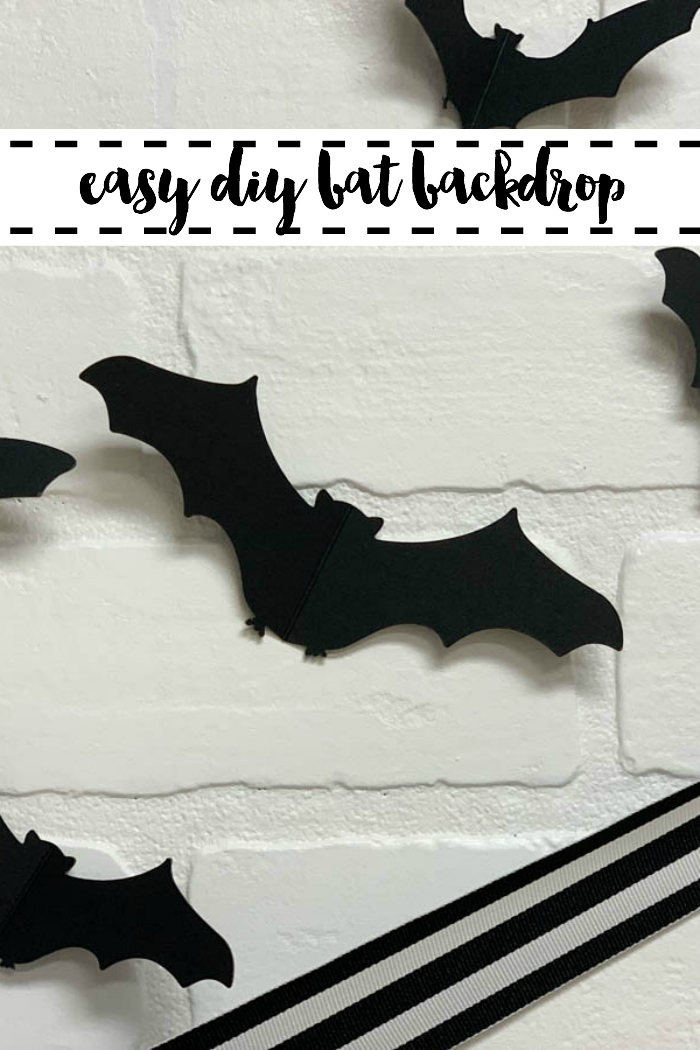
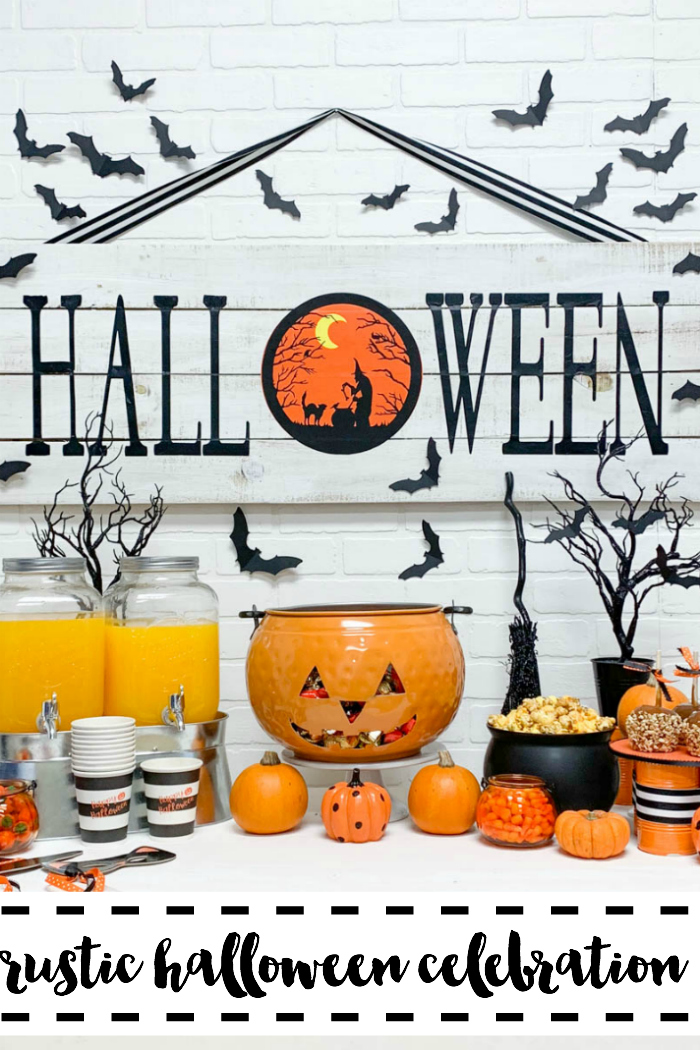
Yesterday, I shared the DIY for the oversized wooden sign I made, and I loved it so much I had to find a way to incorporate it in my Halloween party! It was the perfect backdrop, especially with the addition of black kraftboard bats fluttering around it.
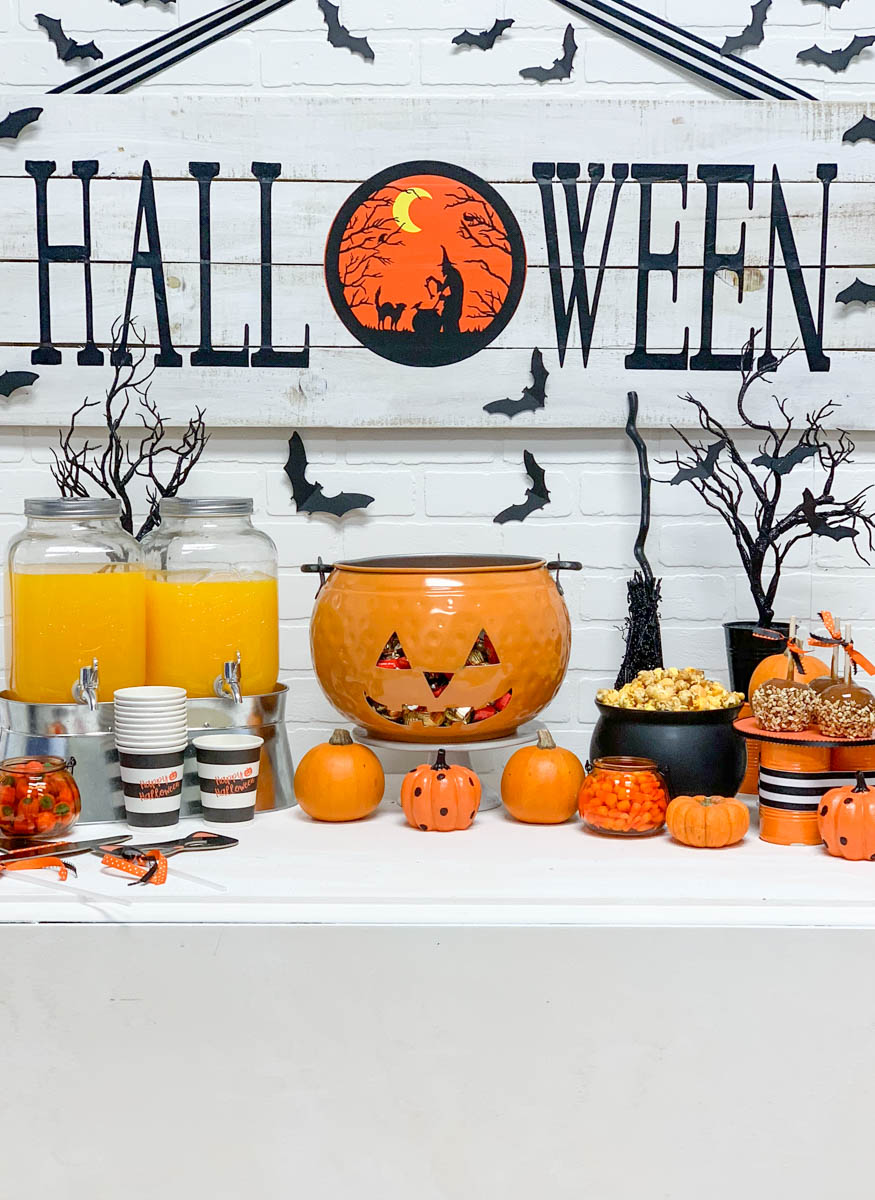
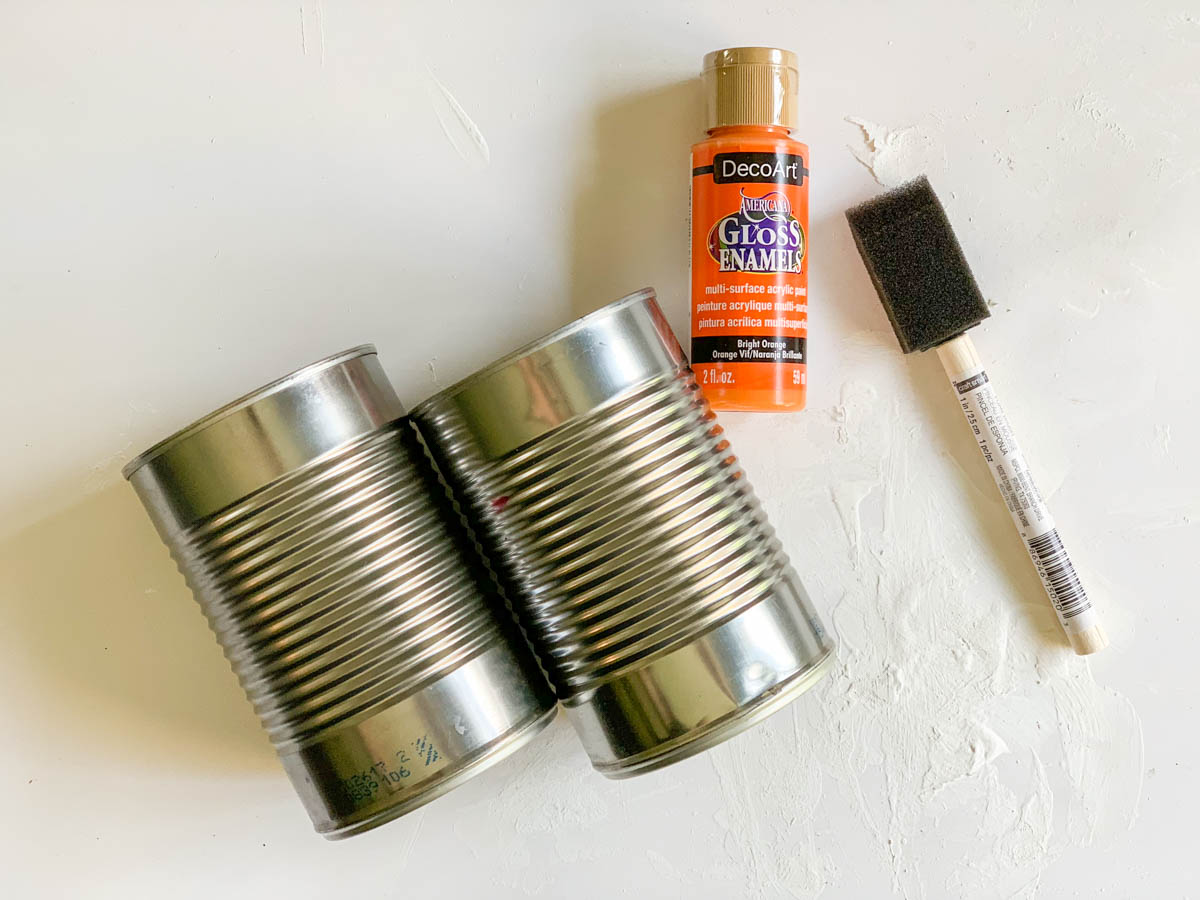
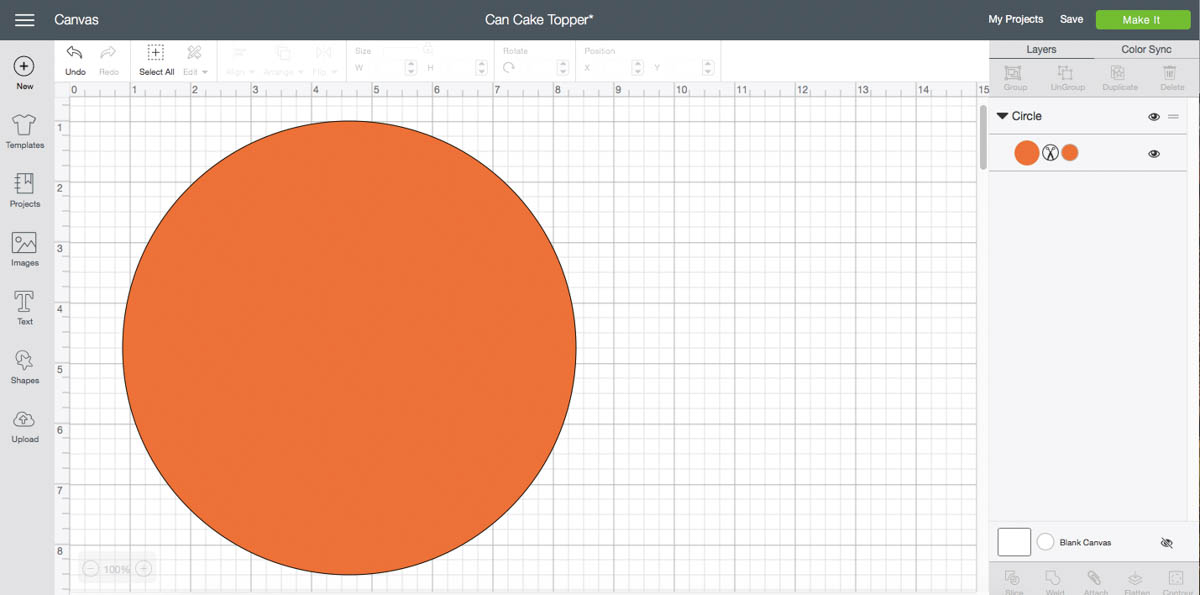
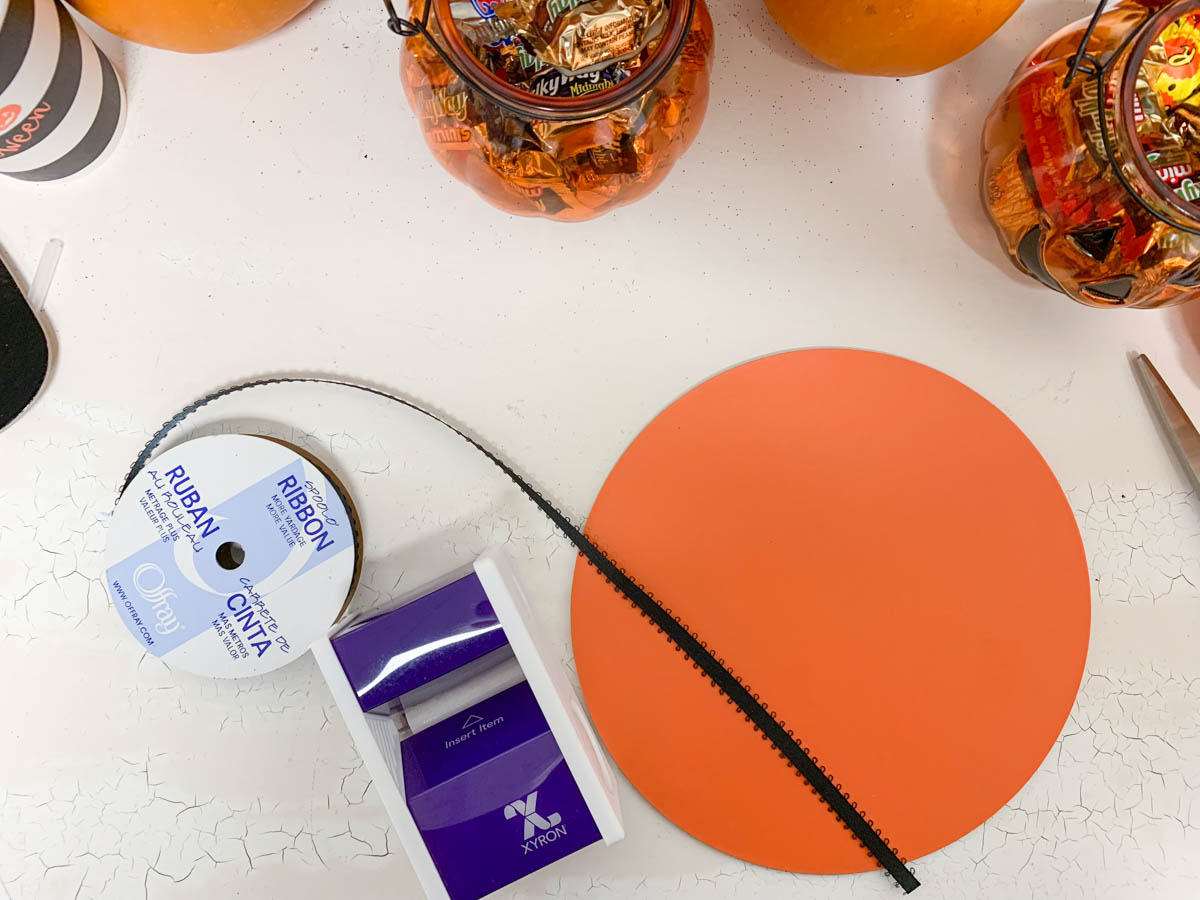
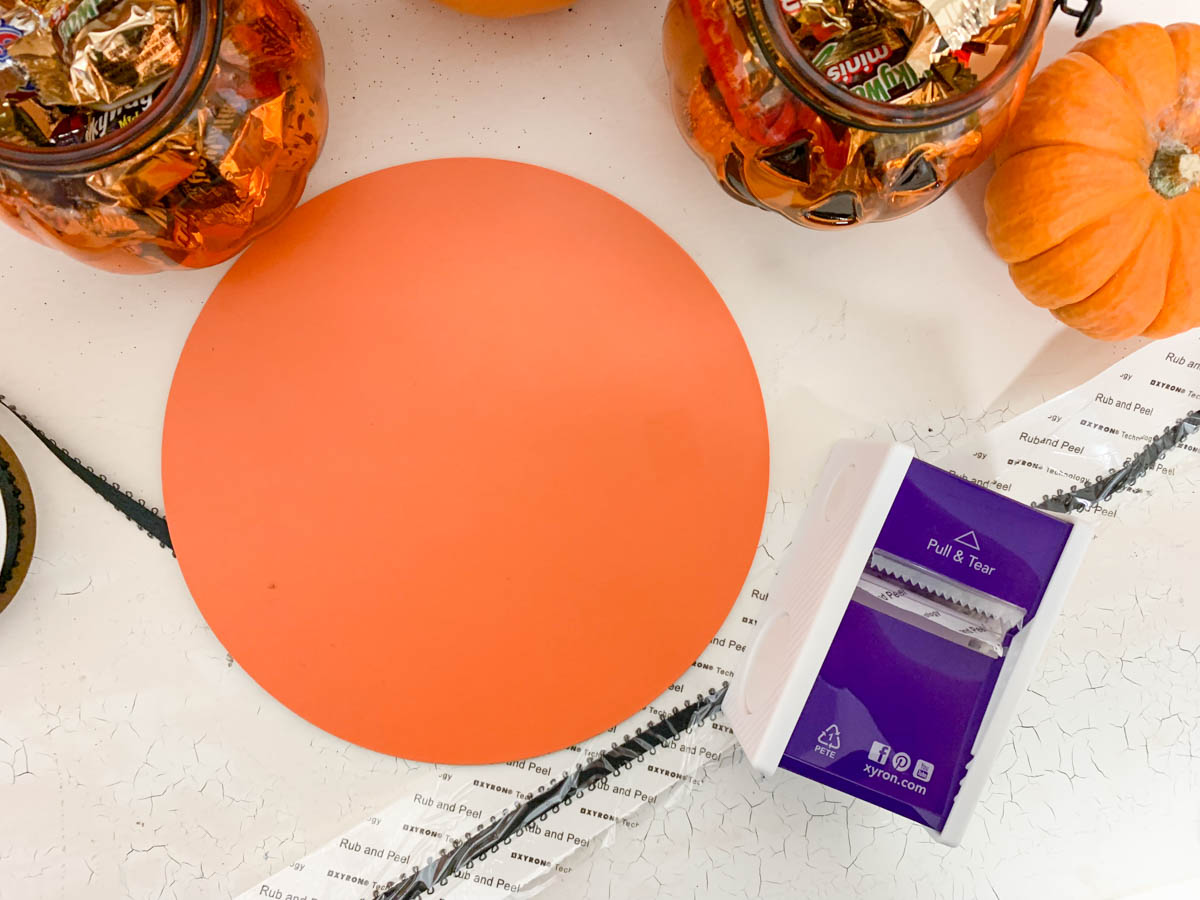
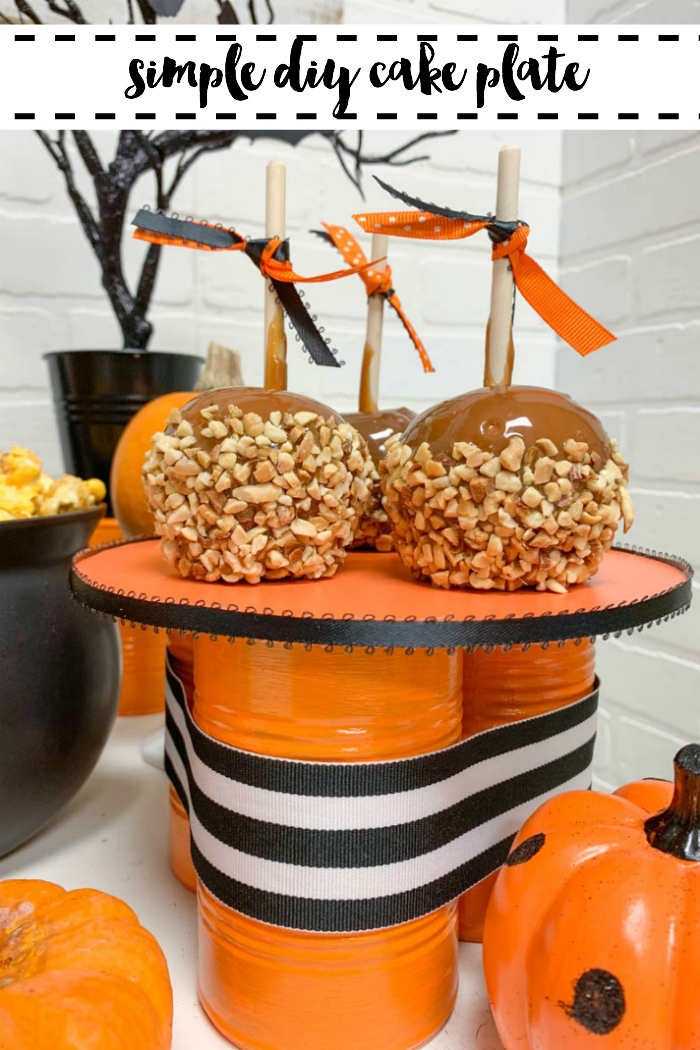
Can Cake Plate:
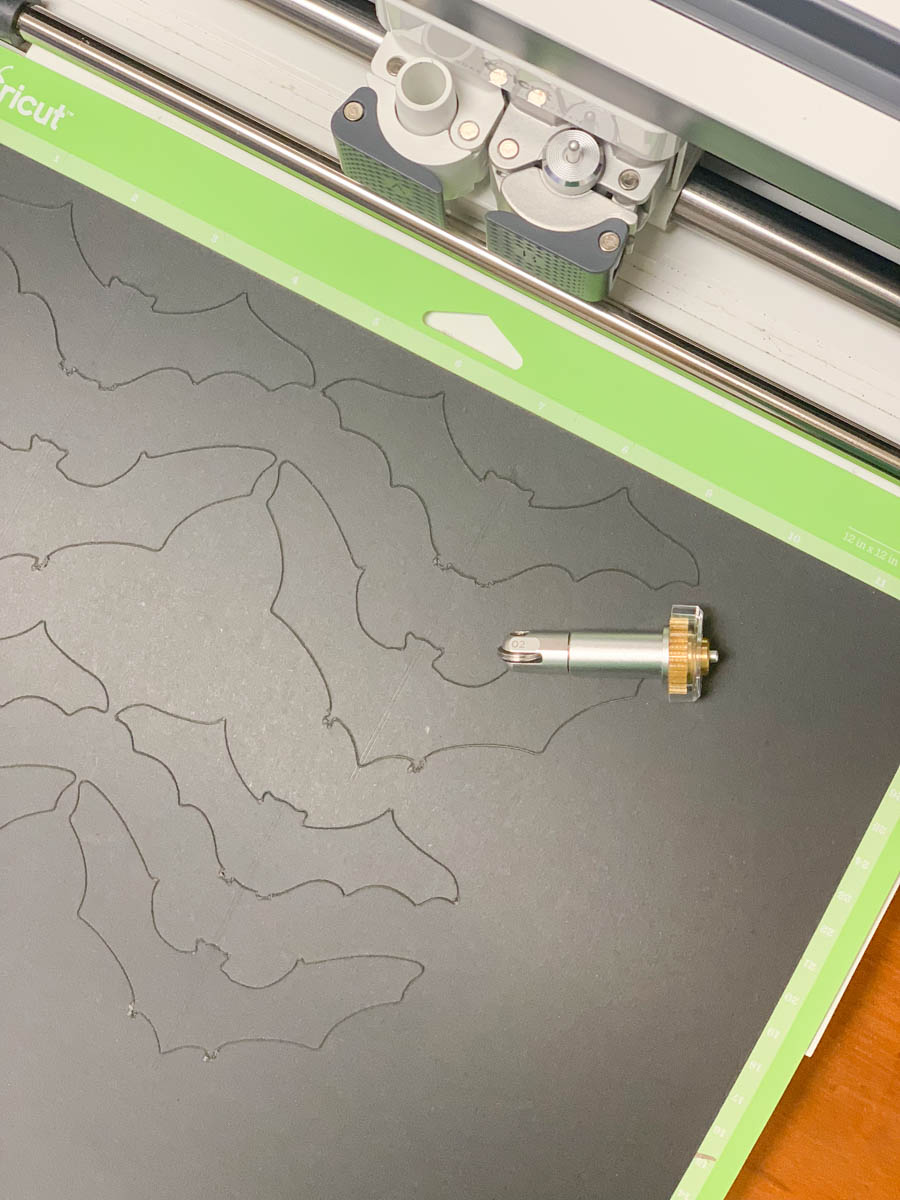
Fluttering bats:
This project literally could not be any easier to make! Open this Design Space cut file and size it to fit your needs. Add a piece of black Kraftboard onto a cutting mat and load into the Maker. Place the Double Scoring Wheel in the Maker and score the folds for the bats. Remove the Scoring Wheel, replace it with the fine point blade, and cut the bats. The bats will be a cinch to fold.

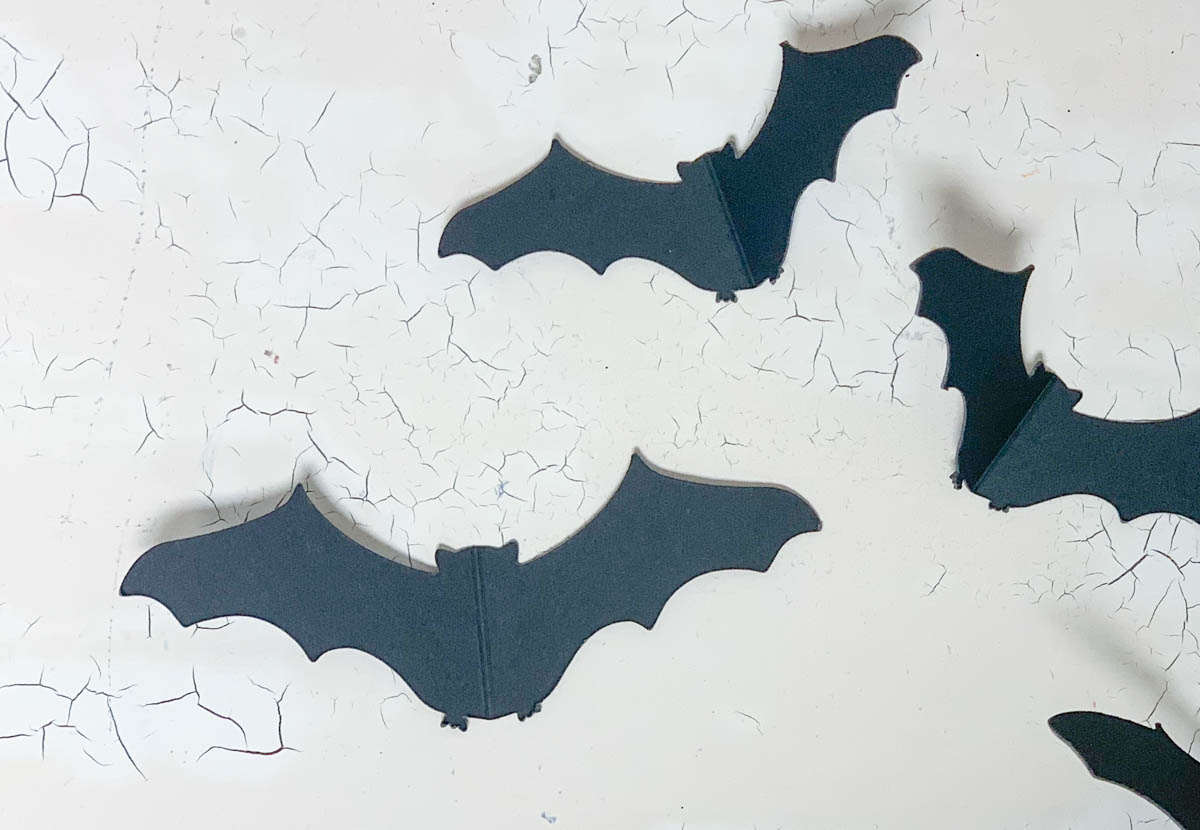
Finally, add a tiny bit of ticky tack to the backs of the bats, and stick to the wall.
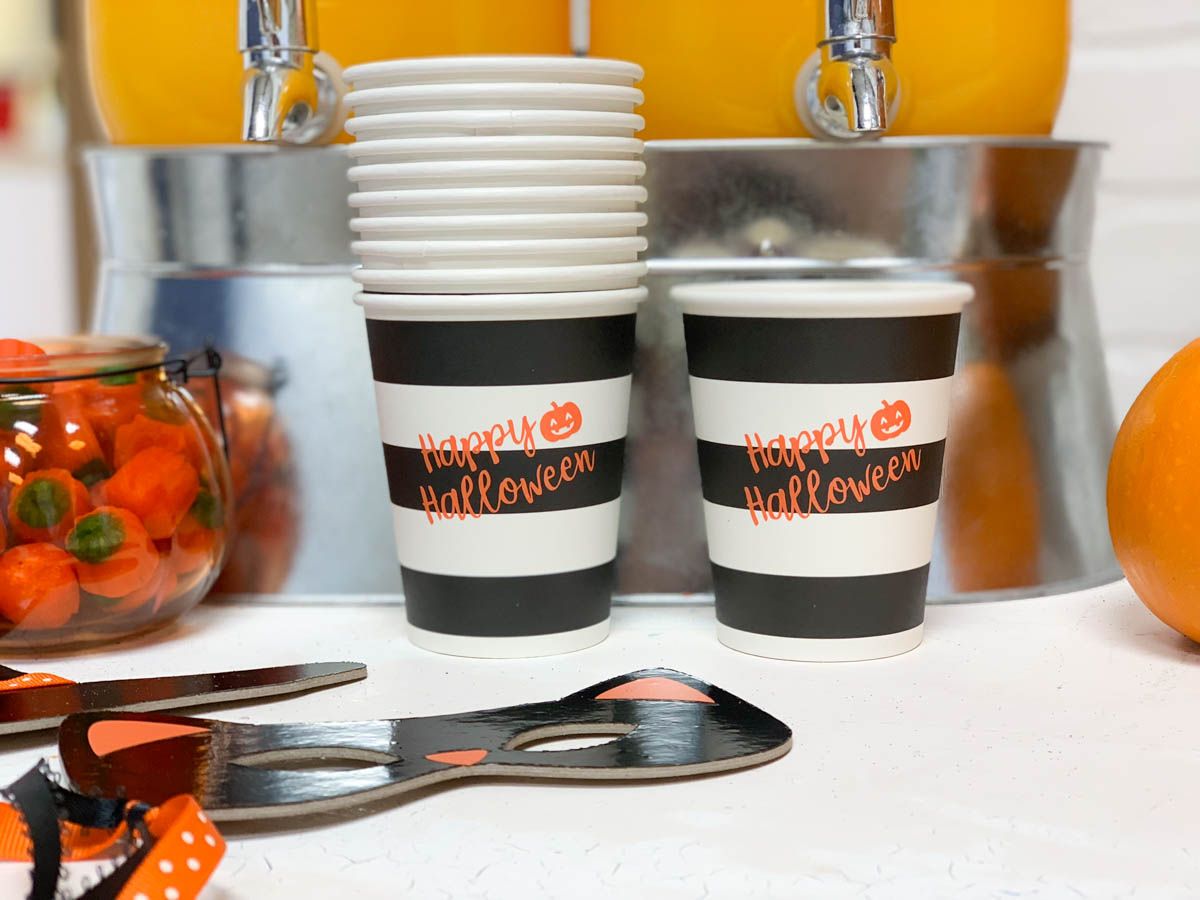
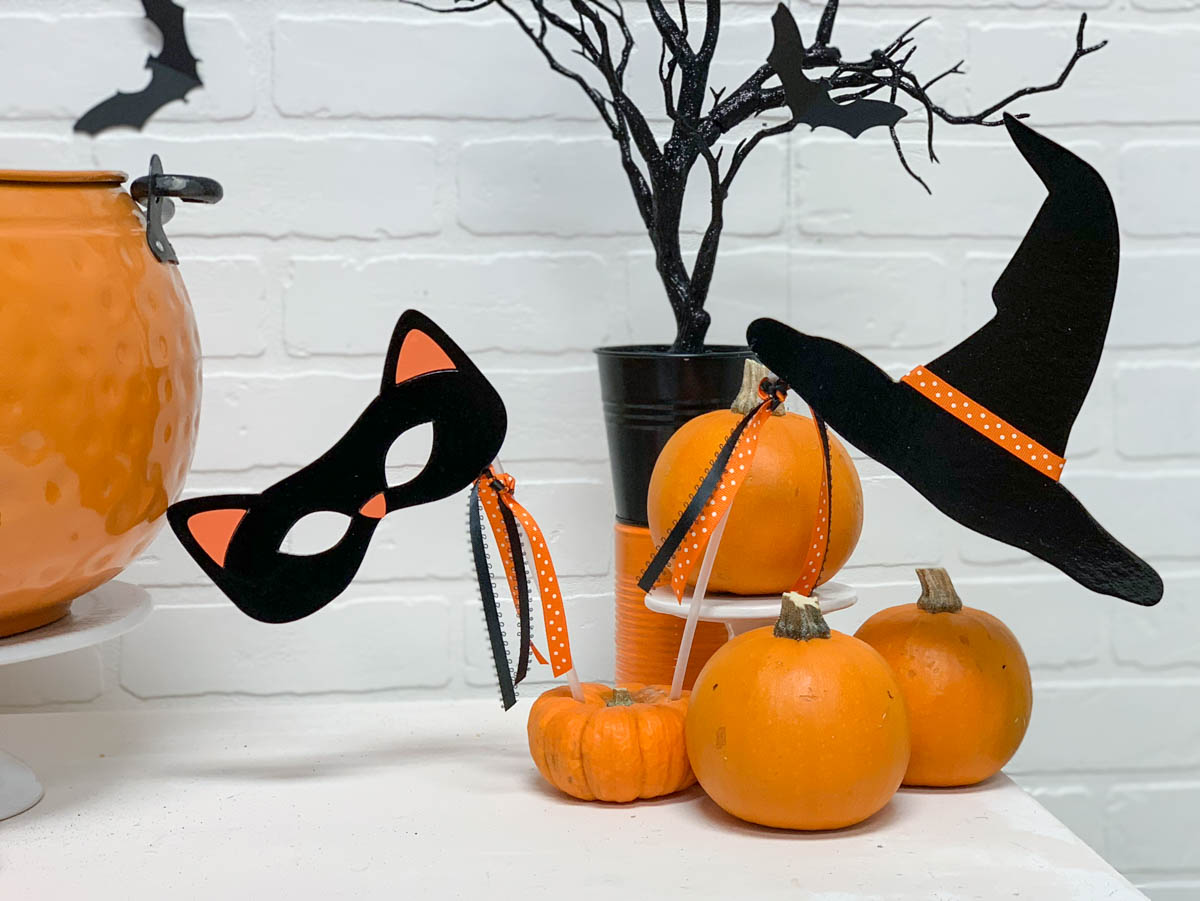
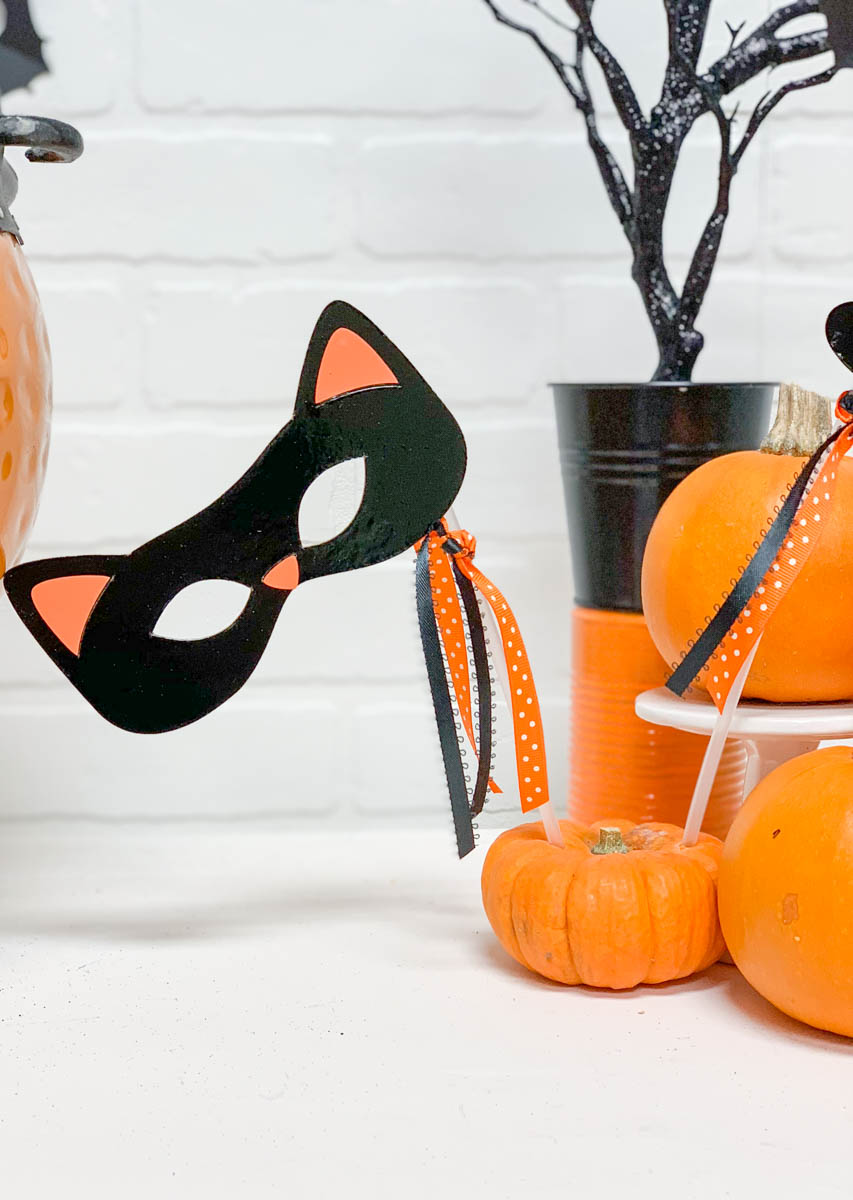
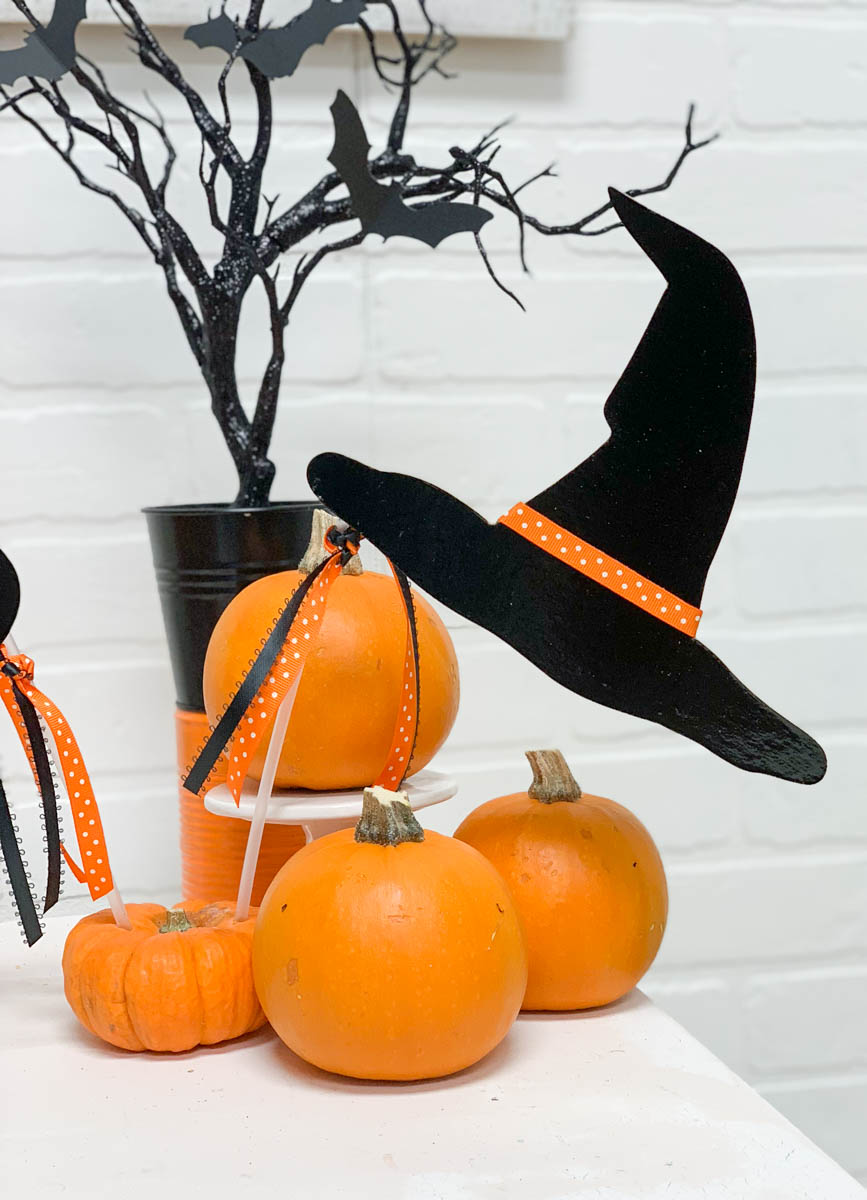
Chipboard Photo Booth Props:
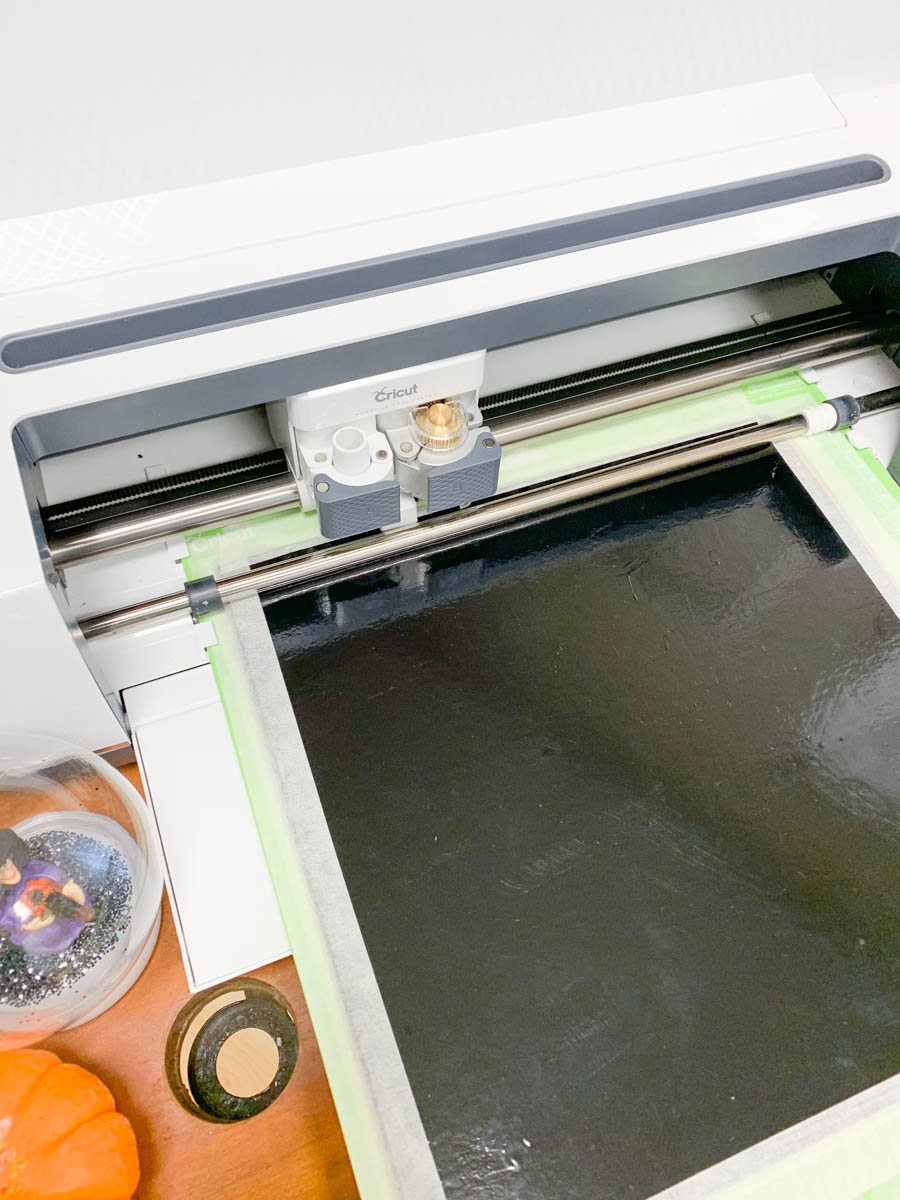
Cover a piece of Cricut chipboard with black vinyl and tape it to a {strong grip} mat. Open the Design Space cut file, and send it to cut. {Both the mask and the witches hat fit on one piece of chipboard.} Once the hat and mask have cut, cut the orange vinyl for the mask. Weed the excess vinyl and stick onto the mask.
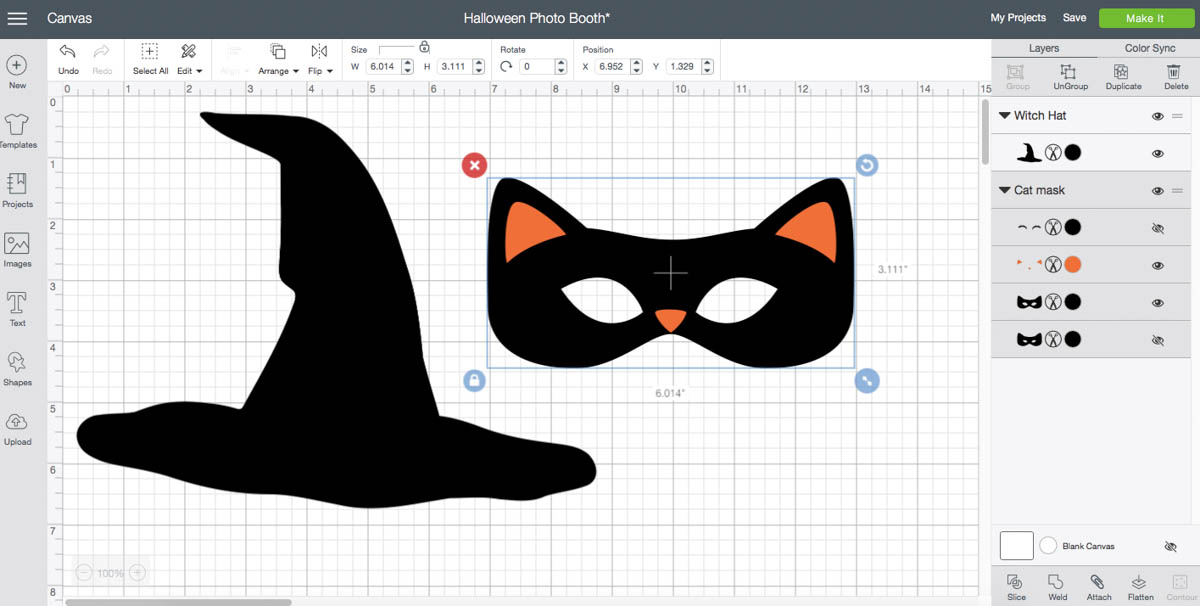
Next, use your Xyron to add adhesive to the back of a piece of ribbon, and add it to the witch hat for a pop of color and visual interest.

Hot glue the dowel rod or ballon stick to the back of the props, and embellish with some ribbon.
I used chipboard for the photo booth props to make them more durable, and I am so very glad I did! 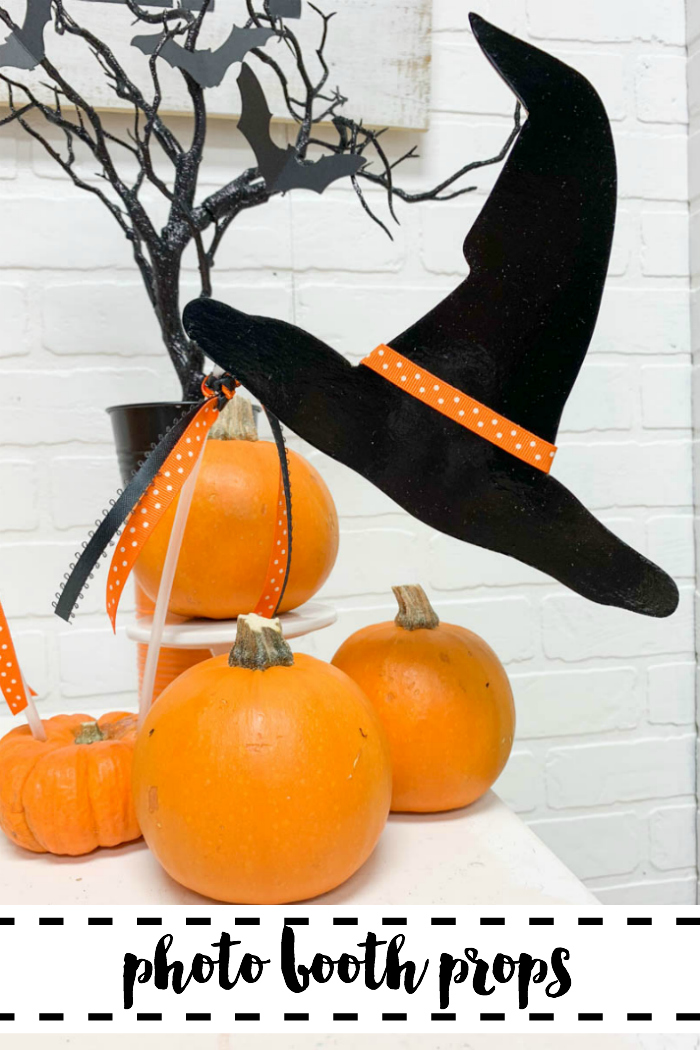
This is a sponsored conversation written by me on behalf of Cricut. The opinions and text are all mine.
Tags : Black Cat, Cricut, Cricut Blogger, Cricut Maker, DIY, Halloween, Halloween Crafts, Halloween Party, Handmade Halloween, Pumpkin, Rustic, Rustic Halloween, Witch