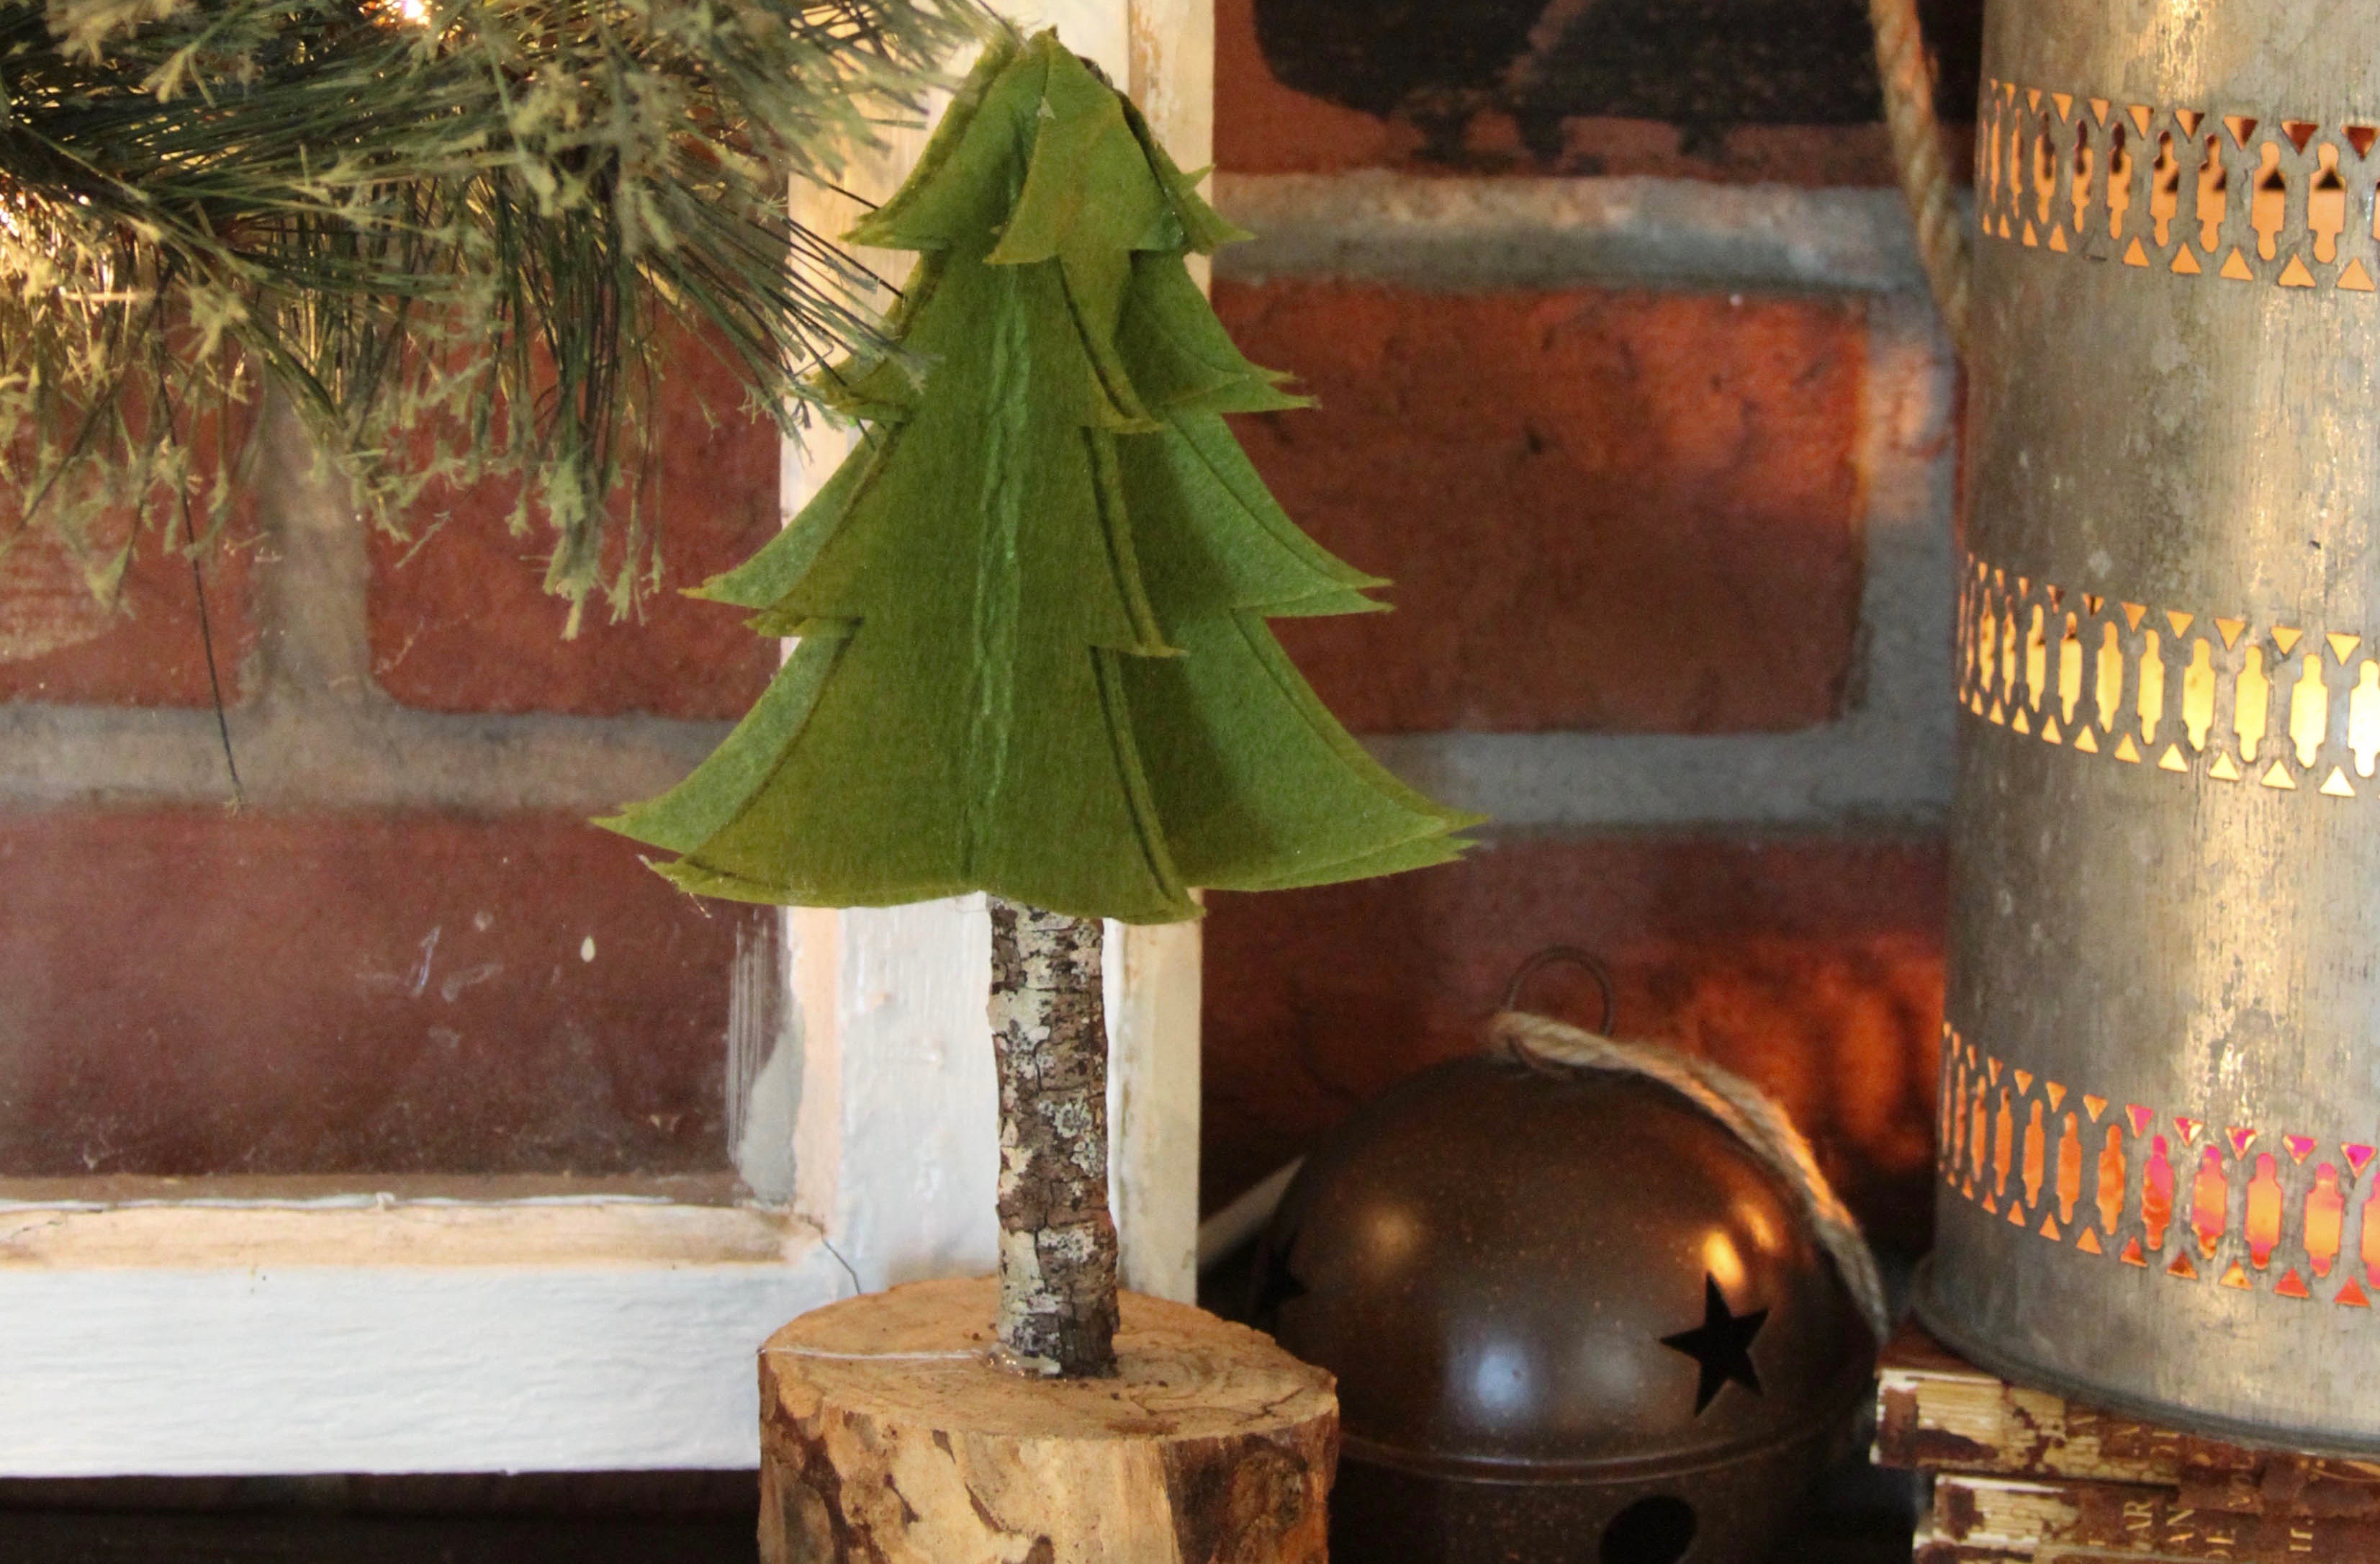
DIY Rustic Felt Christmas Tree
This review is based strictly on my opinion. Others may have a different opinion or experience with the product listed above. I was provided the sample free of charge by the company or PR agency and I provided my honest opinion. No other type of compensation was received for this review.
If you decide to make a purchase through my links, I will be paid a small commission for it. This doesn’t cost you anything additional. These commissions help to keep the rest of my content free, so thank you!
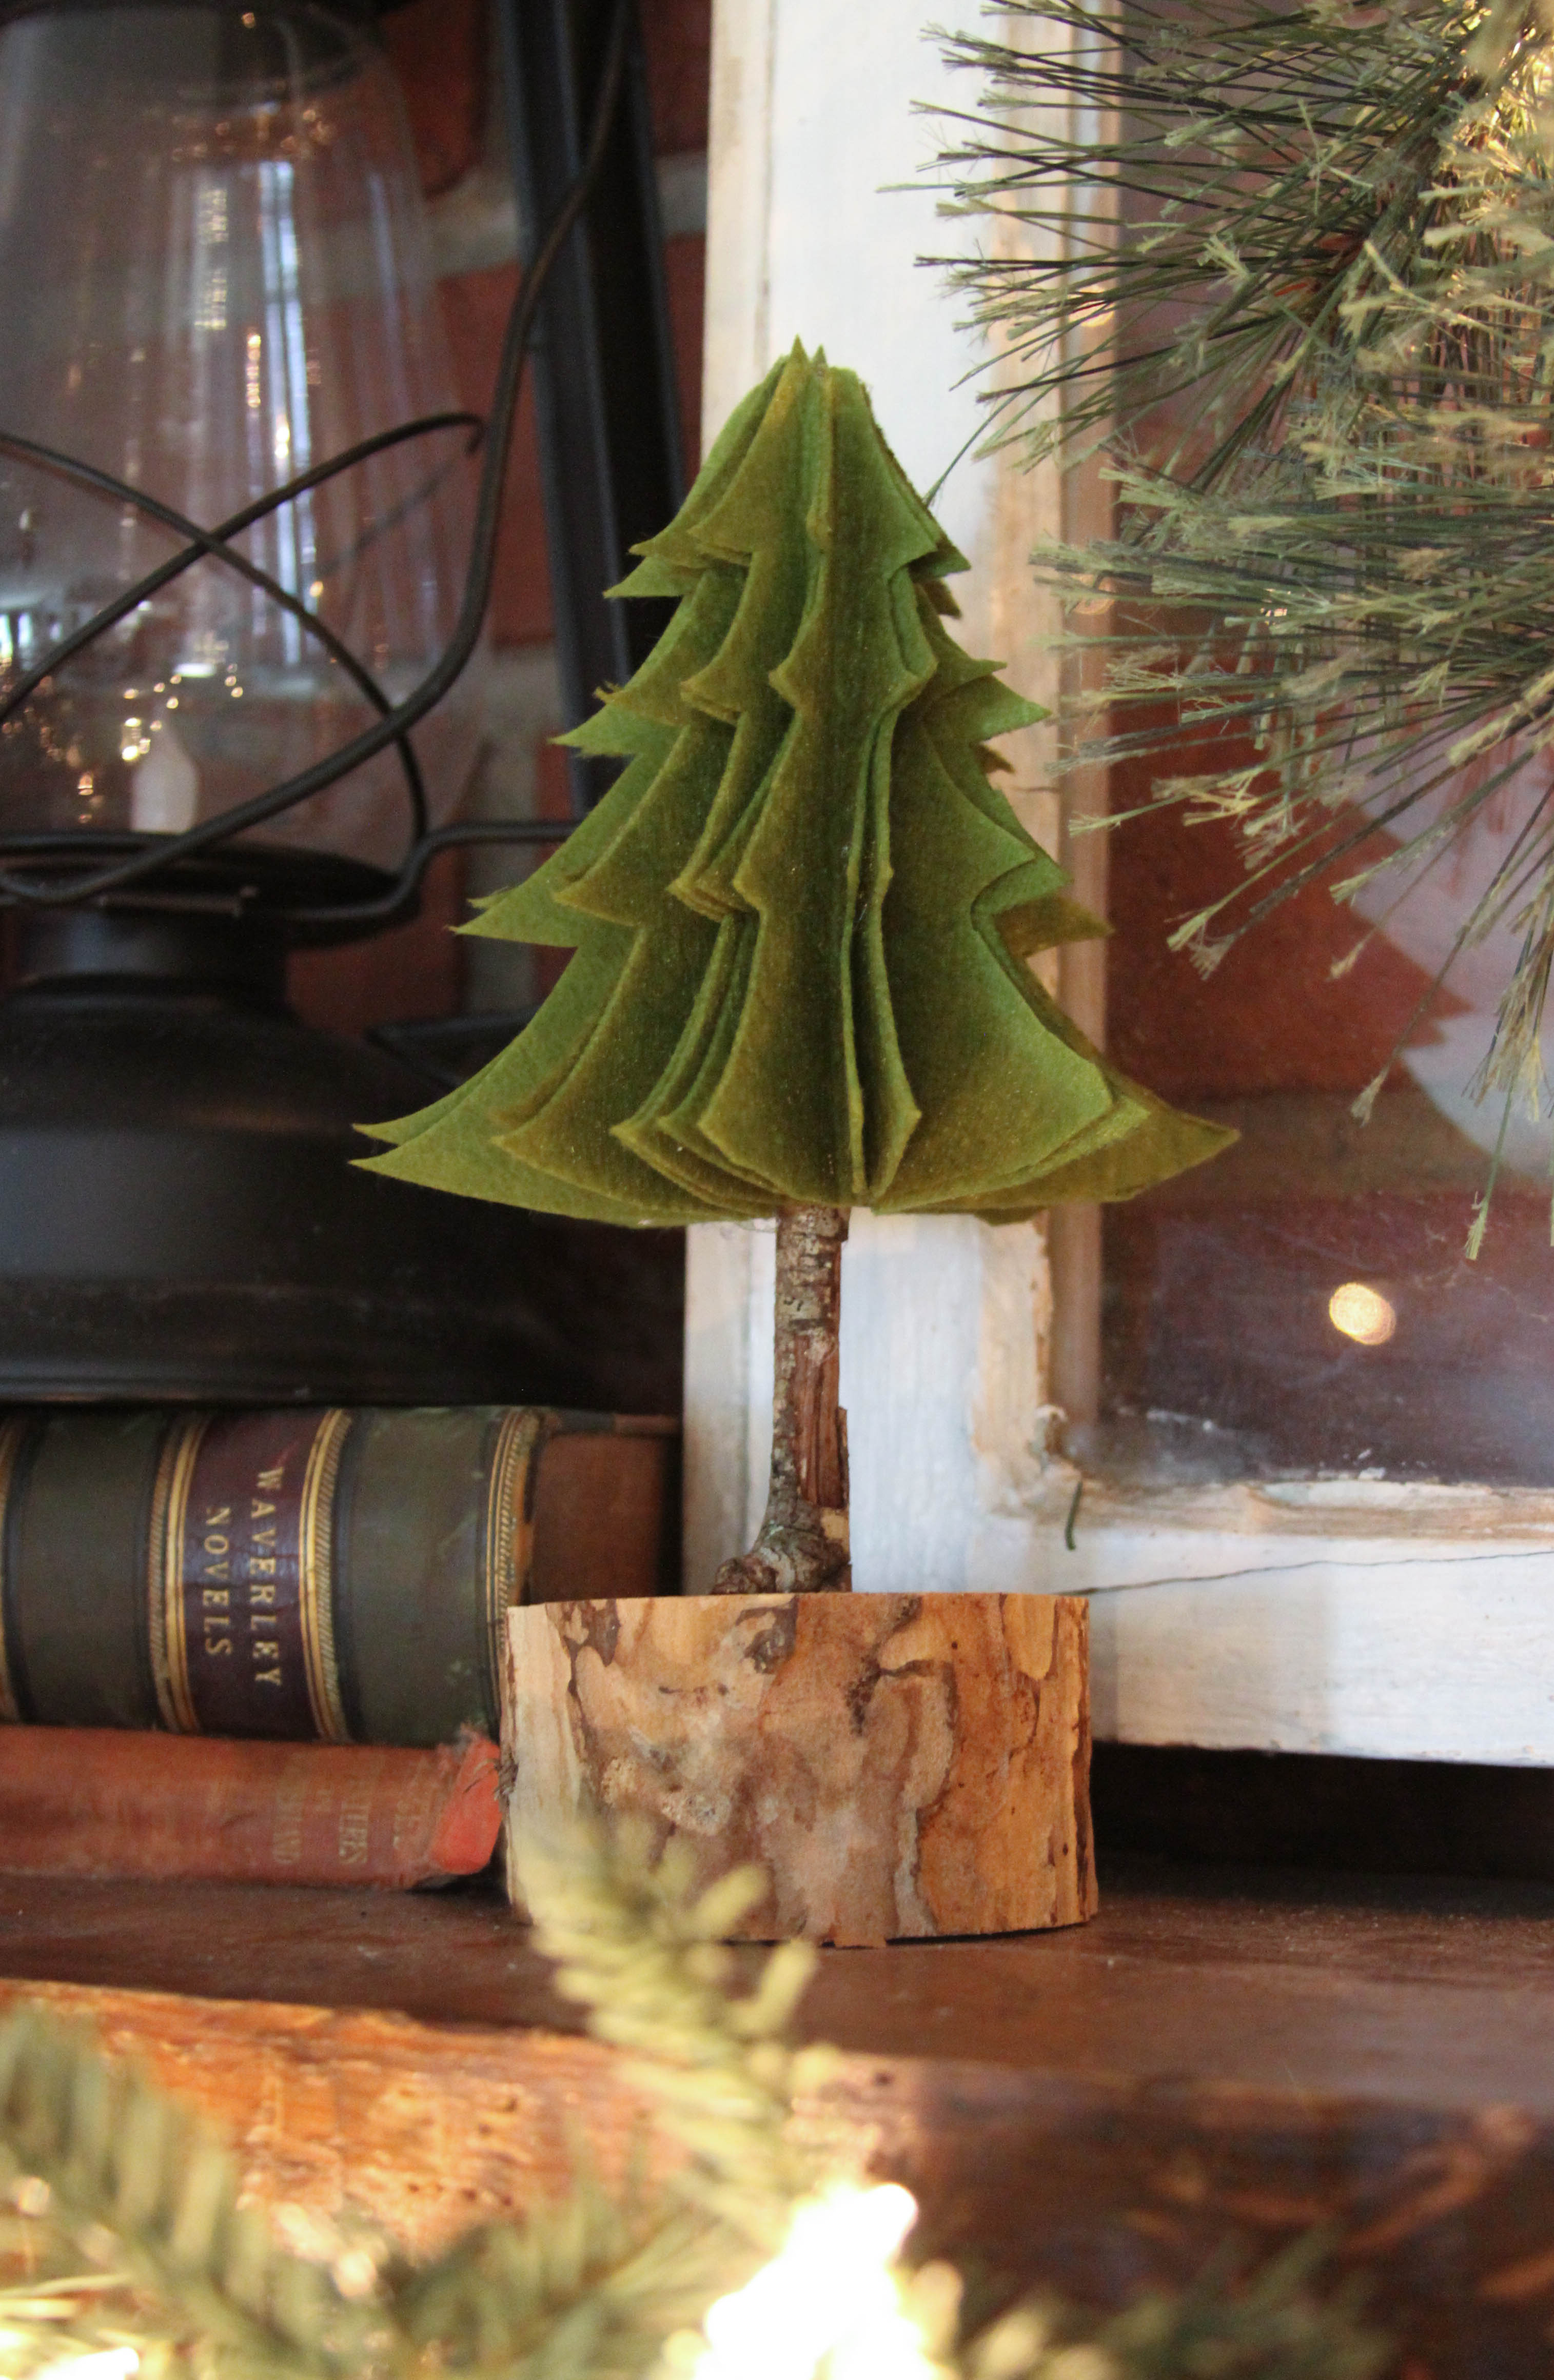
DIY Rustic Felt Christmas Tree. I love to make things, if I can use a power tool or a kitchen tool, I am a happy girl. Power tools are definitely my favorite though. I saw trees similar to this on Pinterest, and I really liked them, but I wanted to make them more my own.
Supplies:
Twig/Branch
Small Log
Find a branch and log that work together, we have a fireplace, so I pulled some from our fire wood pile. Chop the log to about 2″ using a saw. Drill a hole in the top center of the log large enough for the twig to fit.
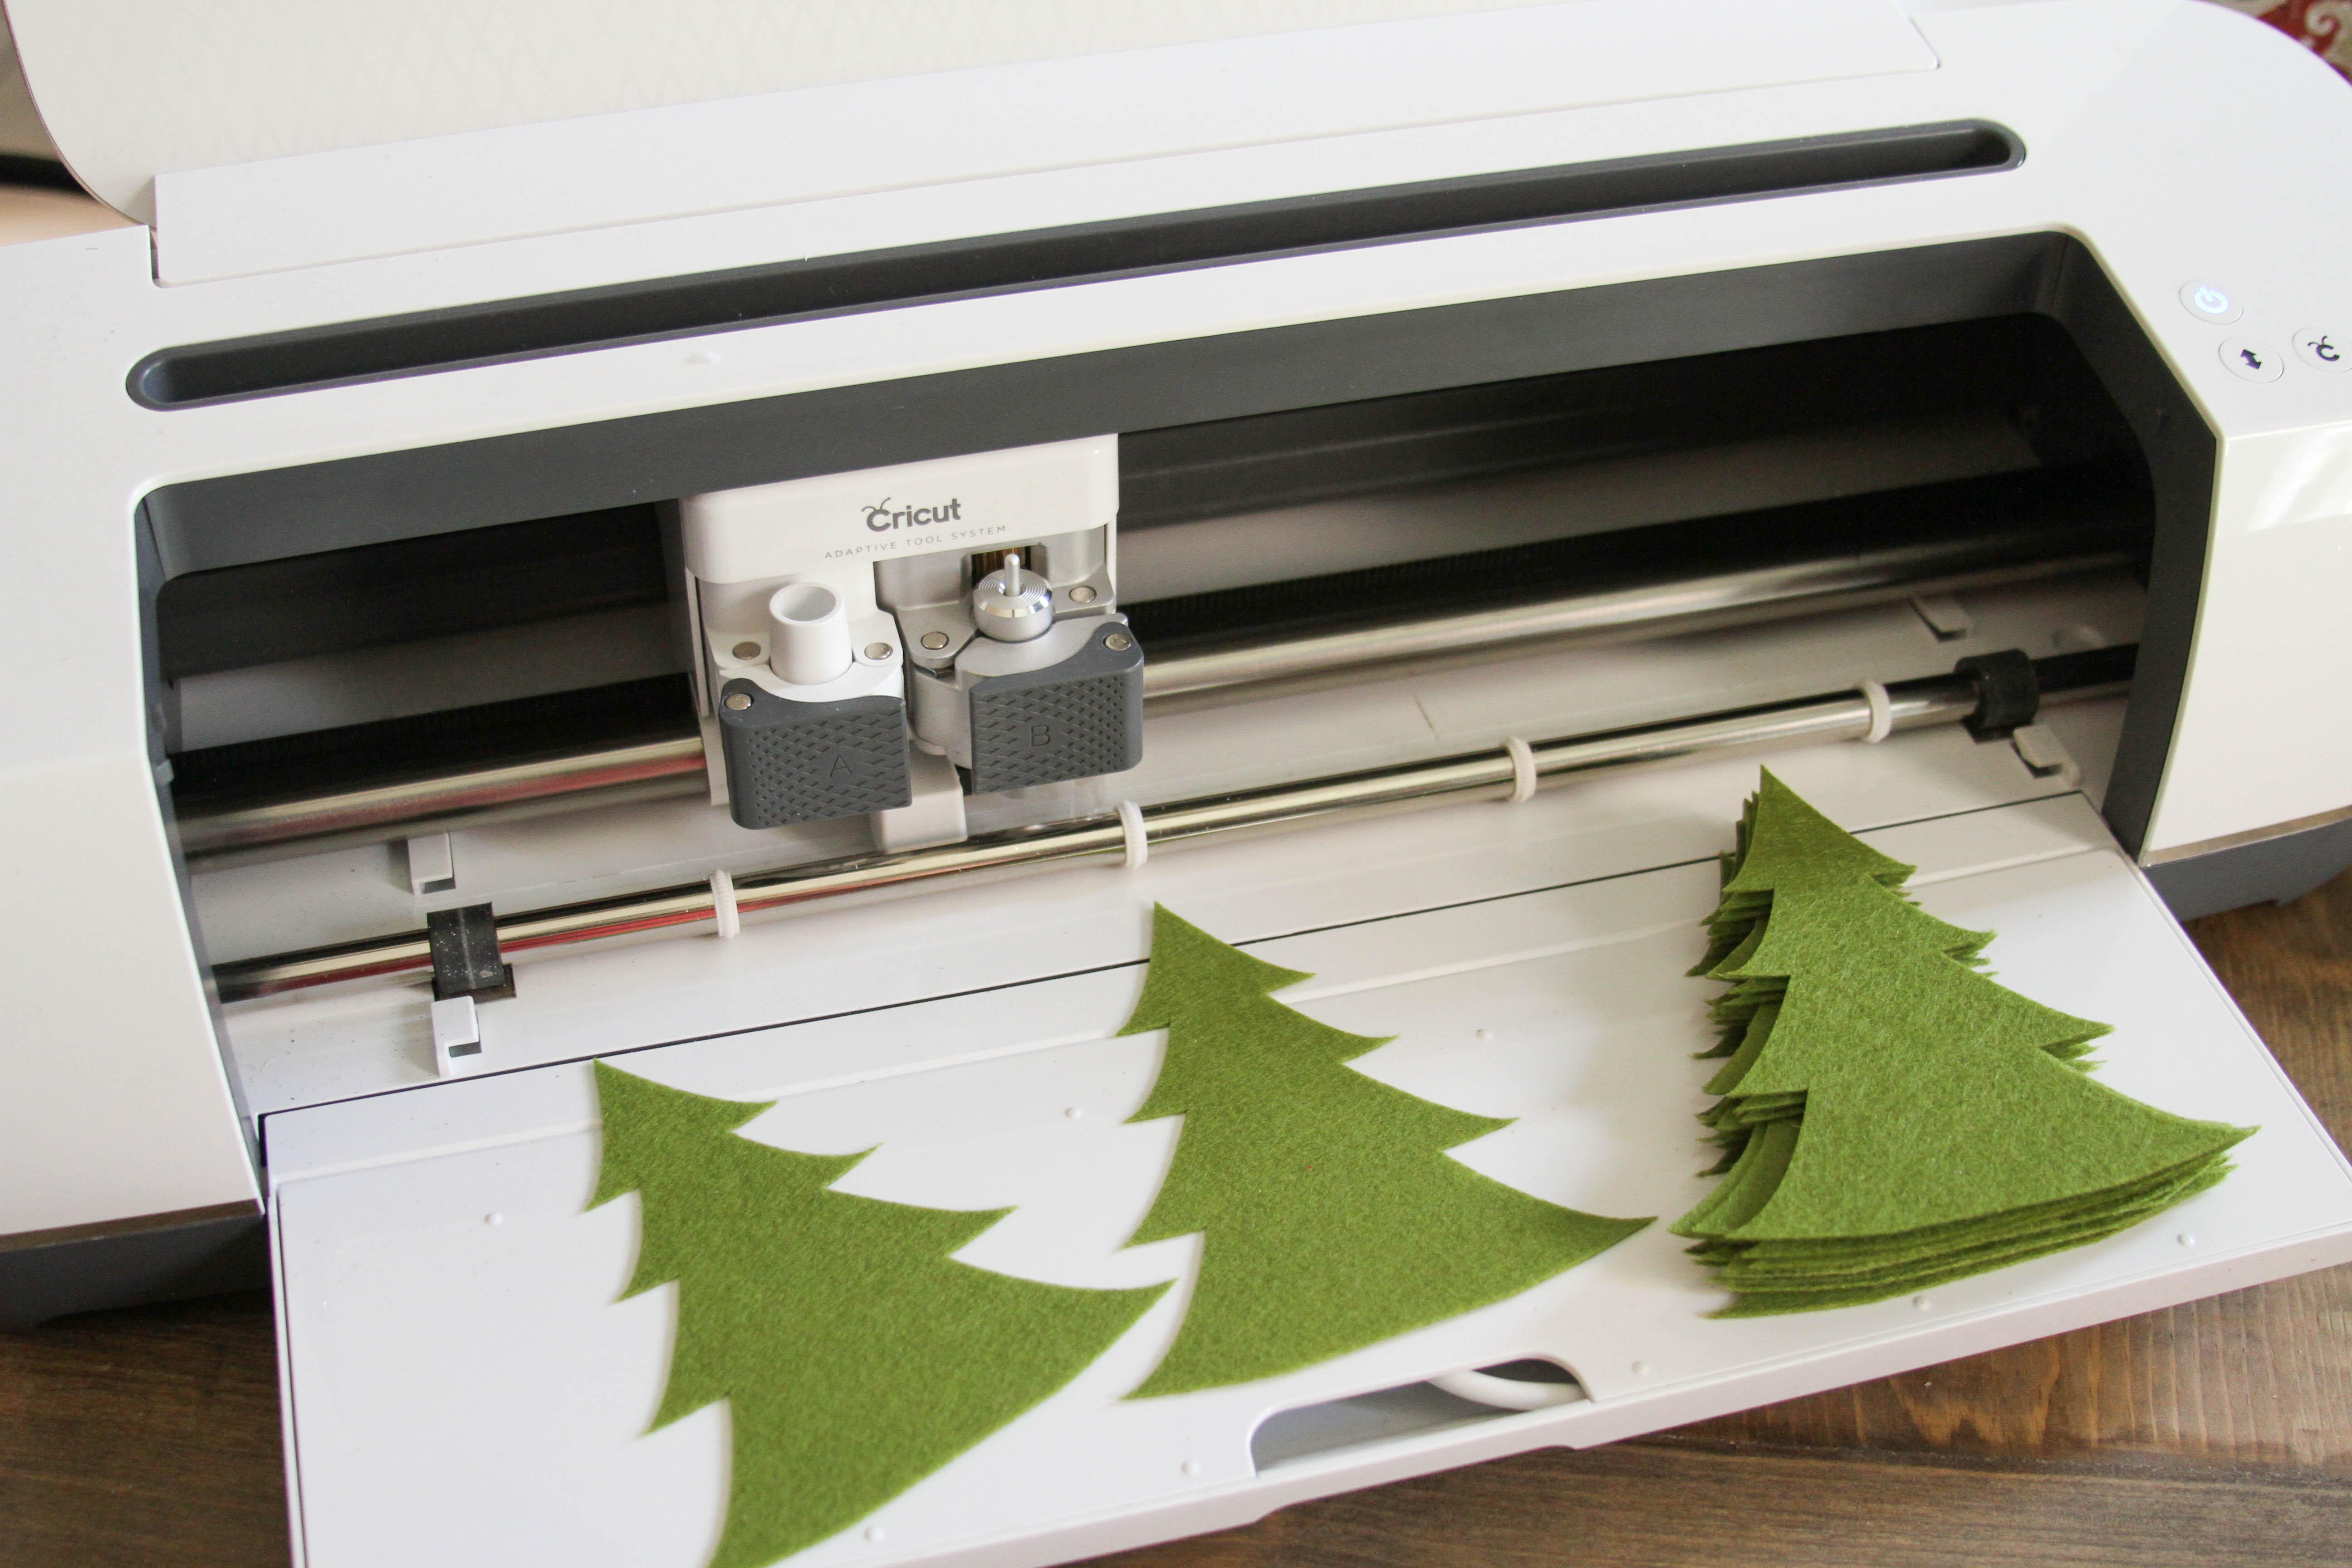
Open Cricut Design Space and cut Christmas Tree shapes. (Use my cut file, and adjust it to fit your needs) I cut 16 trees, using two sheets of Cricut Felt.
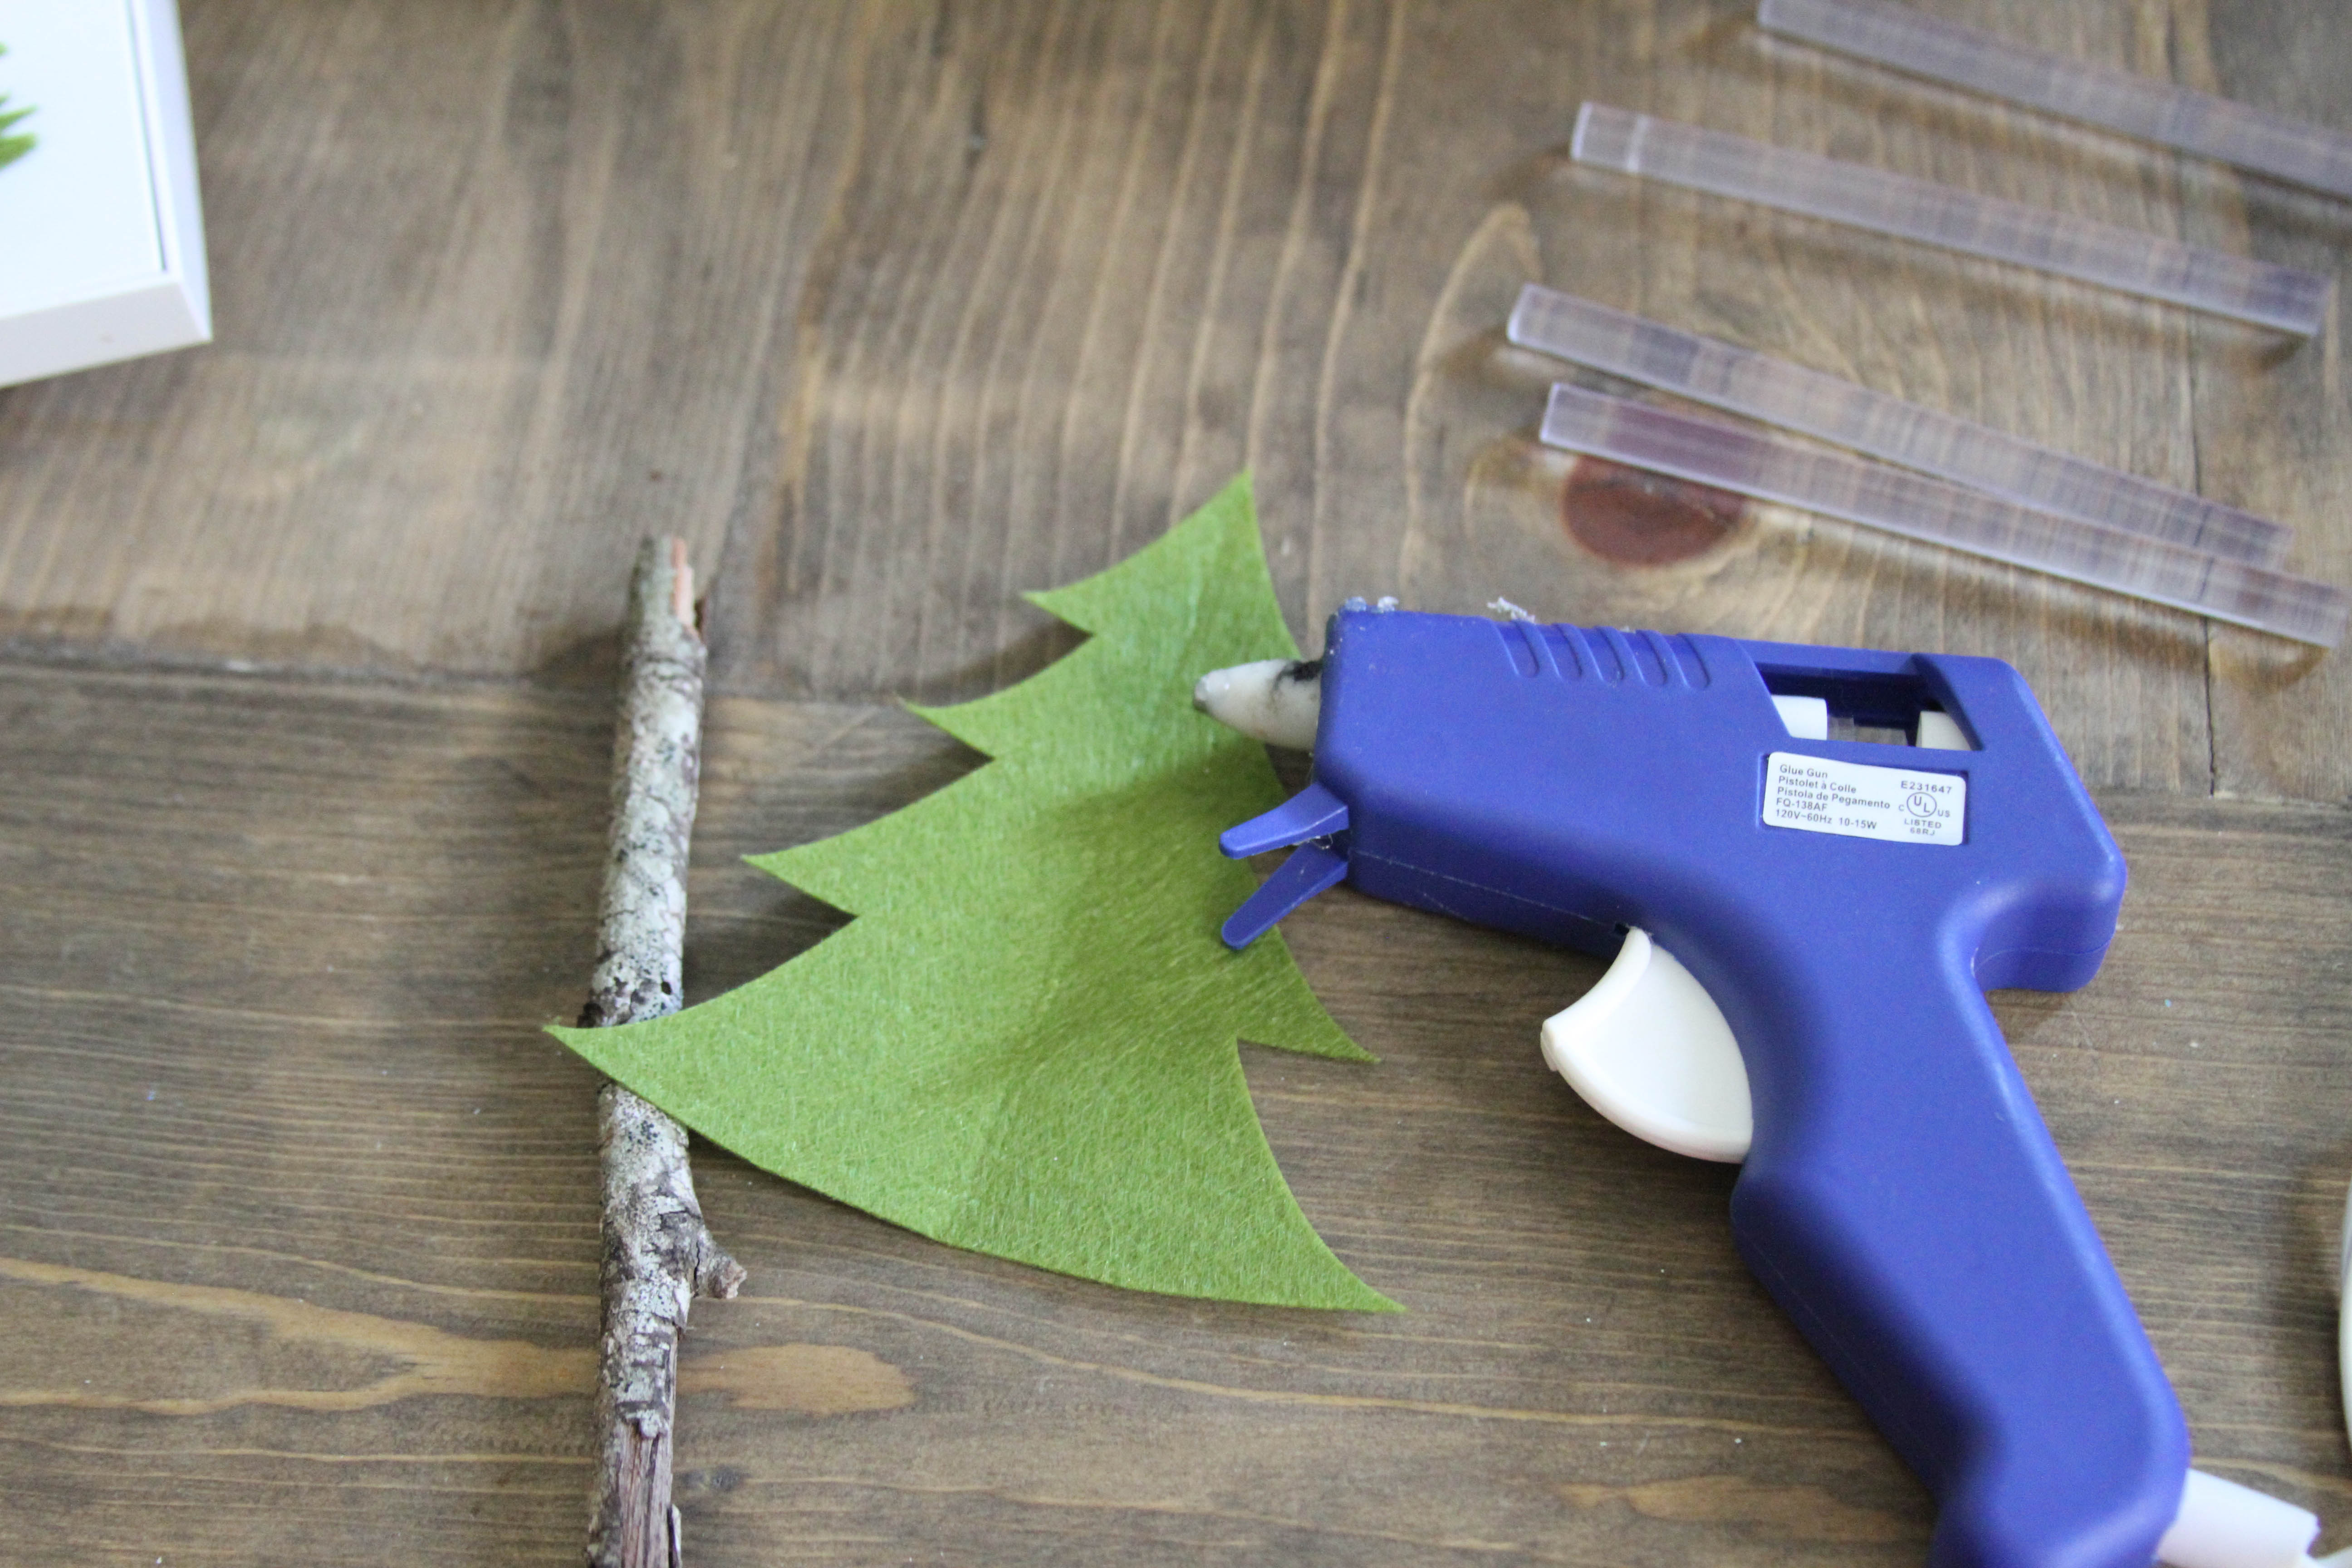
Once you cut the trees, fold them in half and add a thin bead of hot glue along the center line, and carefully attach to the twig. Leave a little extra felt at the top to make the point of the tree. Repeat this step until the twig is covered in felt trees. Add hot glue to the top of the branch and carefully pinch the excess felt into a point.
Fill the pre-drilled hole in the log with hot glue, and add the branch (with the felt already attached) to the hole. Sprinkle some sawdust into and around the hole to cover the hot glue.
Voila! You have adorable, and inexpensive winter tree decor!
Tags : Christmas, Christmas Tree, Cricut, Cricut Maker, DIY, Felt, Holiday, Rustic, Ryobi, Winter
In DIY

