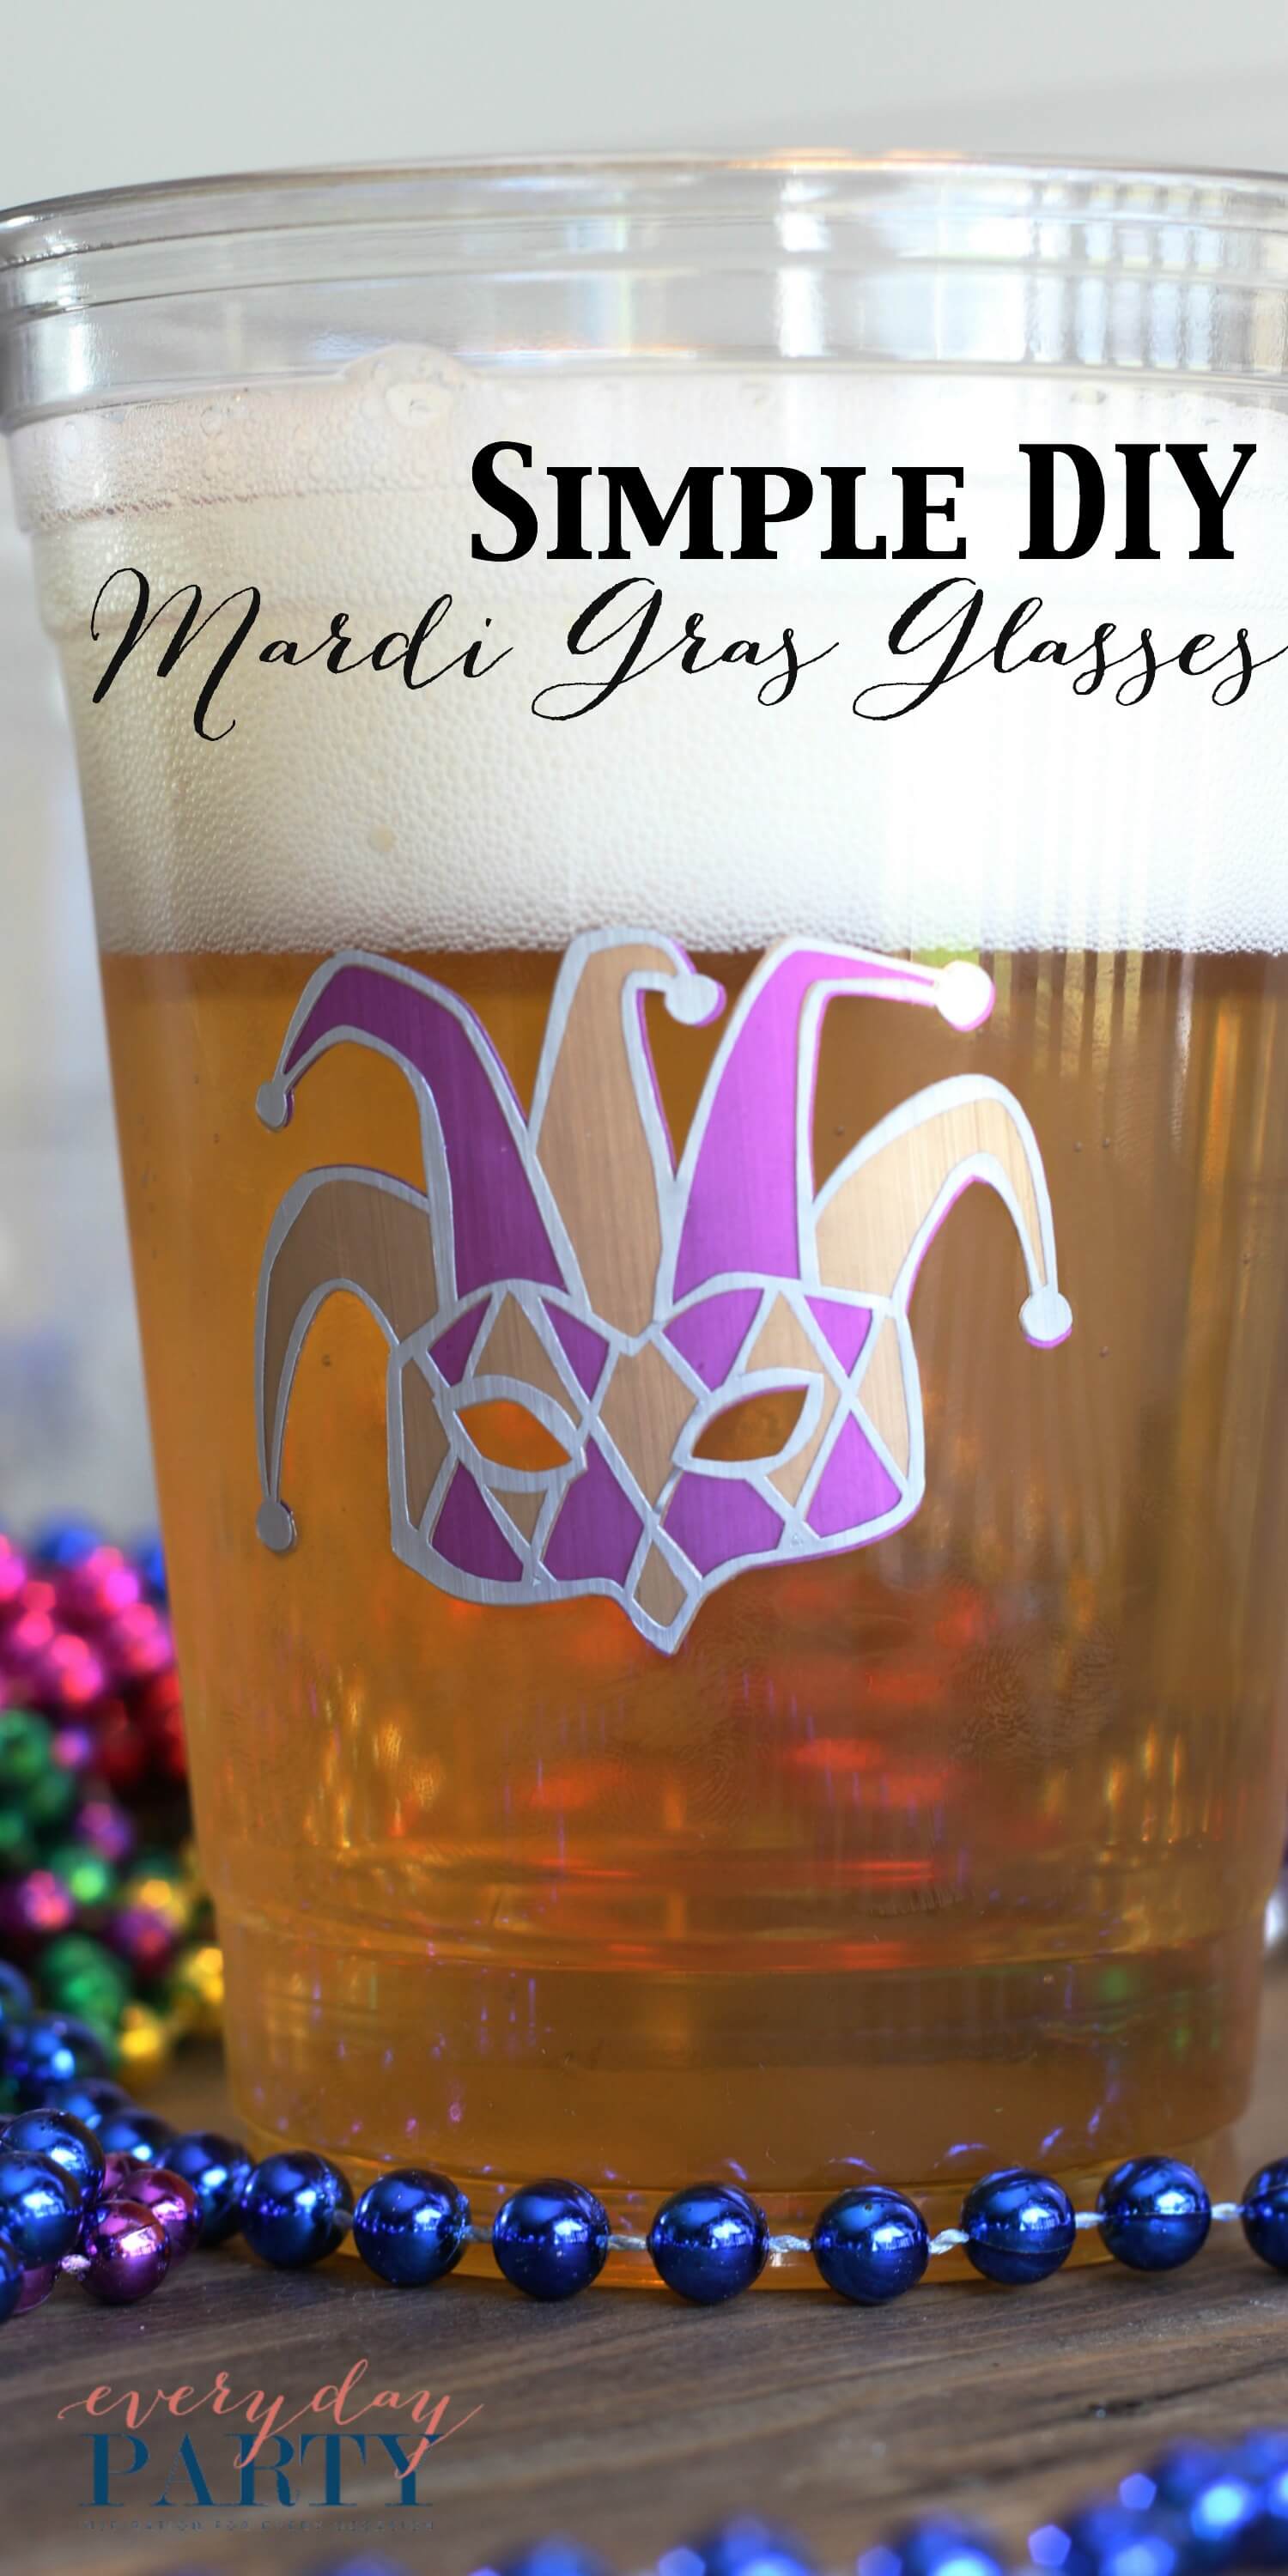
Simple DIY Mardi Gras Glasses
*This review is based strictly on my opinion. Others may have a different opinion or experience with the product listed above. I was provided the sample free of charge by the company or PR agency and I have given my honest opinion. No other type of compensation was received for this review.*
*If you decide to make a purchase through my links, I will be paid a small commission for it. This doesn’t cost you anything additional. These commissions help to keep the rest of my content free, so thank you!*
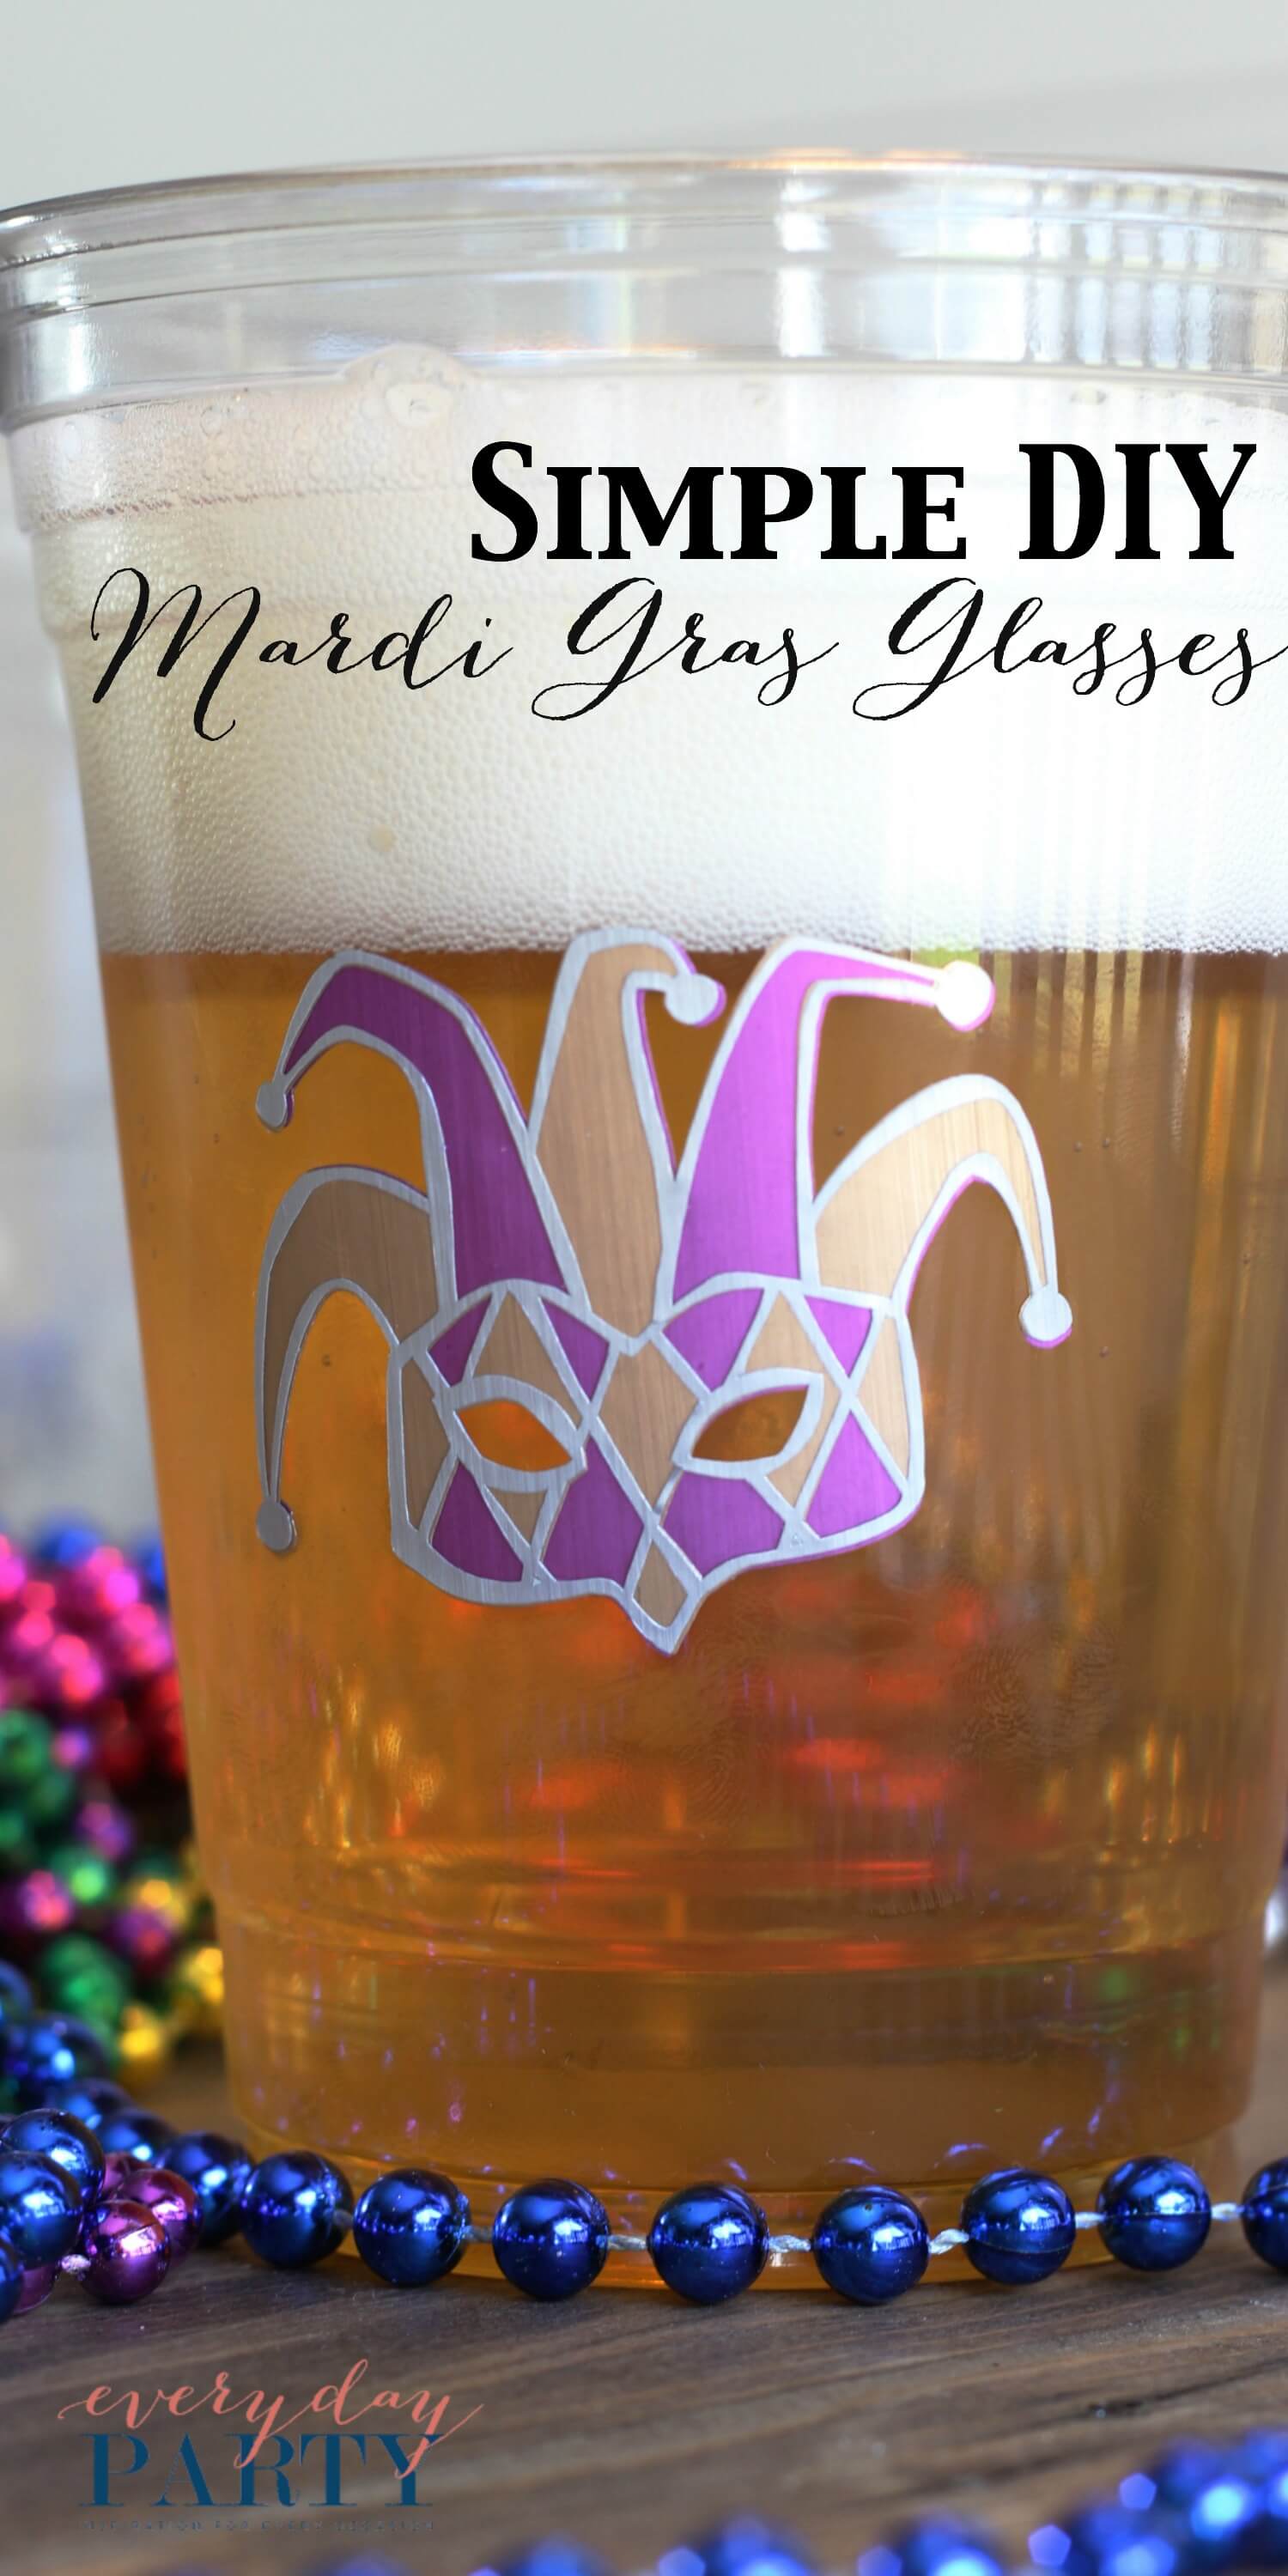
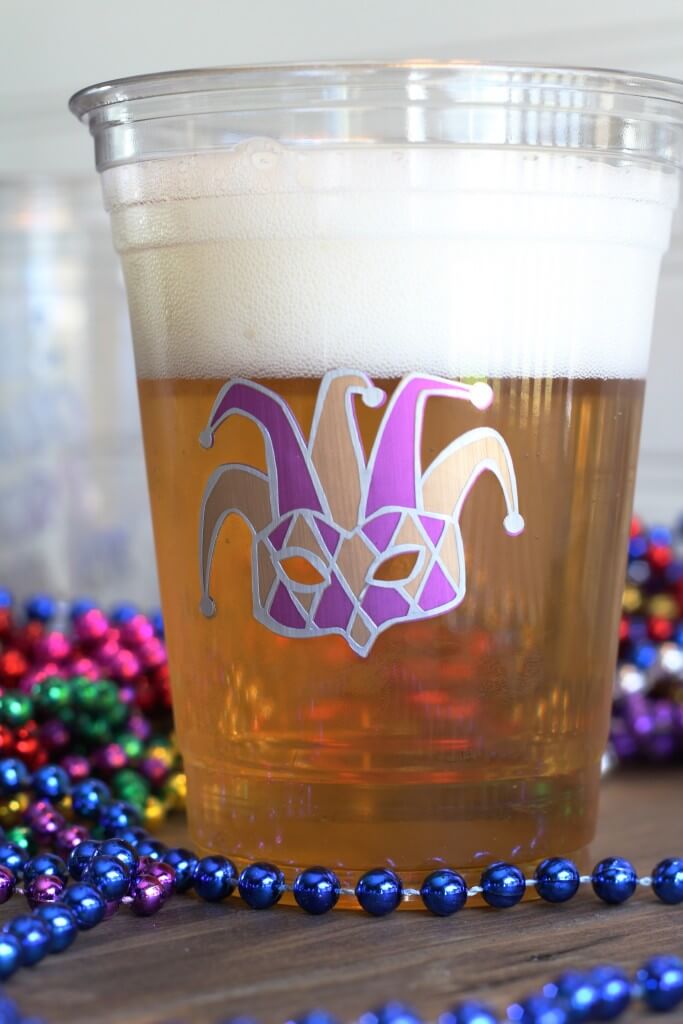
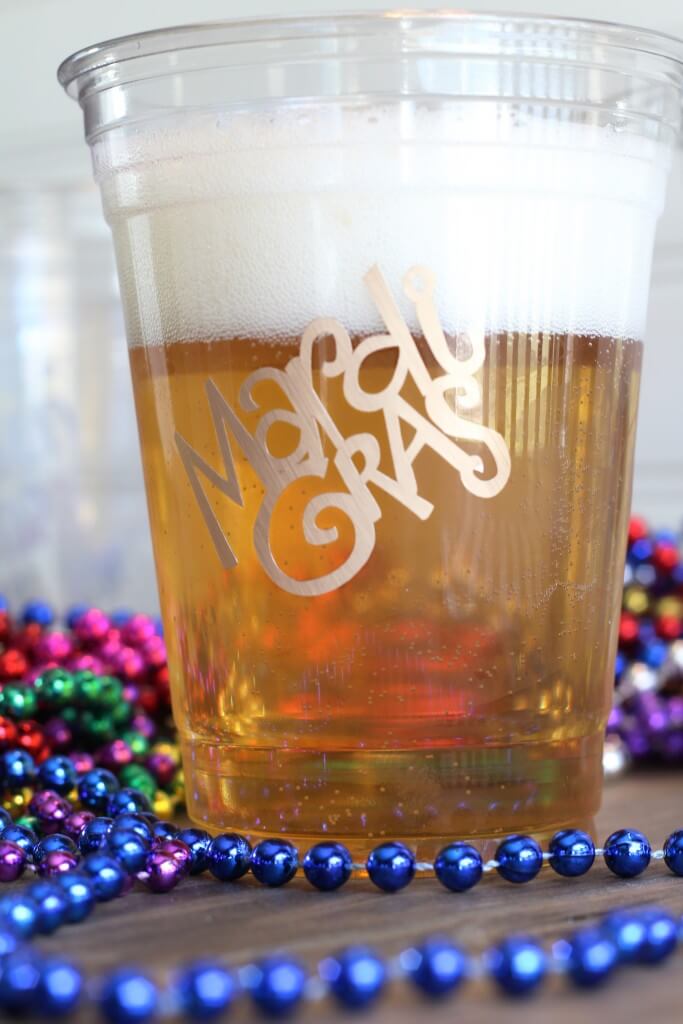
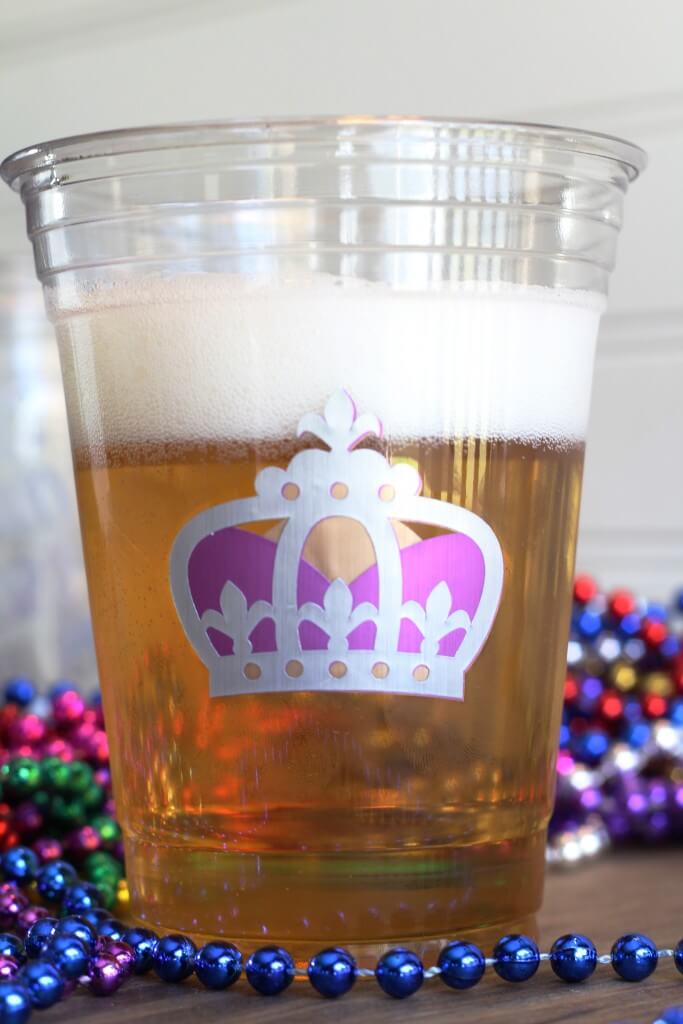
You’re going to have a party…and you don’t want to have the standard red disposable cups on the bar, but, you also don’t want to shell out a ton of cash on awesome custom cups that your guests will just throw away. Trust me, I understand! You can make your own custom glasses or cups in a snap with your Cricut and some vinyl. These simple DIY Mardi Gras Glasses took longer to cut out on my Cricut than it did to assemble them!
They are great, aren’t they? And they truly are simple to DIY, even with 3 layers of vinyl.
Supplies:
Cricut
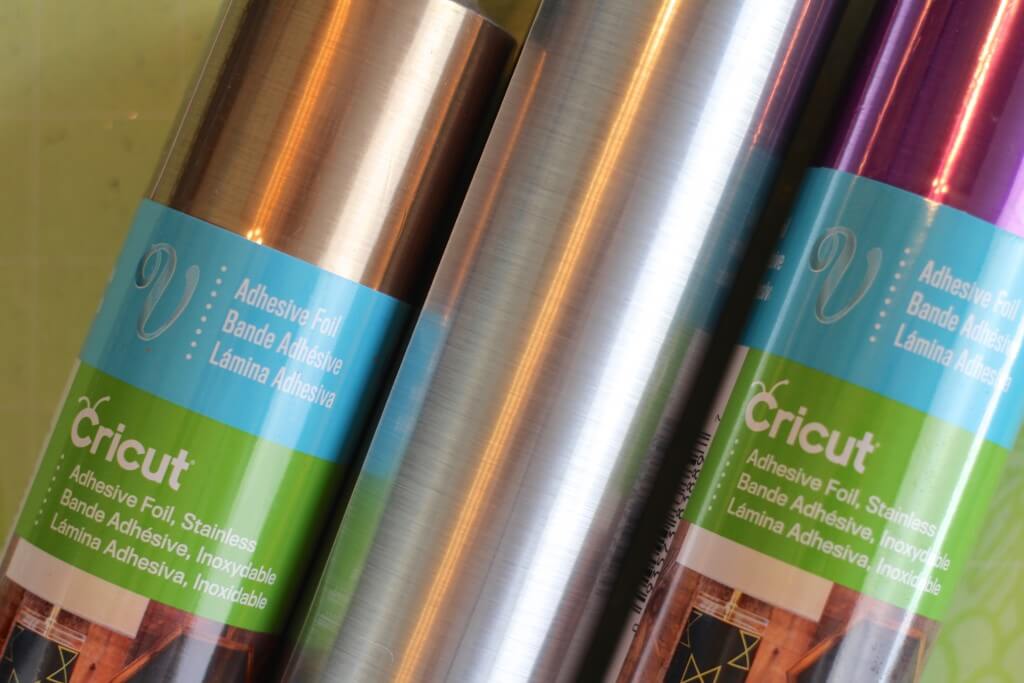
Cricut Adhesive Foil
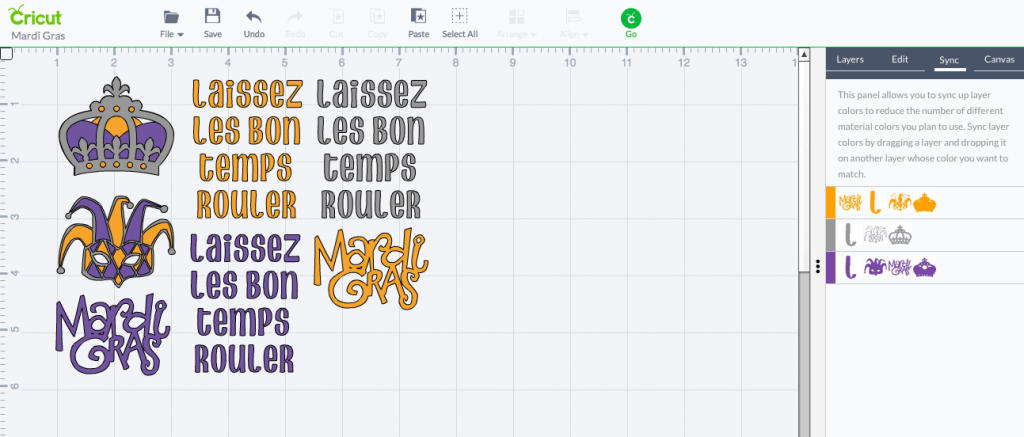
Mardi Gras Shapes from the Cricut Design Space
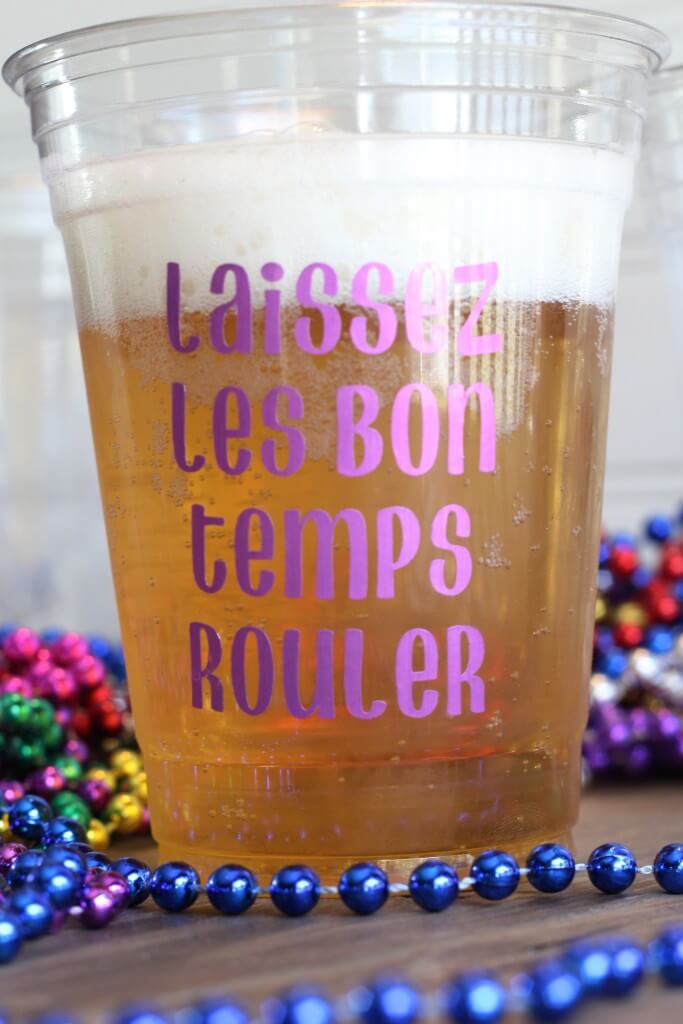
Laissez Les Bon Temps Rouler text cut in Cricut Design Space
Clear Plastic Cups (I got mine at Target)
Transfer Tape (or Washi or Painter’s Tape)
Drink(s) of Choice
The first thing you will need to to after you have your supplies is measure your cups or glasses (this vinyl will stick to glass as well, and it won’t be permanent) My cups allowed for my design to be about 3″ tall by 2″ wide. Once you know how large your design can be, you can get to work in Design Space.
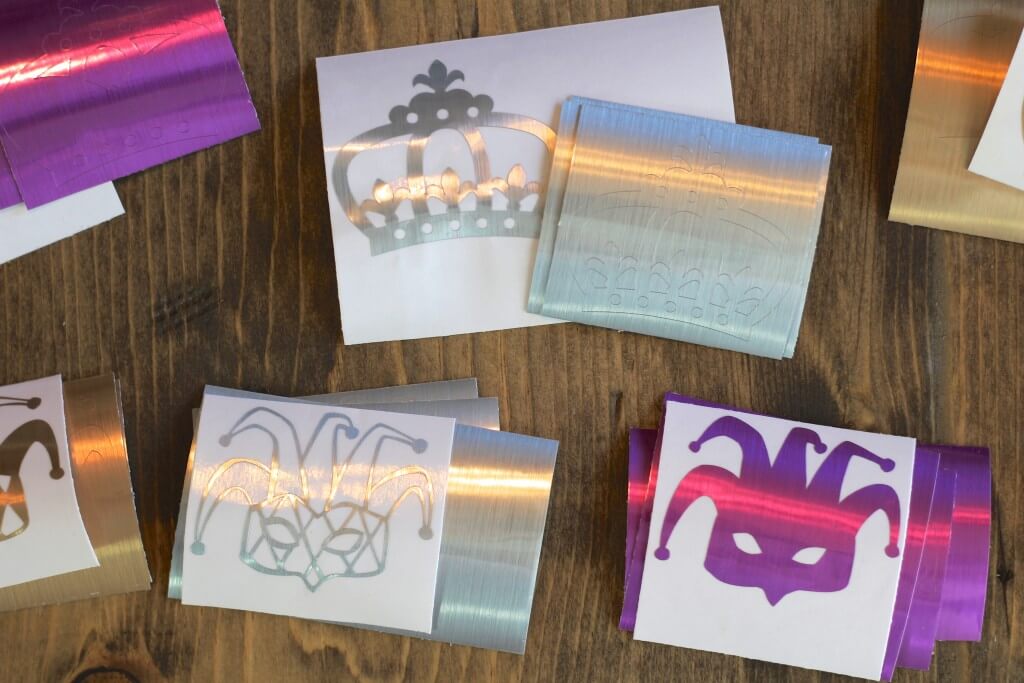
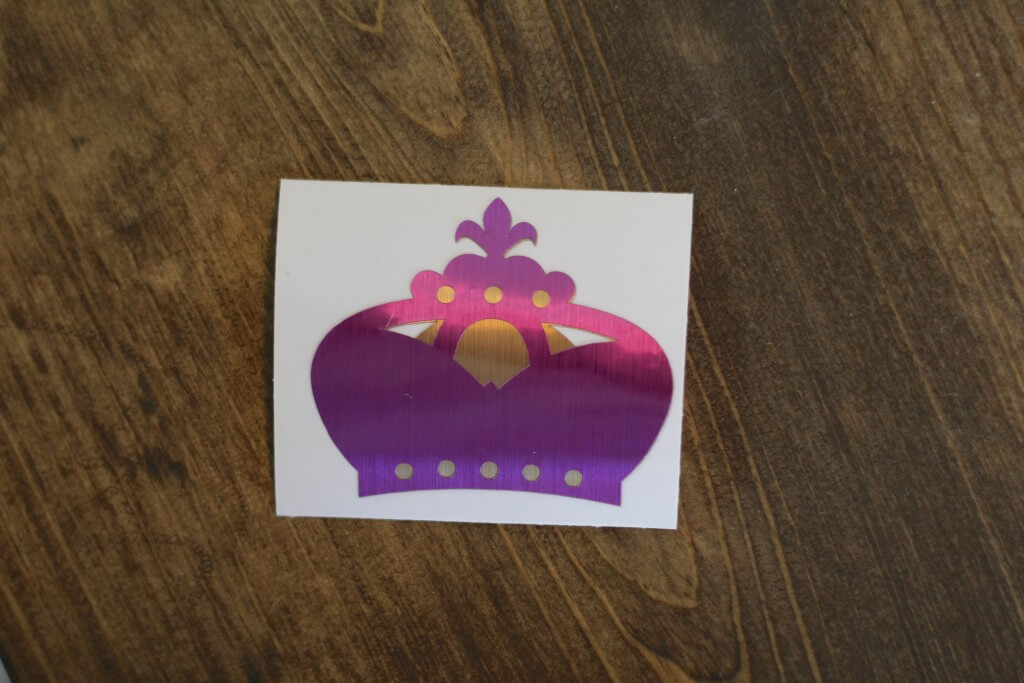
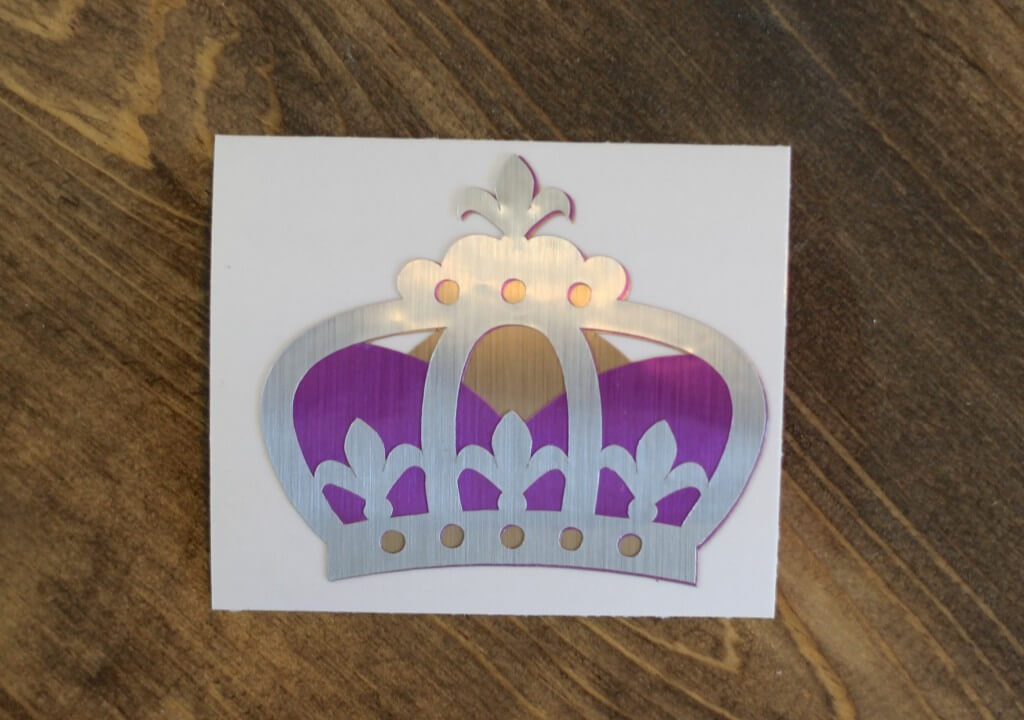
All of the designs I made are available in Design Space, except for the Laissez Les Bon Temps Rouler text. I just typed that into a text box and chose a text that would cut and apply easily (read, thicker lines). The mask and crown are multi layer cuts, but the foil adhesive vinyl is super easy to work with and doesn’t tear too easily, so thinner lines aren’t as hard to work with as they would be with standard vinyl.
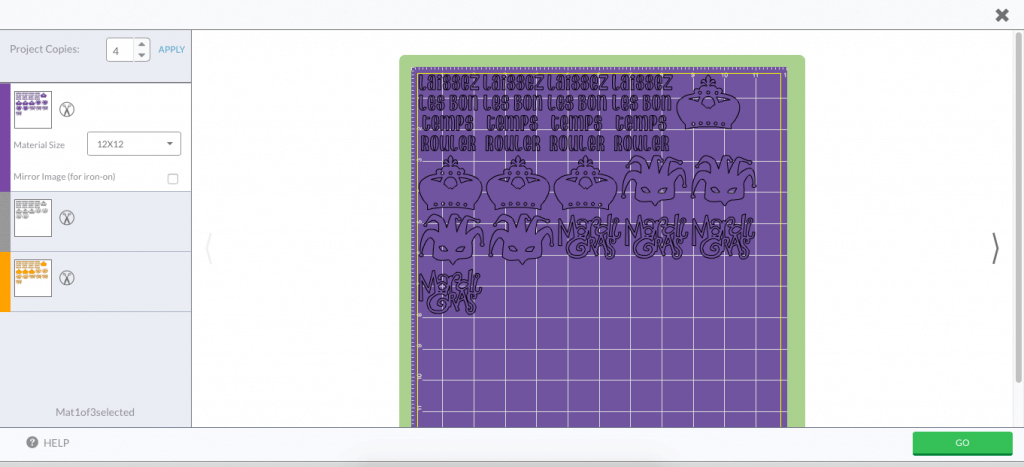
Once all of your cuts have been made, weed the vinyl, leaving the design on the paper backing, then layer as the design should be. I cut each piece out from the larger sheet of vinyl so it is easier to work with.
Apply the transfer tape to the design. If you don’t have to layer the vinyl, weed the design and apply transfer tape to the top of the design. (If you are using Washi tape or painter’s tape, stick it to your jeans or cotton t-shirt a few times to make it less sticky). Stick the design and transfer tape onto the cup or glass where you would like it, making sure to get the vinyl stuck onto the cup. Carefully remove the transfer tape and VOILA! Laissez les bon Temps Rouler!
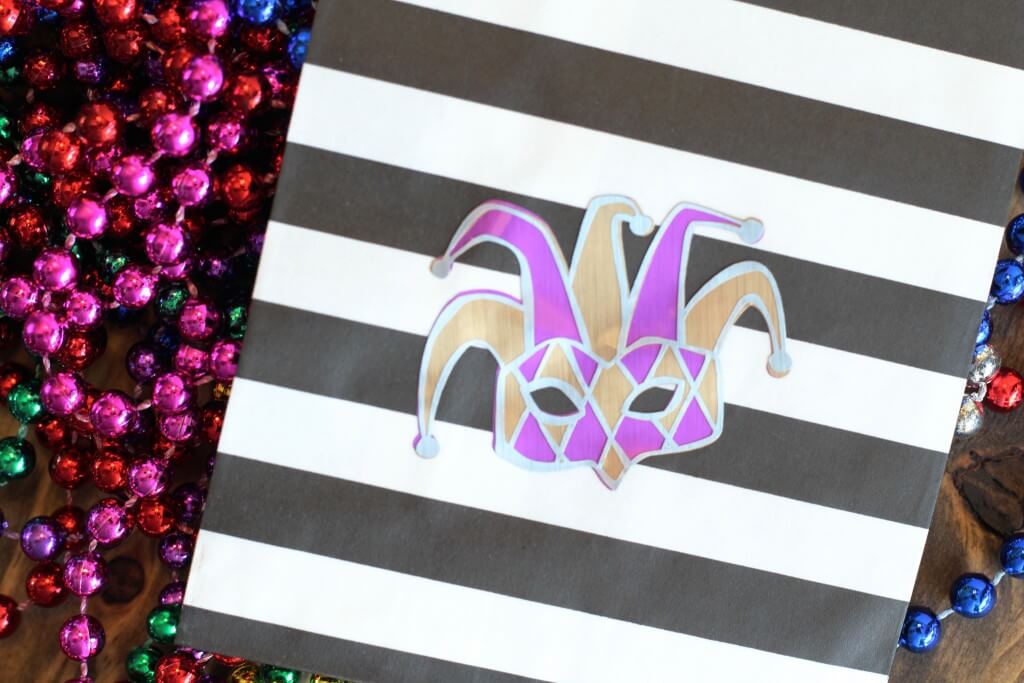
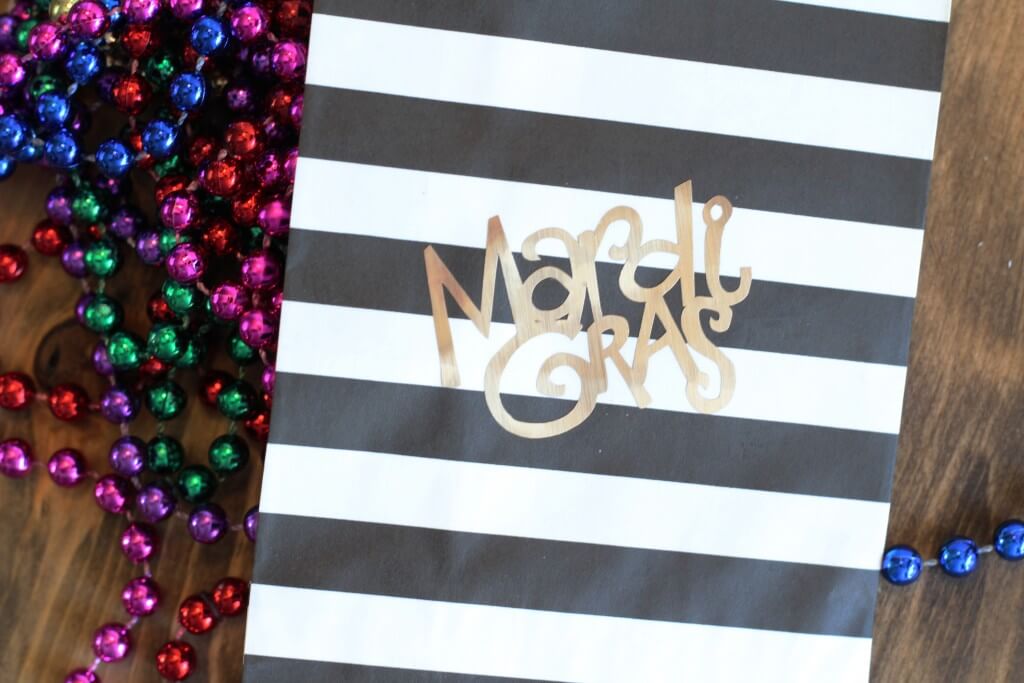
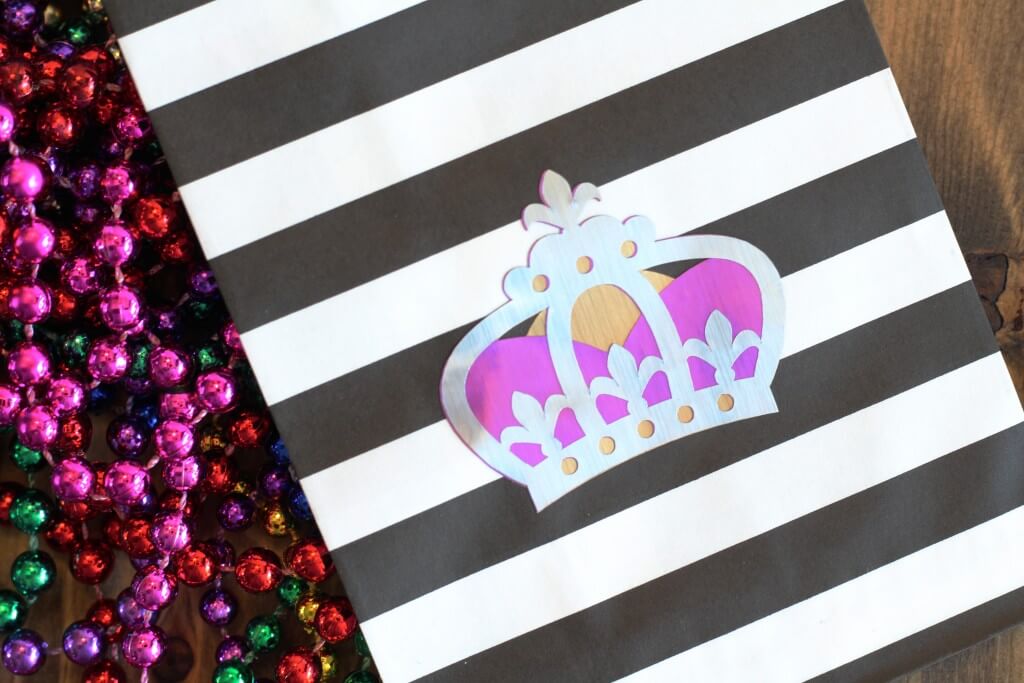
I got a little crazy making the vinyl and had some extras, so I added them to small black and white striped favor bags.
I LOVE this vinyl! It is so so simple to use.
Shop this DIY:
Cricut Adhesive Foil
Design Space Art – Mardi Gras, Crown, Mask
Plastic Cups or Favor Bags
Tags : Cricut, DIY, Everyday Party Magazine, Mardi Gras, Vinyl
In DIY

