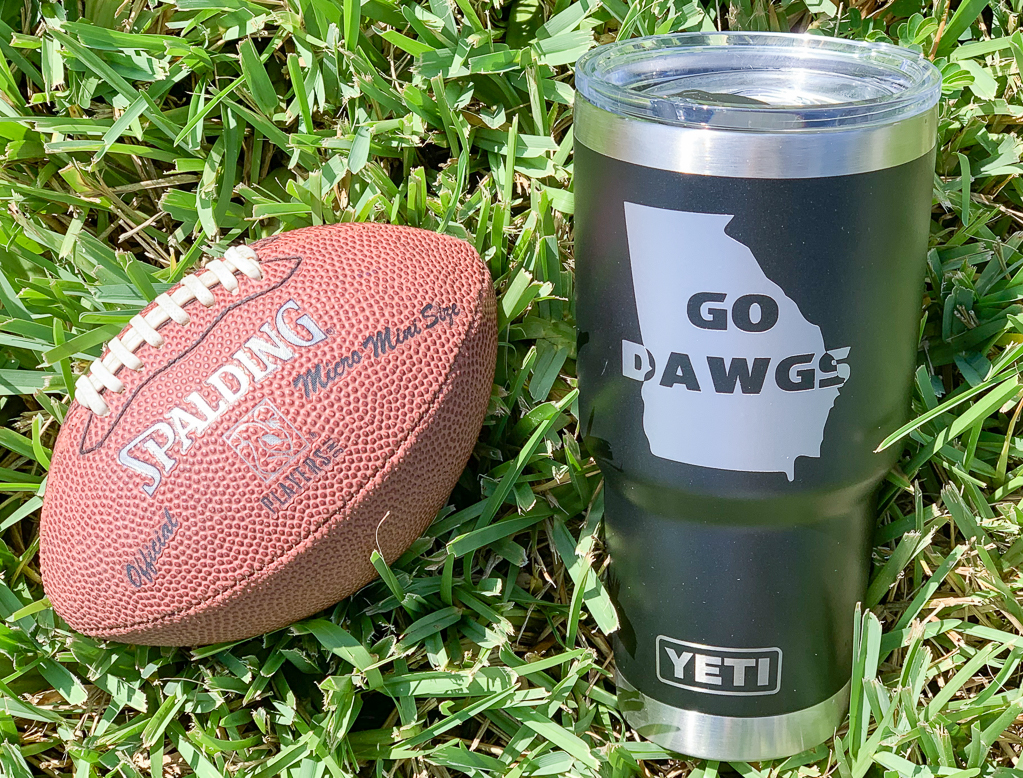
Personalized Yeti DIY
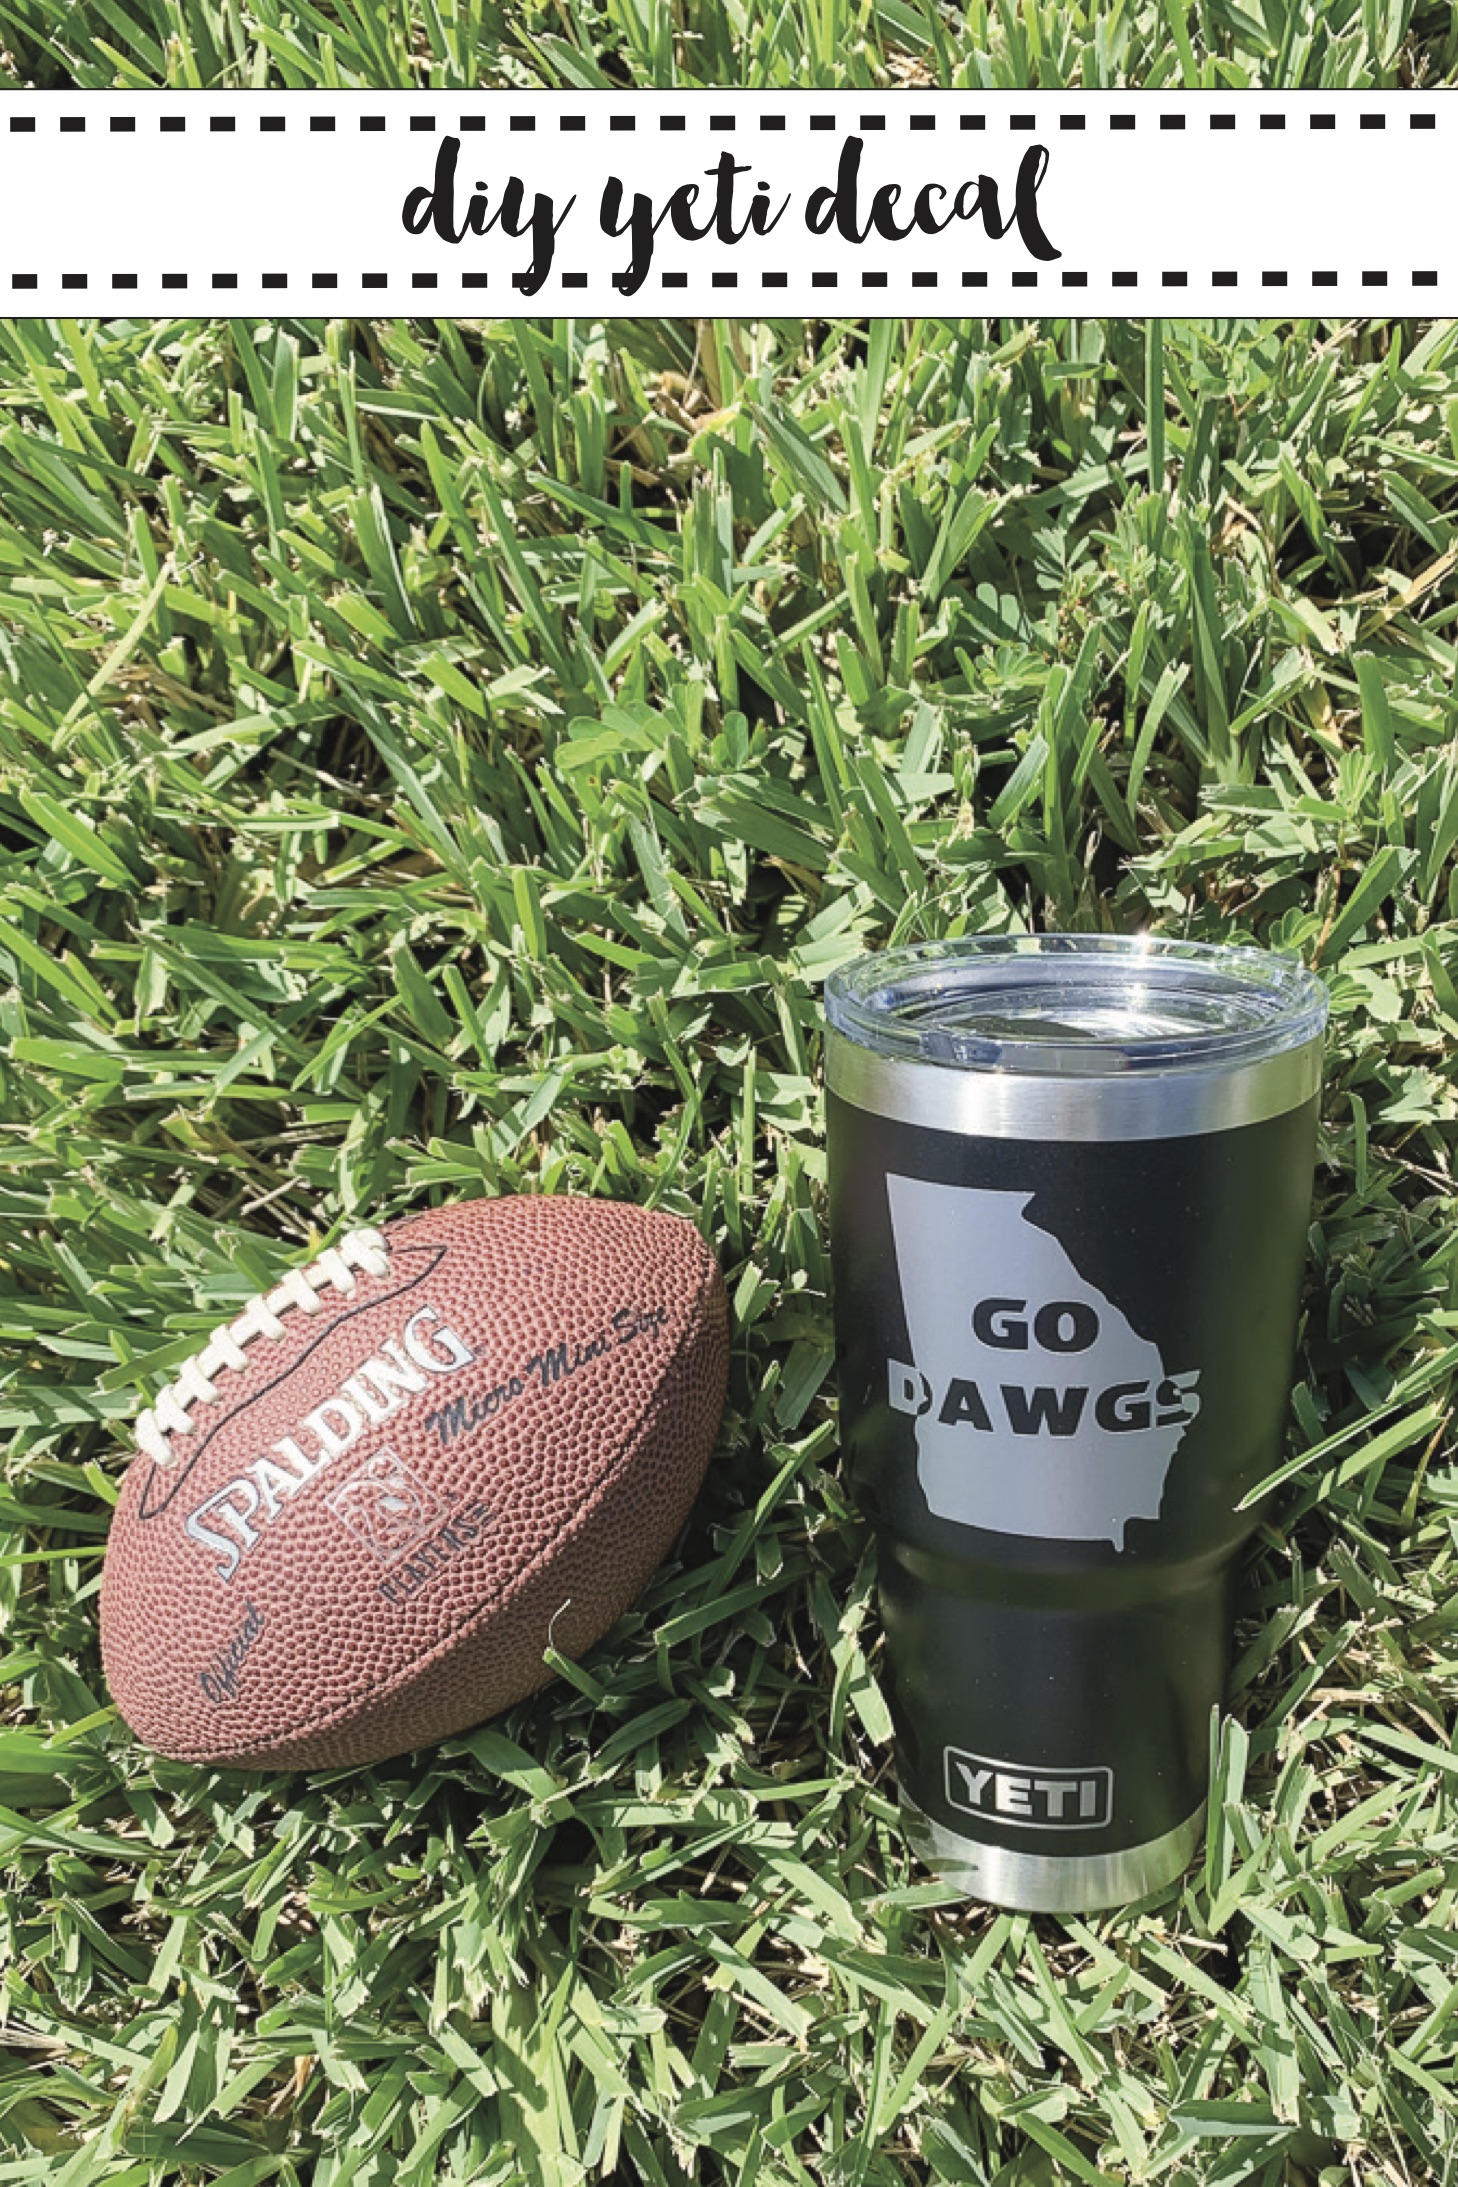
I can just about smell fall in the air, and I know my husband is.so.ready. for SEC college football. He loves his Georgia Dawgs! But, being in Florida, it is really difficult to find anything with the Bulldogs on it. So, I decided to make him his very own personalized Yeti tumbler.
Make Yeti Cup Decals
I customized my own Yeti about a year and a half ago, and I just love it so much! When I made mine, I used Cricut’s Premium Permanent Vinyl for both my cup and my husband’s cup. {This will not void Yeti’s warranty} You can use any permanent or outdoor vinyl.
I used images in Cricut Design Space to create my custom Yeti decals. Of course you could create your own SVG file, or upload one you purchased as well.
I wanted to make a cup that would represent my hubby’s beloved team, without violating trademark and copyright regulations, so I chose to do knockout text on an image of Georgia.
DIY Yeti Decal
You can easily make your own personalized Yeti tumbler, and if you are crafty, you probably have all the supplies at home!
Supplies
Step 1
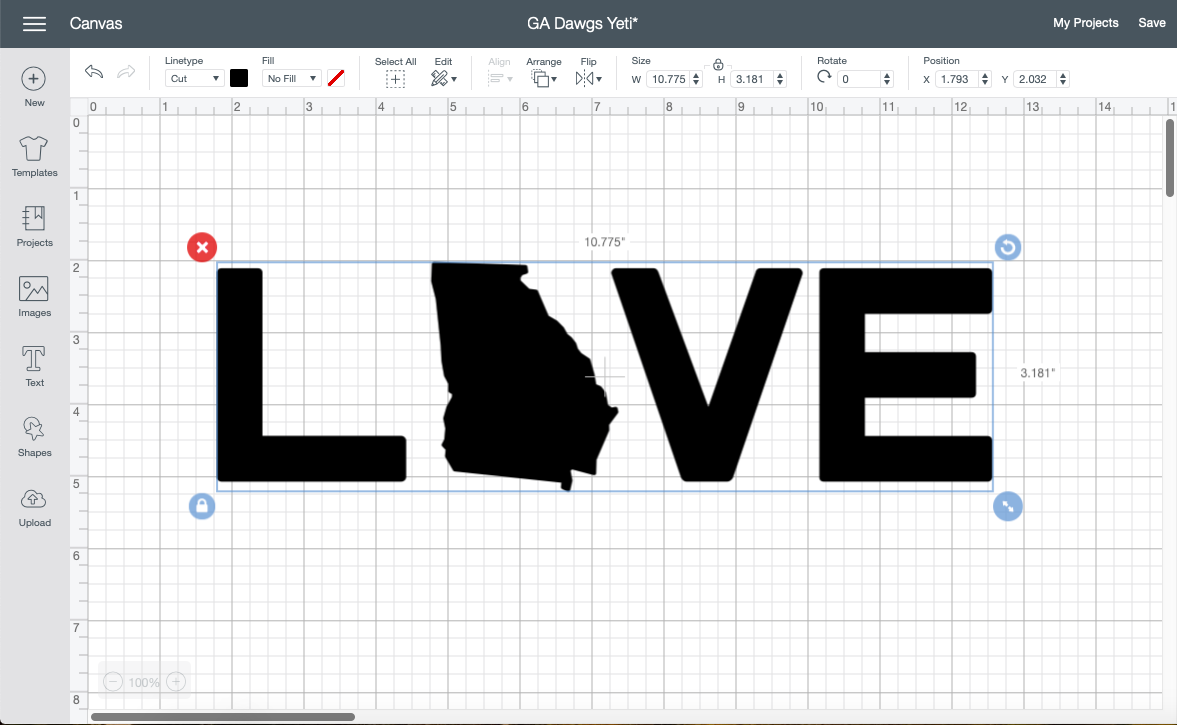
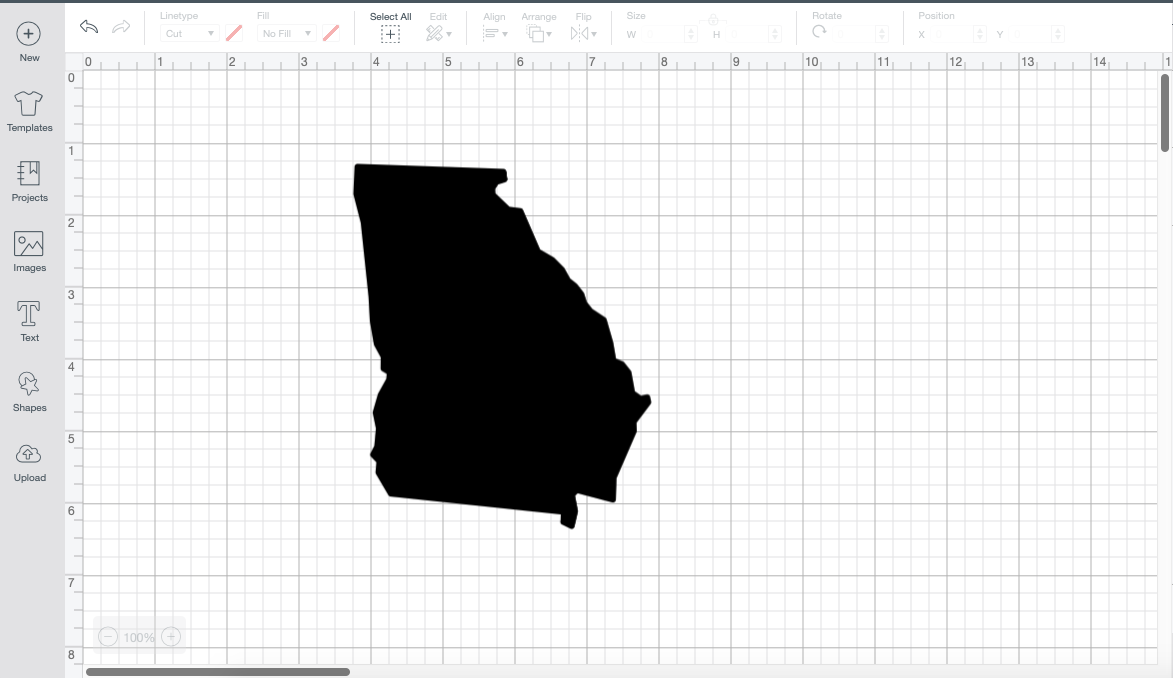
Open Design Space and find an image of the your favorite team’s state. For this one, there was a LOVE image with the outline of Georgia instead of the O. I just had to slice the LVE from the image.
Step 2
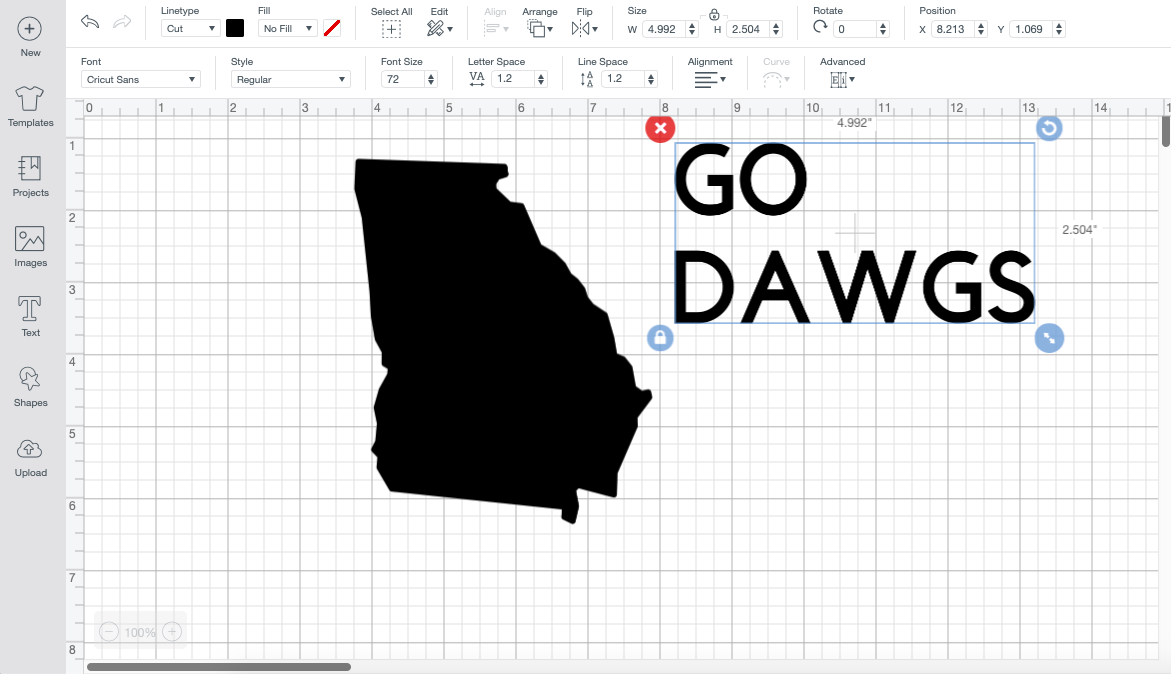
Choose your text. I typed Go Dawgs, and sized it to fit over the state.
Step 3
Layer the text over the state, and select all. Then, slice the text from the image.
Step 4
Delete the text that is inside of the state.
Step 5
Select the entire image and any text that is outside of the image, and weld it together.
Step 6
Send the image to cut.
Step 7
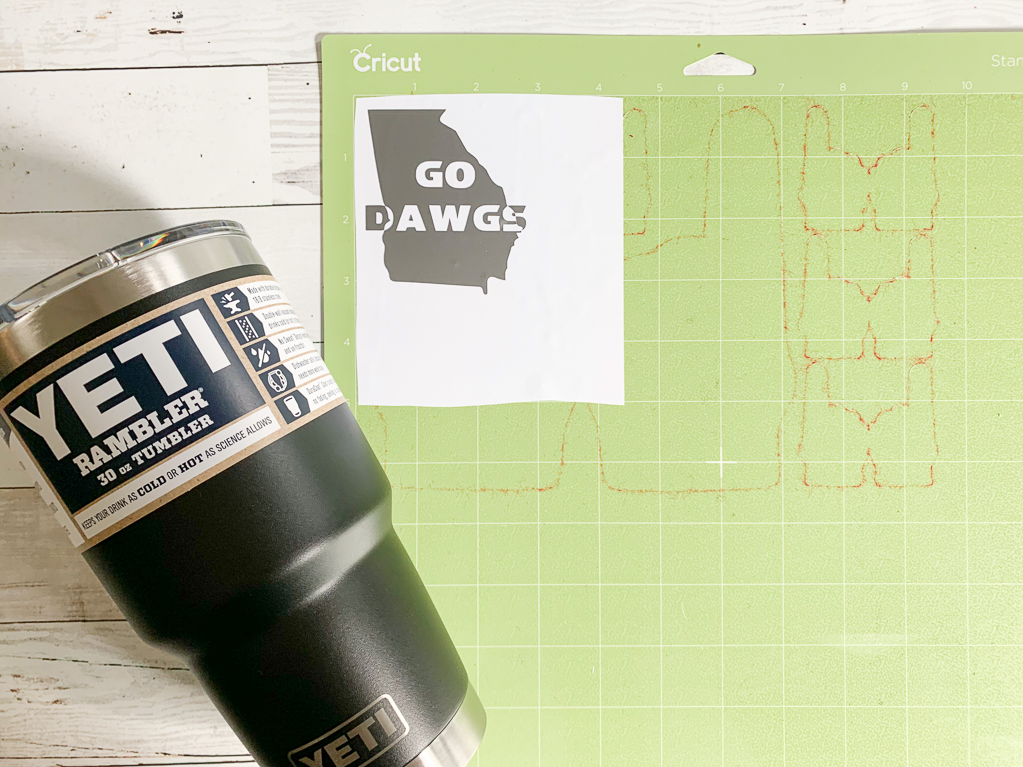
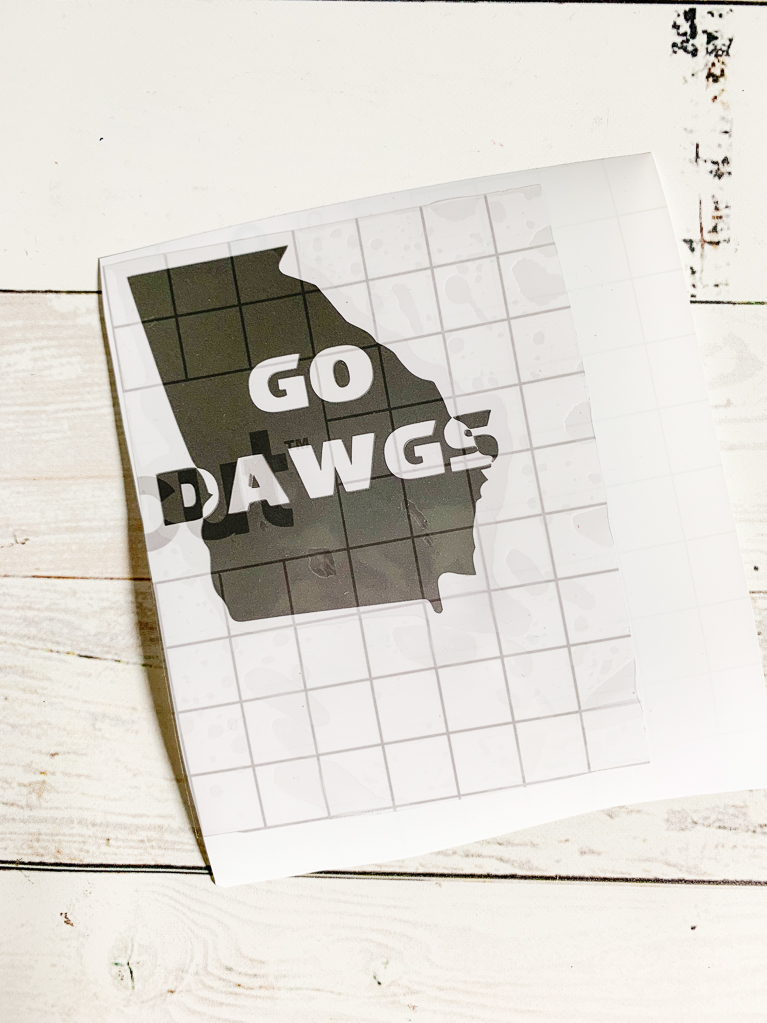
Weed the excess vinyl, and apply transfer tape over the cup decal.
Step 8
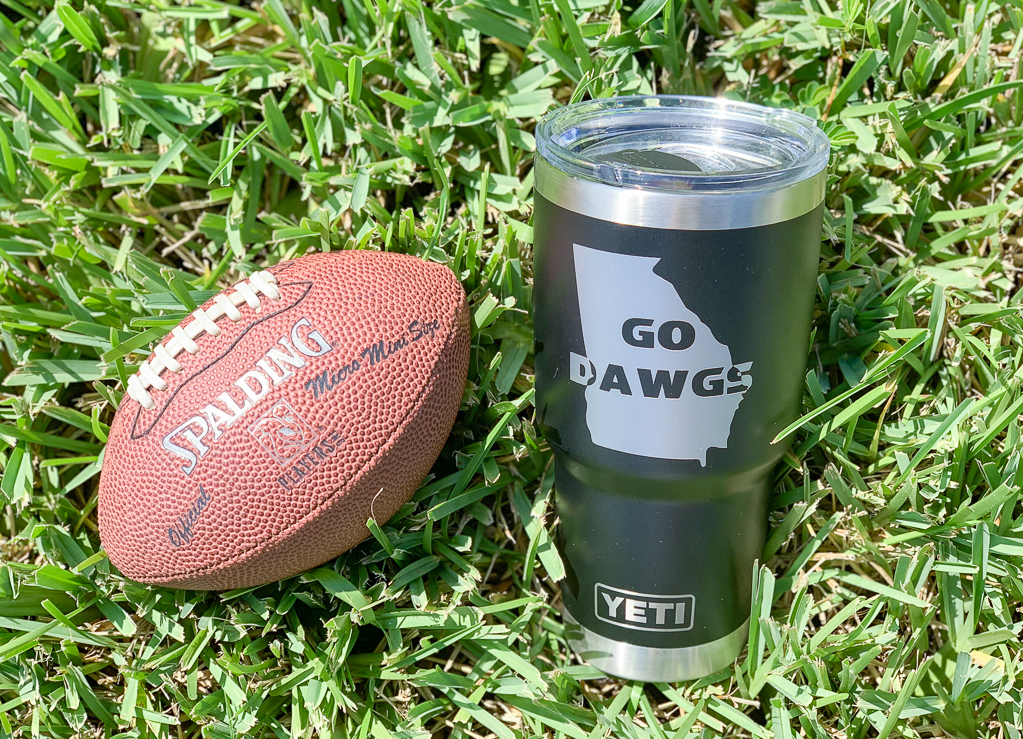
Carefully apply the custom decal onto your Yeti.
Step 9
Enjoy your new custom Yeti at all of your tailgating parties!
If you liked this post, be sure to check out these too!
Tags : Cricut, DIY, Tailgate, Yeti


[…] out this post to get a full step by step tutorial to make cool logos for your can cooler or hard […]