
It’s no shock that I love to craft with my Cricut. Truly, it is my most loved and used crafting tool. There is very little it can’t do. But, my preferred projects involve vinyl or iron on. And, I am thrilled to be part of a group of amazing bloggers sharing a Cricut Craft DIY for National Craft Month!
If you decide to make a purchase through my links, I will be paid a small commission for it. This doesn’t cost you anything additional.
National Craft Month
I’m going to be honest, I really had no idea that National Craft Month is a thing. But, as soon as I found out, I decided to share as many craft projects as I could this month!
I plan on sharing at least one new craft idea or project each week this month. Last week, to kick off the month, I shared one new SVG file each week. I shared free Cricut cut files for Easy Easter Decorations, a Totally Free SVG – Baseball SVG File, a Distressed Clover St. Patrick’s Day SVG, and even a Piece of Pi Math SVG!
Make a Farmhouse Style Sign
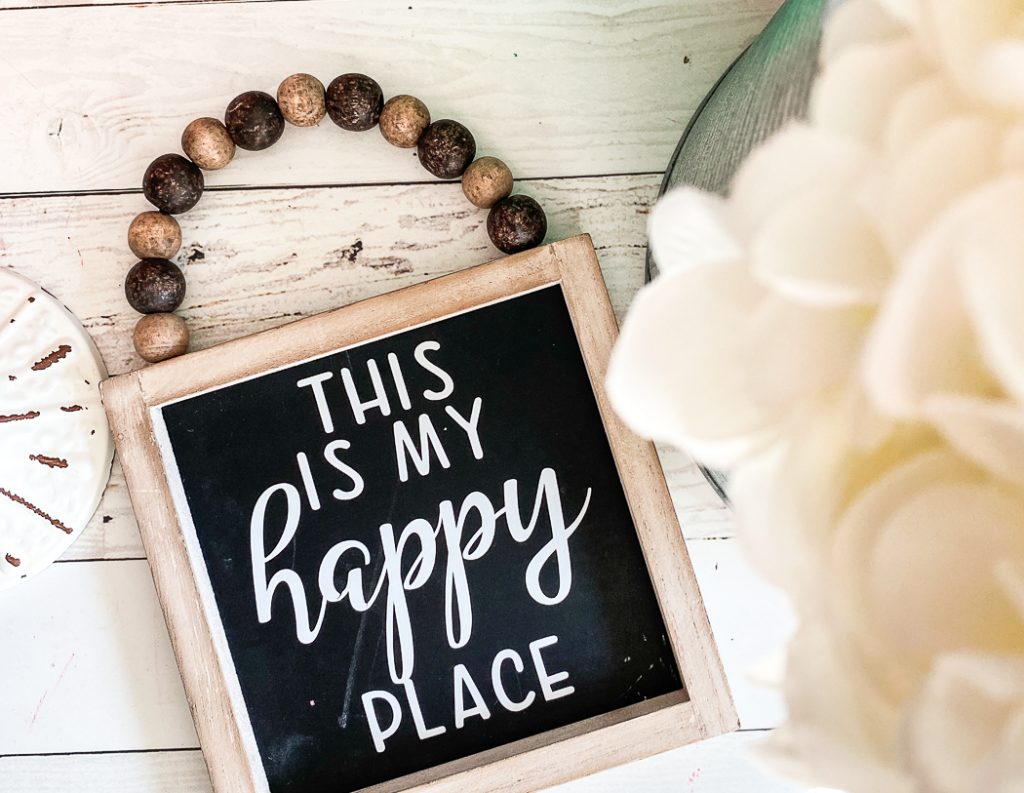
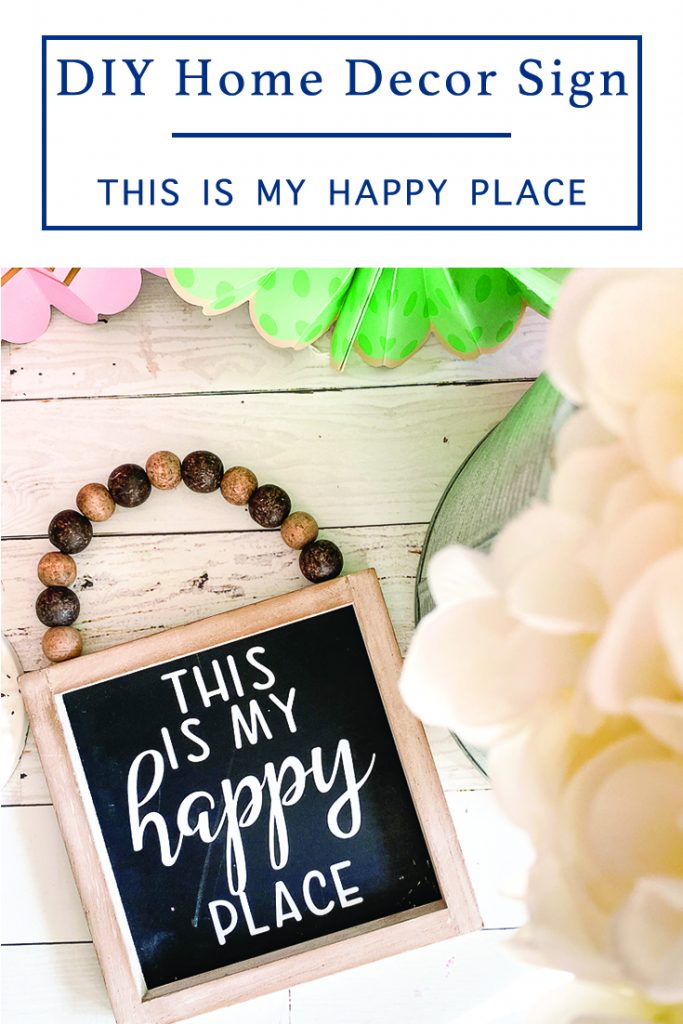
Usually when I make a sign for my home or a gift, I cut the wood, paint the wood, and frame the wood myself. Then, I use Iron On Vinyl on the sign. But, this cute little chalkboard sign was already made and cost less than $4 in the seasonal department at Walmart. So, instead of using Iron On for it, I used adhesive vinyl.
This is My Happy Place Sign Supply List
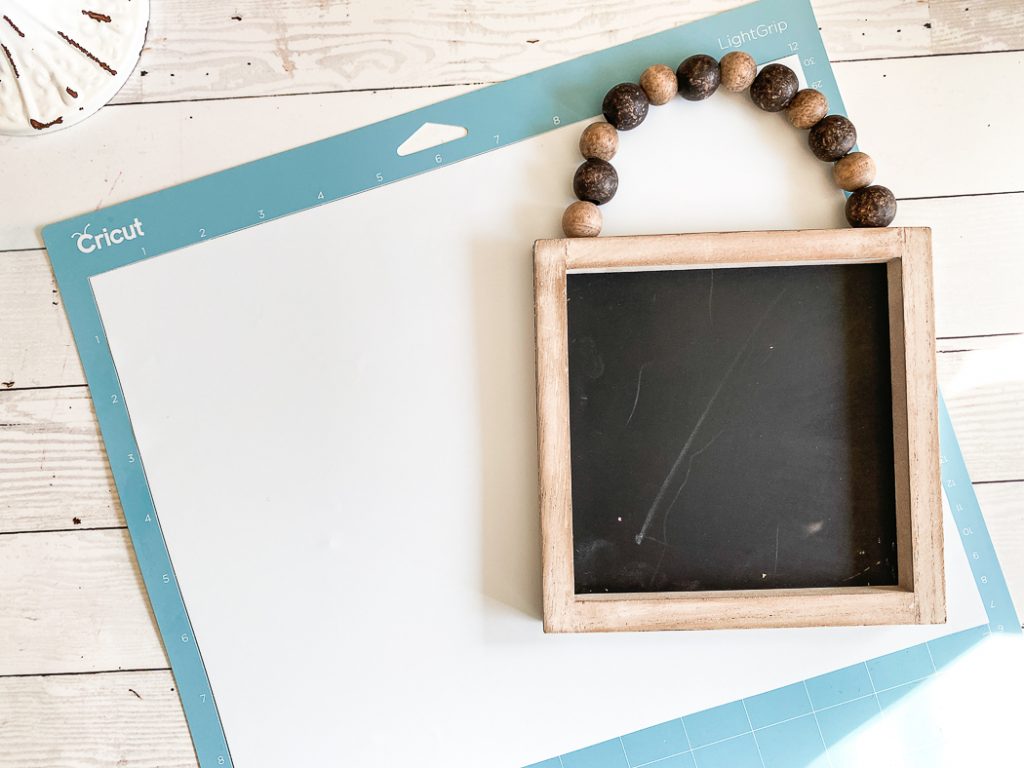
This craft project took less than 10 minutes to make, including taking out my Cricut and then putting it back when I was done.
You will need:
- This is My Happy Place Cut File, use the code HAPPYPLACE to download it from the shop for FREE!
- Cricut
- Adhesive Vinyl
- Amazon Link – Small Chalkboard (This is similar to the one I used)
Step 1
Download the cut file.
Step 2
Upload it to Design Space.
Step 3
Size it to fit your sign.
Step 4
Send the file to be cut.
Step 5
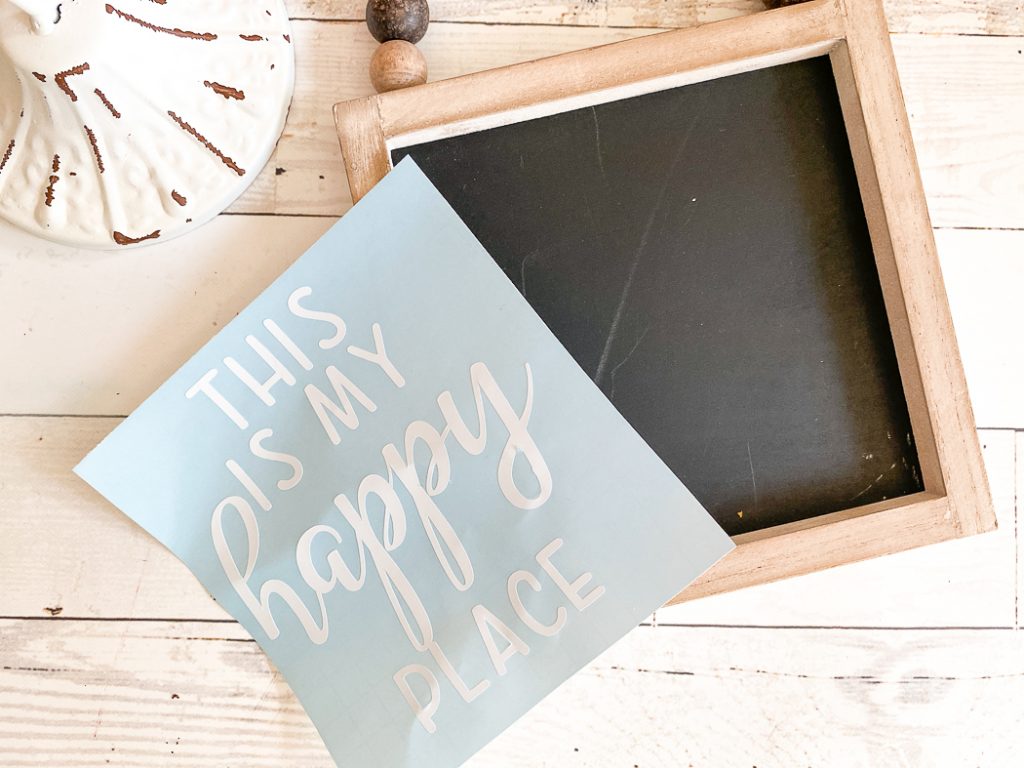
Weed the excess vinyl.
Step 6
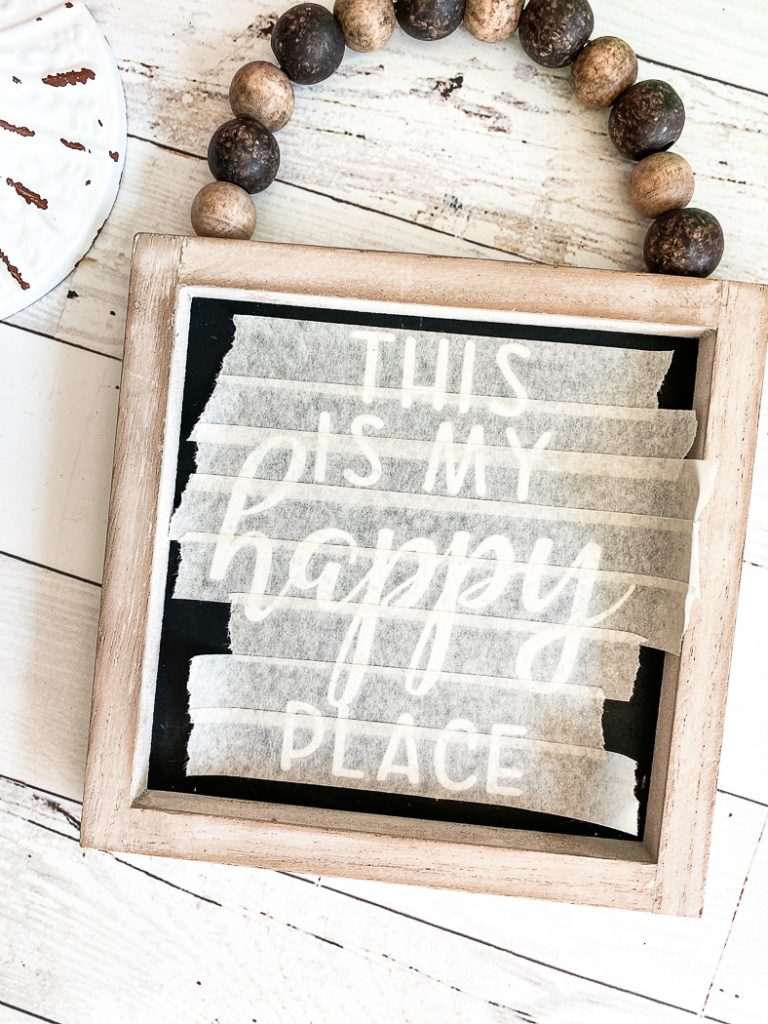
Apply transfer tape or masking tape to the cut vinyl. I wasn’t sure how durable the chalkboard was, so I used masking tape. Then, I tore off a small section, stuck it to my t-shirt, then stuck it onto the vinyl. I repeated that step, slightly overlapping each piece to connect them all.
Step 7
Remove the vinyl from the carrier sheet and apply to the chalkboard. Be sure to smooth out any bubbles.
That’s it! This project took me about 6 minutes to make, and I am so in love with it!
Don’t forget to check out some of my Cricut Crafty Friends and their Craft Week Projects!
- Pineapple Paper Co – Infusible Ink Shirts
- Shrimp Salad Circus – Hand Sanitizer
- 100 Directions – Travel Toiletries
- Lydi Out Loud – Rainbow Picture Frame
- Liz on Call – ‘Thinking of you’ Card
- Happiness is Homemade – DIY ruler growth chart
- Hey Let’s Make Stuff – Carrots Easter Bunny Plate
- Lemon Thistle Blog – DIY Enneagram Shirts
If you liked this craft project, be sure to check out these too!
DIY Party Cake Topper with Cricut
Tags : Cricut, Cricut Craft, DIY, Farmhouse Style, National Craft Month, SVG



[…] Every Day Party Mag is making… a surprise 😉 […]