• Home
  • About
  • Shop
    • SVG’s
      • Mother’s Day
      • Summer
      • Winter
      • Spring
      • Father’s Day
      • Sports
      • St. Patrick’s Day
      • Easter
      • Home
      • Wedding
      • School
      • Fall
      • Halloween
      • Kids
      • Thanksgiving
      • Christmas
      • New Year’s
      • Valentine’s Day
      • 4th of July – Patriotic
    • Holiday
      • Valentine’s Day
      • St. Patrick’s Day
      • Easter
      • Halloween
      • Christmas
      • Hanukkah
      • New Year’s
    • Sublimation
      • Spring
    • Party Packages
    • Magazine
  • DIY
  • Recipe
  • Freebies
  • Contact
  • Submissions
  • Cart
  • Privacy Policy and Disclosures

Everyday Party Magazine

  • About
  • Cart
  • Checkout
  • Contact
  • DIY
  • Freebies
  • Full Width
    • Home
  • Instagram Inspiration
  • Magazine
  • My Account
  • Privacy Policy and Disclosures
  • Recipes
  • Shop
  • Submissions
August 6, 2013

Easy DIY Ruffle Cake Stand

 Ruffle Cake Stand

Easy DIY Ruffle Cake Stand

By: La Belle Party Planning

Stefani shares the simple DIY steps for one of EPM’s most popular Instagram images.  With just 6 steps, you can re-create your own!  Not only is it too cute for words, but it won’t take up a lot of space, and can be made in any size to fit your own needs.  I think this style would work beautifully with a rectangle serving platter as well!

This is a great way to simply and affordably add a special touch to a shabby chic bridal shower, wedding, or little girls birthday party.

If you make your own, we would love to see images.  You can email them to us via the contact us link or post them directly on to Everyday Party Magazine’s facebook page.

ruffle cake stand DIY 1


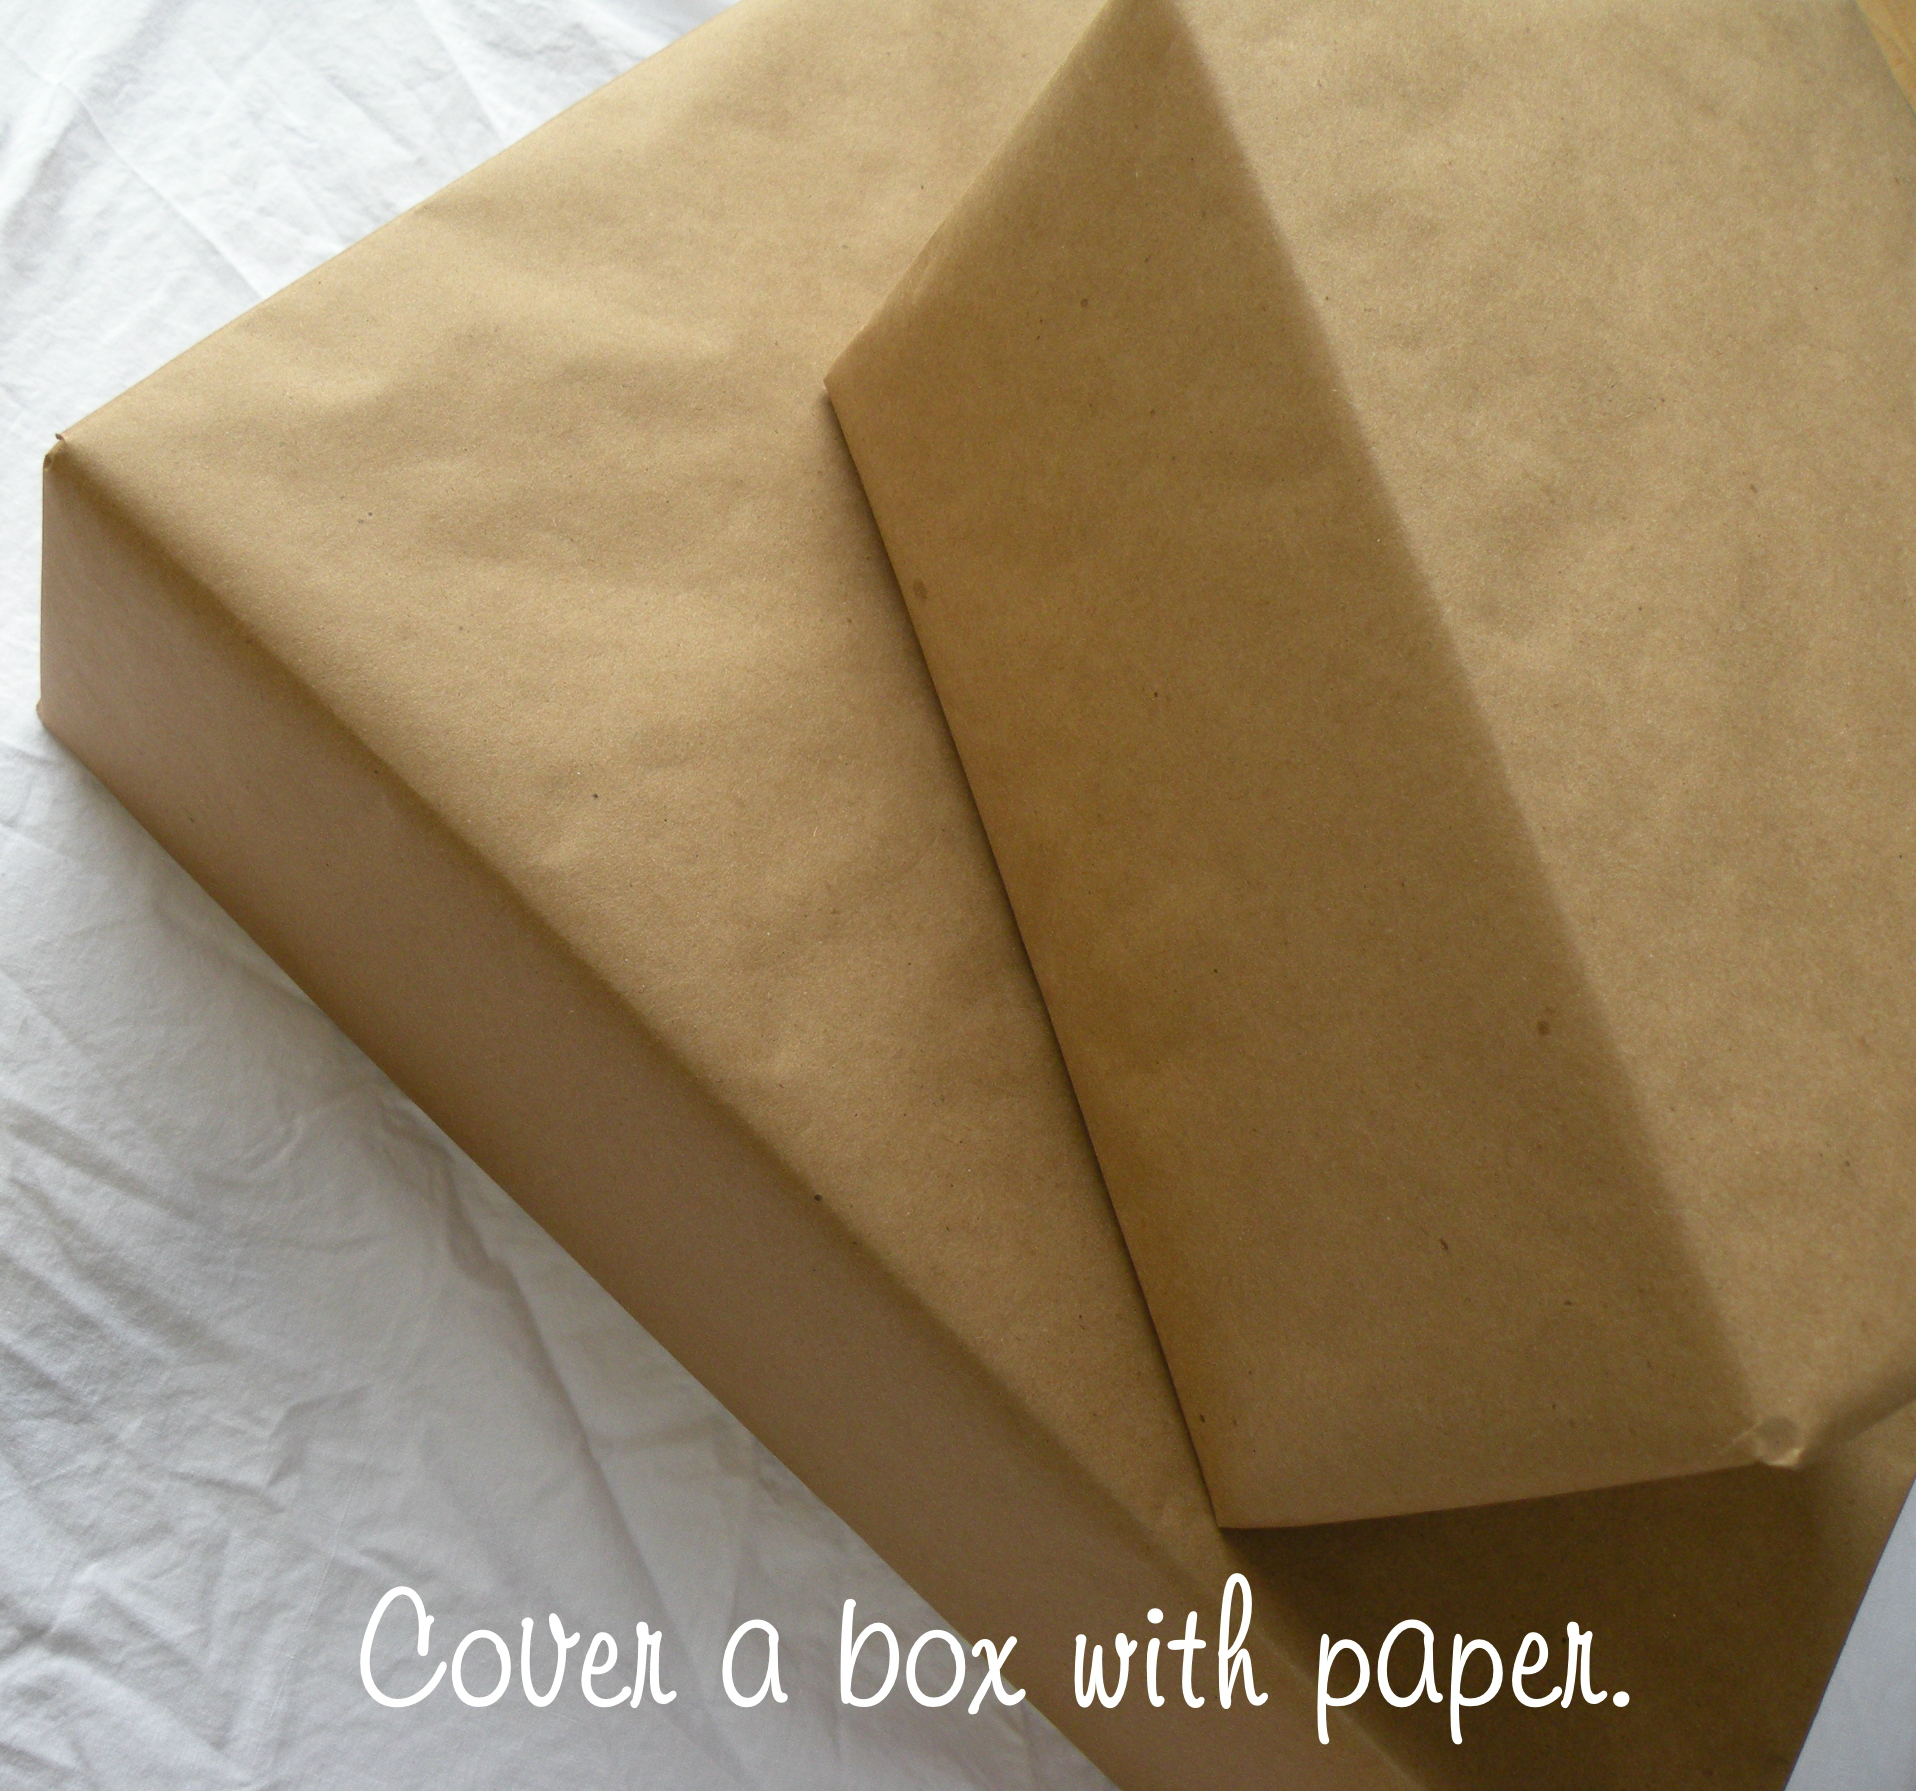
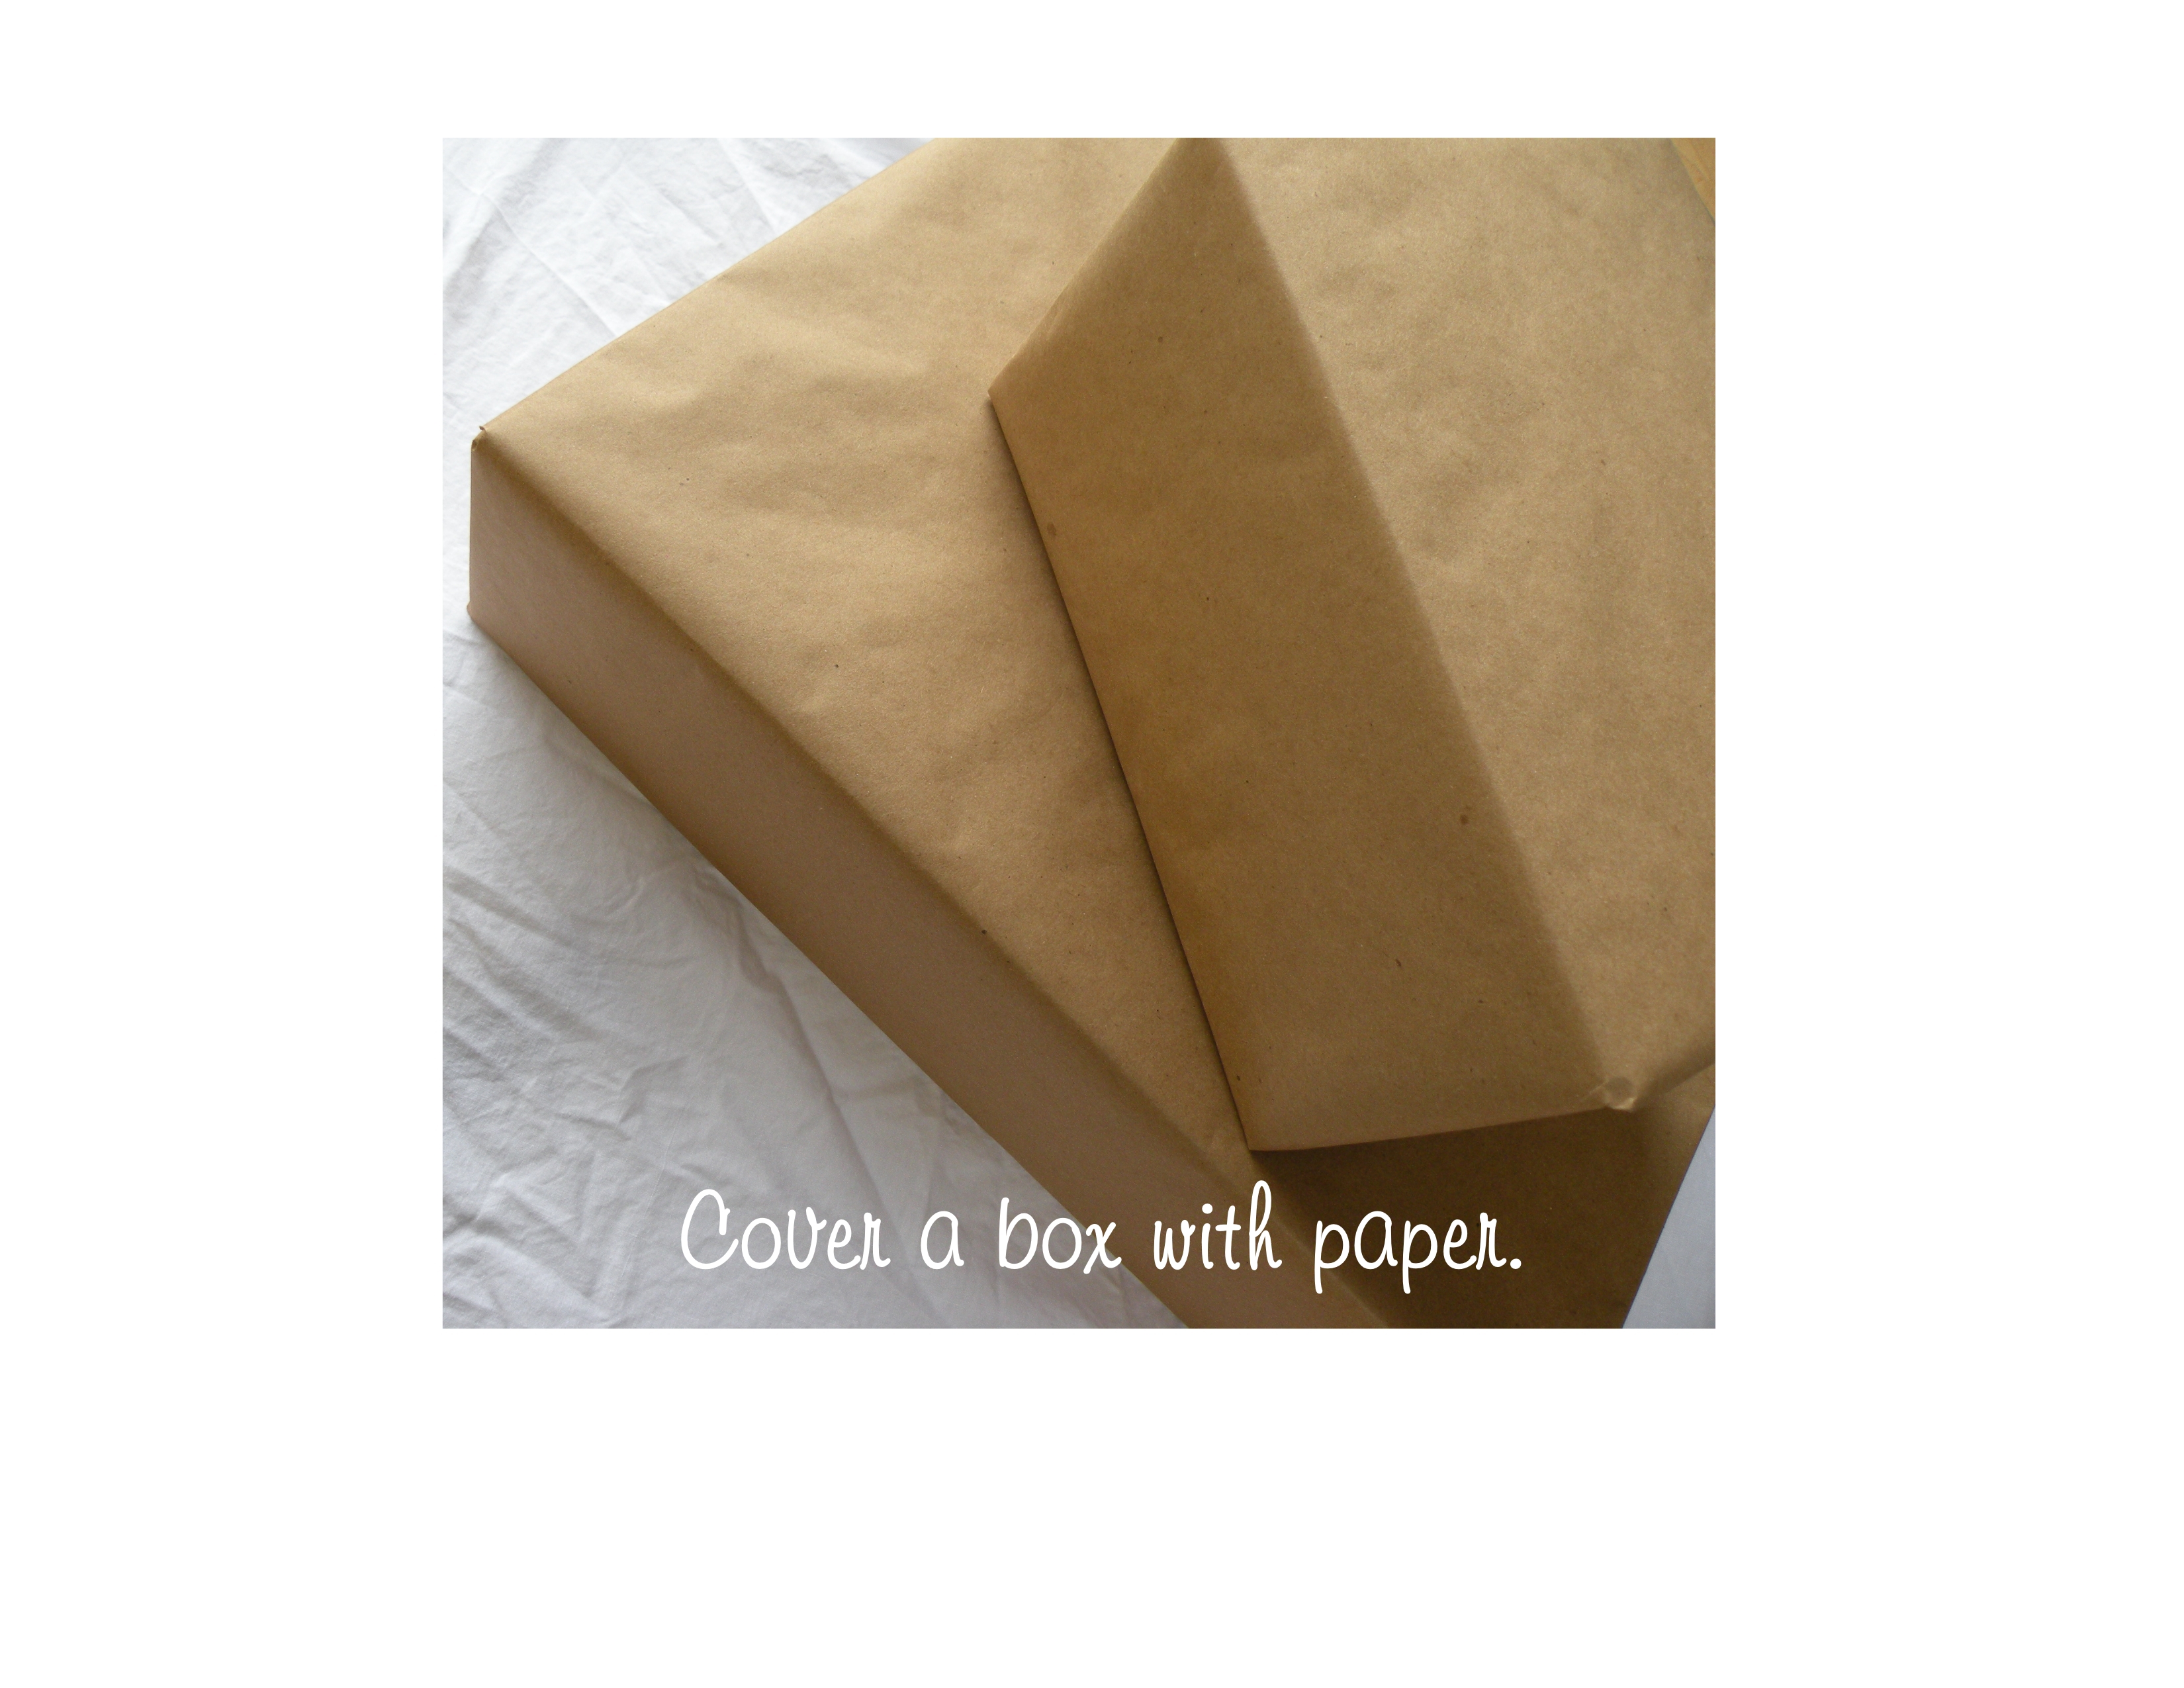
Choose a sturdy box and cover it with paper.  (Any coordinating style of paper works well)

ruffle cake stand DIY 2


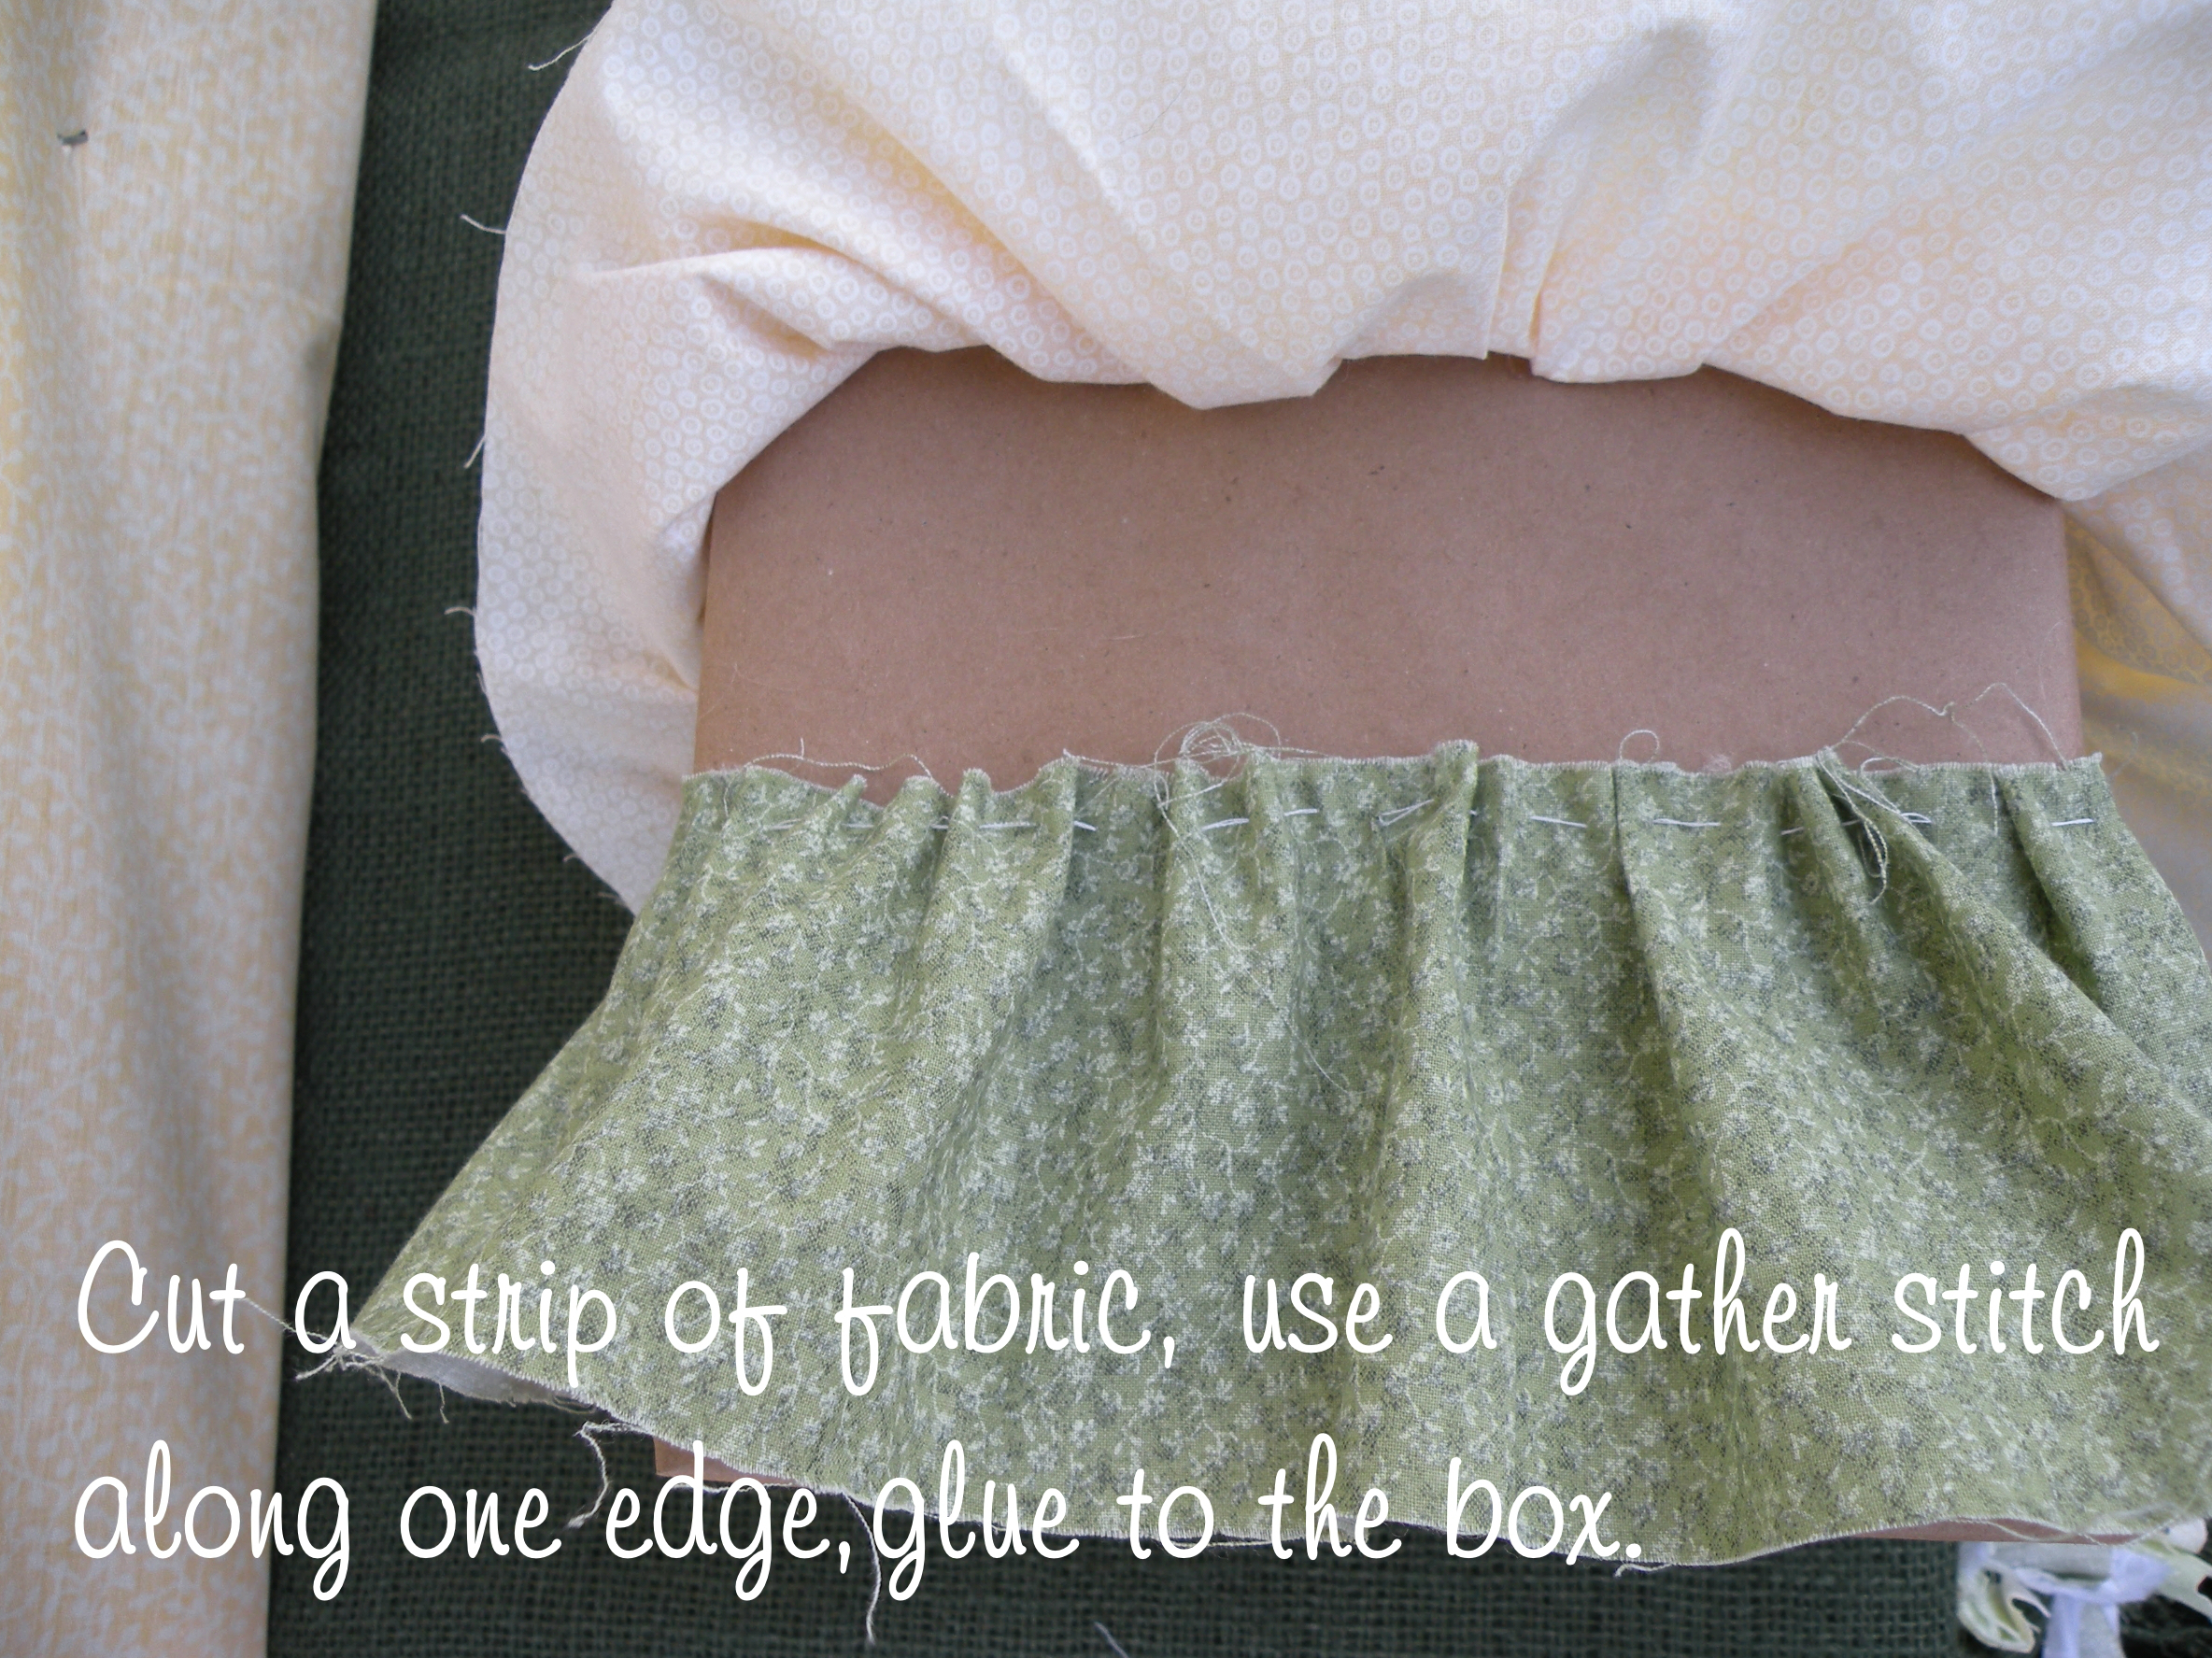
Choose fabric scraps to match your style.  Many fabric stores sell scrap pieces at a greatly reduced price.

Gather stitch your fabric scraps and hot glue them to the box.


ruffle cake stand DIY 3


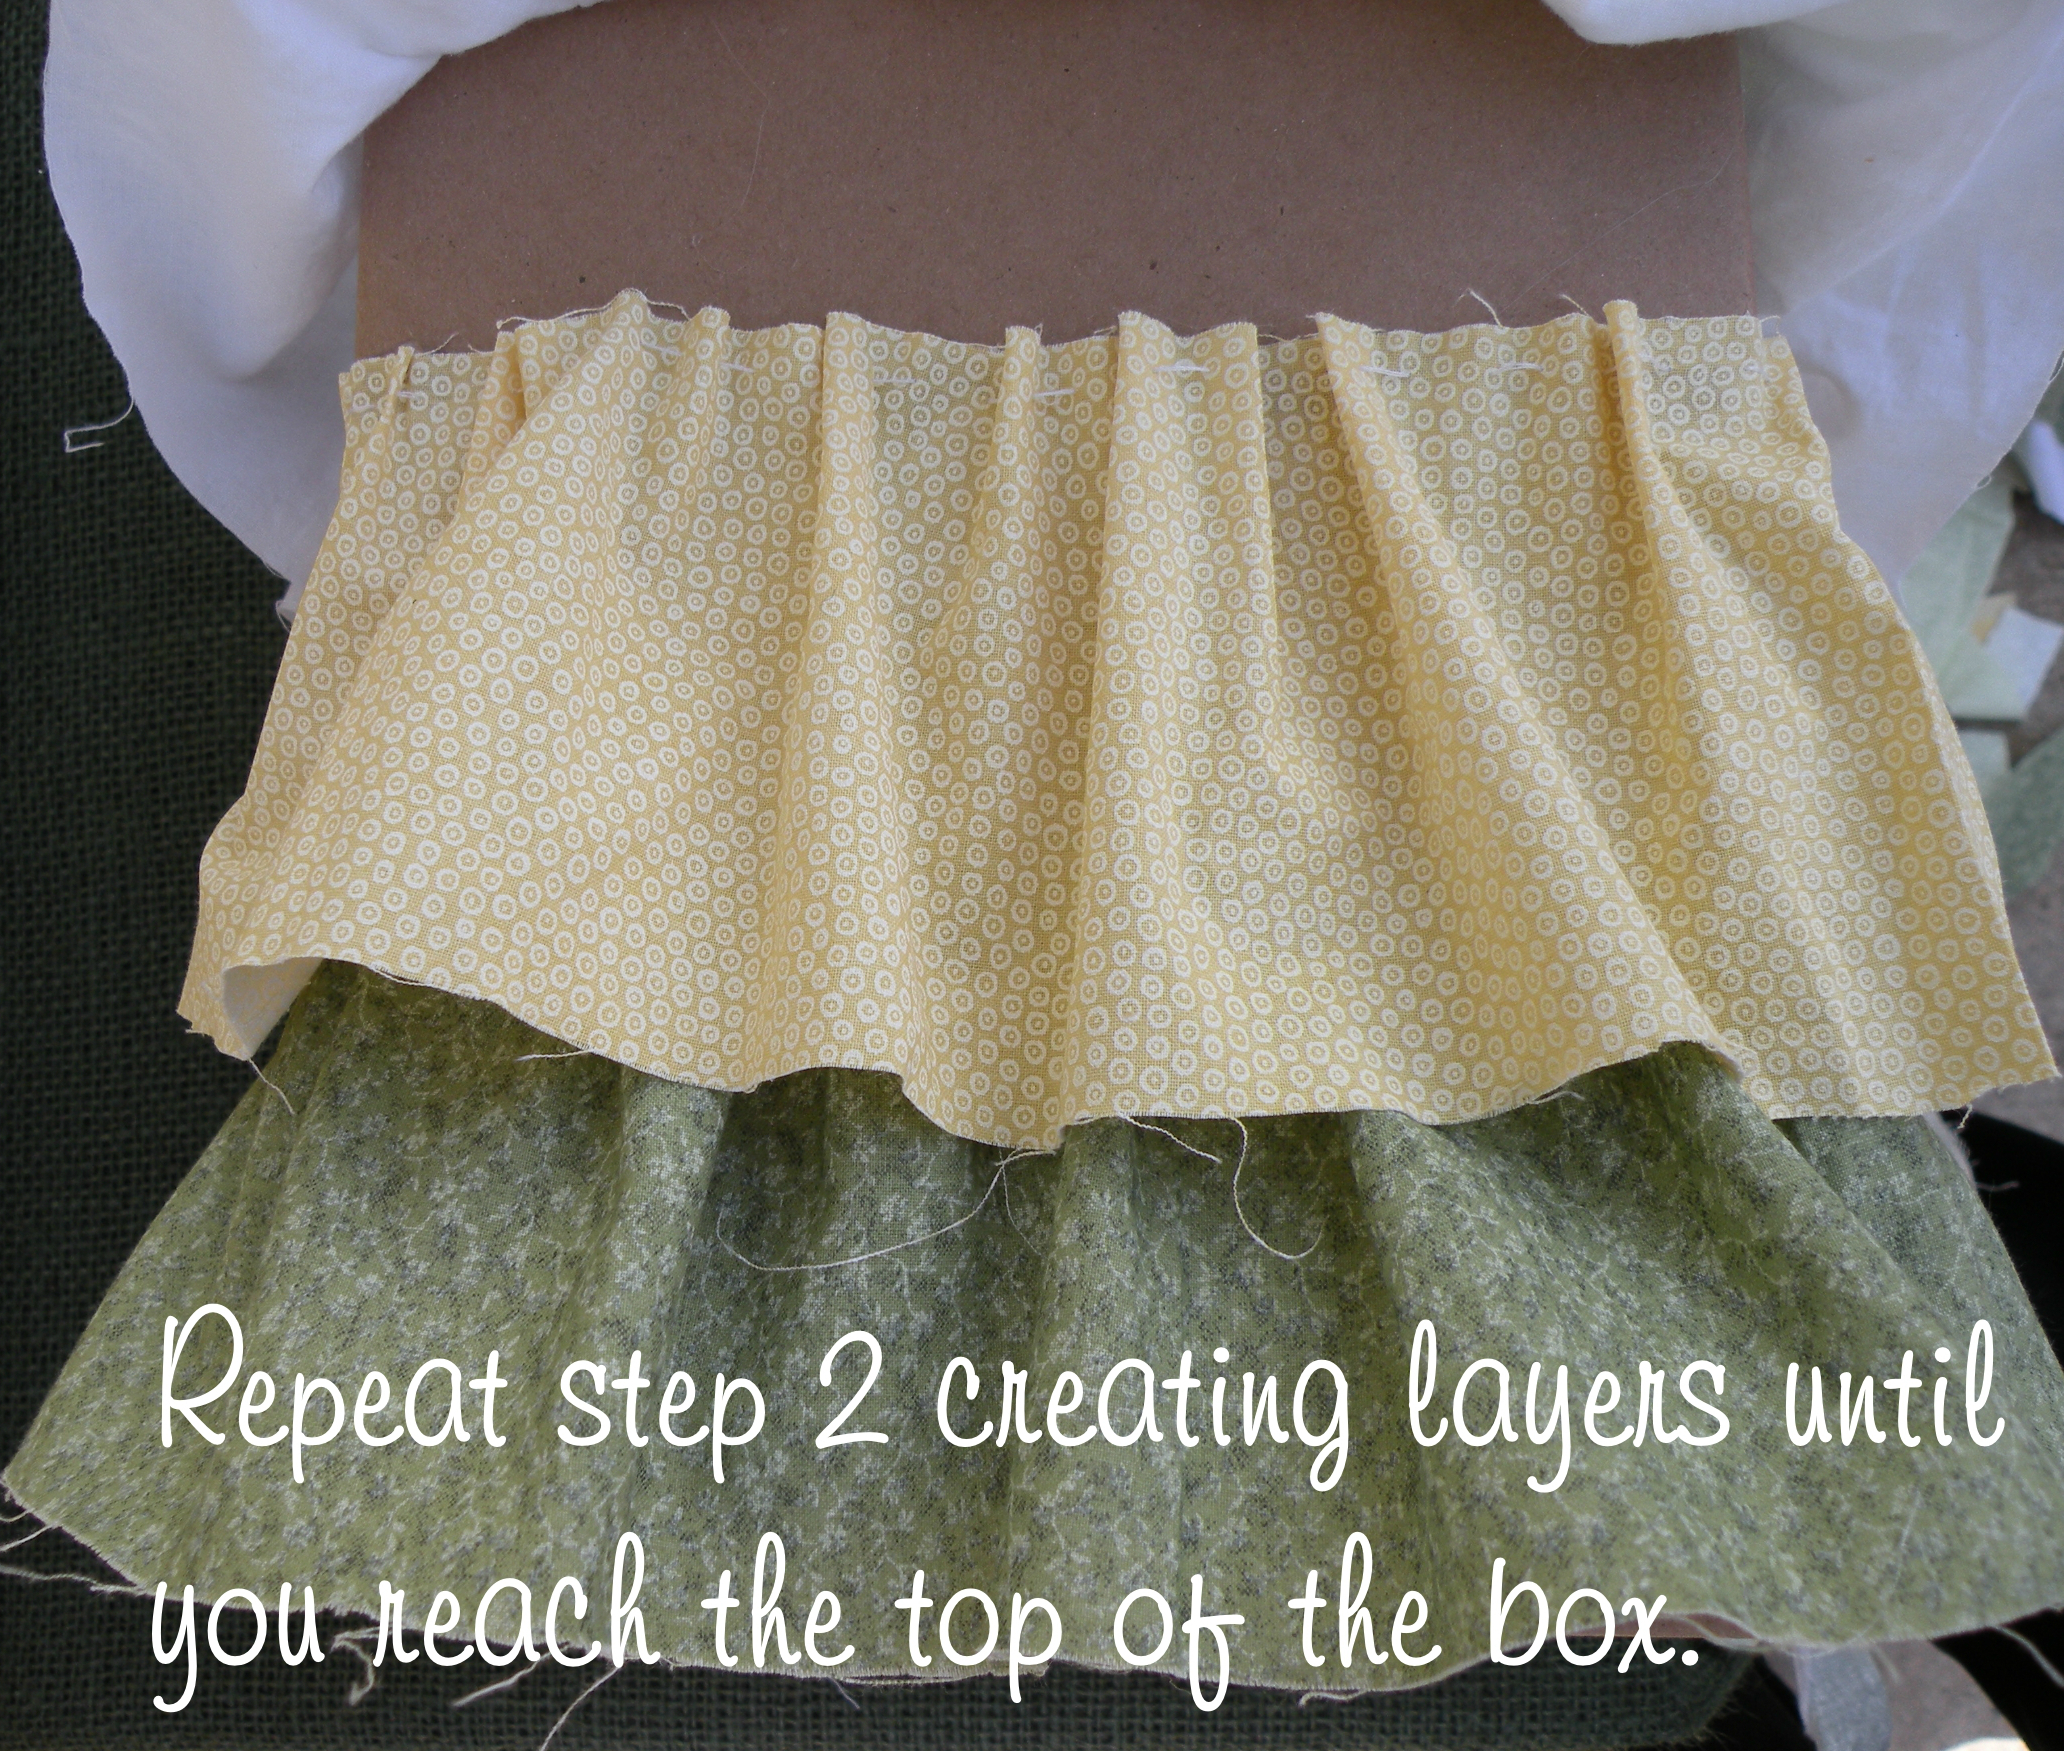
Repeat the steps above as often as necessary to cover the box. (Three layers or more is recommended)

ruffle cake stand DIY 4


Hot glue coordinating ribbon to cover the rough edge at the top.

ruffle cake stand DIY 5


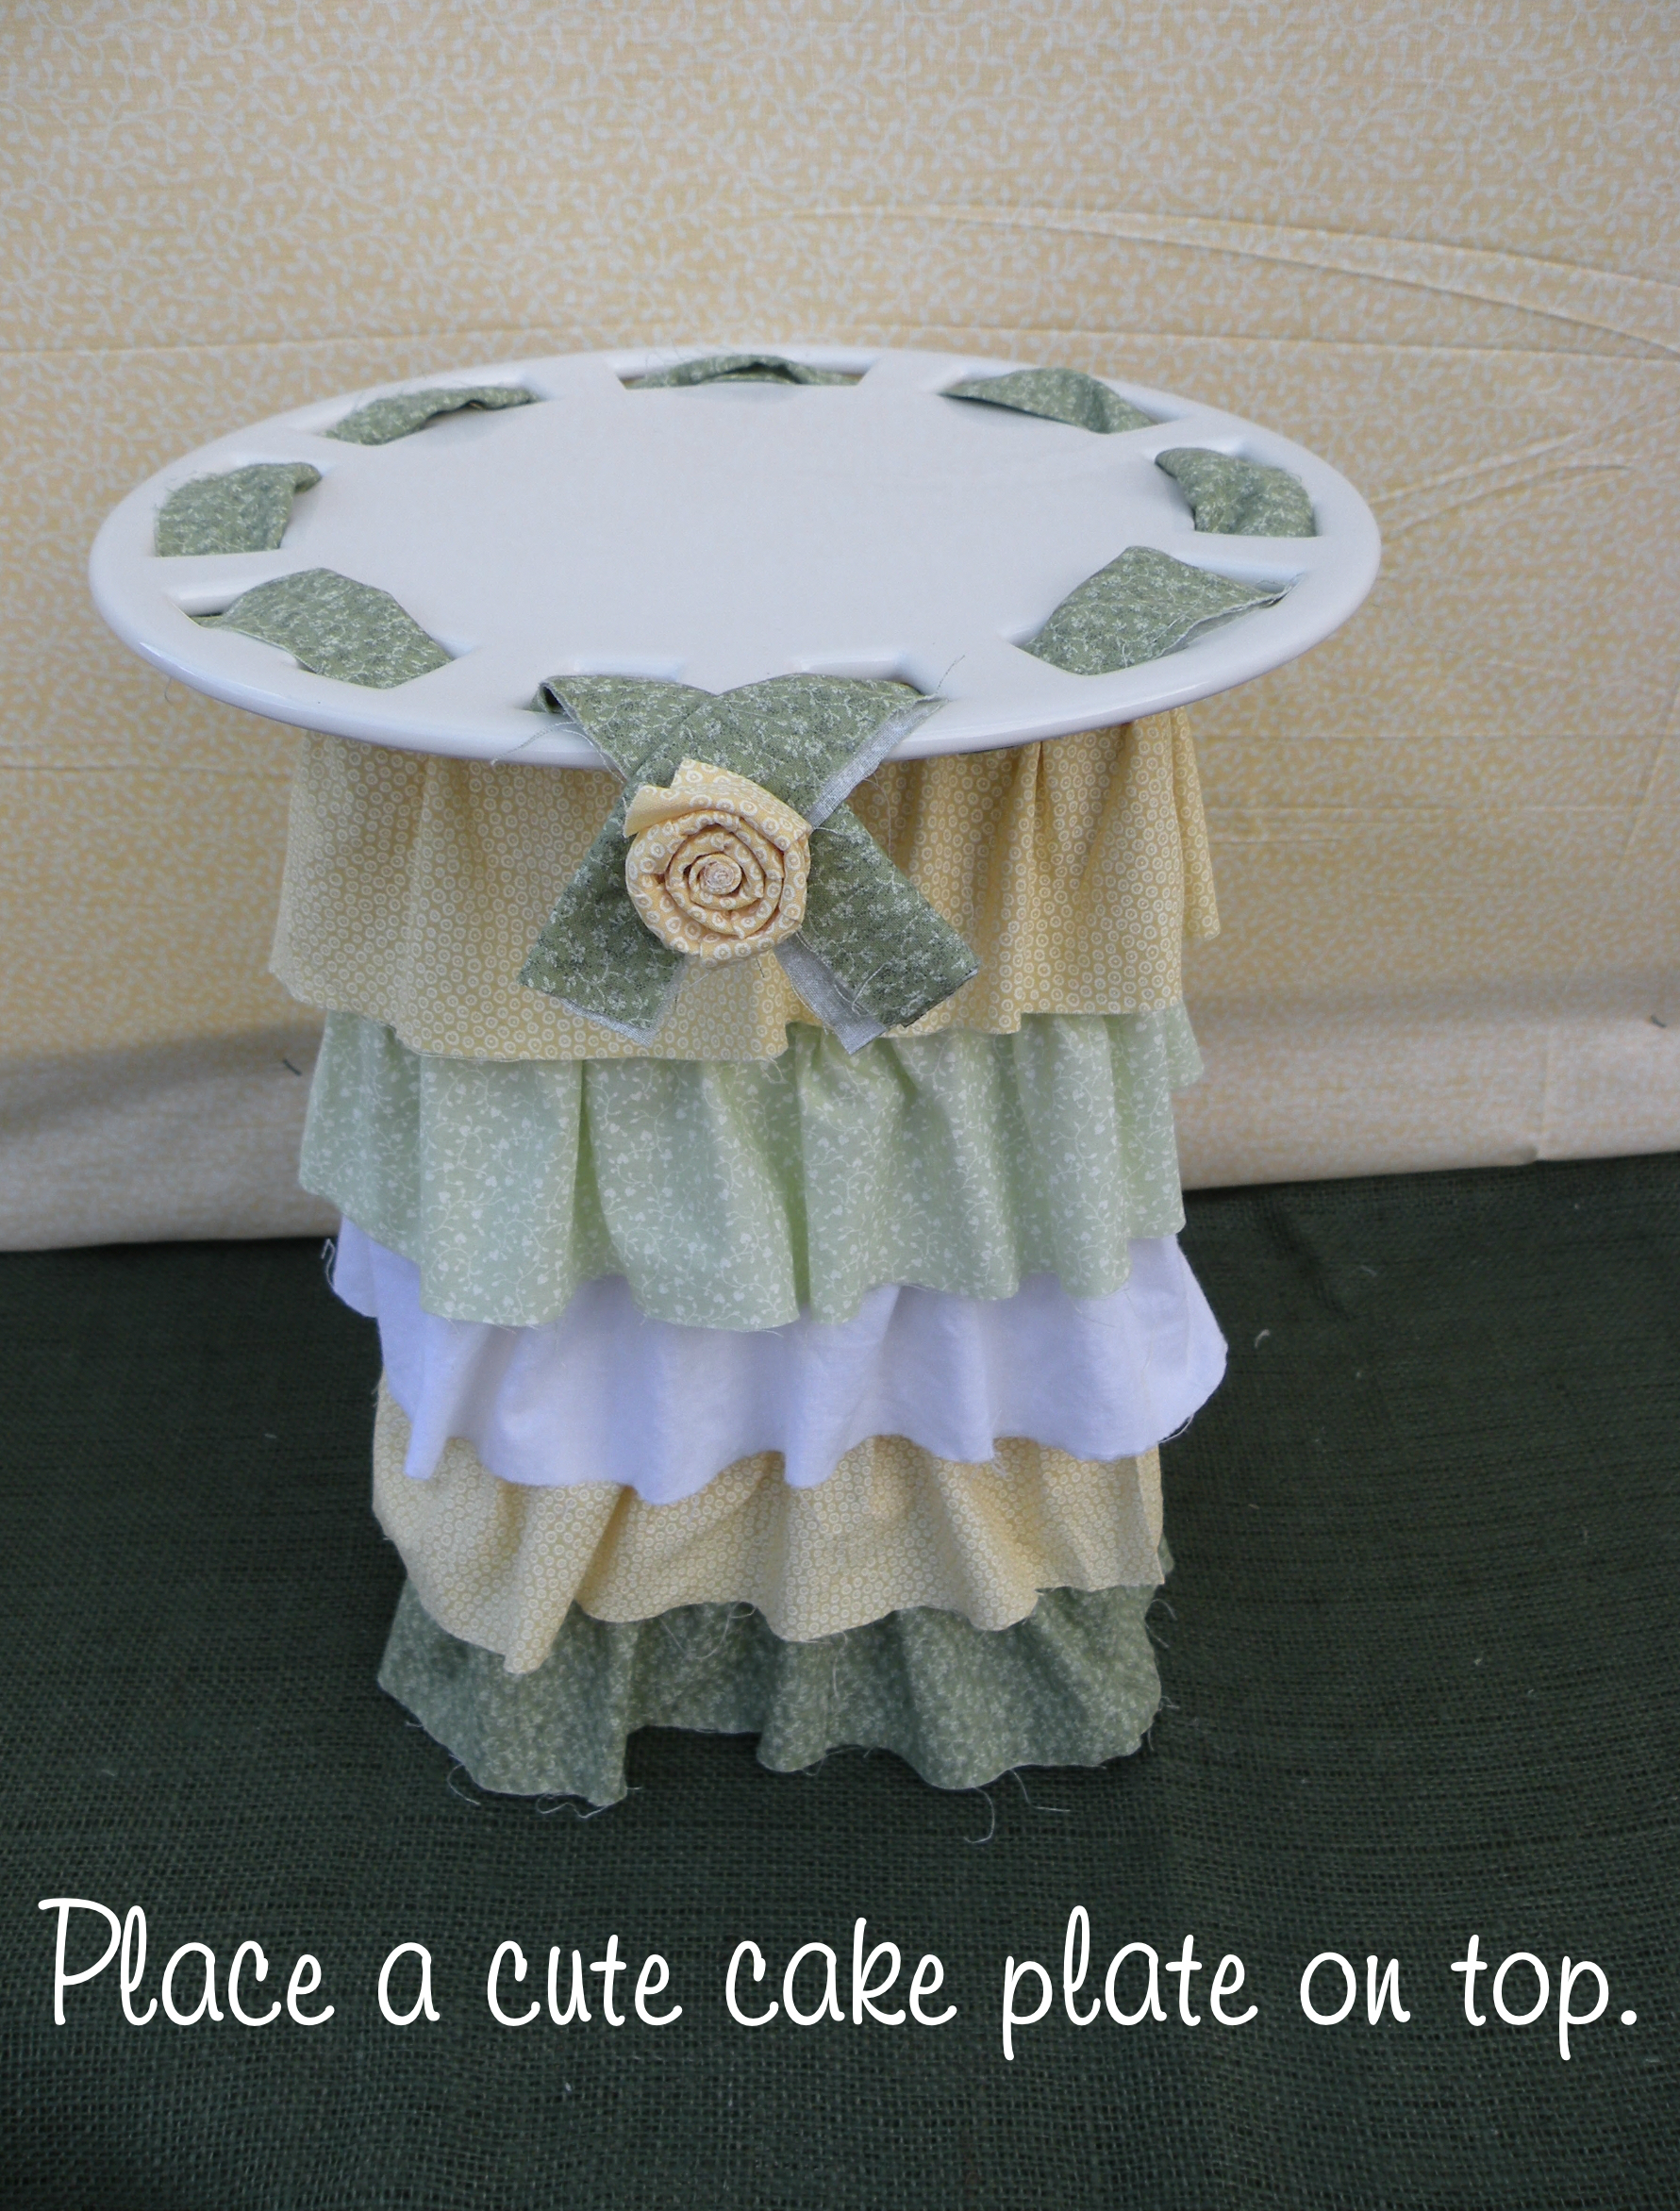
Place your cake plate or serving dish on top and embellish as you desire.

ruffle cake stand DIY 6


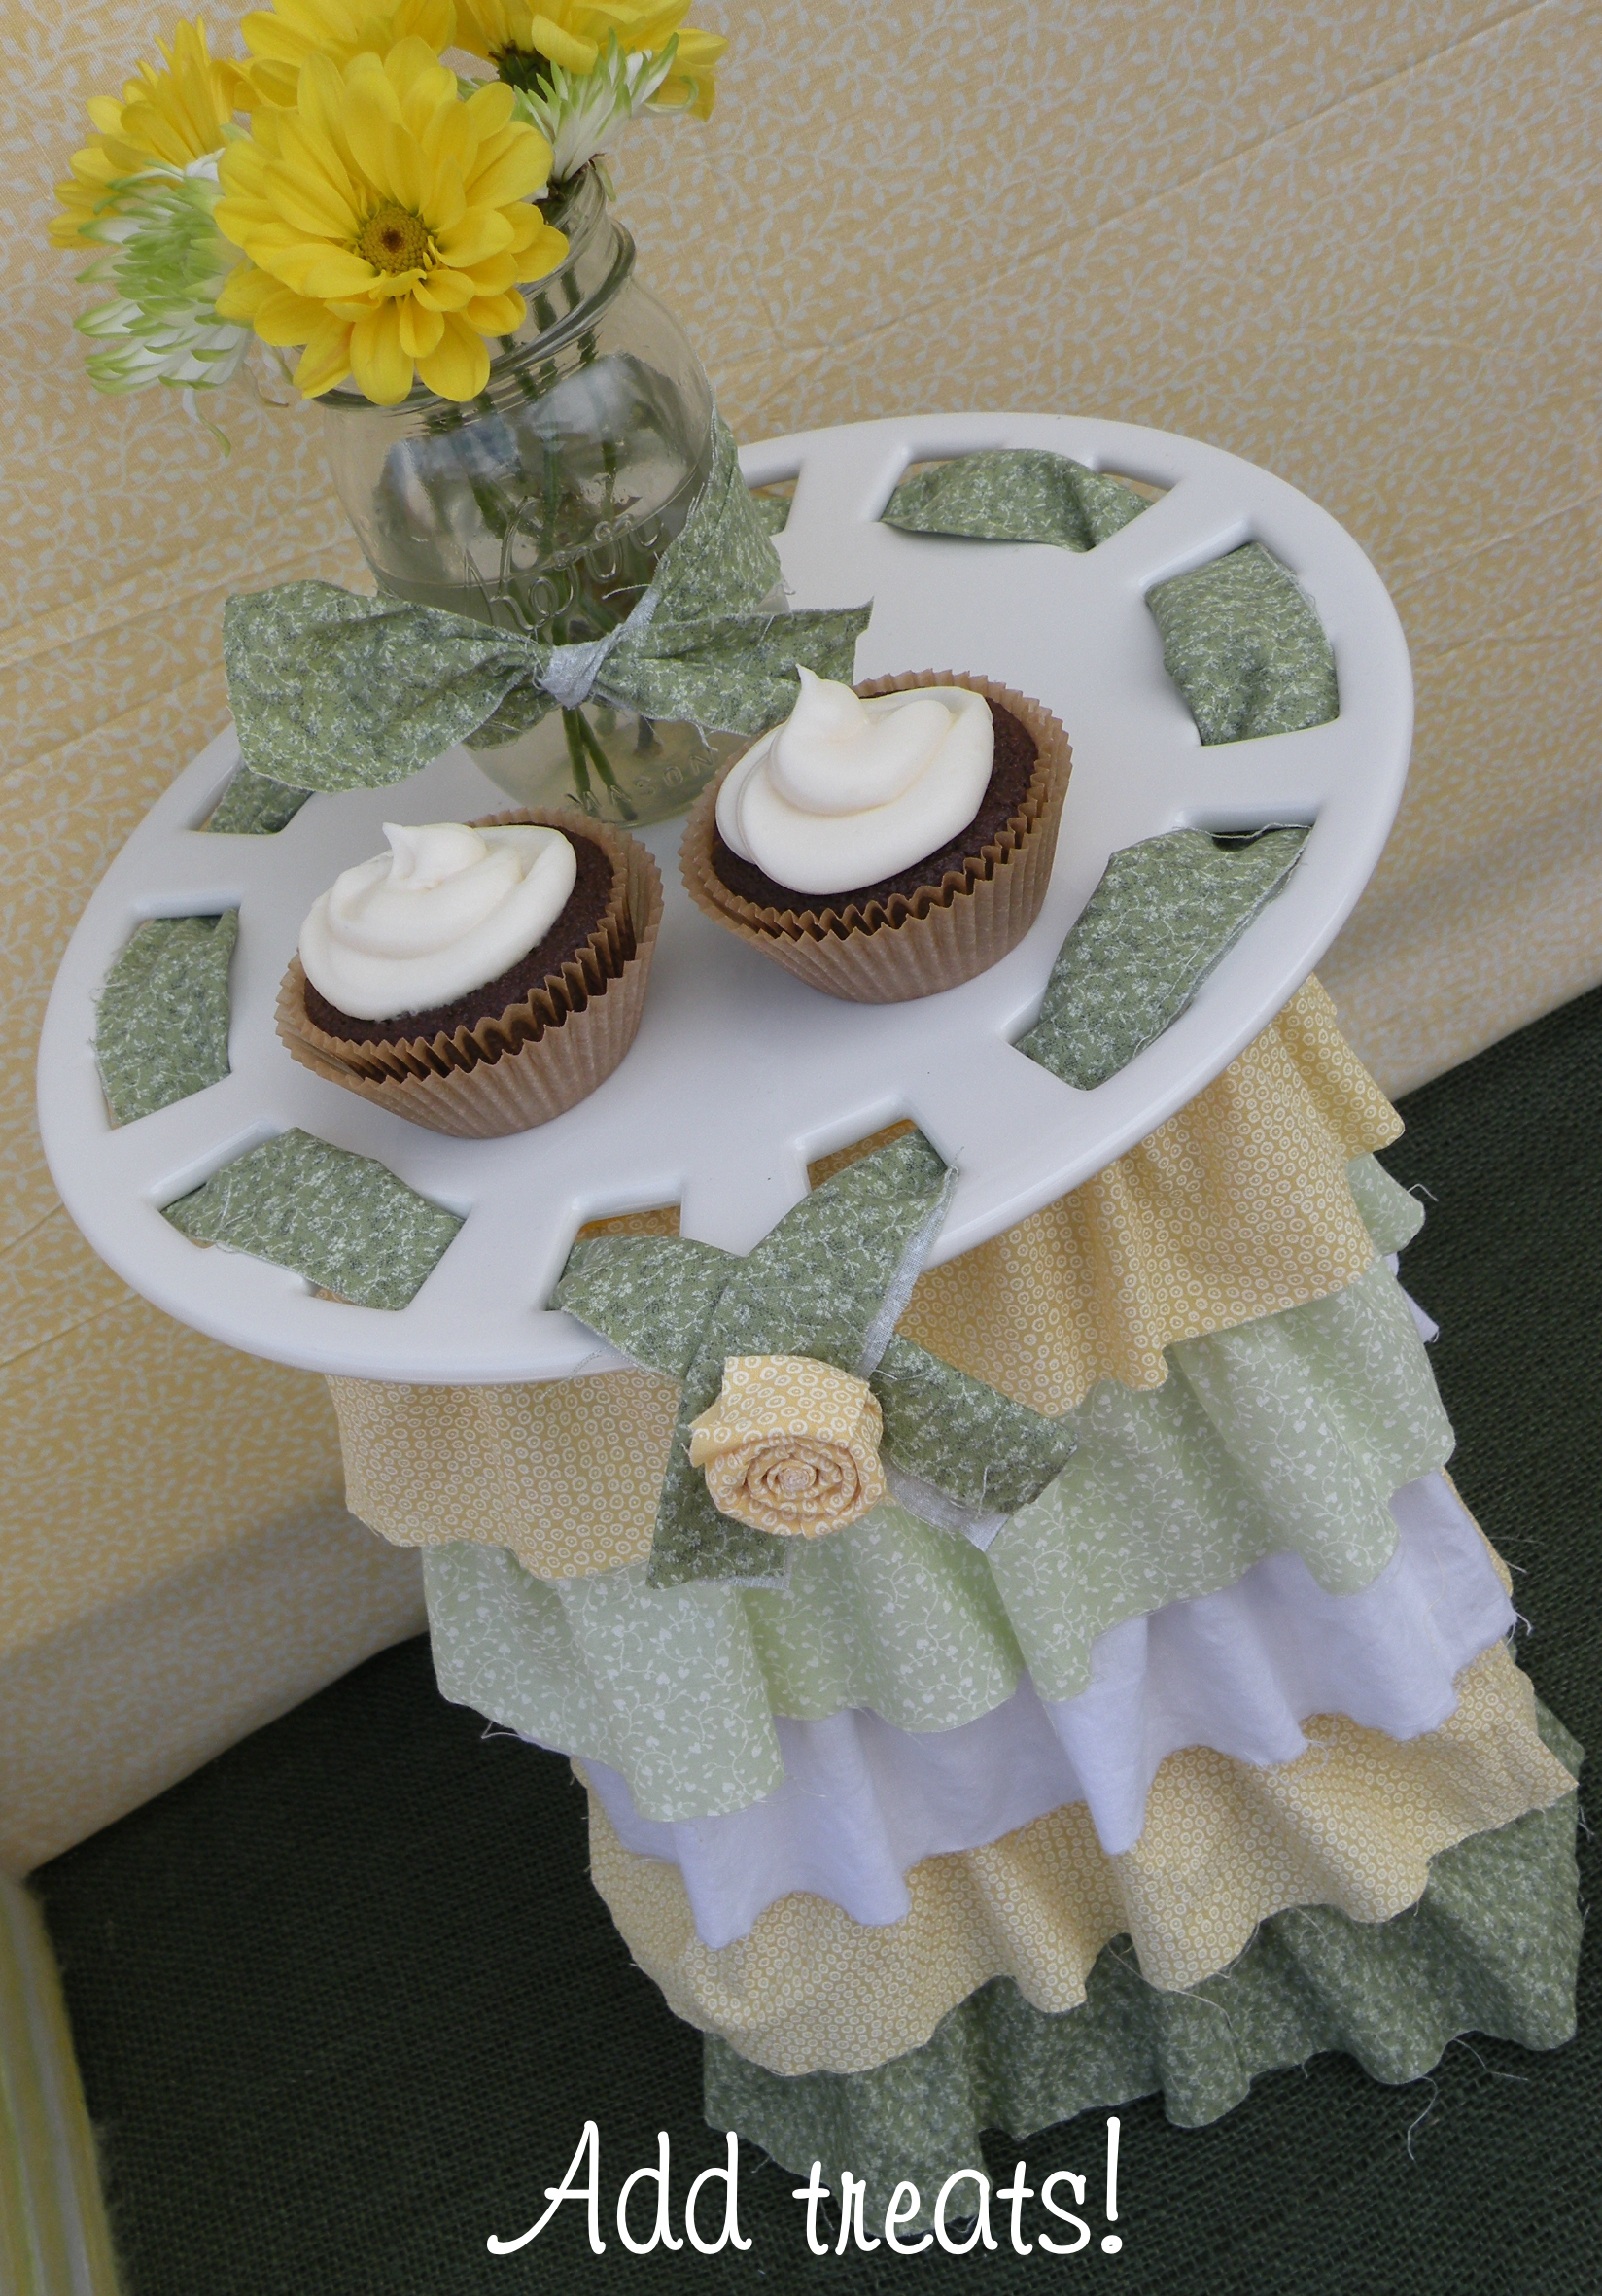
Add your food or treats and be ready for a ton of compliments and questions about where you bought it!

Tags : Cake plate, cupcake stand, cupcakes, DIY, IG, instagram, la belle party planning

In DIY
Previous Scrappy Cake Stand DIY
Next Good Behavior Incentive Back to School Party Favor

Related posts

Everyday Party Magazine Shadow Box DIY

Succulent Shadow Box DIY

Prost Fall T-Shirt

Totally Free Oktoberfest SVG File

Everyday Party Magazine Simple Holiday Pillow DIY

Simple Holiday Pillow DIY

Primary Sidebar

About

You could say my blogging journey is a little bit Erin Brockovich, and a whole lot creative mom...
read more

Be the first to know, sign up for our newsletter!

Thank you for subscribing!

  • About
  • Privacy Policy and Disclosures
  • Submissions
  • Contact

We are a participant in the Amazon Services LLC Associates Program, an affiliate advertising program designed to provide a means for us to earn fees by linking to Amazon.com and affiliated sites.

Copyright © 2025 Everyday Party Magazine · Theme by SheShoppes