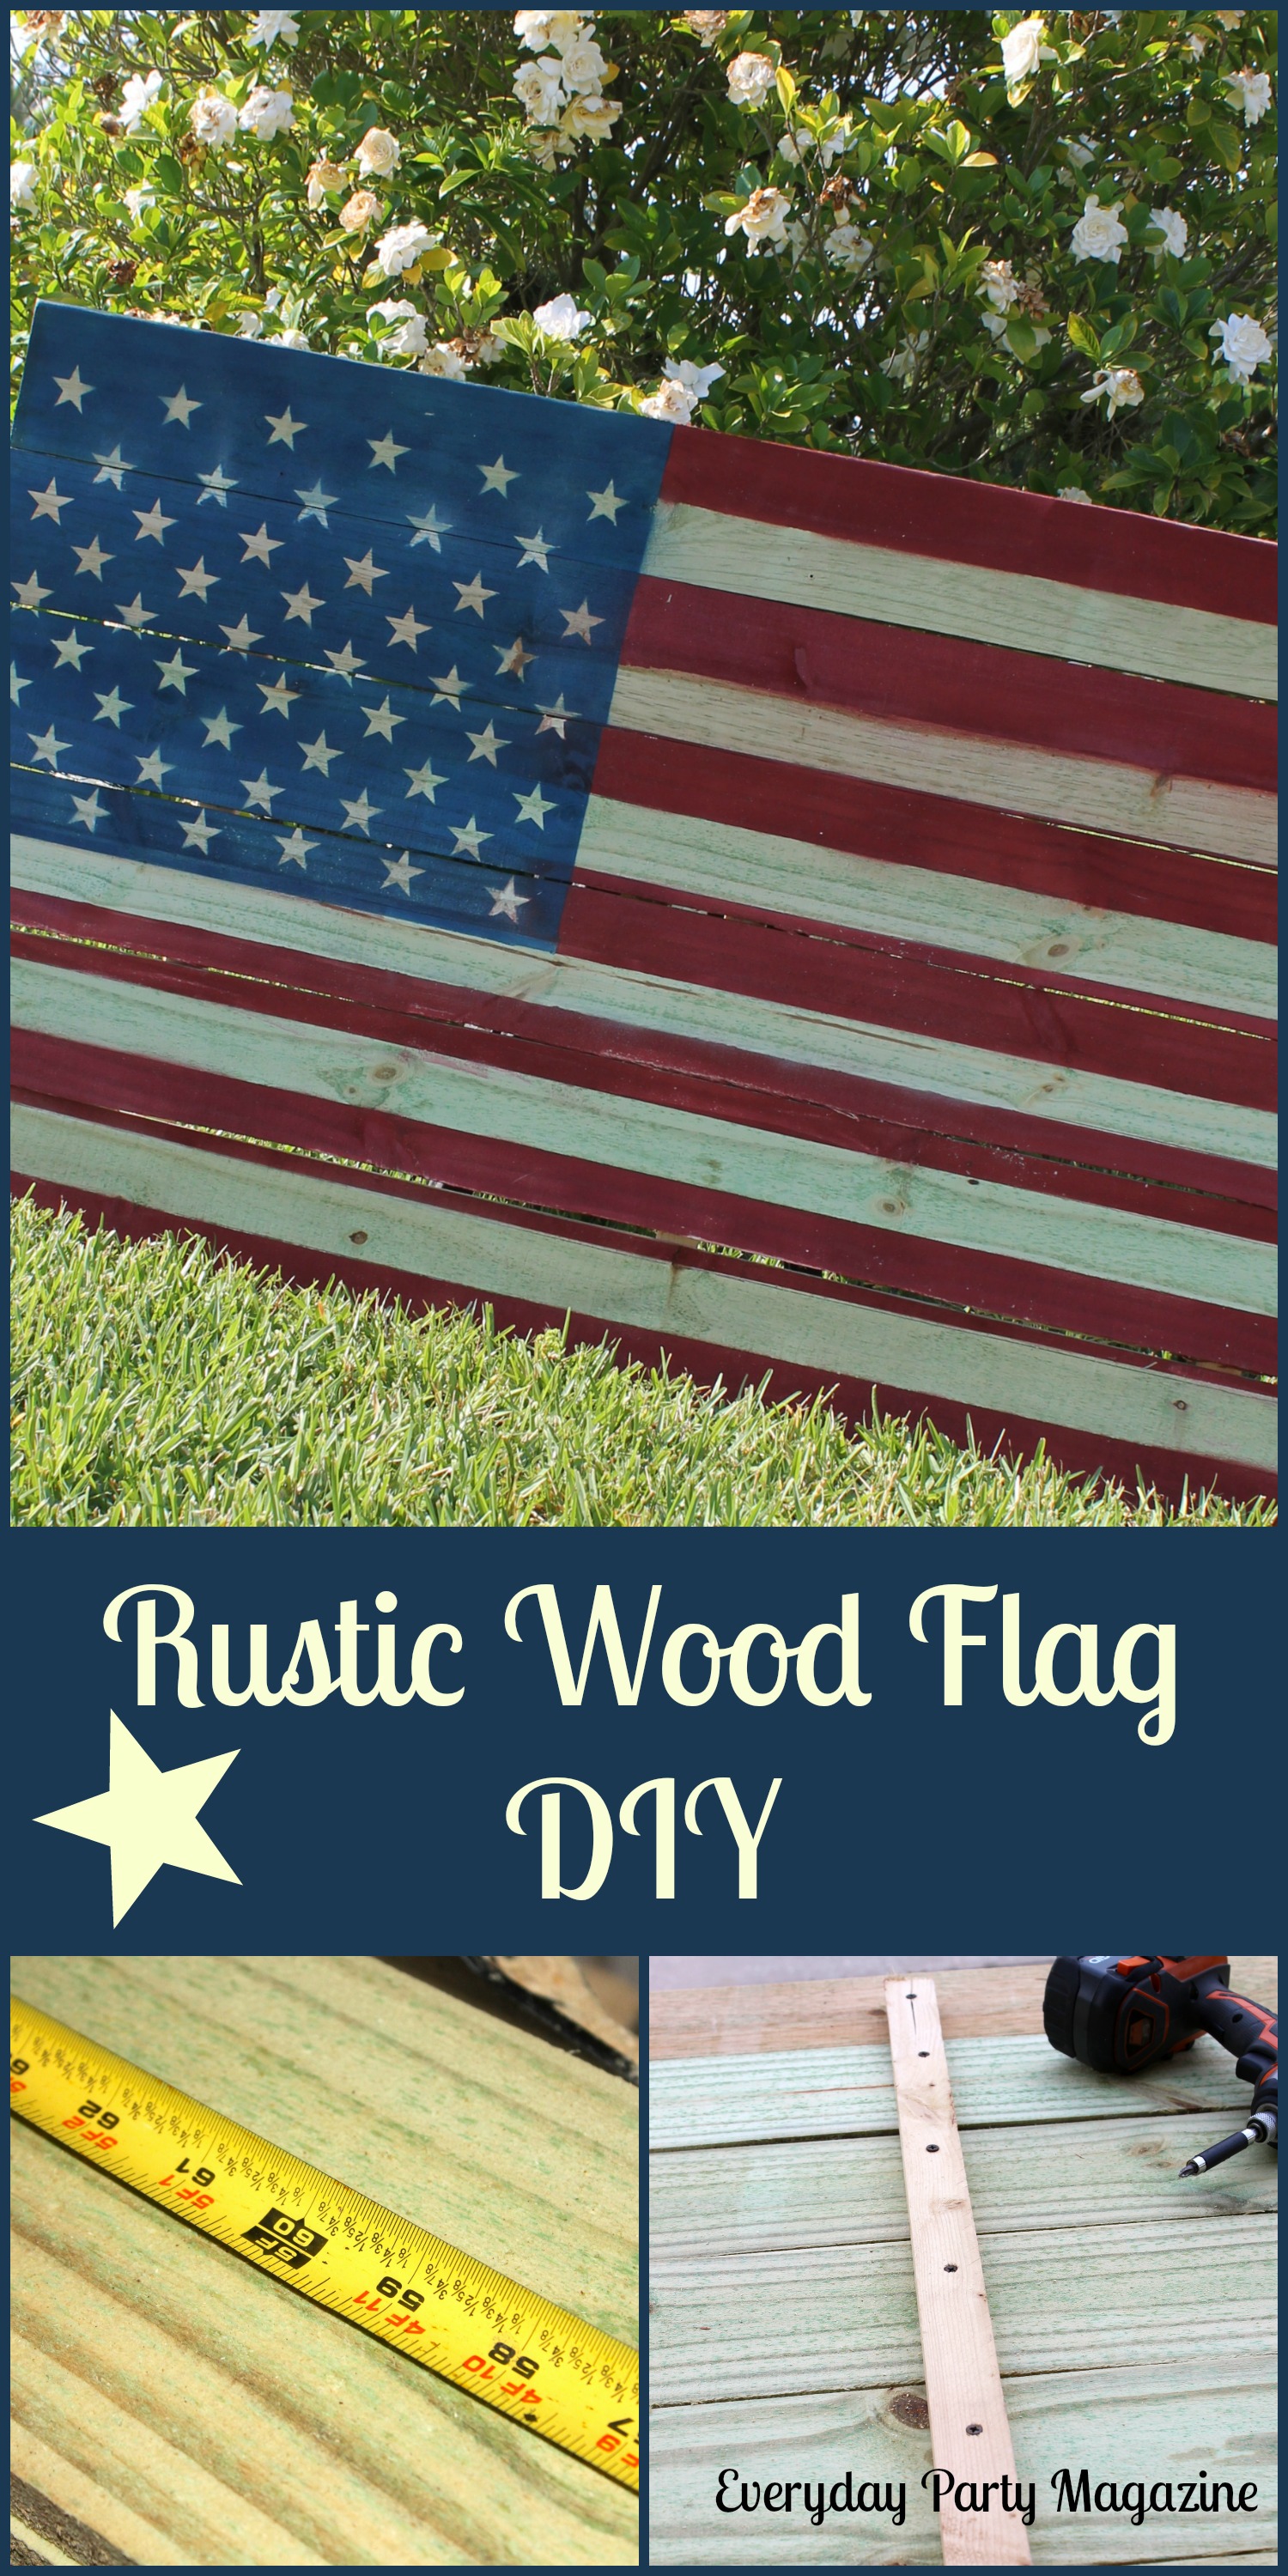
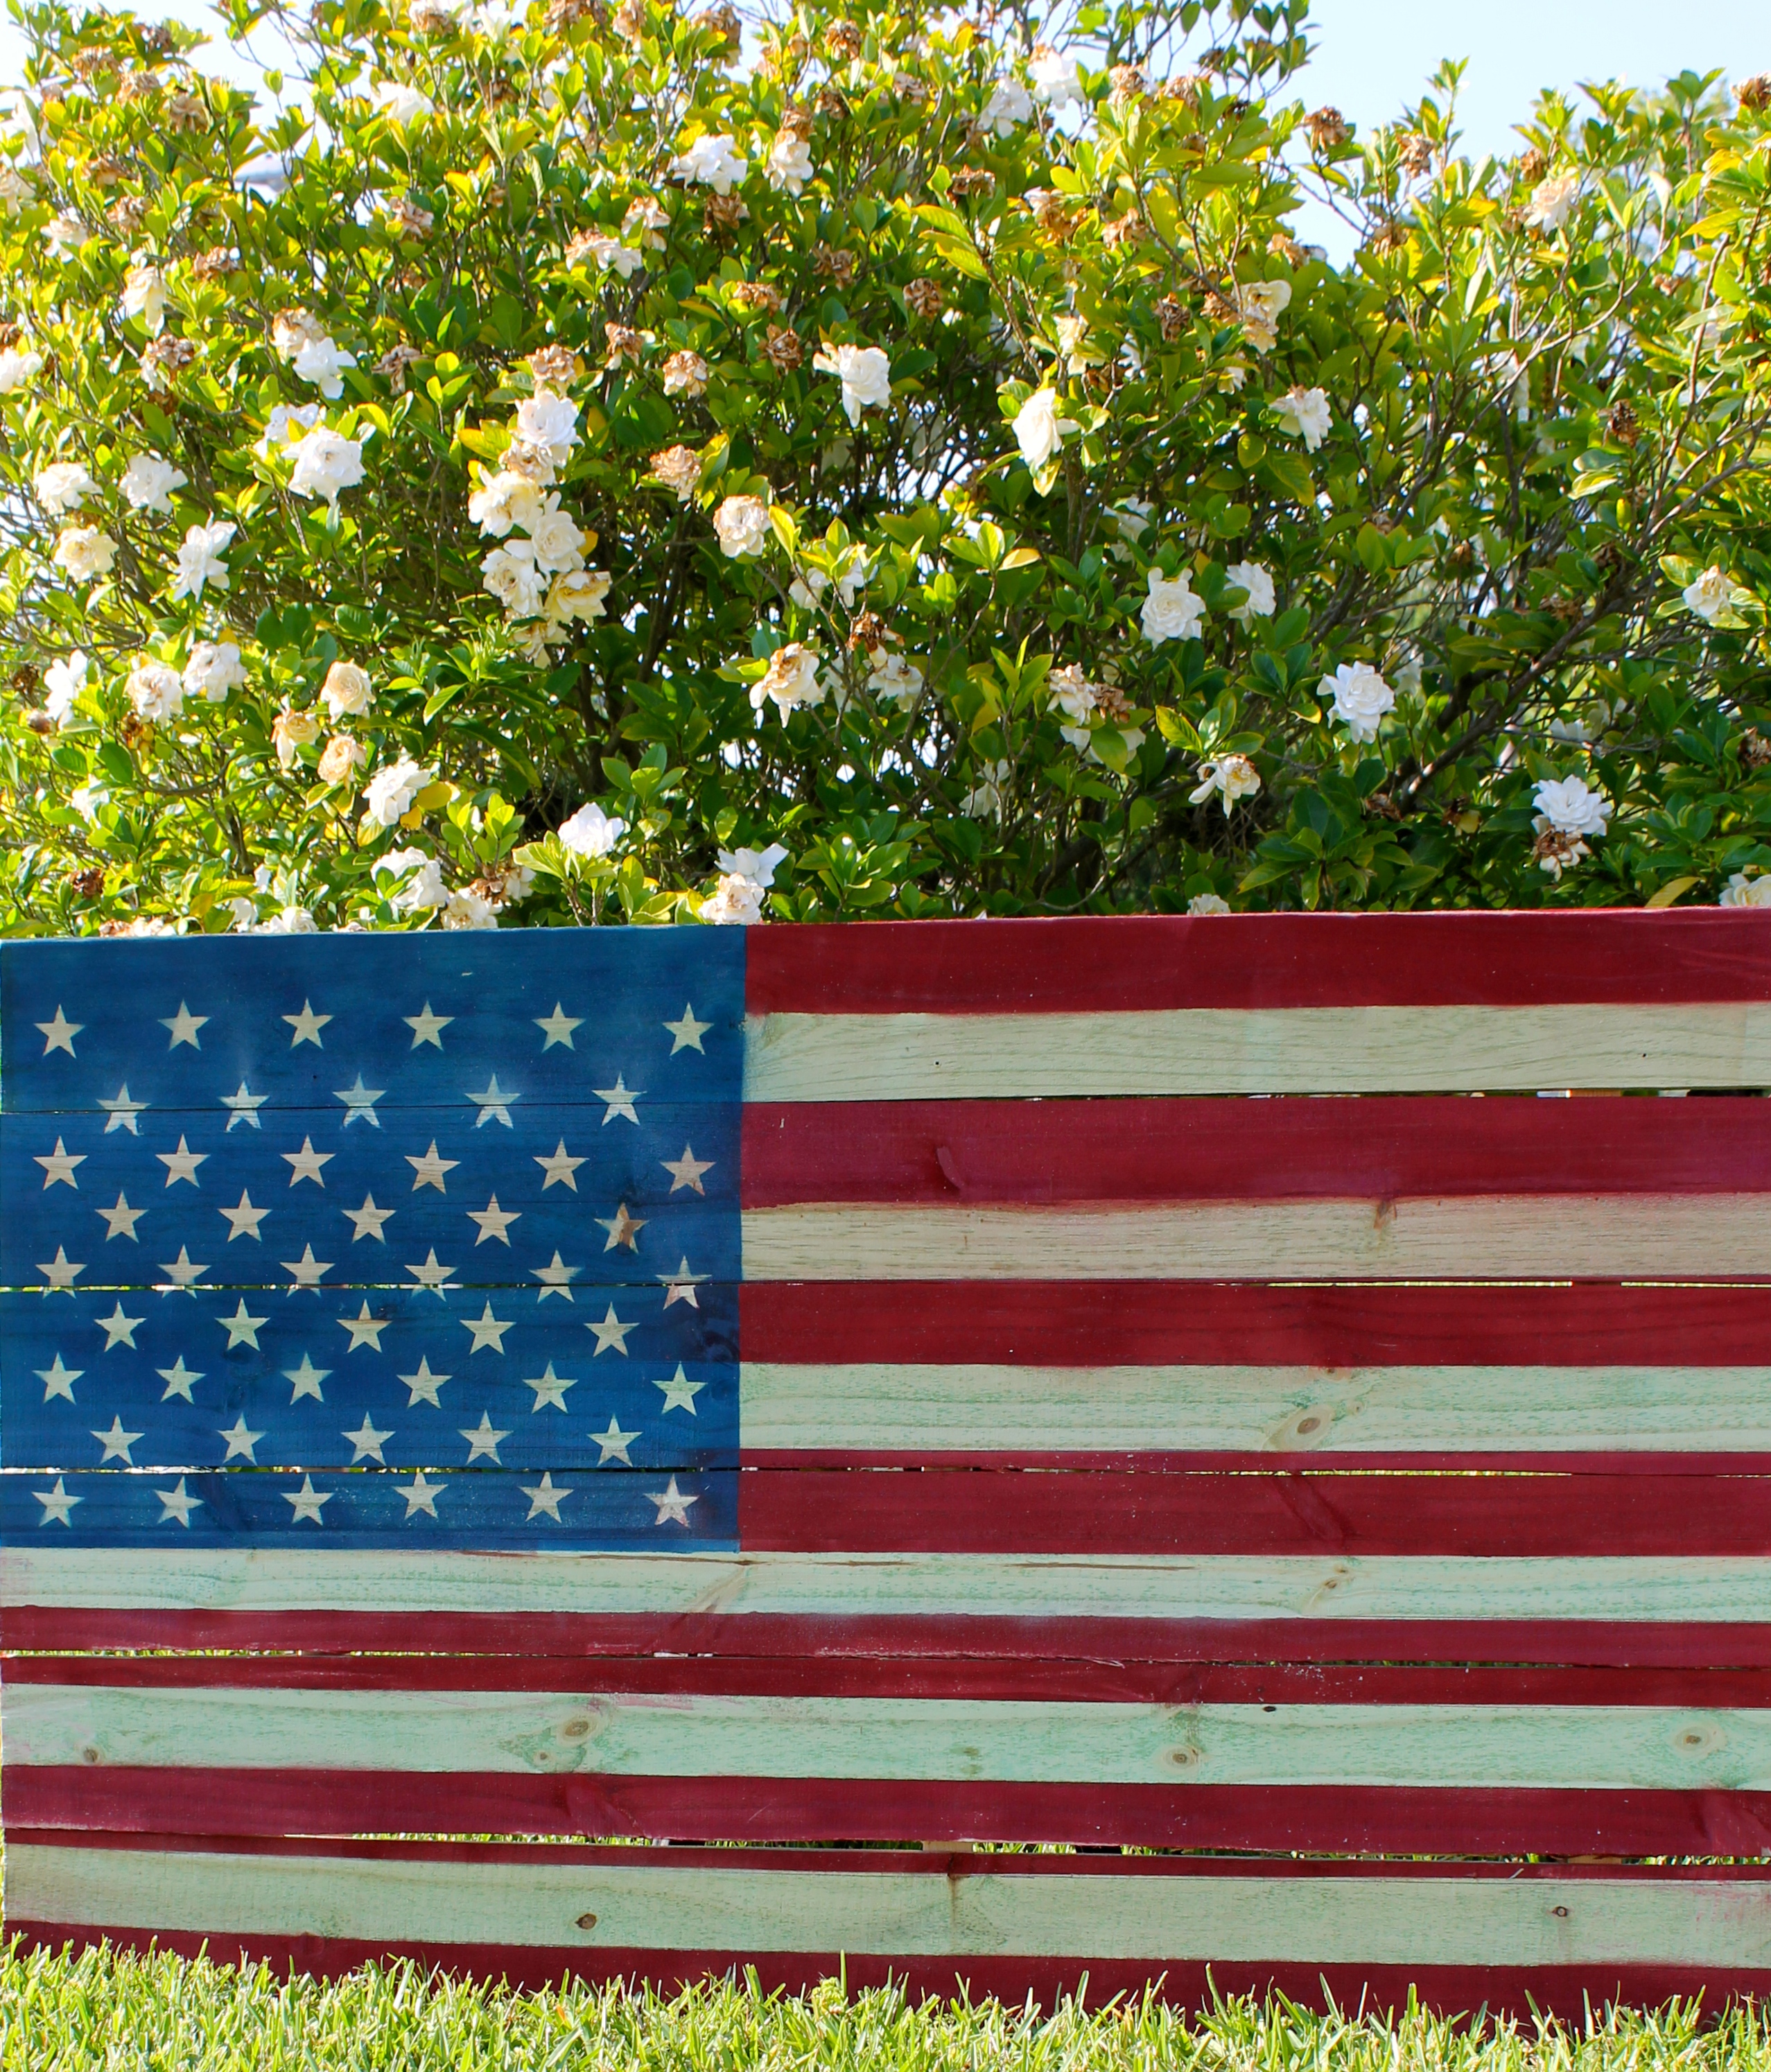
Rustic Wood Flag DIY
We are hosting our annual Memorial Day Party this weekend. It’s a casual gathering of friends to kick off the summer, and enjoy a little less chaos in our lives. I love hosting this party, because I can pull out all of my Americana decor. I love the rustic Americana style, I would LOVE to ride along with the Junk Gypsies and American Pickers…Red, white, and blue, rusty, rustic, wood, metal, worn, I love it all. For many years, I have used one of my traditional American Flags as a backdrop for our food tables, but I was always afraid of it getting damaged, and, honestly, I wanted something a little more worn looking. This year I decided I was going to MAKE a rustic wood flag! So, I am sharing the simple, low cost rustic wood flag DIY!
Supplies,
* Wood fence pieces. I chose the pieces that were about 6 inches by 6 foot. My flag is just about 3’x5′, so I needed 6 pieces.
* 1/2″ furring strips (thin pieces of wood) I used 3 2.5′ pieces
* Screws
* Drill
* Saw, I used my Ryobi chop saw (or have Home Depot cut your wood in the store, this will require a little pre-planning, so know how big you want your flag when you go to the store)
* Rust-Oleum spray paint (I used Colonial Red, and whatever navy blue I had at home)
* Tape and paper
* Star Stickers (I used my cricut to cut them, BUT, you can buy premade wooden stars and just nail them in the flags canton after you paint it blue)
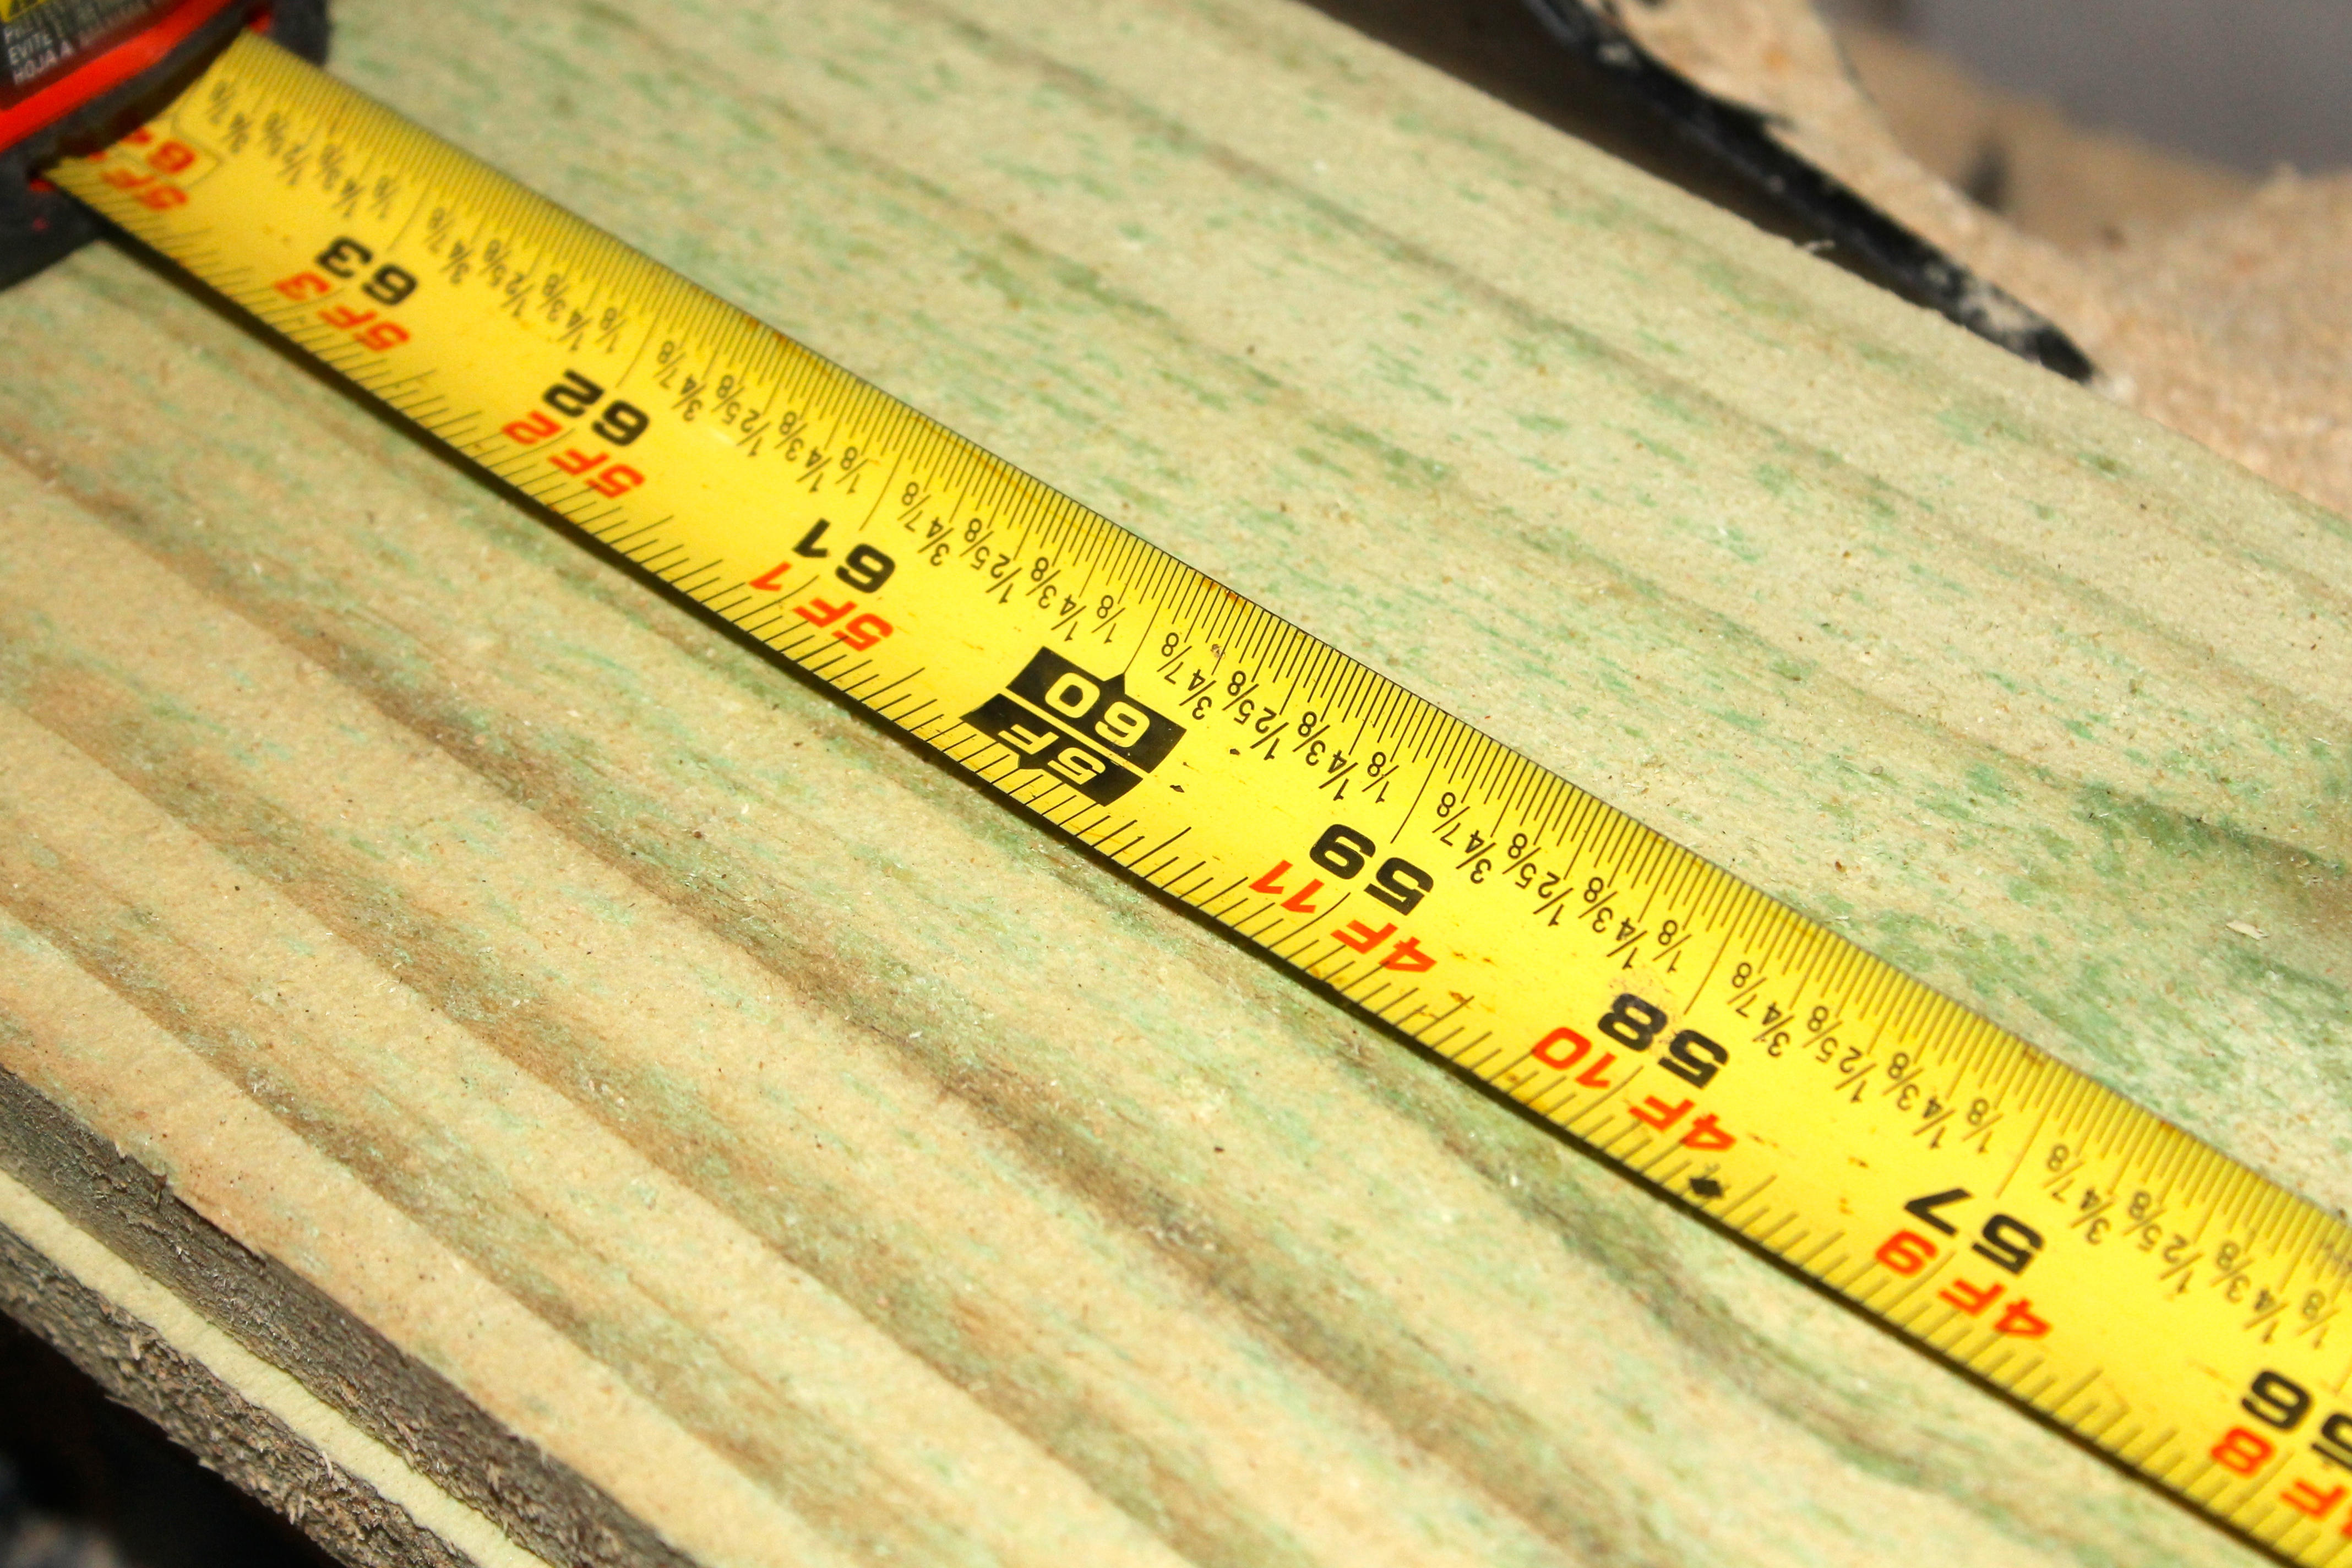
Measuring the wood fence pieces to cut them.
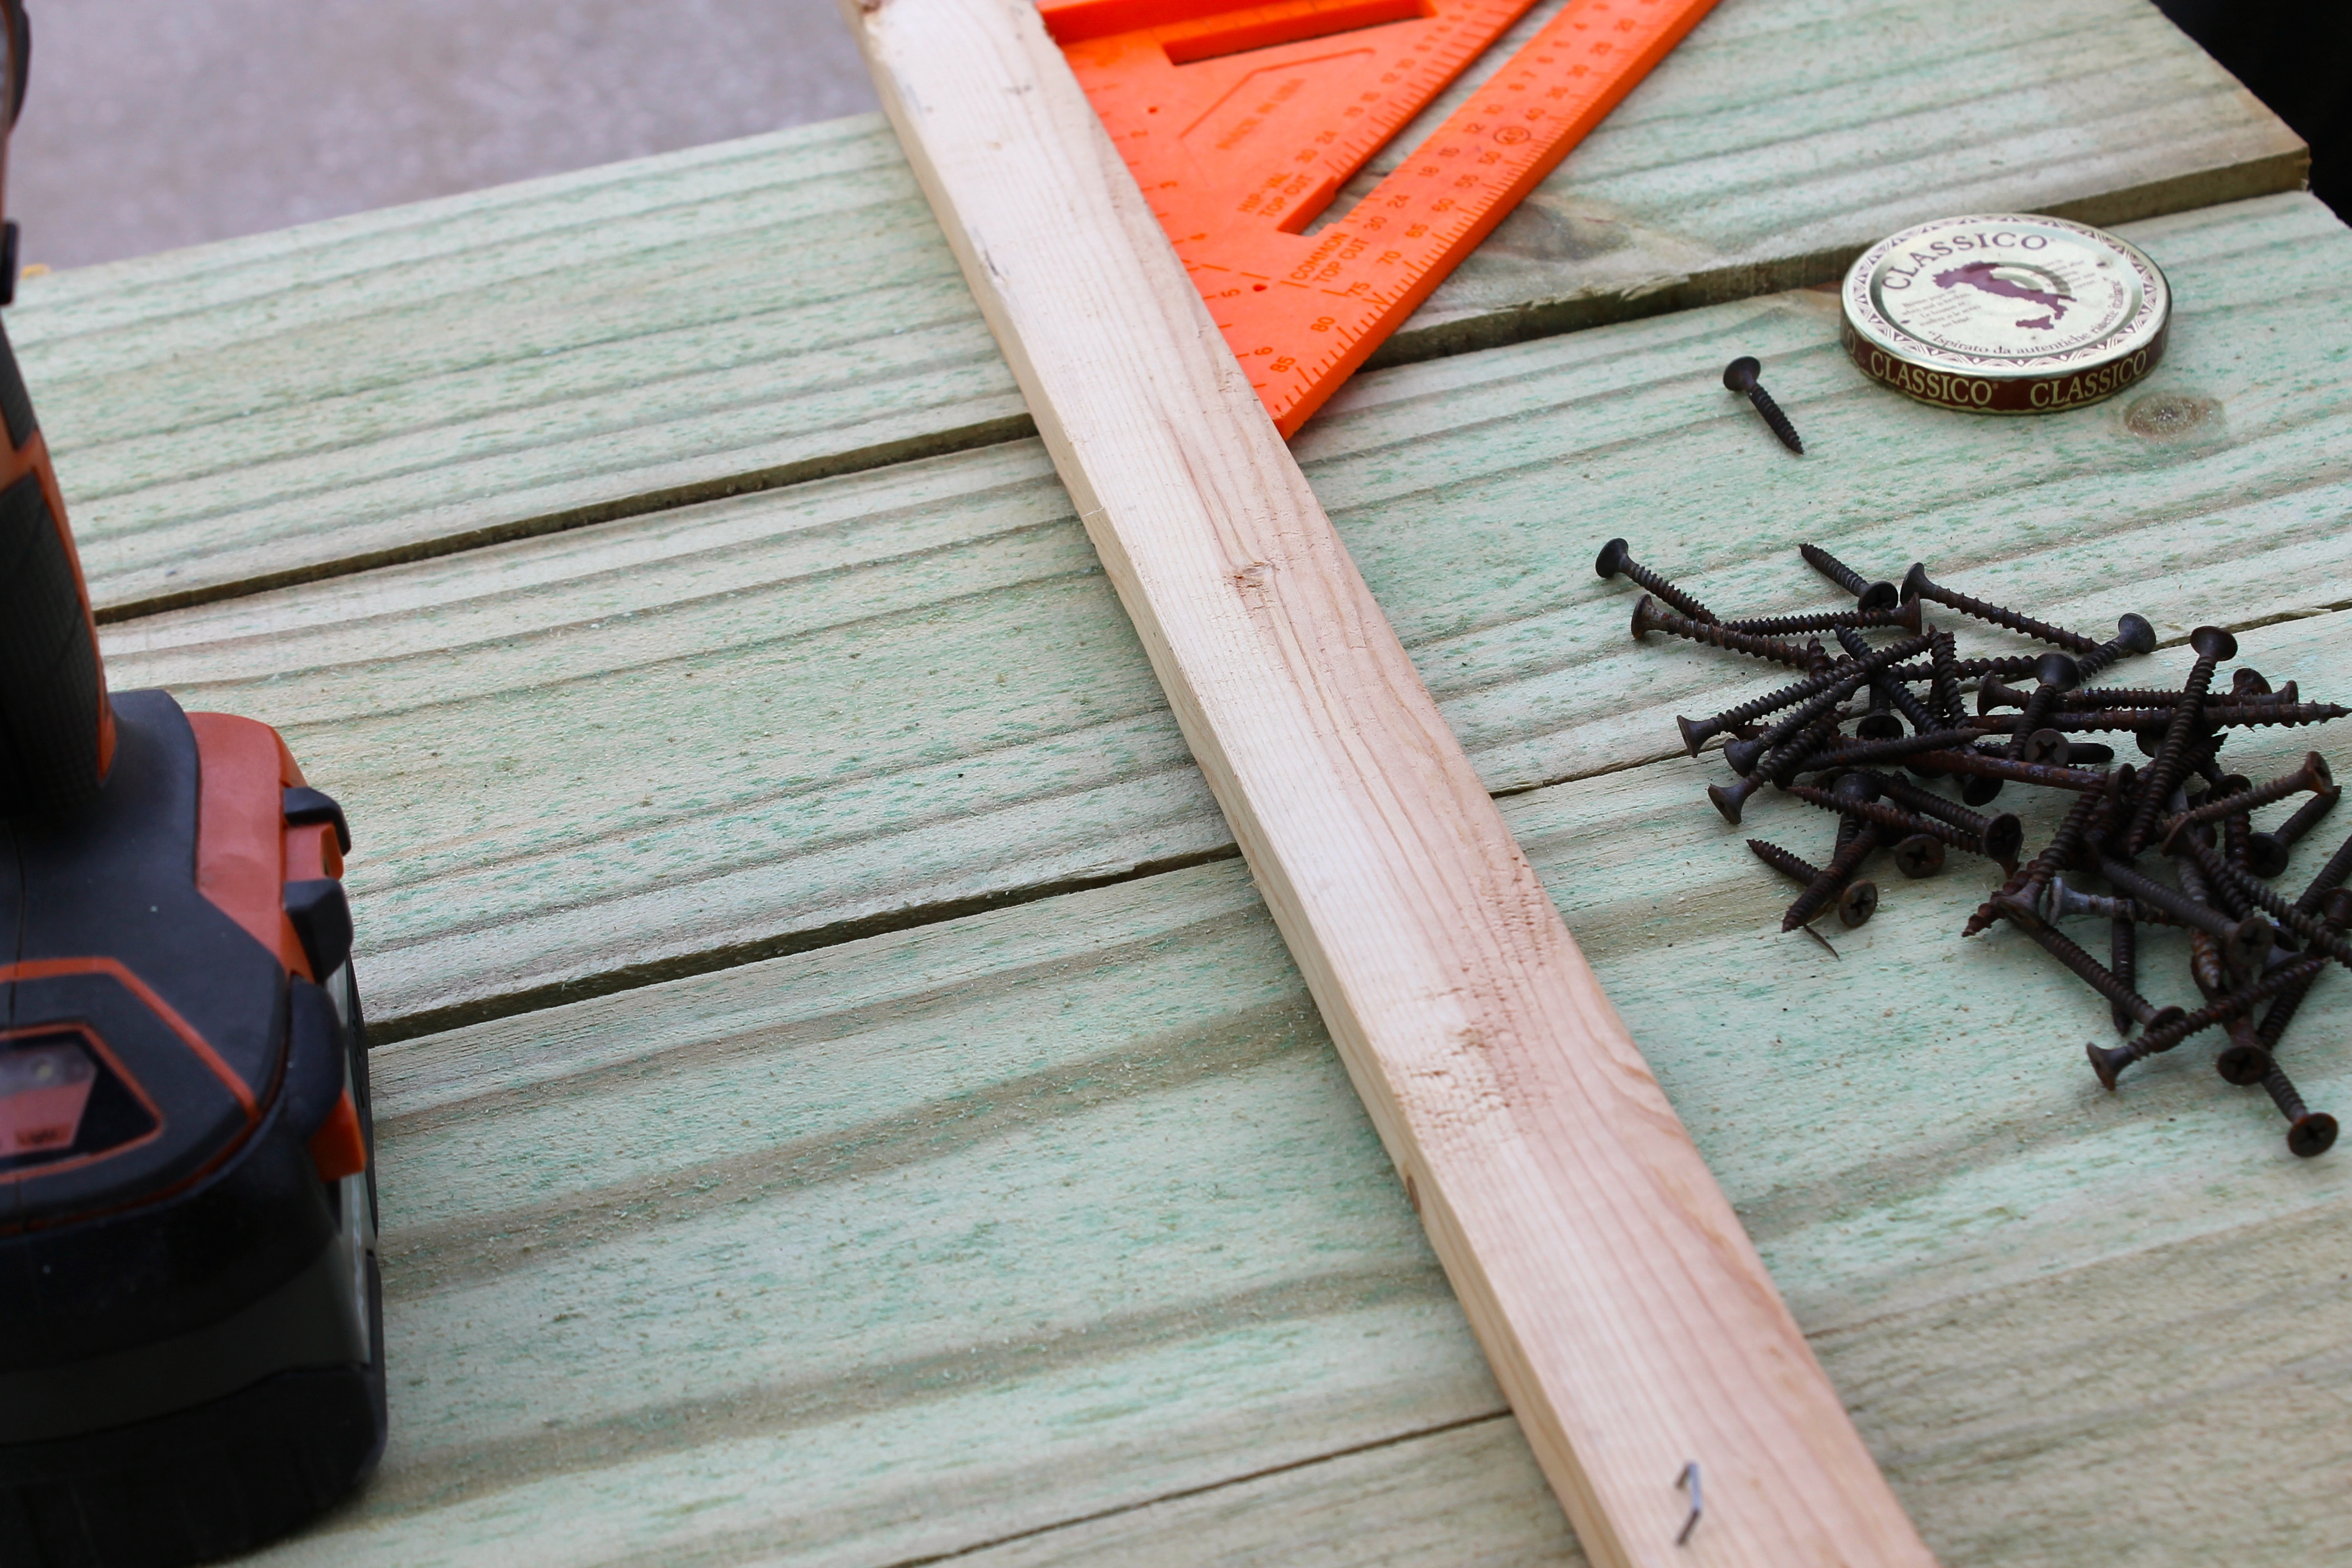
Laying the furring strip on the backside of the flag.
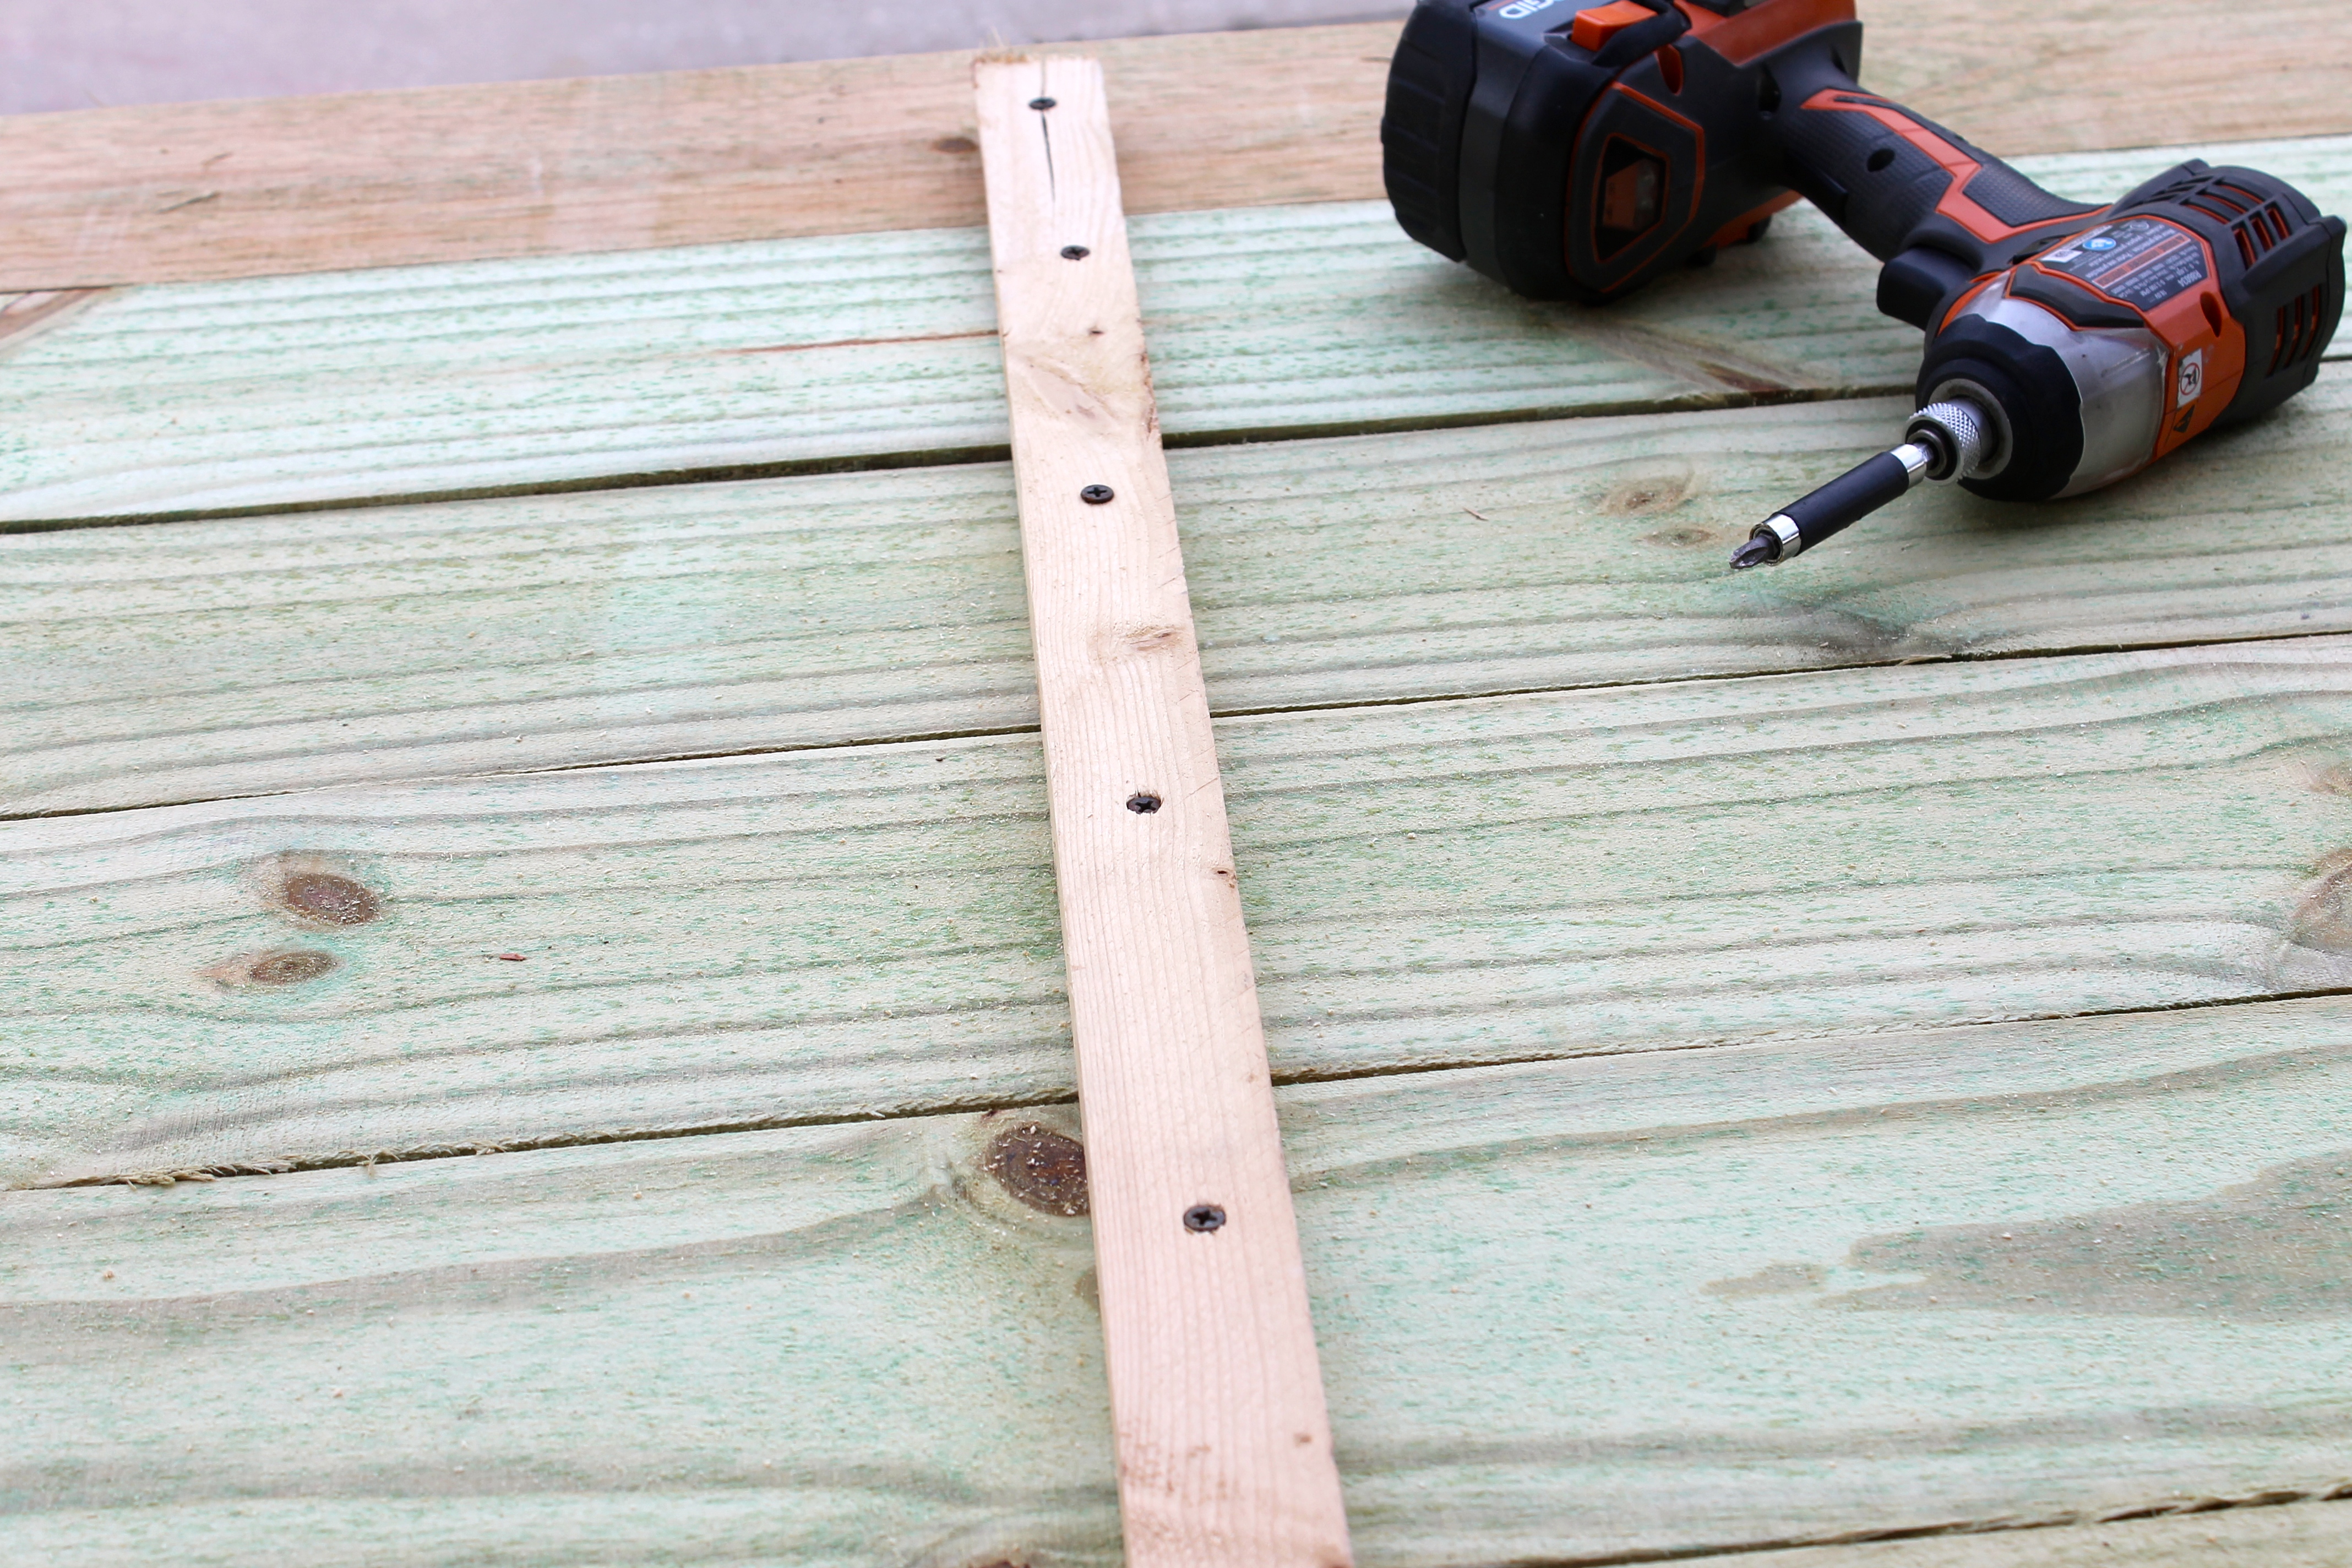
The furring strip screwed to each fence board
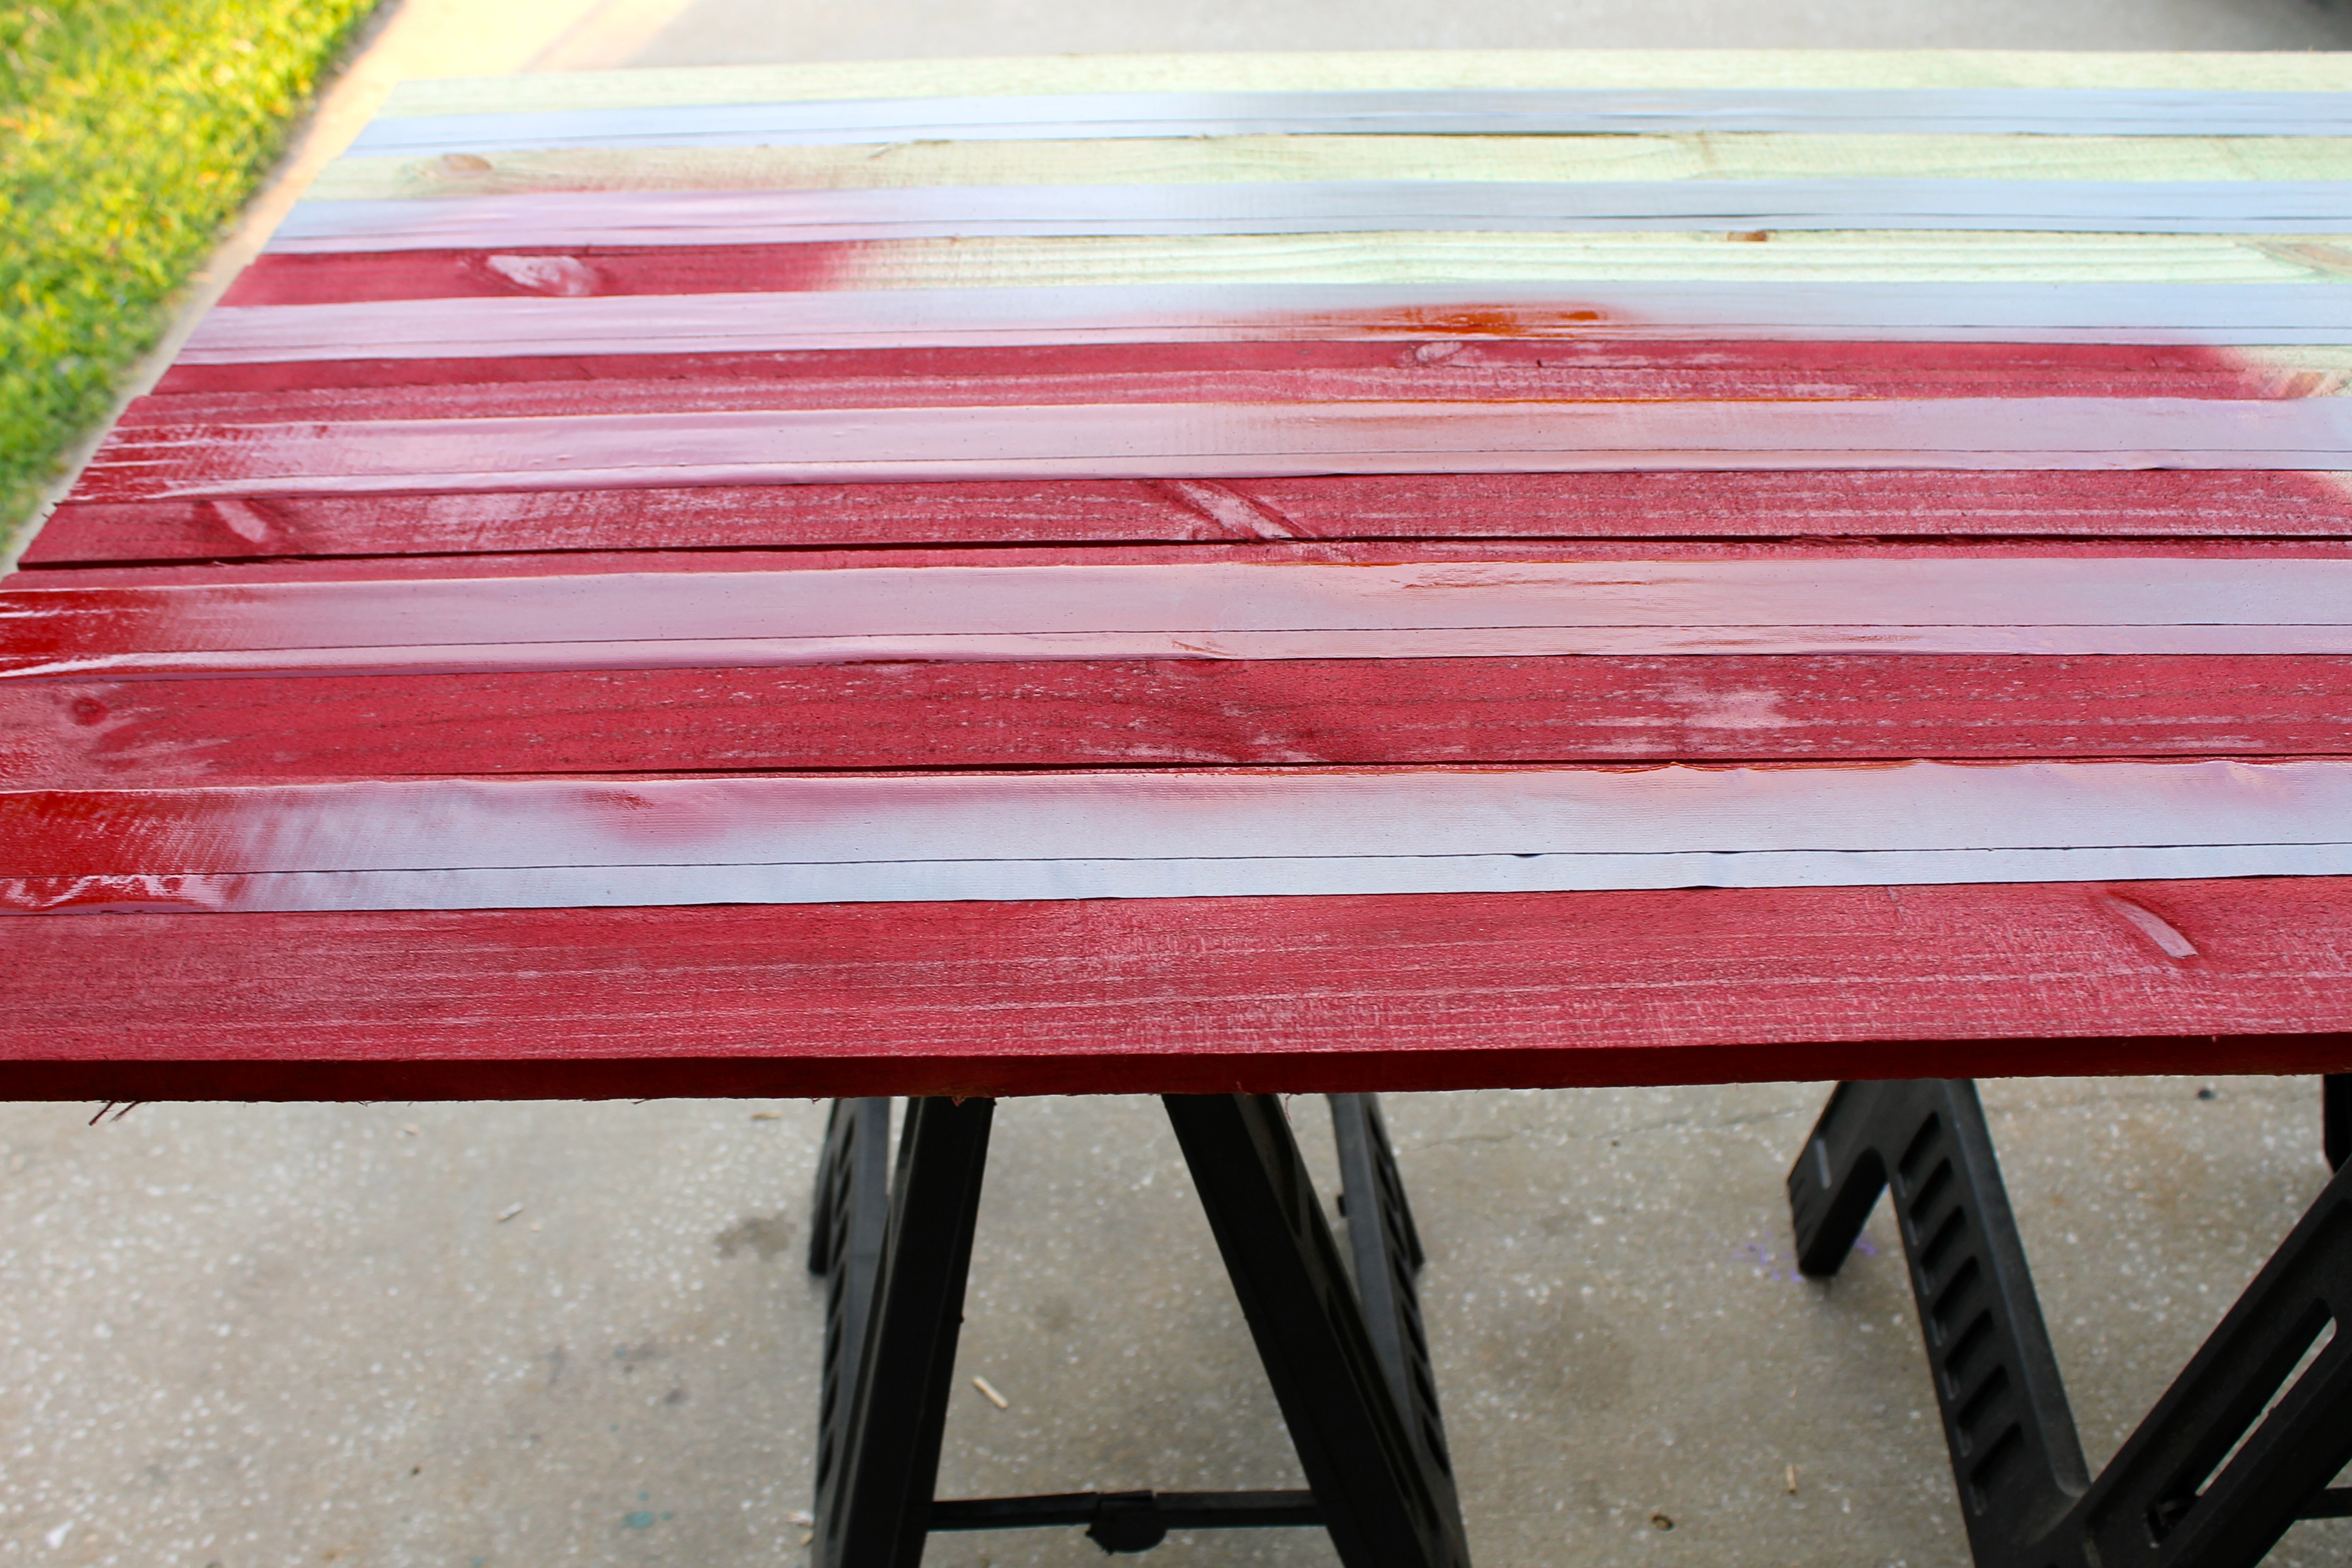
Taped off and painted red.
Wikipedia was a WEALTH of help when I decided how big my flag was going to be. I wanted it to look accurate. I decided 3’x5′ would be a good size, and the formula for the stripes, canton, and star sizes was easy enough to do. For the stripes, divide your height by 13, then tape them off (remember, red is on the top and bottom, but not under the blue canton) The canton took some math to figure out, but for mine, it was just about 19” tall and 2′ long. The stars, oh, the stars…I will say I LOVE the final product, but my brain HURT after figuring out the stars, LOL! They are just under 2″ big, and the rows start with 6 stars and alternate with rows of 5 stars. There are 5 rows of 6 stars, and 4 rows of 5. Once I knew all the measurements, I laid the furring strips on the back of the wood fence pieces. After they were centered and straight, and I was sure it they would hold the fence pieces together, I screwed a small screw into each piece of the fence through the furring strip. Once the pieces were secured together, I flipped it over and I taped it all off, including the star “stickers” I cut from contact paper. Unfortunately, I wasn’t able to get pics of this step, but it is the same as a reverse stencil. Then it was time to spray paint. Some of the paint seeped under the tape (tape is hard to stick to wood, I even used duct tape for some of it), and some of the stars wiggled a little with the spray paint, but it helped add to the rustic feel of the flag.
When it was dry, I used our belt sander and some other tools to rough it up some more, but the fence wood is pretty rustic as it is, so I didn’t do too much.
I really love the end result, and several of my friends have asked to borrow it already for photo shoots and their holiday parties! But, for less than $20 and just a few hours of work, they can make their own, mine is staying at my house. 😉
Tags : 4th of July, American Flag, Americana, DIY, Everyday Party Magazine, Memorial Day

LOVE LOVE LOVE!!
Thank you! It’s definitely one of my favorites too!