DIY Christmas Shadow Box
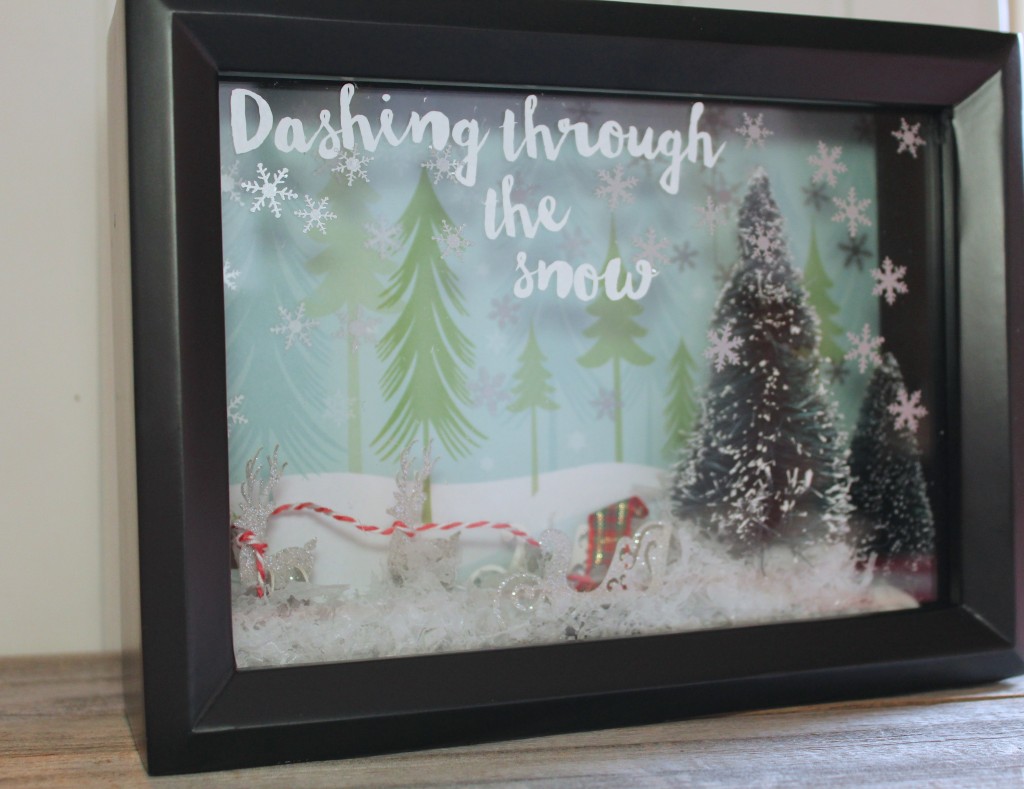
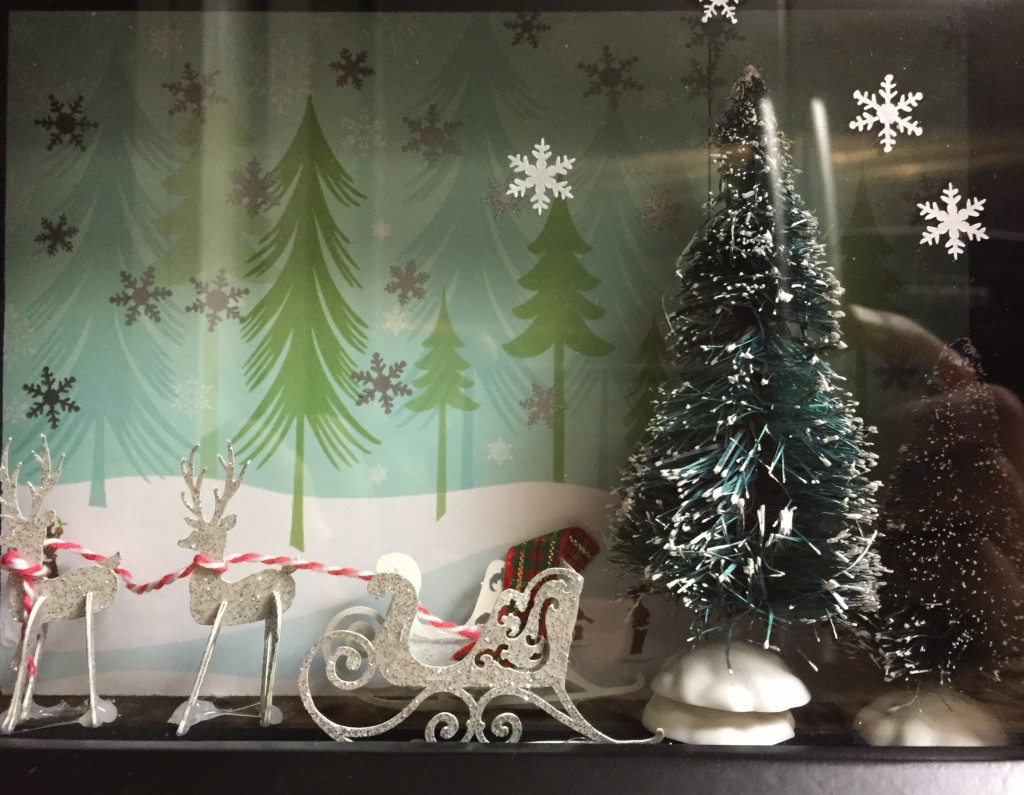
I love shadow boxes, I would have tons and tons of them around my house if I could. From sentimental memory keepers to fun holiday additions, you can almost literally use them for anything! I was invited to participate in a Secret Santa Gift Exchange recently…make anything I wanted, just use my Cricut. Yes, please! I use my Cricut several times a week anyway, and I was using it to make other gifts, so this was a no brainer for me. Of course I wanted to join the fun! After thinking about for a while, I knew a DIY Christmas Shadow box was the way to go! I decided create a little Christmas scene AND embellish the glass with Cricut Window Cling and Vinyl!
Isn’t it adorable? I LOVE it so much, I am going to have to make a few more!
Supplies:
Shadow Box Frames – I used a 5×7 frame and bought two at Michaels when they were BOGO. (I used the other one for this project)
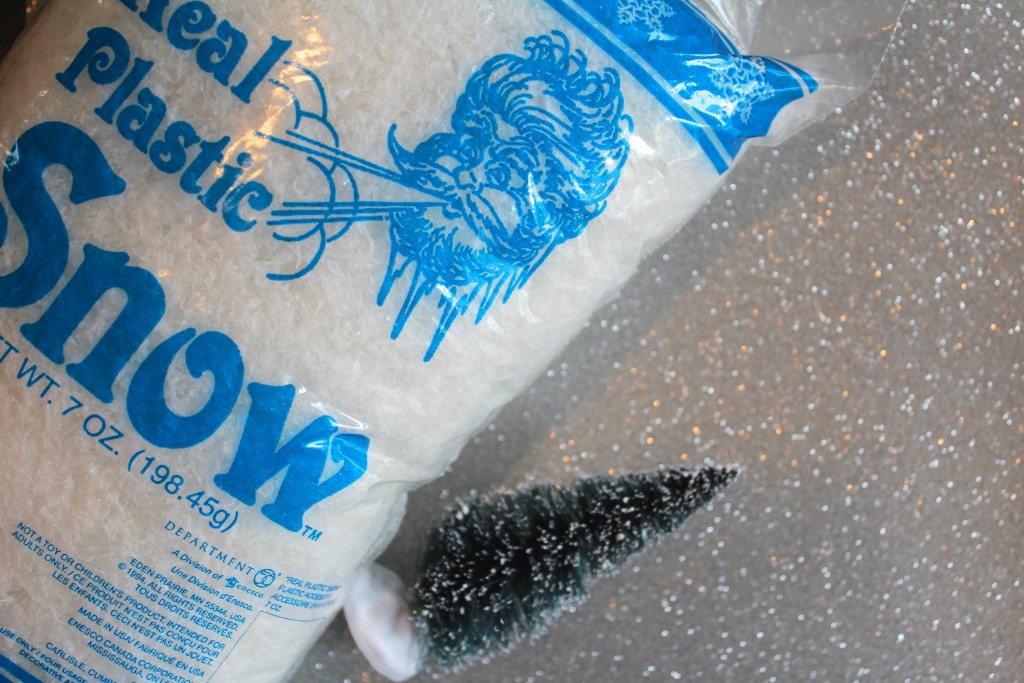
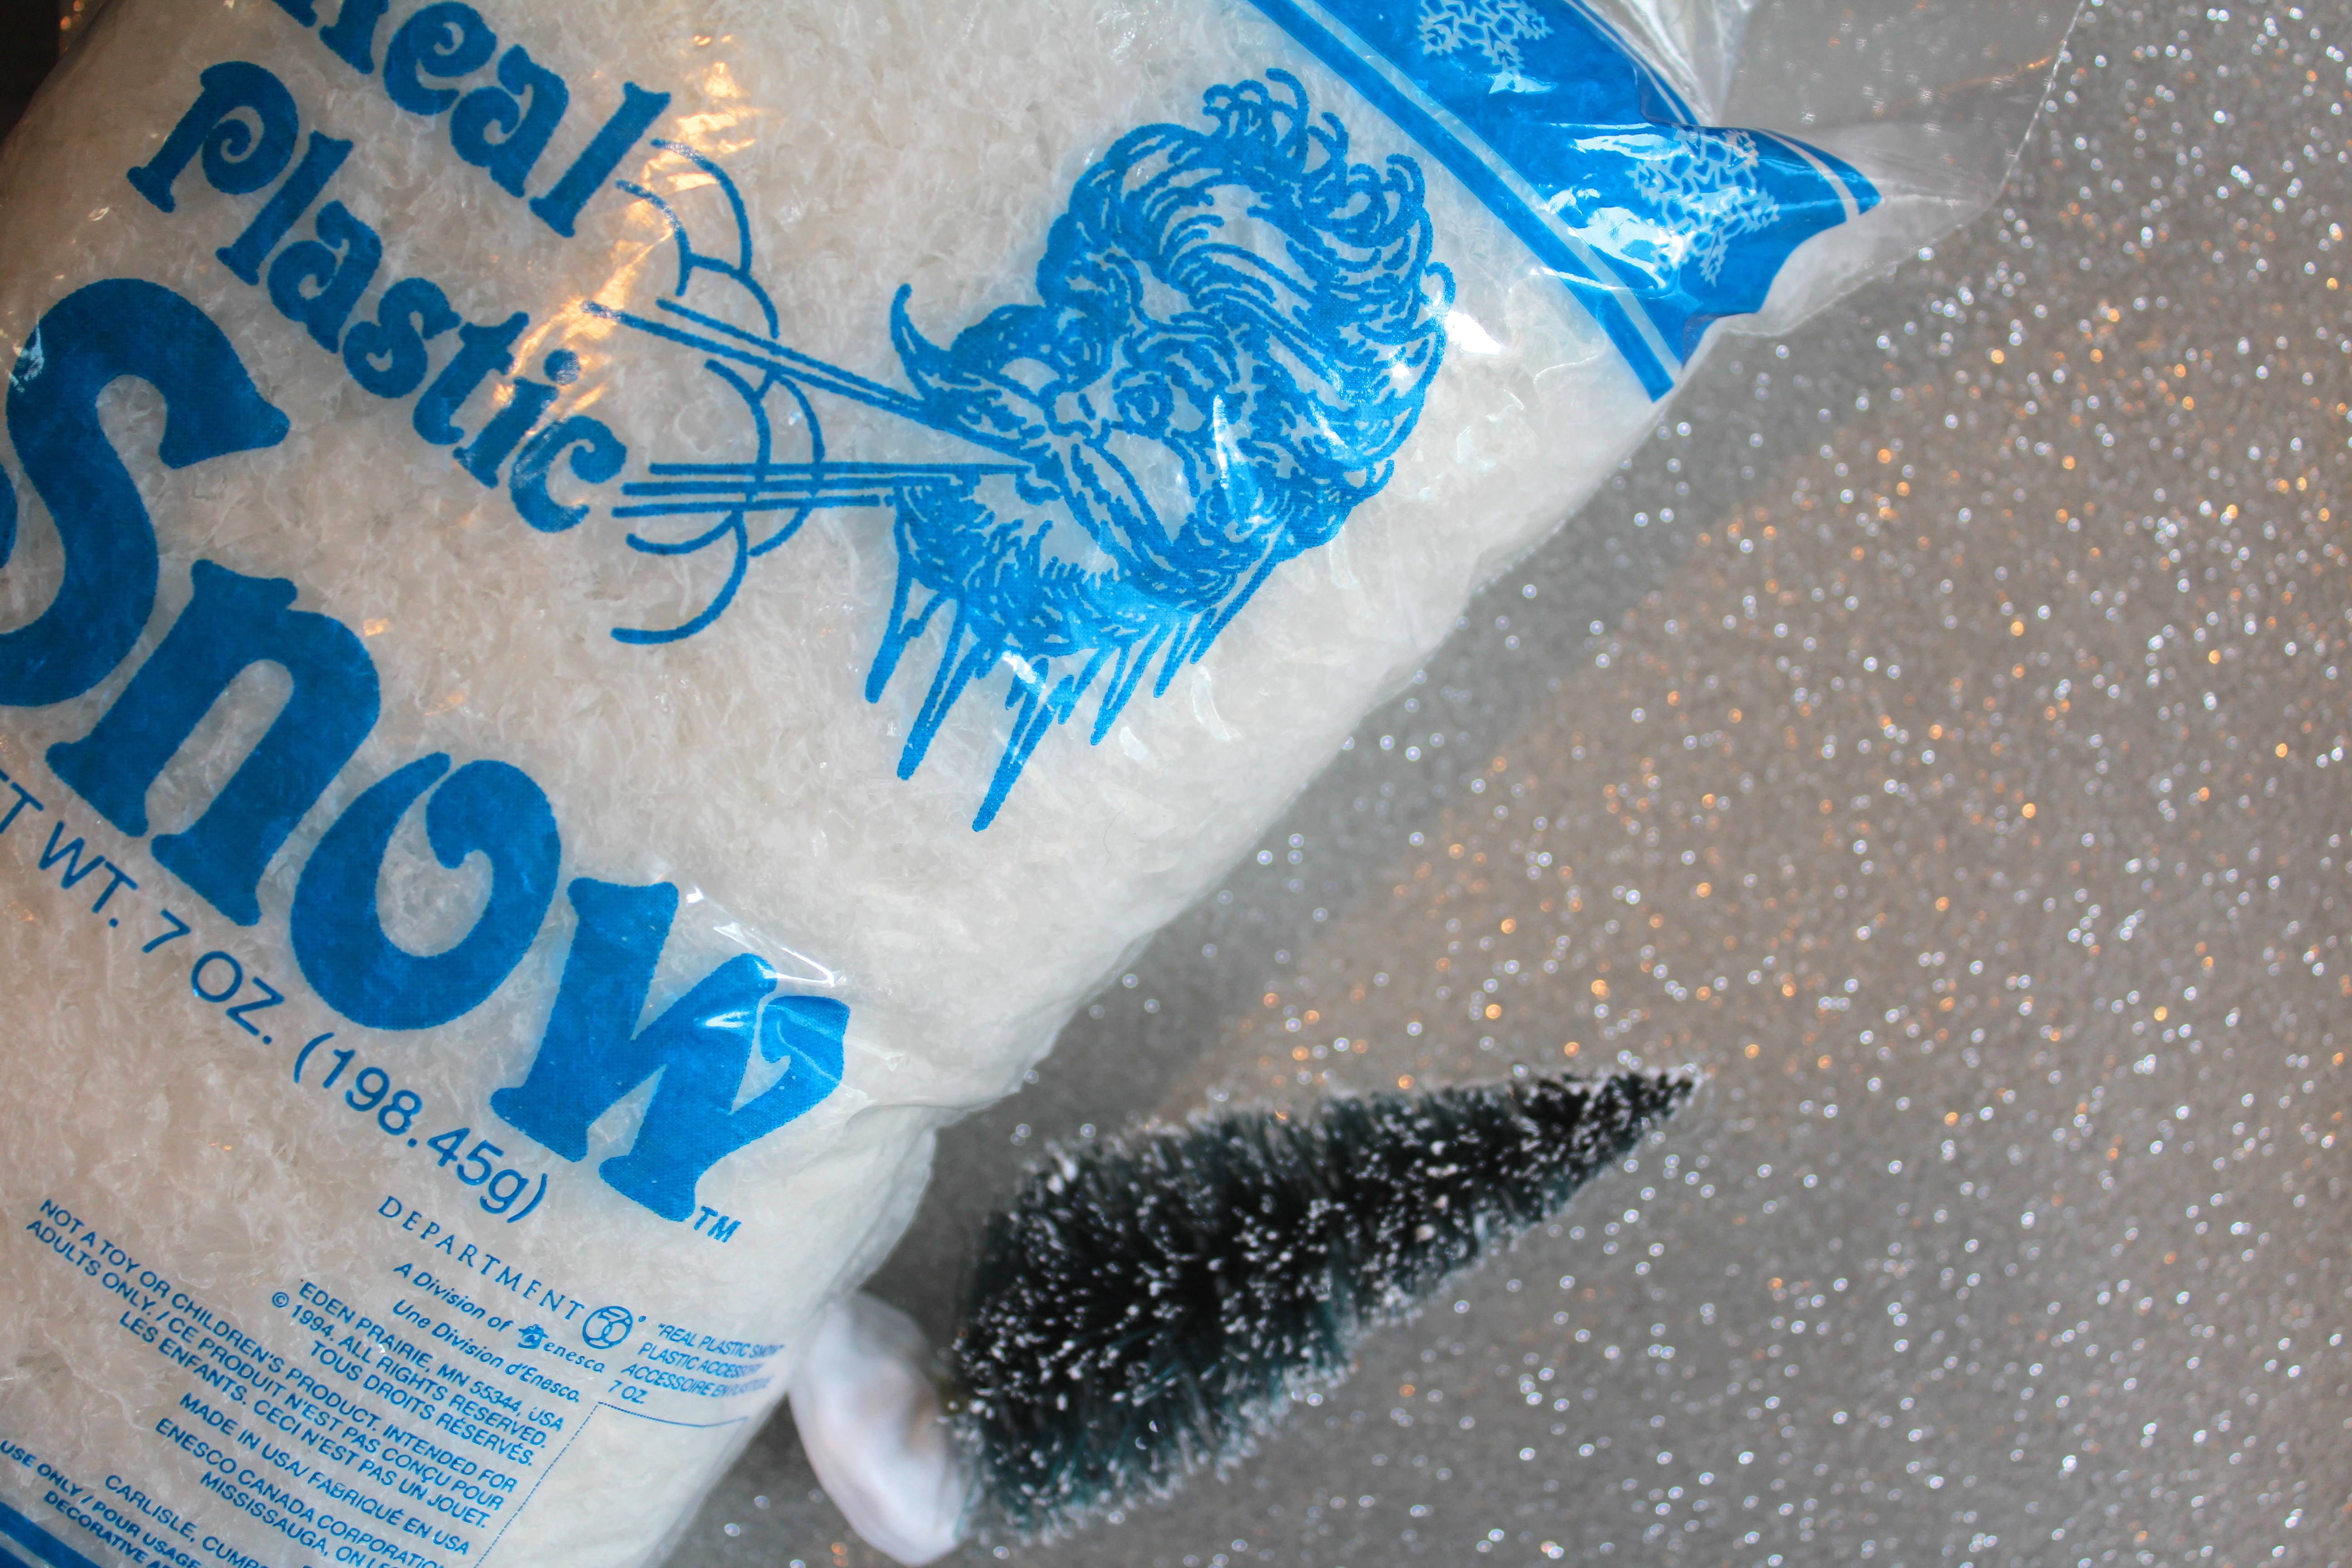
Fake snow (I have enough to last me the rest of my life)
Glitter Card Stock
White Cricut Window Cling
Silver Cricut Vinyl
Card Stock Paper and Printer
Scissors
Baker’s Twine
Ribbon
Most of these are things I already had in my craft stash. I literally only needed to purchase the snow and the trees. And I wanted to use those on other projects anyway!
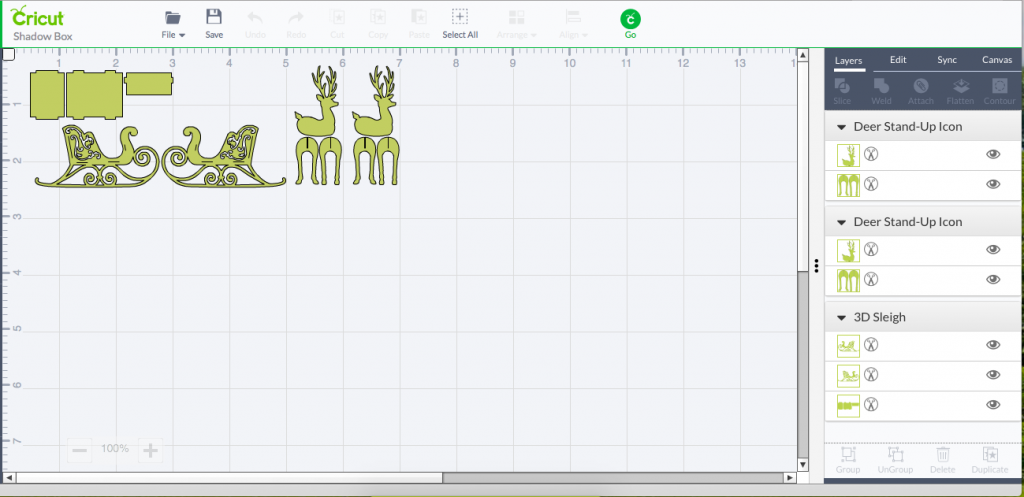
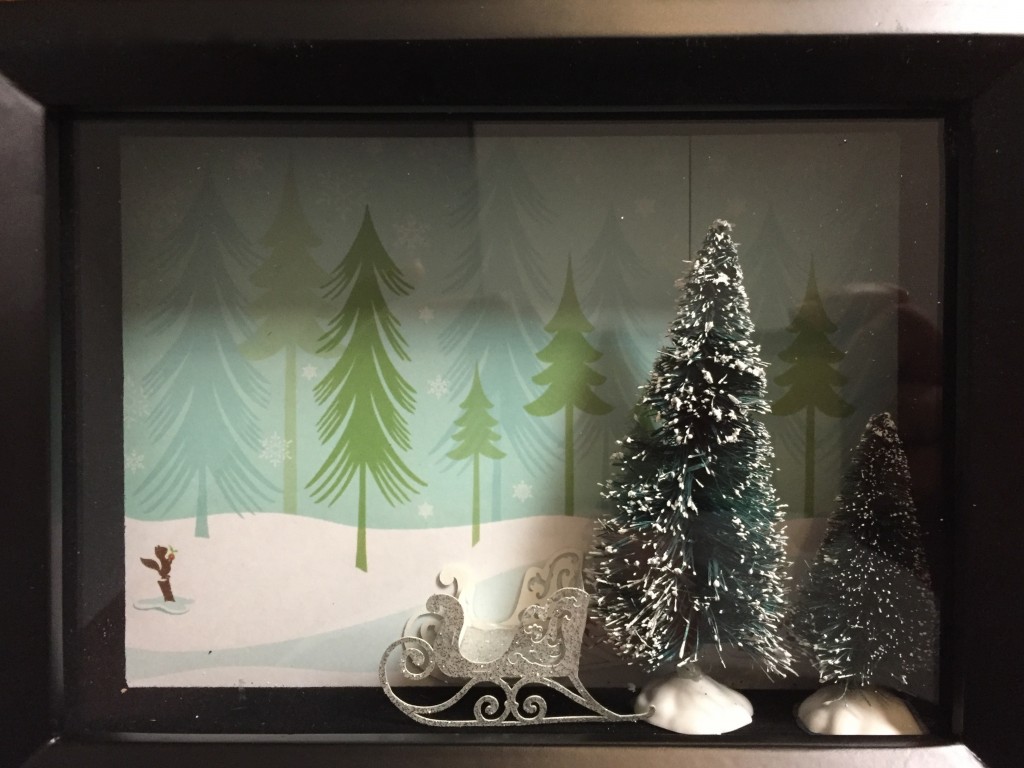
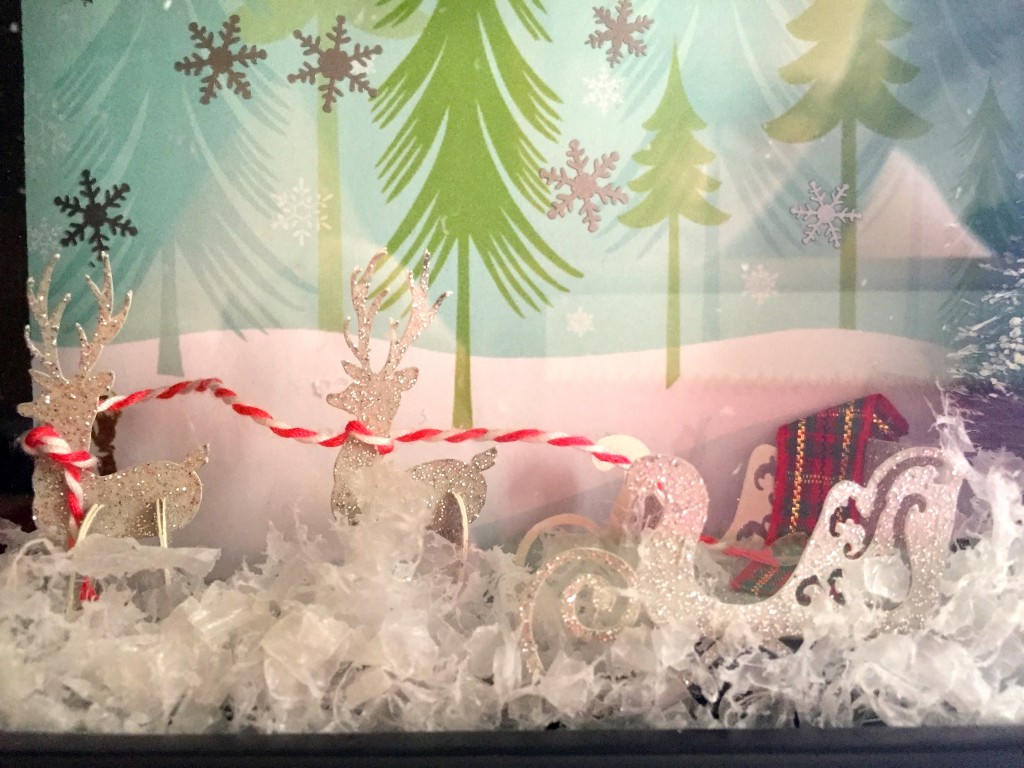
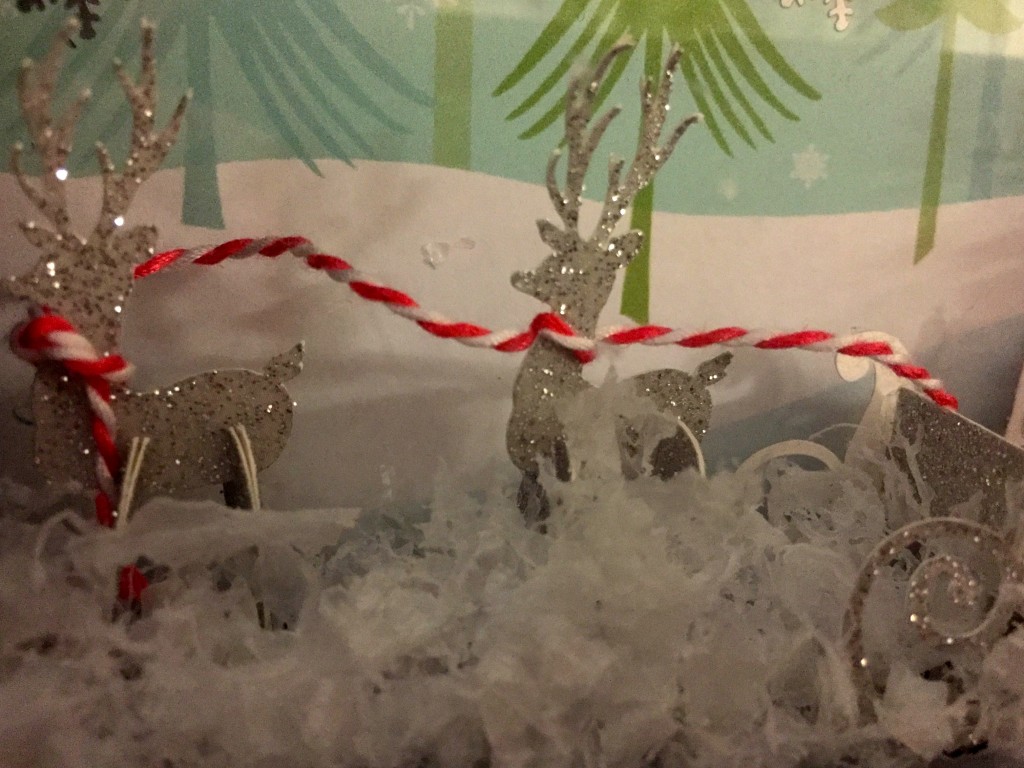
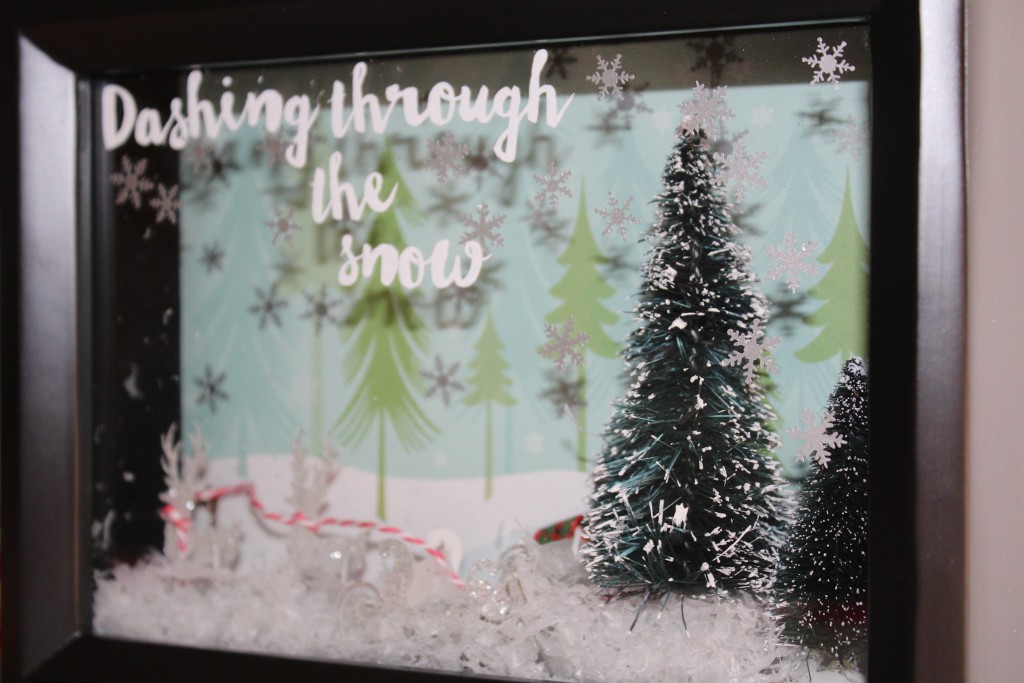
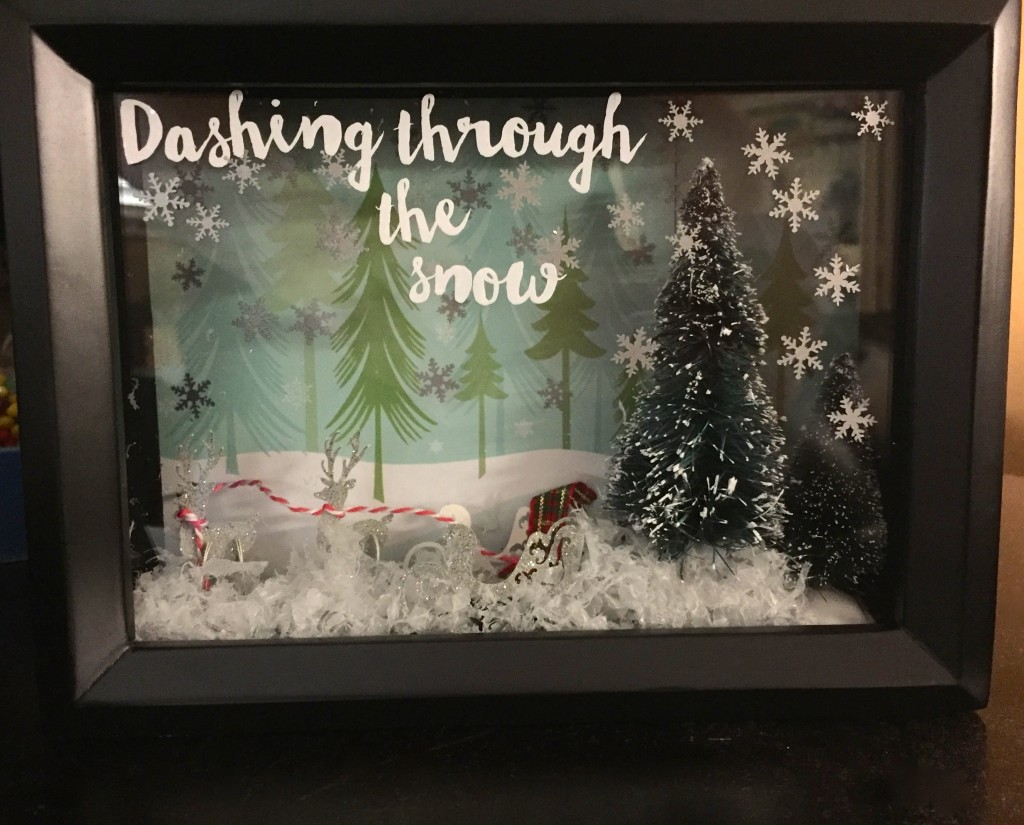
I knew I wanted to use the 3-D reindeer and sleigh from the Cricut Design Space Store, so the rest of the design was created with that in mind. I made mine about 2″ big out of glitter card stock. I made the reindeer twice, once normally, and the second time as a mirror image so I could make them two sided. Once the regular and mirror image versions were cut out, I stuck them together using my spray adhesive, and set the pieces aside. I hot glued the sleigh together, and added a bead of hot glue to the seems for extra stability. I placed the reindeer and the sleigh in the shadow box just to get an idea of how I wanted them to be, then I added a few Christmas trees. Once I was happy with the placements, I set them aside and began working on the rest of the shadow box. You can find the cut files for the reindeer and sleigh here.
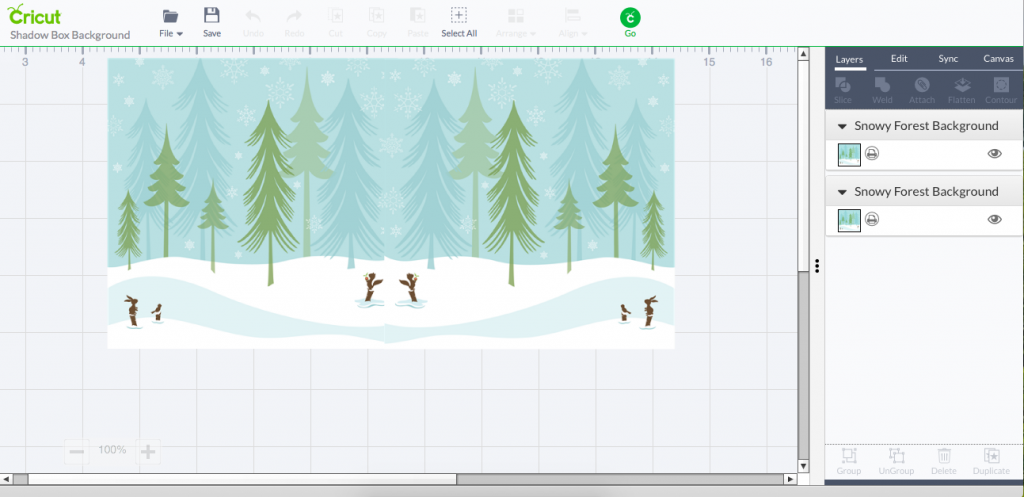
I knew I needed to make a background, but before I designed one myself, I checked the Cricut Design Space for a Print, then Cut File. I found several, but I ultimately went with a whimsical snowy forrest background. In order for the file to be large enough to fit the frame, and be cut buy my Cricut, I had to print 2 and then trim one down. You can find the background file here. Once they were cut, I used spray adhesive to attach them to the back of the shadow box. I was careful to match up my seams as well. I wanted to add more depth to the background, so I cut tiny silver snowflakes from vinyl and added them to the background too.
Before I hot glued my reindeer and sleigh to the bottom of the shadow box, I tied a little collar and leash on to the reindeer using baker’s twine, then, using a dot of hot glue, I attached it to the sleigh. I also hot glued a little scrap of ribbon to the sleigh to act a blanket. Finally, I was ready to glue it to the shadow box. I also glued the bottle brush Christmas trees to the shadow box. Finally, I added a tiny little handful of snow to the box, and closed up the shadow box.
On the front of the shadow box, I added a few more silver vinyl snow flakes for more dimension. But, I wasn’t *quite* finished, I thought it needed a little more, so I cut out “Dashing through the snow” text using white Cricut window cling. Once I added the text to the glass, I was smitten! I love this little shadow box so much!
I hope my Secret Santa recipient loves it as much as I do!
Tags : Christmas, Cricut, Cricut Design Space, DIY, Gift, Santa

