[…] DIY Halloween Sign by Everyday Party Magazine […]

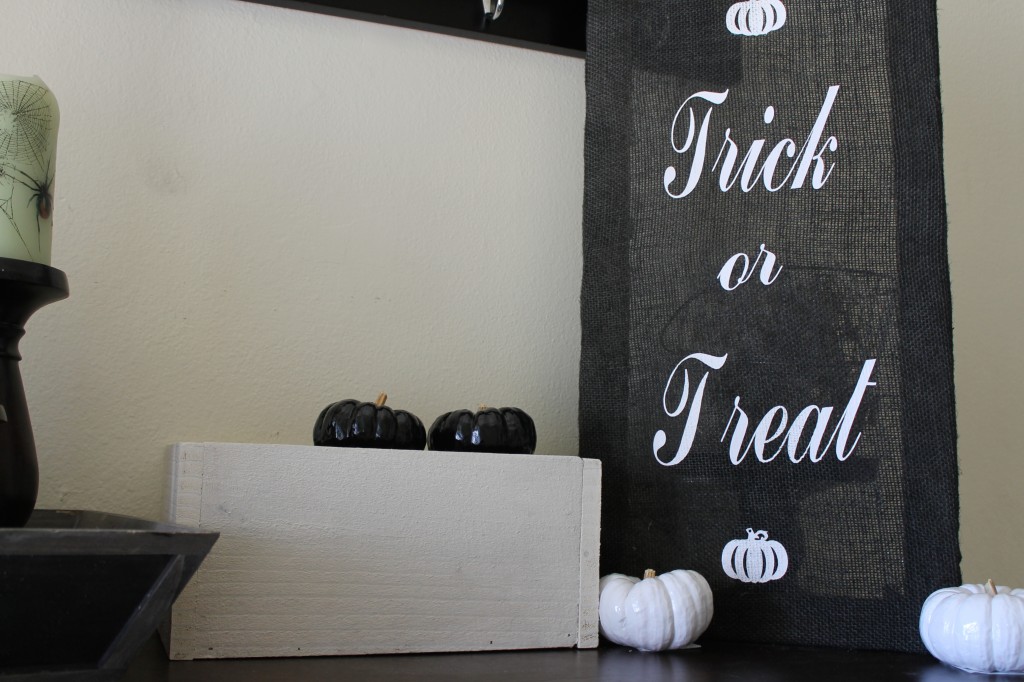
Trick or Treat Halloween Sign DIY
Disclosure: This project is being considered for a prize as part of the Cricut Design Space Star Challenge from Cricut. If you would like to pin this project, please pin from here.
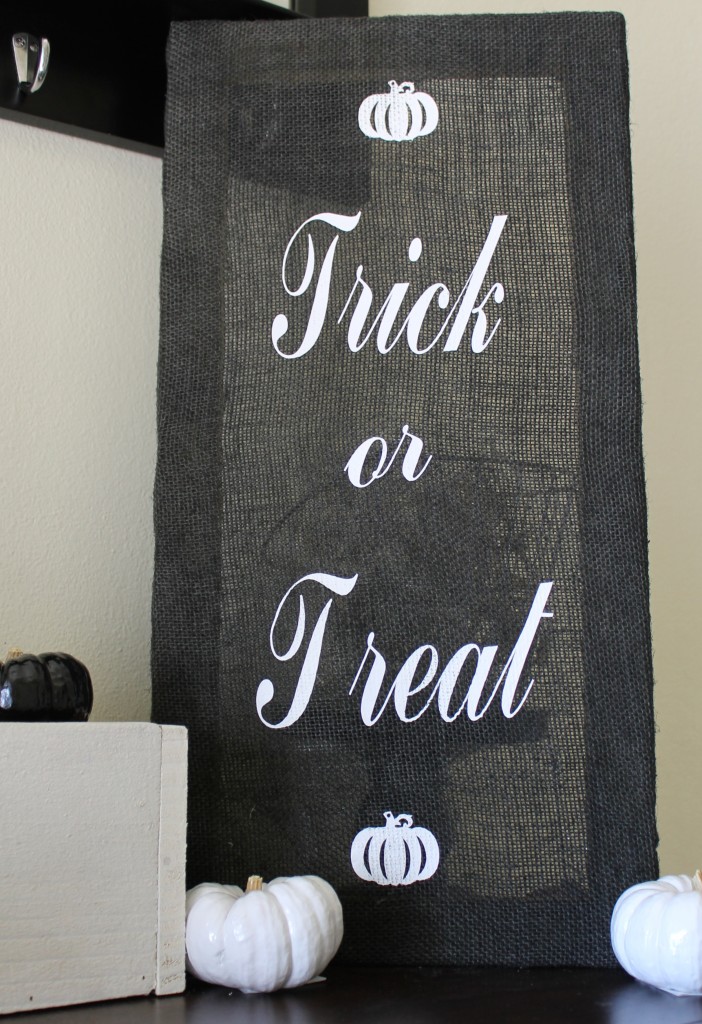
I am so excited to be sharing my second Cricut Design Space Star Challenge project with you all today! Our theme was narrowed down to Black and White home decor or gift. Since I am growing tired of my old Halloween decor, I thought this would be the perfect opportunity to make new Halloween decor that I just LOVE! I am sharing this fairly simple Trick or Treat Halloween Sign DIY!
Supplies:
Cricut (if you don’t have a Cricut, you can do this project without it, but it won’t be nearly as simple)
Pumpkin from the Cricut store or use your own image
Black canvas or burlap
Frame to staple canvas or burlap to
Estimated time:
20 minutes
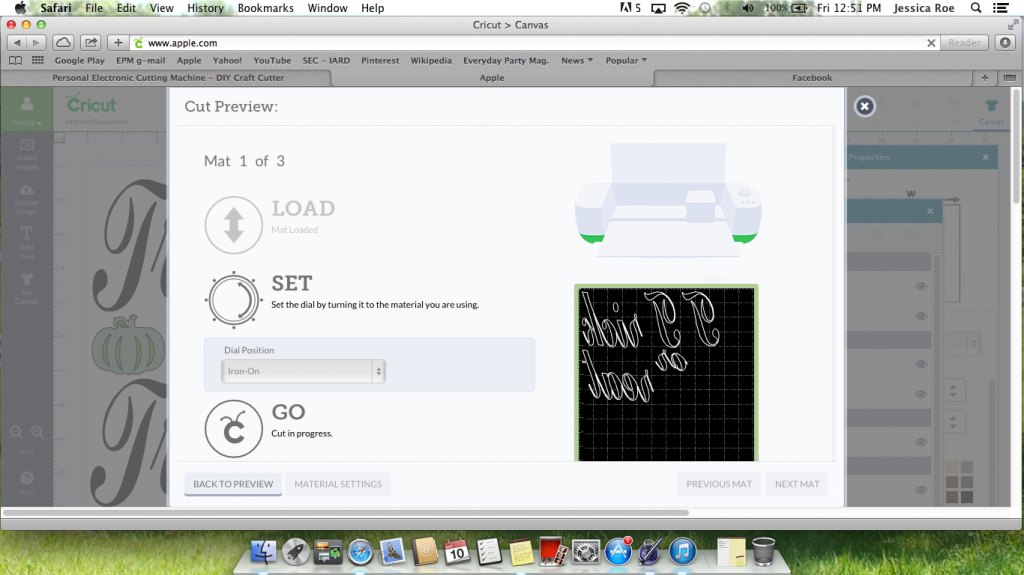
I started this project knowing that I wanted new Halloween decor, but with no other real idea of what I was going to make. I made the frame for my burlap. It is a simple frame made with furring strip wood from Home Depot. It costs about a dollar. I cut mine so that it would be 1′ wide by 2′ tall, then I screwed it together. Next, I cut some burlap I already had and stapled it to the back of the wooden frame. Since I couldn’t find any black burlap locally, I spray painted my natural colored burlap after it was attached to the frame. If you choose to use a black canvas to make yours, the project will be completed much faster. Once I knew how large my surface would be, I opened my Cricut Design Space software, and checked out their Halloween and Fall images. I love the pumpkin, it will work well for Thanksgiving decor too! Once I decided on my pumpkin, I needed to decide on the words…trick or treat was an easy quote and I used a text that would be fairly easy to weed, and still look a little more “grown up” than more traditional Halloween fonts. Finally it was ready to be sent to the Cricut to cut. *Don’t forget to mirror your text!*
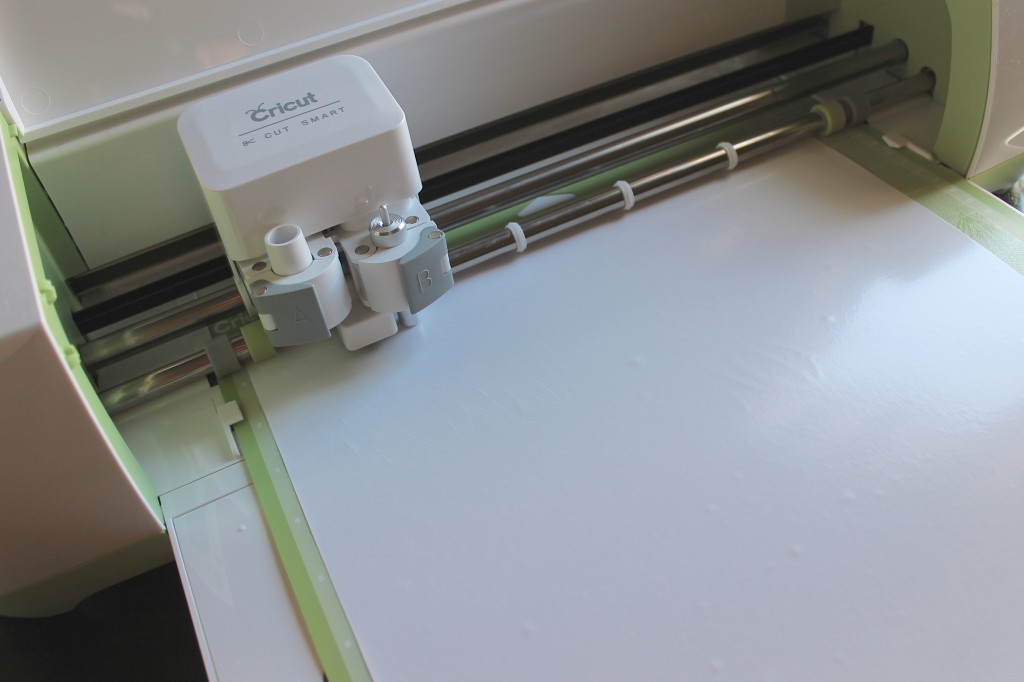
I am still in awe over how well the Cricut cuts! No jagged edges or half cut vinyl…it’s a dream cutting machine!
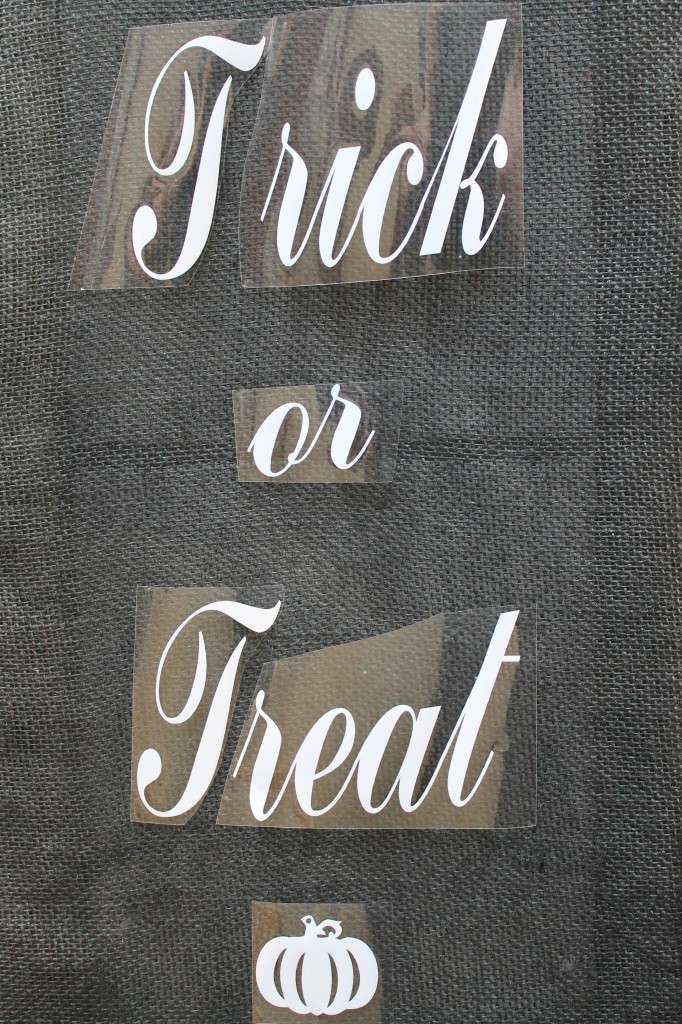
Once the vinyl was cut, I weeded (pulled the unused parts off the clear transfer tape) and lightly placed it on my burlap until I was satisfied with the design. If you need more instructions for heat transfer vinyl, be sure to check out this post with step by step instructions. Since this project was on a frame without a solid base under the burlap, I put blocks of wood under the frame and ironed on in sections.
The finished project is the centerpiece for my entryway table and looks so great next to black and white painted mini pumpkins! I even put a basket of twinkle lights behind it to give it a little light in the evening.
Be sure to check out the rest of my team’s projects too!
The Happy Scraps//Classically Quirky//Artzy Creations//Ameroonie Designs//Sparrow Soirees//773//Pen N Paper Flowers//Brewed Together //Pencil Shavings Studio
Tags : Cricut Design Space Star Challenge, DIY, Halloween, Heat Press Vinyl, Heat Transfer Vinyl, HTV, Iron on Vinyl, Trick or Treat



This project is so fun. Great idea to spray the raw burlap black – the somewhat transparent vibe it gives off definitely lends itself to a “Halloween” feel. Love the effect. And love that you put the twinkling lights behind it too!!